Molding and Casting
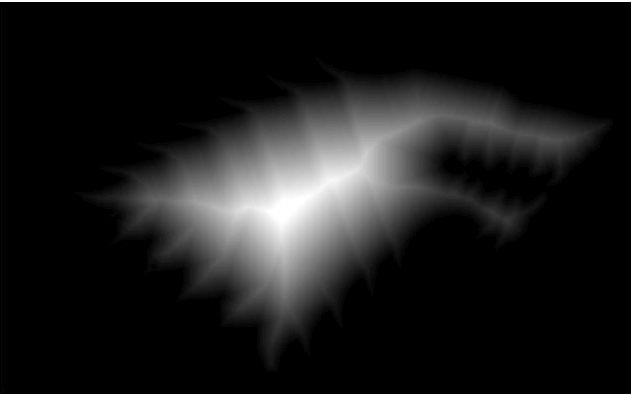
I like Game of Thrones, so this week I decided to make a Stark house piece. For this, The first thing I did was to find an image that was good enough for me. However, many of the pictures had to many details or were too simple. Also, I was looking to make a 3D milling. Why? Just to learn how to do it. Thats why I took a 2D monochrome image and turn it in to a gray scale picture in order to give depth.

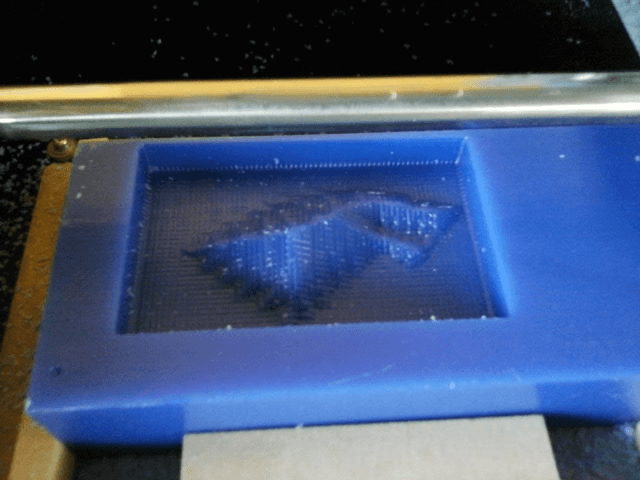
Once the picture is ready, it is time to use the Roland milling machine. The next picture shows the parameter used.
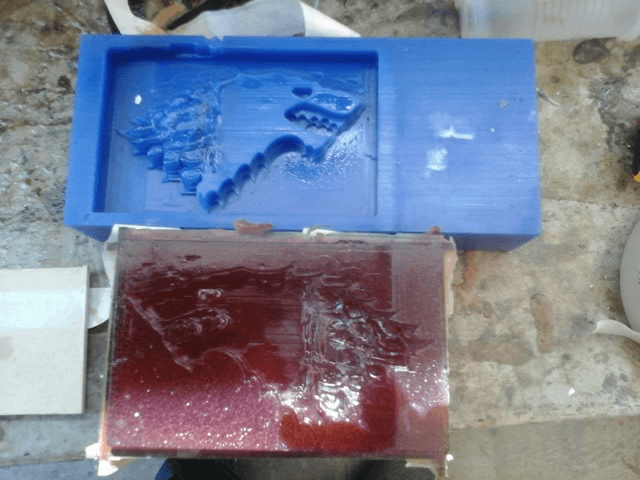
The milled material was blue wax and it was the positive mold of the picture. The block was milled twice:
- First time was take out the highest amount of wax
- Second time was for details

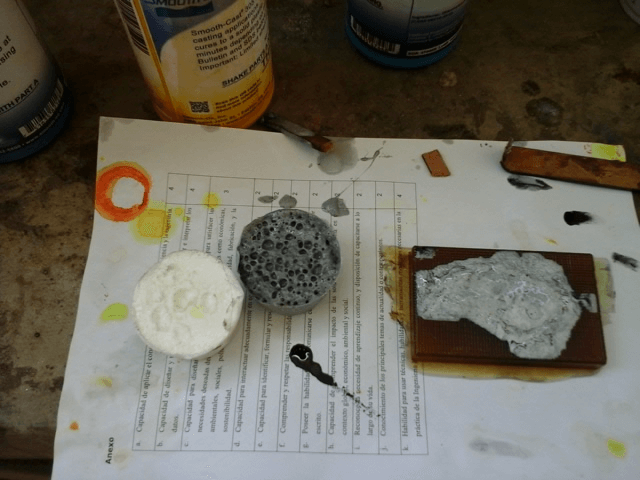
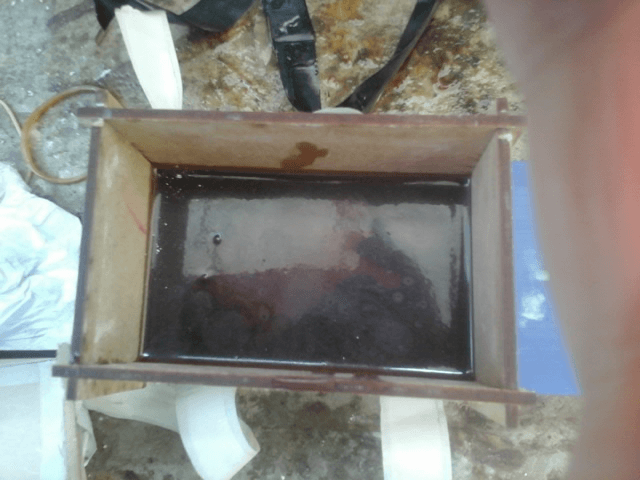
The next phase of the process is to add the PMC. There are two jars that have to be mixed together in equal proportions. It is important to mix well both liquids, but trying not to create too much bubbles. At the moment of casting the PCM over the blue wax I noticed that for future work is recommended to milled at least 2 or 3 mm all the area of the picture. If not, the PCM will leak from the sides without covering the whole piece.
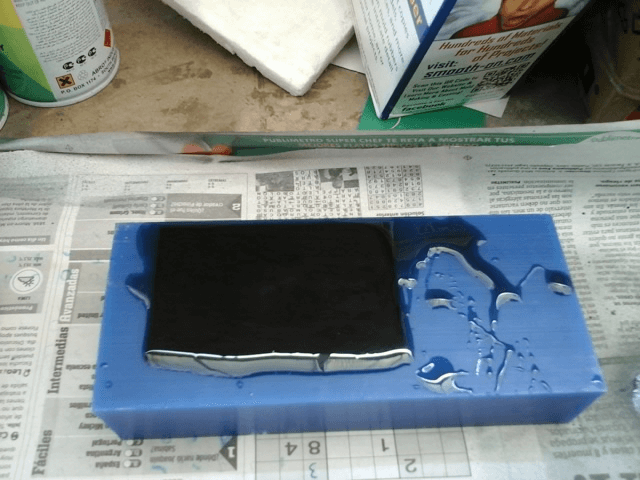


After a few hours the PCM dry and it can be take out from the wax.
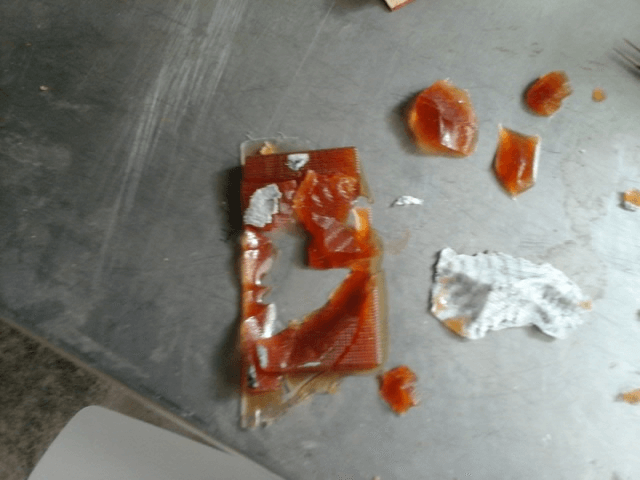
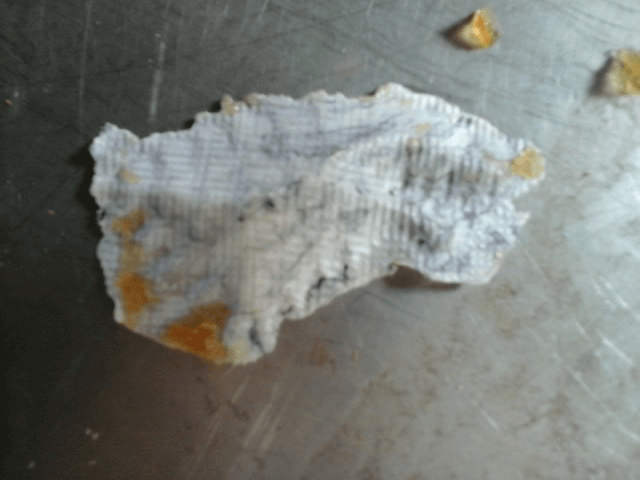
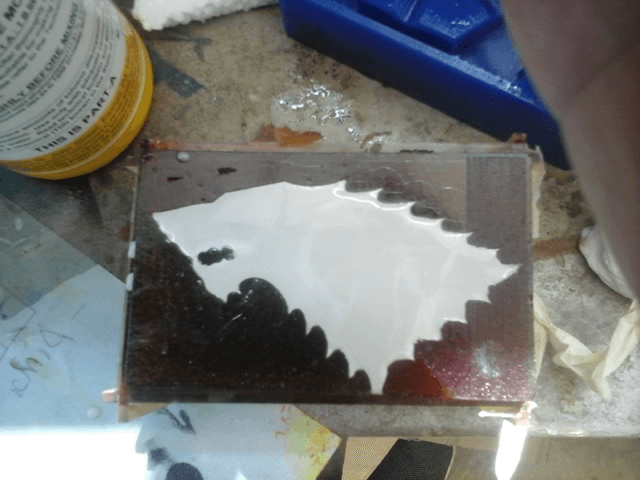
Over the PCM mold I casted Smooth-Cast. I discover that it was not the best idea. It glued to the model and I had to destroy the PCM mold for taking out the finish product.
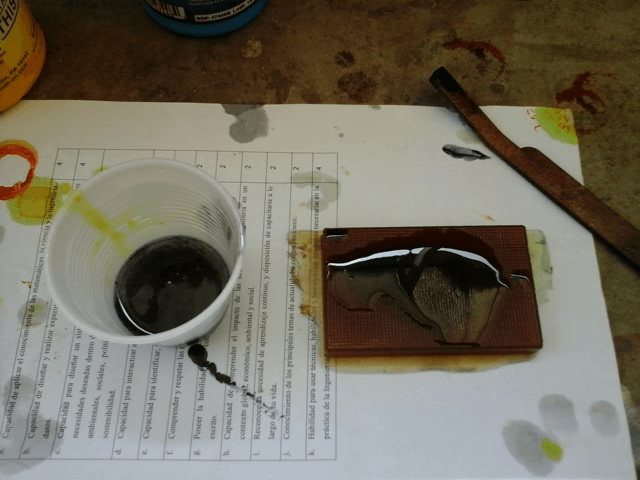

For a second time I used hydrostone instead of smooth-cast. It was pretty simple to take out.

Download all the files from here.