Composites
This week assignment we need to make a composite: a mixture of two substances like for example fabric with epoxy resin. Because I want to make a glove I am thinking of designing my first try. I design an small prototype of a hand so I could warp around the fabric. The next images shows it:

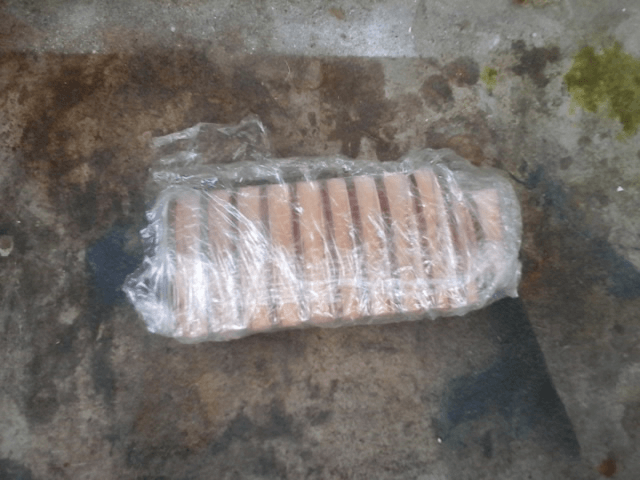
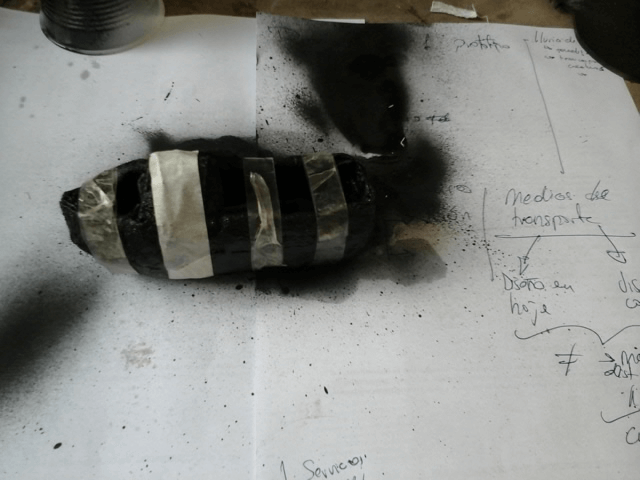
The laser cut machine was employ in this opportunity. The physical result wrap in plastic is display in the next picture.

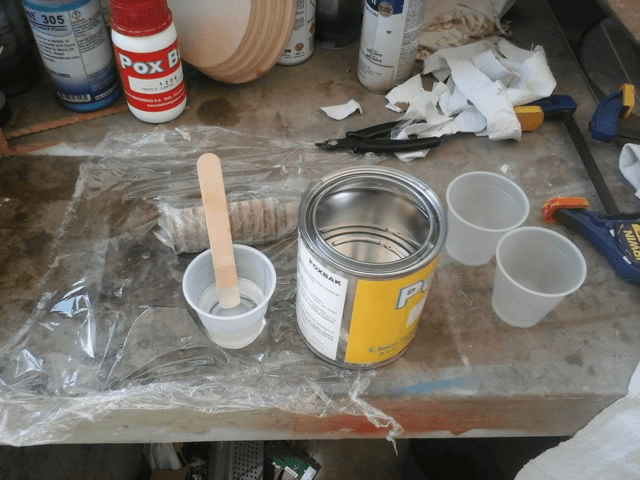
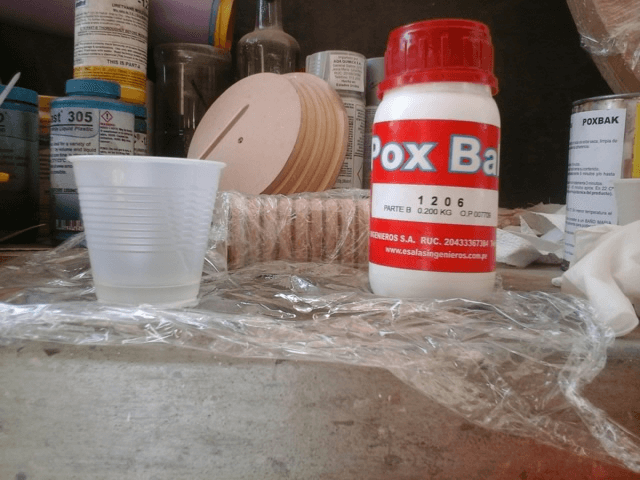
To get epoxy resin its two components have to be mix together in mass proportion of 1 to 5. It means that for every 100g of the “hardener” it is needed 500g from the “base”. It need to be well stir making sure that there are no bubbles.
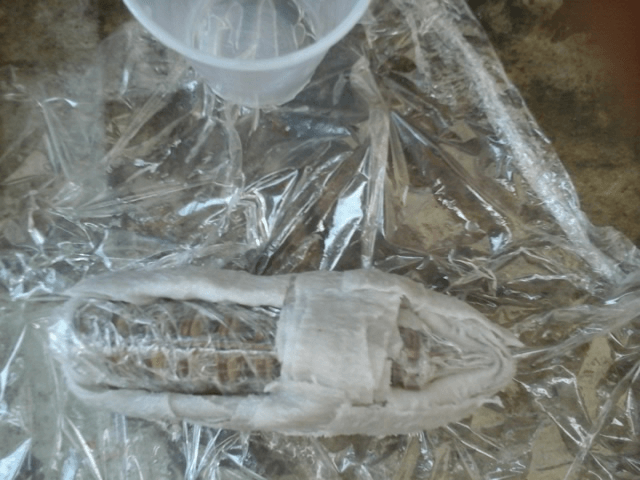
Protect the working surface before starting to add the fabric strips on the prototype. I found out in the worst way that the drops of resin are very hard to take out when it hardens. Another useful tips:
- Use glove
- Soak each strip with the resin of your hands before pouring more.
- If you don´t’ want your prototype to get stick over the table drop a layer of vaseline over everything. If not you will regret it...
When finished just let the object dry:

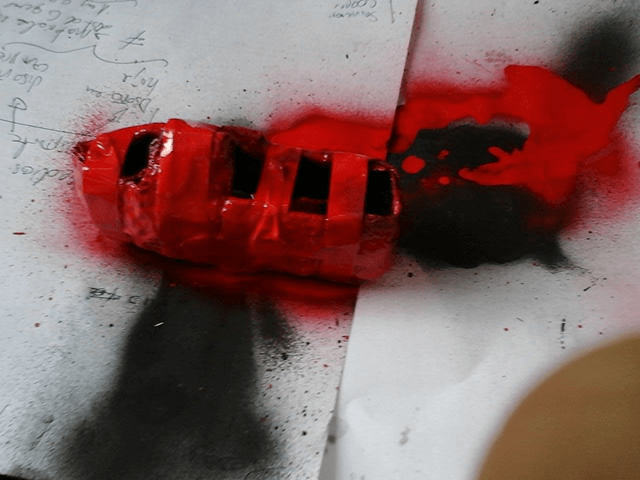
For adding a little bit of color I paint it with spray. The results:

Conclusions:
- The prototype was to small for my hand.
- Because of the rigidity of the material I do not recommend it for the glove.
- Be careful with pointy ending. When wet it is not important, but when it get hard you can actually get hurt by it (the experience is talking). Use sand paper to smooth the surface.
- Paint stick good on the resin.
In honor of the truth I didn’t like the output of this weekend, but it left me some interesting ideas for my final project.
The Second Composites
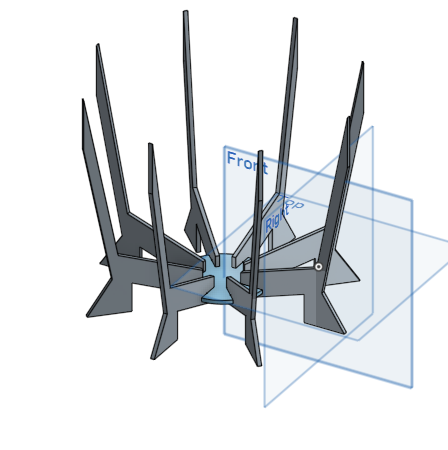
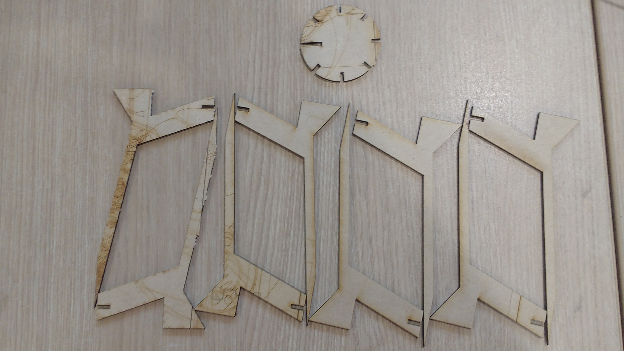
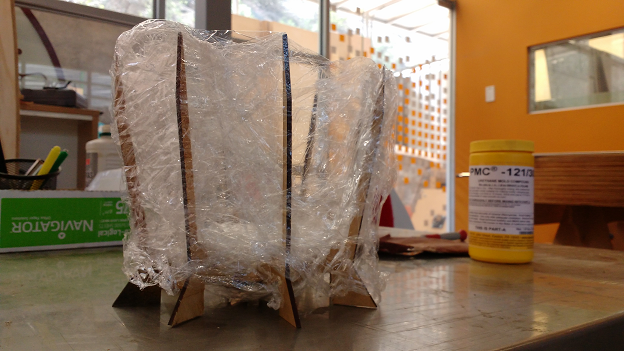
The work done before is too small for this week assignment so I did a second model for a jar. In both ocassions it is not necesarry to mill. With the laser cut I can develop a proper mold for my project. The design and the cut pieces are show in the next images.

Then it was wrap with plastic. I was carefull to wrap it very tight.
The two parts of the resine where mix together in mass proportion 1:5 and some fabric was cutted in strips. Those strips were soaked in resine and added to the mold. THis process was repeated until 3 layers were done.


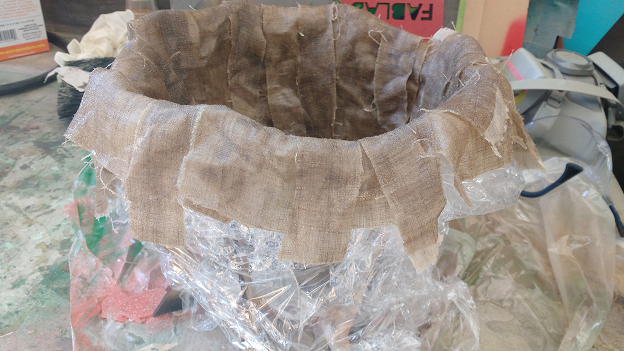
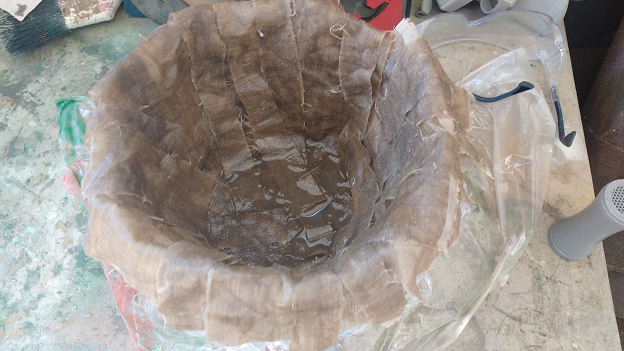
As the last object, the whole mold was cover in vaseline so the composite can be taken out easily. Also, in the last picture it can be seen that at the bottom there was poured some resine so it will be the base of the jar.
Download all the files from here.