Week 6
Electronics Design.
This week we will design a circuit on eagle, machine it, and program it.
1- Install eagle from this link or by writing sudo apt-get install eagle in a terminal.
2- Import fab library into eagle, this library contains most of the components that we need.
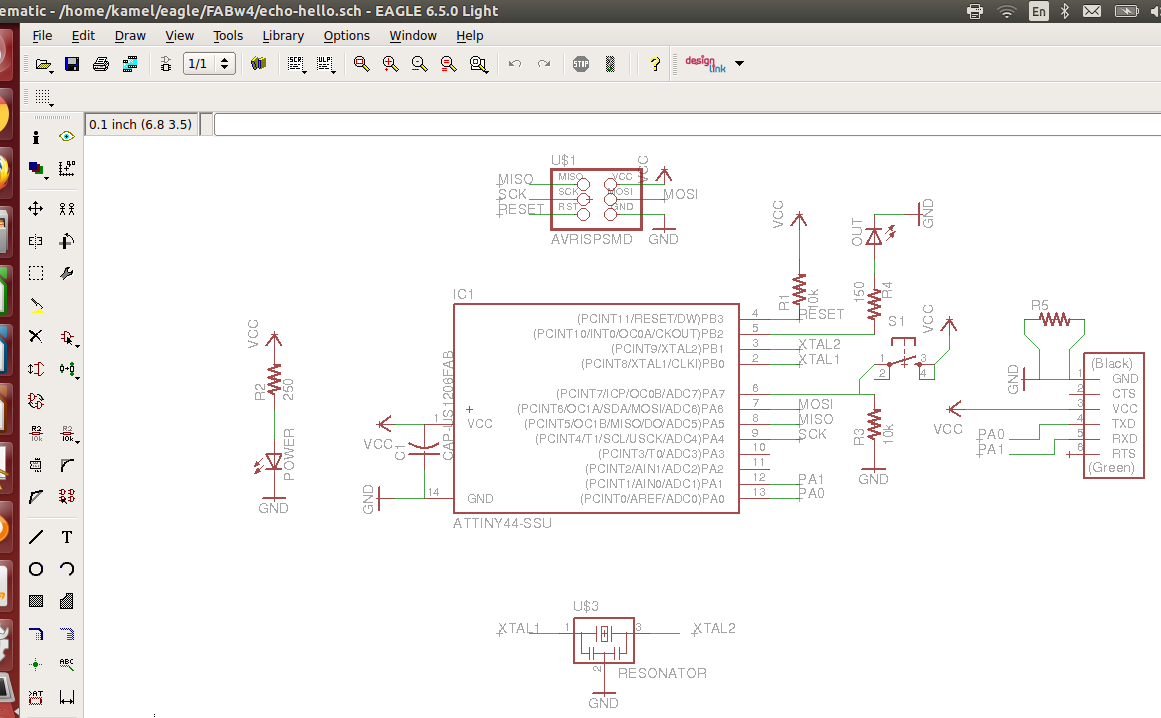
The basic circuit contains a microcontroller and FTDI header, i will add a power on LED, an Input push button, and an output LED. We will need to add these components in eagle:
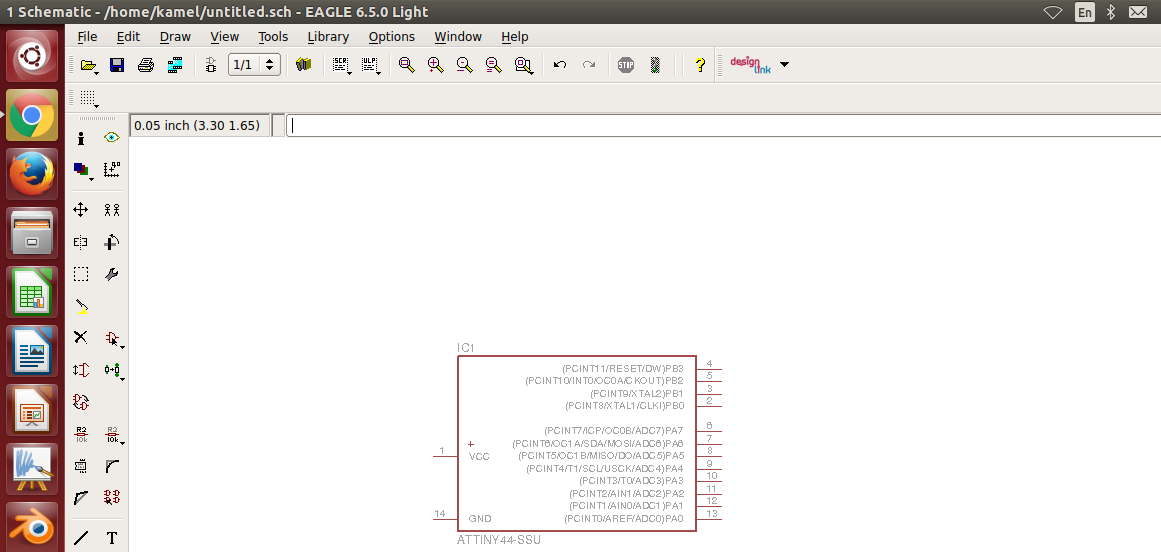
1- Atmega44 microcontroller.
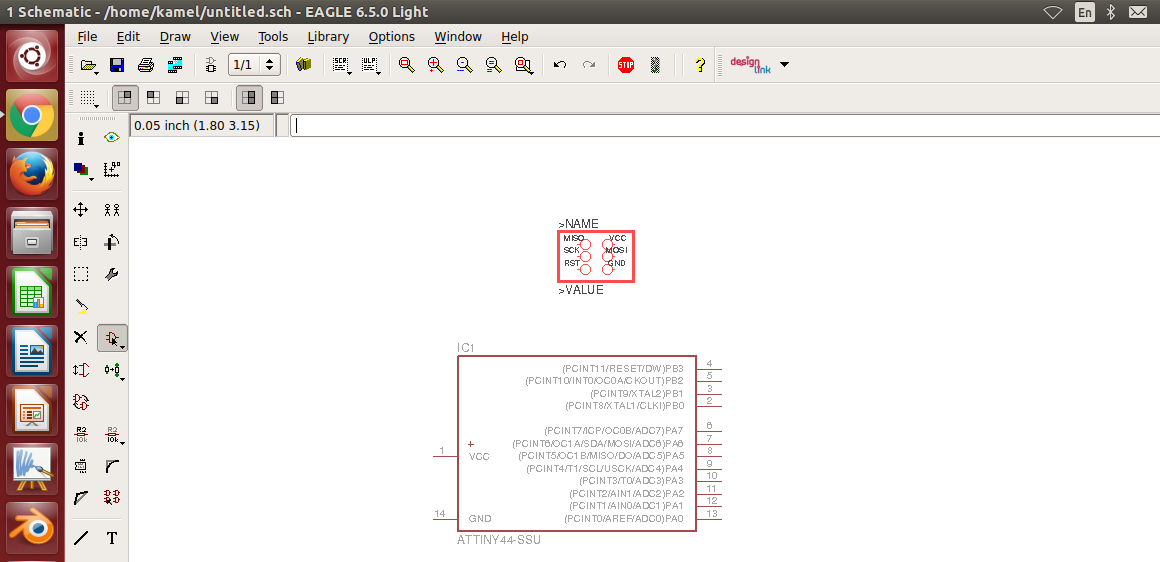
2- AVRISP.
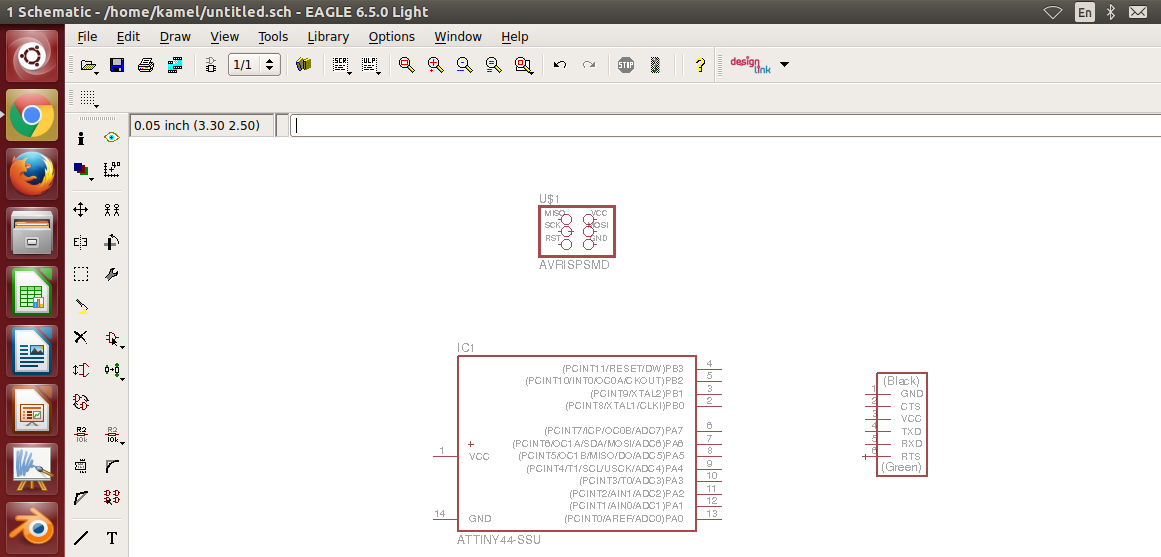
3- FTDI header.
4- 20 MHZ resonator.
5- LEDs
6- Resistors, capacitors.

Adding all of the components.

The last step in the schematic is to connect/wire the components.
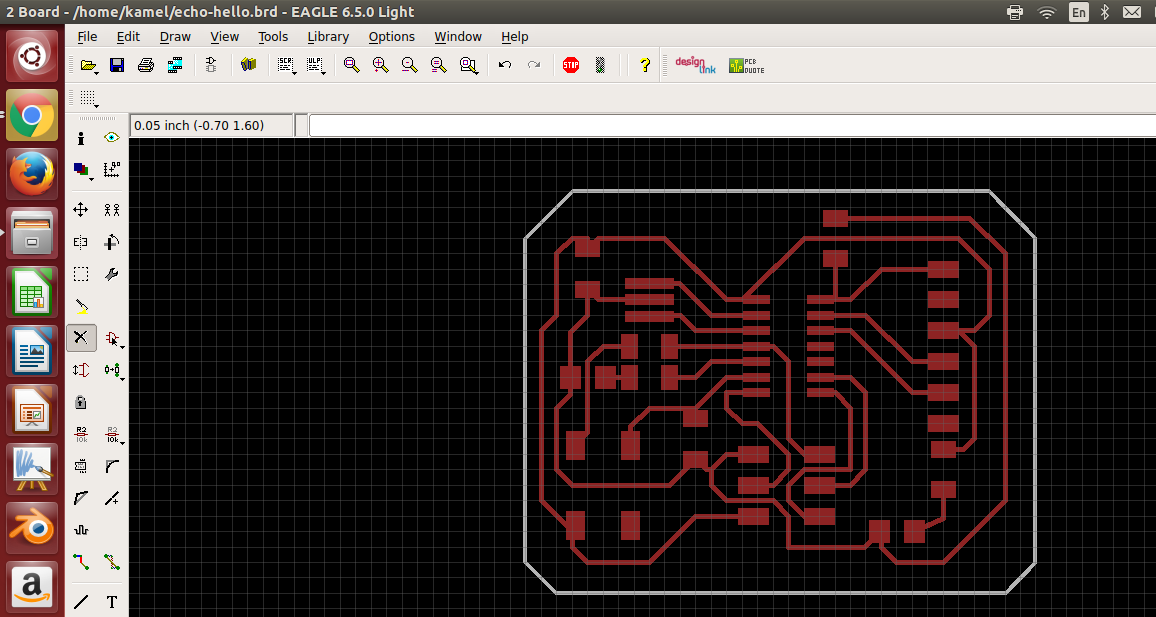
Now we will start designing the board. From file click on switch to board.
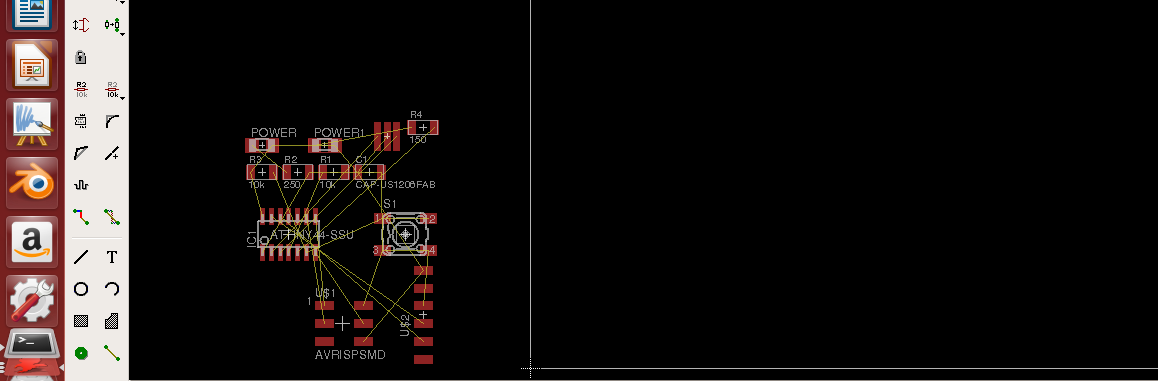
This is a tricky part. Move the components and place them in a suitable configuration. The better the configuration, the easier the routing will be.
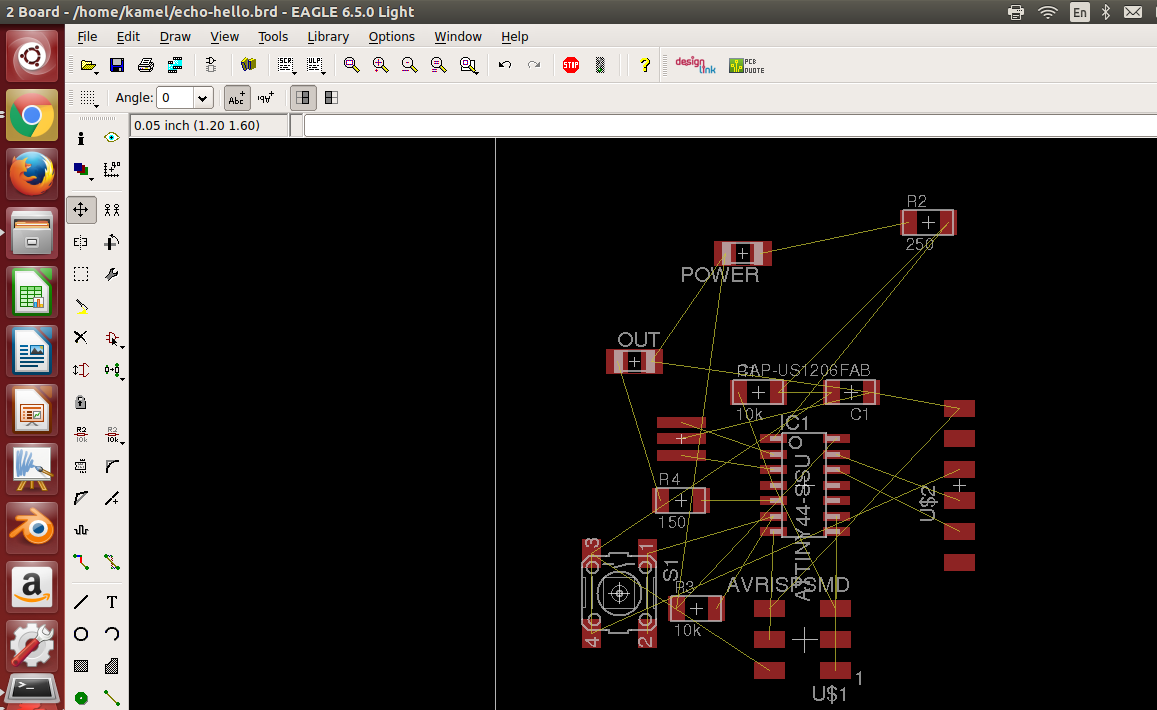
Start wiring the components.

The final board after routing.
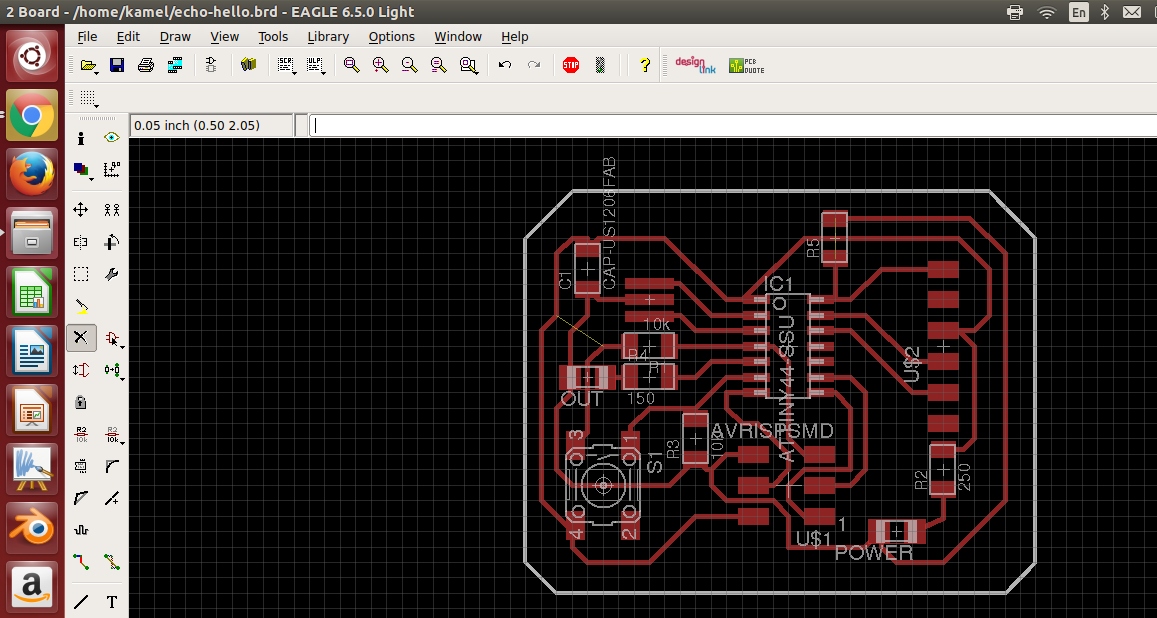
Make DRC check to make sure that we don't have any errors.
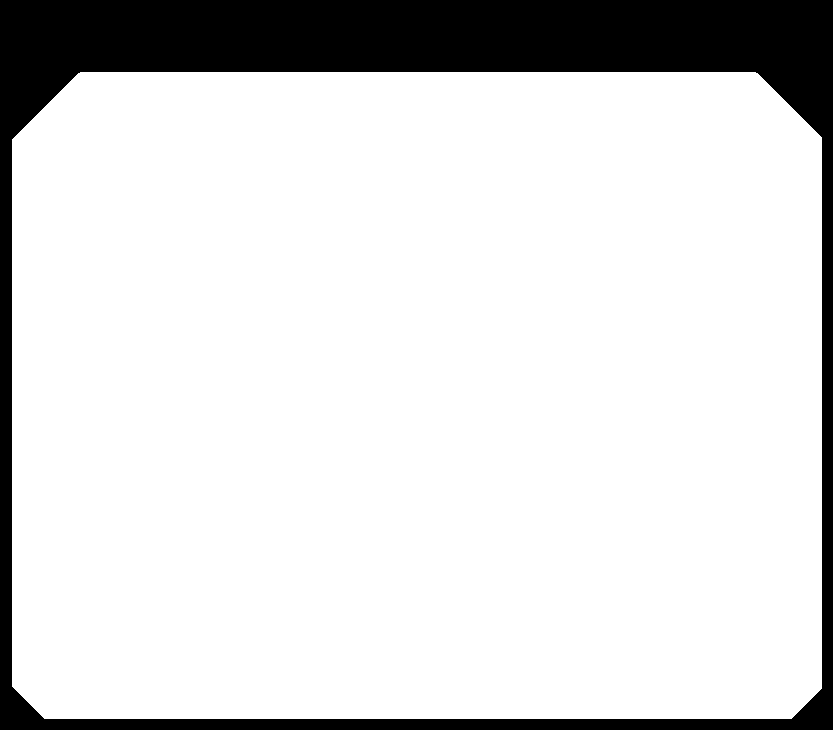
Export the images to machine the board.
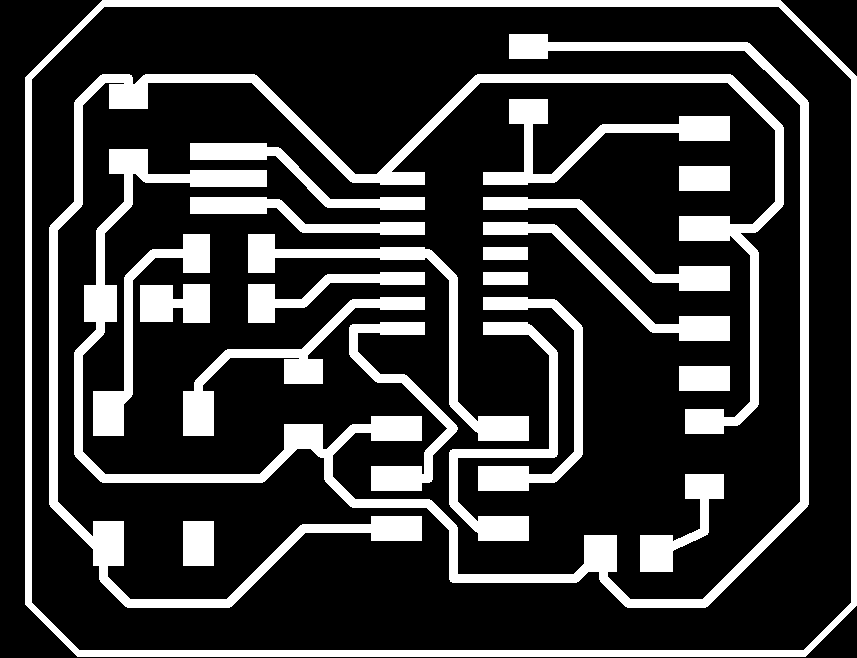
Download the design files from here:
echo-hello.sch echo-hello.brdOr download the images for machining:
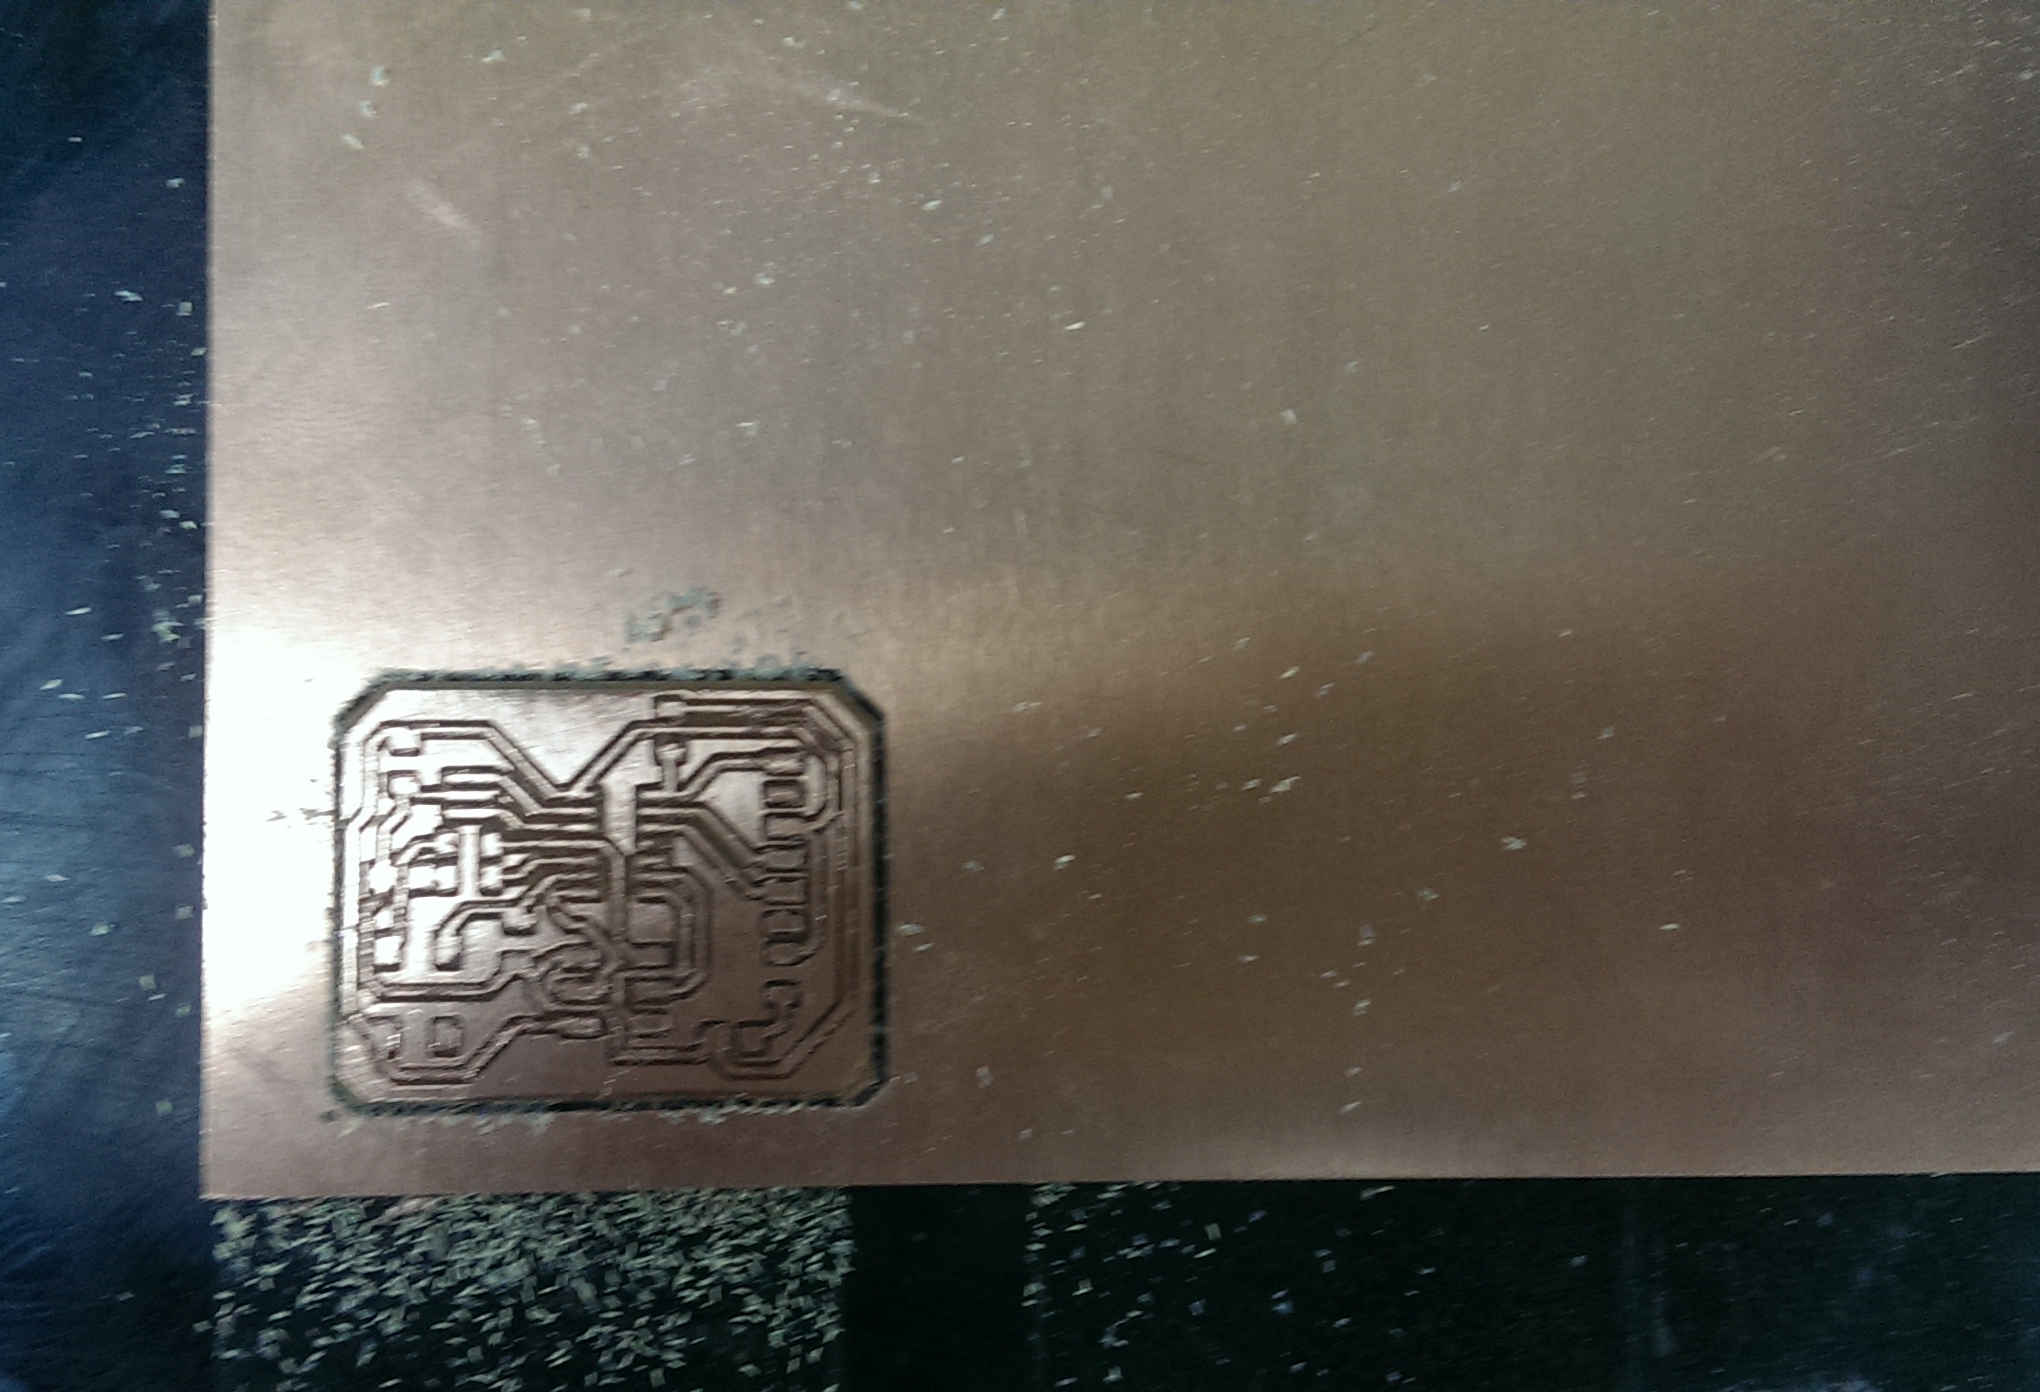
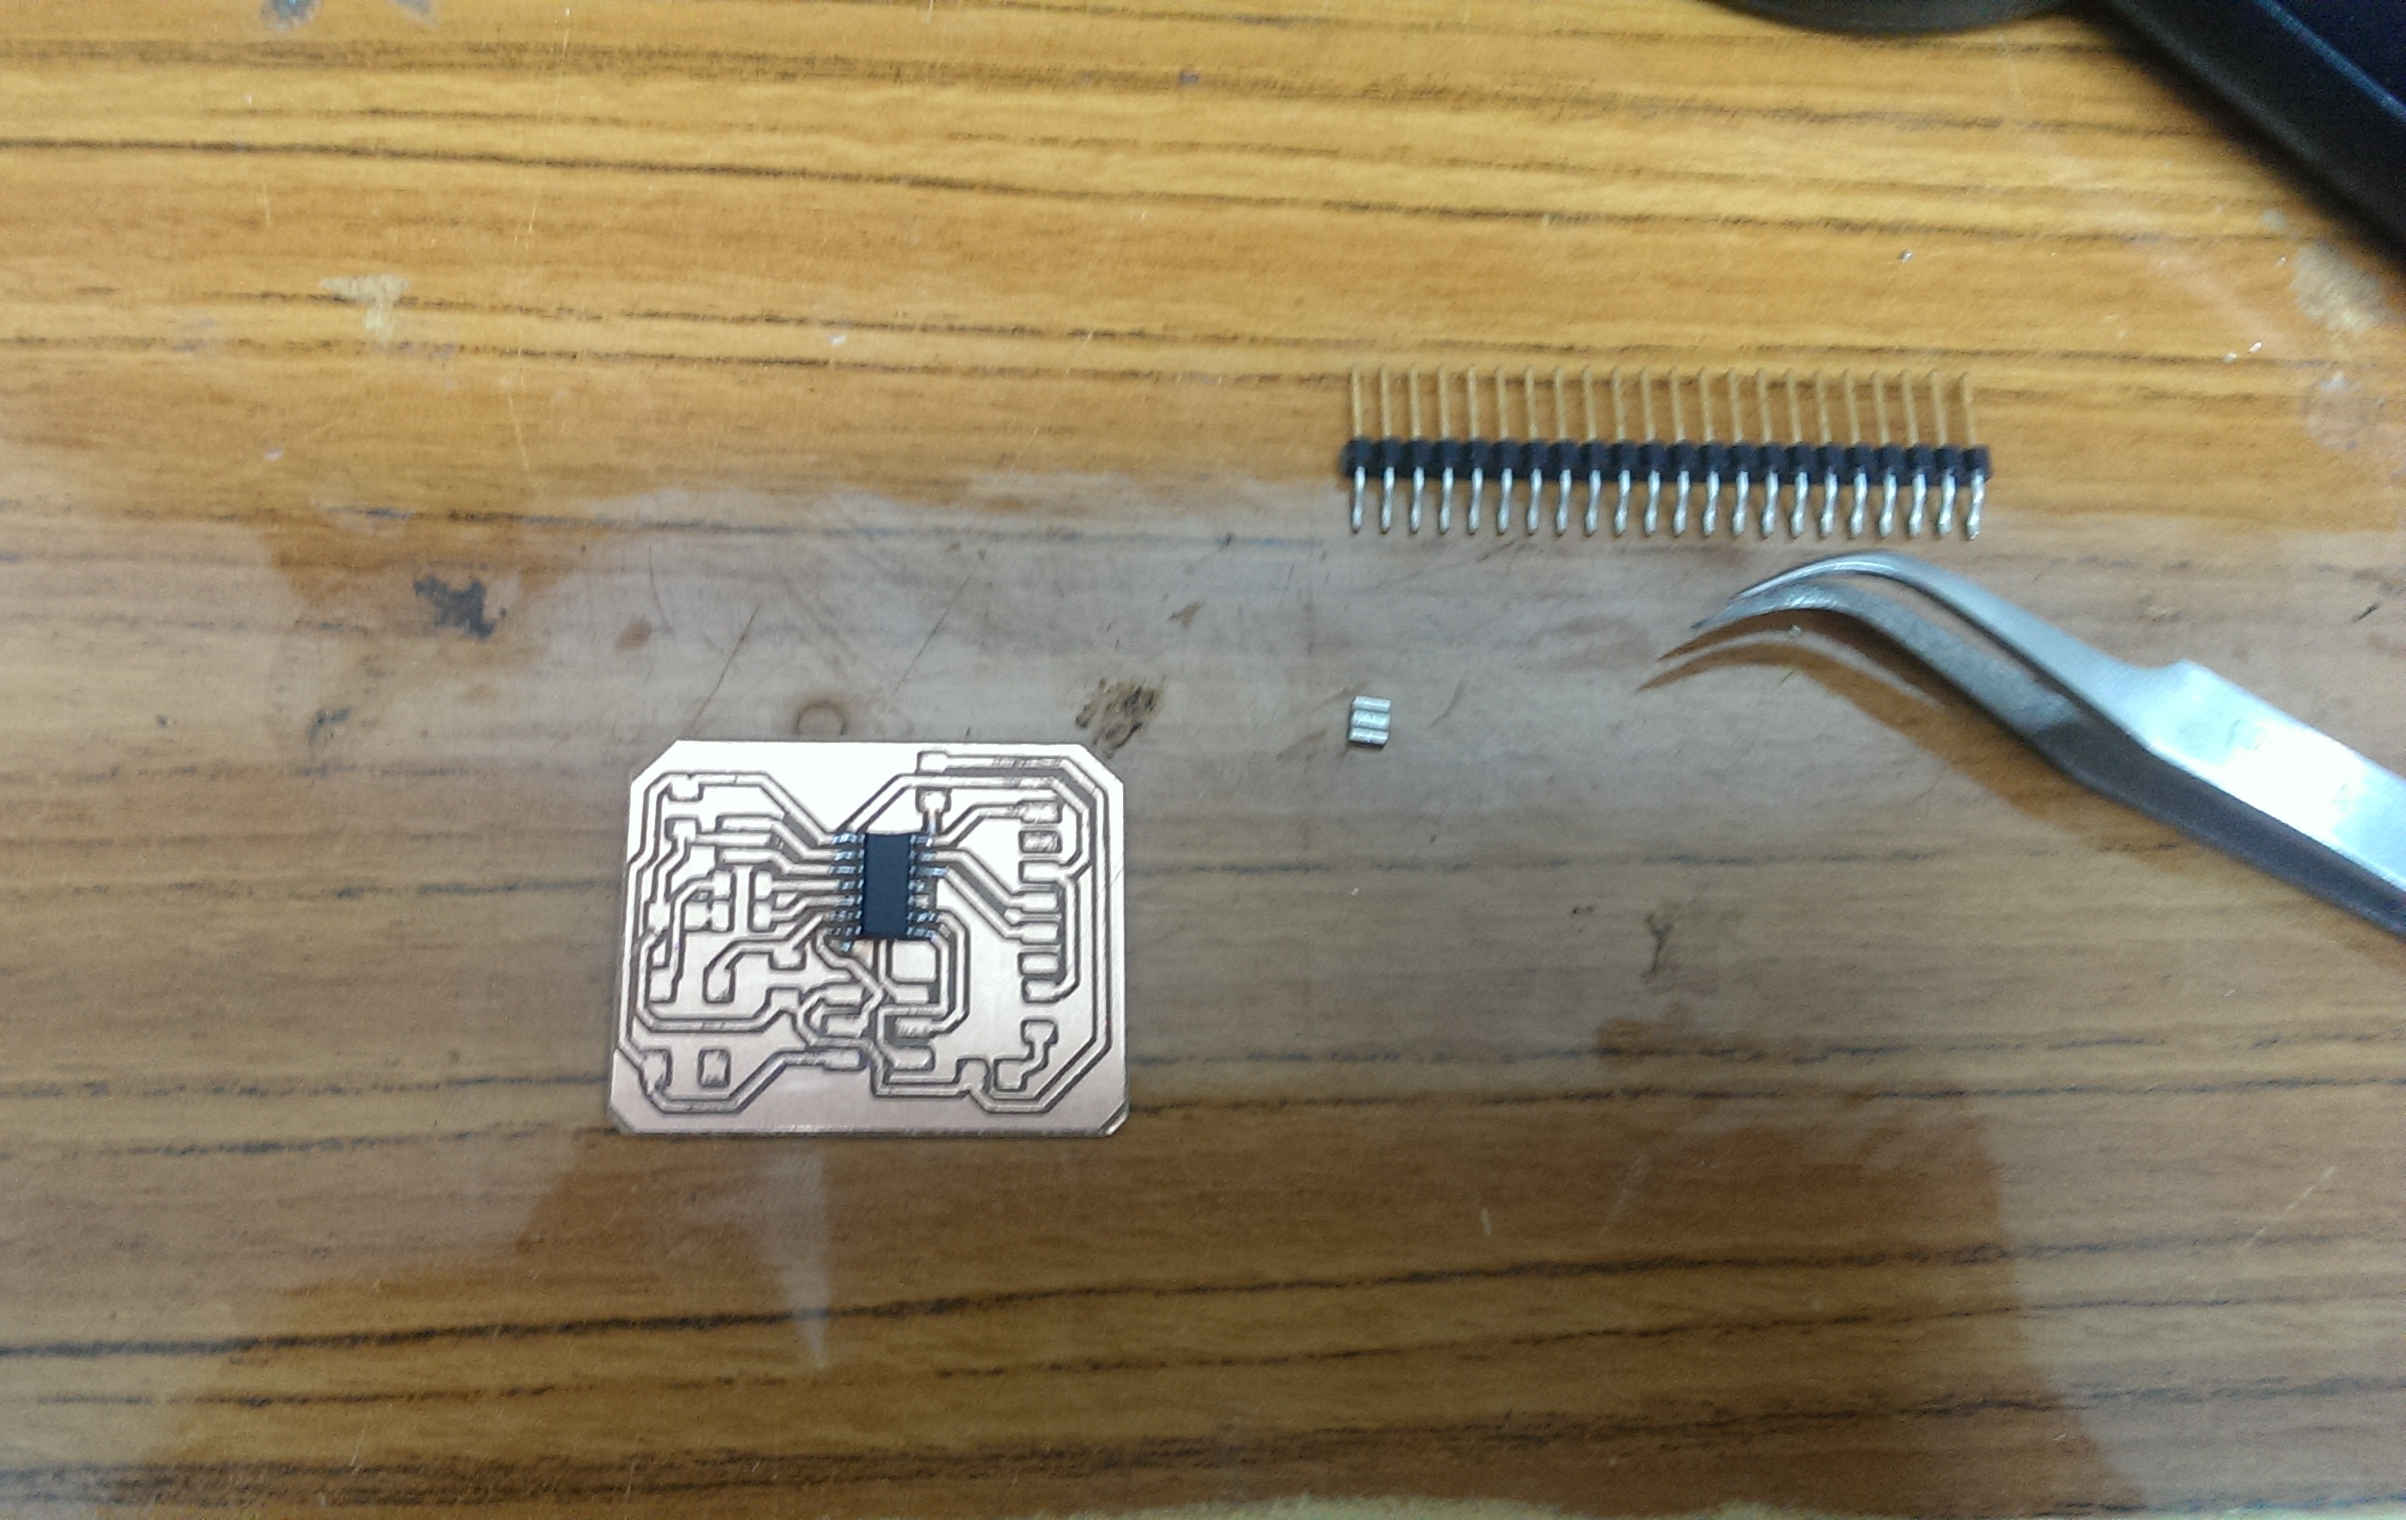
Machining the board on Roland MDX20
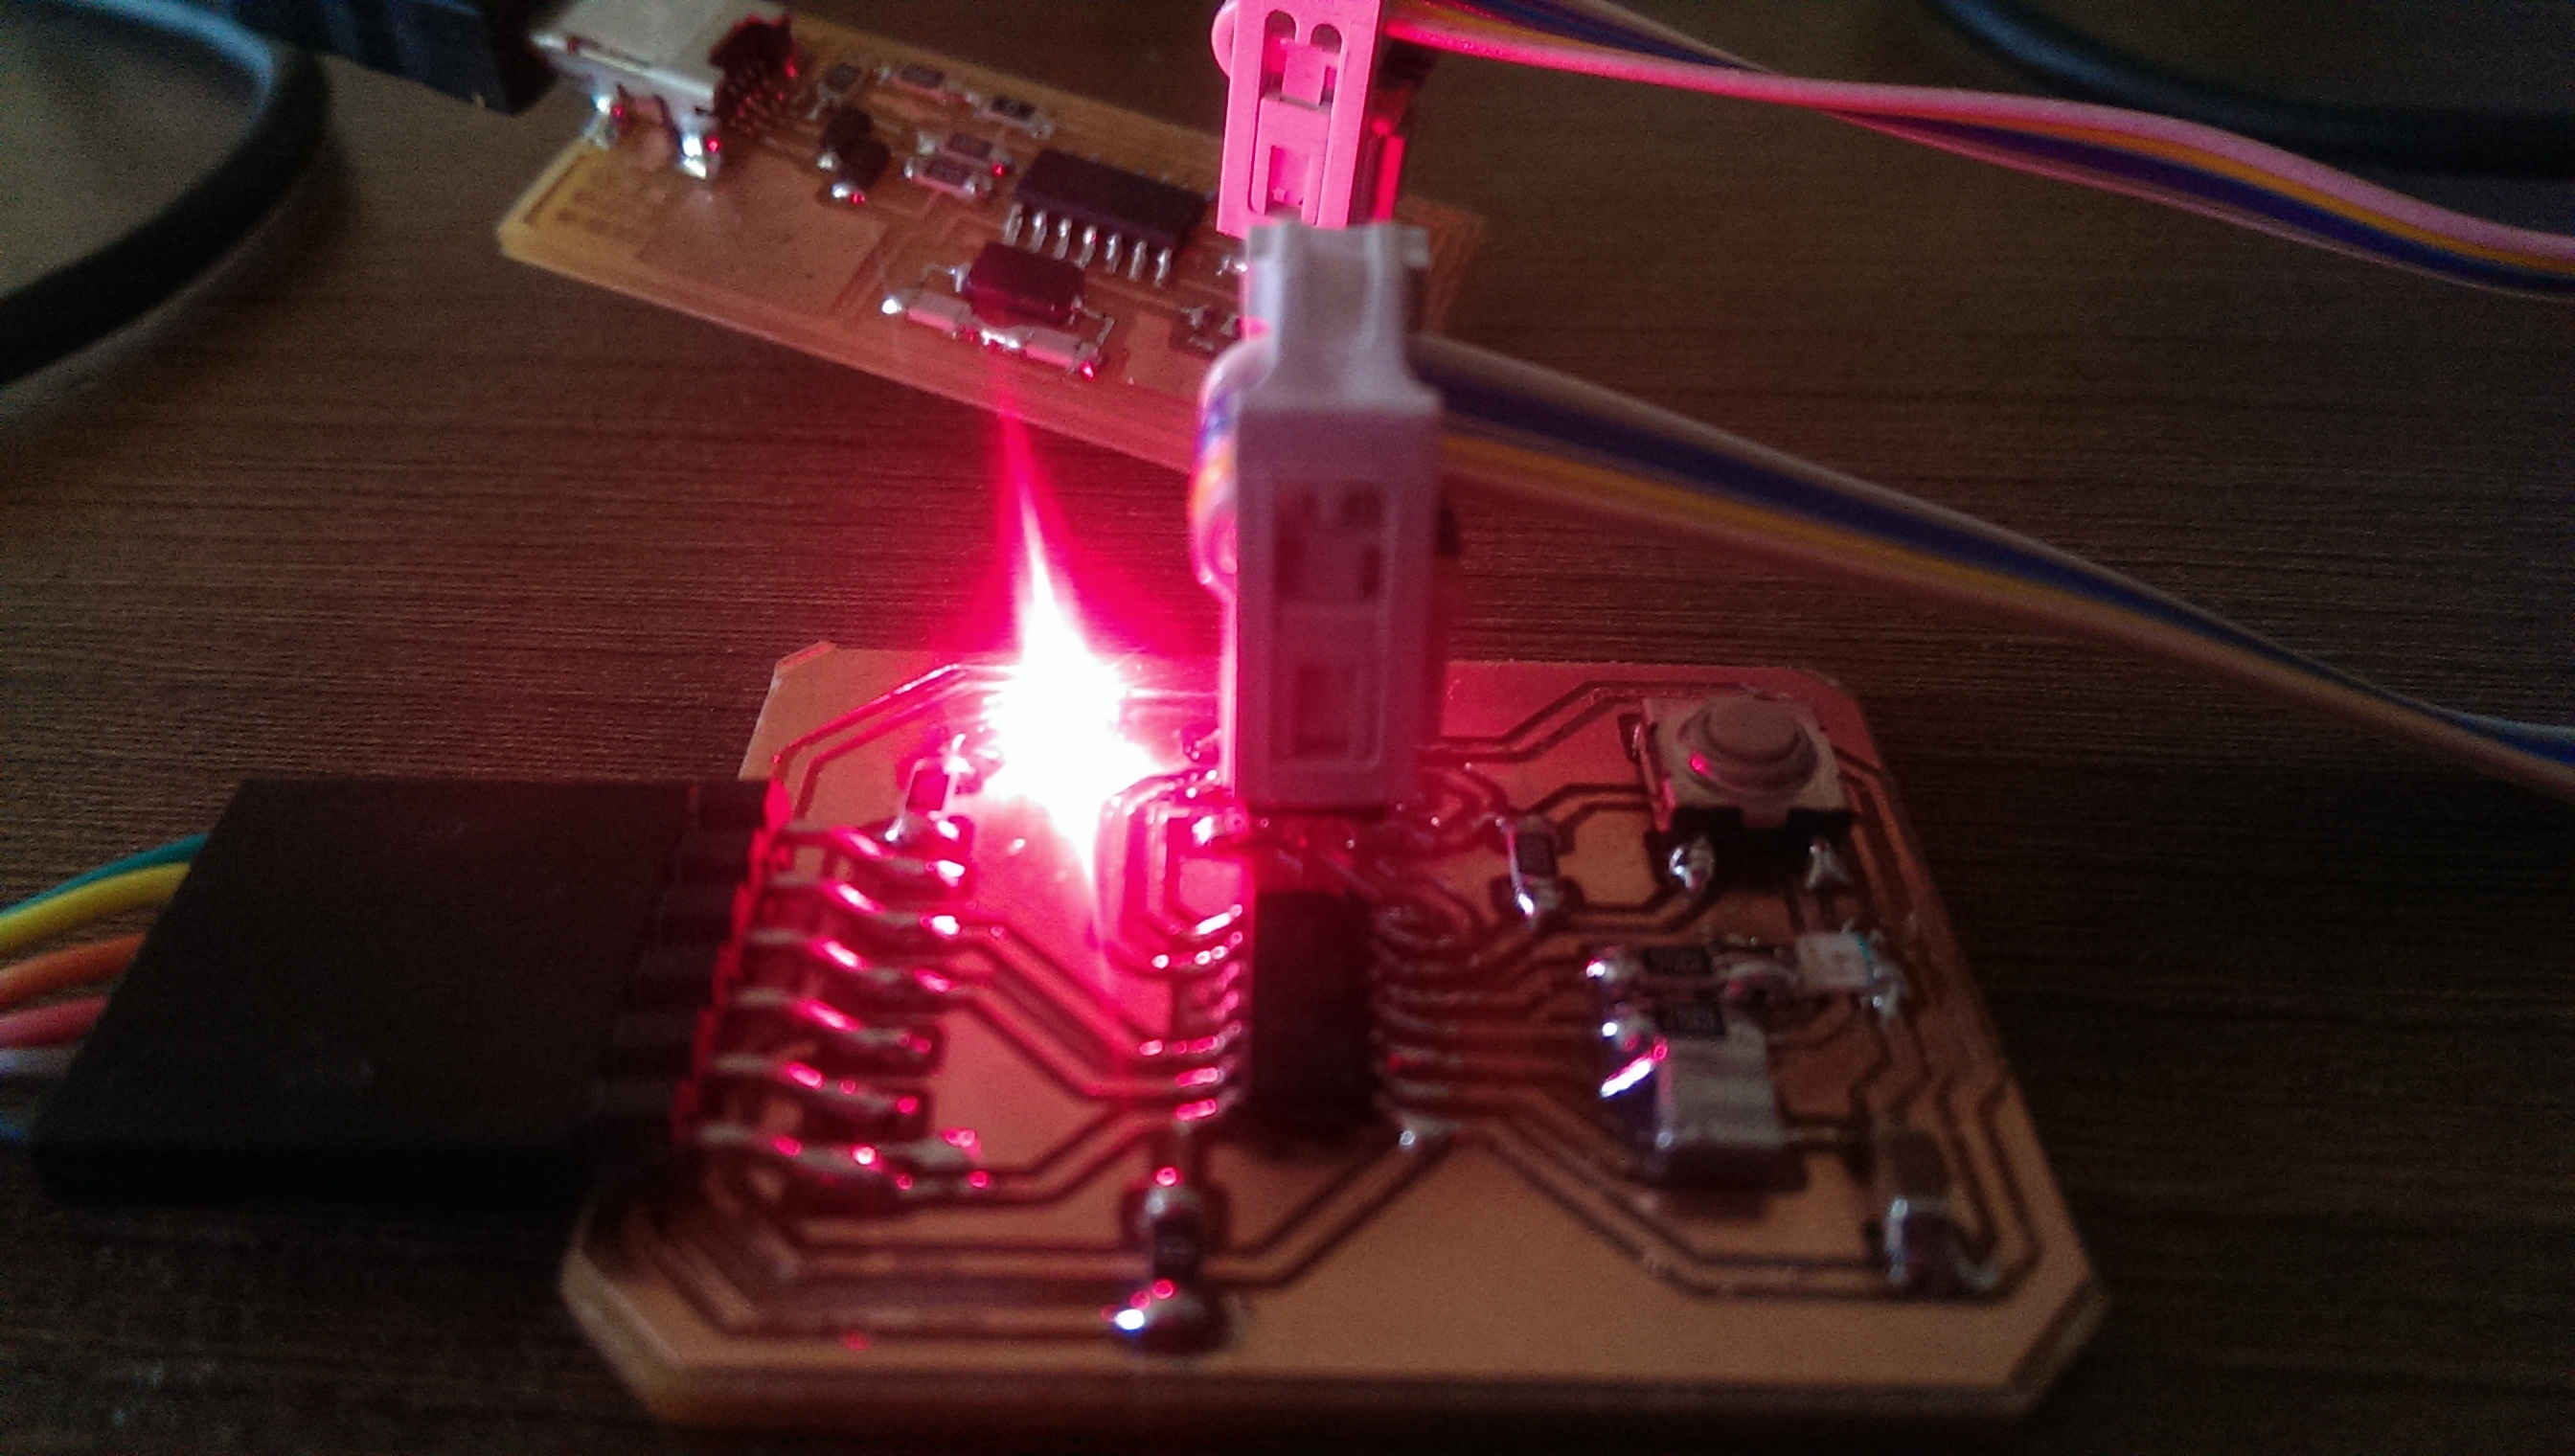
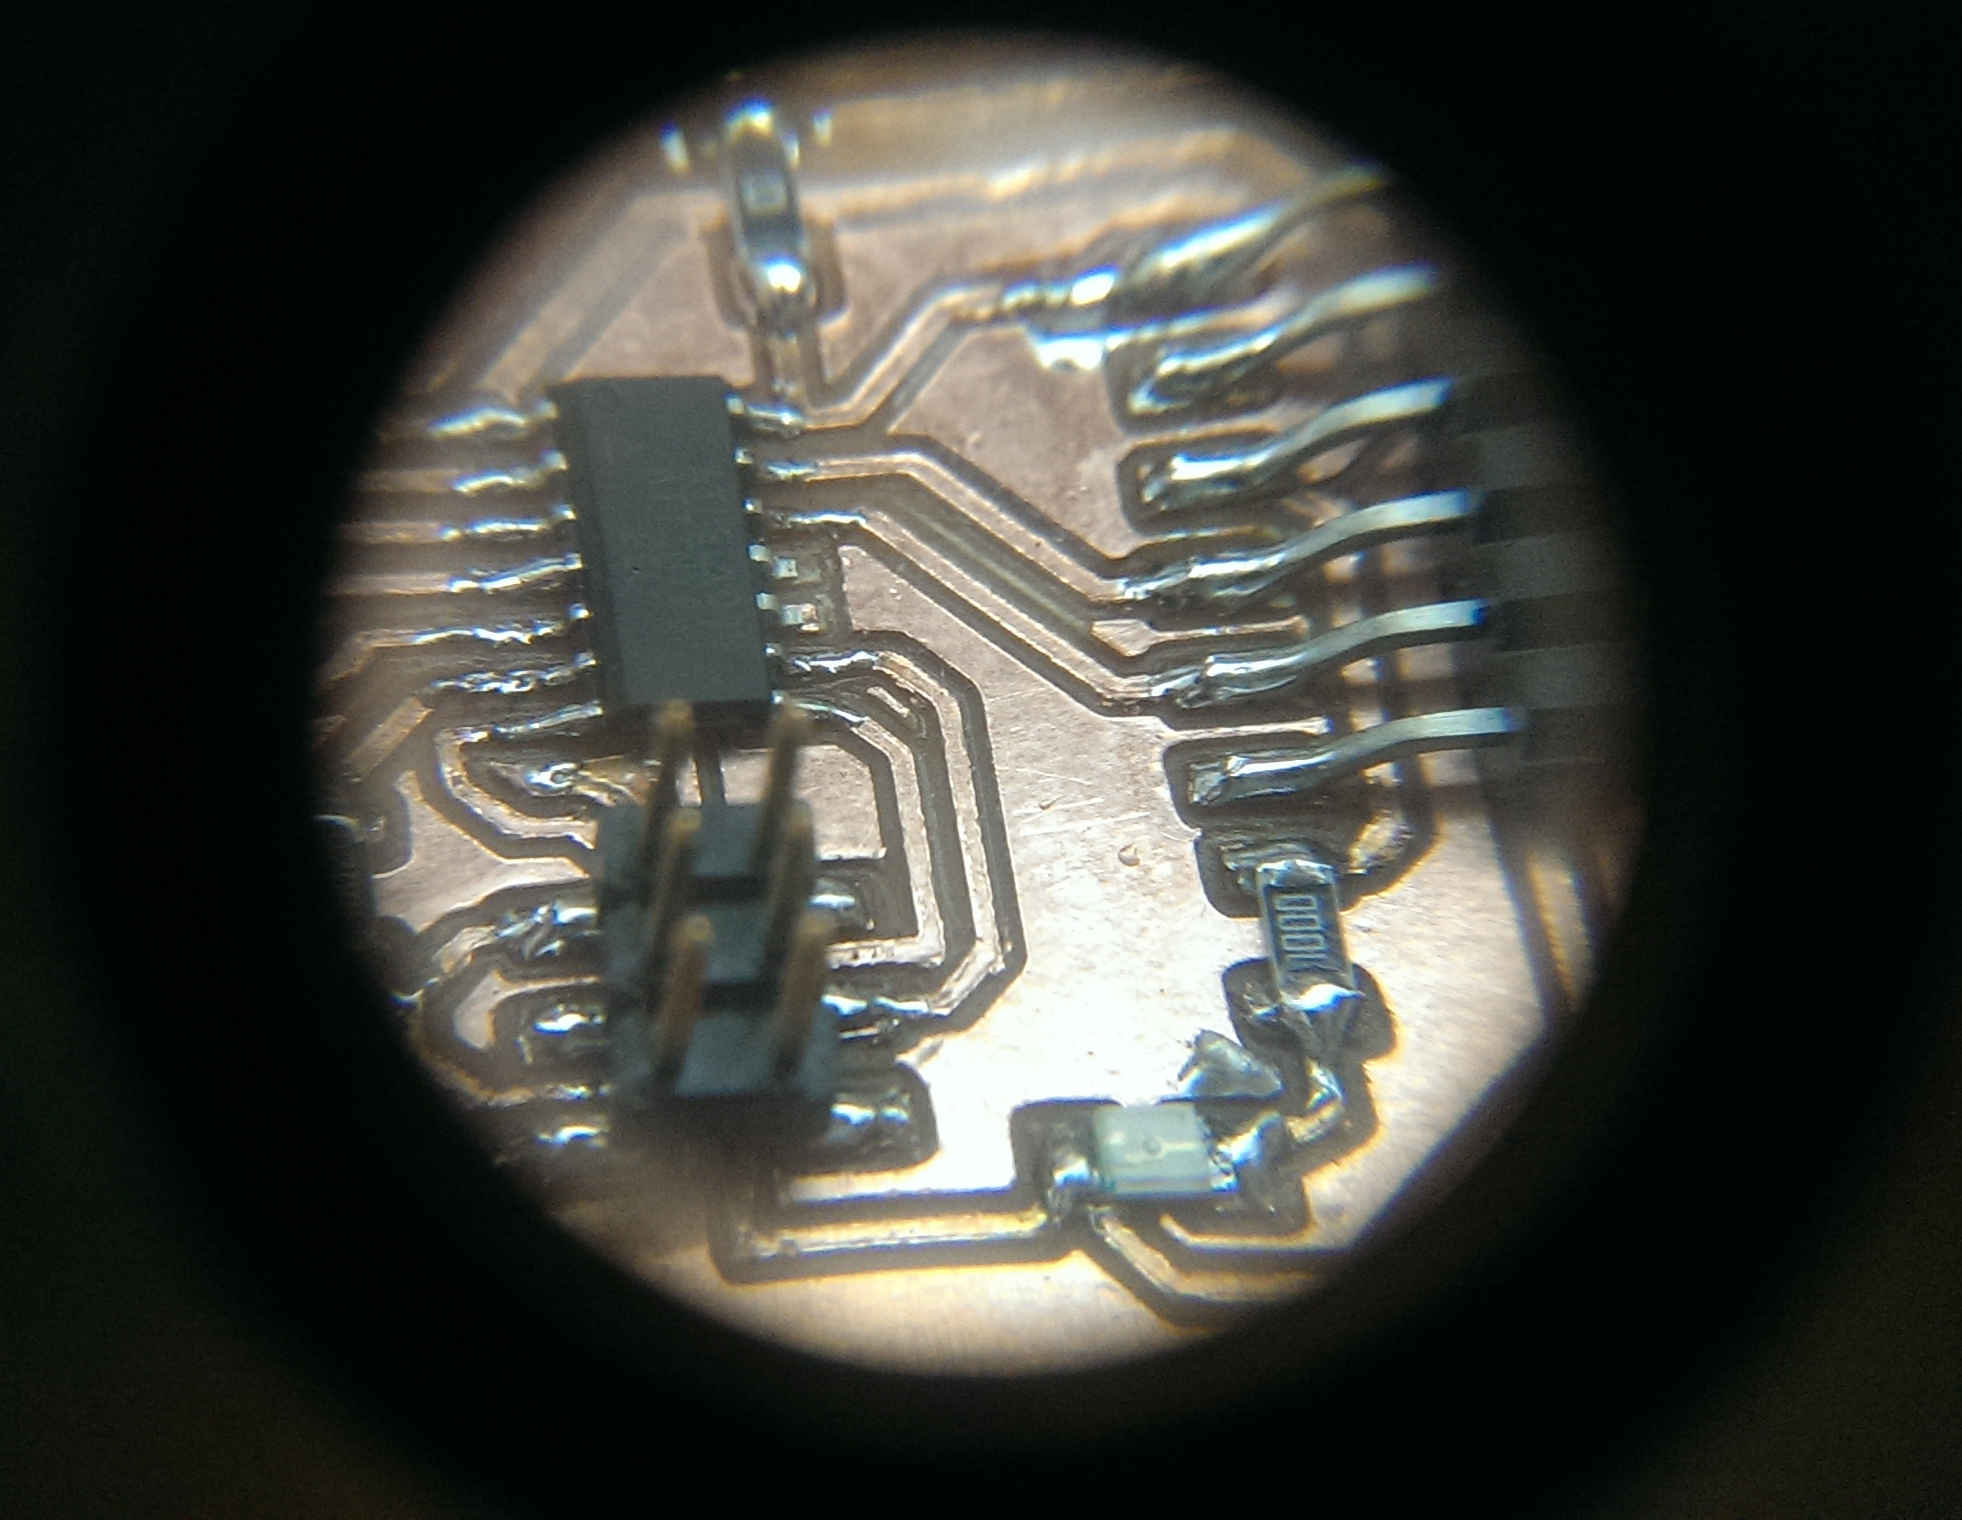
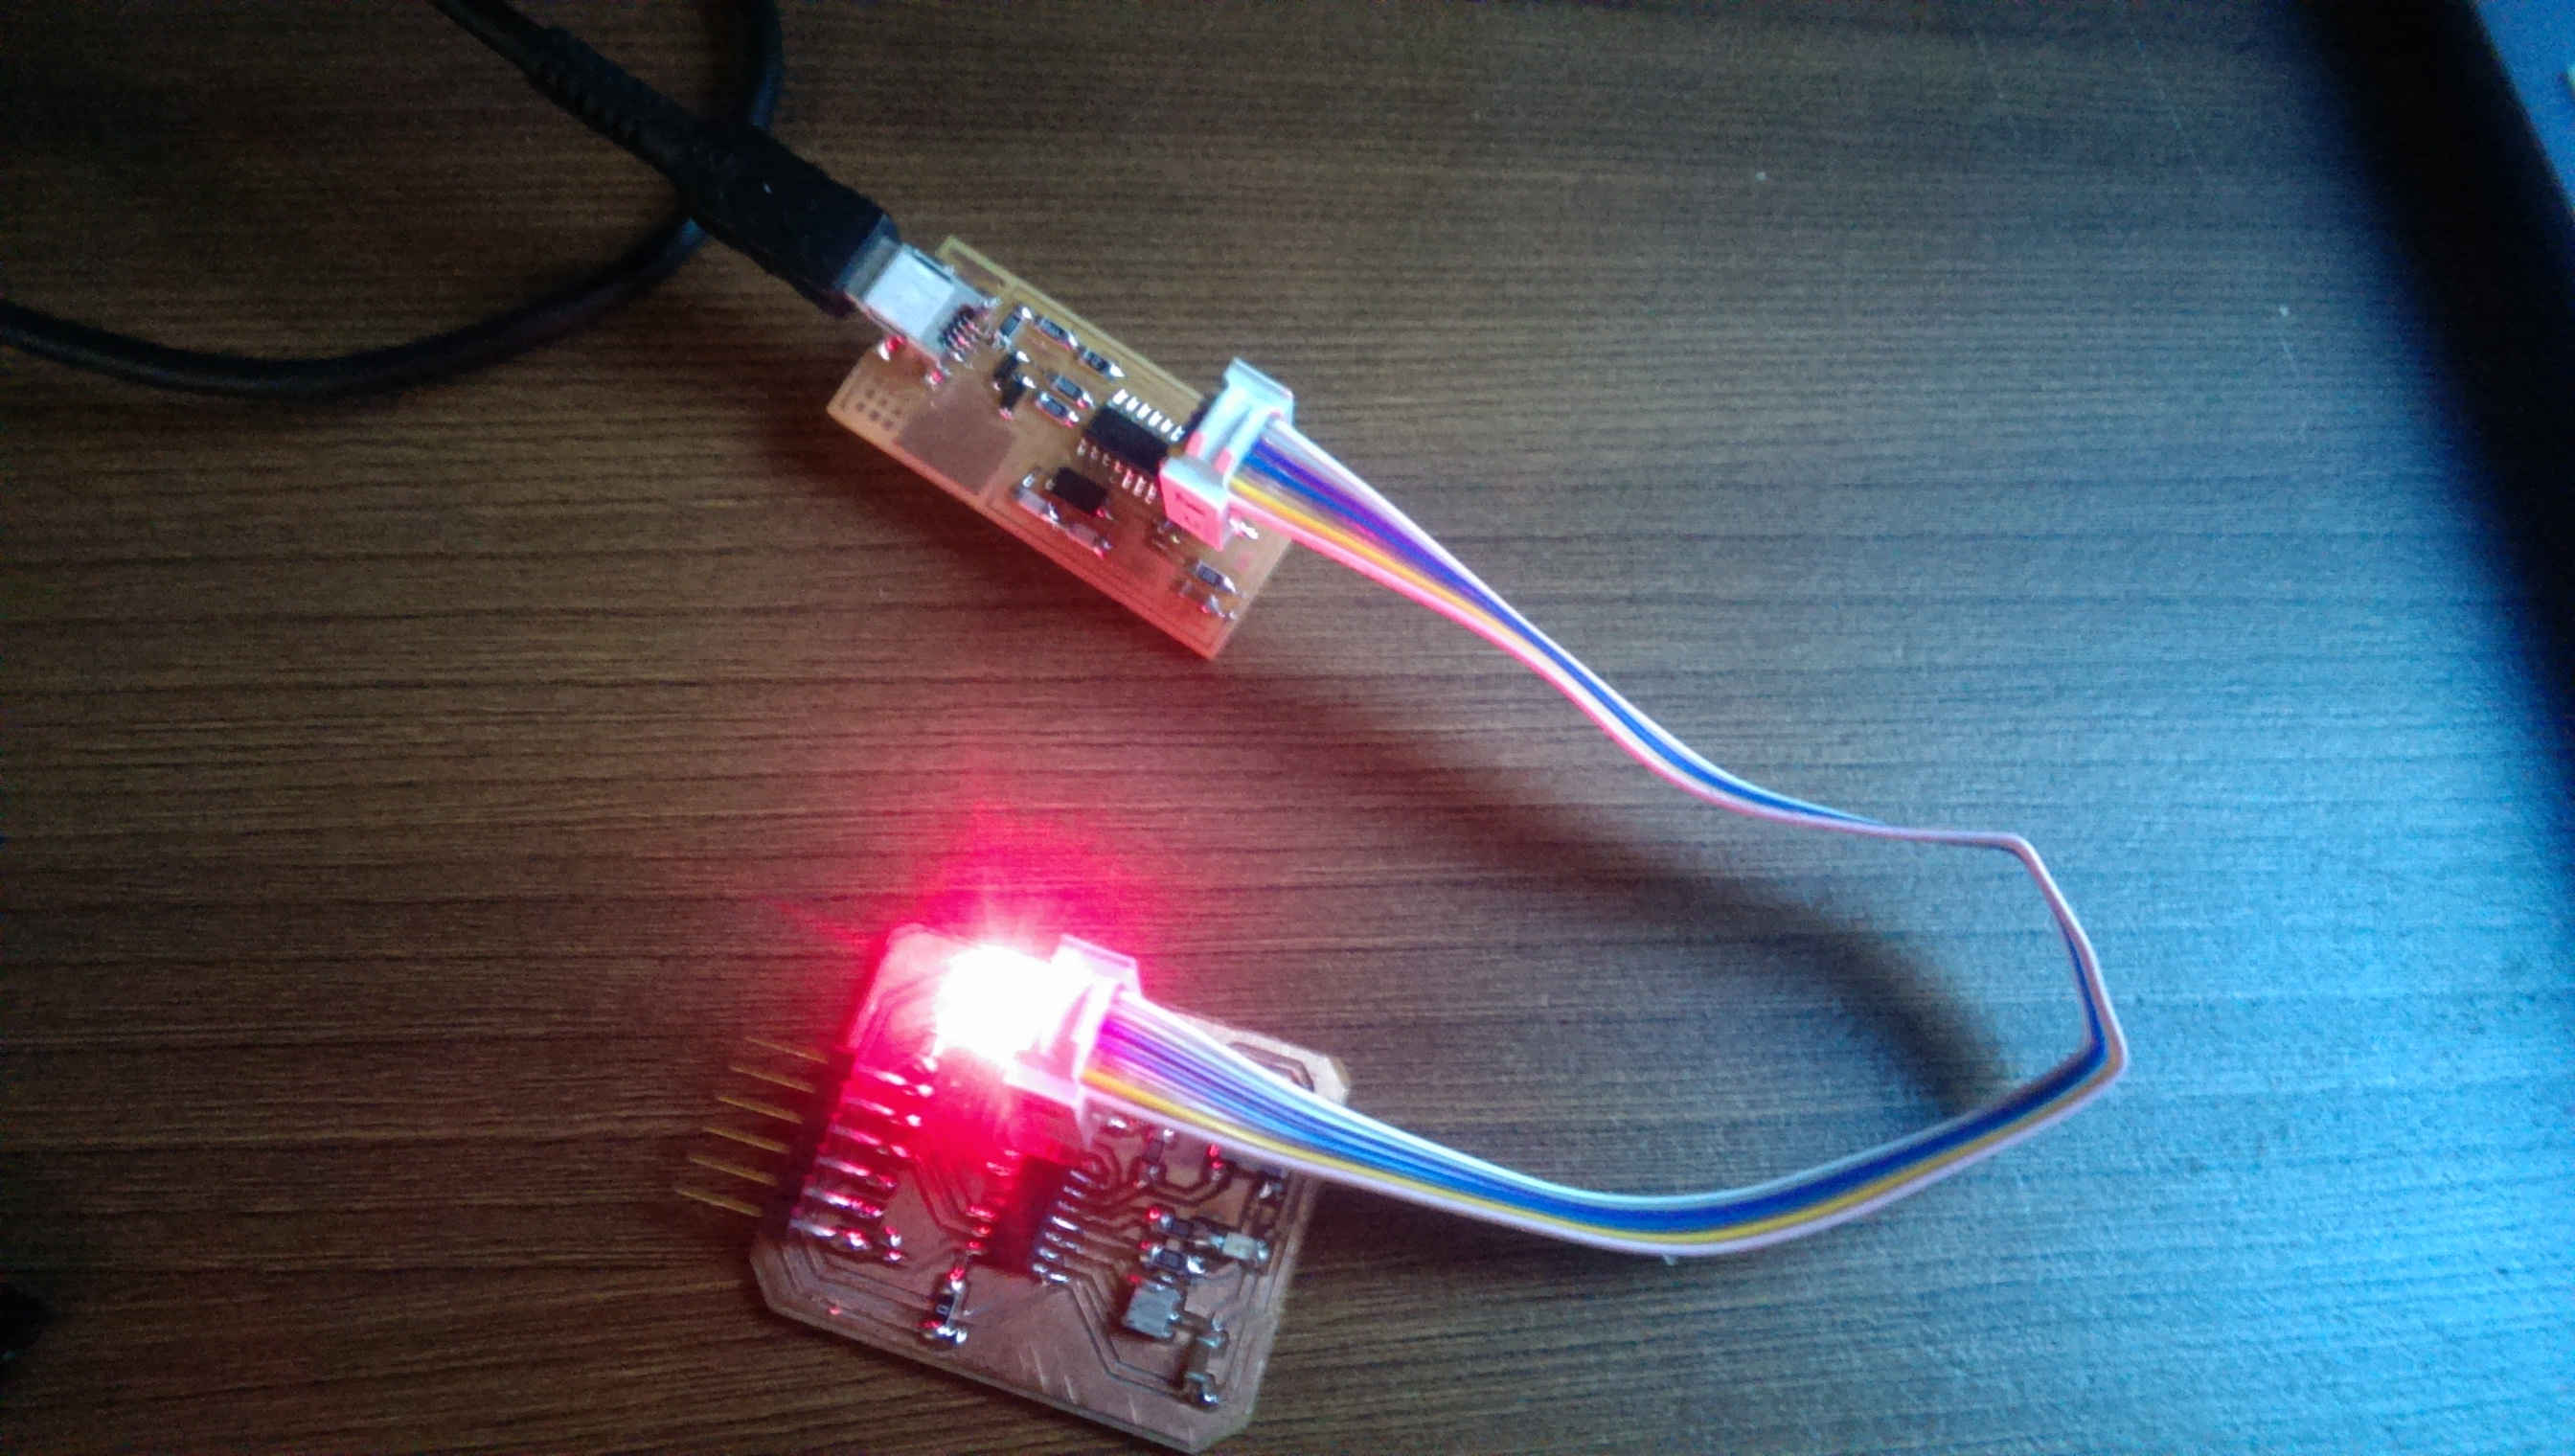
Soldering the components
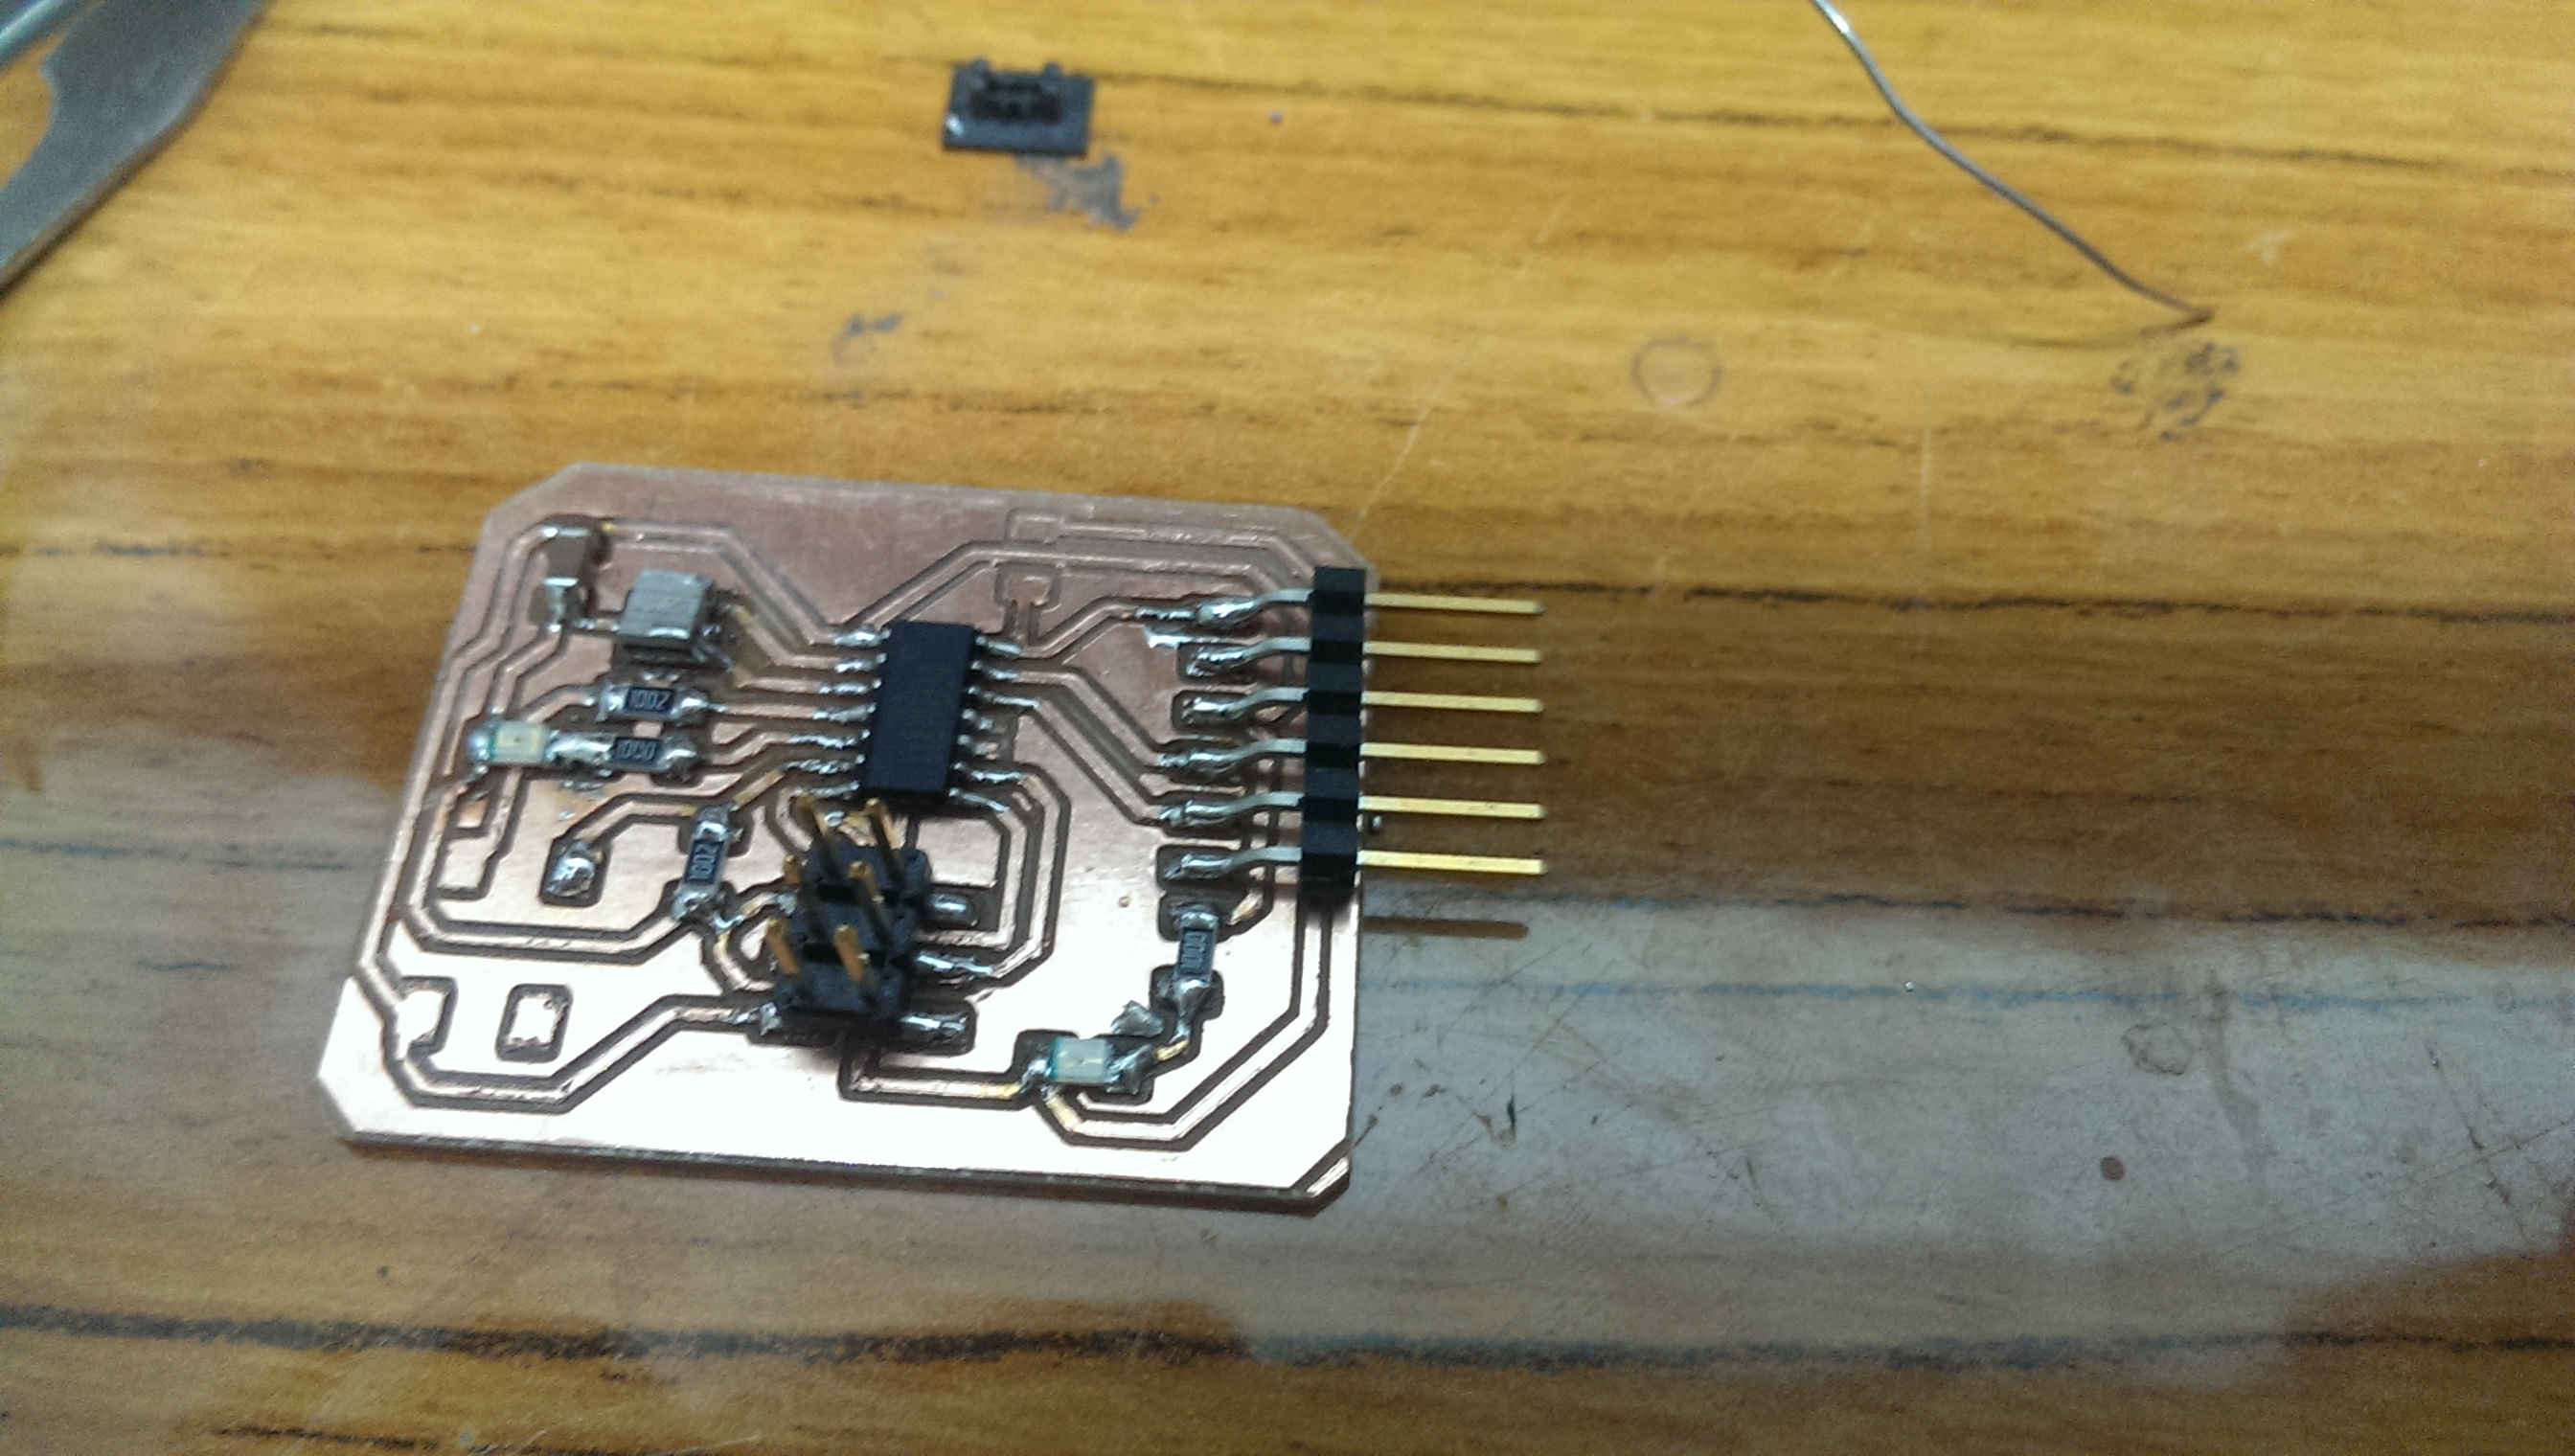
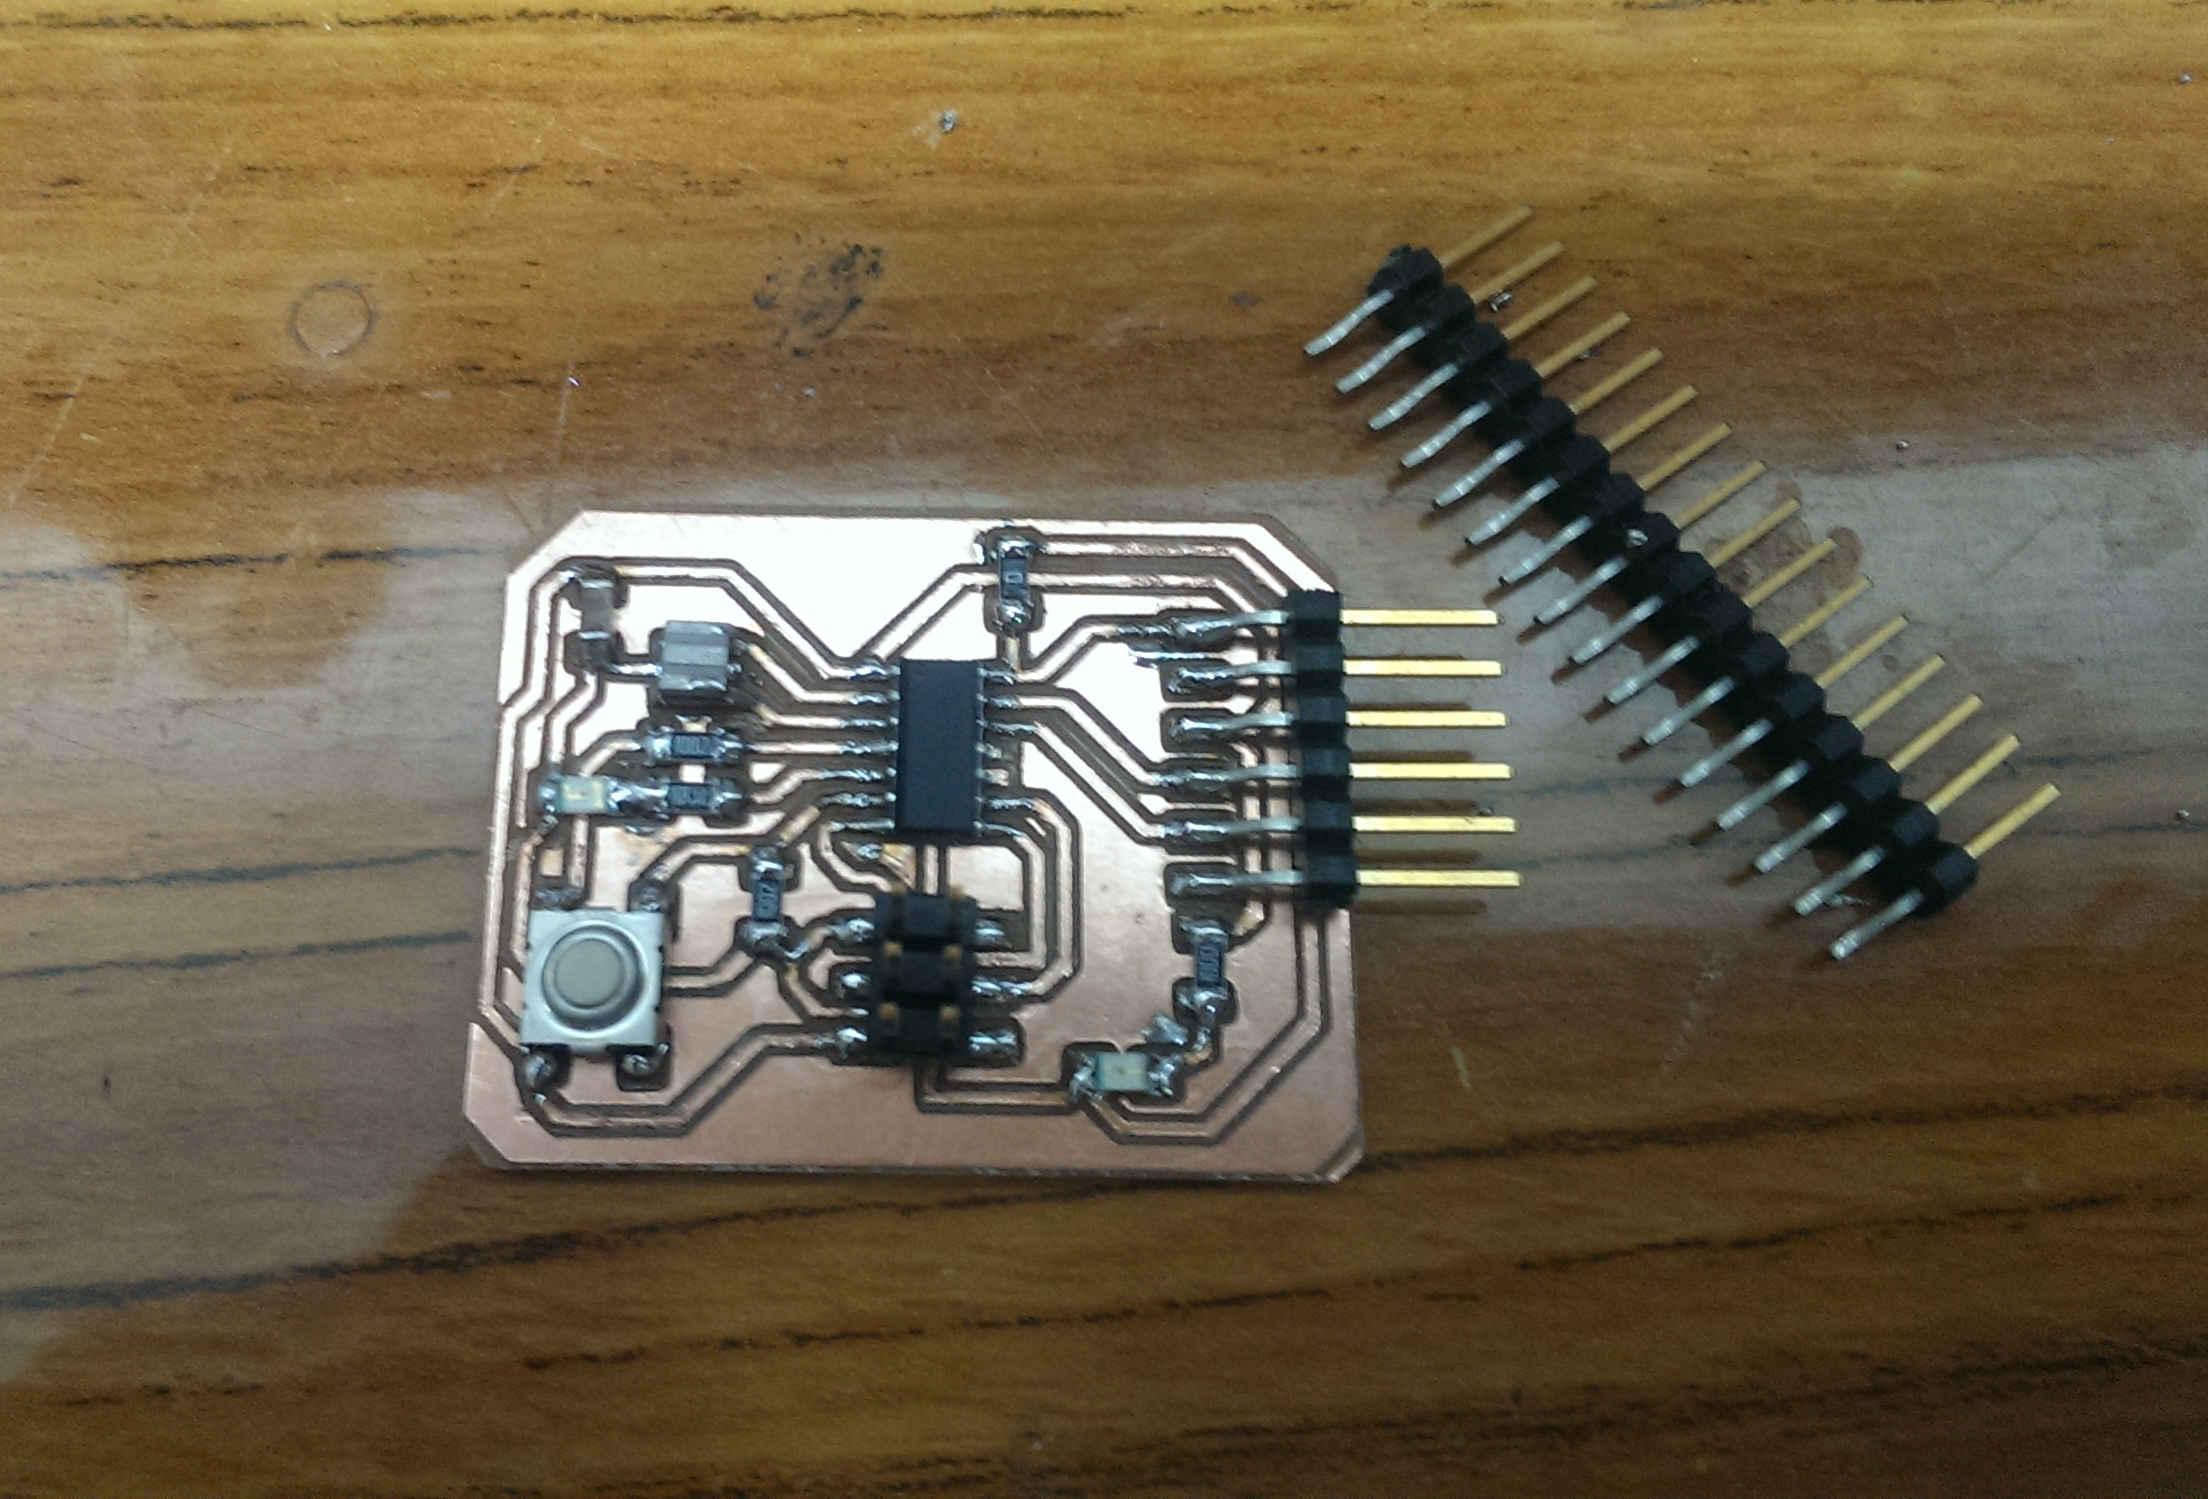
It's looks pretty good.
To program it i downloaded the echo-ftdi code from classes archive and used my FabISP programmer.
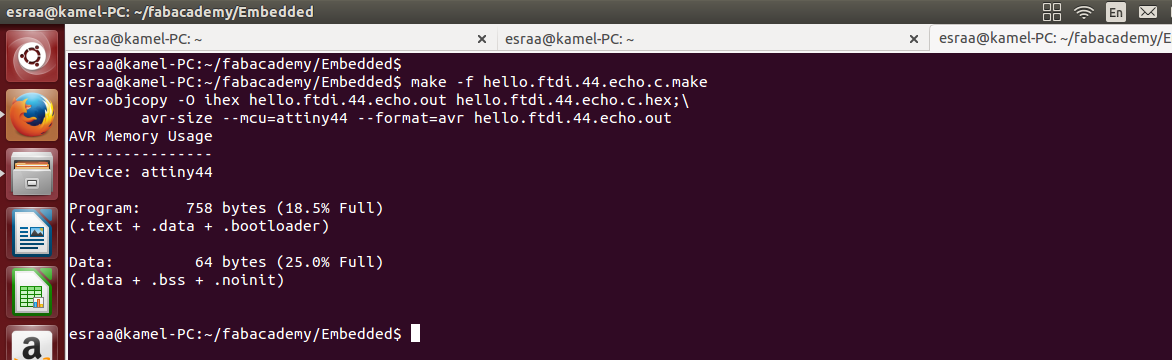
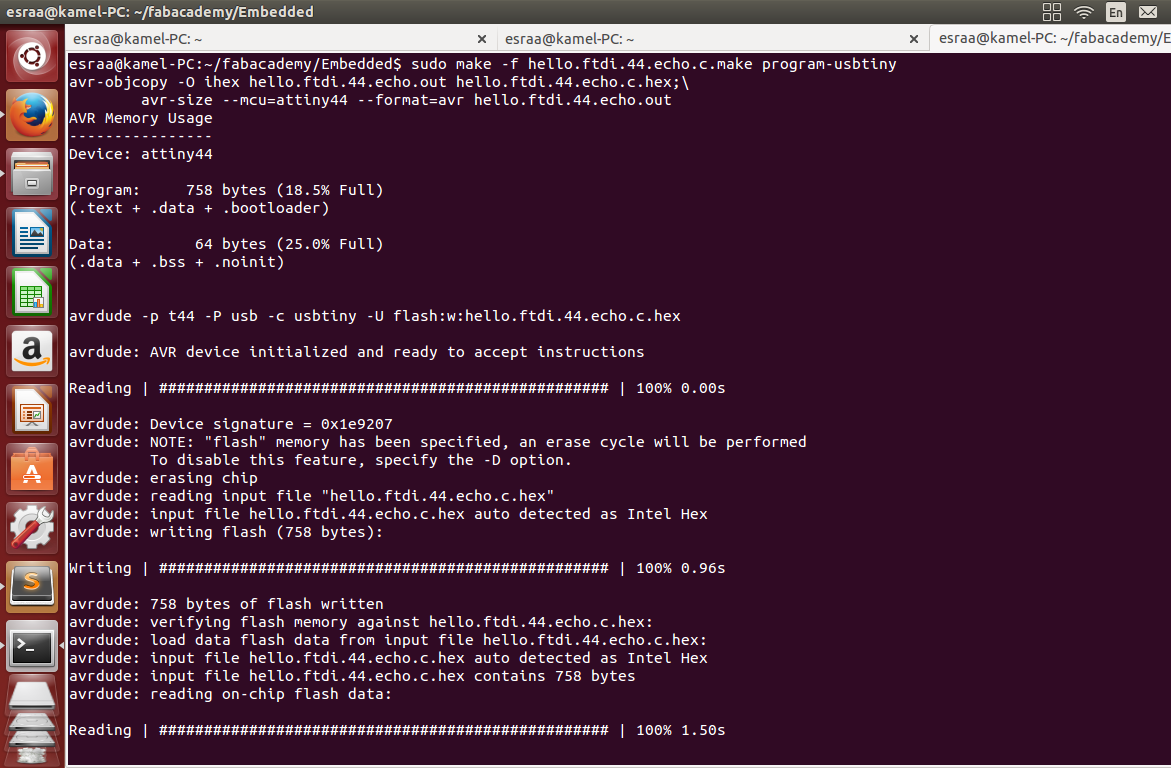
From a terminal compile the source code and uploaded the hex code to the microcontroller.
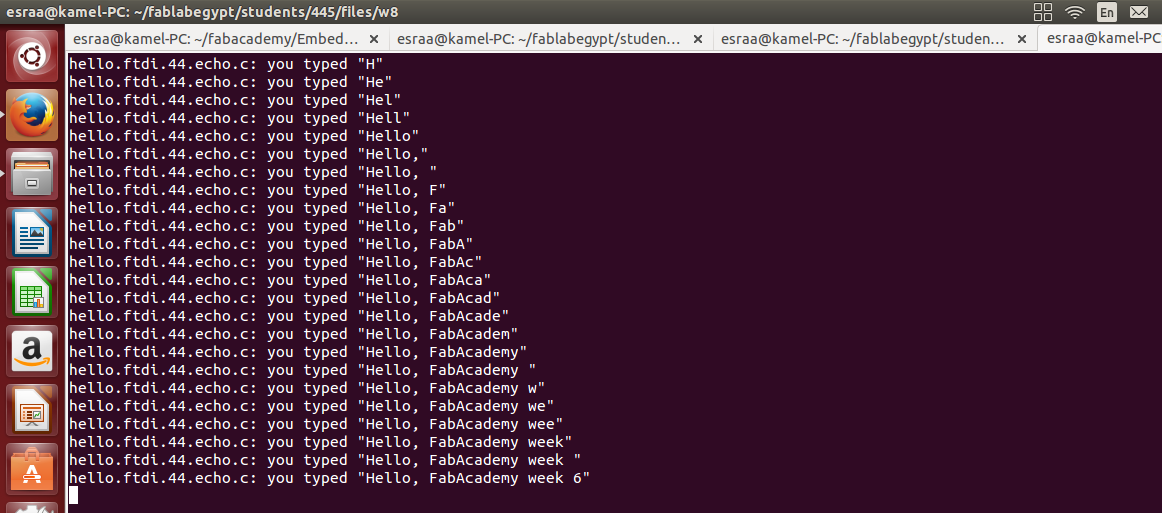
To verify that it is working, connect the FTDI cable and check if the device is present as /dev/ttyUSB

I used screen to connect to the board and send/receive to/from it.

That's it for week 6