Week 1
learn to Make your own Website.
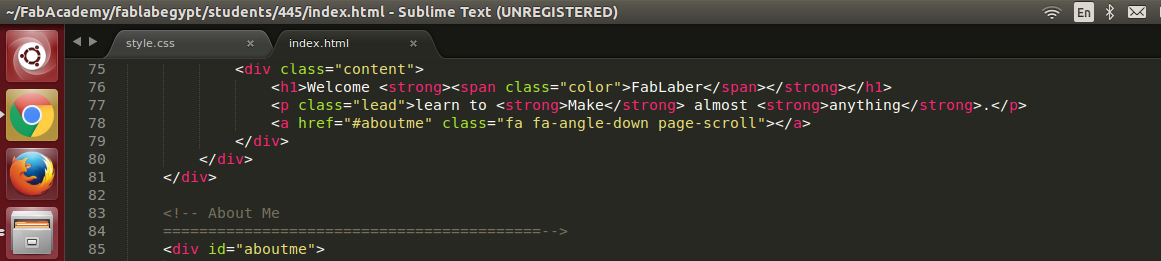
Websites are coded in HTML which is a markup language that is used to descripe webpages. A html document contains a text that will be interpreted by your web browser to display the webpage.
To start building my website i had to take a course in CodeAcademy . It was a pretty good introduction to html & css and from this point i was able to get started and make my own website. I didn't build the template from scratch but, i downloaded it from This WebSite.

The second step is to edite the template to create different html pages. For this i just needed a text editor. And i needed to customize the layout of the objects so i had to learn more about css, this where W3schools come in handy. And finally link the pages together and Ta da, we're ready to publish it.
GIT is version control system for creating repositories and keep tracking of files and store activity. I was familiar with git but if you are not, you may want to visit this course CodeAcademy. I'm running linux and git is already installed but you can easily install it by writing this command in your terminal "sudo apt-get install git".
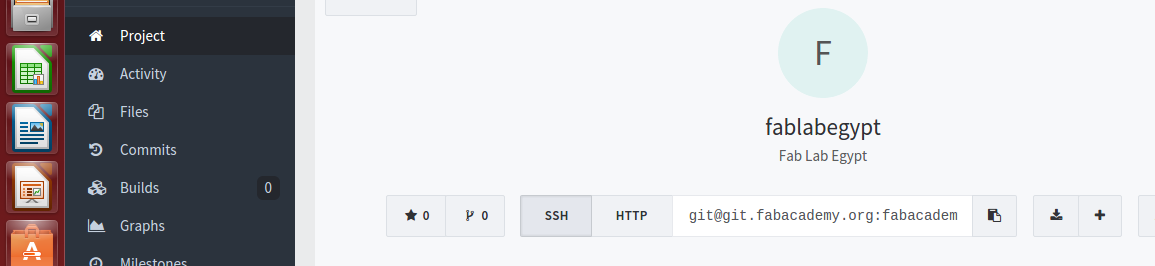
Fab Academy has a repo for each fablab, we have to clone the repo and add our web site files. Command "git clone [link to your fablab repo]".

Now we should go to the repo directory and add the files. After modifying the original repo we should stage the changed files which means to be added to be commited. Command "git add [filename]" or "git add ." to add all the files at once.
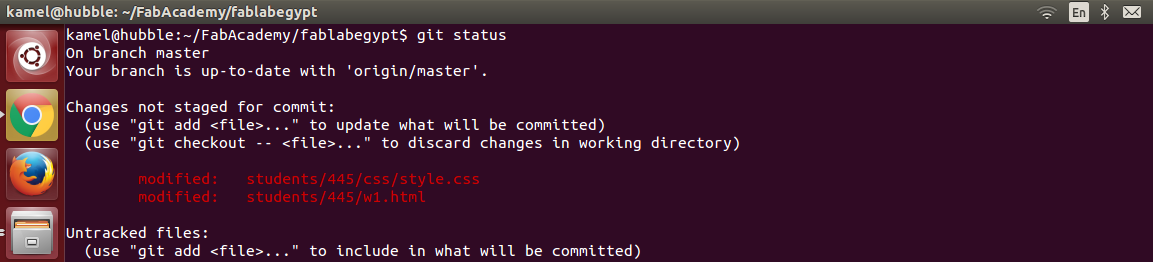

After staging the files we have to commit these changes to modifiy the local repo in order to be able to push the changes back to the remote repo of your fablab. Command "git commit -m "[message]", you should write a short message about the changes you made, etc.
The final step is to update the remote repo, we can simply do that by pushing the changes. Command "git push -u origin master" will do all the work. origin is the remote repo link and master is the branch to be pushed.

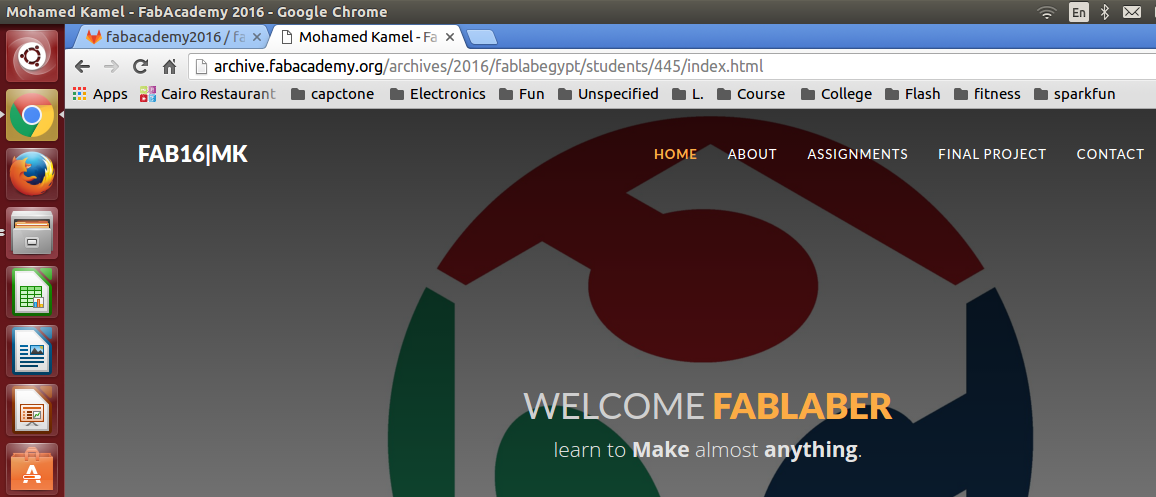
Enjoy your website, see you.