Smart cat feeder
Eady food access for Cats.
An open source cat feeding device that provide easy food access for your pets when you are far away from home.
The design phase consists of three parts:
Despensing mechansim design
Electronics design
Embedded programming
User interface
I liked the idea of the water wheel so i'm going to design a similiar mechasim for despensing the food from the container into the bowl.

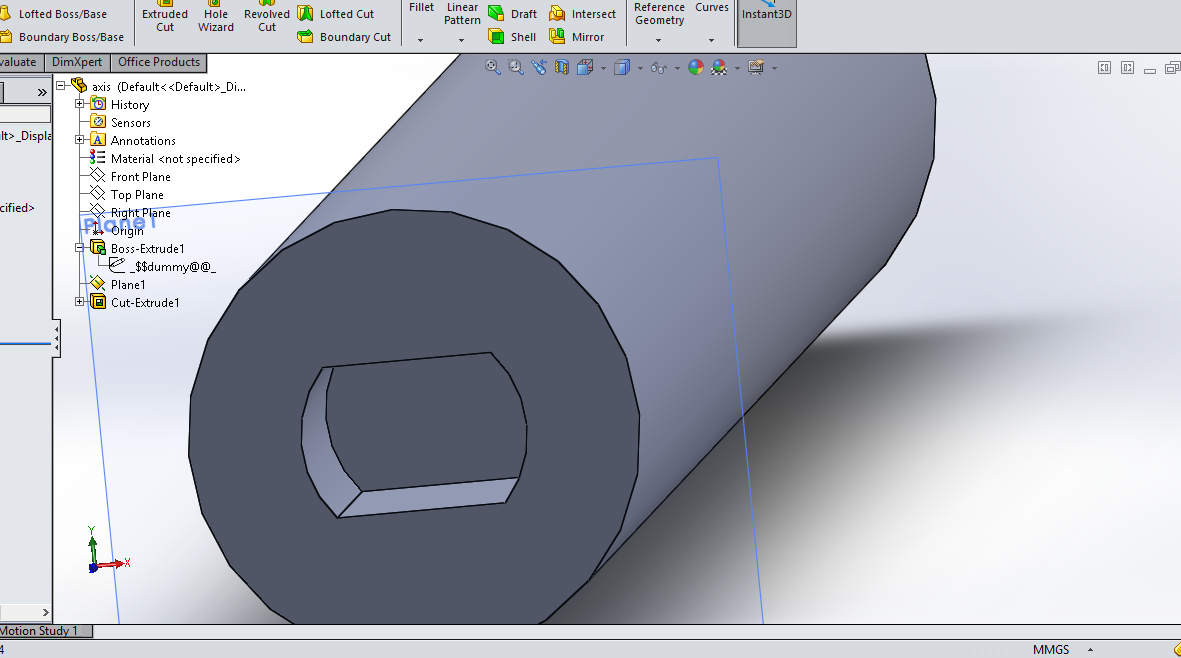
First i designed the wheel on solidworks. I made a hole through the centre for the coupling axe of the motor and the wheel.
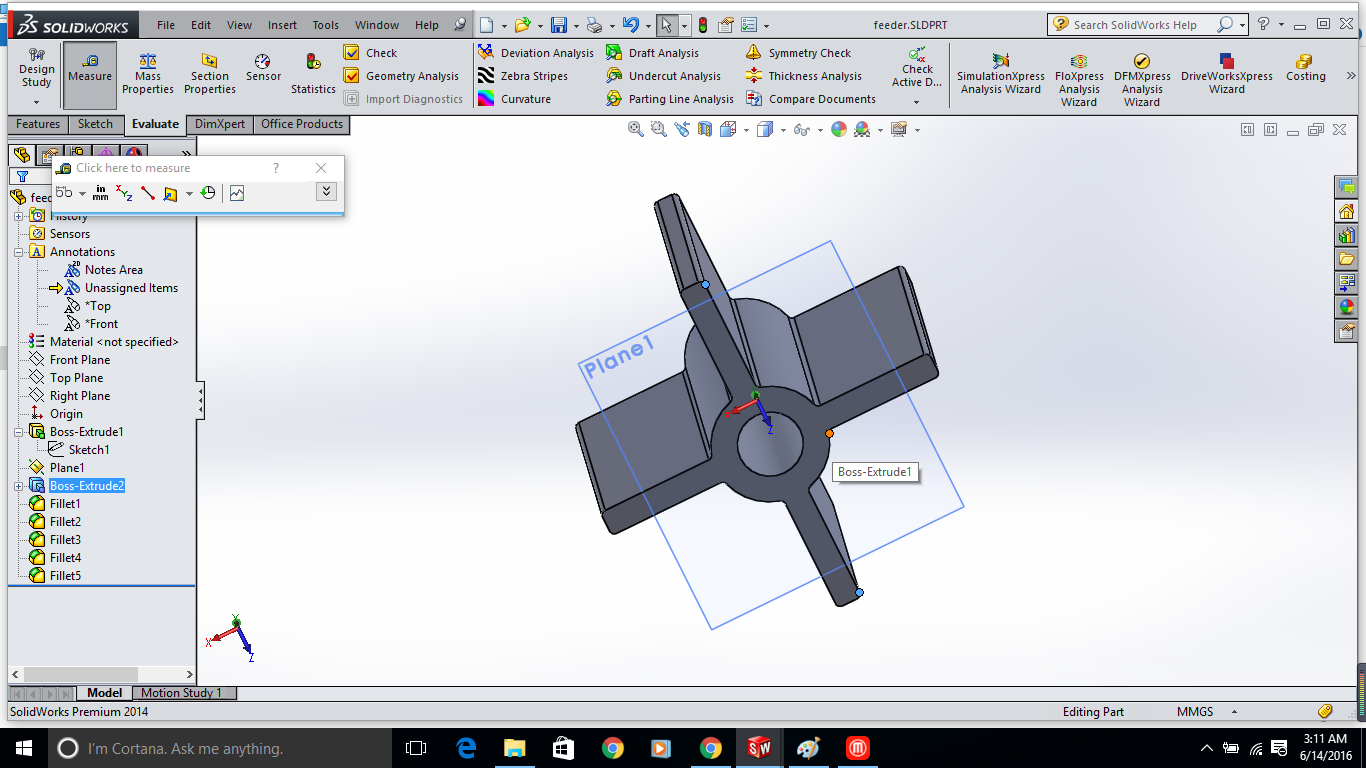
The motor coupling with the wheel is simple axe with shaft mount
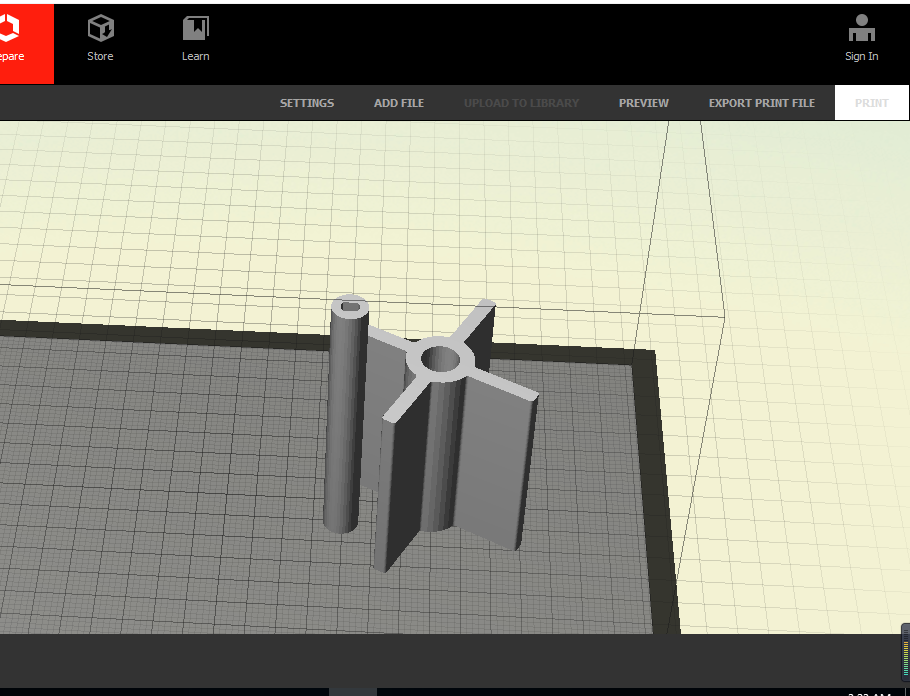
I 3D printed the parts to see if the parts will fit in the wheel and the motor shaft will fit in the mount.
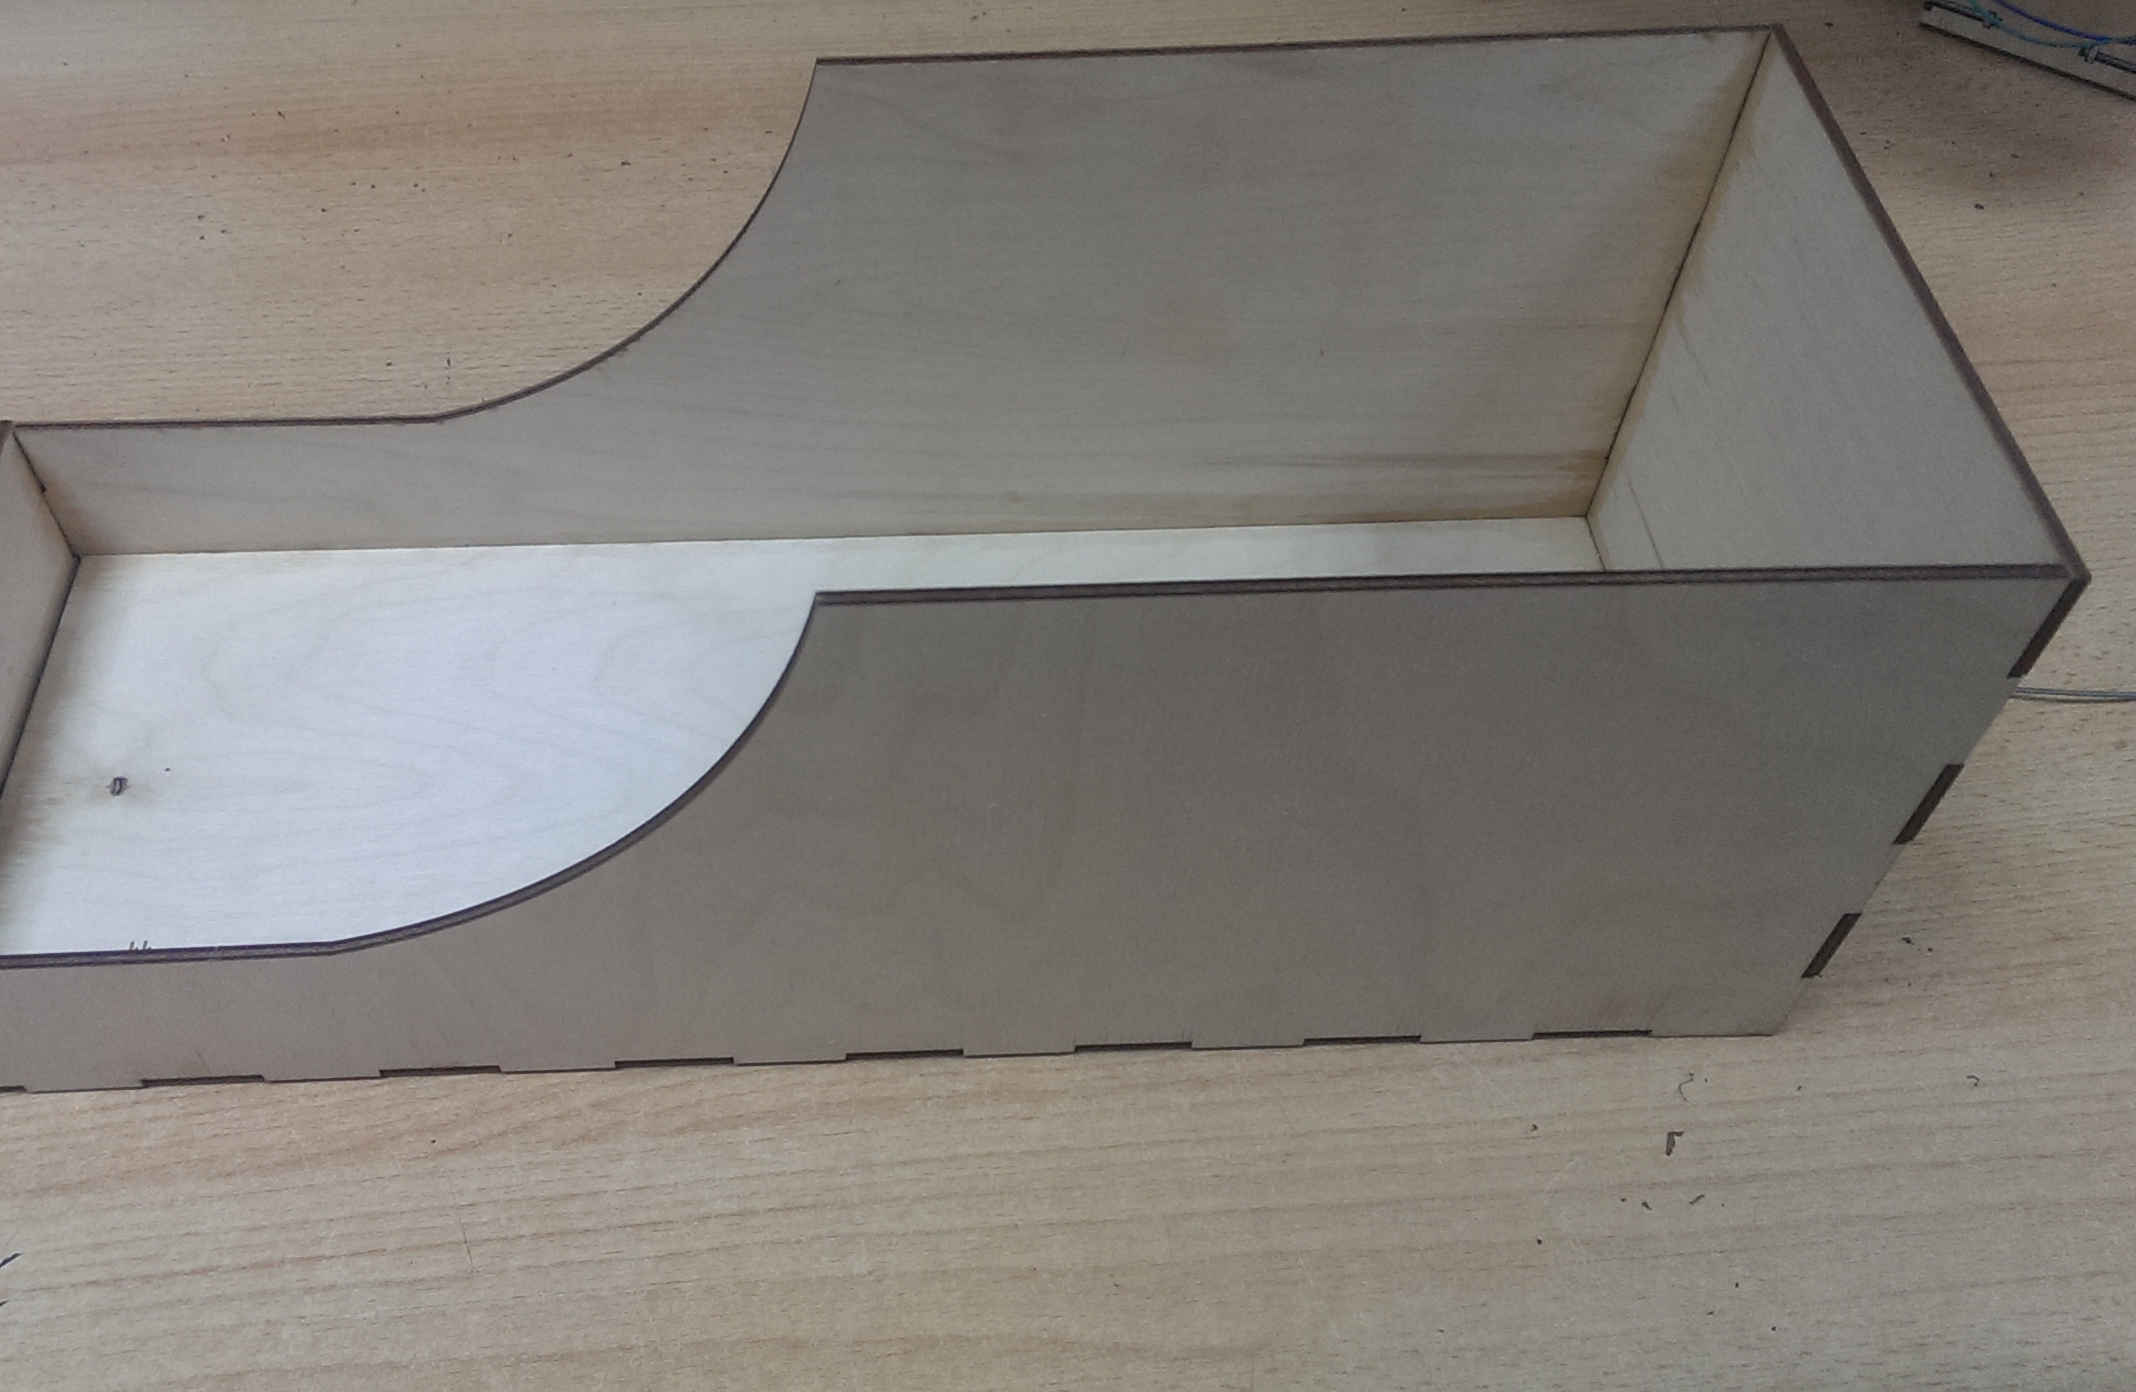
So now the despesing mechanism is ready, The next part is to design the food containter and the mechanism mount into the container. The mechanism mount will be a rectanglar tunnel where the mechanism will fit in with a mount for the motor.
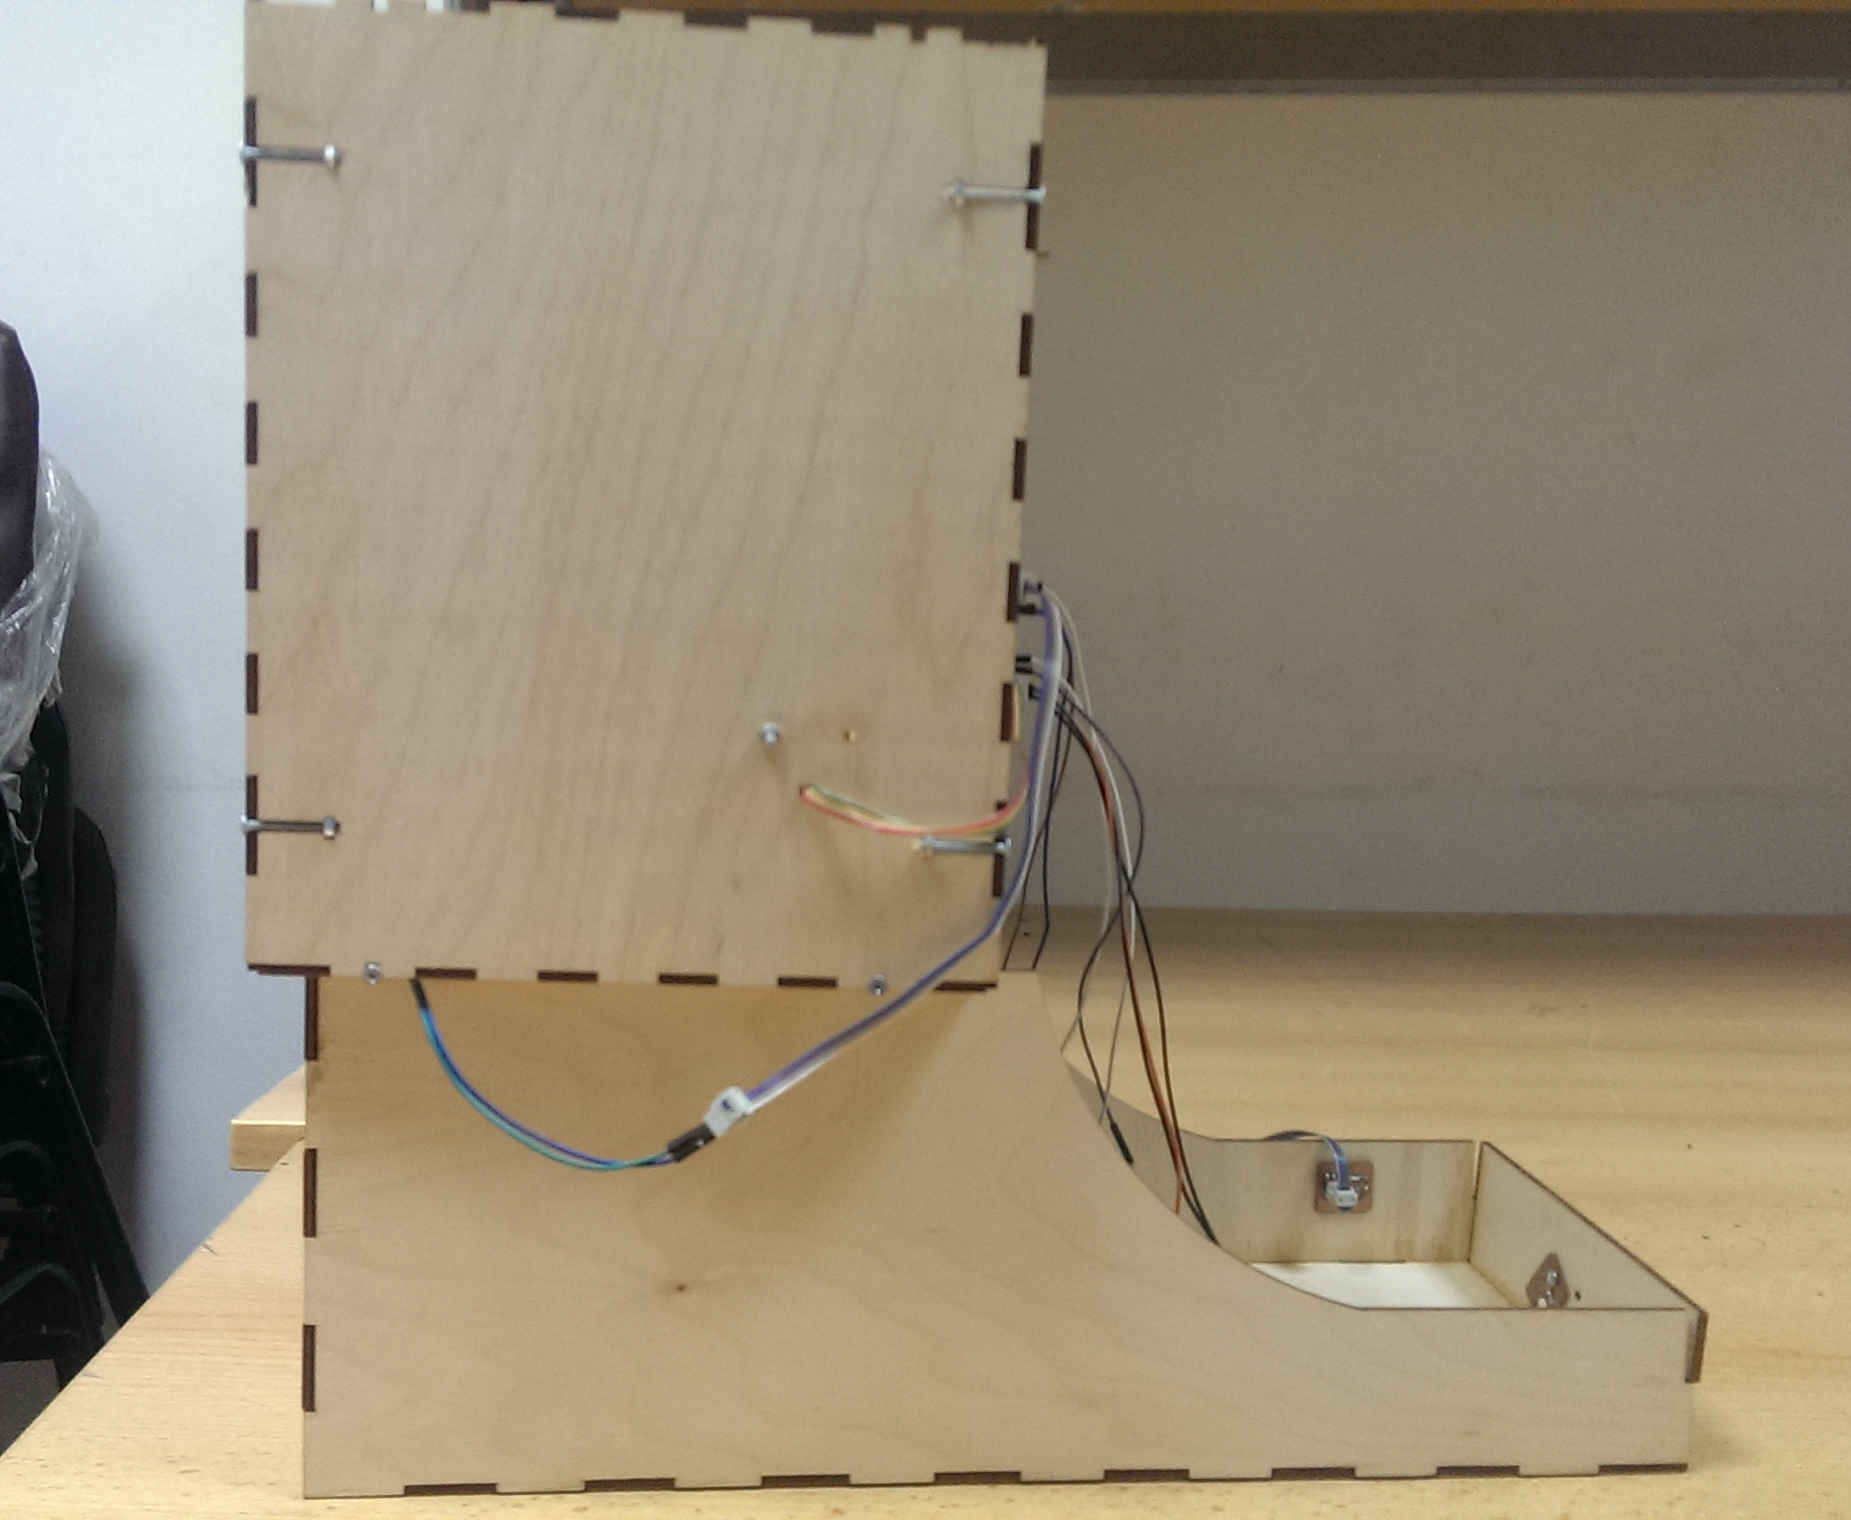
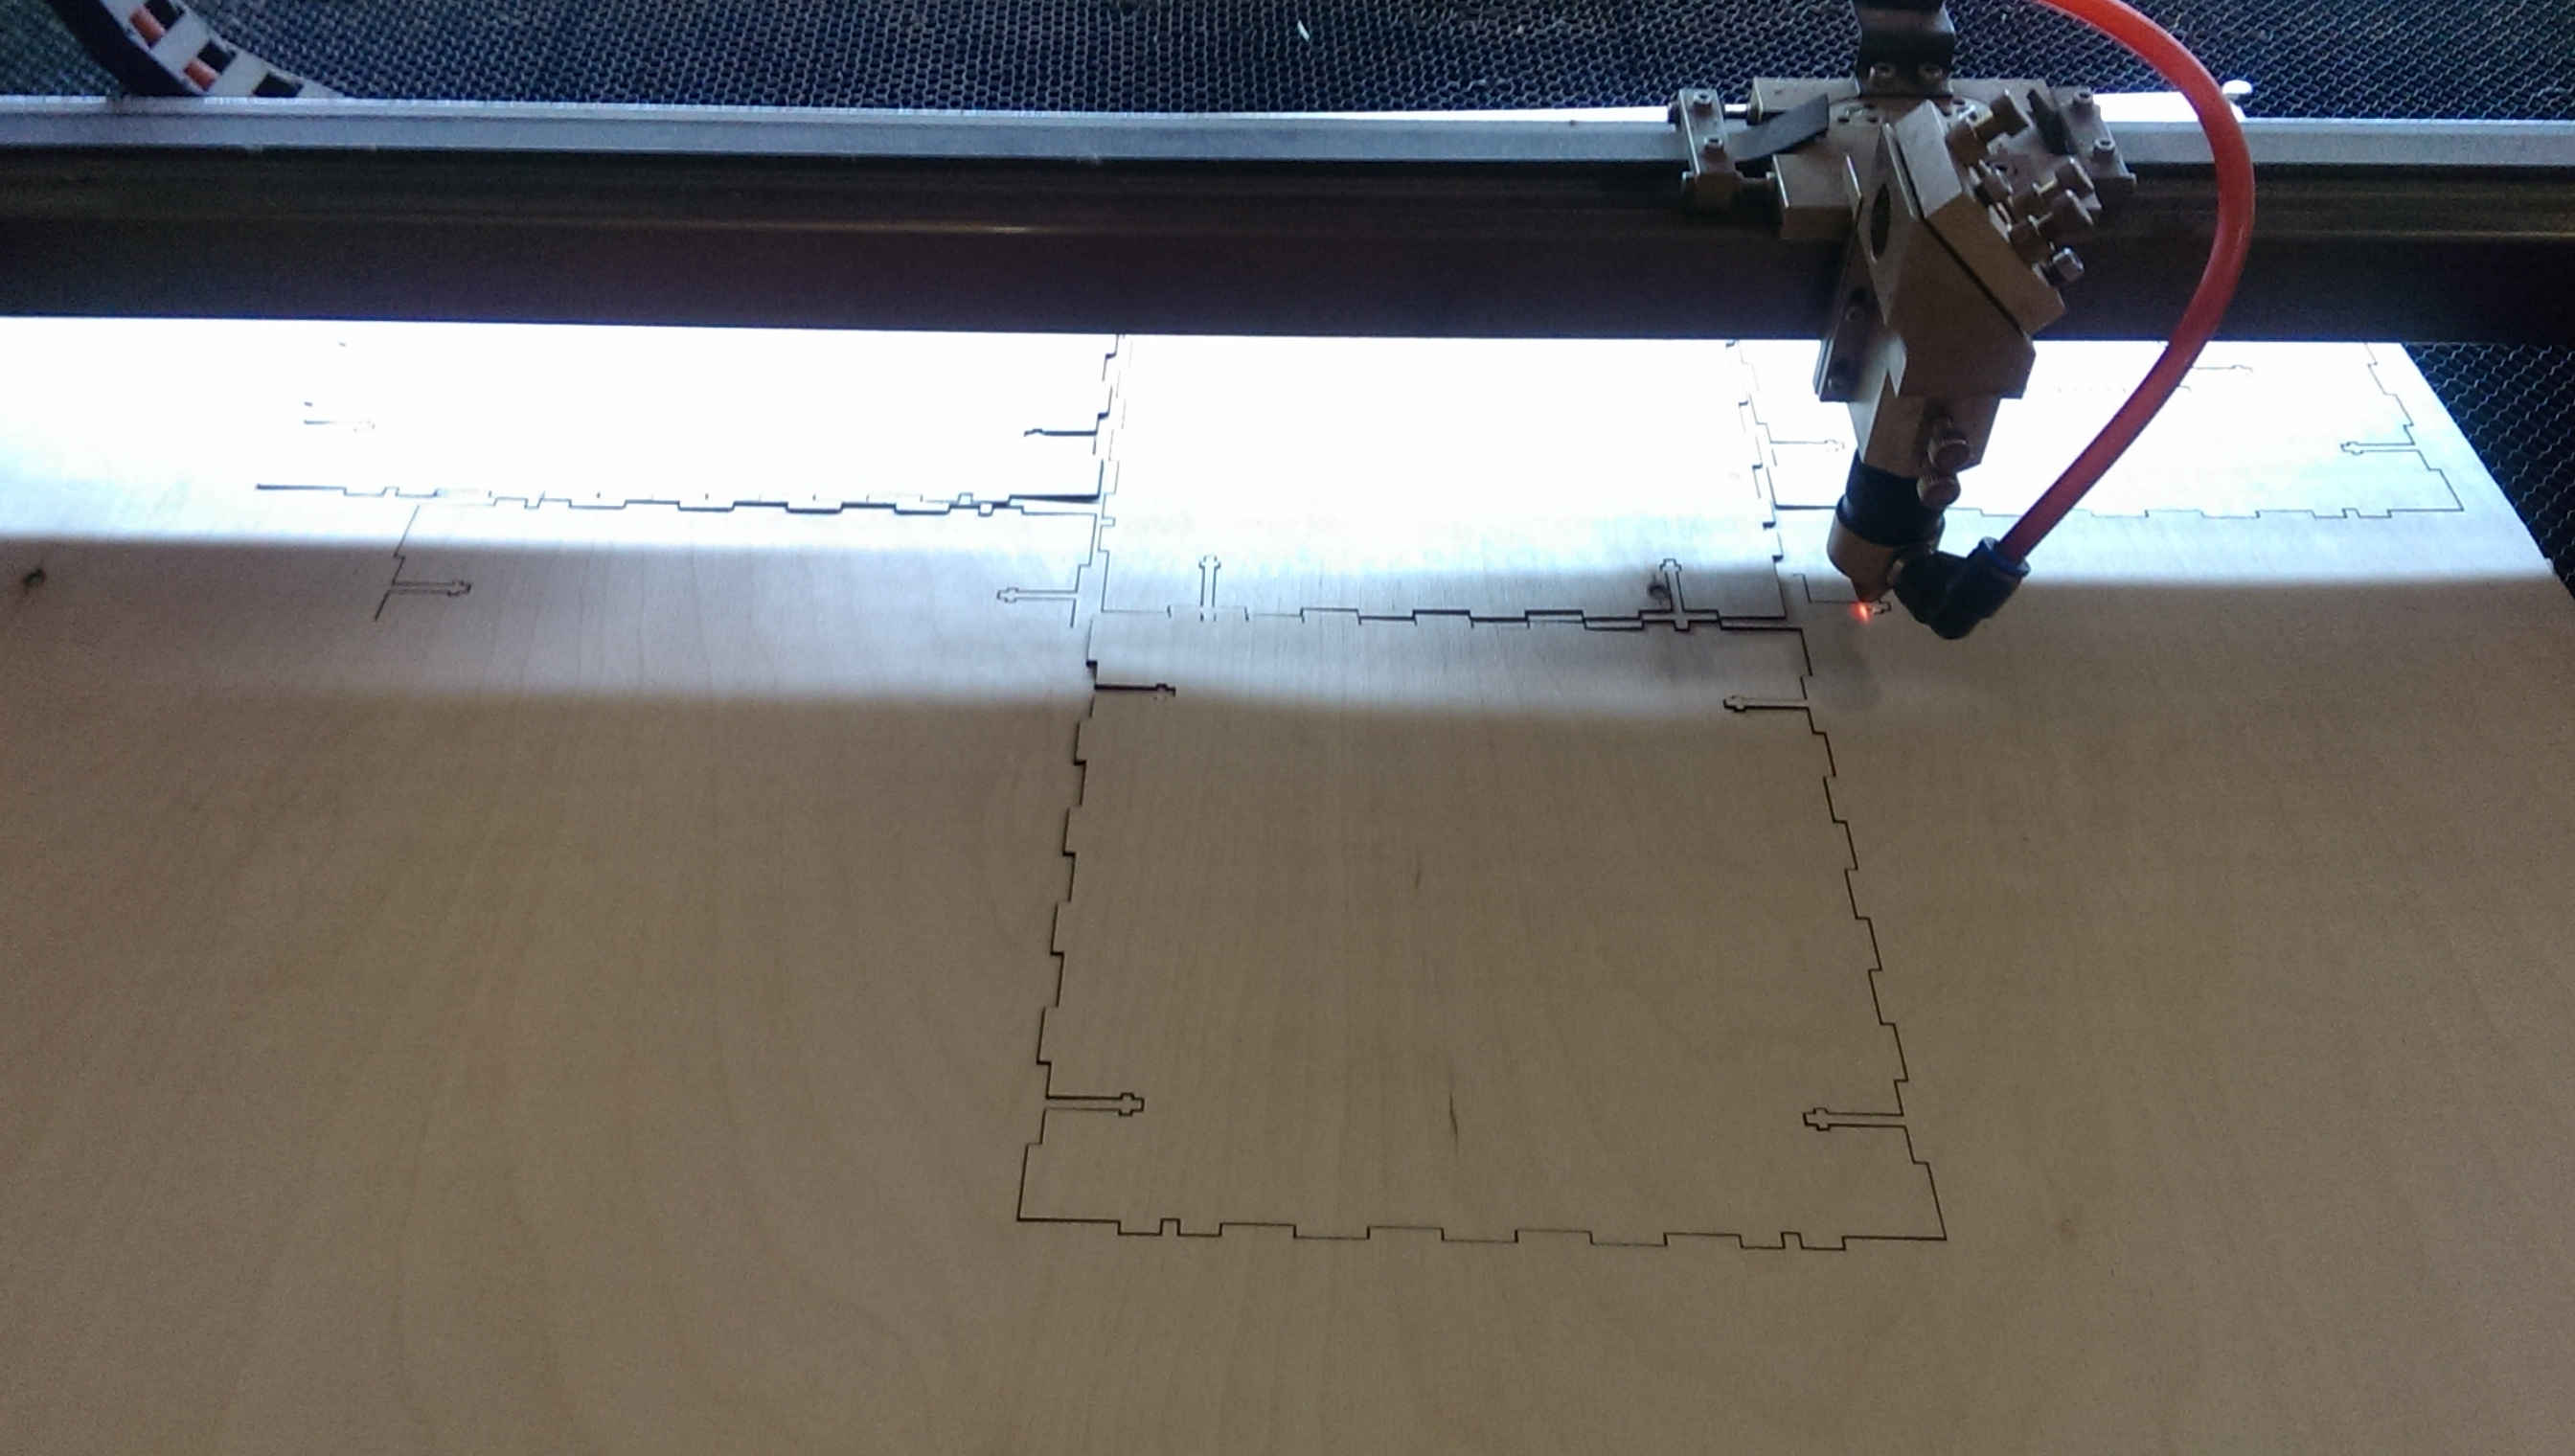
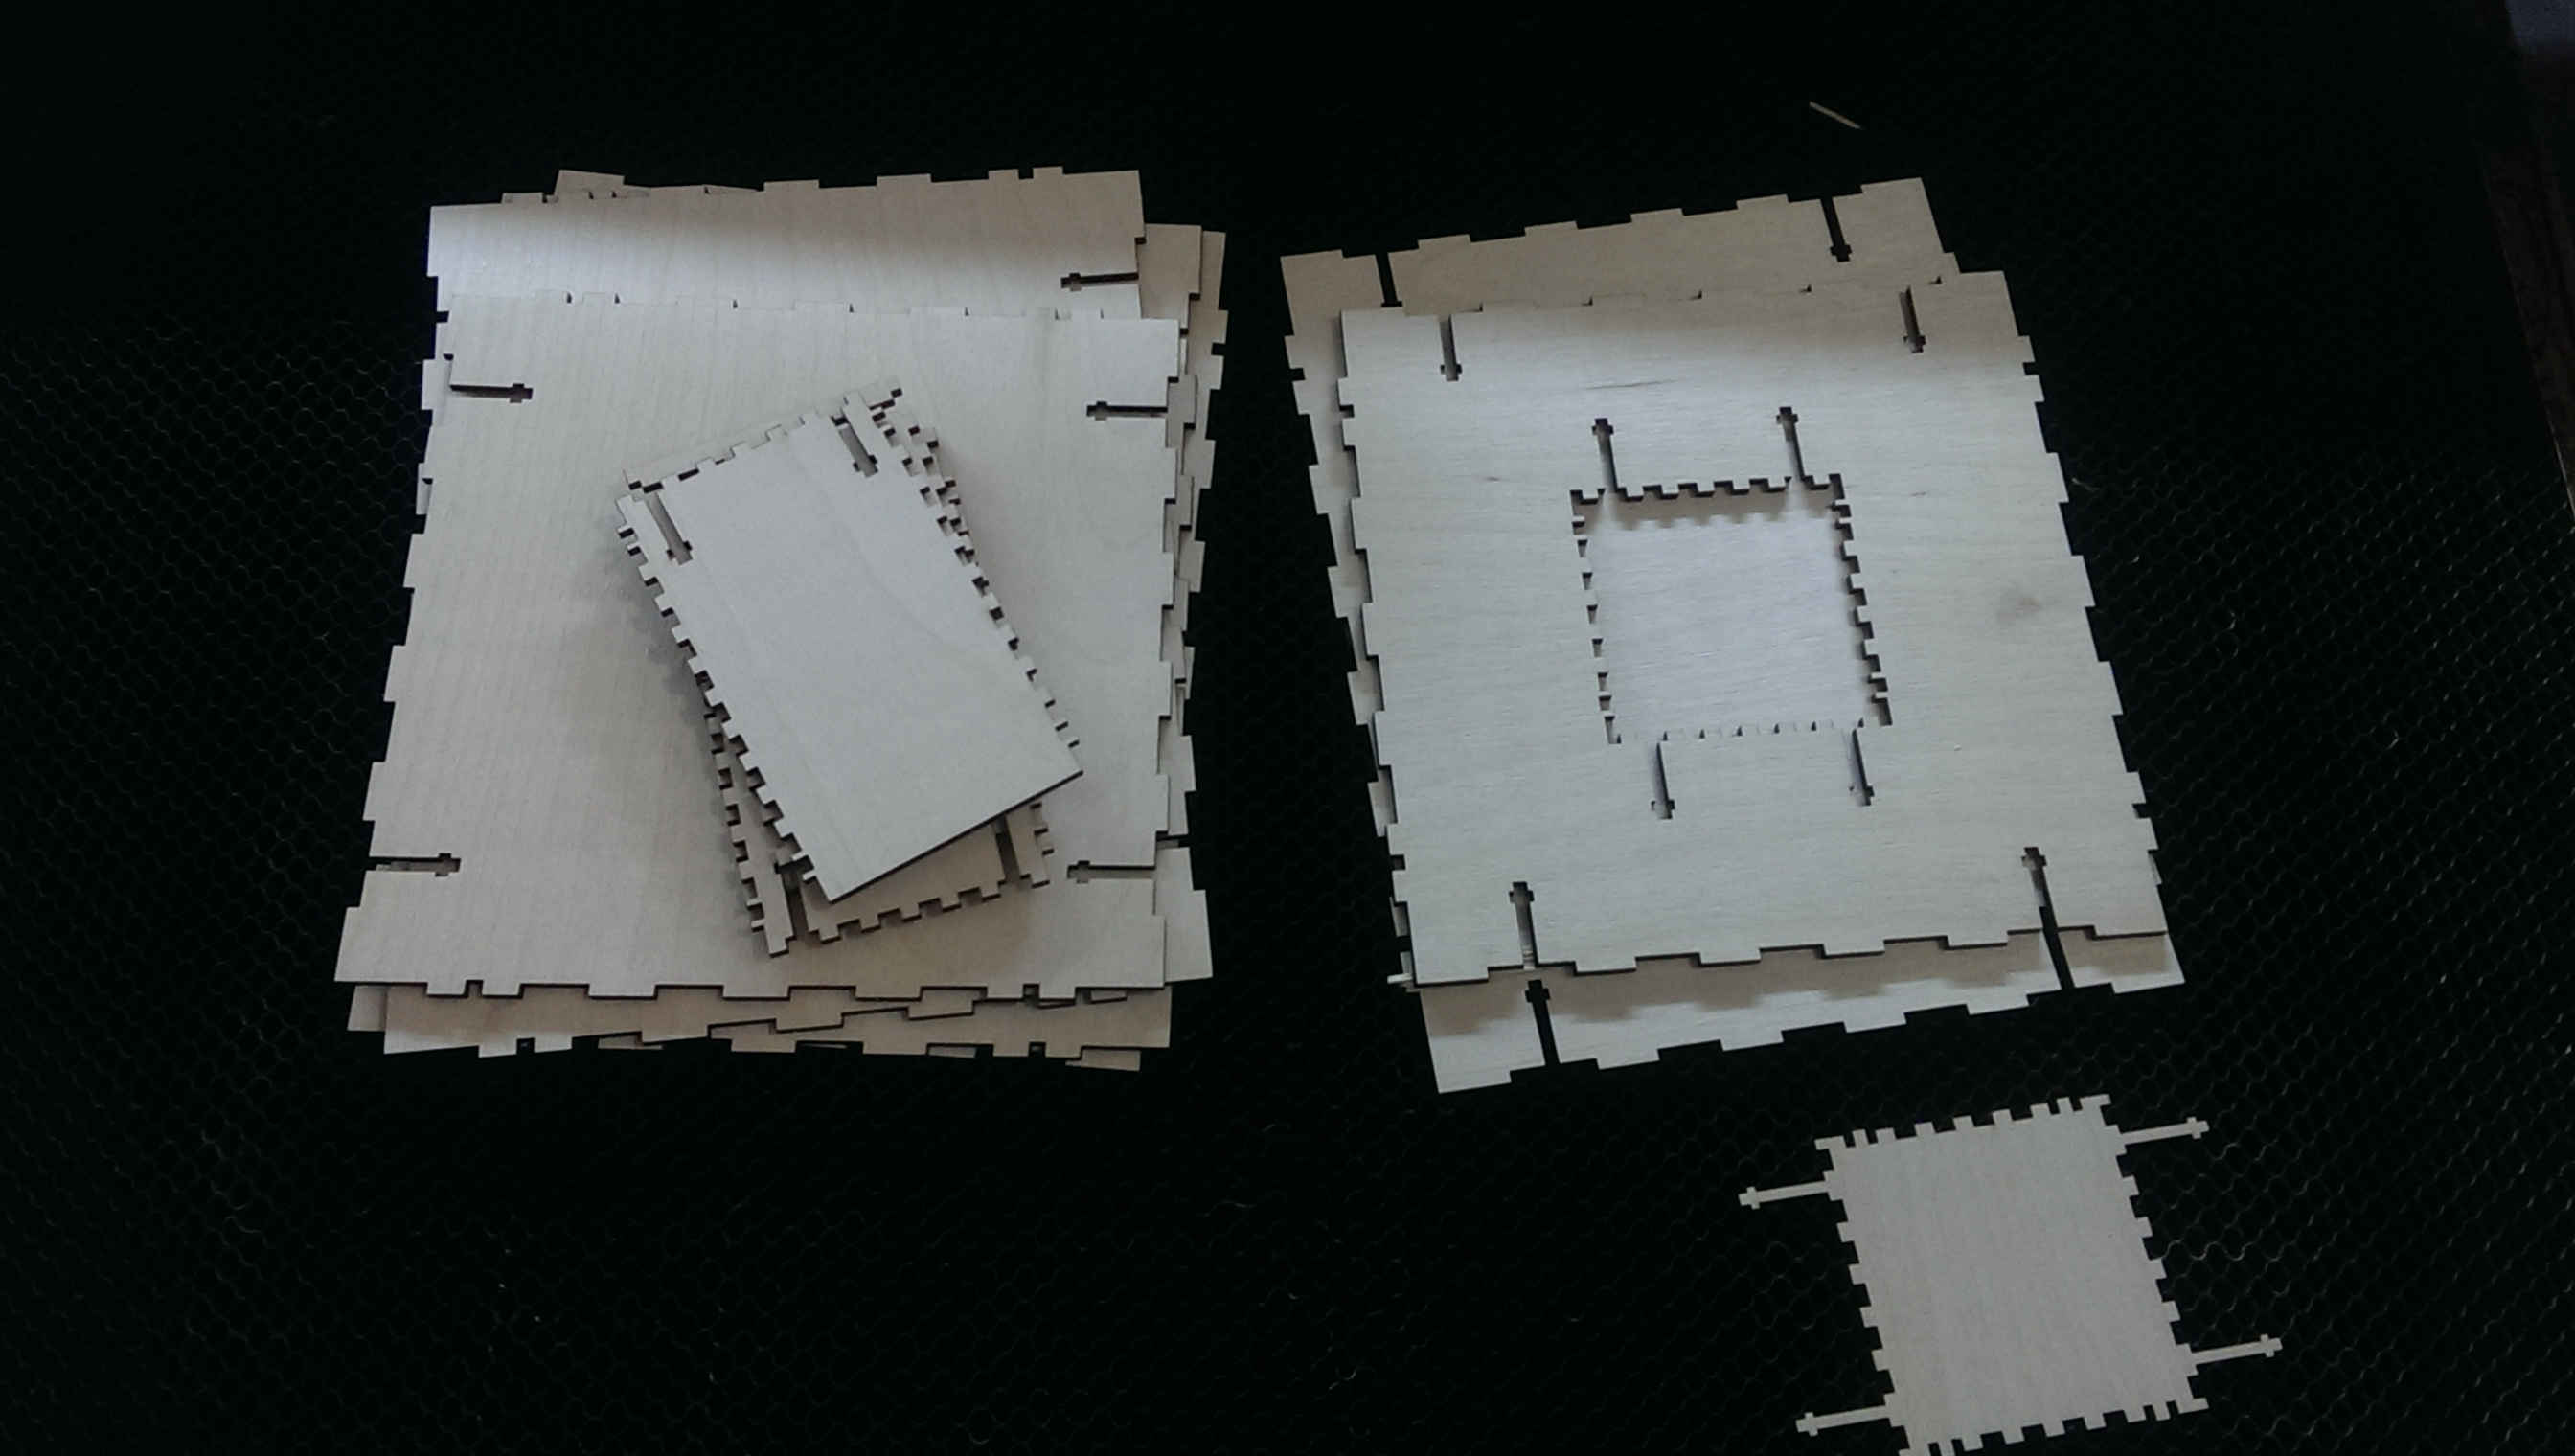
To test what i've done so far i printed the despensing mechanism and cutted the container on 3mm Plywood.


For this stage The mechanism is functional and the parts fit pretty good. I need to design the circuits to consider its mount on the device and then continue the structure design/fabrication process.
For the Electronics part i will need to do the following:
Photocoupler sensor to detect the presence of food in the container or the bowl.
Microcontroller board to read the sensors and control the motor. The board should feature serial communication so we can interface it with the raspberry pi.
I used Phototransistor to detect the light coupled with LEDS on the other side of the container, So when the food comes in the way between the phototransistor and the LEDS we can detect it.
The design of the sensor also includes holes for screws to be mounted in the container.
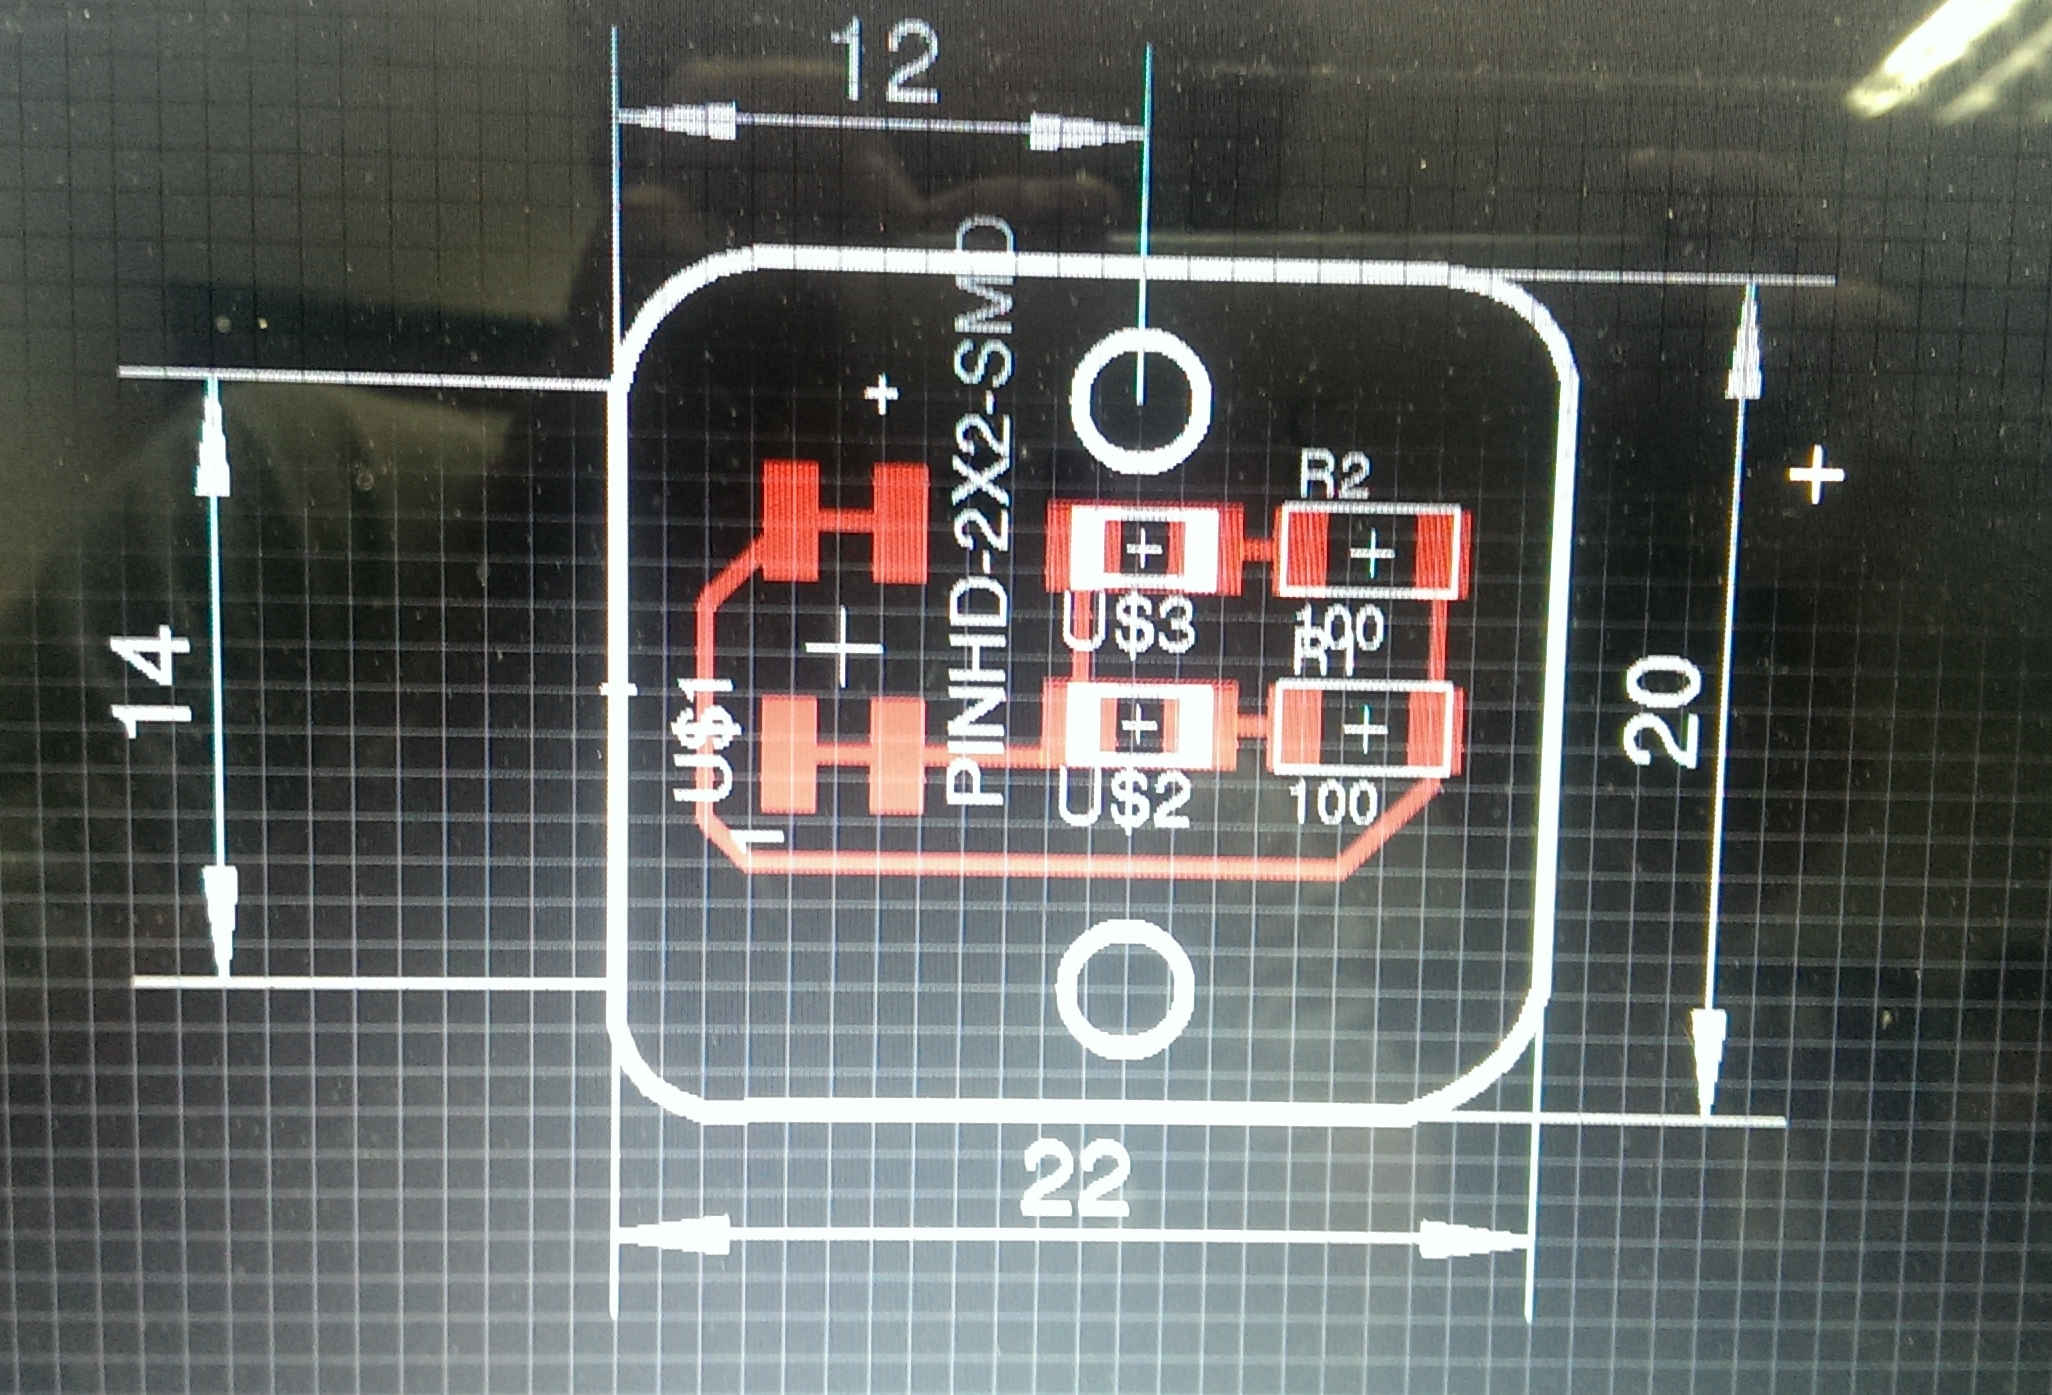

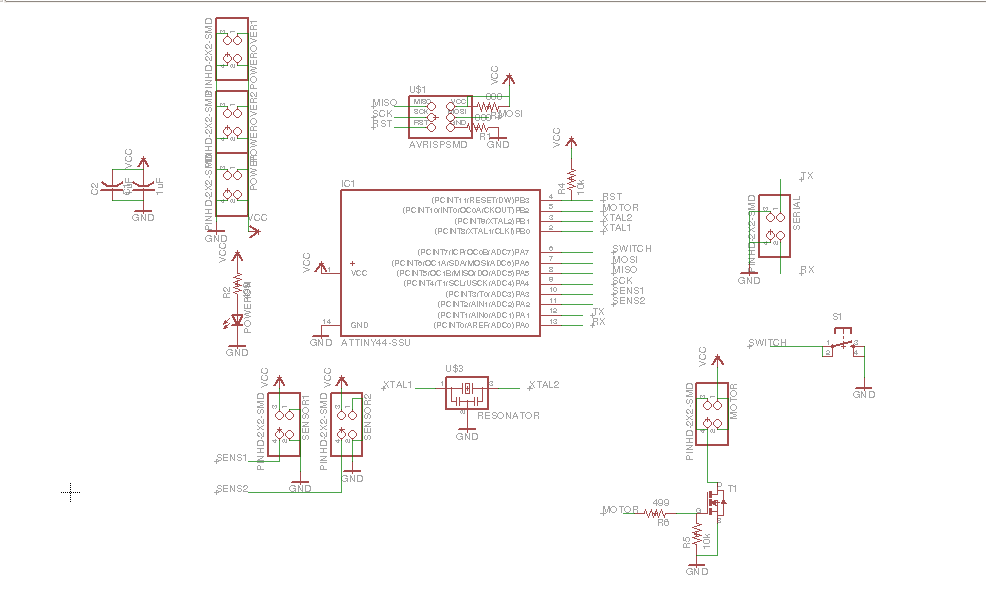
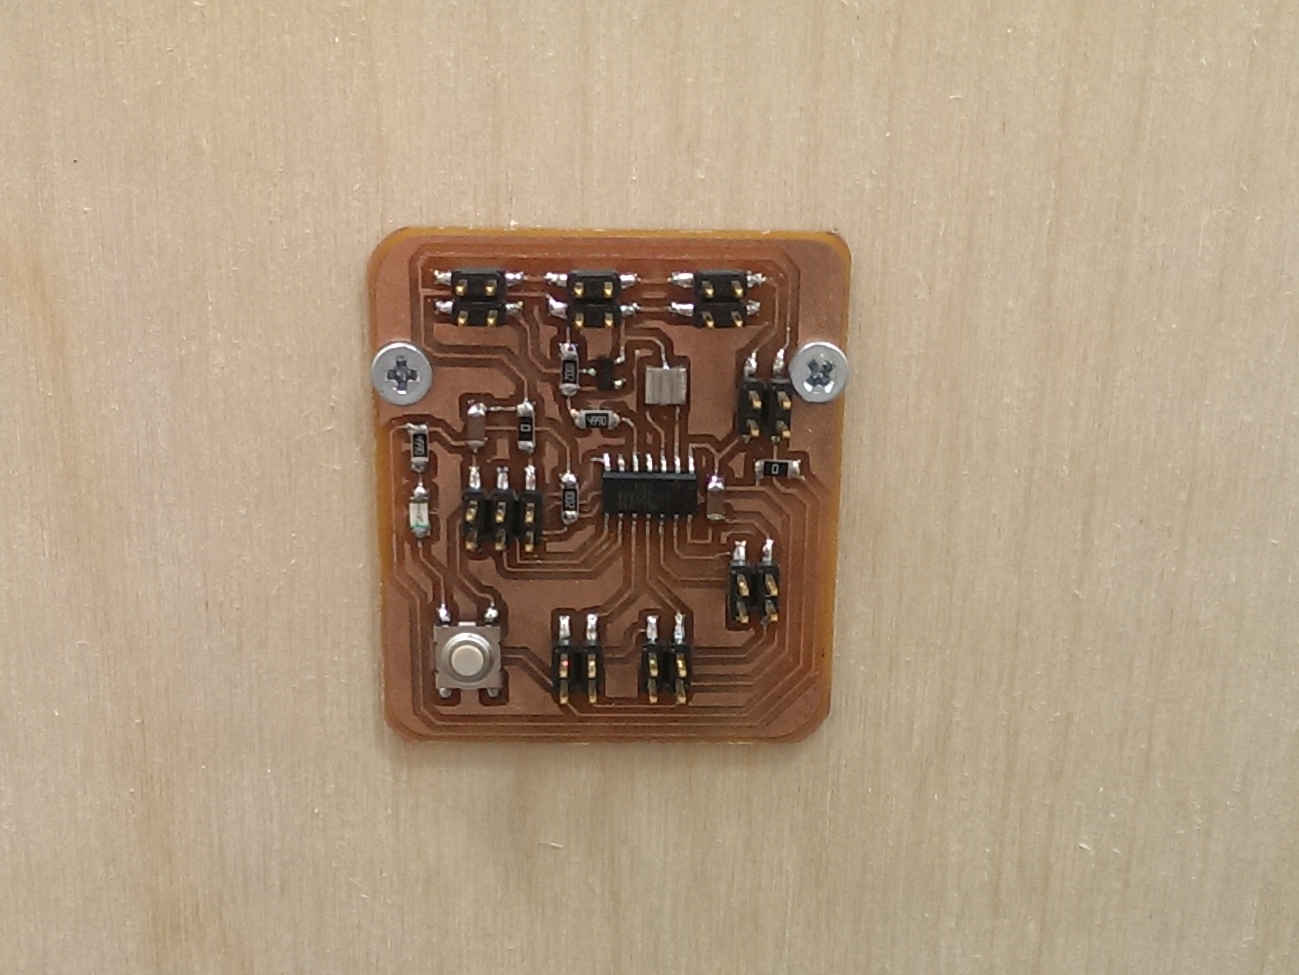
The microcontroller circuit features the following:
Motor driver using N channel MOSFET.
Serial communication pins
Sensors pins
LEDs board pins
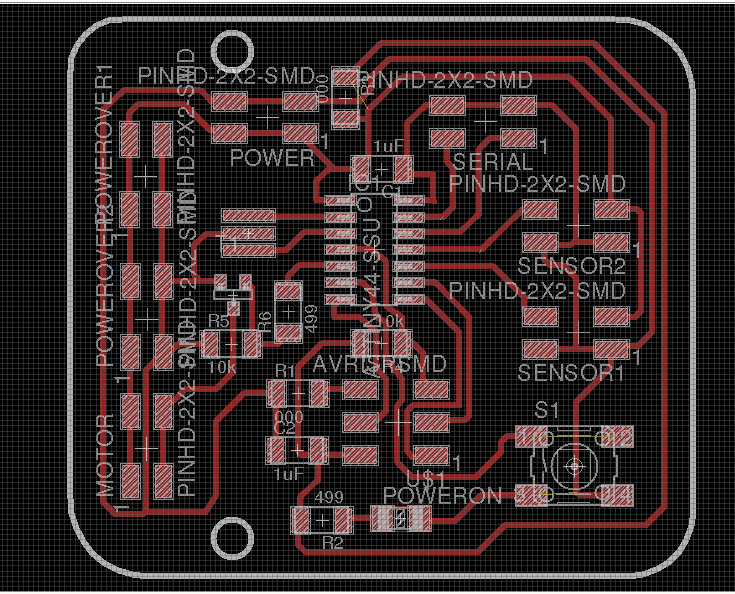
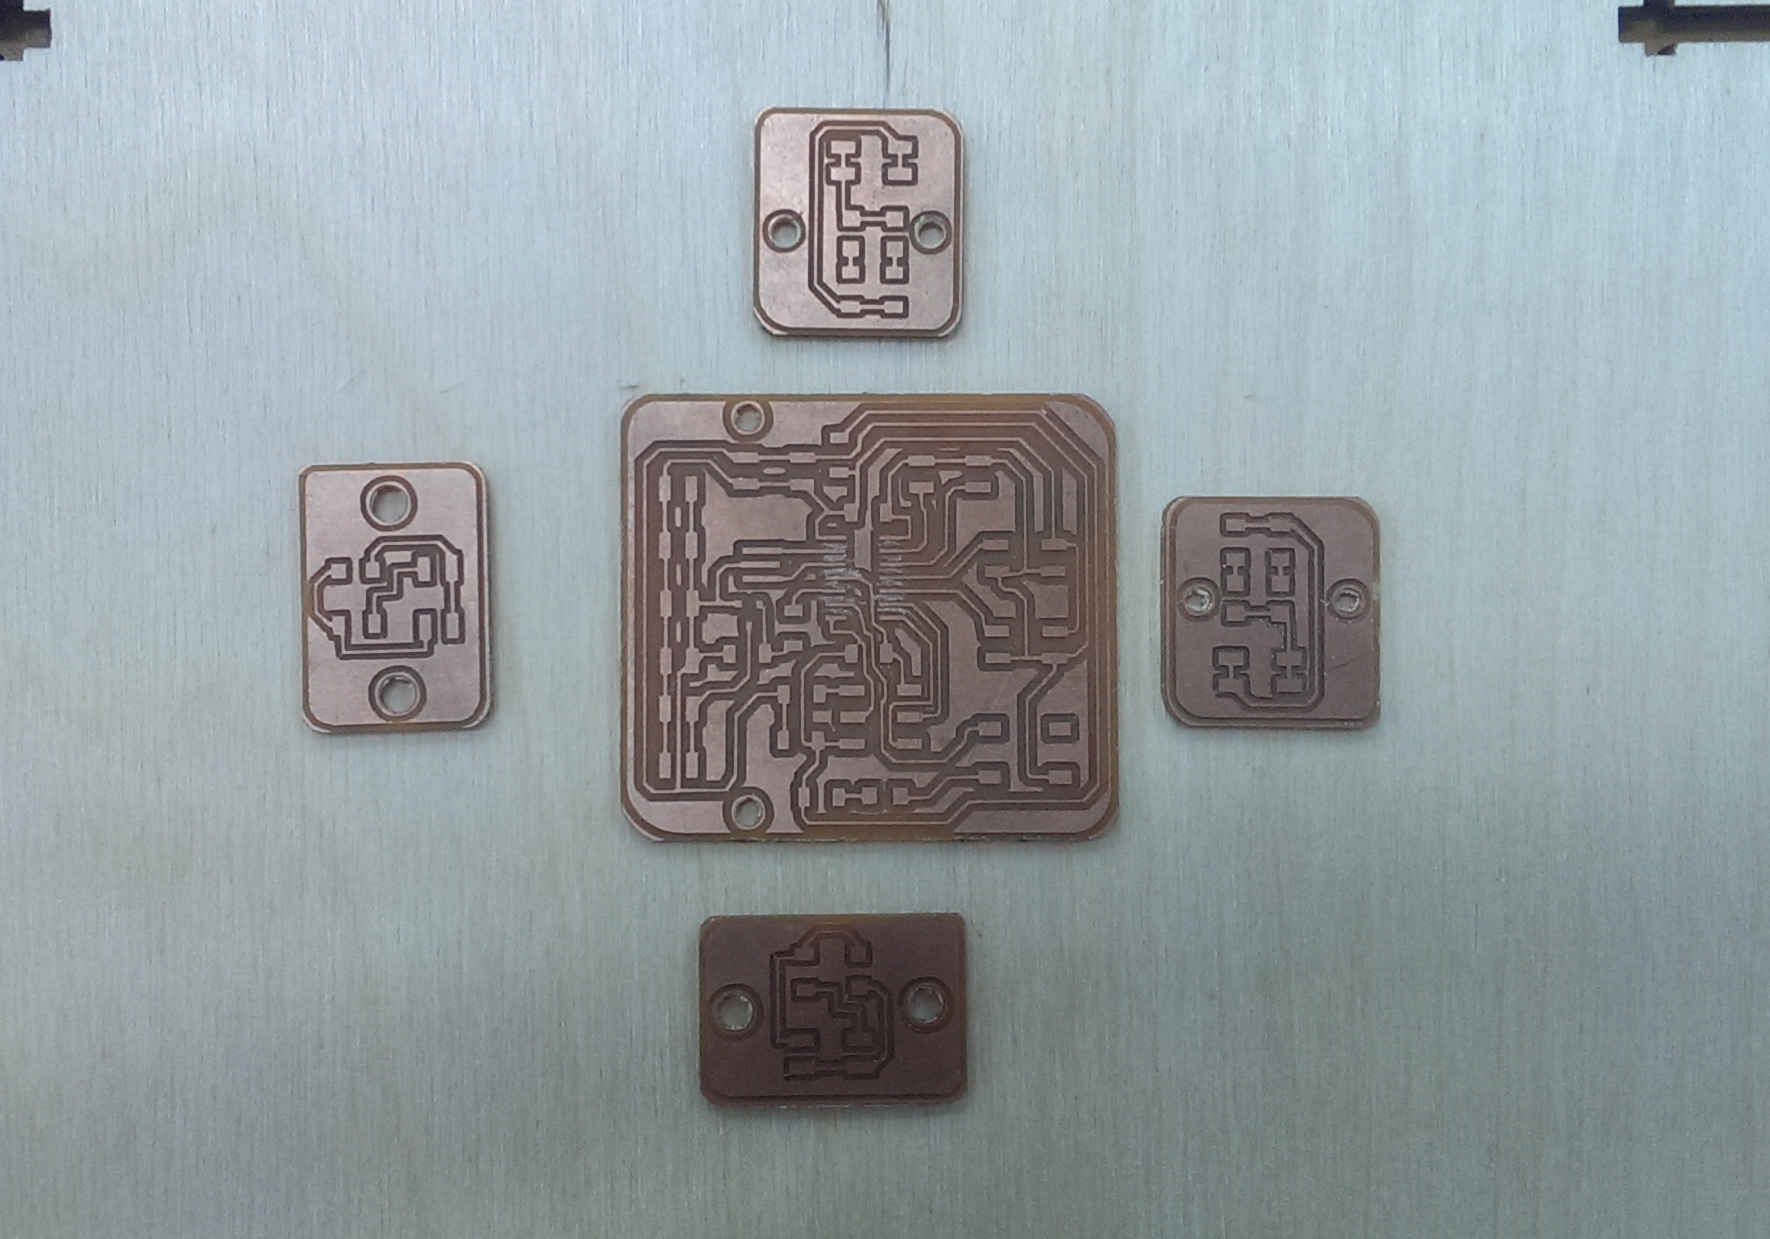
I machined the circuits using the modela and soldered them. For this part everything is ready to be mounted and finally program it.
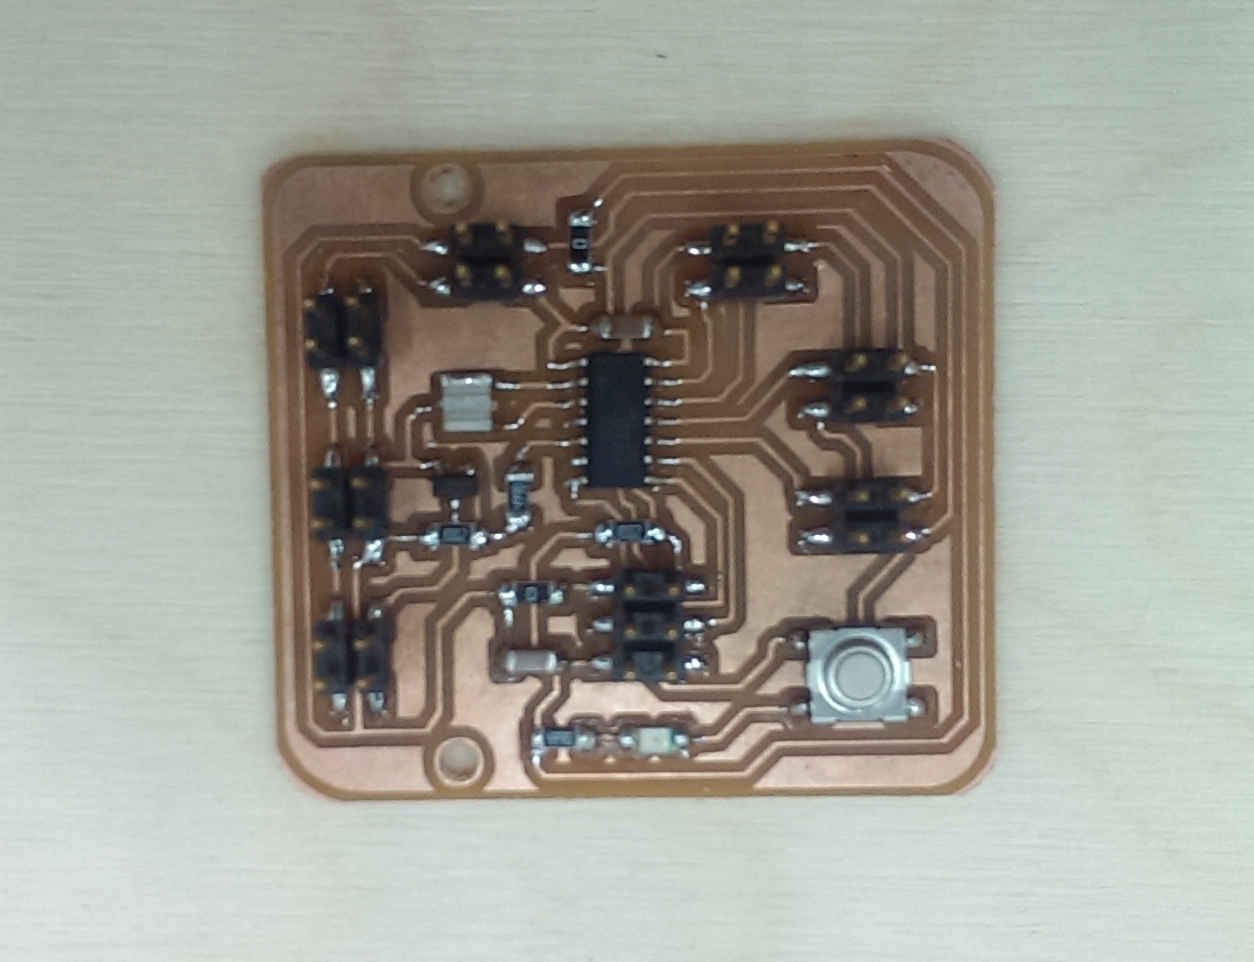


I added the mounts for the sensor in the container, mounts for the sensor in the bowl and mount of the main board on the side of the container. I cutted the new parts and assembled them and added the circuits


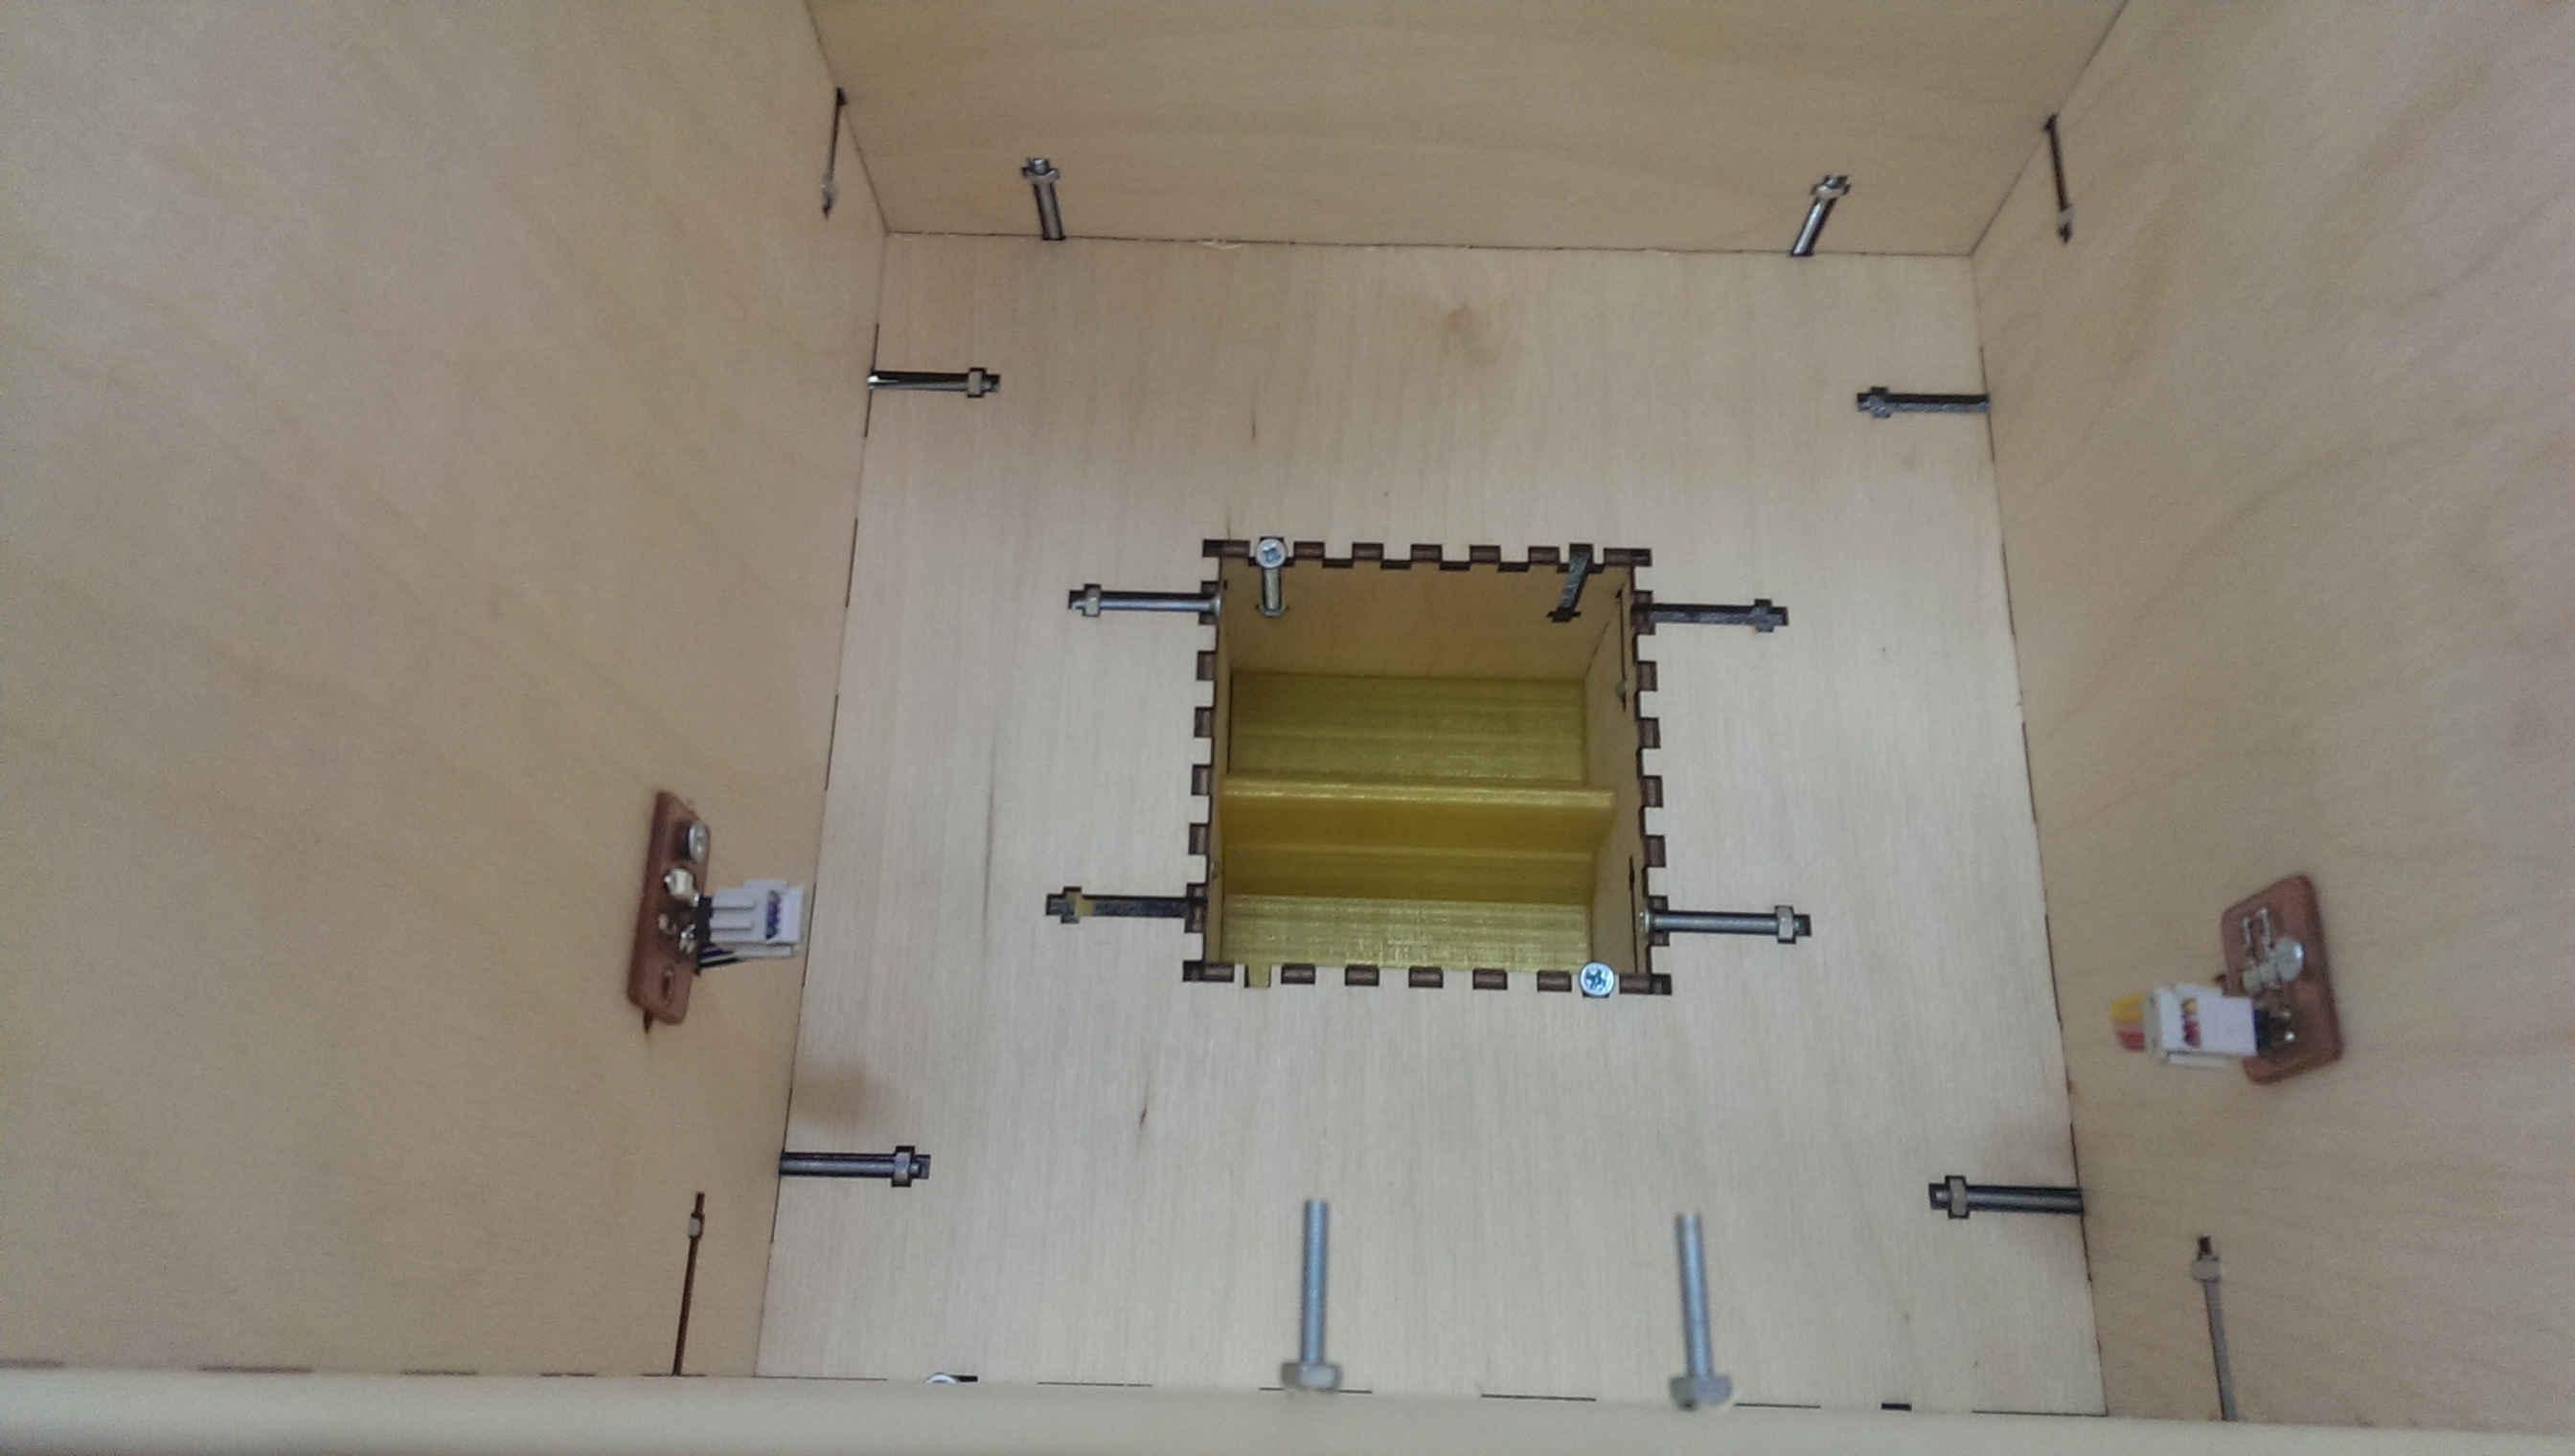
One new part the bowl for the cats to eat from, i also added another sensor in order to stop despensing when the bowl is full.
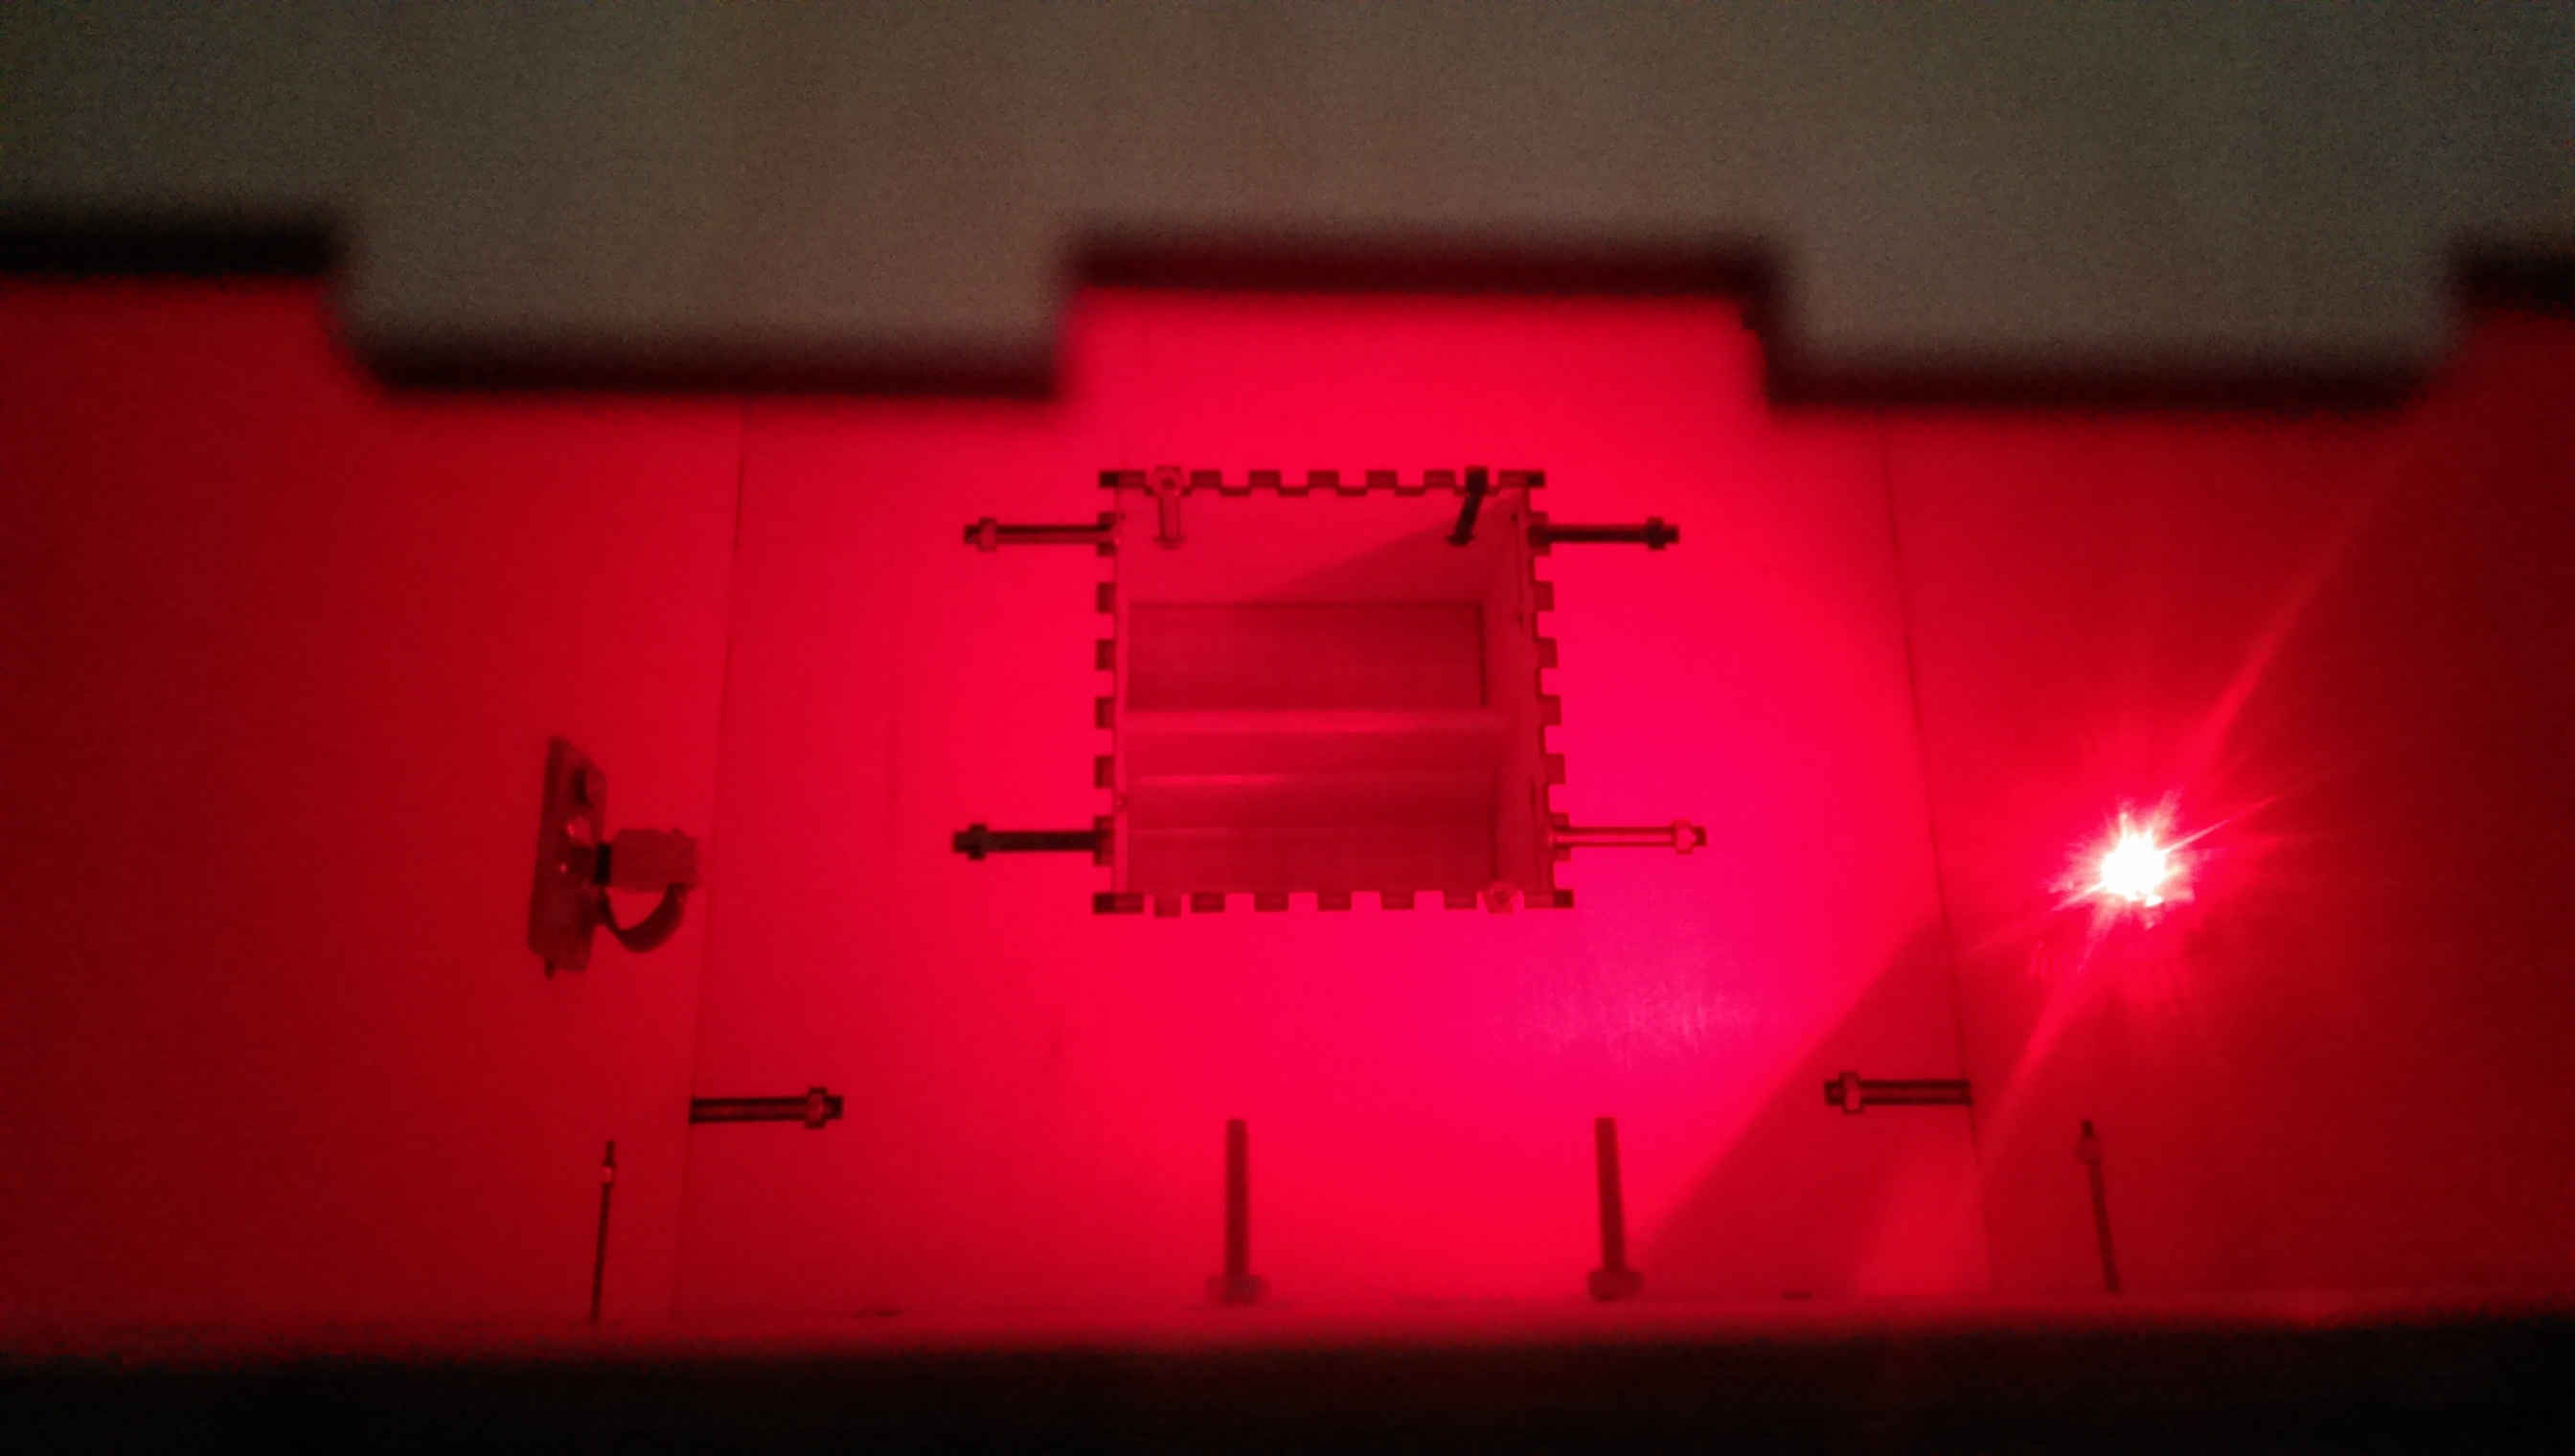
Power on test

Code explanation
The phototransistor sensor is connected to analog pin, so when the there's light the voltage will drop so the analog to digital converter will read a value lower than 1023 and vice versa. So i wrote a simple function to read the container and return the value.
static unsigned char s_lo, s_hi;

static uint16_t tanksensor()
{
   ADMUX = (0 << REFS1) | (0 << REFS0) // Vcc ref
      | (0 << ADLAR) // right adjust
      | (0 << MUX4) | (0 << MUX3) | (0 << MUX2) | (1 << MUX1) | (1 << MUX0); // PB4
   ADCSRA = (1 << ADEN) // enable
      | (1 << ADPS2) | (1 << ADPS1) | (1 << ADPS0); // prescaler /128

   ADCSRA |= (1 << ADSC);

   while (ADCSRA & (1 << ADSC))
      ;

   s_lo = ADCL;
   s_hi = ADCH;

   return (256 * s_hi + s_lo);
}
The same as the function above i wrote a similar function to read the bowl sensor.
static uint16_t platesensor()
{
   ADMUX = (0 << REFS1) | (0 << REFS0) // Vcc ref
      | (0 << ADLAR) // right adjust
      | (0 << MUX4) | (0 << MUX3) | (0 << MUX2) | (1 << MUX1) | (0 << MUX0); // PB4
   ADCSRA = (1 << ADEN) // enable
      | (1 << ADPS2) | (1 << ADPS1) | (1 << ADPS0); // prescaler /128

   ADCSRA |= (1 << ADSC);

   while (ADCSRA & (1 << ADSC))
      ;

   s_lo = ADCL;
   s_hi = ADCH;

   return (256 * s_hi + s_lo);
}
The next thing we wanna do is to control the motor speed with pwm. There are three funtions. PWM initialize to intialize the PWM registers, motorstart and motorstop to write the compare match register the value so the output will be high until the timer reaches this vlaue.
void motorstart()
{
  OCR0A = 230;
}
void motorstop()
{
  OCR0A = 0;
}
The last important function is feed which turns the motor on untill the bowl if full.
int feed()
{
   if (platesensor() < 800)
   {
      motorstart();
      while(platesensor() < 800)
         ;
      motorstop();

      return 0;
   }

   return 1;
}
I made the main loop as it a server, so the master device sends special characters over serial and the board replays with needed response like F to feed the cats, T to read the container sensor.
   // mainloop
   while(1)
   {
      get_char(&serial_pins, serial_pin_in, &chr);

      // if recieved feed order
      if (chr == 'F')
      {
         int r = feed();
         if (r == 0)
            put_string(&serial_port, serial_pin_out, "Plate Was Empty\r\n");
         else
            put_char(&serial_port, serial_pin_out, "Plate Was Full\r\n");
      }

      // if revieved tank status
      else if (chr == 'T')
      {
         if (tanksensor() <= 1020)
            put_string(&serial_port, serial_pin_out, "Food Tank is  Empty\r\n");
         else
            put_char(&serial_port, serial_pin_out, "Food Tank is Full\r\n");
      }
      char_delay();
   }
I tested the device using FTDI cable and it worked as expected but i'm still working on making the web server running on the raspberry pi.
Watch the Video.
VIDEOThis project was intended to be an open source project for the community to develop on it and improve it. I want the project to be open source and continue to be open source to give people the freedom to modify and share it.
This project is published under GNU GPL V3 license
Information about GNU GPL v3 license can be found Here
Plywood 3mm width
Screws 3mm diameter 25mm length
PLA for 3D printer
DC motor
Raspberrypi
N MOSFET
LEDS
Attiny44A
Resistors
Capacitors
20MHZ crystal
Phototransistor
FR1 copper sheet
Goodluck !