MECHANICAL DESIGN (week 1 of 2)
This week we have to work collectively to make a machine.
So we did a Brainstorming among the team and came with different ideas:
Finally we decided to go with the laser engraver , we fixed a limit of 2W for the laser .
The laser
My part was essentially to take care of the laser block, so I had to quickly find a laser diode powerfull enough to make our machine.
After some research I found out that most DVD burners have a red diode which is gereraly around 200mW ( and an infrared one too).
So I dismanteled an old DVD burner:
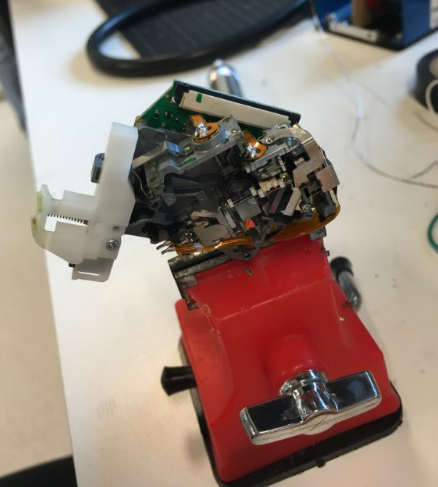
Here you can see the two diodes, there is one that is an Infrared diode and the one you see is the 650nm one (red laser) .

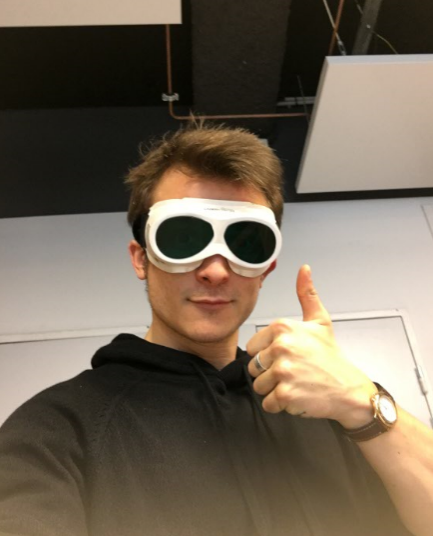
Before testing it ! Safety first!
I then managed to focalise the beam using the lense of the DVD burner that fits perfectly into the casing (once I had the laser diode I used an old laser casing from a laser pointer to secure the diode:)
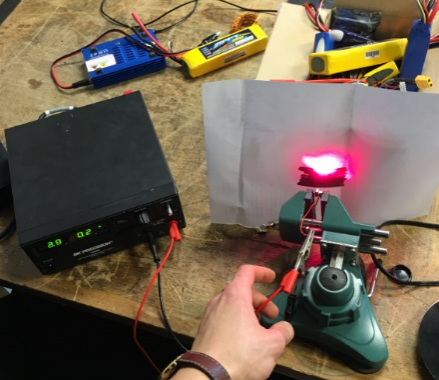
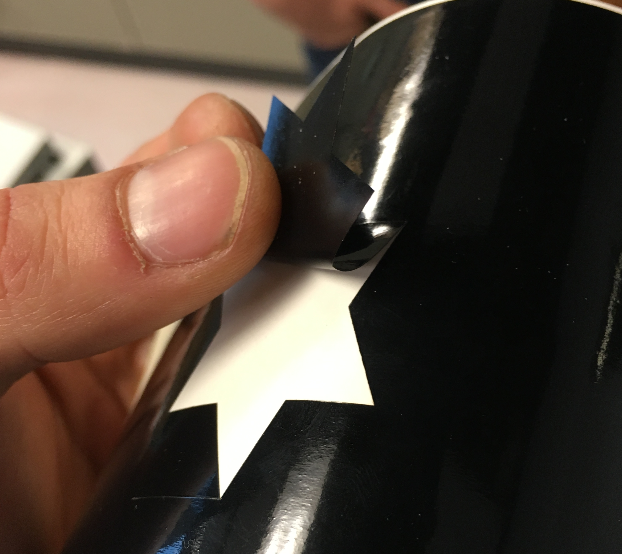
I painted in black the paper to optimise the heat accumulation and also limit the refraction that could be very dangerous at this point:
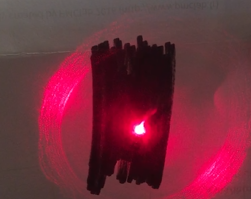
And here I managed to go thrue this piece of foam:
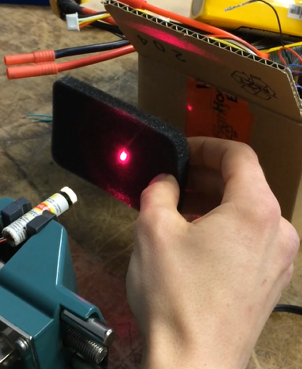
Not very powerfull but perfect for a proof of consept:

Small video of the laser:
Laser cutting without any protection and no ventilation (wear glasses at all time!!):
Laser block
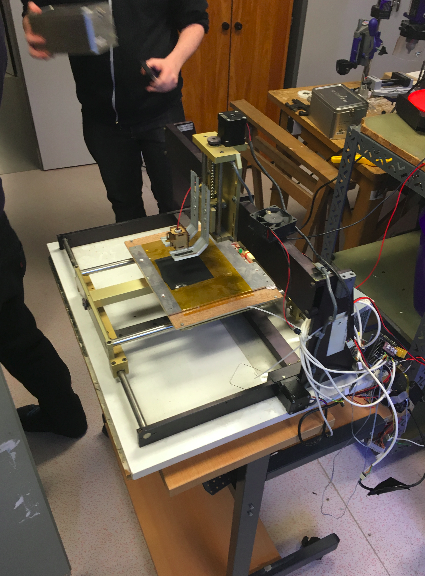
Next I wanted to enclose my laser so we could use the machine without building a casing, so since the machine wasn't functionnal at this point I restored an old 3D printer to run some tests:
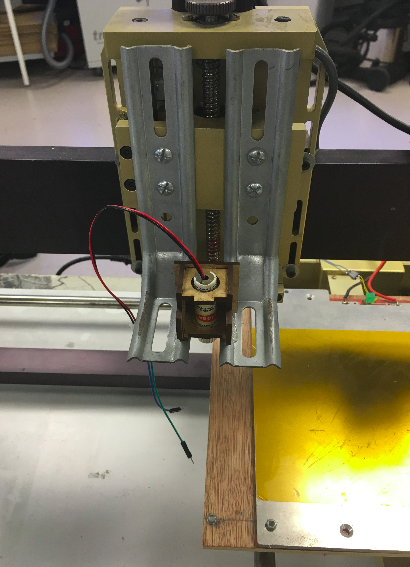
I took out the extruder and quickly adapted a mounting for the laser
Then I prototyped a laser casing:
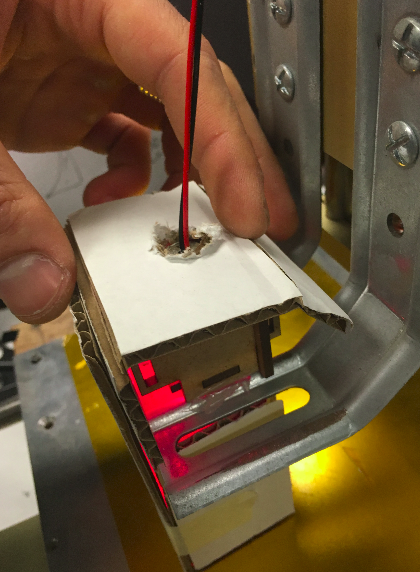
We can still see the laser but in addition to the protection glasses this will allow me to be a bit less paranoïd about direct eye contact with the beam:
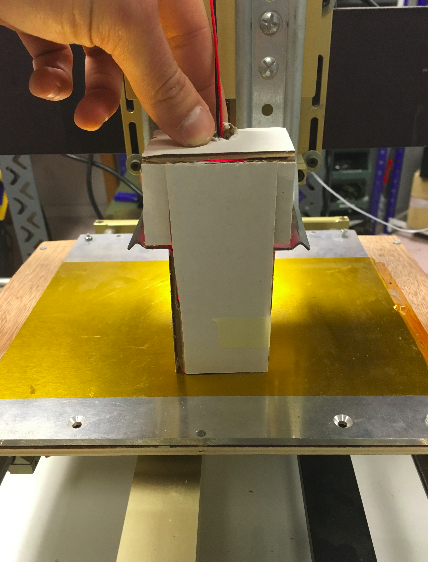
Test of a simple but effective protection:
Here you can see the result (same thing for both ):
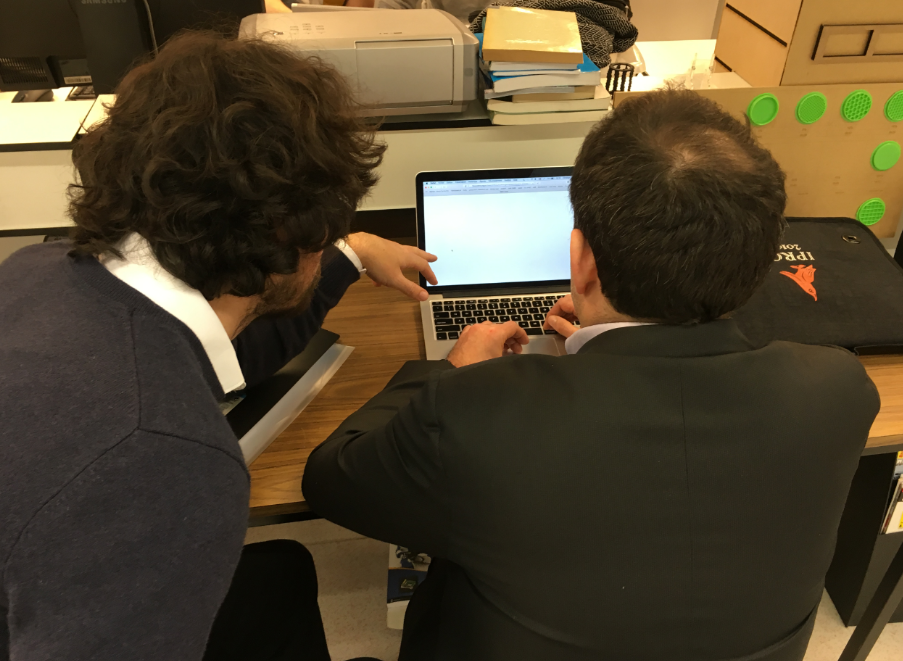
So while I was testing the laser, my teammate Jean Françcois Arruabarena was working on the design of the entire machine, we had to work by remotly.
But at each part that he would finish, he would send it to me so I could quickly test the design with my parts.
Mechanical structure
Besides taking care of the laser block, I also helped my teammates to assemble Nadya's kits:
The Kits arrived to the FABLAB Digiscope, but we couldn't wait to get there so we tried to build them using the passt year pages.
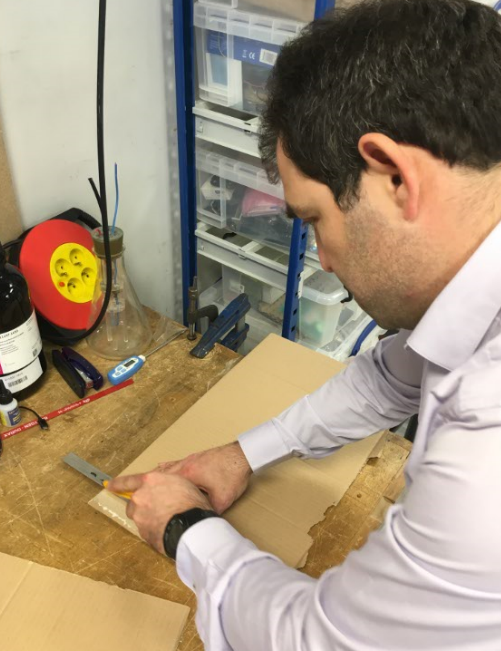
We modified the files so it would fit on our Trotec 100:
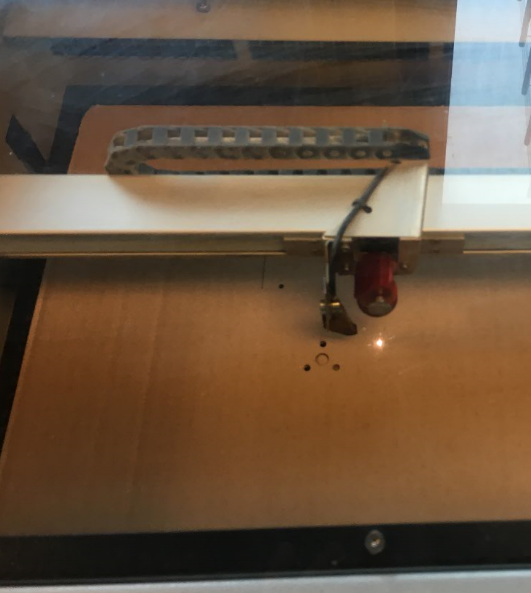
And did some quick test to make sure the design was press-fit
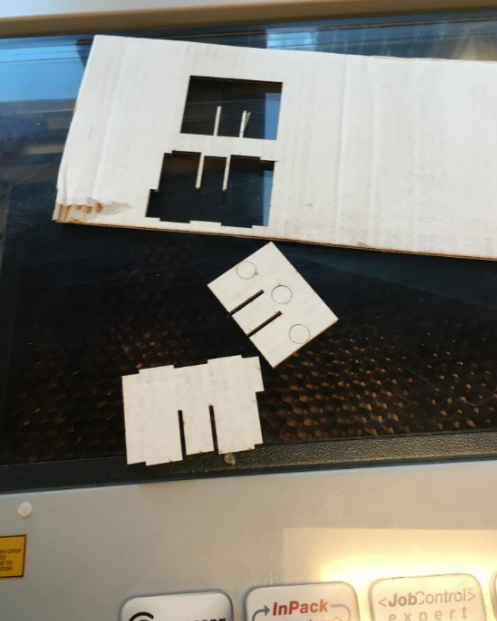
And make sure the cardboard could fold easily

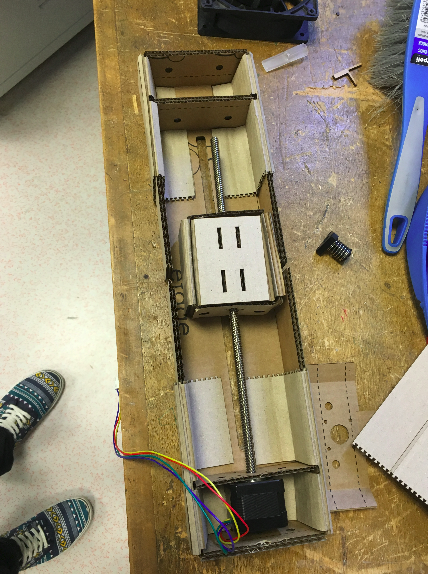
And quickly assembled everything to see the result:
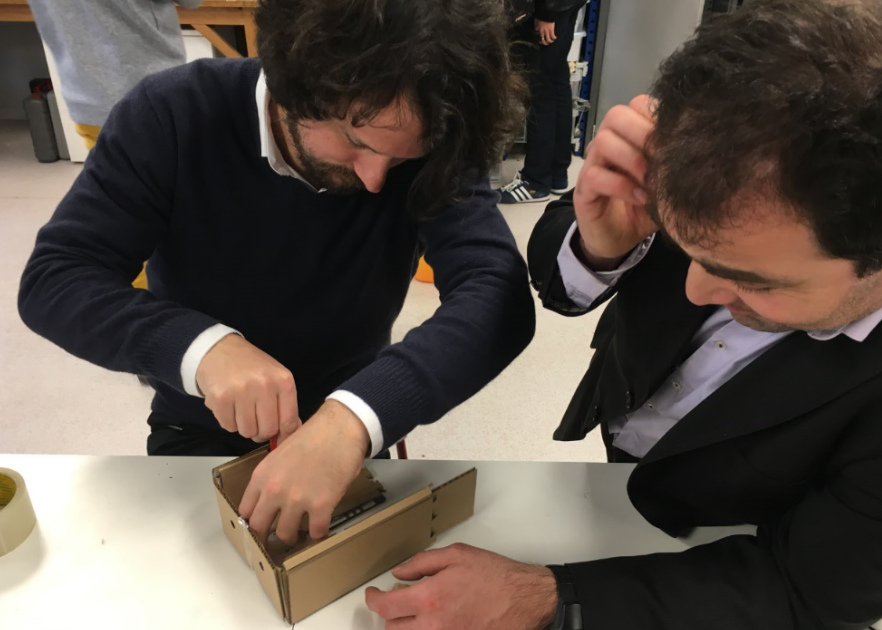
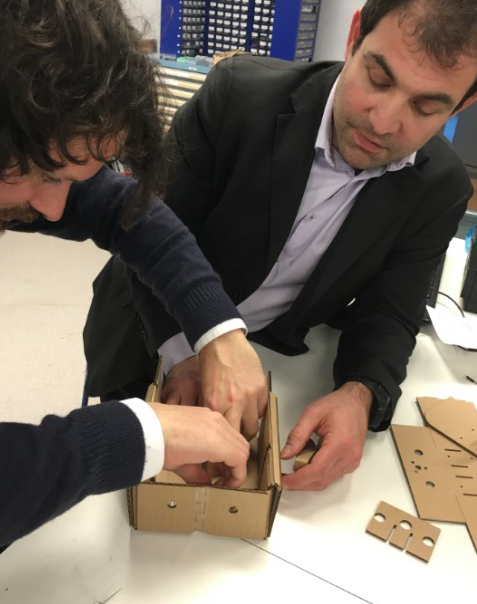
We endded having something that looked like the kits but it was actually barely usable, the modification that we've made so we could cut it on the Trotec made the structure to weak.

Finaly when the nodes arrived we still managed to have something similar but the structure was to fragile:
So we will defintly not be using the kits for our machine, visit our group project page to see the final design!
