Embedded Programming
MIT'S BRIEF Read a microcontroller data sheet.
Program your board to do something, with as many different programming languages and programming environments as possible.
First step was to install Arduino 1.6.8 from the official web page and download the Arduino's library.The open-source Arduino Software (IDE) makes it easy to write code and upload it to the board.
Basics
ISP
was our first board produced during the our course, is the ability of a programmable logic device to be programmed while installed in a complete system.ATTiny44
is a microcontroller, part of the AVR microcontrollers, basically the same one that Arduino uses for it's boards. Microcontroller: ATtiny is an 8bit microcontroler, a self-contained system with memory, a processor and peripherals that can be used as an embedded system.Arduino/Genuino IDE
is a software that contains a text editor for writing code, a message area, a text console, a toolbar and a series of menus. It was based on Processing. If you are not familiarized with the Arduino code : I recommend to watch this tutorial to get started.ATTiny 44 and the Arduino Pin
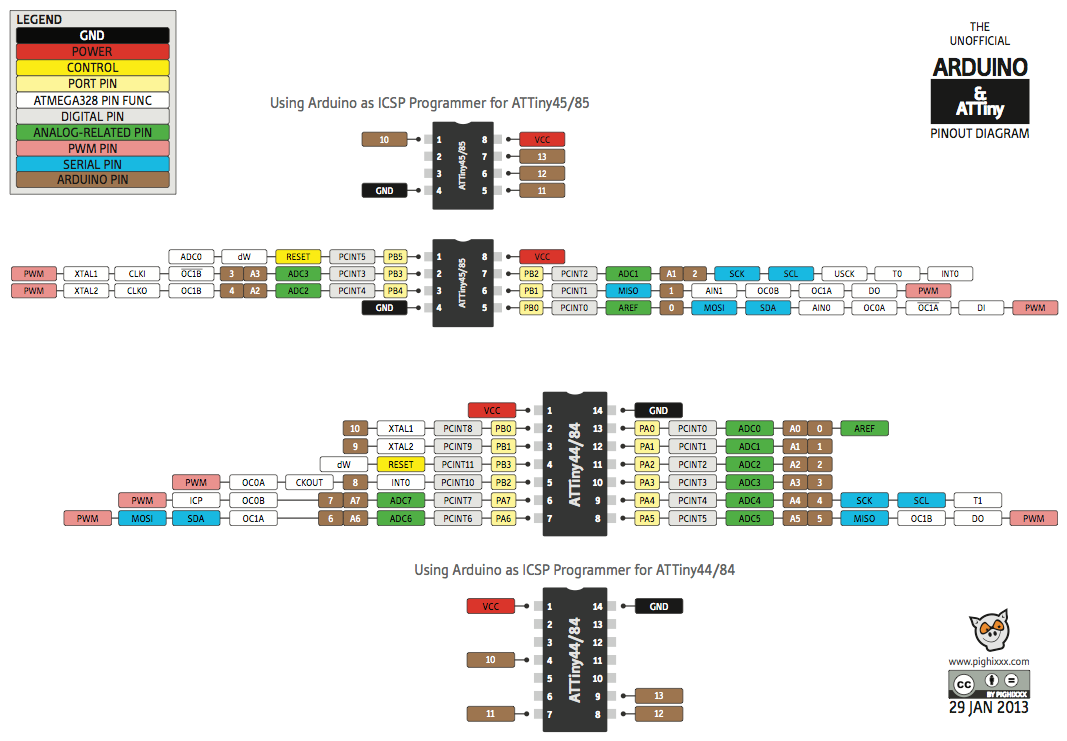
One of the most important thing in the Datasheet is the functions of the pins and I read informations about Attiny 44 pinout:GND,ACC,MISO and MOSI.The pins from the ATTINY 44 are not the same as the ARDUINO pins so i read the Datasheet to define the pinout.

Program board to do something
In the arduino folder I firstly created a new folder called Hardware and in this folder i created a new folder called avr.
Secondly, I pasted the unzipped files I downloaded. I opened Arduino and I moved to tools>board.Here I saw a list of Arduino boards, including ATtiny.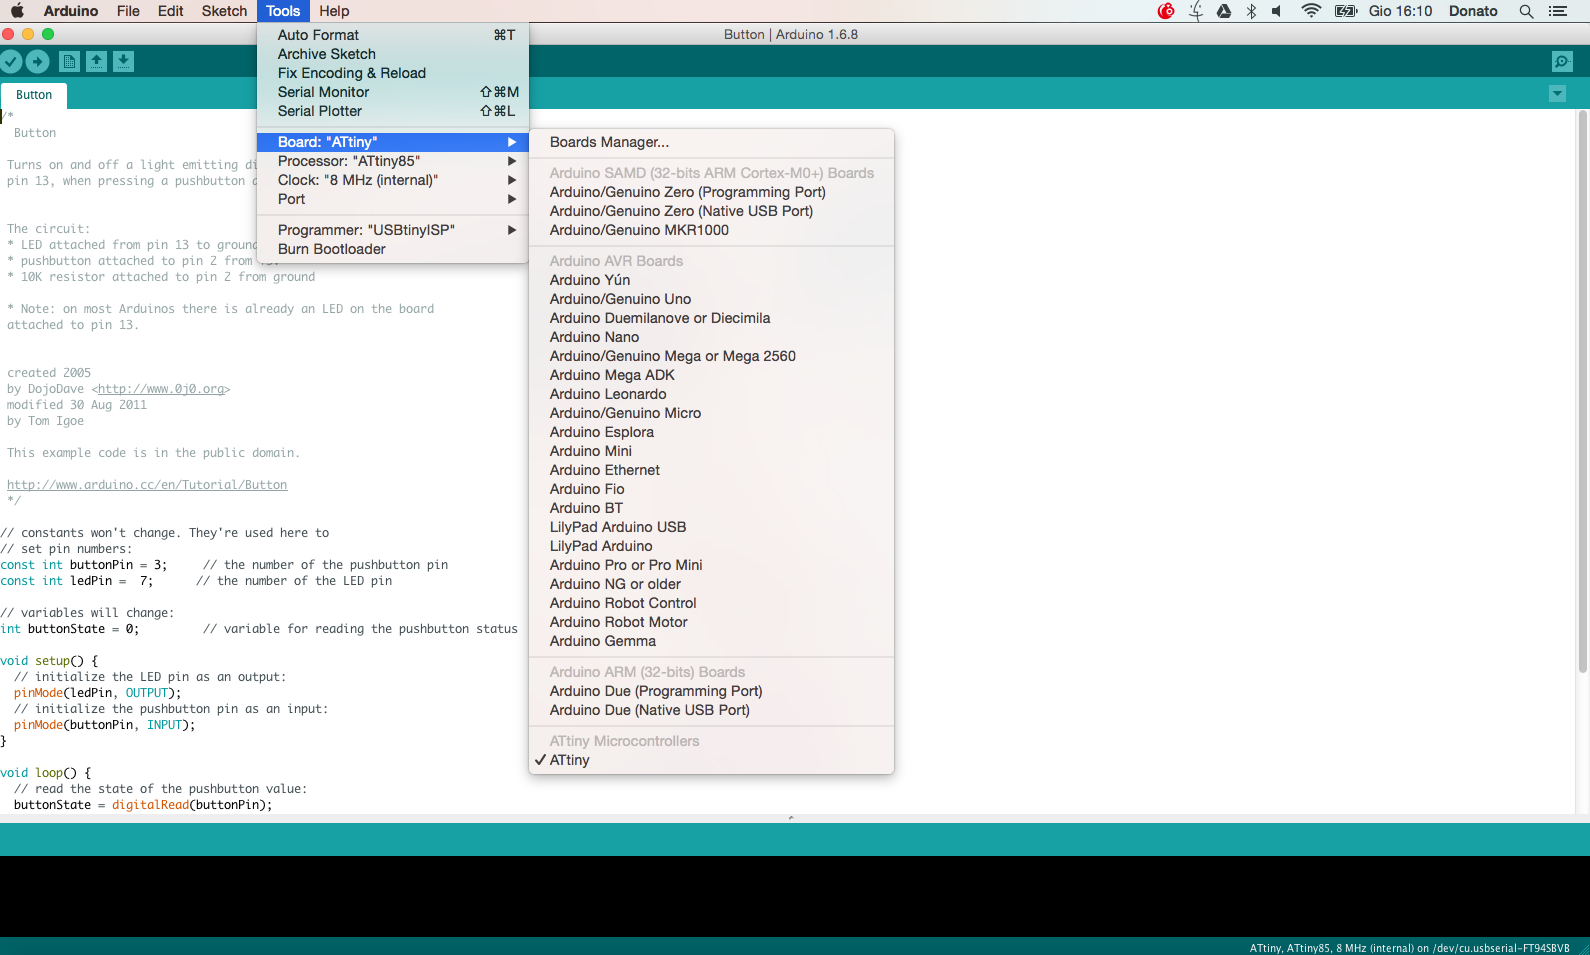
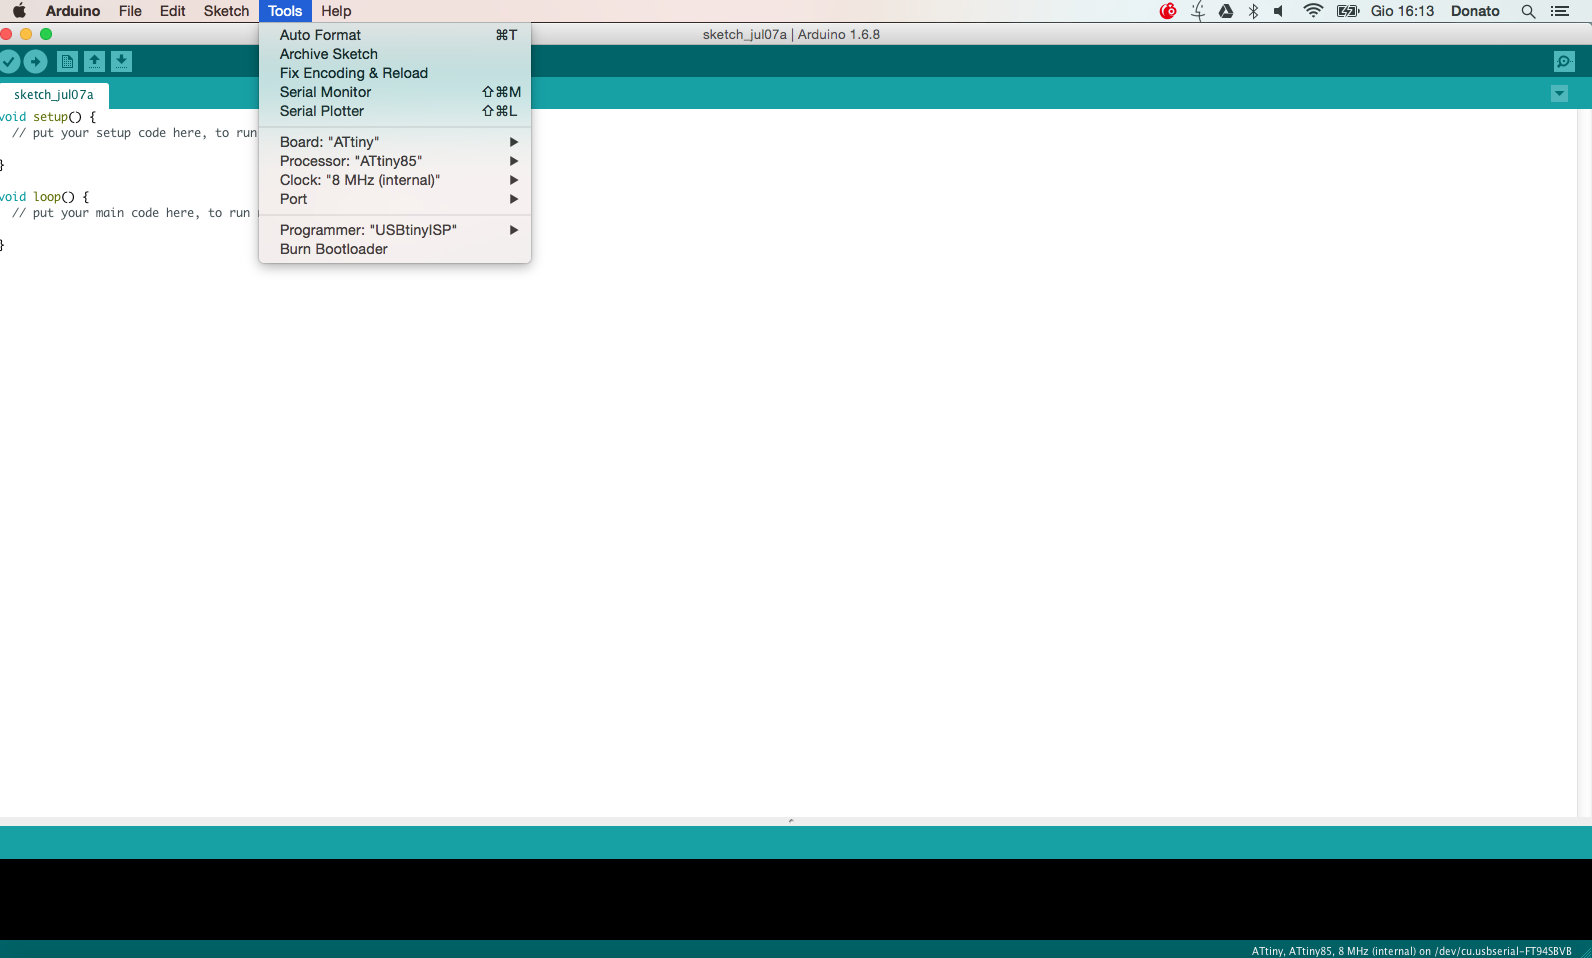
I Opened tool menu
select Board ATtiny
select processor 44 or 45 or Atmega(Leonardo)
Clock 8Mhz Internal for ATtiny 45
Clock 20Mhz External for ATtiny 44
Port: COM x
Preogrammer USBtinyISP
Then I select Burn Bootloader and the board is ready to be programmed.
Blink test
This example shows the simplest thing you can do with an Arduino or Genuino to see physical output: it blinks an LED.
- Open Arduino and go to Files>Examples>Basics>Blink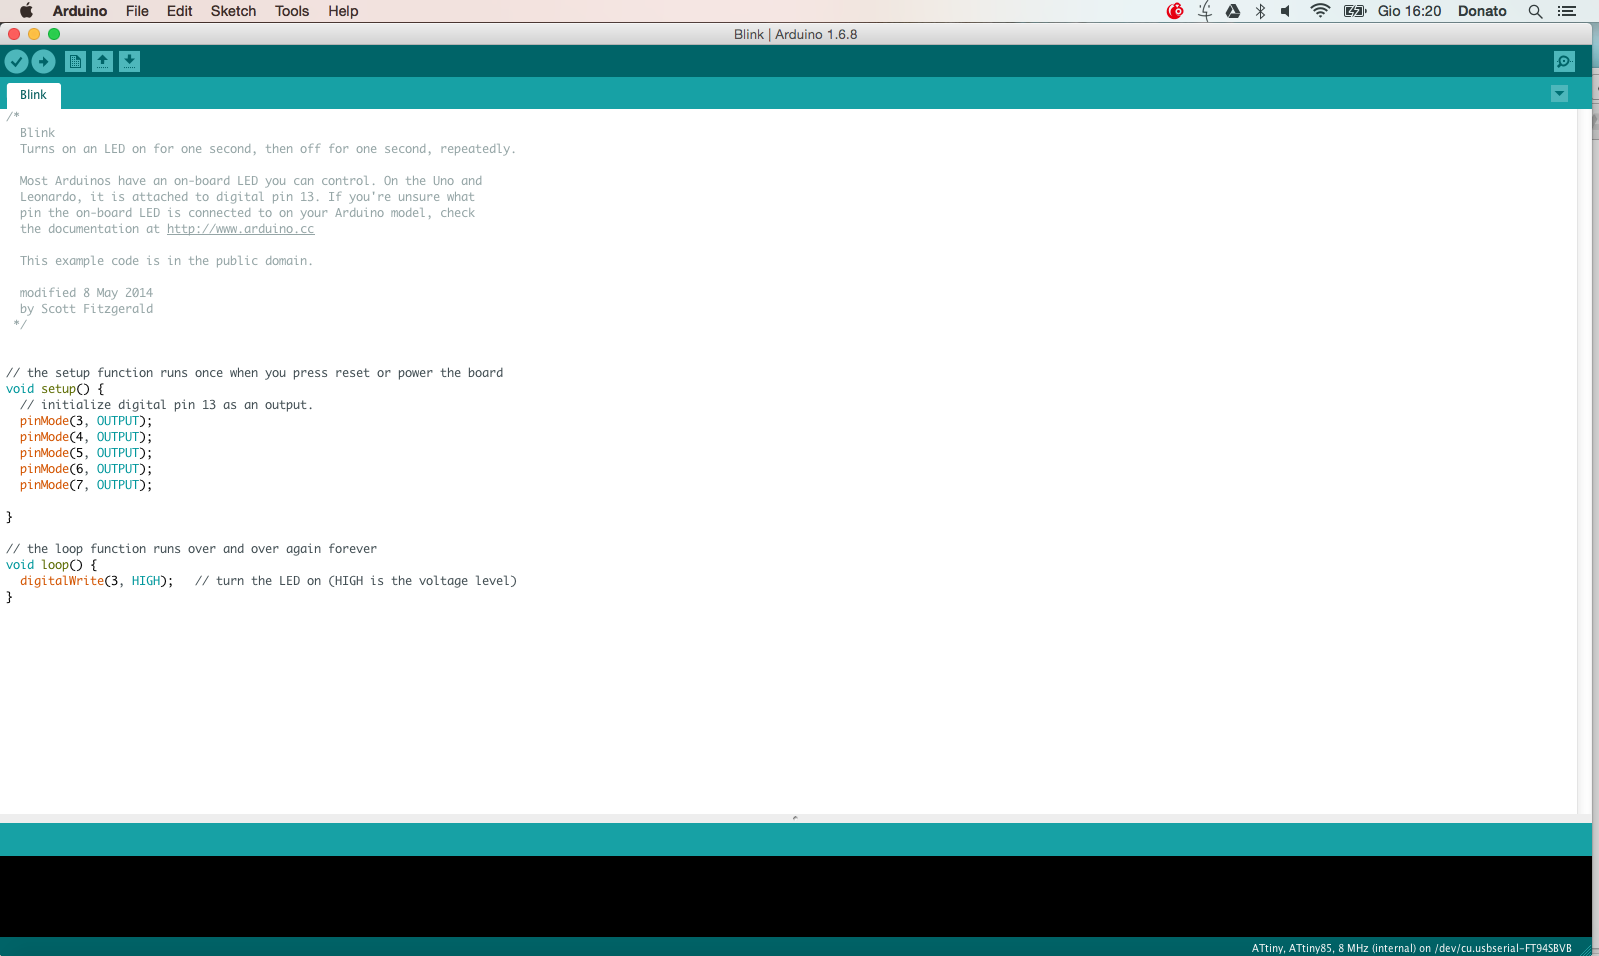
Now is time to upload a simple code but first I need to compare the Arduino Pin with the Attiny 44 pin. The pins have a different number
The Led Button Code
Whit the Arduino IDE I decided to try my board using a simple code for the Led button. If I push the button the Led turn on. I have to define the pin number 3 as a button pin and the pin number 7 for led pin.
Button_ATTINY44.ino
HELLO LED BOARD.brd
HELLO LED BOARD.sch
// Led Button for ATTiny 44 -  Fab Academy 2016 - Donato Polignone //
const int buttonPin = 3;
const int ledPin =  7;

int buttonState = 0;
void setup() {
 pinMode(ledPin, OUTPUT);
 pinMode(buttonPin, INPUT);
}
void loop() {
buttonState = digitalRead(buttonPin);
if (buttonState == HIGH) {
digitalWrite(ledPin, HIGH);
  } else {
   digitalWrite(ledPin, LOW);
  }
}