Computer Controlled Cutting
MIT'S BRIEF
Design, make and document a parametric press-fit construction kit.
Cut a Sticker on the Vinyl Cutter

The first assignment for this week was to make something with the Vinyl Cutter Machine. The vinyl cutter, the Roland Camm-1 CX-24, is a type of computer controlled machine.
The computer controls the movement of a sharp blade and this blade is used to cut out shapes, letters from sheets of thin self-adhesive plastic(vinyl), banners and also DIY sticker circuits (nice!).
The vinyl cutter+ Cut Studio
After the vector file was ready, we opened Cut Studio and imported the file with copy/paste into the program and loaded the vinyl into the backside of the machine. The machine recognized the size of the sheet by rolling it from end to end.
Important: The rollers needed to stay on the white markers on the top part. If not, the machine didn't work. The rollers are also moved from the backside of the machine.
Once the red sheet was placed between the markers, we locked the machine using the lever behind it.
After that I pressed the Menu button and used the arrow keys to get to the Select Sheet> Piece option. When the command sheet was selected, the machine recognized the size of the piece and auto-set home X,Y.
If you're using a roll of vinyl, just select roll. Then hit Enter.
.gif)
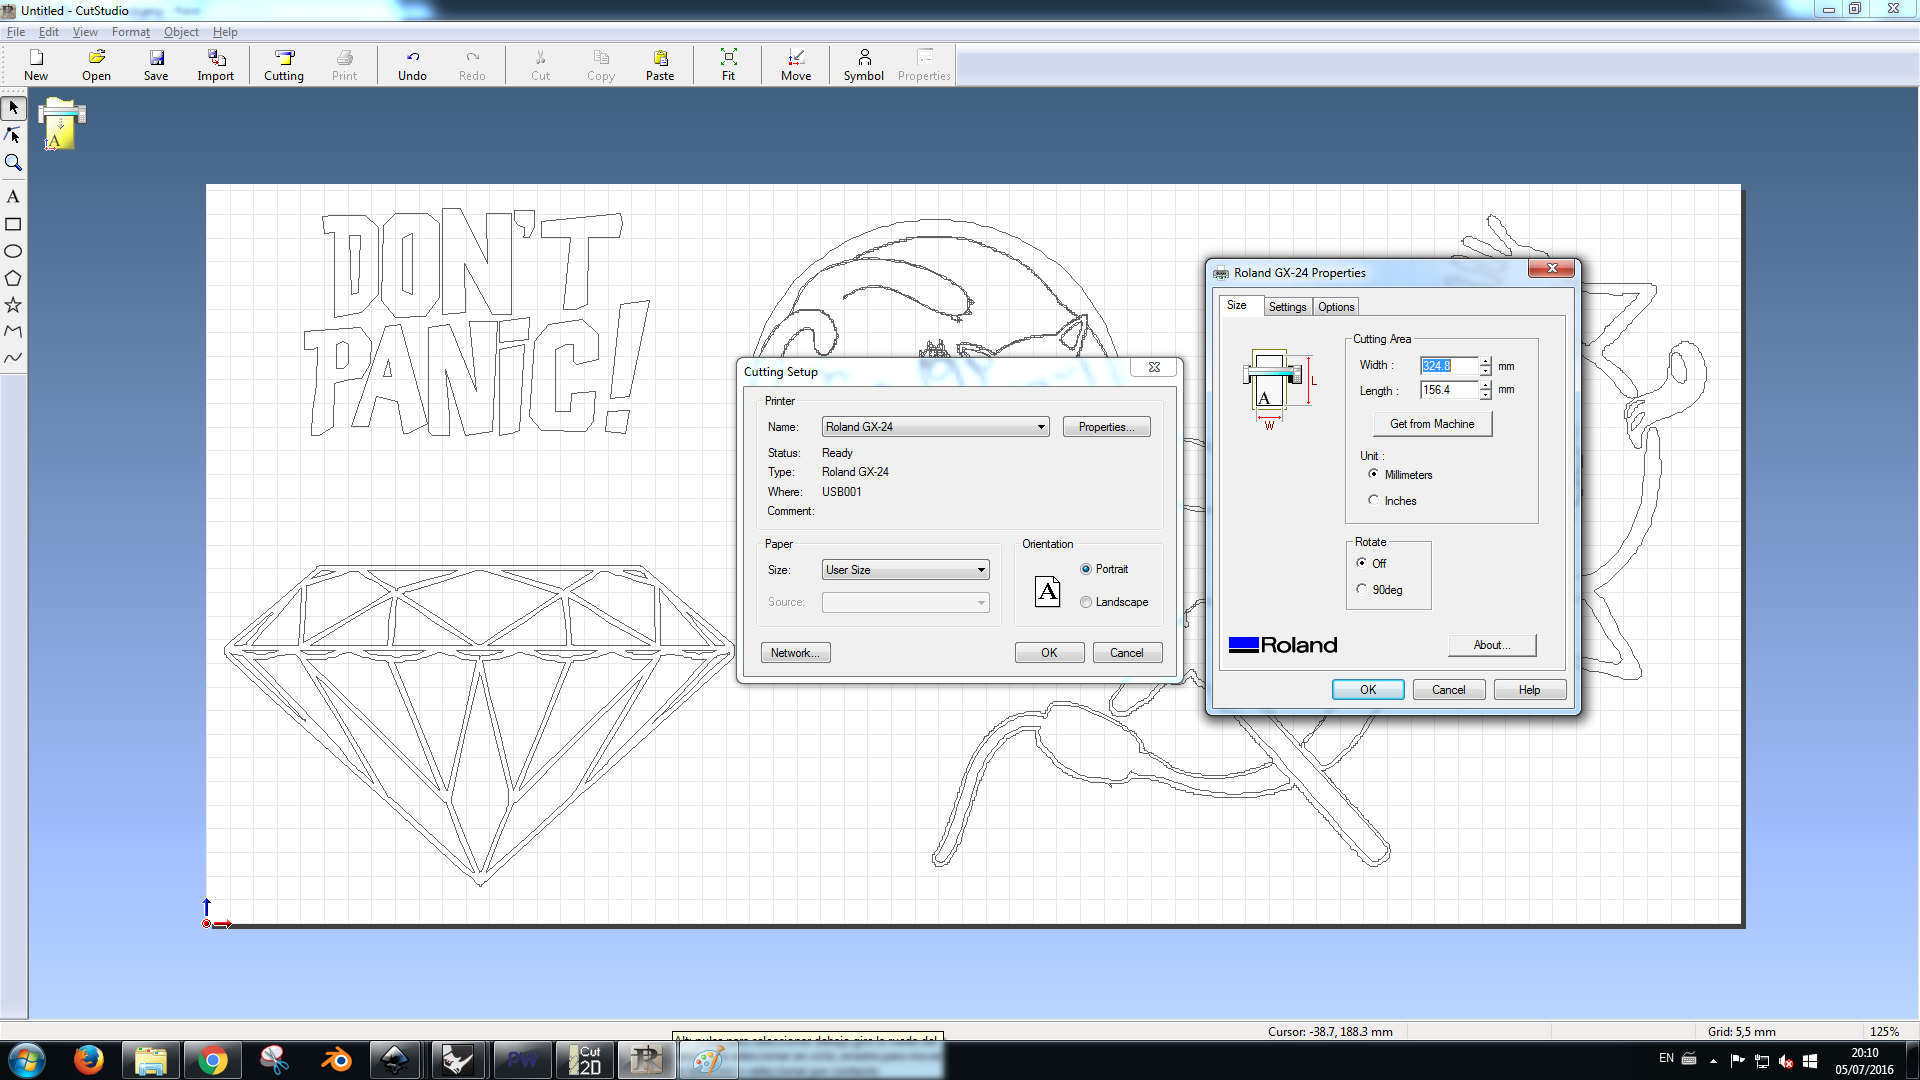
CutStudio software
With Inkscape I drawed a diamond shape and consequently exported the file in .svg.
to import the .svg file into CutStudio, using Inkscape just type Ctrl+A, Ctrl+C then return to cut studio to paste the drawing.
-Give high resolution to the image
go to file >Cutting setup > Properties > Get From Machine (this will auto set our paper size in the software). Now adjust the placement of your files, and go to File>CuttingThen the machine starts to cut.
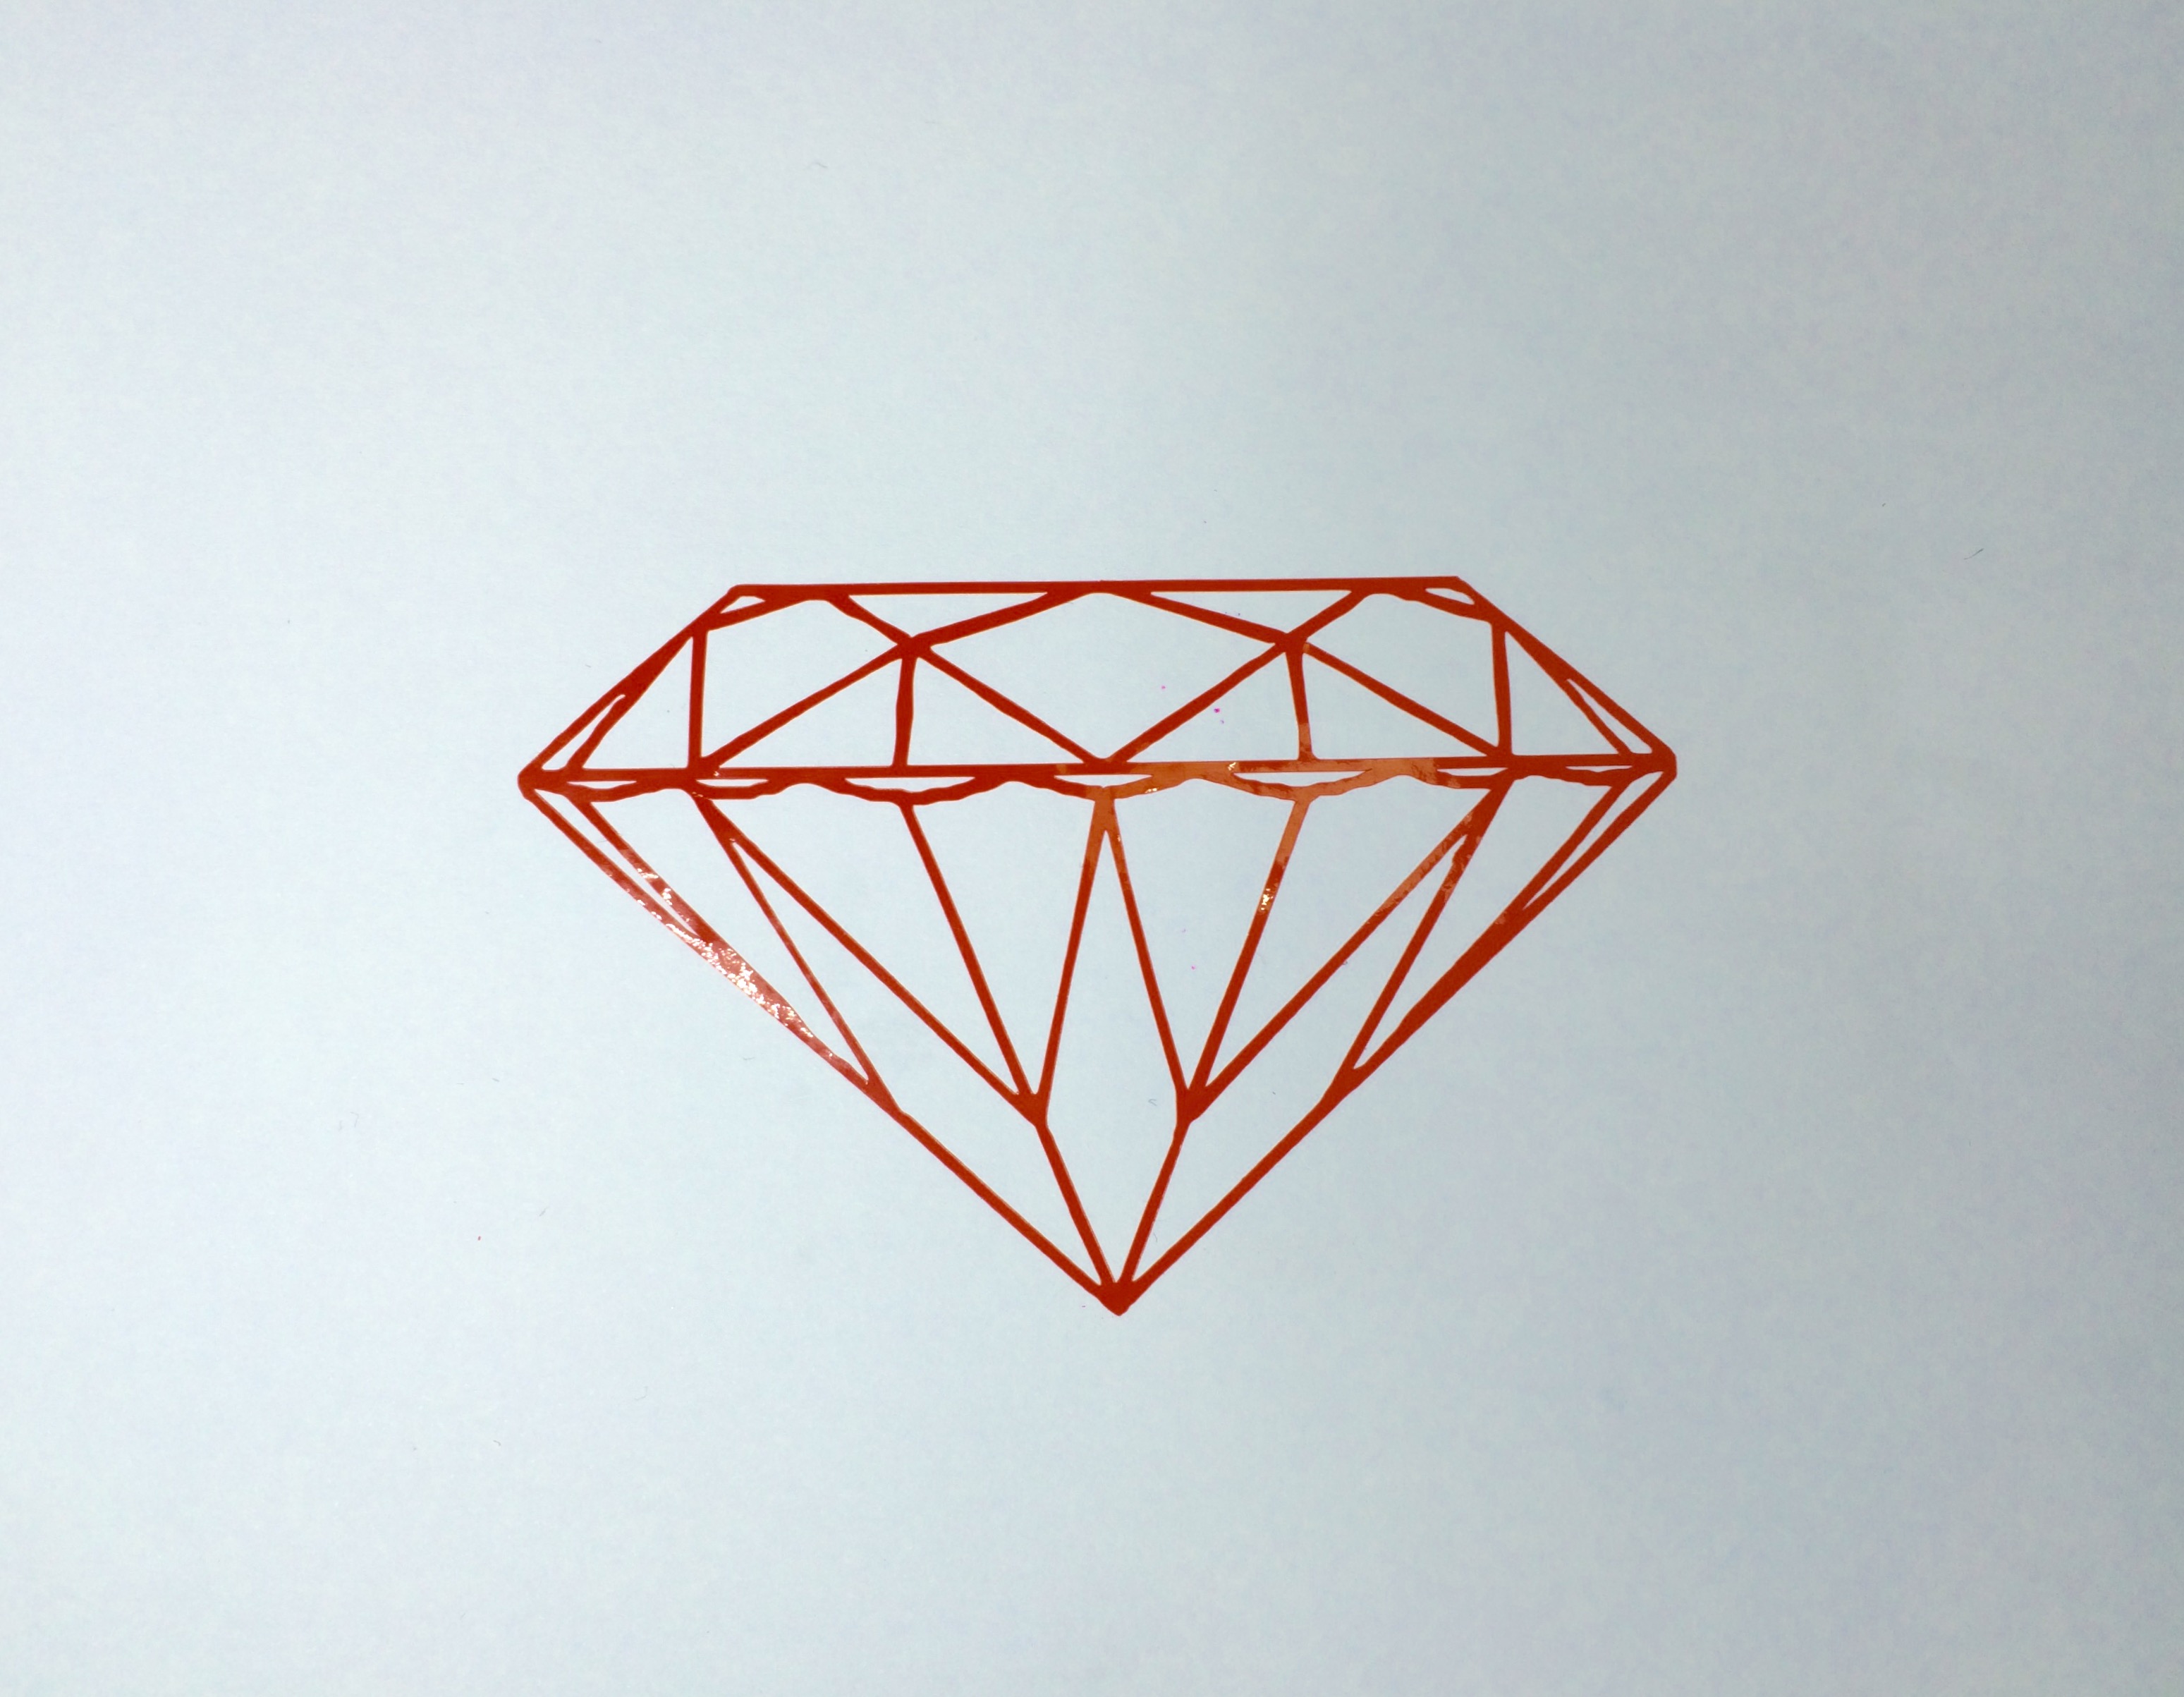
Once the cut finished I just removed I removed the unnecessary parts with the tweezers and placed my red sticker into a paper.

Final Result
Parametric press-fit construction
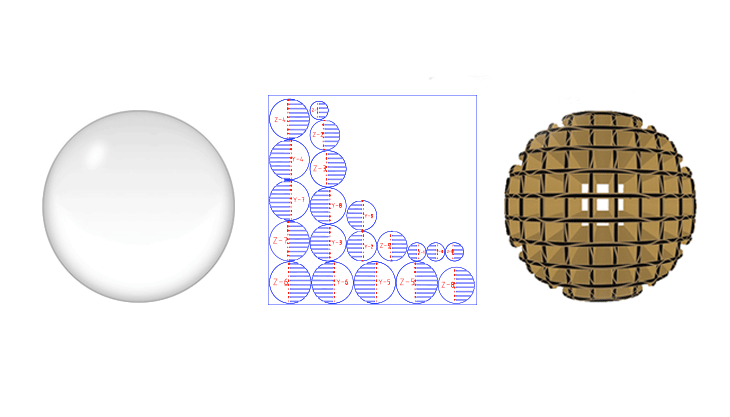
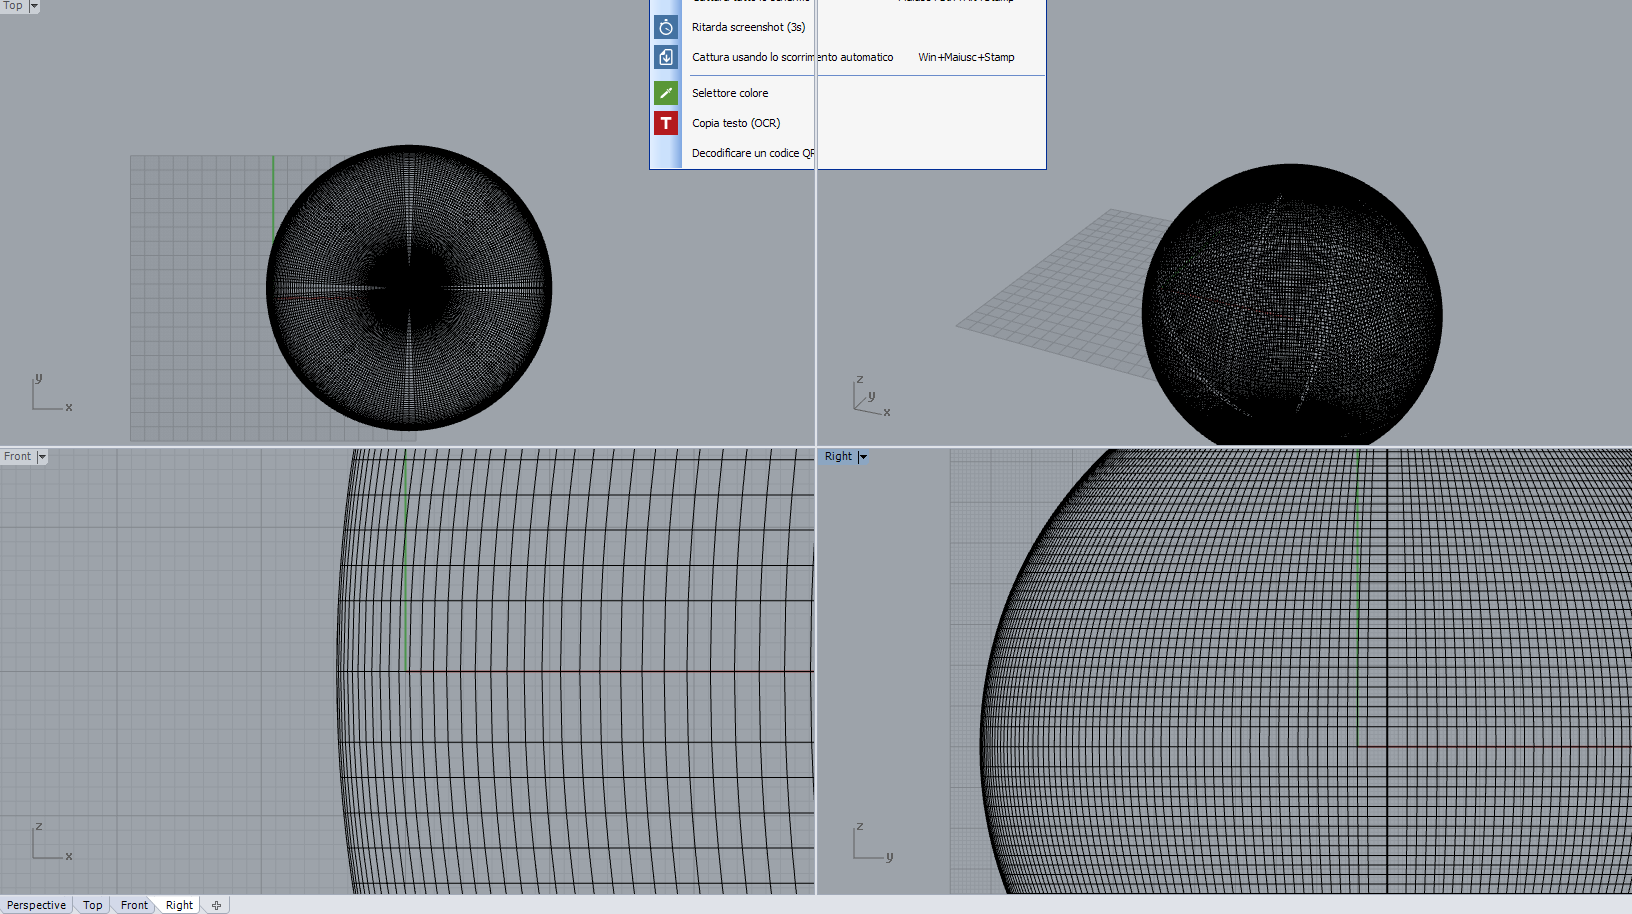
I designed a simple model in Rhinoceros of a sphere of diameter 20 cm and exported as a .stl file .
I used the software 123D MAKE to make and calculate the individual slices of the model.
Settings
Object size
-Units:cm
-height,width and lenght: 20.000
Construction settings
-Interlocked Slices
Slices Distribution
Method > By Count
-1st Axis:10
-2st Axis:10
Notch Factor:0.000
Notch Angle:45.000
Relief Type>Square
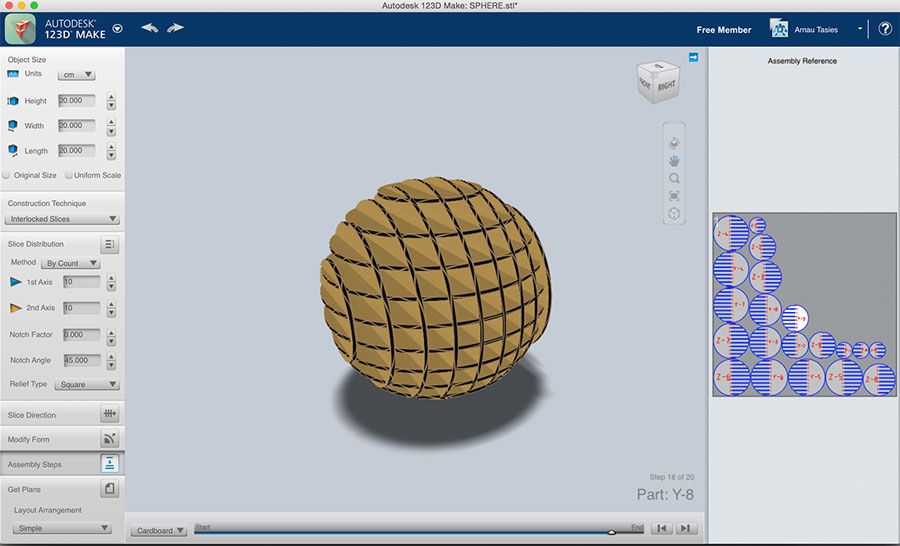
The program turn 3D models into 2D build plans with animated assembly instructions.After the laser cutting process I'll assembly the 20 parts obtained.
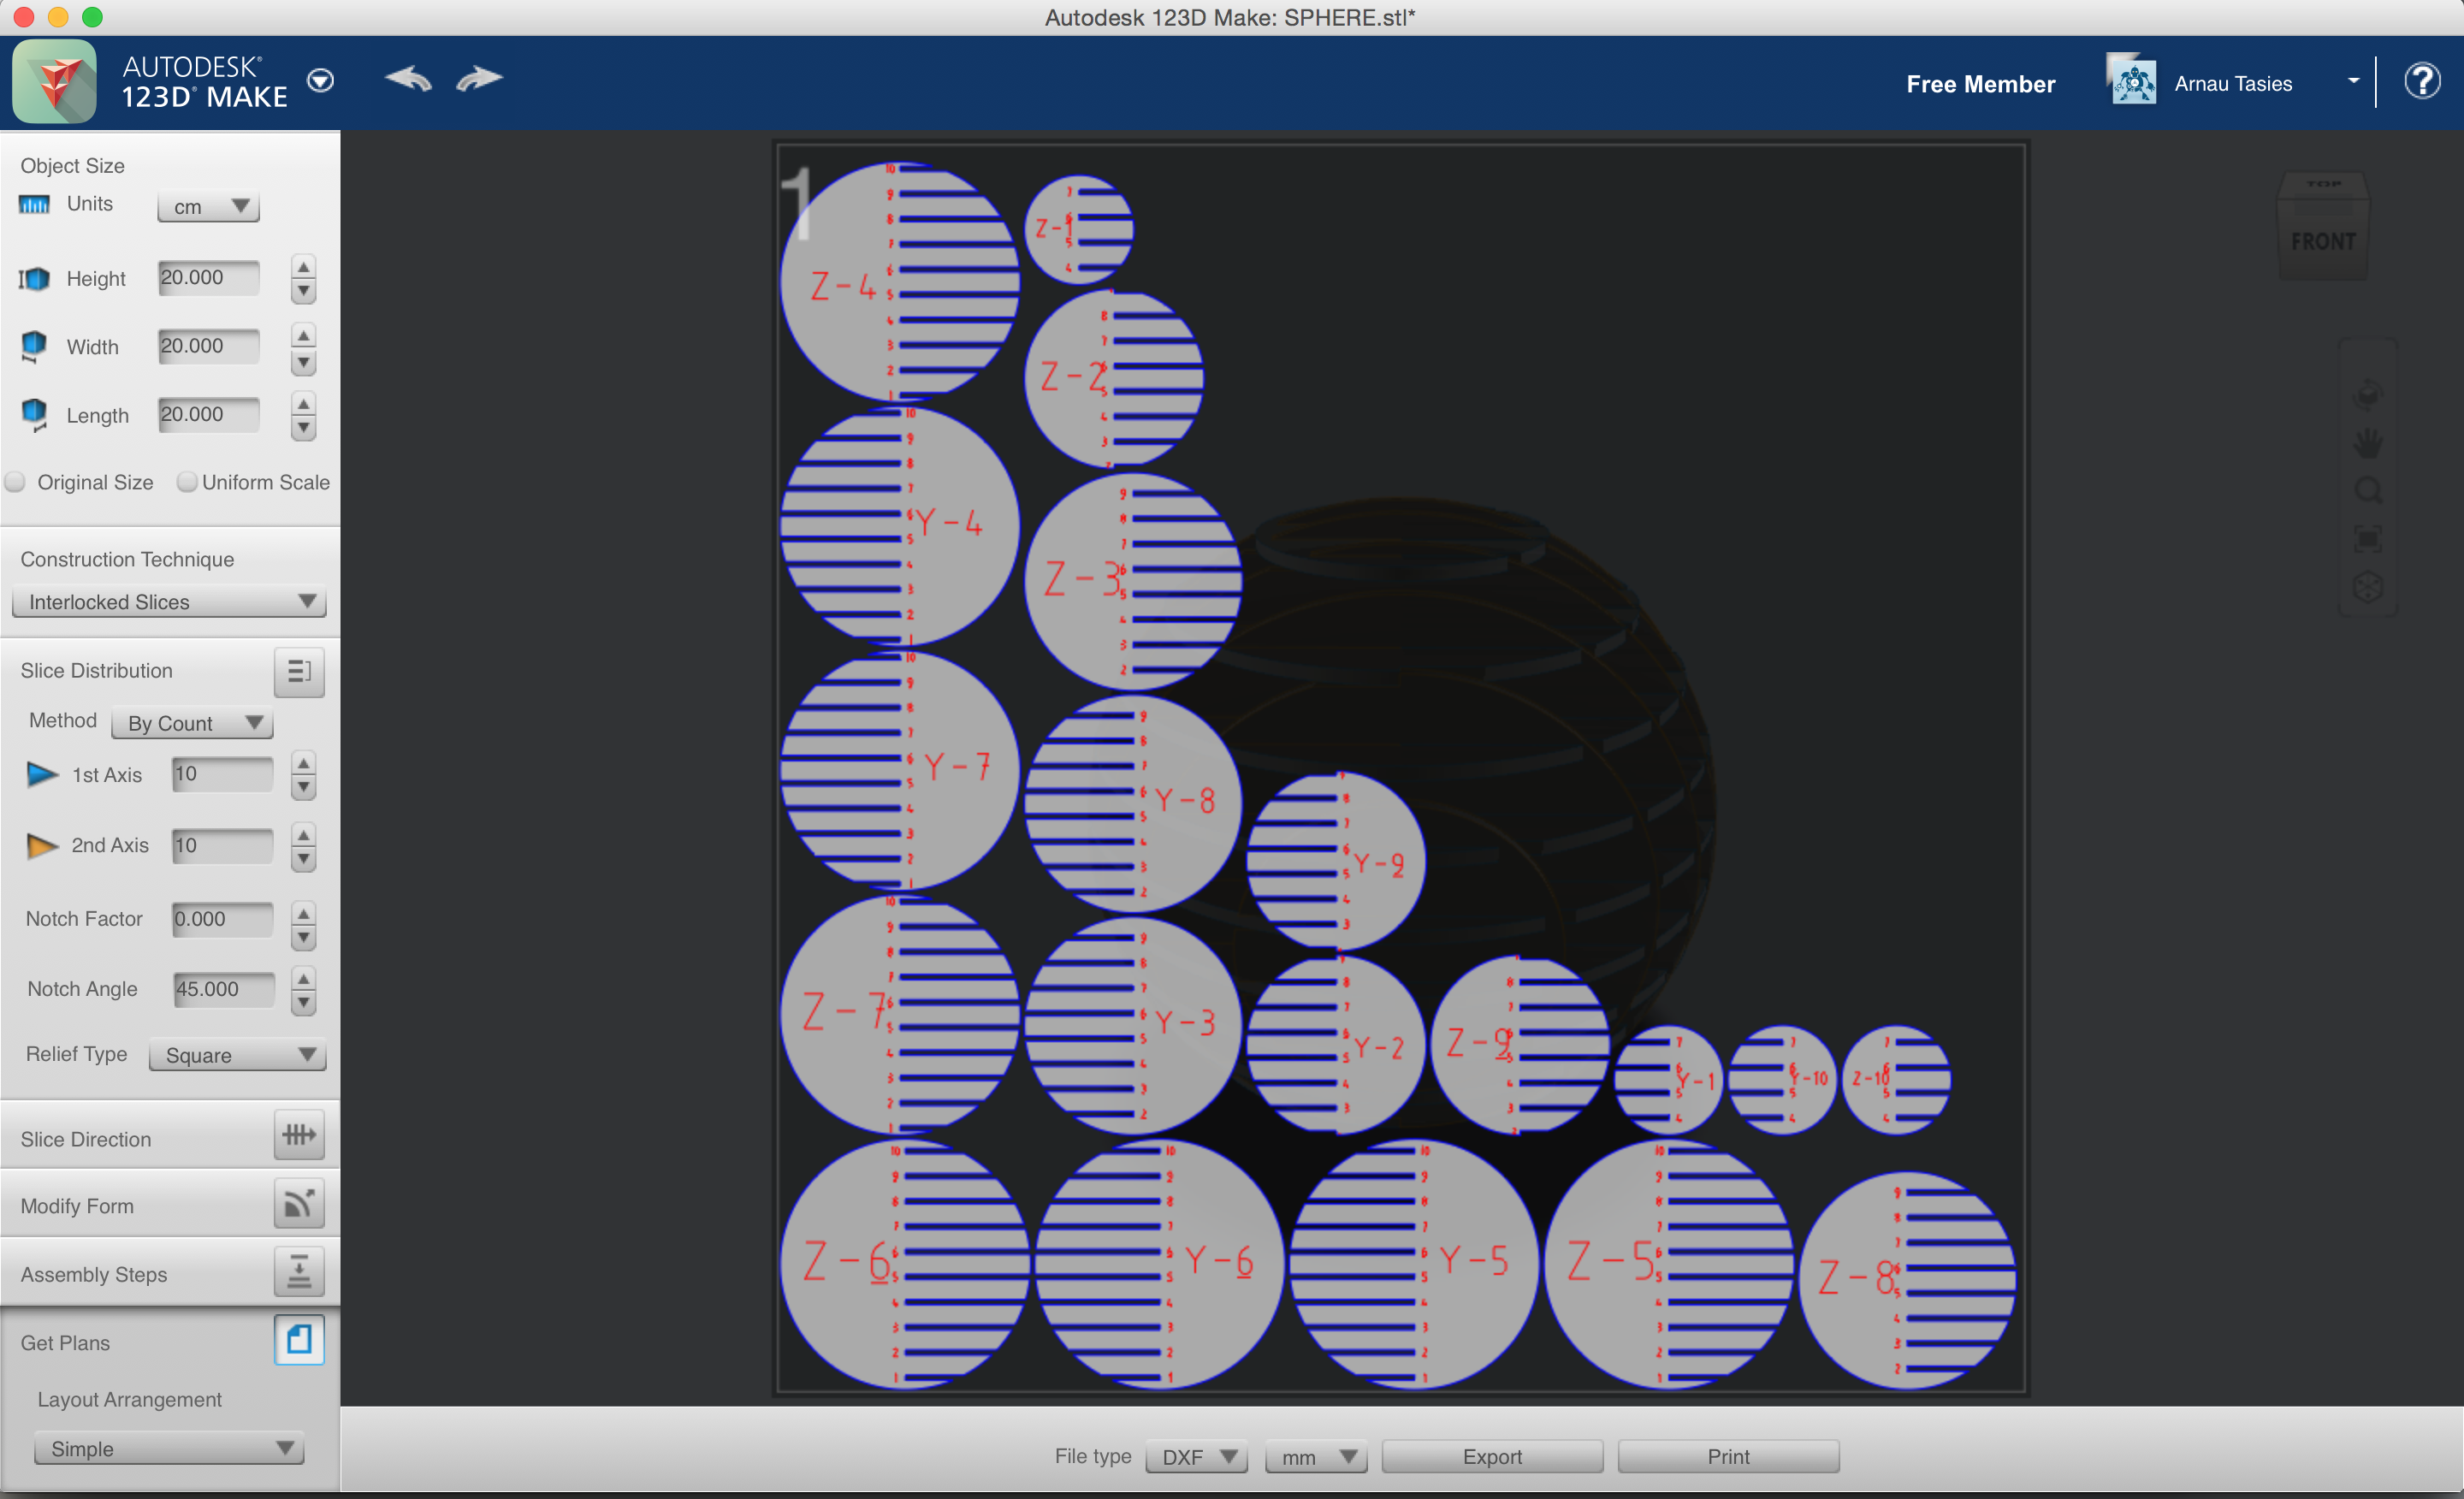
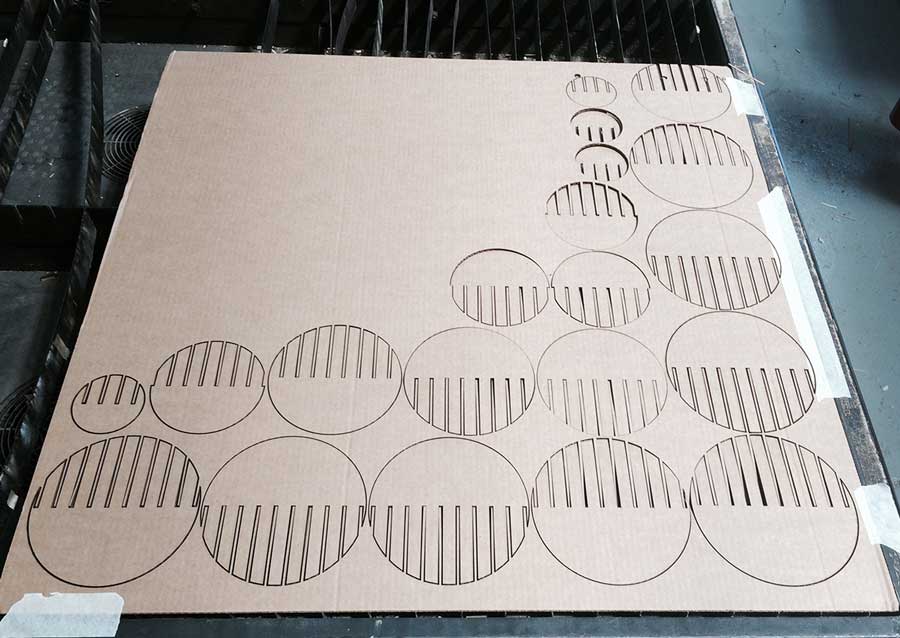
I exported the file in dxf and prepared for the laser cutting.The images belows show the merge selection and the cut.
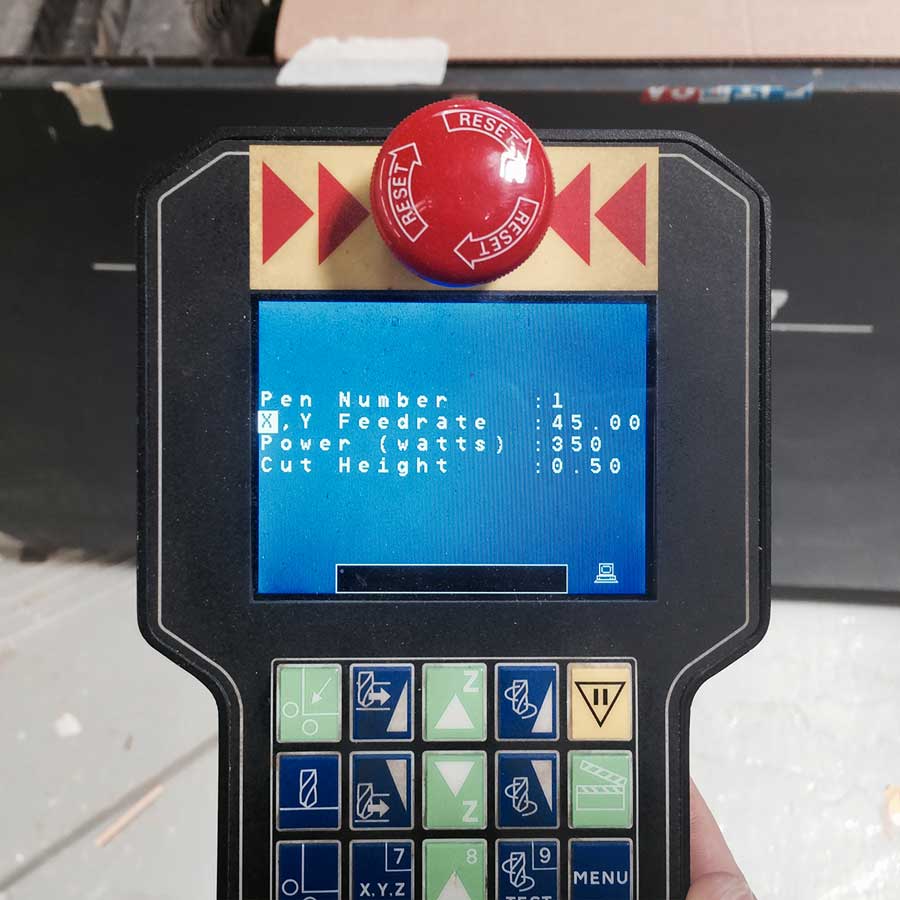
Then I used the MultiCam Router Keypad (read the specification here) and configurated these settings for the cut:
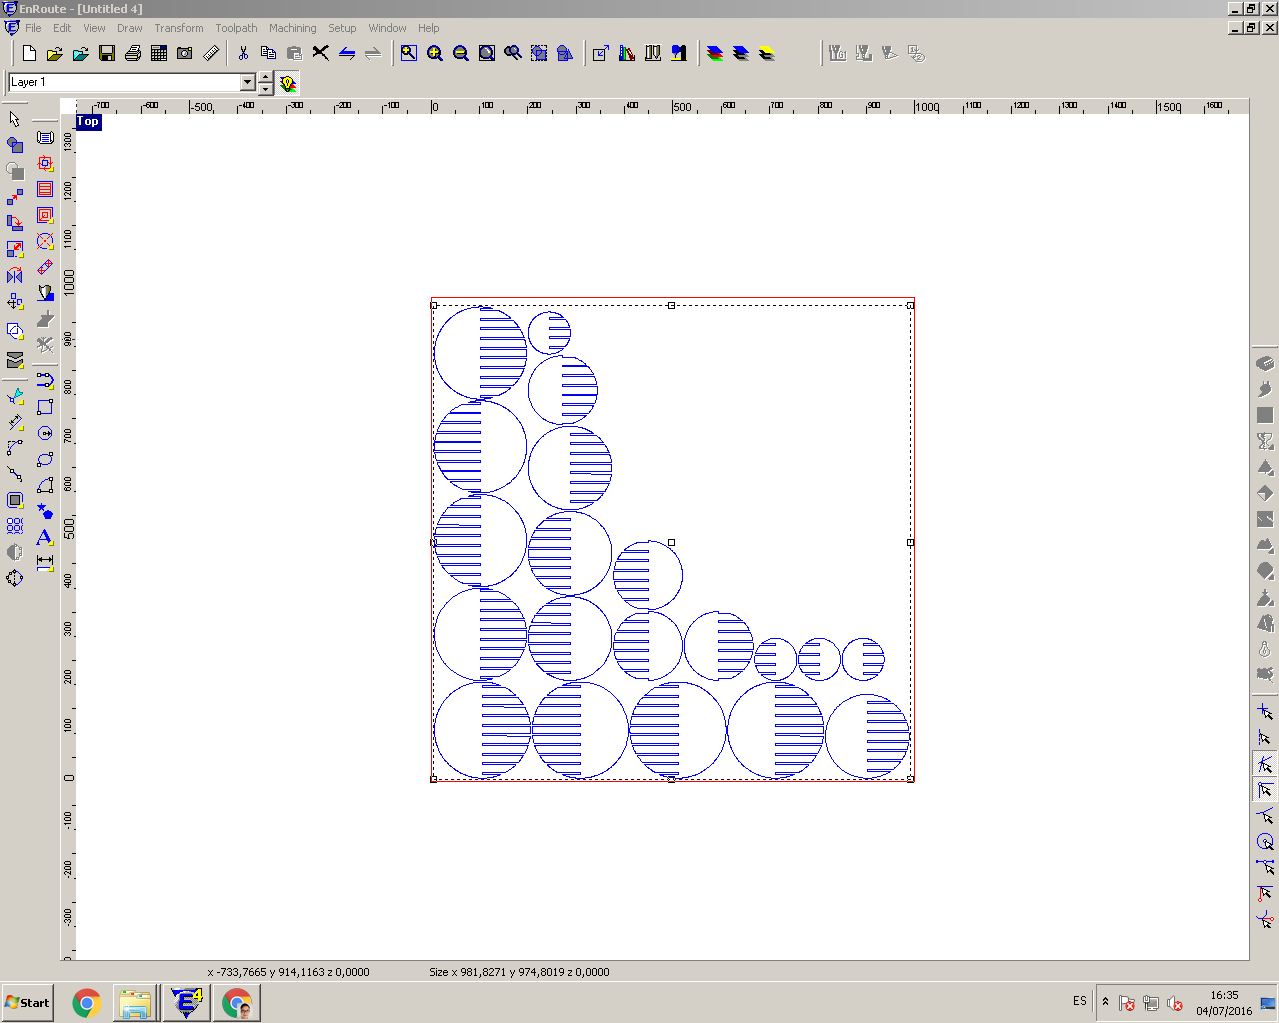
EnRoute settings
Open a new file: File>New
set your sheet size:width/heigh in mm
Import .dxf file: File>Import file
File>Save your file inside your folder.
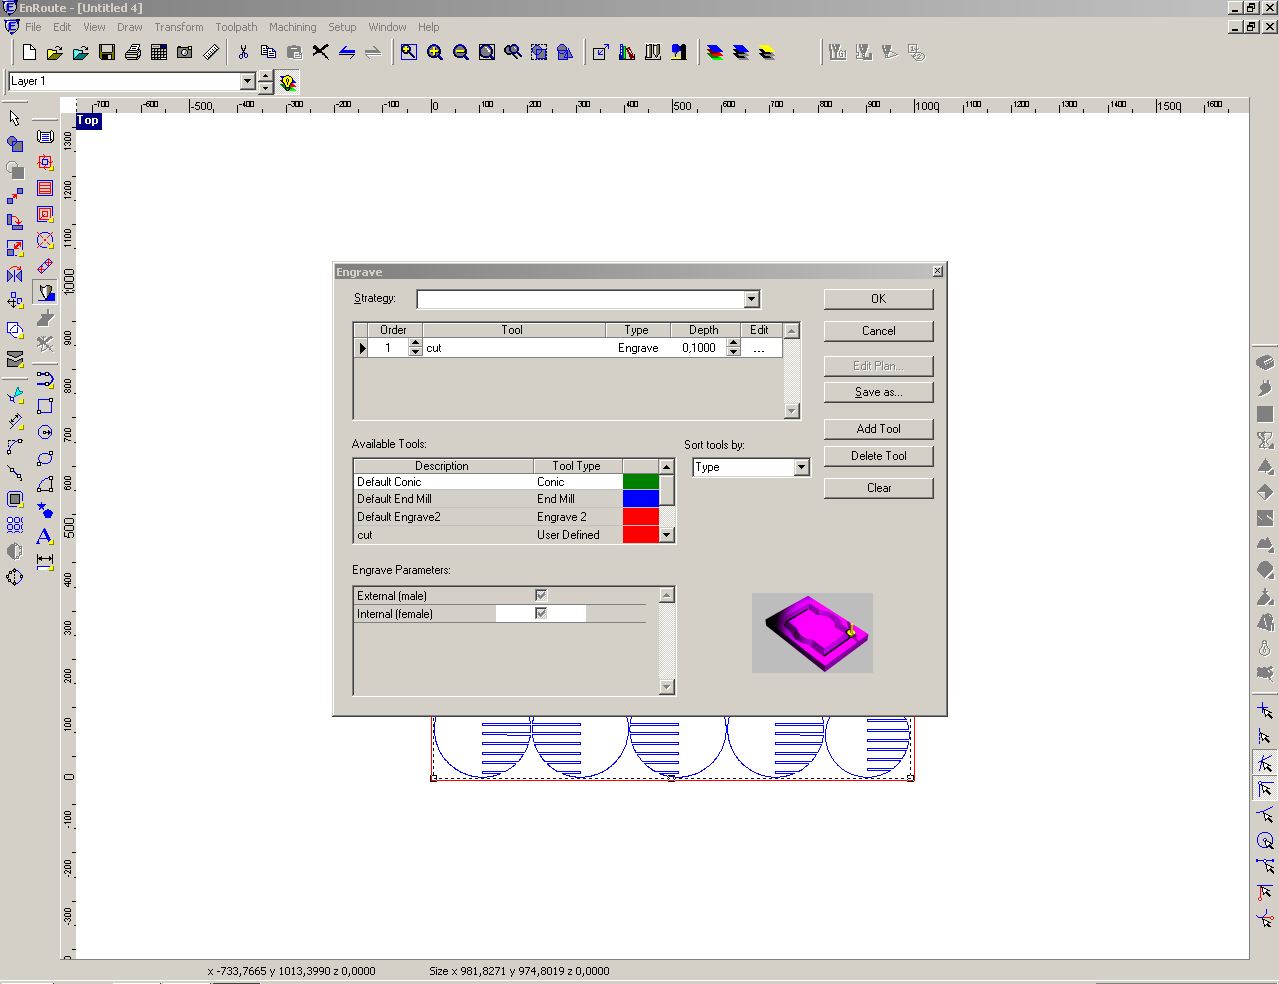
Settings of the MultiCam Router Keypad for the laser cutting of the sphere.
X,Y Feedrate:45.00
Power:350
cut height:0,50
Select everything and go to Transform – Merge selection>cut>ok
X,Y Feedrate:45.00
Power:350
cut height:0,50
I set the origin and started the cut.
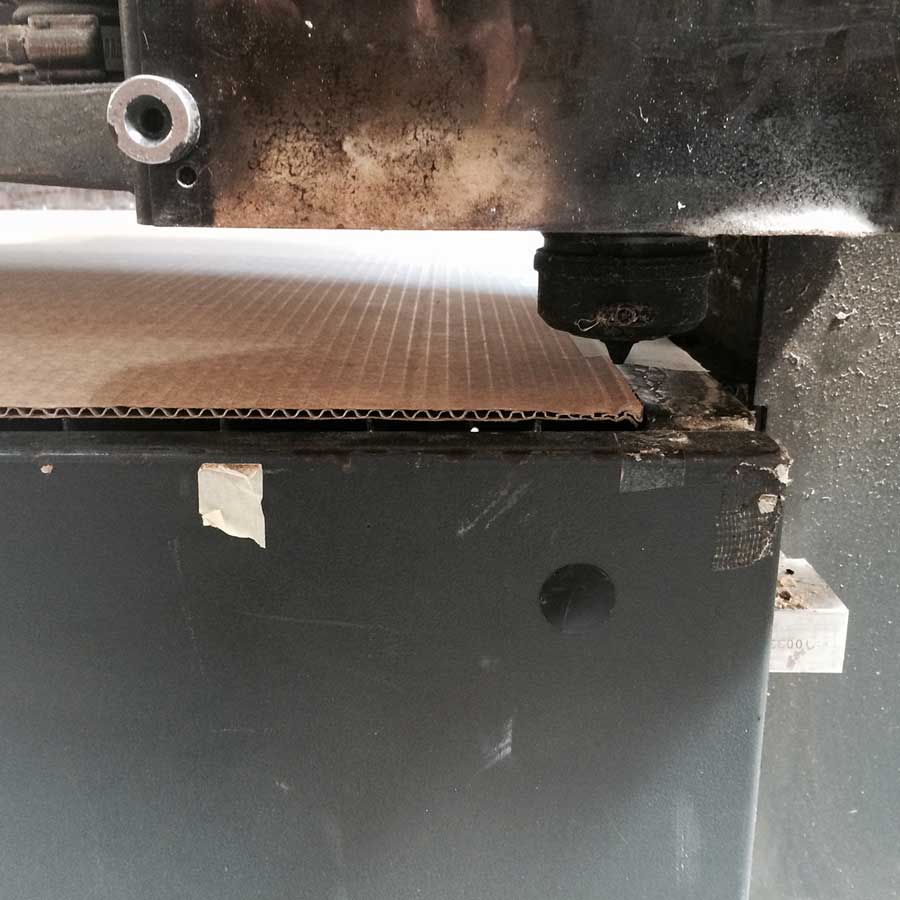
Below a short video of the laser cut
the final result.