design and make a 3D mold (~ft2), and produce a fiber composite part in it
Software Used:
Rhino
Inkscape
Rhino Cam or Partworks
Material:
4mm Cardboard
Burlap or FiberGlass
Resin
4mm Cardboard
Burlap or FiberGlass
Resin
This is a exciting week I had the opportunity to make some of the things I always wanted to do when I was a Kid.
For this week I started by Designing a SkimBoard for skimming a sport I love to do!
Tips and Tricks:
You can add extra plies to a location you know there will be greater forces
Sock well the material with resin
Vacuum the Resin to extract the air bobbles
Two part mold for a smooth surface on both sides
If using double sided mold don't forget to leave space for the fibers(2-3mm)
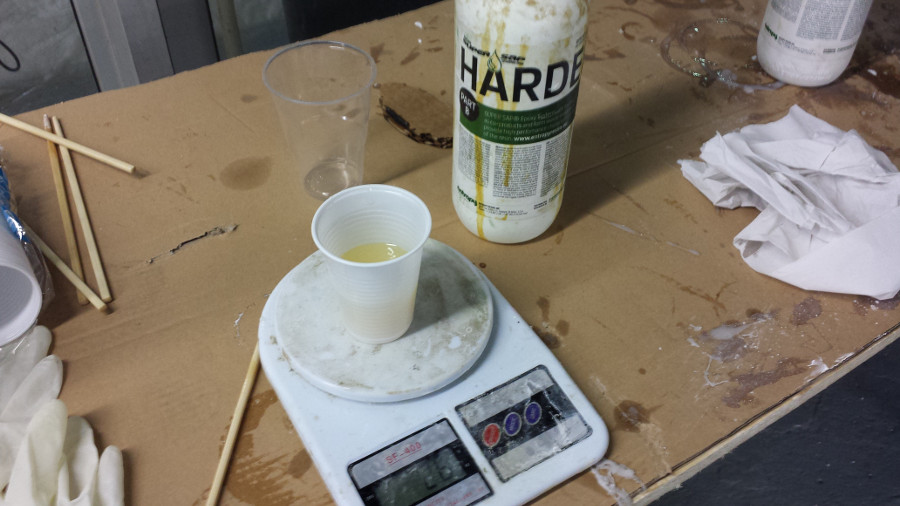
Use a big cup to increase the pot life of the Resin, the bigger the surface area the longer it takes to harden
Coupon Test:
You should first make a coupon test of the material you are gonna use so you can be comfortable with it, see how it reacts and how it behaves! In my case I am going to use cardboard as a skeleton so I wanted to test that to.
So here is the process of casting:
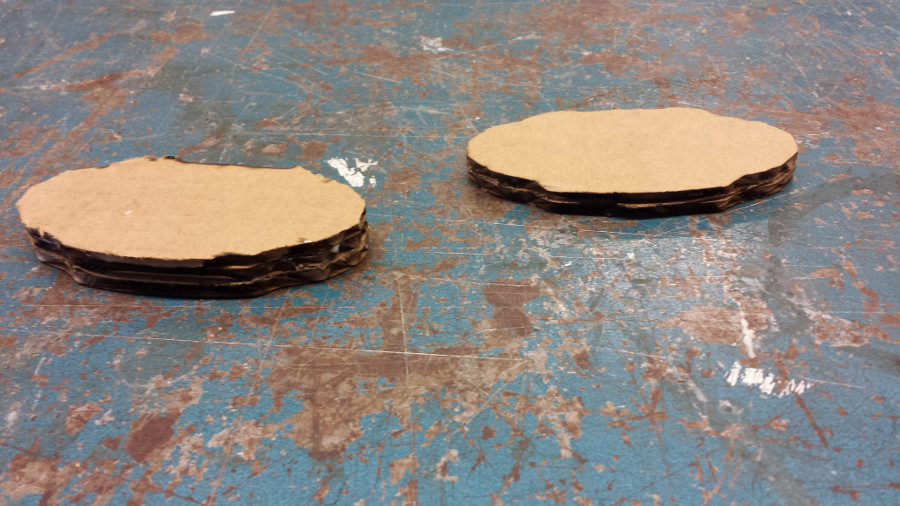
Cut a small prototype of desired shape of cardboard
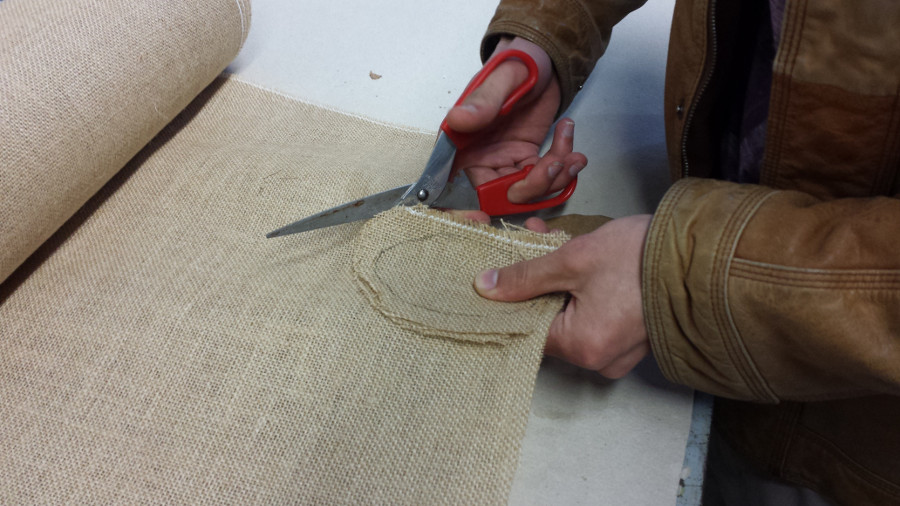
Cut the material going to be tested with a 10mm extra in the boarder.
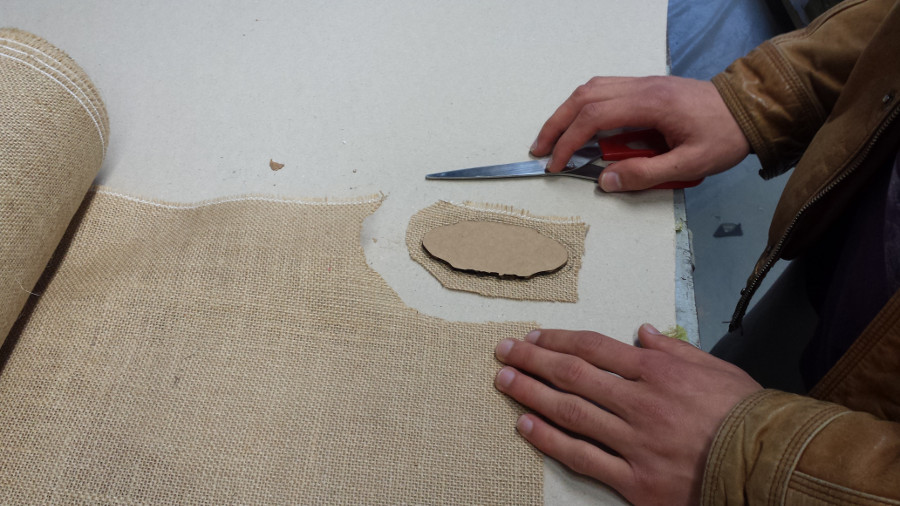
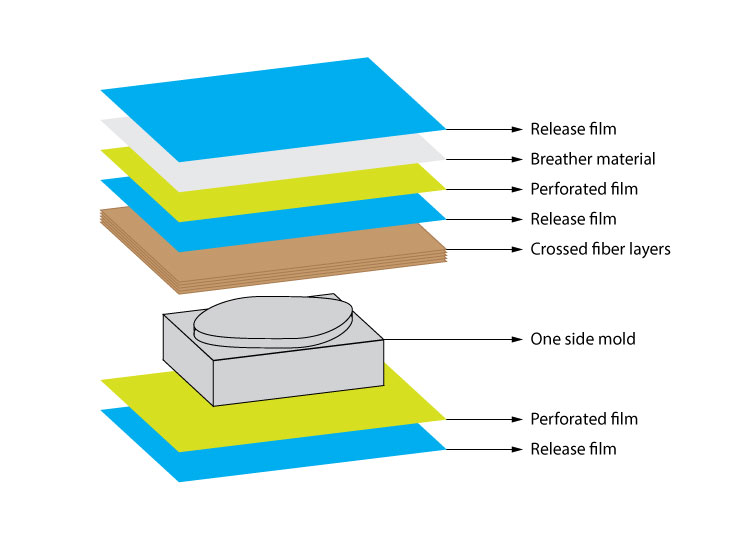
Cut the Different layers of the casting process
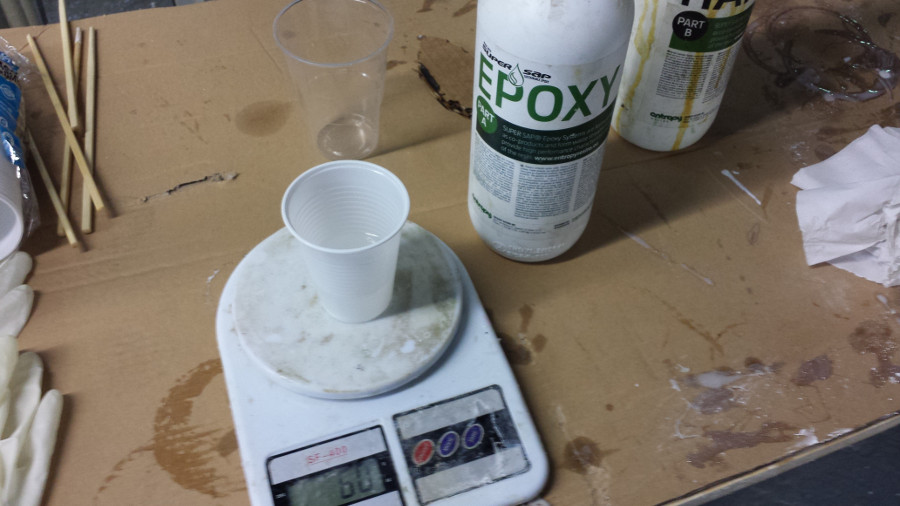
Prepare Epoxy Resin and the Hardener mix, by weight 100% Epoxy and 47% Hardener; Mix for 5min-10min
Pour over the material and spread with a old brush or spatula and wrap around the model
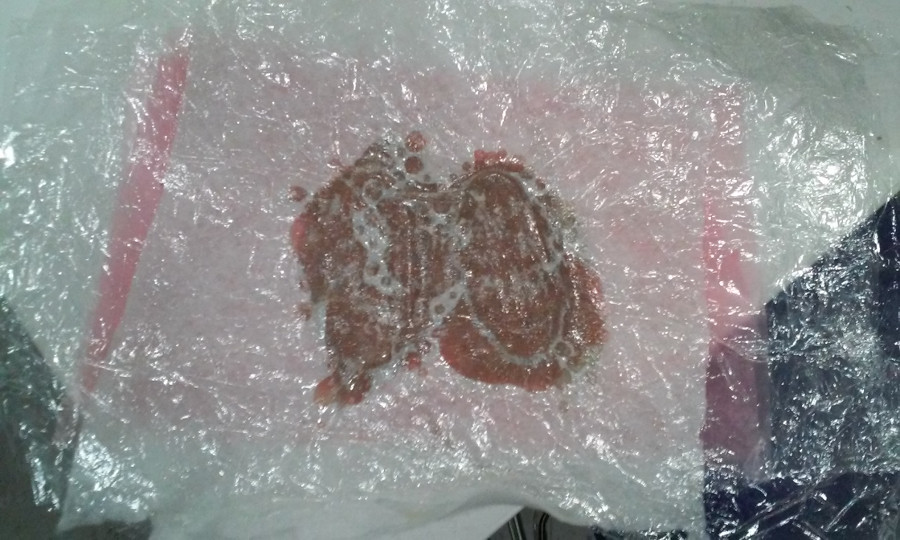
Make the "Sandwich" for the Vacuum
Put in the vacuum in auto-mode
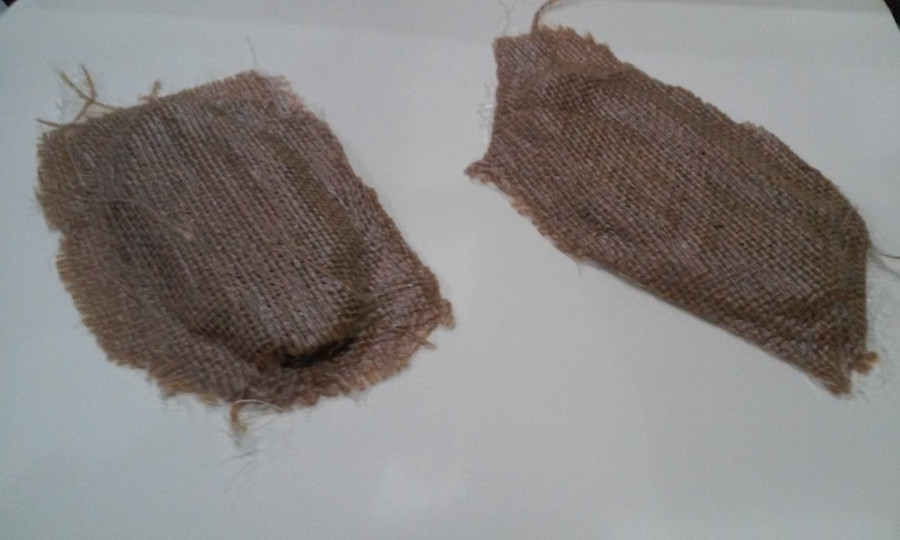
Final Result:
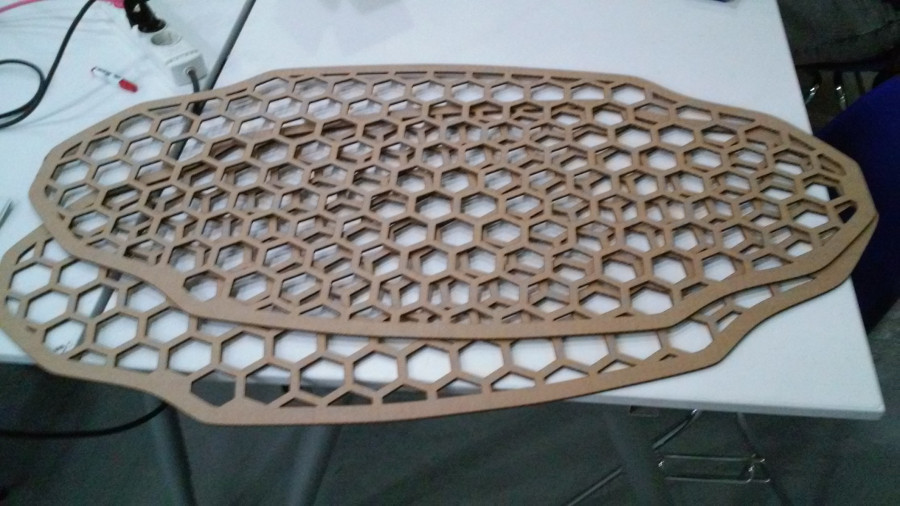
Board Design:
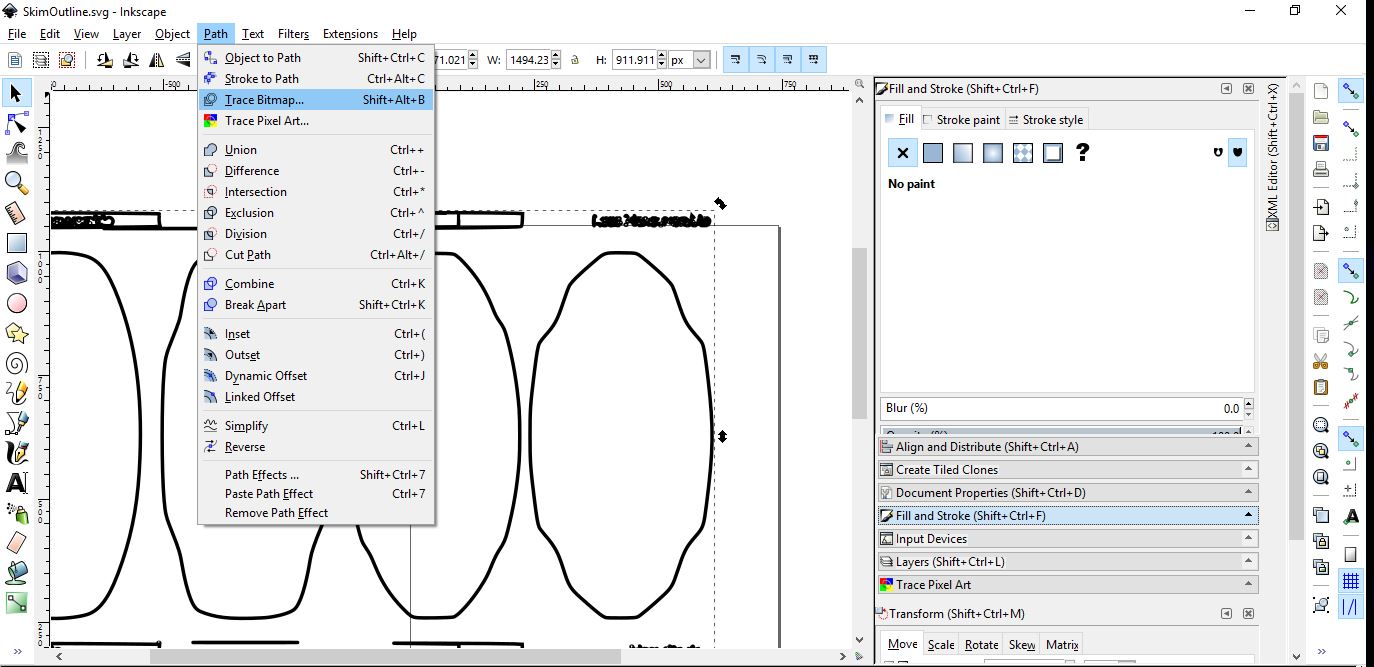
I Designed everything using Rhino and Inkscape.
Used Inkscape to trace a board shape and exported as an DXF to Rhino.
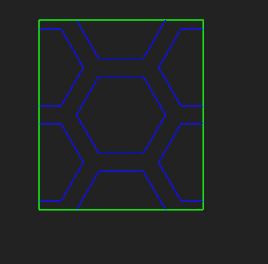
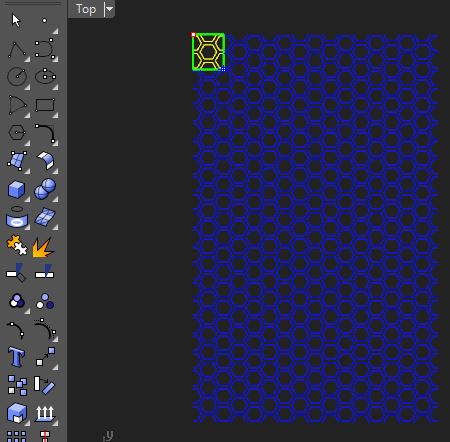
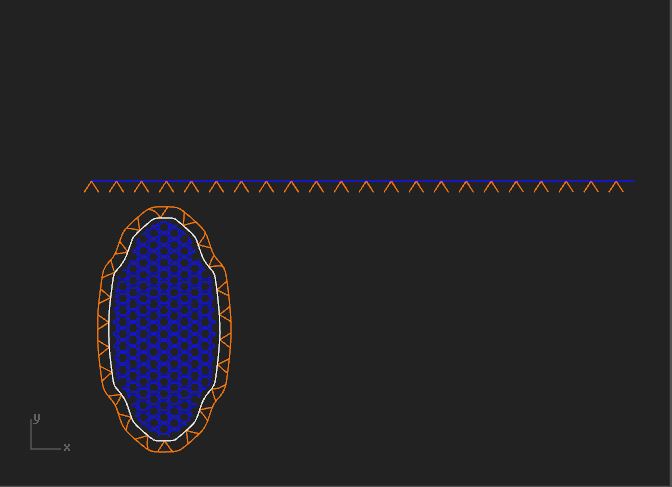
Worked on the pattern and created an array out of it
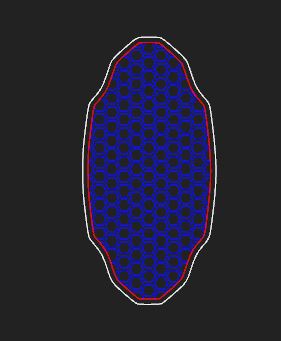
Applied the pattern to the board and trimmed the extras
Created some Darts to cut the Fabric and used a base line to "flow" the darts along the board line.
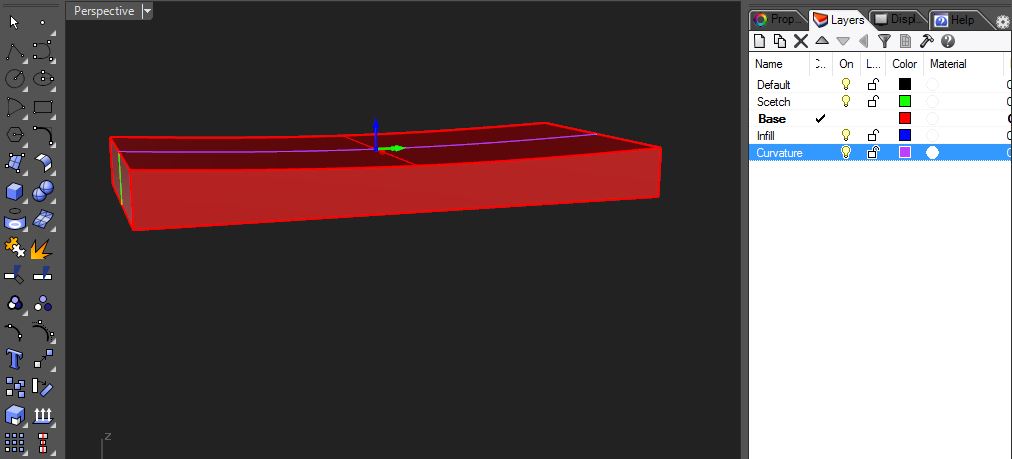
Created the Styrofoam base to give a smooth angle to the board in Vacuum, based on SkimBoard Production Values
Laser Cutting and Milling:
Laser Cutting :
Since the board is quite big for normal laser cutters I took the opportunity to learn how to use the large scale laser cutter Multicam 2000 Laser Cutter.
Generating cut path's for the machine:
Open EnRoute. If it's already open – go straight to step 2
Open a new file ( File - New ) and set your sheet size (width/heigh in mm, thickness is not important)
Import your .dxf file: File – Import – find your file
Make sure that your drawing is inside the red border. If you need to scale or move your drawing: select everything and press F2 on the keyboard
Select everything and go to Transform – Merge selection… and click OK
If you are using two strategies (engraving and cutting) then go to Layers ( Setup - Layers ) and turn the engraving layer ON and the cutting layer OFF
Select all and click on the 'Engraving...' button (Toolpath - Engraving), in the drop-down menu select your Strategy – 'eng' and click OK. You will see the generated paths for your design
Go to Layers again and switch your cutting layer ON and the engraving one OFF
Select all and go to Engraving again but this time choose 'cut' in the drop-down menu
Switch all the layers ON. You will see all your paths together
Click the 'Output option' ( Machining - Output ) icon. Go to the 'Tool Order' section and make sure that 'engrave' is the first. If not – drag it up (click on the left box next to the number when the cursor will be an arrow to drag it up). If you have smaller pieces inside bigger pieces (holes, openings, etc.) then in 'Object Order' check 'Inside out'. Also check 'Small parts first'. Press 'To File'
Save your file inside 'Dnc files' folder. Use one of the existing folders (MAA, FabAcademy, etc.). You can also create your own folder
Done! Your file is sent to the machine
Setting the machine to cut:
Place your material on the bed of the machine. The X axis is the longer part of the laser cutter and the Y axis is the sorted one. Home (0,0,0) is on the lower left corner.
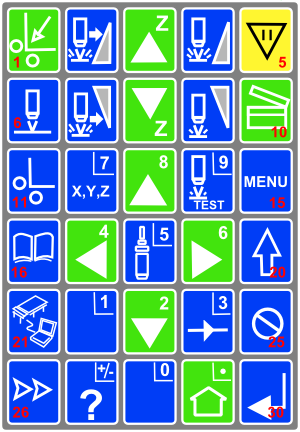
Set material thickness and surface height. Press SET SURFACE (button № 6) and ENTER (button № 30) and set the thickness of your material. The values are in millimeters. Press ENTER again, then button 0 and hold it until the sensor touches the surface to automatically set the height.
Set home. Move the machine with the arrow buttons 2, 4, 6, 8 and place it at the point where you want your zero. Press SET HOME (button № 11) and ENTER to set home for your file.
Set speed and power. In MENU (button № 15) choose Params_2d by pressing ENTER. Set speed (X Y feedrate) and power for your material according to the table.
Find your file. By pressing button № 16 you will enter the DNC files folder on the computer. Use the up and down arrows to find your file and choose it by pressing ENTER.
Start the job. Press GO (button № 10) twice.
If something goes wrong hit PAUSE to stop the machine (button № 5).
To continue press ENTER.
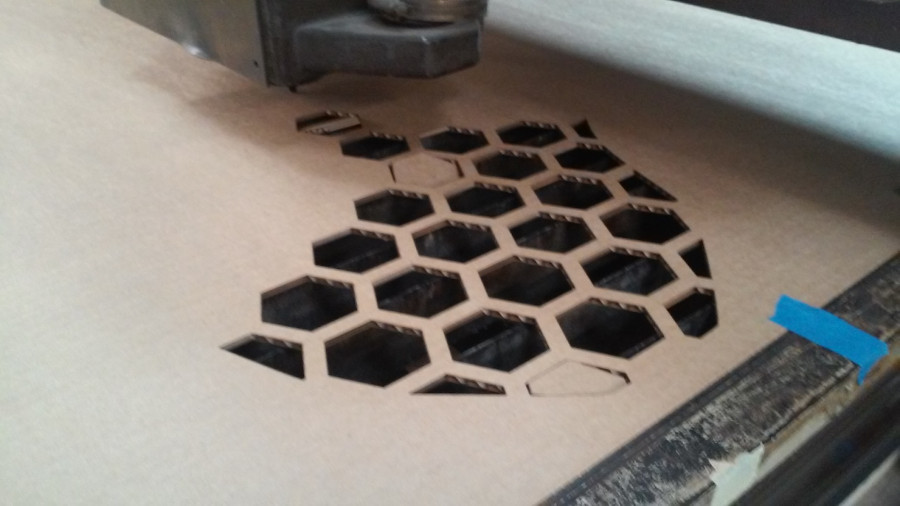
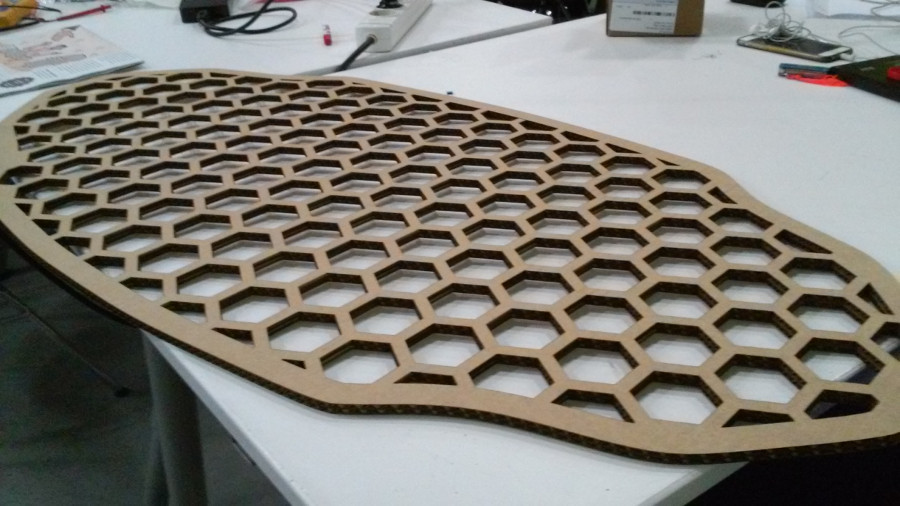
Laser Cutting Results:
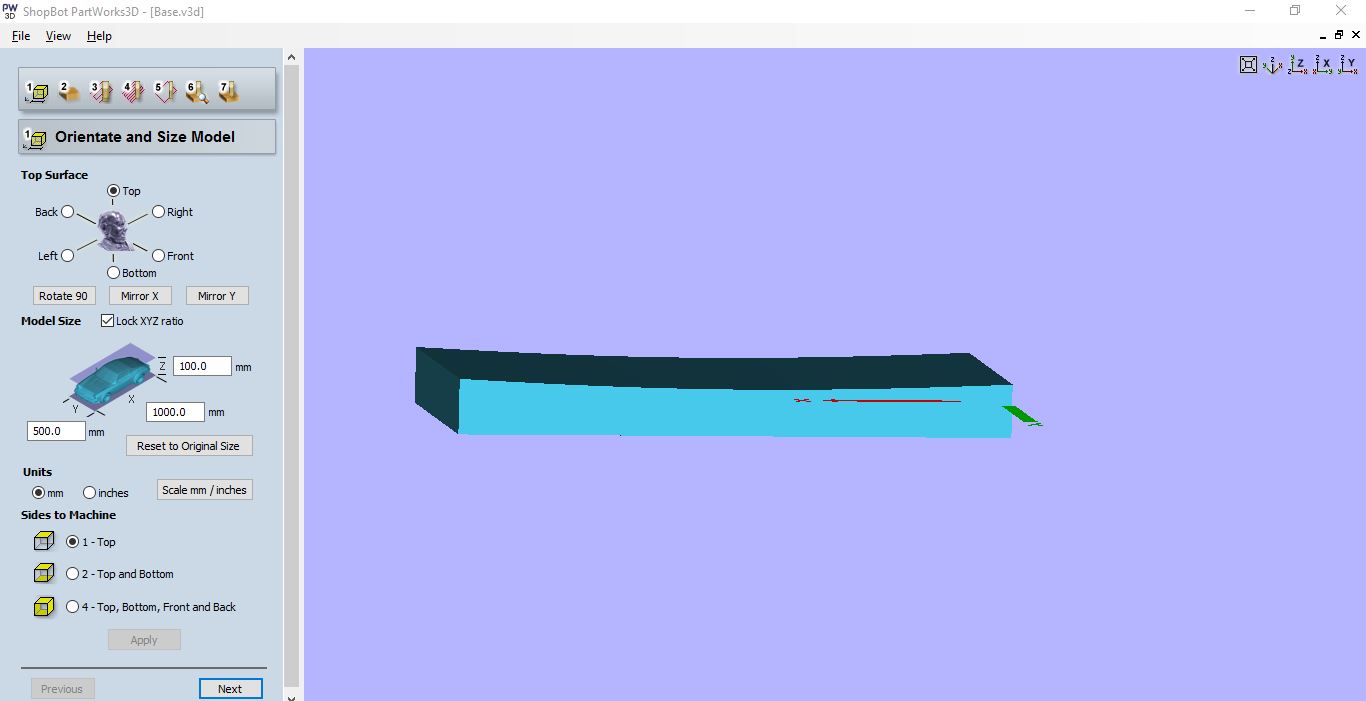
Milling:
Import your .stl file to Partworks 3D
Set the zero and the bounding box of the material being used
Roughing: Change the Milling bit, define the cutting speeds and the milling strategy
Finishing Toolpath: Change the Milling bit, define the cutting speeds (The smaller the Machining allowance the more defined) and the milling strategy
Save each toolpath independently
CNC Milling:
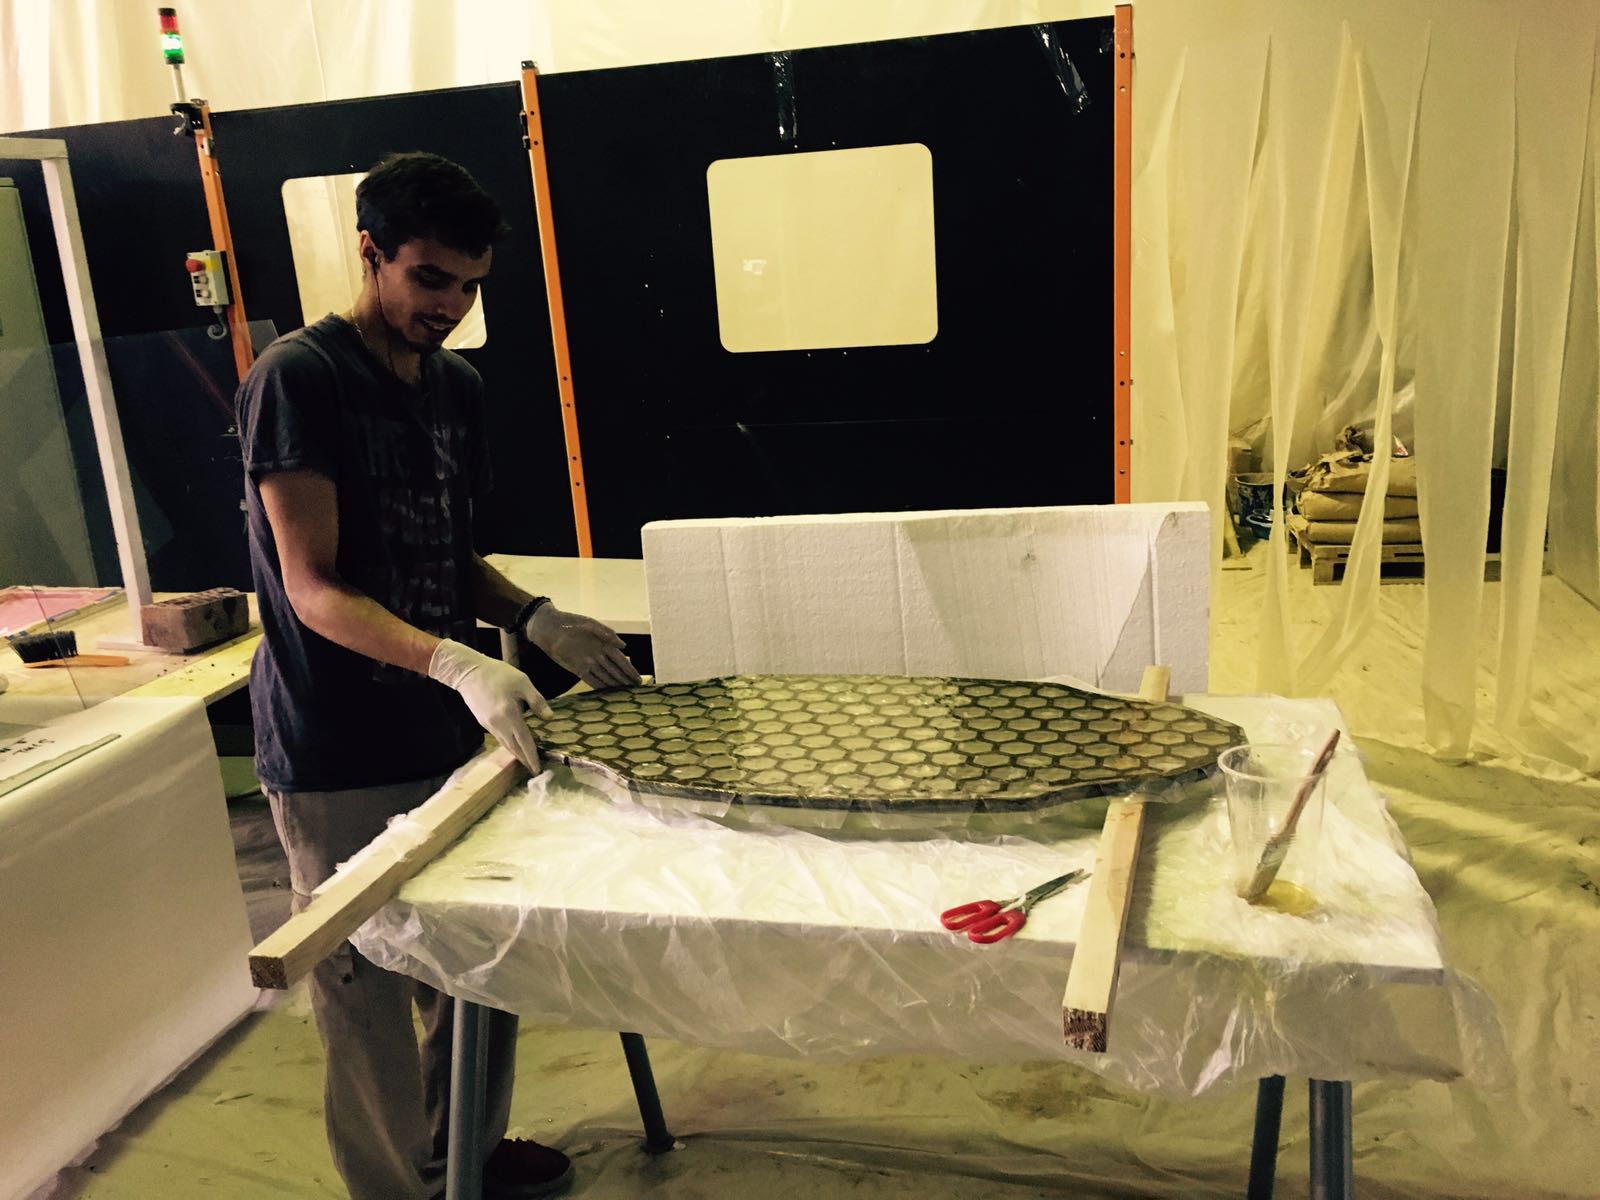
SkimBoard Fiberglass compositing:
Harden card board with the end shape using resin (I would like to try this process put when gluing the cardboard so I don't use Resin)
Use a hand milling machine to fillet the edges of the board
Cut two layers of Fiberglass each side on the laser, one with the exact size and another with 20mm offset and V-cuts
Lay the exact size fiberglass in one side followed by the bigger one! Using a big brush start by brushing the Epoxy/Hardener mixture in the middle of the board and the work from the inside out on the sides./li>
Let it cure for 6h and repeat the process on the other side