Our first assignment was to make a portfolio/website that will accompany us throughout the FabAcademy course so we may share our projects and document all the processes along the course. Not having a great background with web design I thought it would be a complicated task to begin with, the html/css workshop at Bcn Fablab completely trashed any pre conceived negative thoughts of web design and showed it is quite simple to build a website. We were introduced to several open source code editors and different ways to build your site, the one I felt most comfortable with was the Brackets editor. So everything you need to know about the internal structure of a website is as follows :
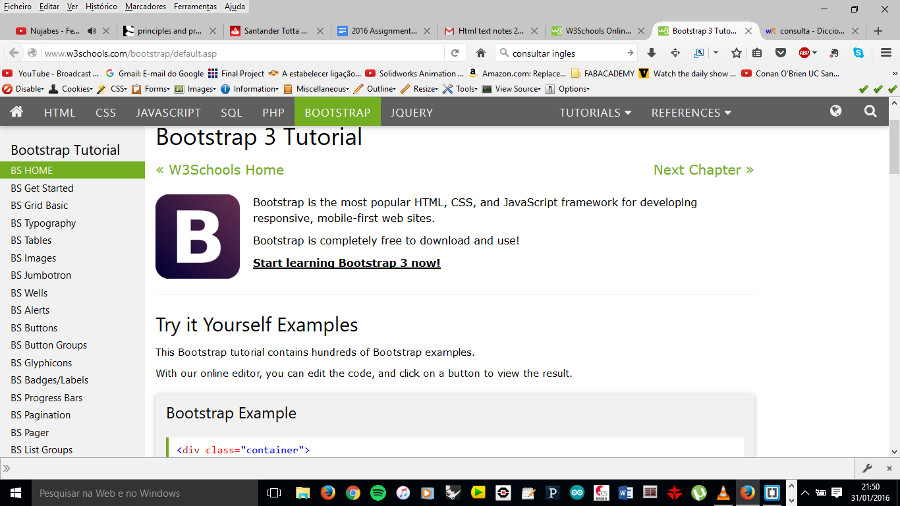
After a couple of hours investigating and learning in the site I found about Bootstrap3 and it's tutorial. Bootstrap is one of the best frameworks for beginners containing all the needed codes and tutorials to build responsive and appealing web sites.
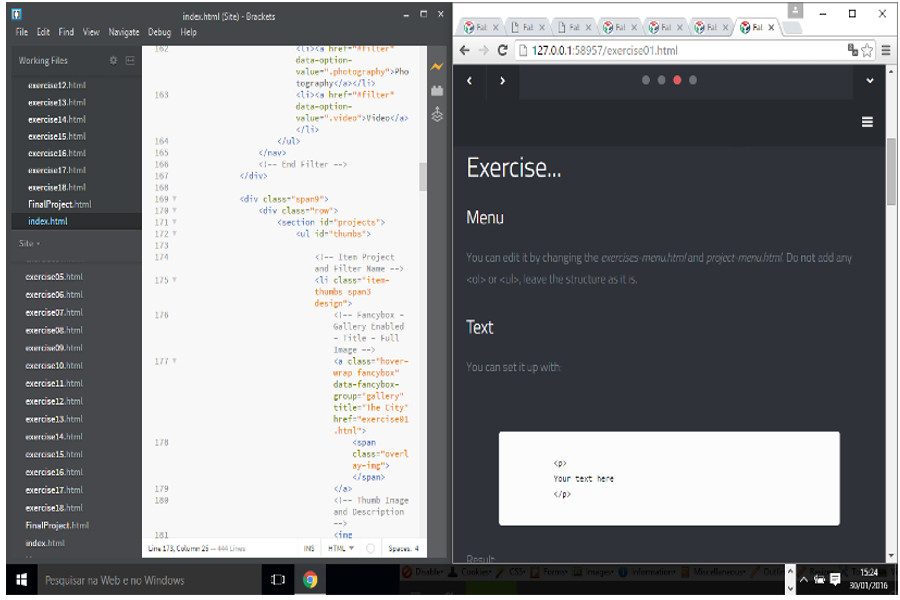
As building it from scratch would be too time consuming I used such a template Bootstrap as a bases for my website and adapted it to achieve the type of website I was aiming at. In doing so I learned quickly the codes and structures of the different languages of Html, Css and Java. One of the best features of the Brackets encoder is its ability to live preview your website as you code it, making web design much more appealing.
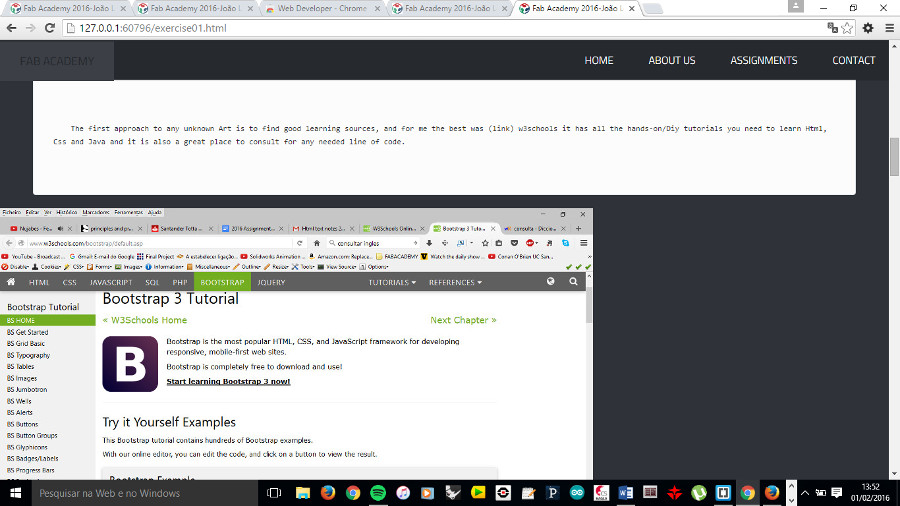
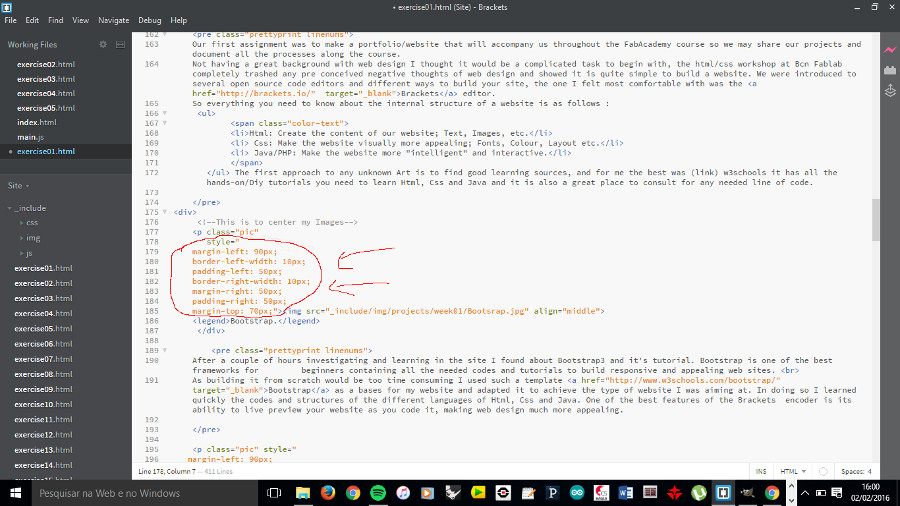
As I wanted to change both the design and the content of the Template but didn't know where to start I came across a very handy tool, the Web Developer tool bar both available for Chrome and Firefox. I had to install the plug in on Chrome as the default Browser for the Brackets Live preview is Chrome at the moment. This tool is great as it show's every single detail of the structure of the website and it highlights where in the webs source code you will find the line of code you have to change to achieve the change you want to make to your website. Ex. I wanted to align all my Images that I introduced into the website to its centre but every time I uploaded it would remain on the left margin.
And so to find out what I needed to change I used Chromes WebDevTool and investigated the images source code and changed its margin values till I got the display I was looking for. In the end it gave me the code lines I needed to add to my original code so my images would be centred (highlighted in blue). As you browsed along my website you've seen it worked, there are great tools out there to guide you along the way for a newbie I only had to find them. Ever since, I've been using them along my learning process and making my path much simpler I recommend them to anyone who wants to learn how to make a website!!
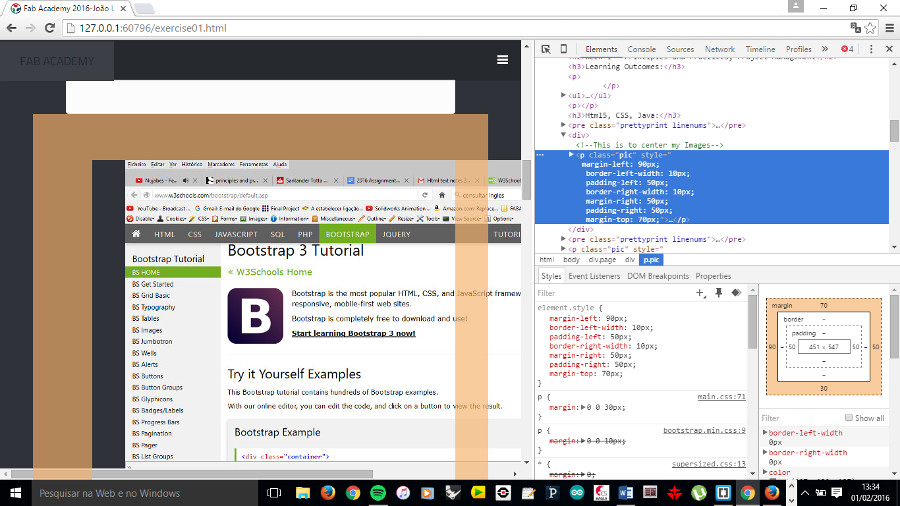
This is the code I used to center my images, we add it before img src:
style="
margin-left: 90px;
border-left-width: 10px;
padding-left: 50px;
border-right-width: 10px;
margin-right: 50px;
padding-right: 50px;
margin-top: 70px;"
Basically this was the Learning process I took till a complete site, it's not the most complete I know as there is thousands of different ways to make a website, but with the time I had and not having any basis this was for sure the best:

Git is a free and open source distributed version control system designed to handle everything from small to very large projects with speed and efficiency.
Basiclly a version control is a system that records changes made to a file or set of files over time so that you can recall specific versions later.
These are the steps you need to do on a terminal window to correctly upload and download files from the repository:
cd fablabbcn2016/
git status
git pull
git add -A
git commit -m "your comment"
git push
git status
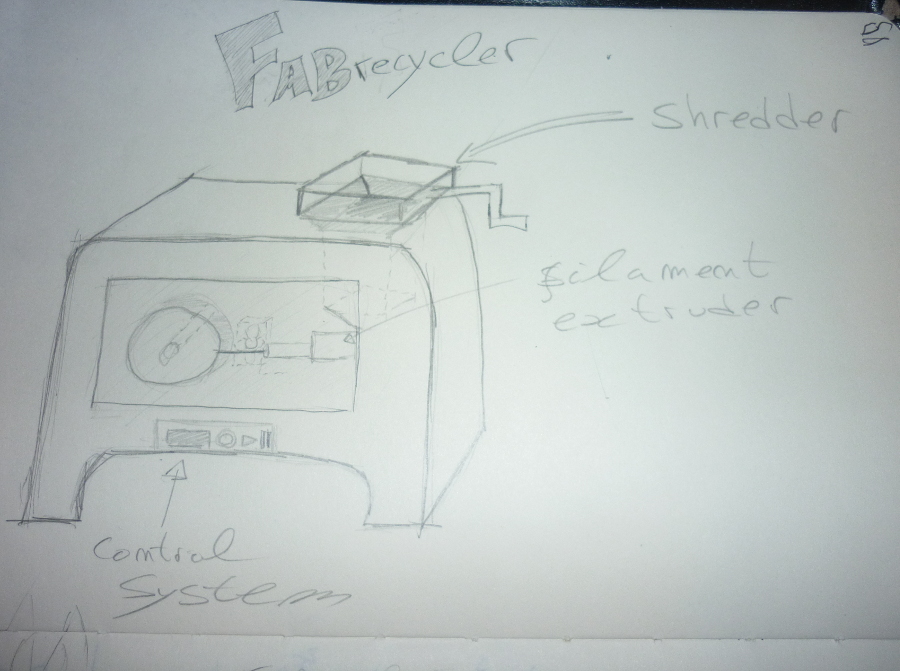
So for my final project the first idea I had is to build a FabRecycler, since 90% of the products printed in a 3D printer are used only for prototyping a lot of plastic trash is produced. If I produce an affordable recycler it will cut the costs of 3D printing not only for Fablabs but also for makers around the world. And it also brings the possibility to work with the students of the Master’s program here at the IAAC, who did extensive research on the aspects a city must work on to improve and become more sustainable even self-sufficient following the Fabcity