Week 14: Composites
Making a Laptop Hardcase
For the assignment we have to design and make a 3D mold (~ft2), and produce a fiber composite part in it. After thinking about surfboards, I decided to make a this laptop case instead. The design includes two cases, the top and the bottom of the laptop, jointed by a zipper.
Materials
Software: Rhino, PartWorks
Textile Experiments: Jute, cotton mixture (one coloured, one white); Resin, Proxy
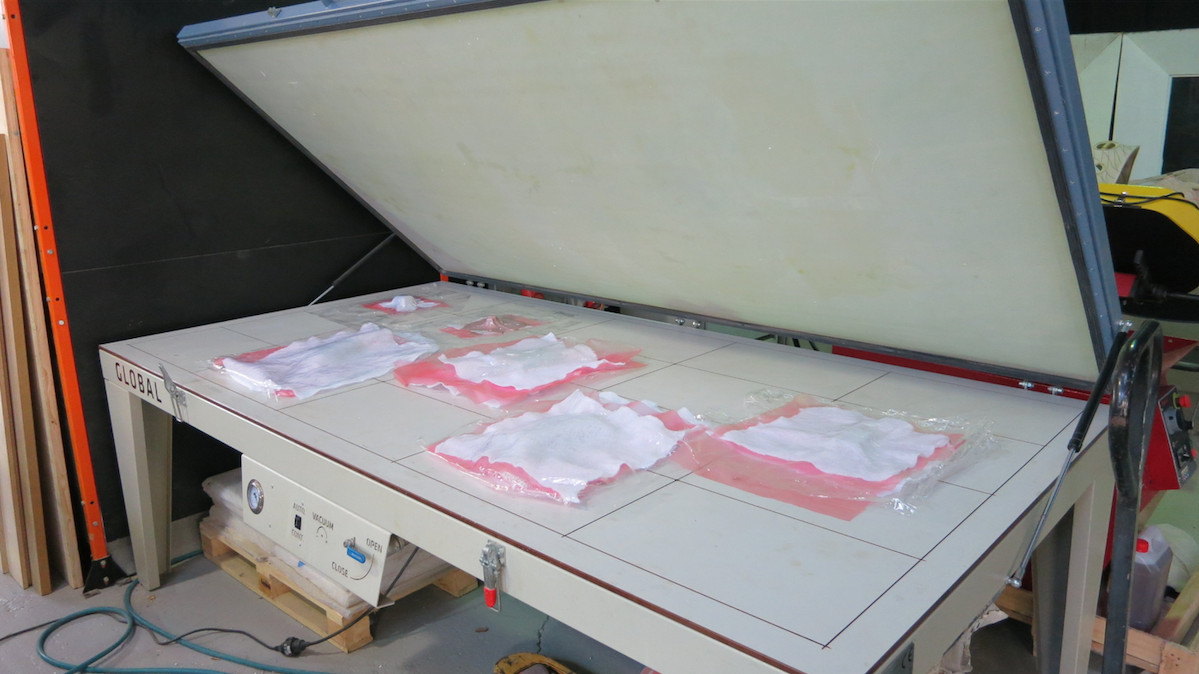
Machines: Milling ShopBot; Vacuum Press; Lasercutter
Overview - Working Process
* generate Rhino design of casting form
* generate 3D milling strategy in PartWorks; mill form
* experiment with different textiles and how they harden with Resin & Proxy
* Inkscape, Blender: laser cut textile / cut by hand
* apply chosen textile on laptop form
Design Casting Form
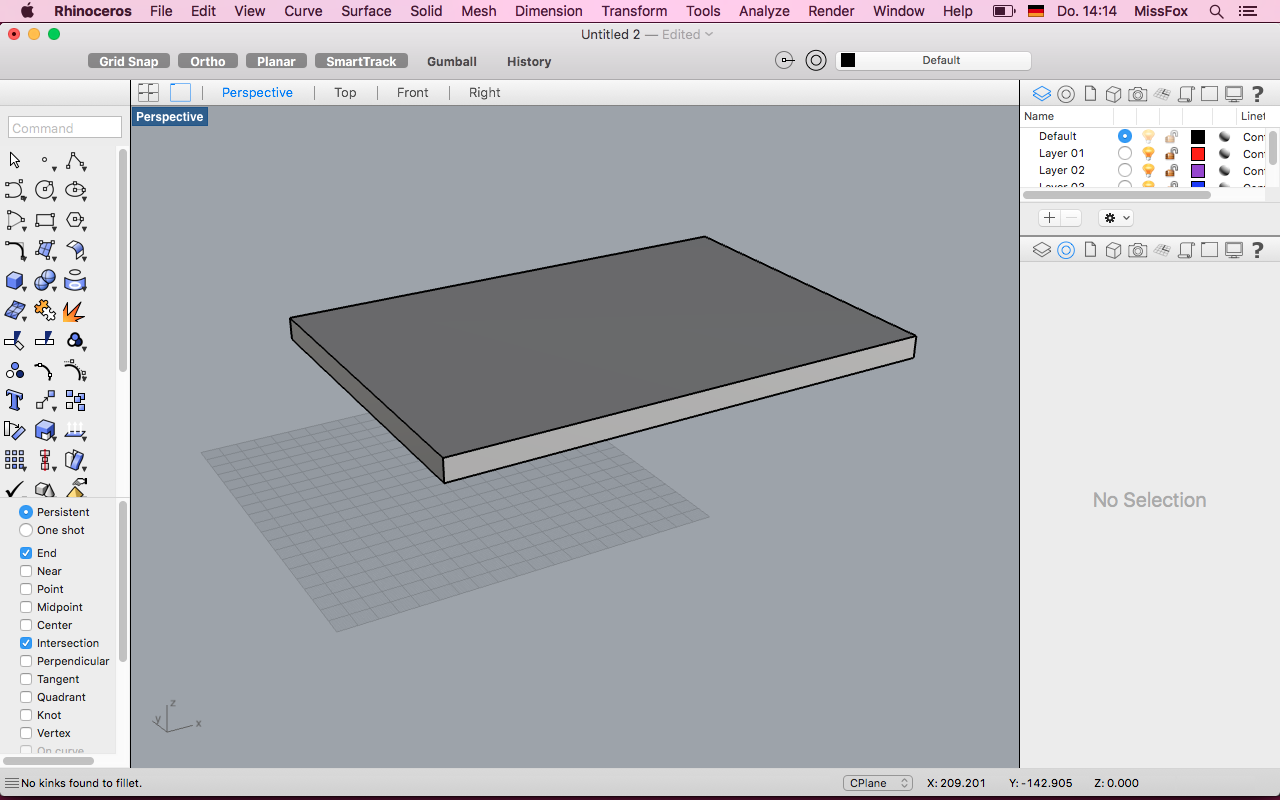
I drew a rectangle in Rhino in the laptop measurements (230mm x 330mm x 15mm) extruded planar curve and rounded the upper corners with the fillet edges command. I safed the file as stv and opened it in PartWorks to define 3D milling strategy.
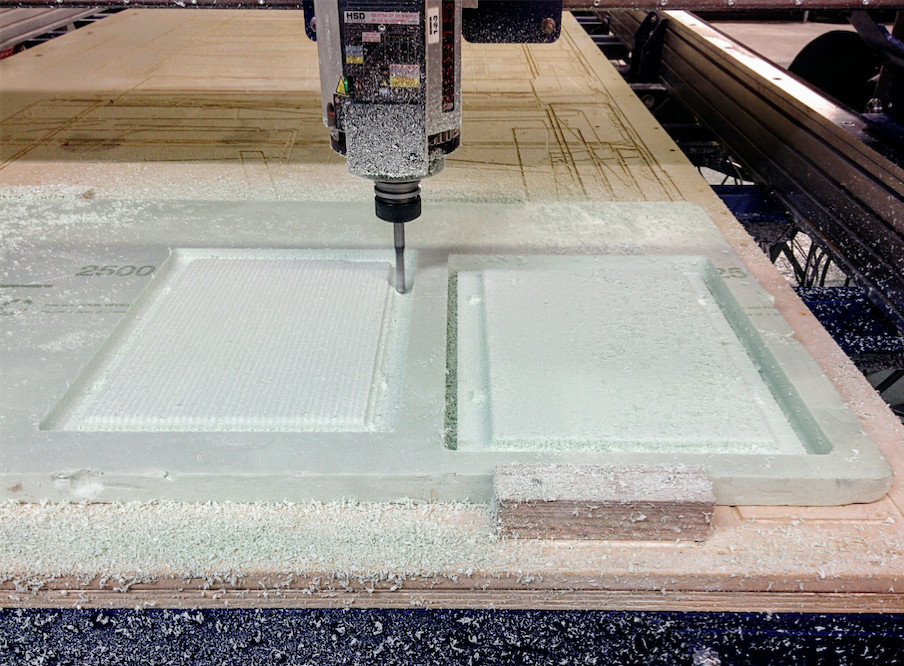
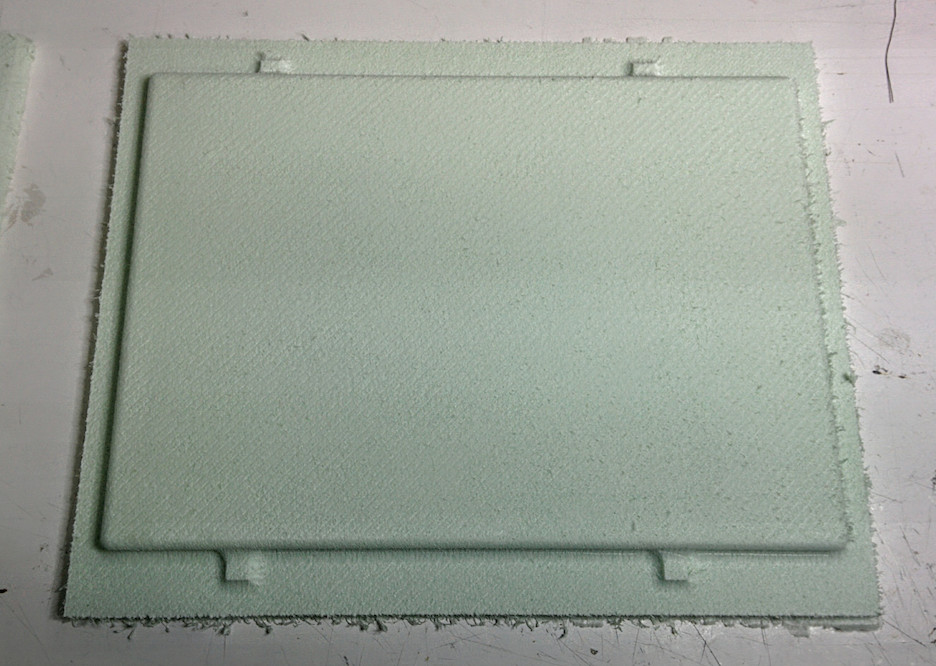
3D Milling of Foam
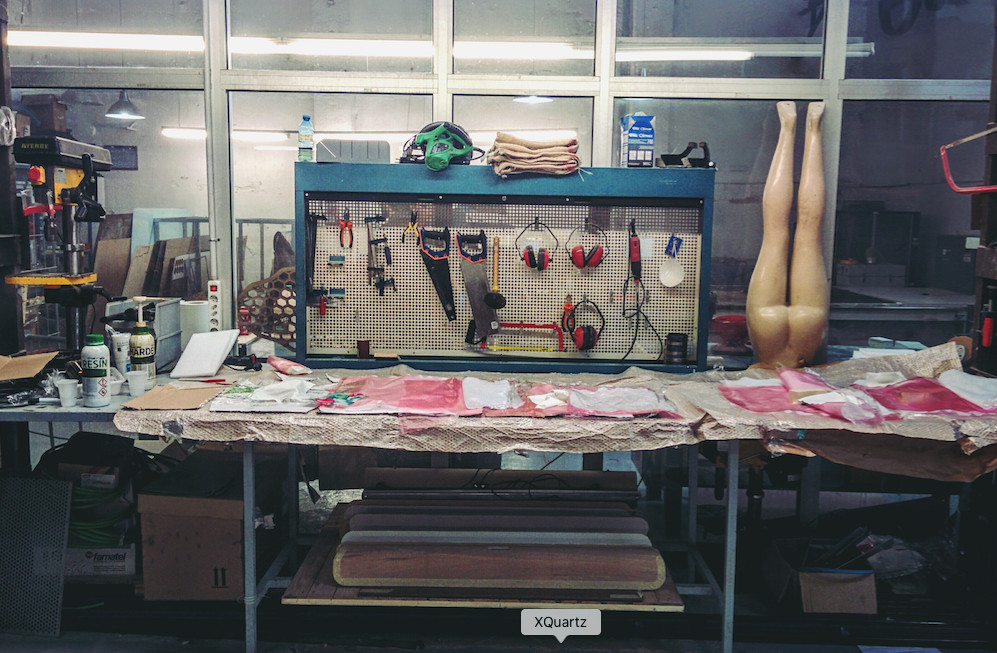
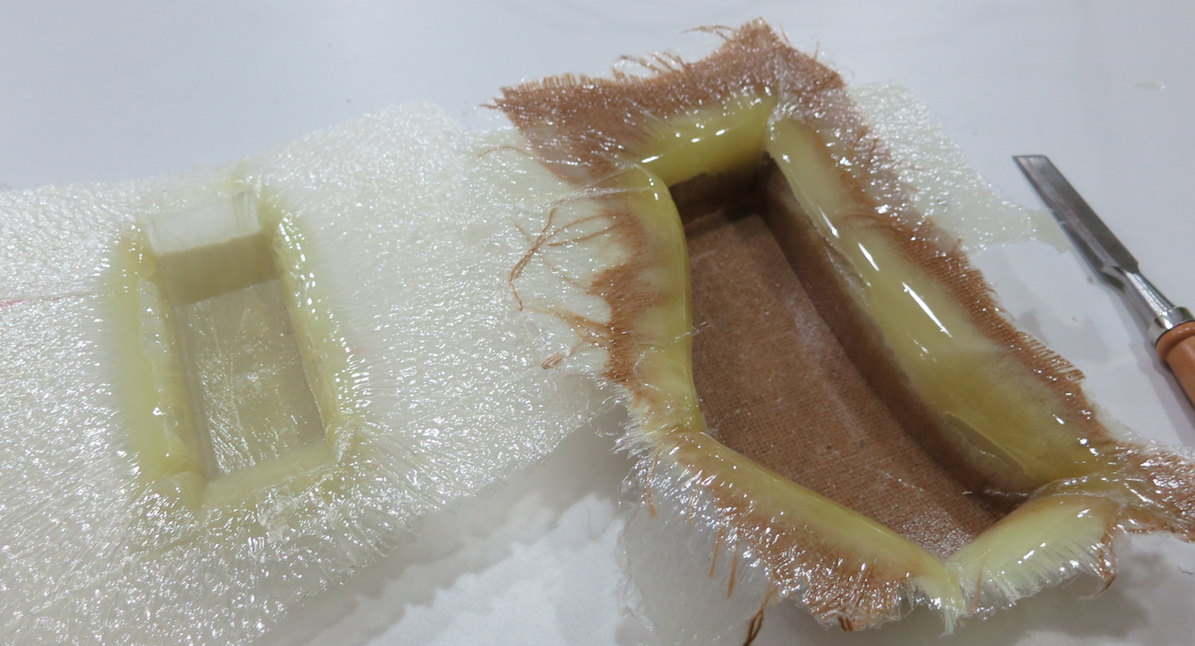
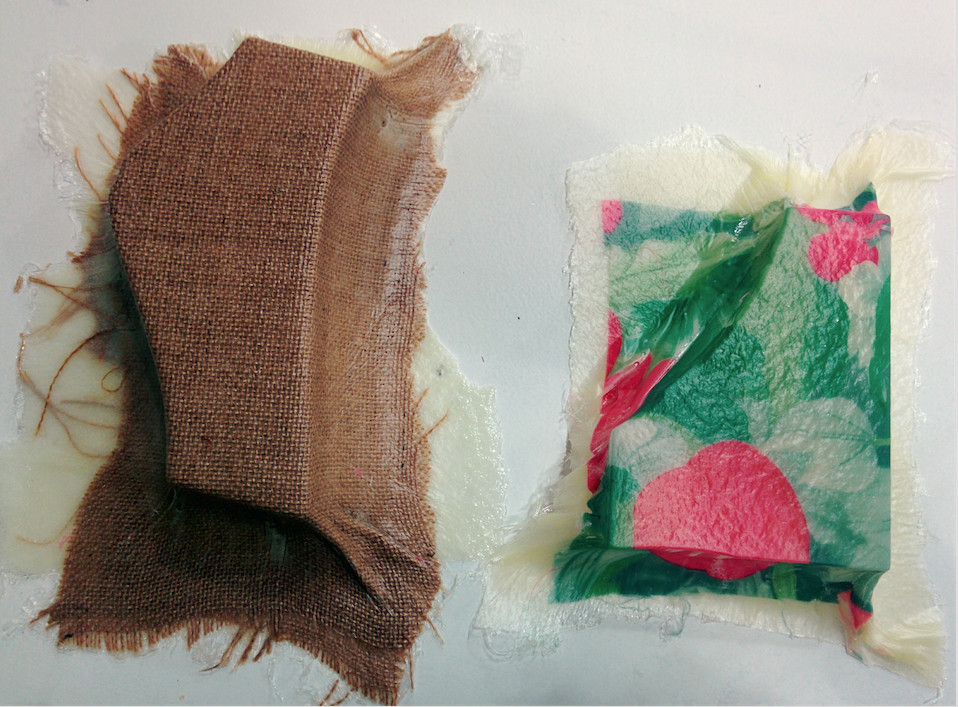
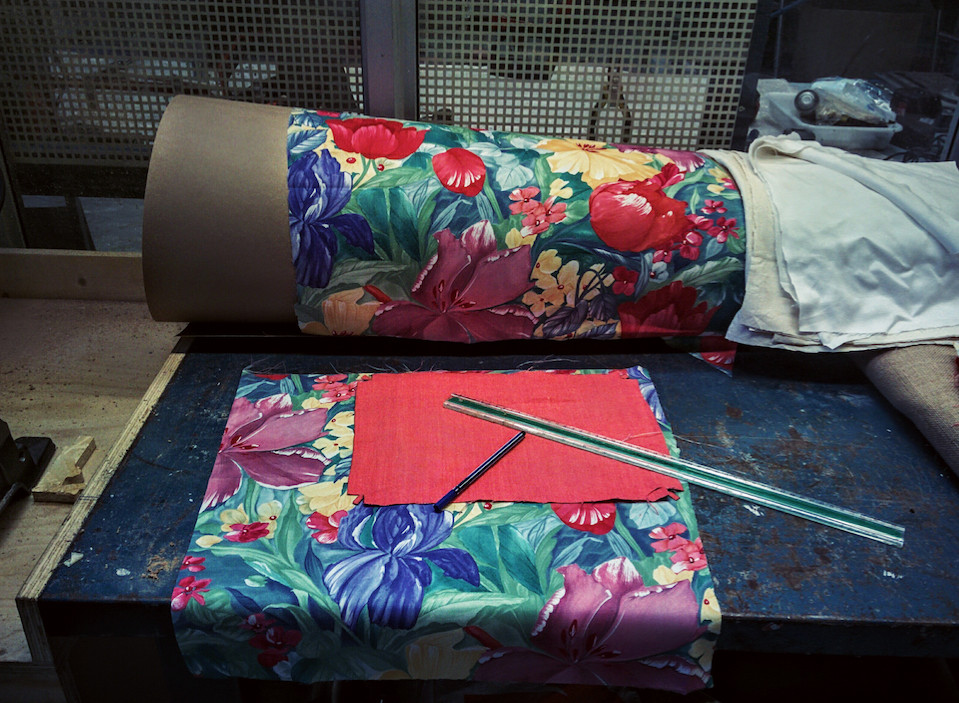
Experiment with Textiles
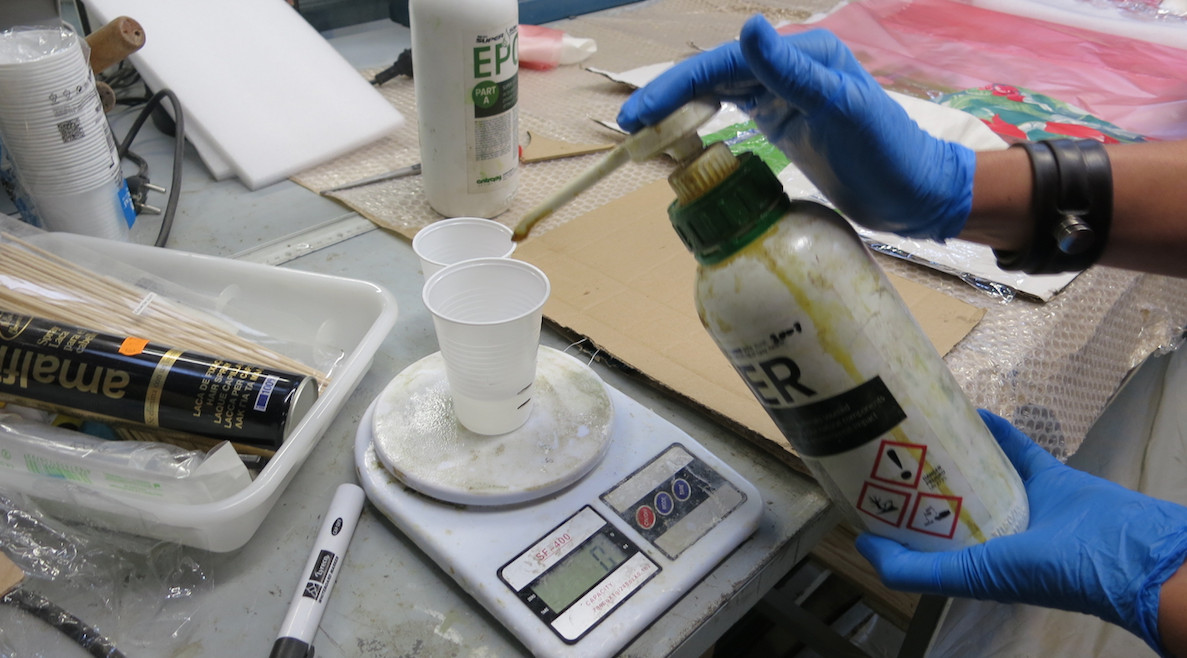
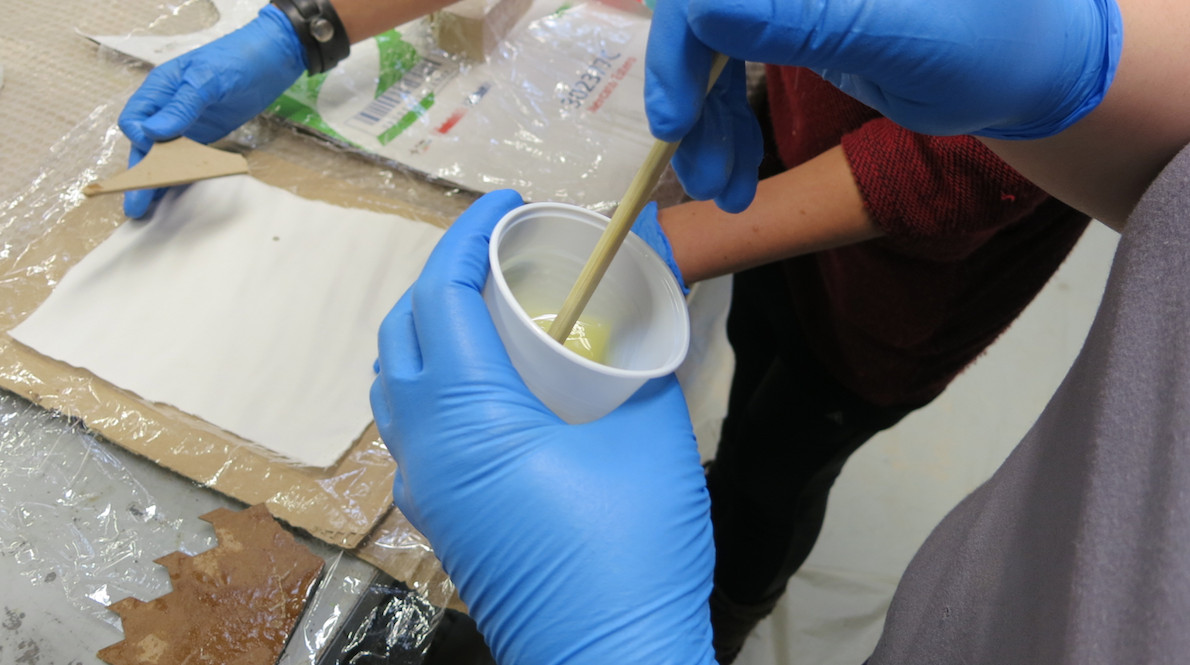
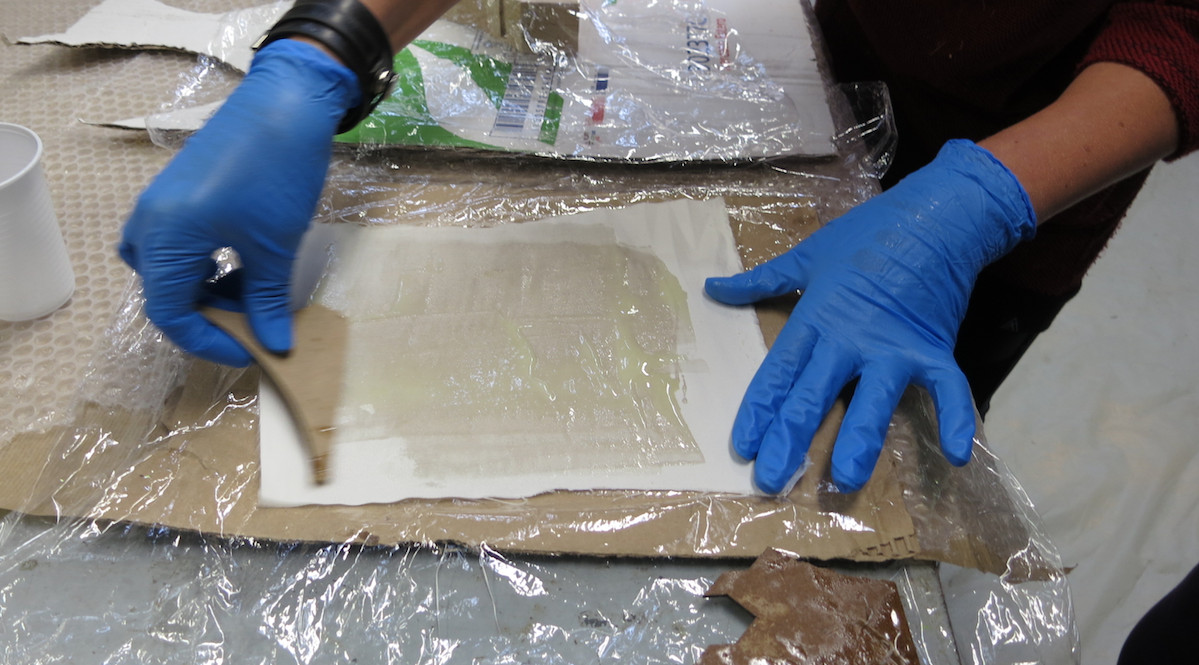
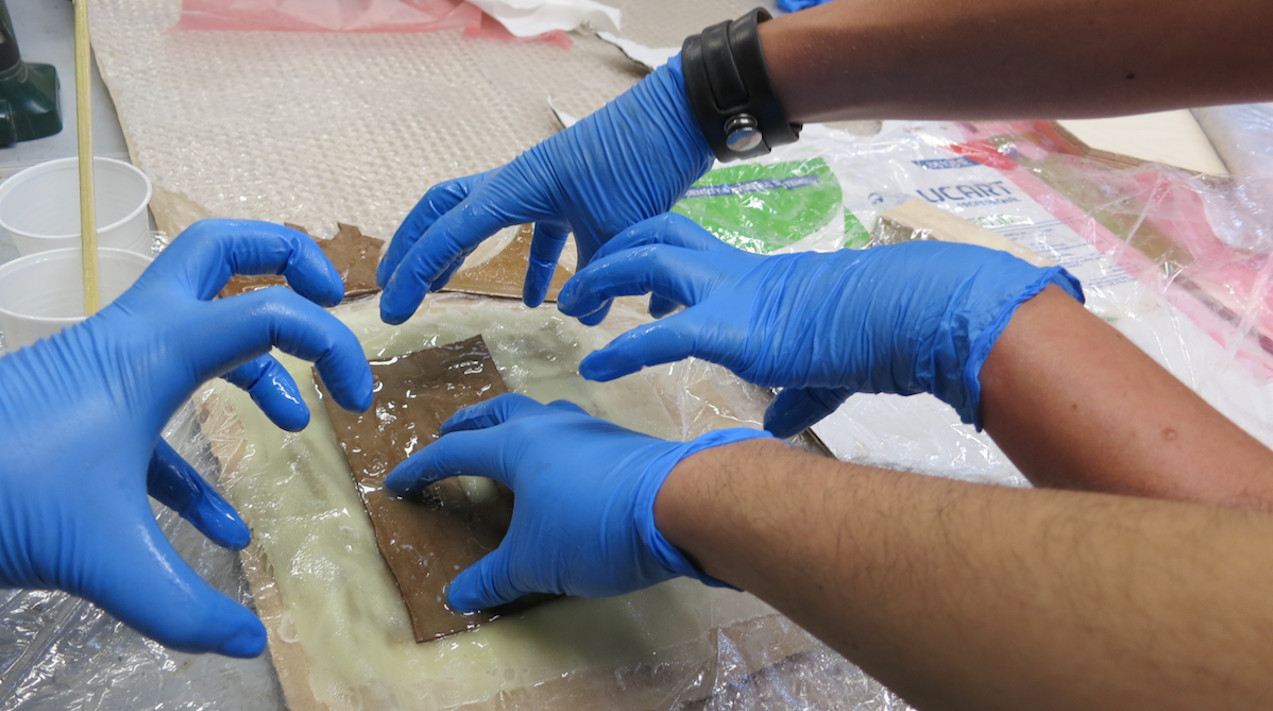
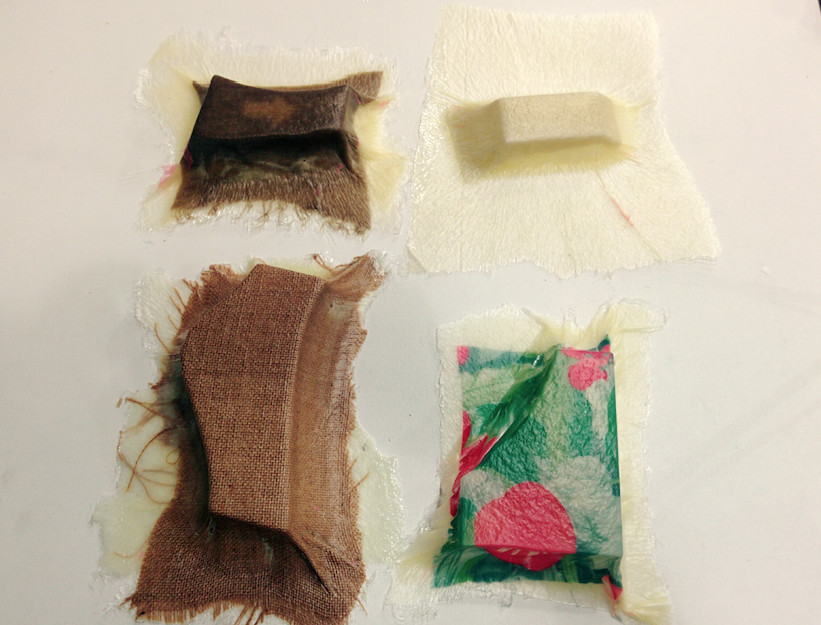
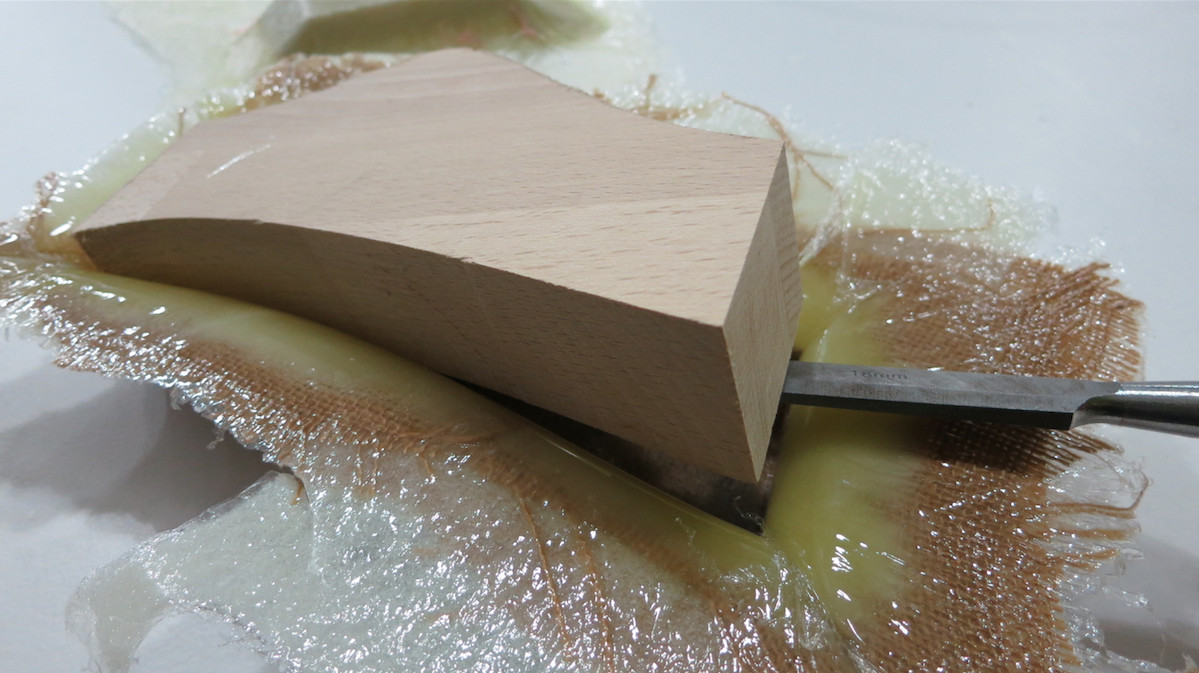
Together with Edgar and Cansu, I experimented with four different textiles (two are cotton/synthetic mixtures; one is jute; one is 100% cotton) that we put over wooden blocks. They all absorbed the resin/hardener mixture well. The resin epoxy (super sap) and hardener epoxy (super sap) mixture is 1:2 (by volume) or 100:47 (by weight). The form needs to be layered in foils, this is the layering bottom up:
* plastic foil (protects vaccum press)
* cotton material (to absorb exess resin)
* breathing material (perforated red foil)
* form + textile (plastic foil between form and textile allows to reuse the form)
* breathing material (perforated red foil)
* cotton material (to absorb exess).
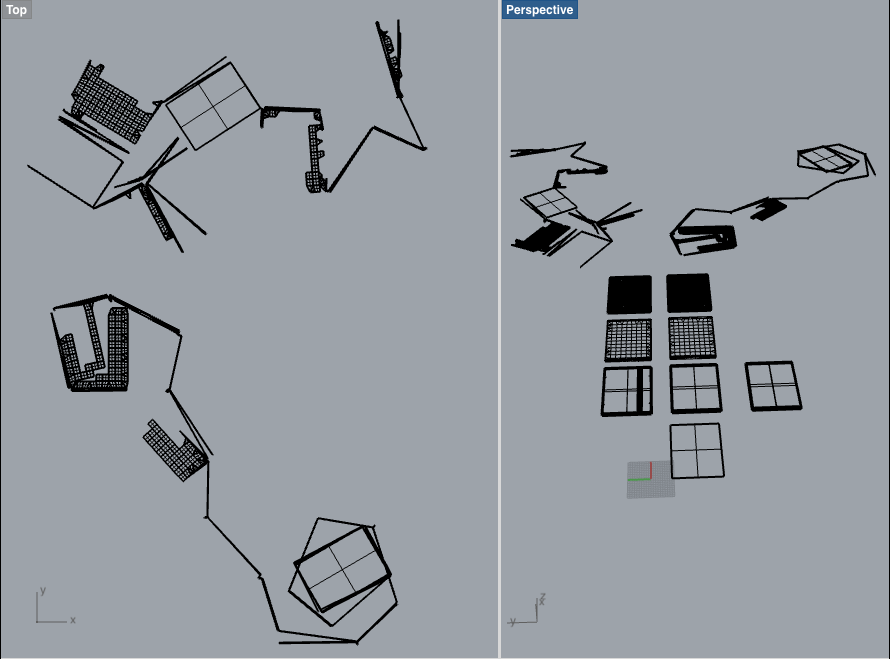
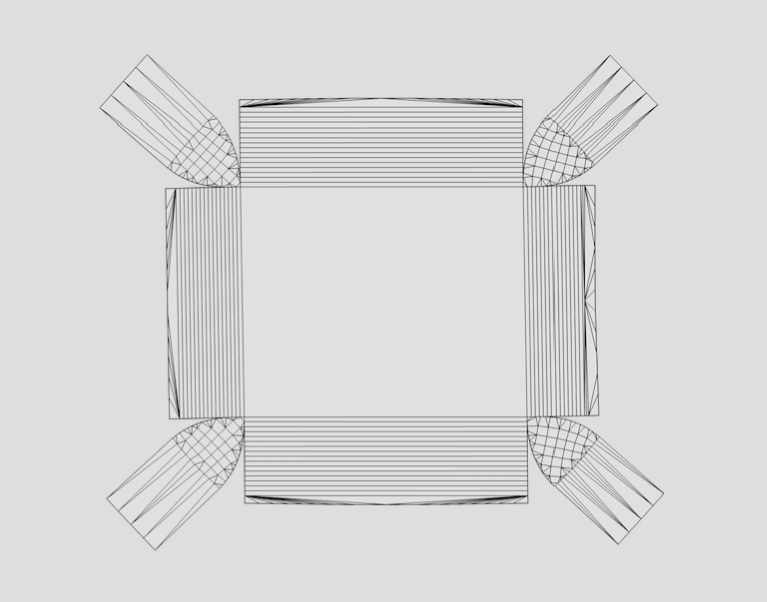
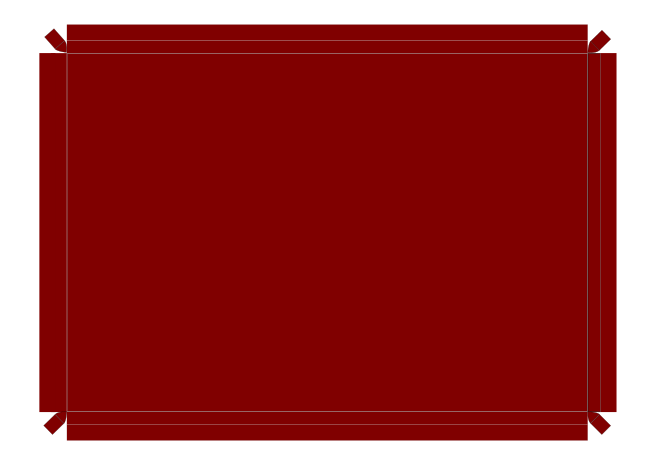
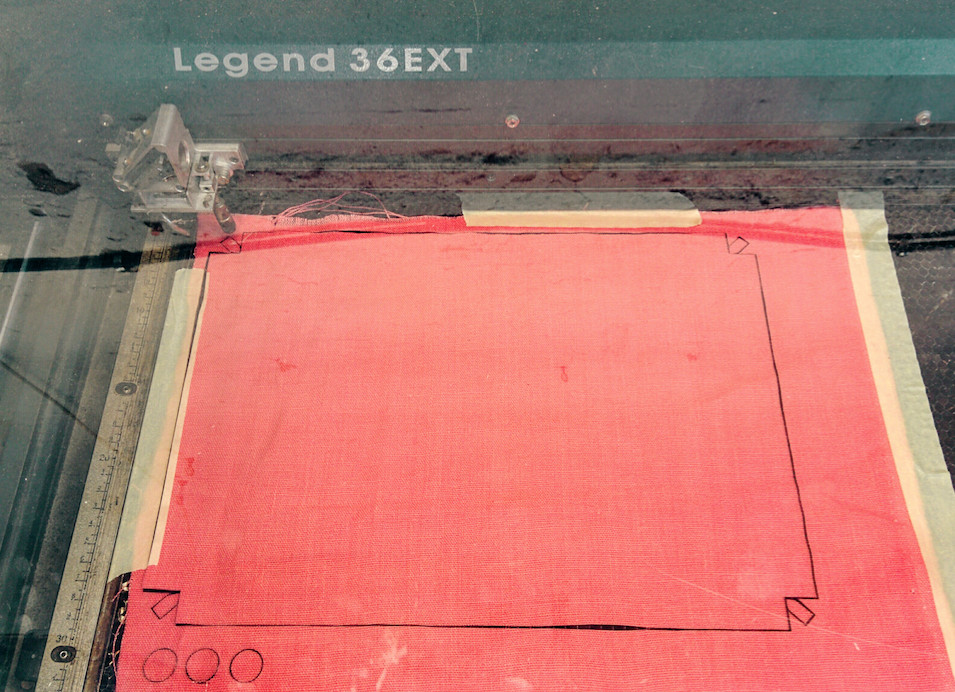
Lasercut the Textile
Next task is unwrapping the surface in order to laser cut the textile. Following this tutorial turning the model in a nurb in a mesh and back into a nurb did not work and produced the result below. I also tried to explode the surfaces and unroll them individually, however, Rhino let´s me do the arrangement on the plane, which basically results in unprecise guesswork on my part.
In a next step, Ferdi helped me produce the textile cut layout in Blender, which I used as a guide to draw the outline in Inkscape.
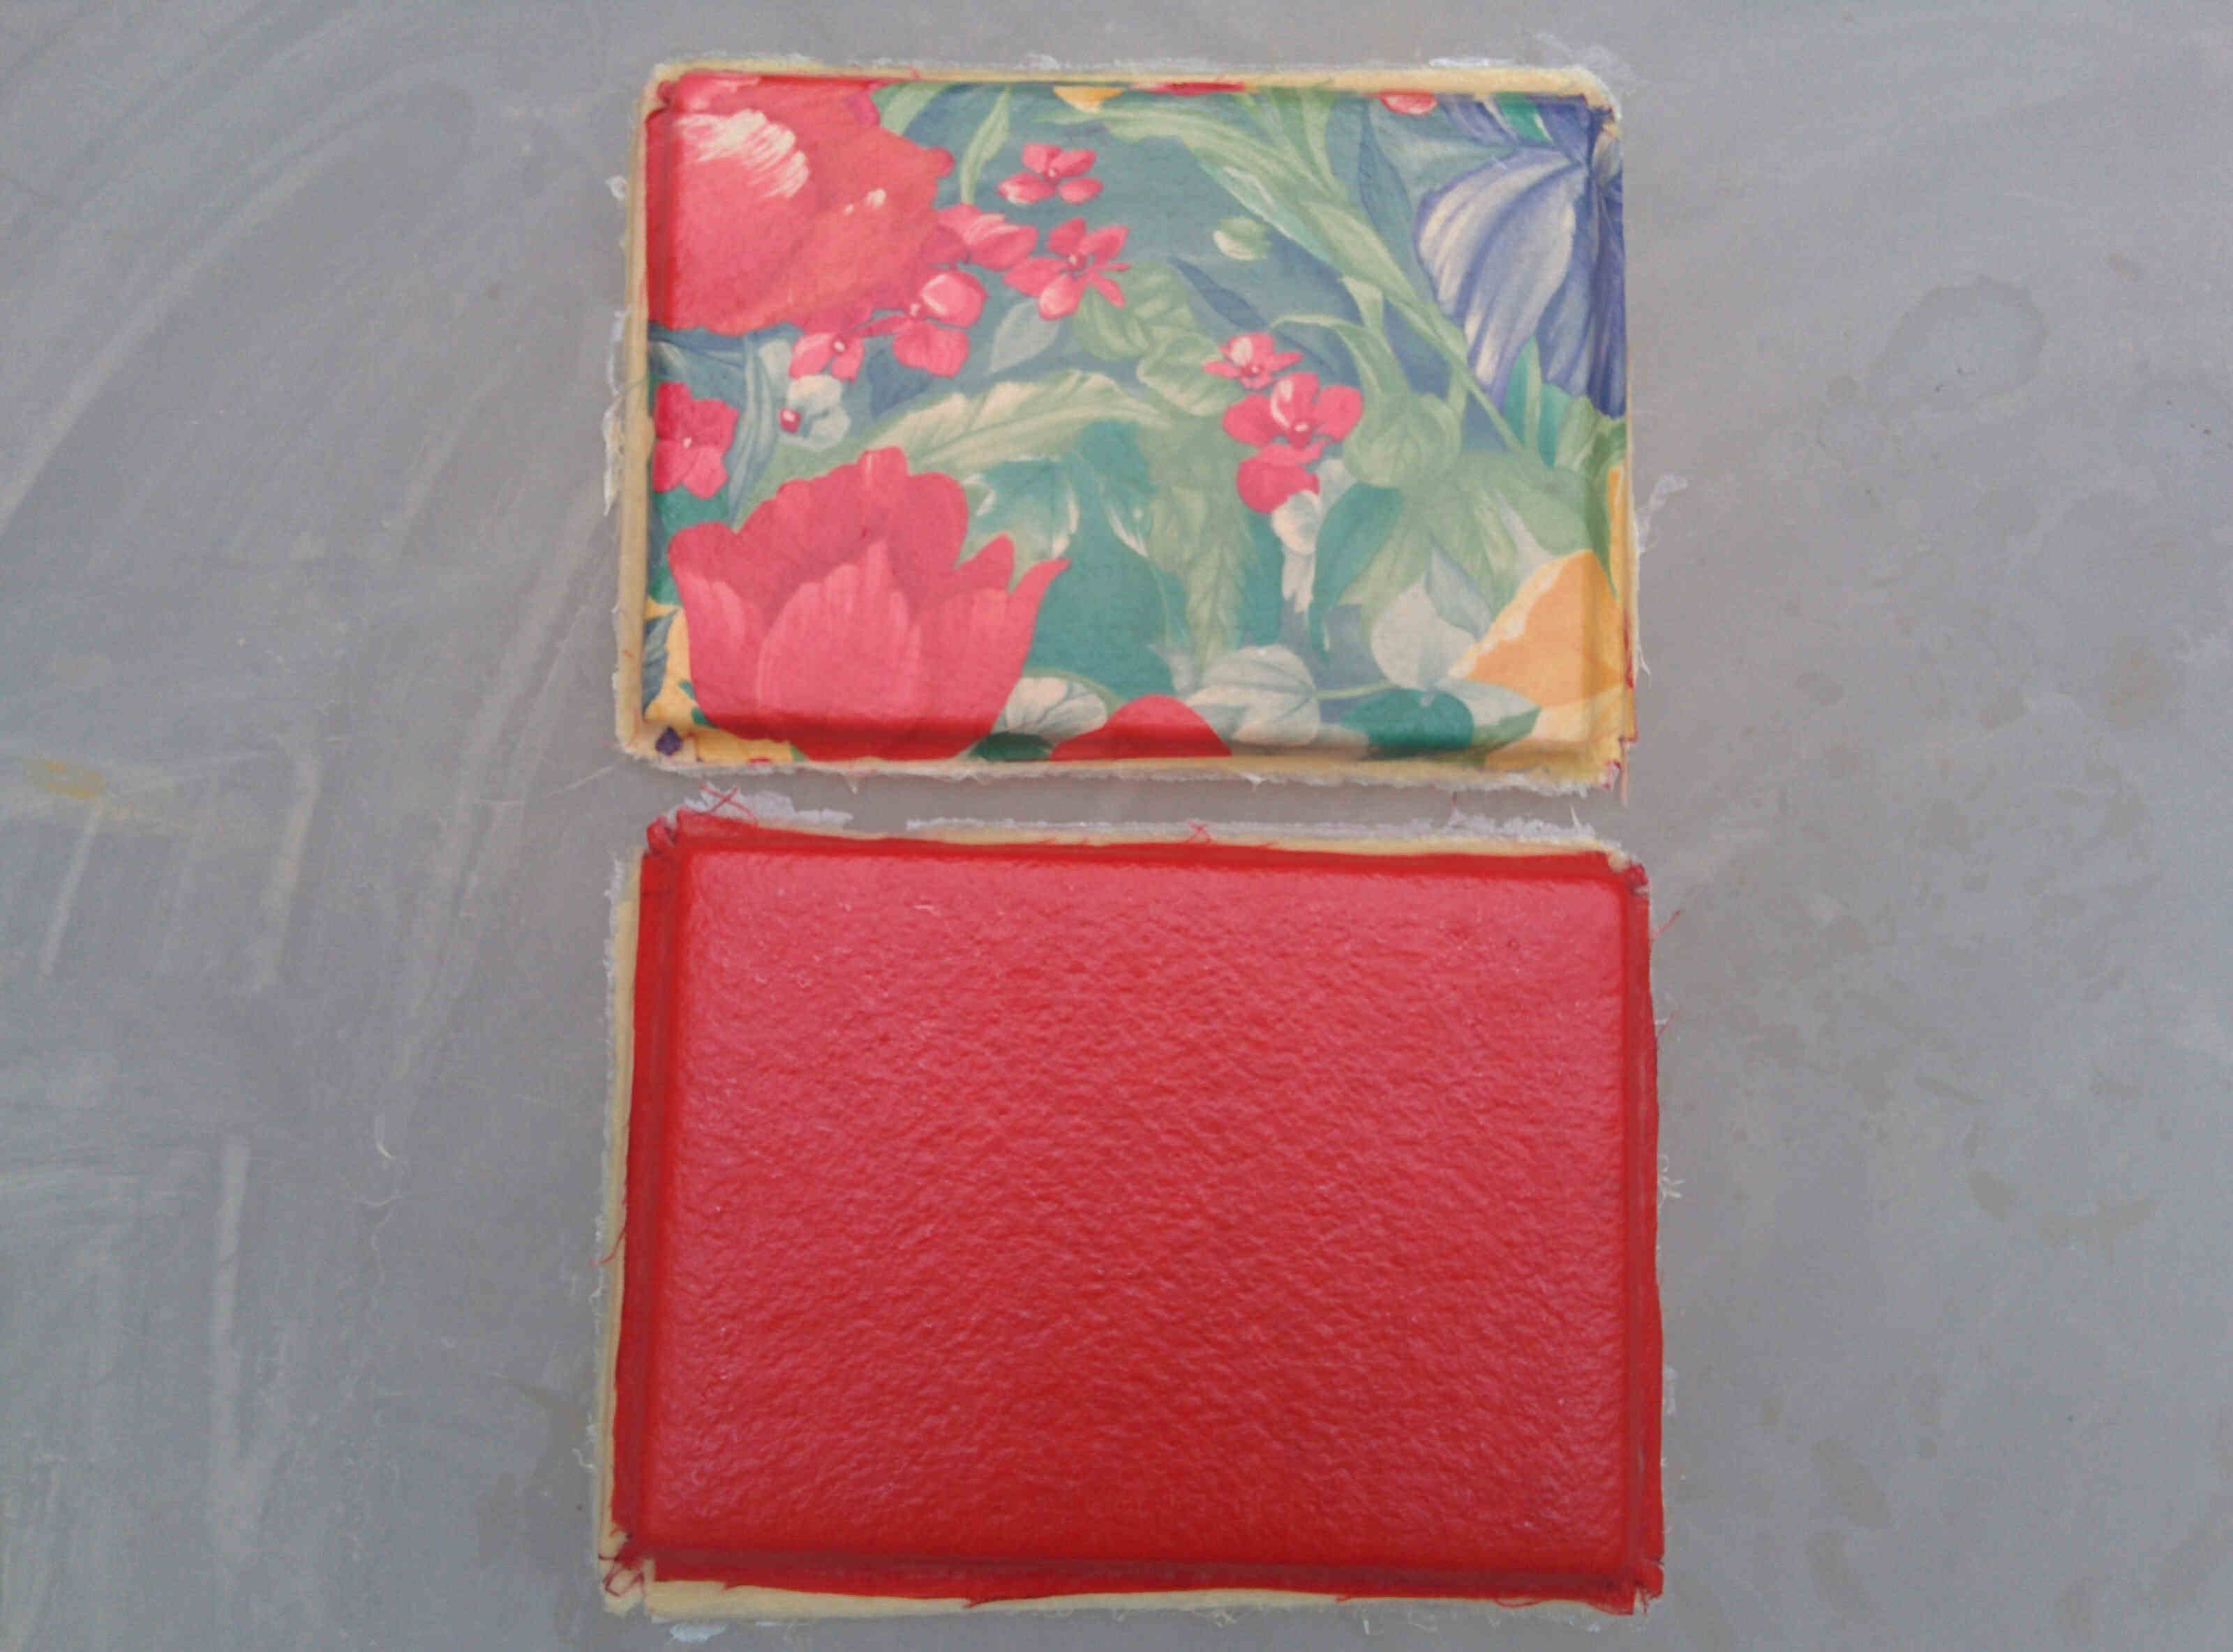
Final Result
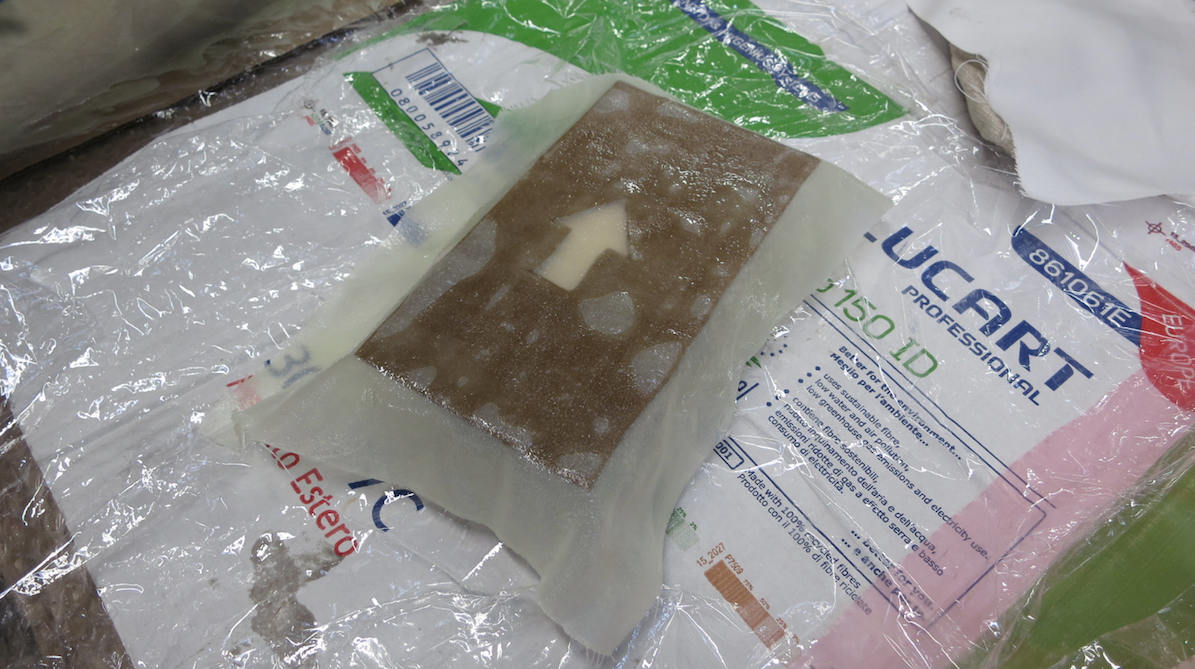
While during the testing we worked in a group of three, for the final laptop case I went through the Resin process by myself, which was not the best idea. Mixing new resin in a precise measurment, while wearing gloves sticky with resin and 12 layers of textile to be soaked without getting stuck to the wrong side of a foil really requires more hands. However, the outcome looks nice:
Download All Files