Week 01: Project Management & Making a Webpage
Tasks
Neils´ first week´s lecture introduced us to the principles and practices of the Fab Academy, its broader FabLab network and the ideas of the maker movement located at "the frontier of knowledge" production. In the second part of the class created an overview of Project Management software.
The first assignments require us to generate a website to document our future work, to describe the GIT process and to outline first ideas for the final project(follow this link for my first ideas).
Git: Push & Pull
Git requires to use command line. As I use Mac my interface will be the Terminal. For starting Git you have to user-MacBook-Pro:~ user$ git, then you have to go to the directory were your files are, for example: user-MacBook-Pro:~ user$ cd /desktop/.../your_directory. For me this was a long path so I copy-pasted this in a note-file to be copy-pasted into Terminal each time I wanted to update. Always check if you are in the correct directory user-MacBook-Pro:~ user$ ls, this will display the name of all the files that are on that specific directory. Before you go to terminal copy-paste your webpage files into your student folder (has a number).
My basic workflow & common commands:
* open terminal
* enter file path
* double check where you are: command "ls"
* command: "git pull" (gets you all the files)
* command: "git status" (double checks if all went well in step before)
* command: "git add ." (this adds your files; there IS a space between "add" and the "dot")
* command: "git status" (double check, if files are marked green, all is well)
* command: "git commit -m "message" (the "message" is whatever you decide to write here)
* command: "git push" (and done)
Intro HTML & CSS
We started the learning process with a HTML workshop, delivered by our instructor Ferdi. We used the web editor Brackets.io and learned to set up and engage with the basic structure and commands of html based websites. I downloaded the Firefox web development toolbar and learned about google fonts. Resourceful websites include w3school.com. I watched the tutorial by Massimo Menichinelli, which was recorded at Fab Academy 2015 at Opendot+Wemake in Milan. I downloaded Massimo´s template for Fab Academy websites as a starting point. In a second workshop, Ferdi helped us to understand the wonders of Git. Download of our class´ summary of useful links here.
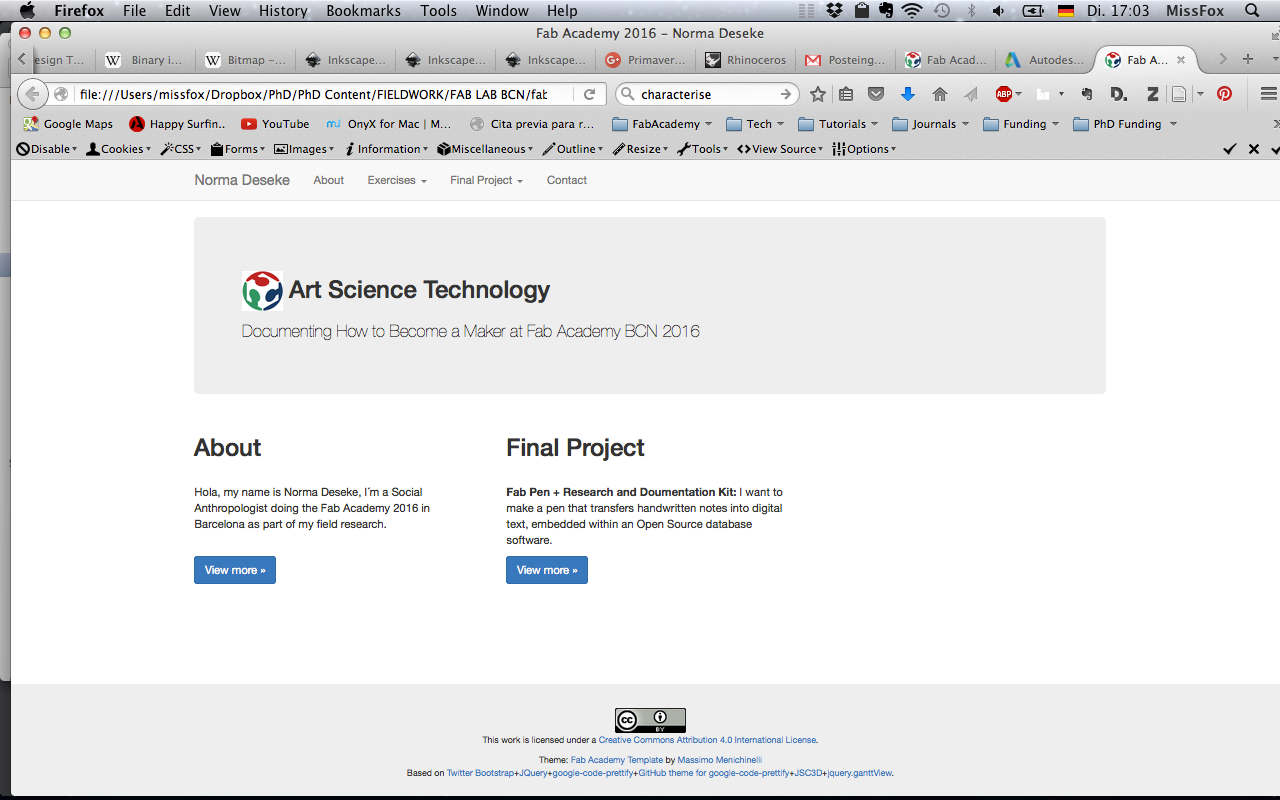
Workflow with Massimo´s Template
By using Massimo´s template I had an easy in to generate a first webpage structure. However, I bumped into problems quickly, as I couldn´t make alterations in style and appearance. Massimo had used the bootstrap frame to build his template, which does not generate a css sytlesheet. To modify the fonts, headings, photo sizes etc. I viewed the sourcecode of my page in the firefox browser to find the locations of specific code in order to change it in the template´s bootstrap files. This did not work. Instead, I considered either working with lesscss.org to compile the bootstrap into a more accessible css or stop using the template all together. Santi helped me to "hack" the bootstrap template, by generating a custom.css file, which overrides the bootstrap style coding where needed. My workflow now consists of viewing the source code in the firefox broswer, finding the code in bootstrap and then modifying it accordingly in the custom.css. I´m still not happy with the aesthetics of the page, nor the chaos generated in the code.
Week o2: Continuing the Process & Some Improvements
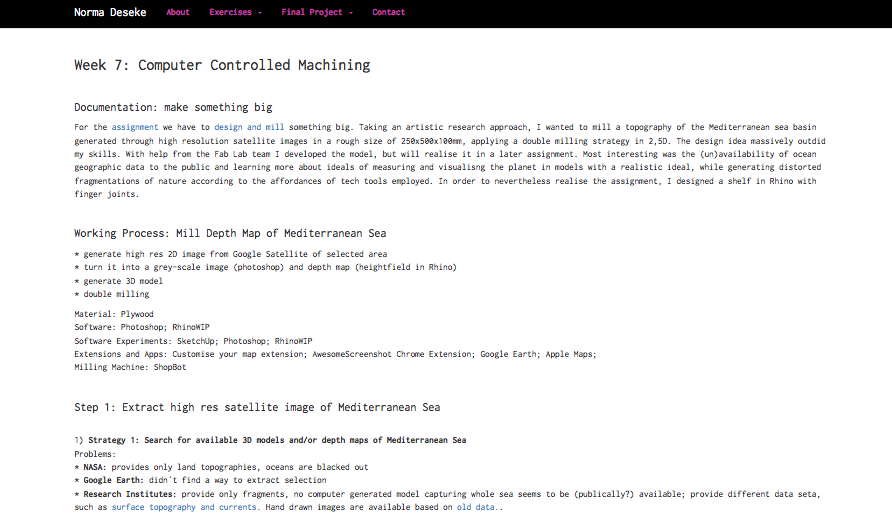
As I was getting more comfortable with html I did some more changes which generated the structure and look below. It was a useful base to quickly document my work during the assignments for the majority of FabAcademy. However, I was still not too happy, planing to make a new webpage from scratch.

Week o9-17: Complete Make-Over
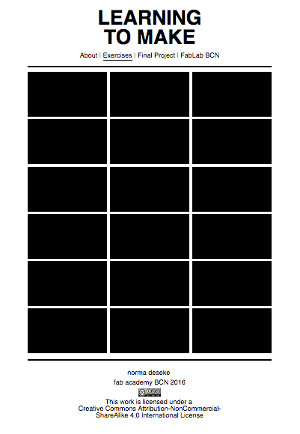
The lego-styled black block in which the weekly assignments are organised, visualises what FabAcademy meant to me before starting the five months program: I had no idea. FabAcademy was a black box. What are composites and whatever is an ISP programmer. And for what could it possibly be useful. ever. Clicking on a black box aka assignment allows to read about the process, which mirrors my increasing understanding about the body of knowledge put into action. Additionally, the background image is one of increasing complexity, a cable plugged in, ending in a strange electro-entanglement on the floor - just like the final project workflow shortly before presentation deadline. No panic. The golden rule of space-travel.
How to Make a Webpage
The following is very basic, but I started with zero programming knowledge and understanding the following actually allowed me to make a webpage from scratch. I have three kinds of page design: start page, menu pages and excersice pages. I began with the startpage, top down design of header, line, menu button, page, definition of boxes, line, footer; then I activated the links to menu pages "about", "final project", "fab lab BCN". For the 19 excercise pages I copied header/footer into each of them and then copied in the content for each from my old webpage, making adjustments in code and content as I went.
My workflow went top bottom, beginning with the base structure or "skeleton" of every html site. You start with doctype/html, meta data, head, body, footer.
The .html files talk to the .css, which works with hierarchies of specificity, an "up-down logic": What is read last is applied, the lower definition overwrites first one.
Open brackets (or an equivalent web editorlike atom editor), generate a new file: index.html. The file sits in your folder of choice. You can also generate a new file in this webpage folder, it appears in the editor file tree when you refresh. The second file you have to make is the stylesheet.css, where all your layout (size of headlines, fonts, etc.) are specified.
Hierachy of Specificty
It is useful to be as general as possible in your definitions, so you can apply the same look all over your site, eg for pictures. You only go more specific if needed, in my case the start page with all the black boxes are specific - no need for black boxes in the rest of my pages.
There are different groups in .html: * "type"= e.g links, paragraphs, images... * "class"= definition of e.g. link, paragraph, image layouts (e.g. all links are pink) * "ID"= most specific: there can only be one. It´s like a national ID number. One thing can have many IDs, but two things cannot share the same ID: we use ID for a unique set of definitions.
We want to be able to reuse the code as much as possible; if we have many things that share some buy not all properties it´s best to make many classes. In general it´s best to avoid IDs. The ID overrides a class, because it is more specific. this is useful when we want to override, but it can also become confusing.
For the black box starting page I made a class = box 1 = shared properties. In the .css file all properties of box 1 are defined: size, margin, no patting, when not-hovering over the box, it´s black. I actually just changed the colour of the text: so when hovering = white text (= visible) and when not hovering = black text (= invisible). All boxes "float left". Each box also has an Id that specifies it´s unique characteristics apart from the class properties. In my case the ID specifies the frame of selection of the background image that is visible when you hover over the box.
CSS examples
-is type - ie link "a" - css syntax "a {something = something;}"
-has class - classes we make up ourselves - css syntax ".someclass {something = something;}"
-has class and is type - css syntax ".someclass a {something = something;}"
-has 2 classes - css syntax ".someclass .someotherclass {something = something;}"
-has class and is contained by element that has class - css syntax ".someclass.someotherclass {something = something;}"
-has id -id's we make up ourselves - css syntax "#someid {something = something;}"
-has id and is type - css syntax "#someid a {something = something;}"
-has id and has class - css syntax "#someid .someclass {something = something;}"
-has id and is contained by element that has class - css syntax ".someclass#someid {something = something;}"
-vice versa - css syntax "#someid.someclass {something = something;}"
-has id and has class and is type - css syntax "#someid .someclass a {something = something;}"
-has 2 id's - css syntax "#someid #someotherid {something = something;}"
etc
+ under condition i.e. hover makes more specific - css syntax ".someclass:hover {something = something;}"