
Week 07
So this week was about Make Something Big, and I decided to make a piece of furniture, I had some ideas from past projects so it wasn't that hard to decide what to do.
This week was my favorite week so far, maybe because I'm a Product Designer, or maybe just because the process of seeing how something you imagine transforms into an object in real life is priceless. The joy you get is one of the best feeling you can get, maybe that is what makes people fell in love with Fab Labs.
Objectives
Make something big
Weekly Progress >

First, we had our weekly lecture with Neil Gershenfeld, you can watch it here.
Silvia Lindtner gave this week’s lecture, she talked about Hacking China: Shenzhen, Shanzhai & the maker movement.
She is an assistant professor at the University of Michigan in the School of Information. Silvia’s research and teaching interests include transnational networks of innovation and entrepreneurship culture, DIY (do it yourself) making and hacking, science and technology studies in China, and Internet and digital cultures. She is currently writing a book on the culture and politics of “making” and transnational entrepreneurship in urban China. Her research has been awarded support from the US National Science Foundation, IMLS, Intel Labs, Google Anita Borg, and the Chinese National Natural Science Foundation.
Her work has appeared at ACM SIGCHI, ACM CSCW (Computer Supported Cooperative Work & Social Computing), ST&HV (Science Technology & Human Values), Games & Culture, China Information, and other venues. Together with Professor Anna Greenspan and David Li, Lindtner co co-directs the China-based Research Initiative Hacked Matter, dedicated to critically investigating processes of technology innovation, urban redesign, and maker-manufacturing cultures in China.
Assingment >

My idea for this week was to design and prototype an exterior seating chair, kind of like a chaise lounge. I chose to make the prototype with OSB (Oriented Strand Board), which is a good material for prototype, but can also be a nice final product material.
I wanted the chair to use as less material as possible, to be easy to transport and assemble and to be strong enough to support being outdoors, so no metallic parts, no screws, no glue, nothing.
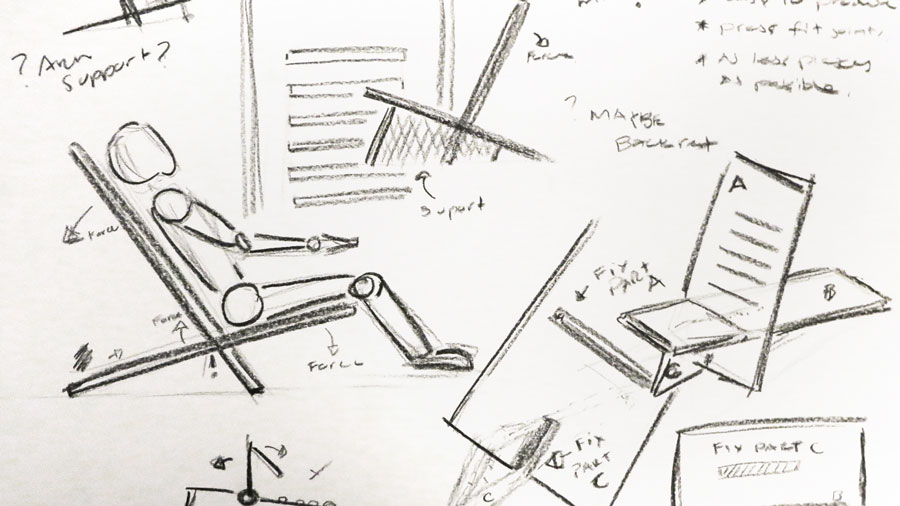
During the design process I got inspiration from cardboard packaging examples, looking to some examples I realized that maybe three pieces where enough, and that I could make all pieces fit through a unique joint.

So translated my sketched idea to 3D modeling. Im using Rhino for modeling, it is the program that I mostly use to model, but I strongly recommend to go parametric, it can save you a lot of time using a program like SolidWorks, PTC Creo or Inventor, these programs are used by engineers around the world and for a reason, you have more control over what you do, and that saves time.
I spend a lot of time trying to solve my joint, that was the most difficult part of all the design process, also the milling tolerances gave me some extra work, and because I wasn't using a parametric software, I had to re-do some pieces of thing like three times.
Before going to the milling machine I decided to test if my design actually worked. So I scaled my model and laser cut it.
I had no major issue doing this, just the problem of not having engraved one of the joint, I cutted it, but it was ok as it was a test, it worked perfectly and pointed a major issue, the back support of the chair was in danger of being to weak, I wasn't really taking in account the material that I was working with.

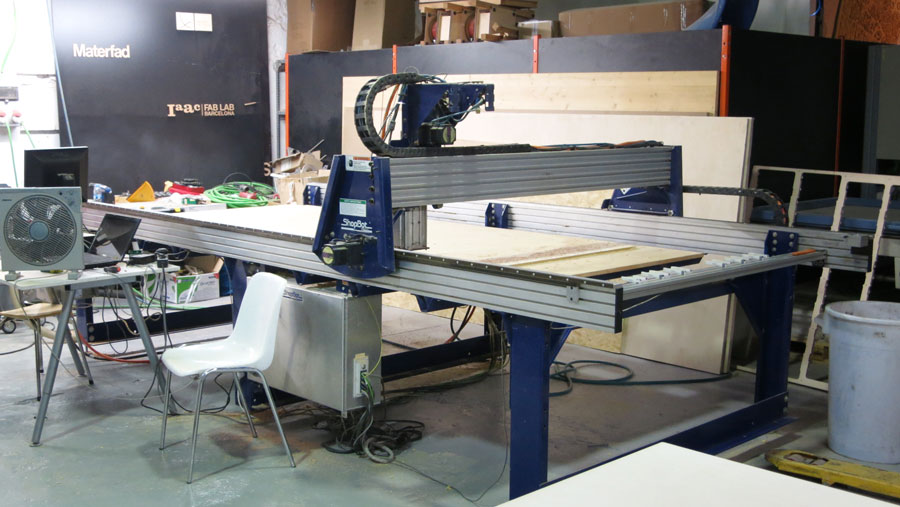
And after "fixing" some of the errors I saw with the scaled model, I was ready for the milling machine. We have to machines at the lab, a Precix and a ShopBot, for this first test I used the second one.
So before sending to the machine we have to prepare the Gcode, which is the language that machines use to work. In this case I used a a program called Partworks.
Preparing the files for milling

Set the size of your material.

Import your model's DXF file.
Select your vectors and join them: Edit Vectors > Join Vectors
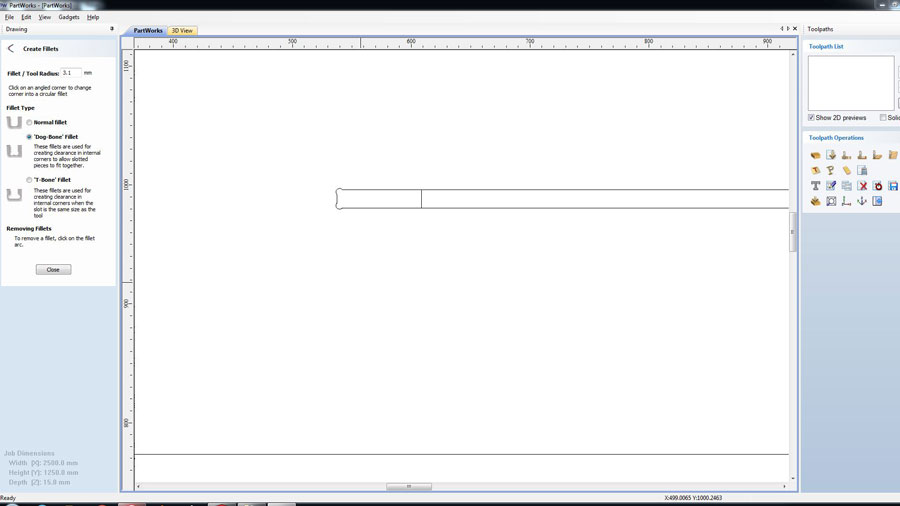
Create Dogbone Fillets (done for pieces correct fitting) Create fillet > Select type > Select radius > Apply in edges

Mark holes for screws, we are using a 3mm bit, so we draw 6mm holes.

Make the first a drilling tool path for the screws (the ones that holds your material in place); this are the parameters: tool: 3mm drill > Feed: 5.0 mm/sec > Plunge: 20 mm/sec > Spindle: 12000 r.p.m.
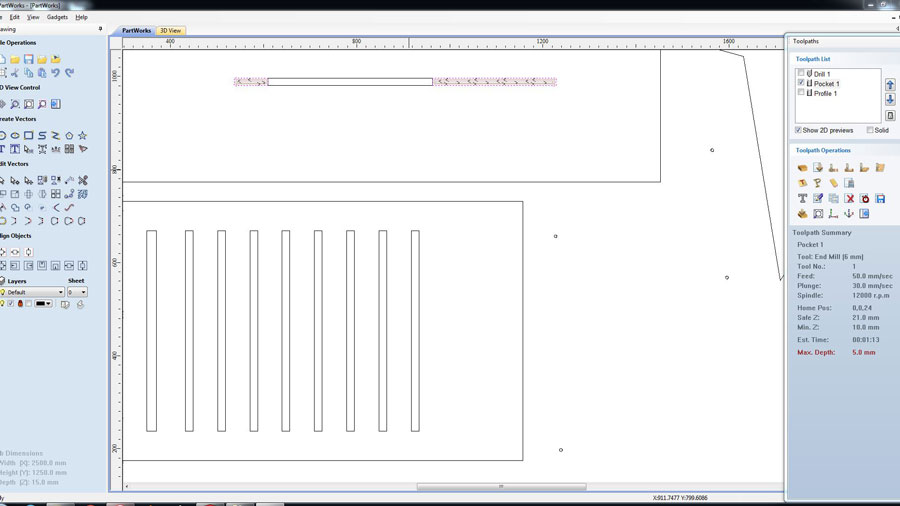
Then a pocket tool path; this are the parameters: tool: 6mm End Mill > Feed: 50 mm/sec > Plunge: 30 mm/sec > Spindle: 12000 r.p.m.

Then a profile tool path; this are the parameters: tool: 6mm End Mill > Feed: 60 mm/sec > Plunge: 20 mm/sec > Spindle: 12000 r.p.m.
Remember to add tabs so the piece you are milling holds in place.
Save the drill path in a different file as you are using a different bit.
And you are ready to start milling! Just remember to send the Gcode with the correct tool path order.
Before you can start milling you have to set up the machine, I used a
Before starting reset the machine by pressing the blue button in the external switch.
Then open the console and set Z axis to a safe position (to avoid hitting the material when setting X,Y)
Now send the machine to its 0 (X,Y) position to set it.
Then move the spindle outside the material for setting Z axis.
Use the metal plate and the crocodile clamp, with this the machine sets Z axis height.
Now go back to the machine console and load the Gcode file that you've created before and send to mill.

And this is the finished prototype without finishing. The joint worked great, the length of the pieces is ok, there was just one issue (my fault and I knew it), the back rest was to weak, It felt too breakable, not stable, it needed support.

I went back to design again, and I added extra support and modified the join, which is more interesting now, but on the downside a had to add more material, the good thing is that I managed to keep it a three piece design.
You can download the Rhino file here.
