Week 05
3D printing week. I've had a little experience with this kind of machines before when I was studying design. It's a shame not to have more time to continue experimenting with this technology because I think there's a lot of possibilities with these machines. Anyway it has been a good week!
Objectives
Test the design rules for your printer
Design and 3D print an object
3D scan an object
Weekly Progress >
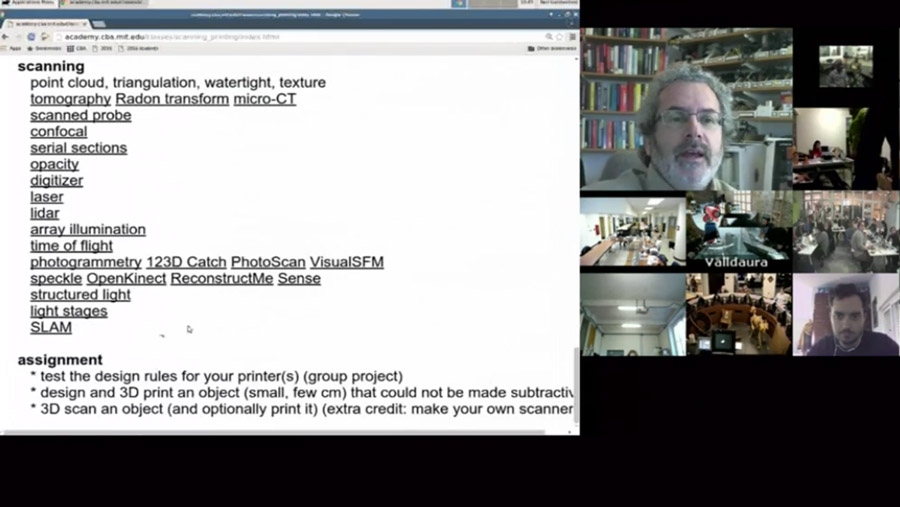
First, we had our weekly lecture with Neil Gershenfeld, you can watch it here.
Vinay Gupta gave this week’s lecture, he talked about Decentralization of Manufacturing Economy.
On creating a new economy and using the human power for a better future.
Assignment >
The first thing I tried this week was 3D scanning. For this I used a Kinect camera and a software for using it as a 3D scanner called Skanect, and the Modela MDX-20 scanner.
I wanted to scan myself, so I asked Caro to help me because she had the Kinect already configured in her computer. If you are a mac user I've found this guide than can help you.
The process is not complicated, first you set the type of object you are scanning, then the area (the box) and then you run the program. When you are scanning remember to do it slow but with a solid movement around the object without losing the focus (getting out of the box). It's a good idea to do the movement from top to bottom, that way you get most of the details.
The scanning quality with this device is not the best, there are some parameters that determine this, for example if you have a very shinny object the results might not be the best because the intensity of the light that is reflected confuses the camera, so you get unexpected results in areas where the light is to shiny.
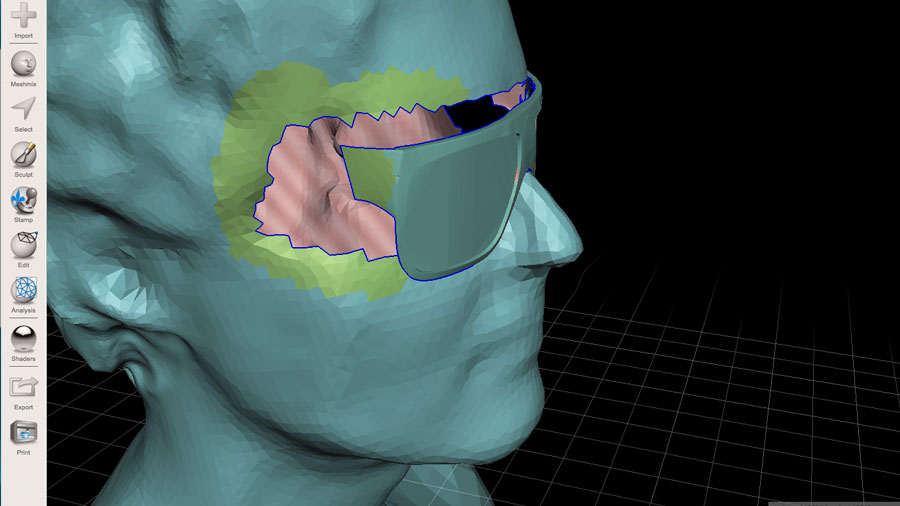
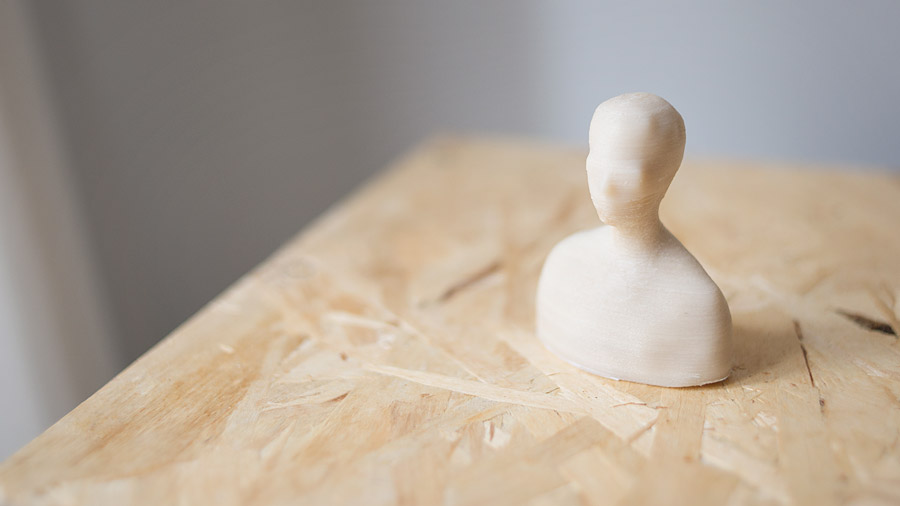
Then when you have the first model you need to fix the mesh a little bit. In this example I also stylized the model a little bit and added some glasses because that part wasn't scanning good. I used Meshmixer and Cinema 4D, but you can use more specialized programs for sculpting like ZBrush or Mudbox for example. Then I saved this model in .stl for my first try with the 3D printer.
And this is the final model ready for print!
We also learned that scanning small objects with the Kinect is a little bit difficult. It is better to use other kind of scanners, with more resolution. For this we used the MDX-20 with the Roland Active Piezo Sensor (R.A.P.S.), which is a precision 3D scanner, capable of scanning small objects at 4 to 15 mm per second with a resolution of up to 0.05 mm.
The steps for scanning in de MDX-20 are the following: On Windows, Open Dr. Picza, then you have to set the area you want to scan, resize the area by drag and drop the small squares until you get the desired area. Then you have to set your scanning parameters, the default, 0.002, is the max quality that you can get, but is also the slowest. Next you have to set your Z-Axis (Z Upper Limit), for this put a flat surface over the object you want to scan and select apply, you will see that the scanner starts moving until the tip of the needle touch the surface. After this you will have everything ready for scanning, just click on the green button.
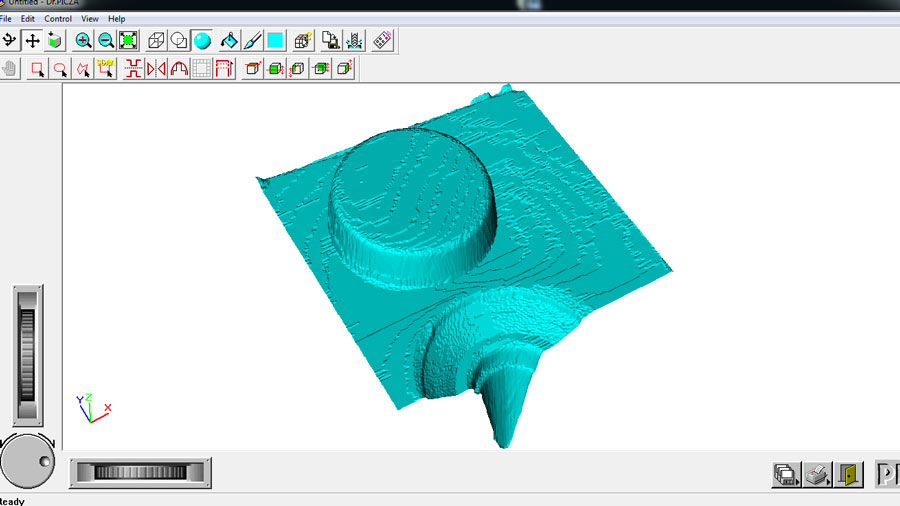
And this is the result of the scan with the MDX-20.
* For this exercise, I scanned a little area of the object because it can take hours, this one for example took 1 hour.
Now time for 3D printing. I tried two different machines, first, I started with the a little one from Formbytes and the other a BCN3D+, similar machines but with some differences in quality.
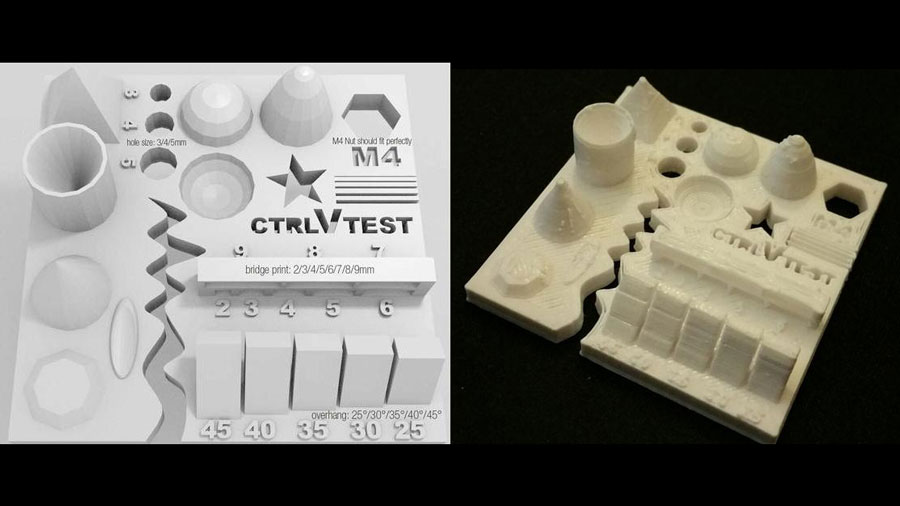
Before start printing take a look at our group documentation about Testing the design rules of our printers in Fablab Barcelona here.

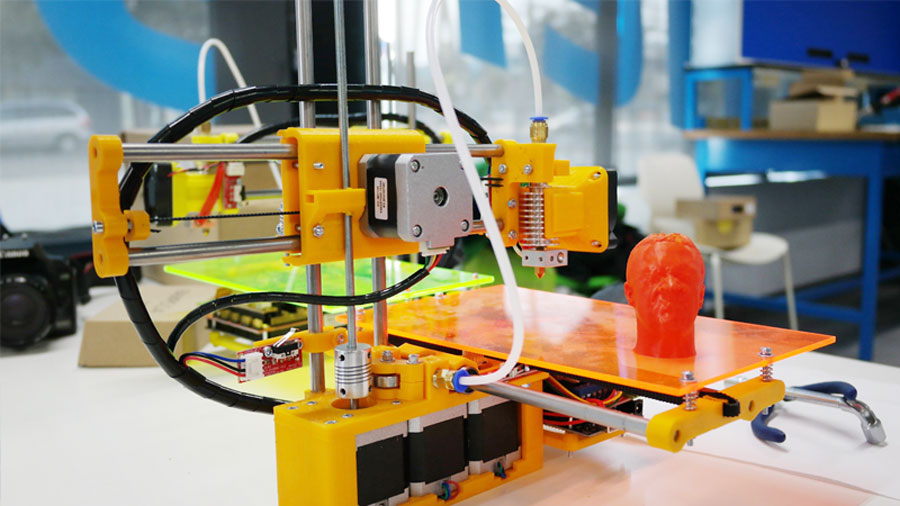
For my first try I used the Formbytes printer, which is a machine that is still on development, so the quality is not the best, but is a really simple machine to use.
Before starting printing we have to process our 3D files for printing. In this case I used Cura. You can also download the profile for Formbytes that I used here.
With this machine everything was set and ready to print, I just had to clean the plate and add lacquer spray for the print to stick to the base, If you don't do it there's a big chance that your model detach and everything will be ruined. Then I saved the Gcode file I generated in Cura to the SD card, the put the card on the machine and navigate to the print from sd option, and finally select it and click ok. The machine will start preheating and you are done, your print will start.
And this is the final result with the Formbytes!
If you want to print one, I share my file with you here.
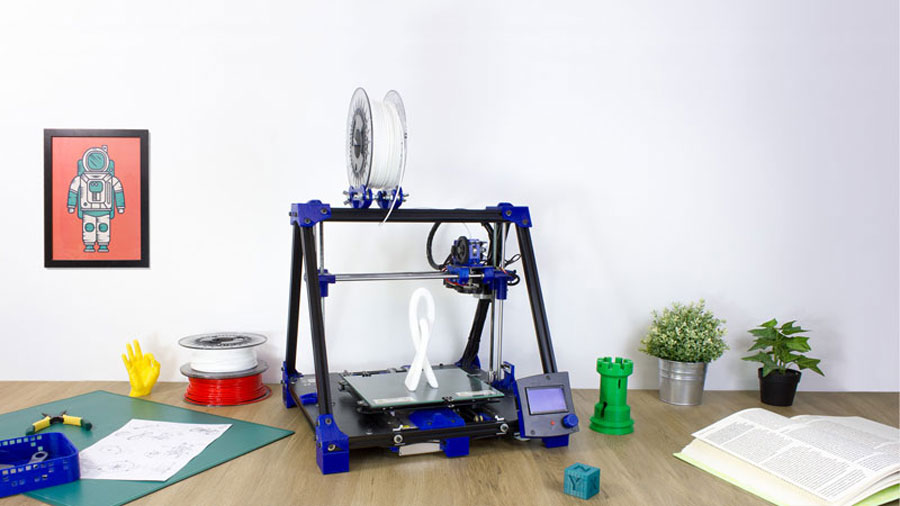
The second machine I used was a BCN3D+, which is a more developed machine produced in Barcelona. The output quality depends a lot in the complexity of the surface, the speed and the quality of the filament, overall is a good machine.
With this one I had to do a little bit more. On my first try I was getting bad results, and it was because it was not calibrated, so I had to do all the setup for the machine.
Level the hot bed of the 3d printer. In this case we have to take a piece of paper folded in half and put it between the hot bed and the nozzle, then starting from the right set the height by screwing or unscrewing the bolts. The paper should touch both, the hot bed and the nozzle, not too tight, not too loose. Then repeat the same steps with the other three screws and finish by doing the same on the center part of the hot bed. If you do it right, you should feel that the paper is touching "freely but tight" both surfaces when you move the hot bed in both axis.
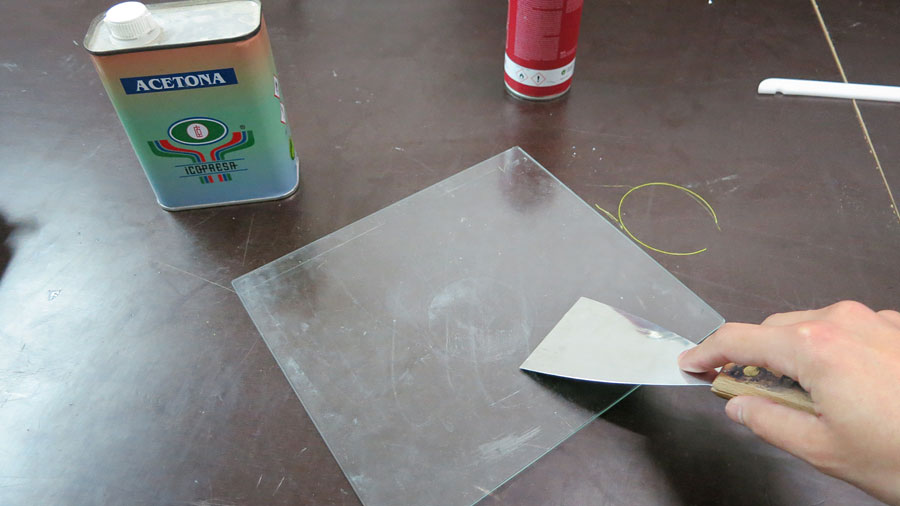
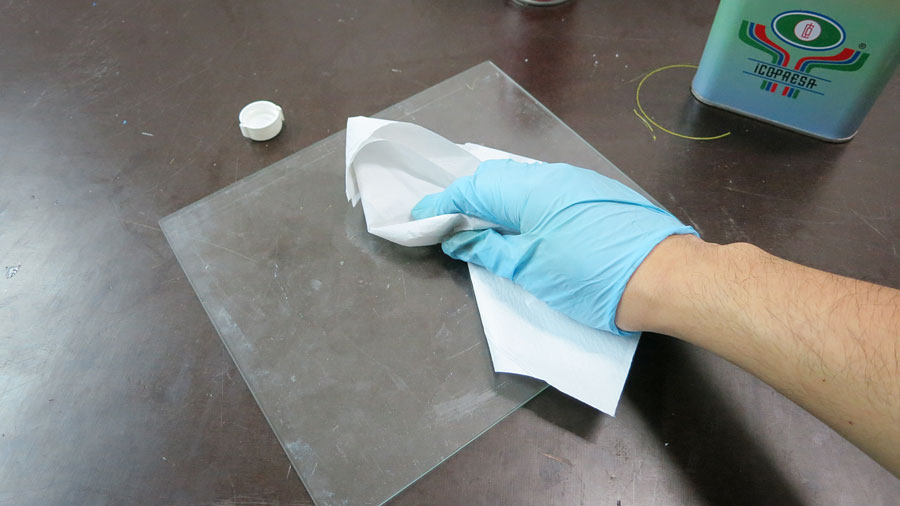
Now clean the hot bed of any residues from other prints and old laquer.
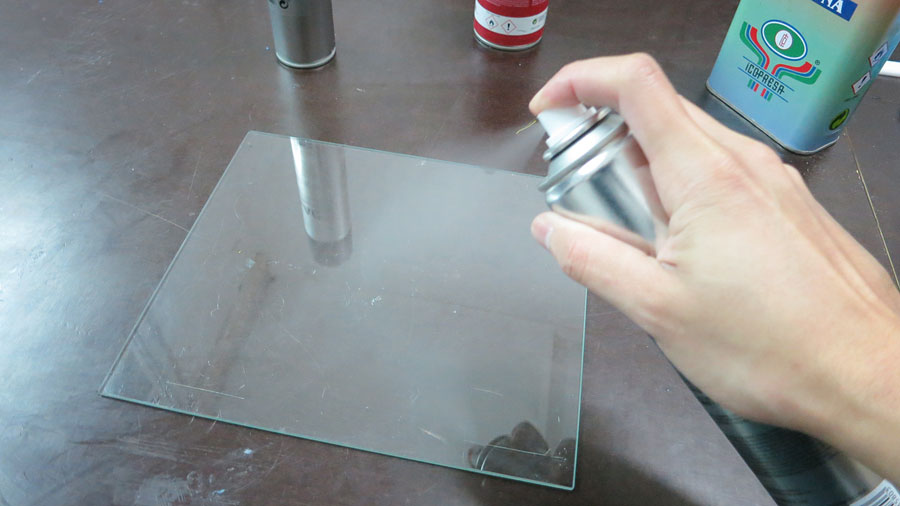
Prepare the hot bed by adding a special spray lacquer to keep the model attached to the surface when printing. At the lab we use 3D Lac but if you can't find a product like this one, you can always use hair lacquer.
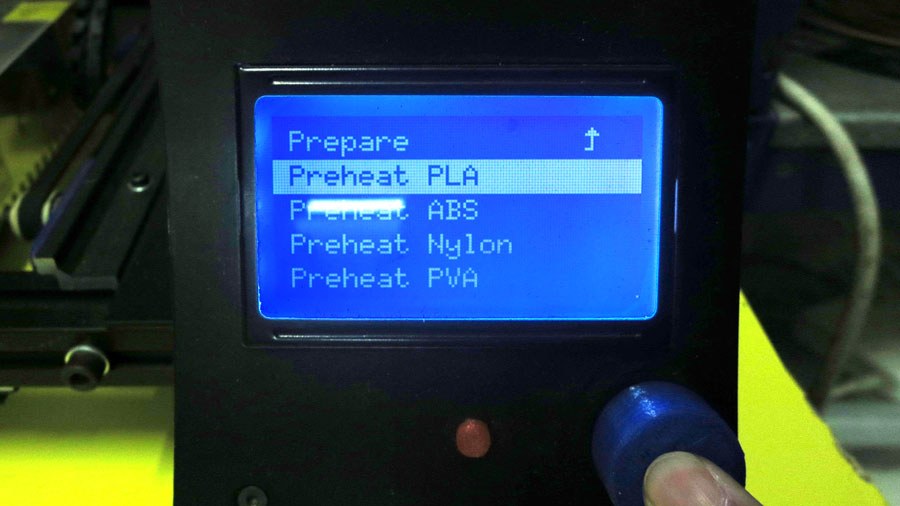
Next, preheat the extruder. Do this step after knowing that you have everything else prepared for printing or if you are putting a new filament, this is important because if you leave the nozzle hot for long without extruding, the remaining material might get carbonize messing up your nozzle and you will have to clean it or, in the worst scenario, replace it.

Then prepare the filament by cutting the tip in a diagonal way to make it easier for machine to receive it. Optionally you can also melt the tip a little with a lighter before feeding it in.
Introduce the filament into the extruder feeding hole, do it slowly. Keep pushing until you see the material being extruded. If there was a different kind of filament before, keep extruding until you see that the material coming out the nozzle is clean and uniform, if it isn’t you might need to clean it.
And with this the machine is ready, and is time to prepare the 3D file.
For this test I prepared a new model, something little bit bigger. I wanted to try a thin wall print and see how it works.
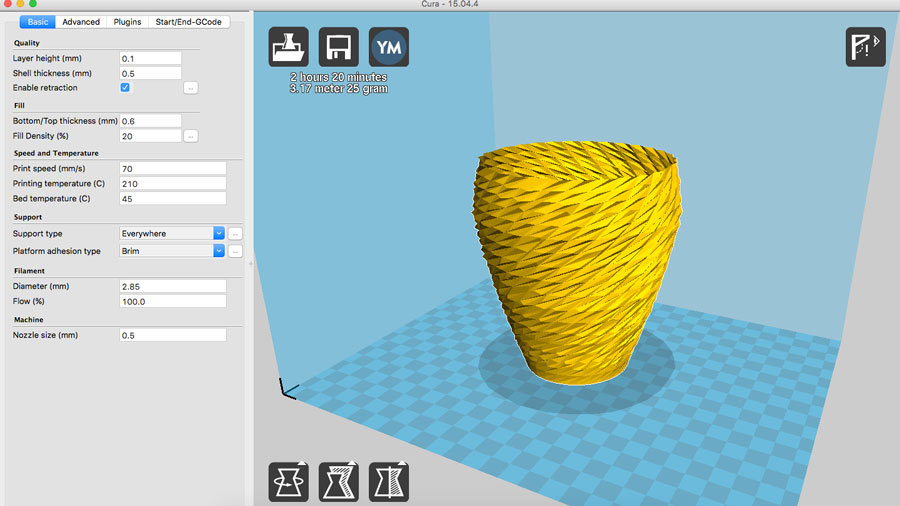
Again I used Cura for preparing the Gcode. Here you will find the profile I used for this machine.
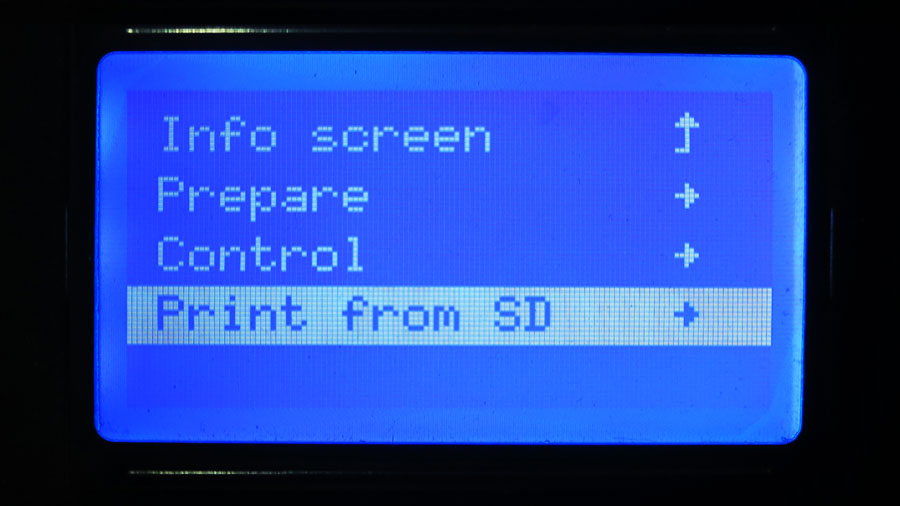
Now you are prepared to print. Send your machine home and insert the SD card, search for “print from SD”, turn the knob until you find your file you saved before in Cura and press the button.
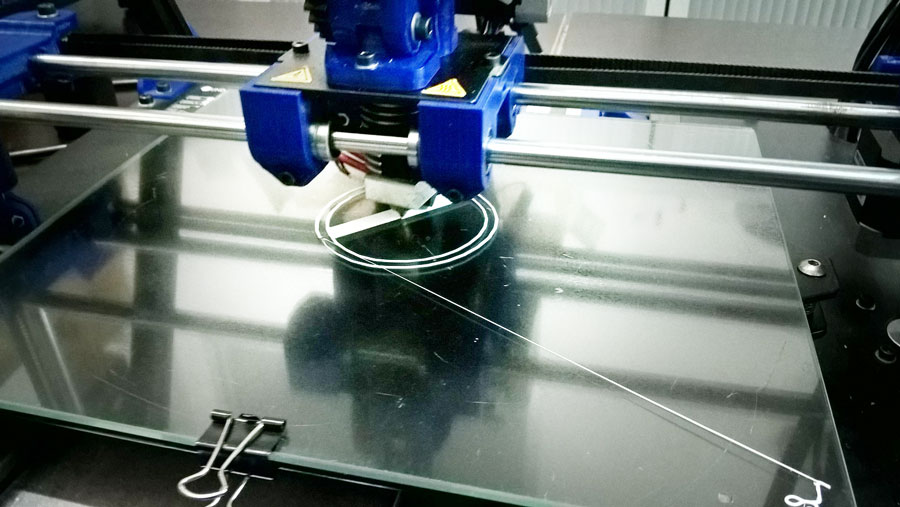
Wait some seconds, the machine will start heating up the hot bed ant the extruder if you did’t heat it up before.
Be there when the machine starts the printing process, if there’s any issue it will appear at this moment most of the times, if everything is alright after the 4th - 6th pass you can leave the machine printing and do something else, just come back regularly to check.
Remember that fast usually means less quality, so be aware that a good quality print might require hours to finish.
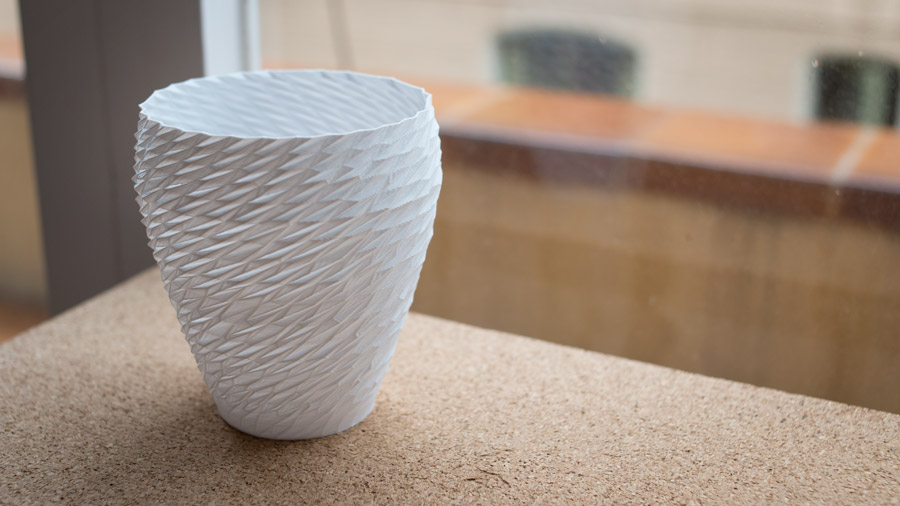
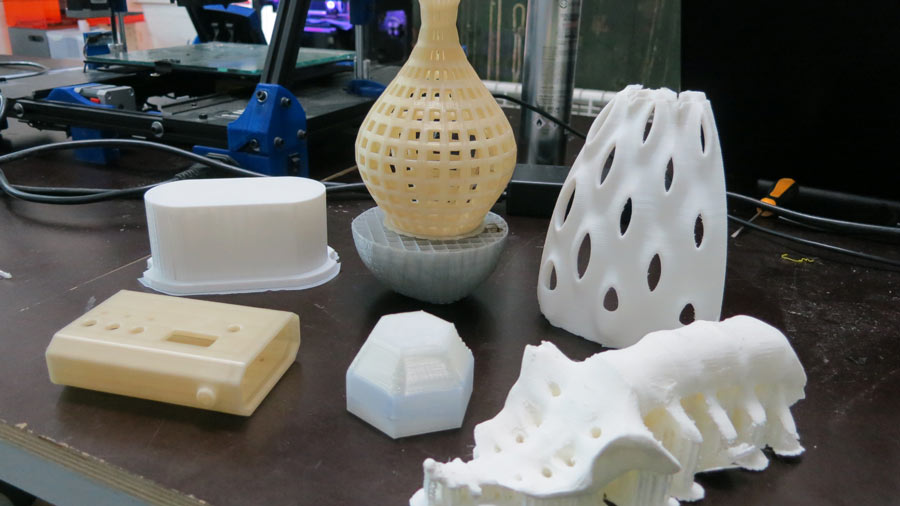
And this is the final model for the vase. It looks great, I'm really happy with it, and is pretty strong also, that was surprising.
I want to thanks Santi (our tutor), because he helped me a lot with this subject, Gracias Santi!
If you want to print one, I share my file with you here.
Further >
For final print finishing check this interesting links:
If you are interested in the business side of 3D printing, check this links out:
