Week.07 Computer-controlled Machine
Target and References
After a long discussion, I decided to realize a foosball table from an inspiration of an old foosball table at the D9 pub located near the school.
First of all it is necessary to scan the real model and find some reference on line.
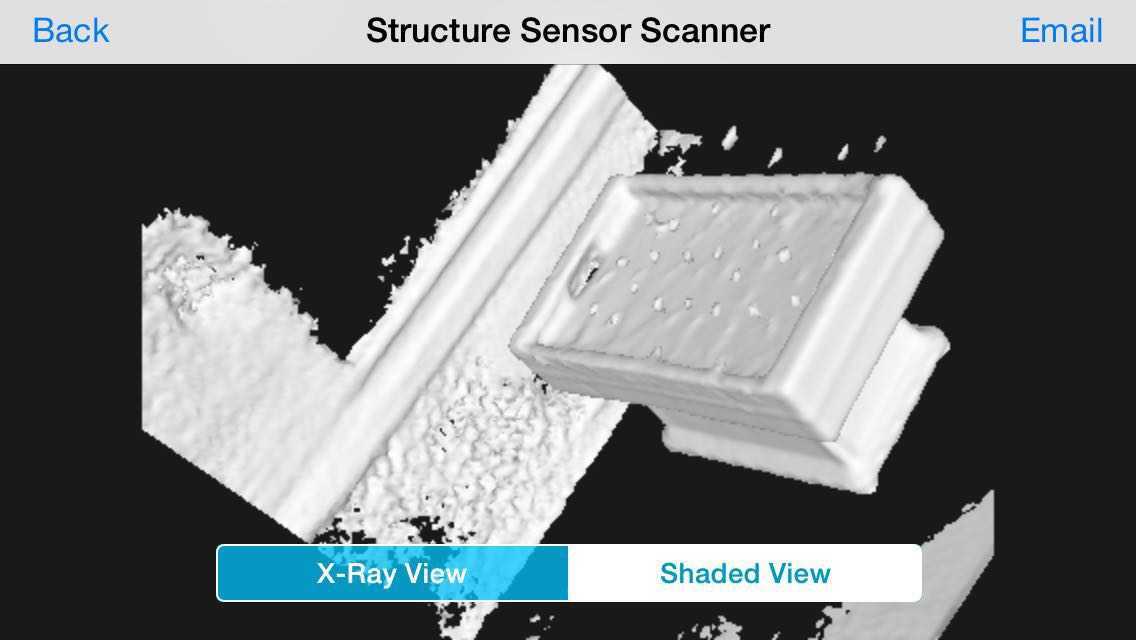
This is the 3D scan made with a structure sence. I used a 3d model as first reference.
This is the reference I liked more and appointed to be the model for the style of the design.
3D model
I started designing a table 3D model from the design reference and the 3d scan. I also found in internet some technical data about the standard regular dimension.
Here it is some screenshots about the project and some structure parts
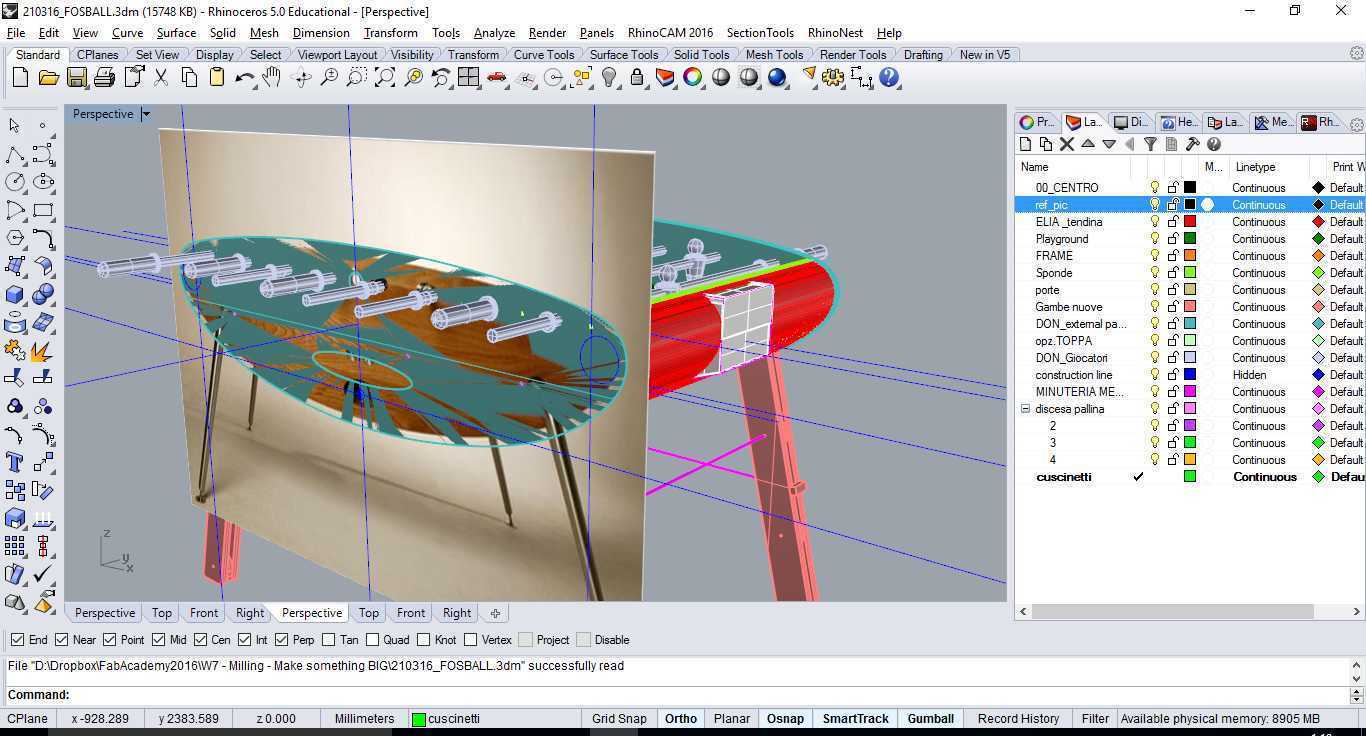 3d view and line costructions
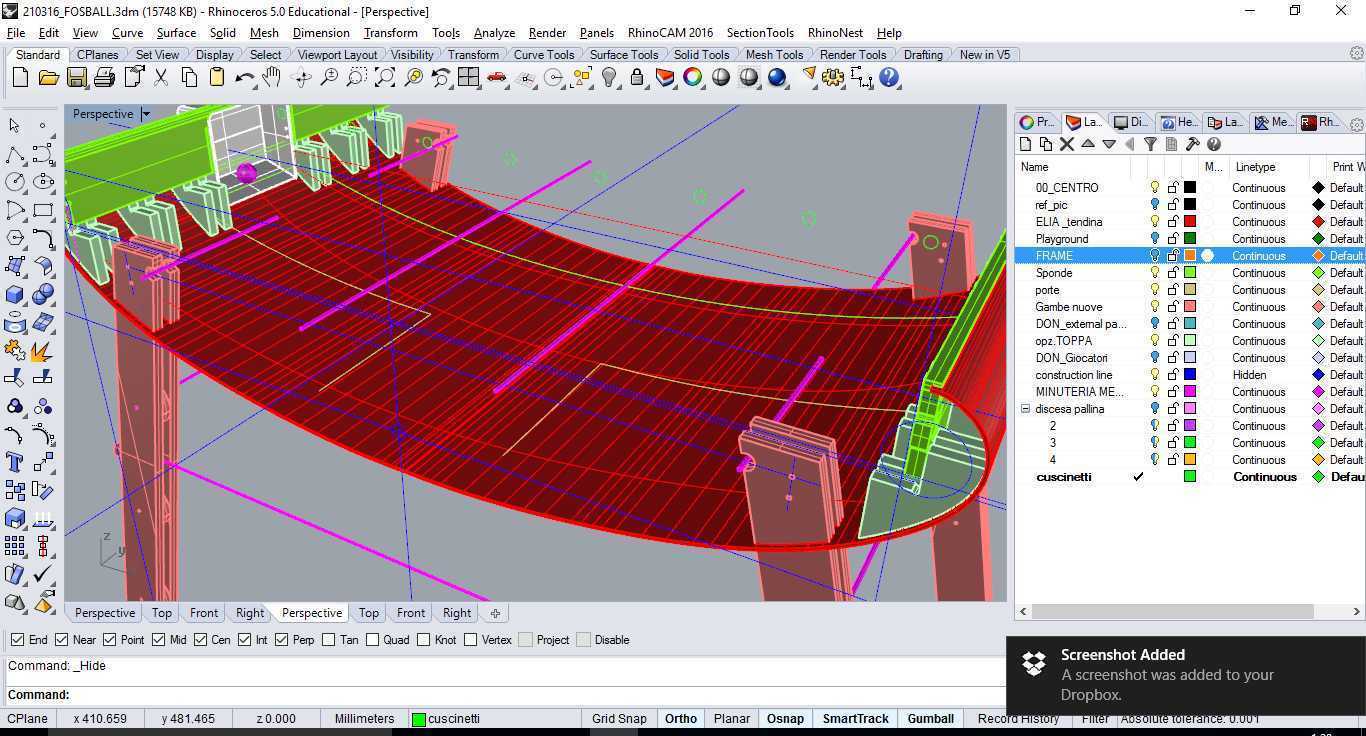
 internal frame
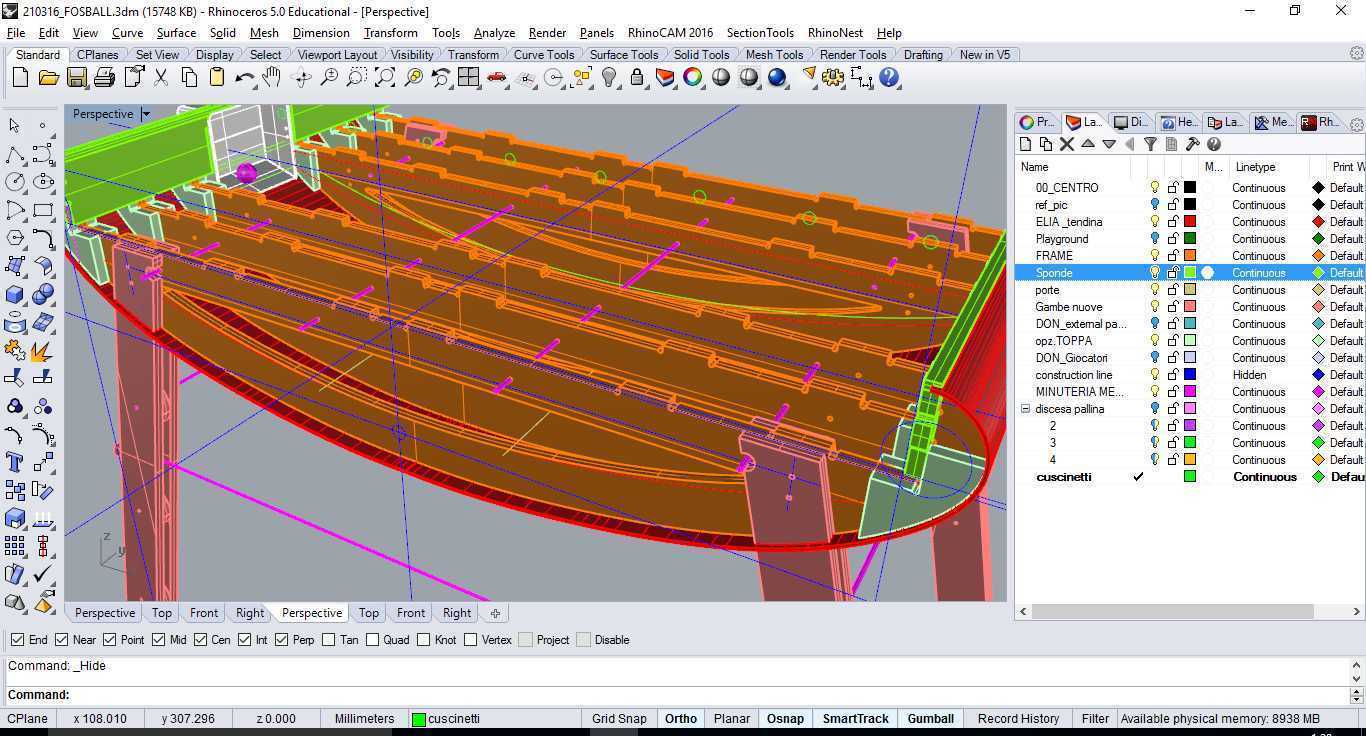
 bottom cover - internal view
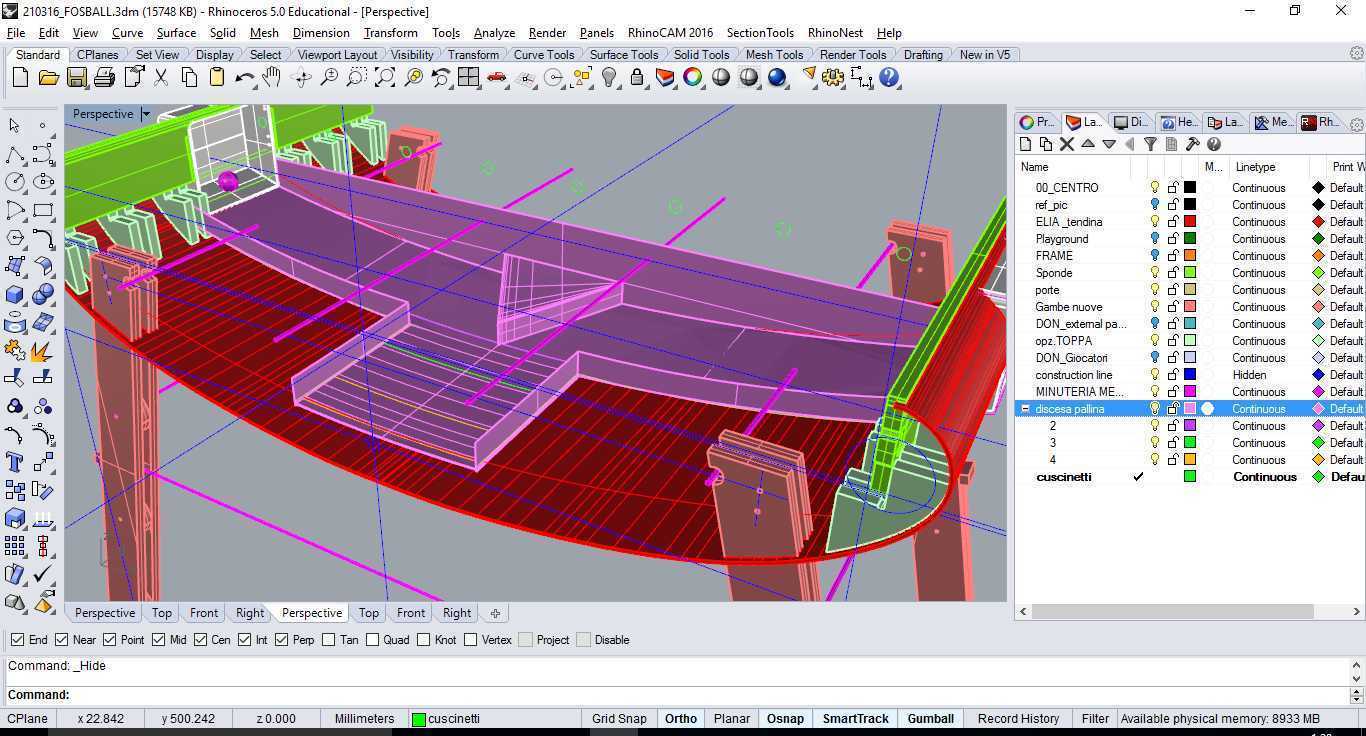 slide ball structure - internal view
 slide ball structure - internal view
 press fit joint - port side
3D Model Source Files
Footballino.3dm
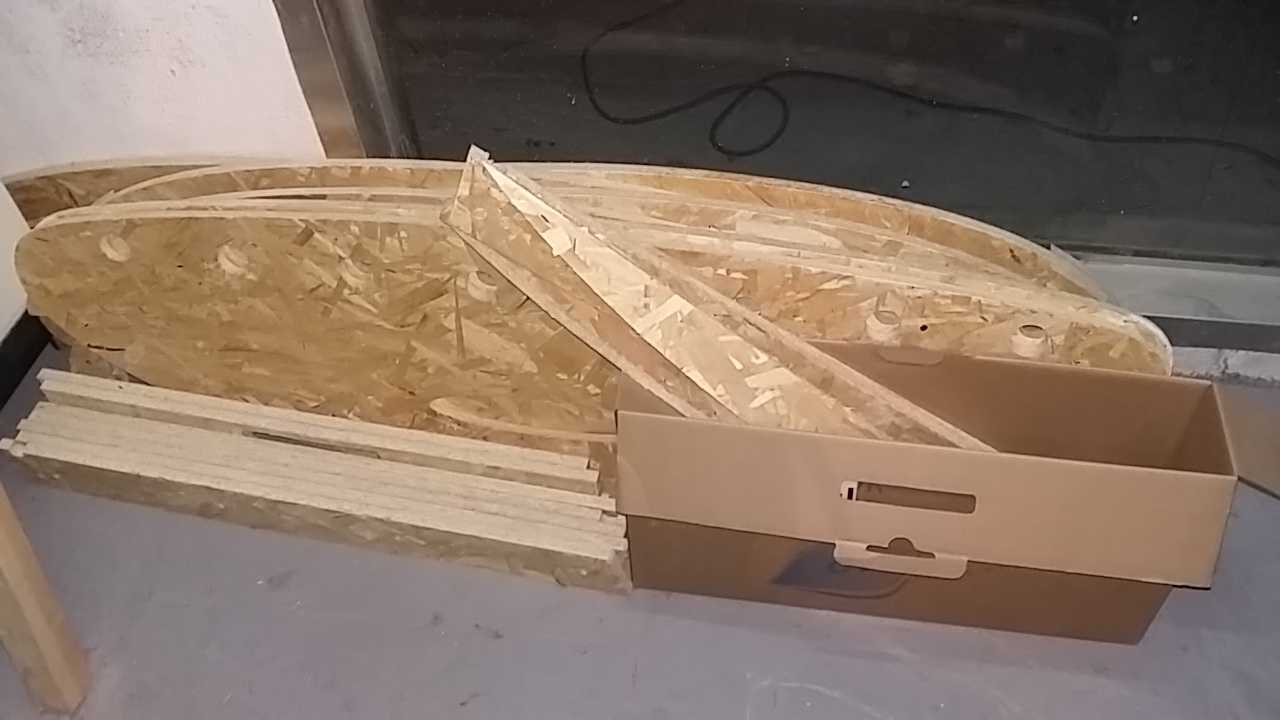
Milling
The 2D drawings are ready to be milled. I am waiting for the delivery of some mechanical parts that I could not accomplish in DIY.
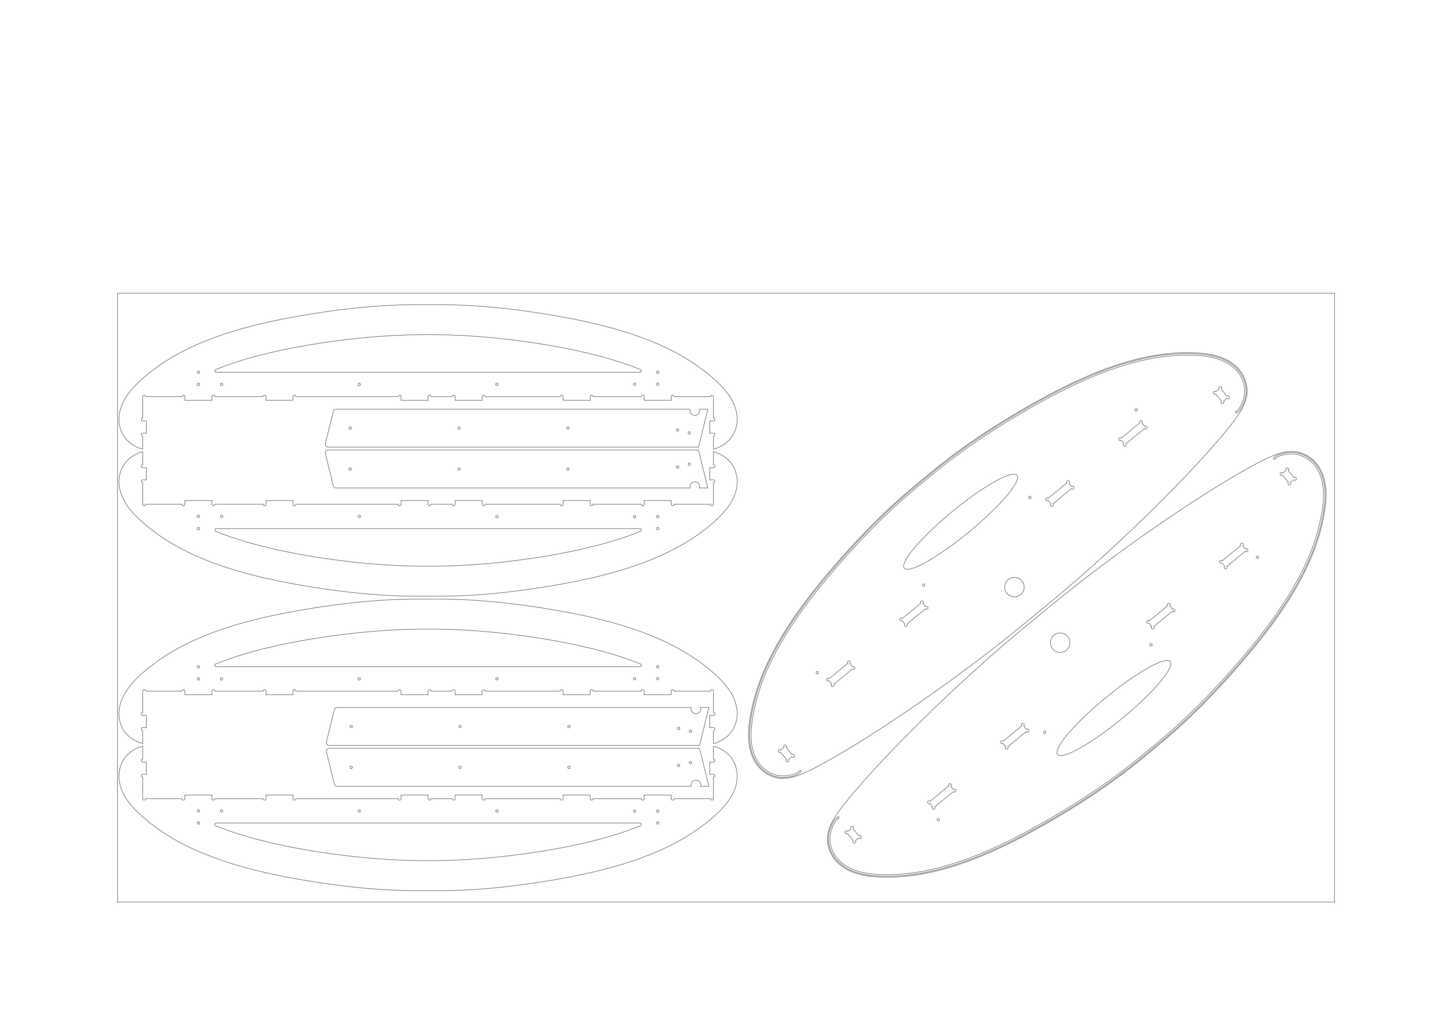

Source File for milling machines
Panel_01.dxf
Panel_02.dxf

Panel_01.crv
Panel_02.crv
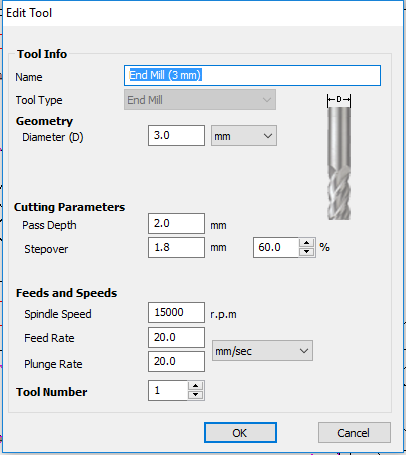
Milling Machines Parameters
cut depth 50% of the pannel thickness (here 7,5 mm OSB for pannel 15 mm)
Laser Cutting
For the lower part of the table I decided to design and laser cut a cover by a bending pattern. The surface is 1,5 square meter 3mm thick of playwood: let's laser!
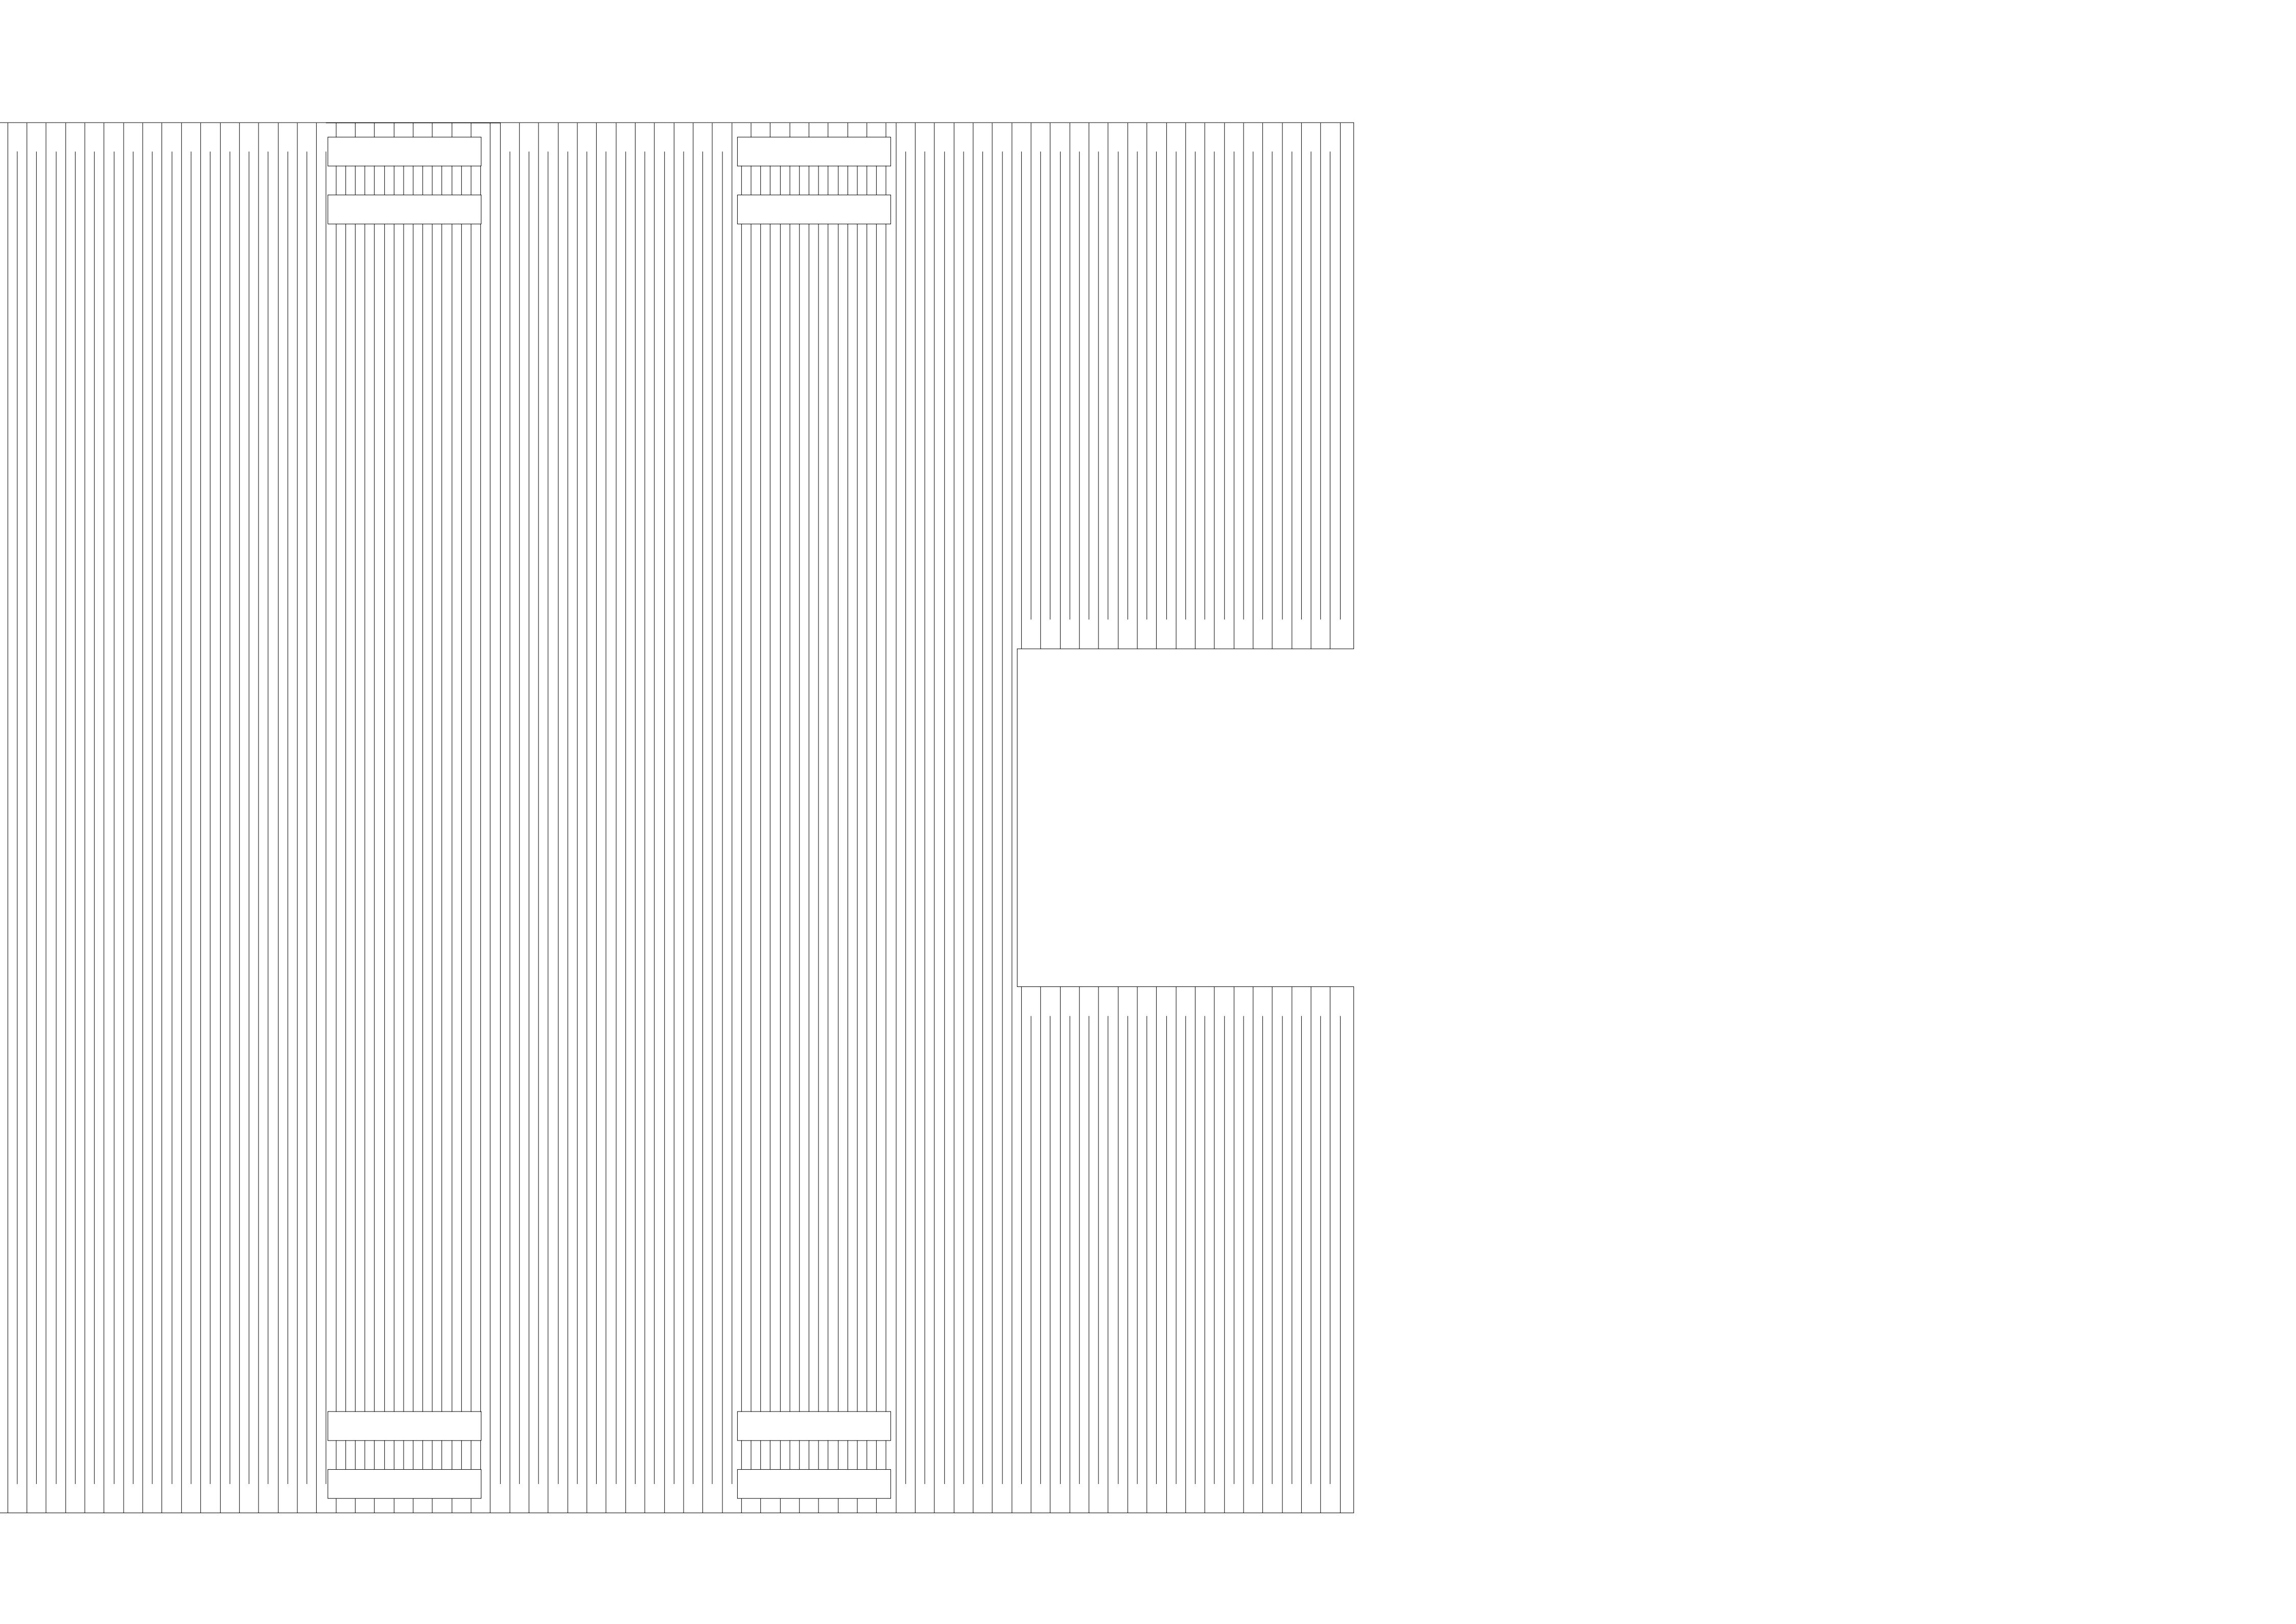
Source File for Laser Cutter
Bottom Cover.dxf
Laser Cutter Parameters
Speed 10%
Power 100%

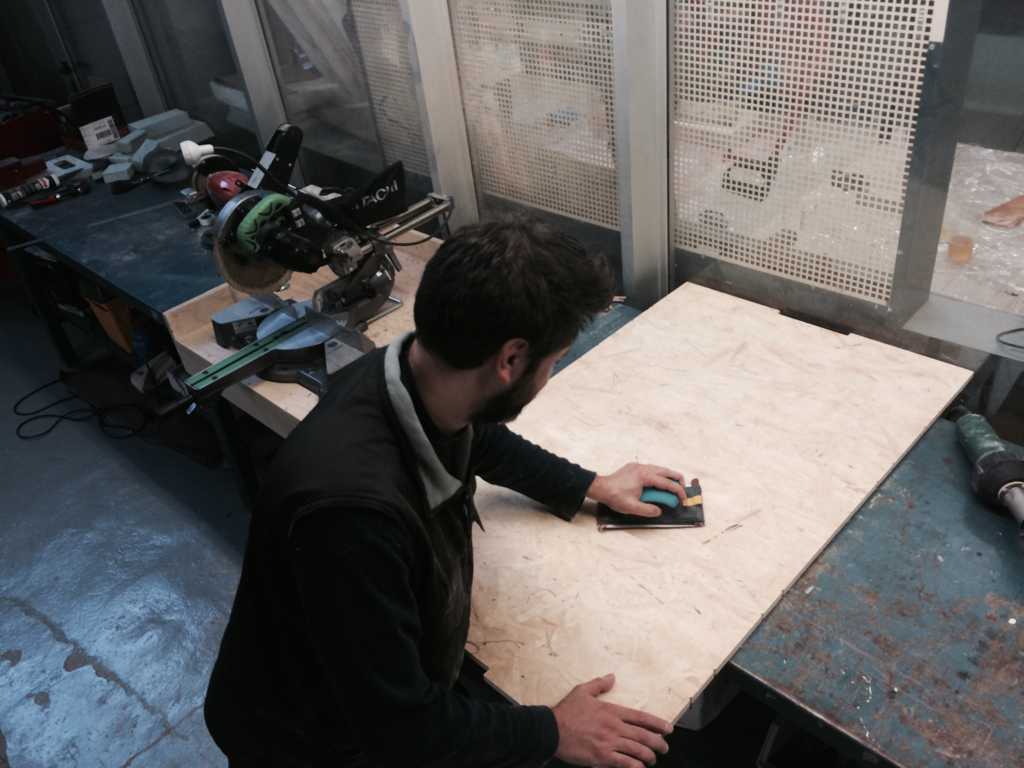 Polishing the surface before engraving the field lines.
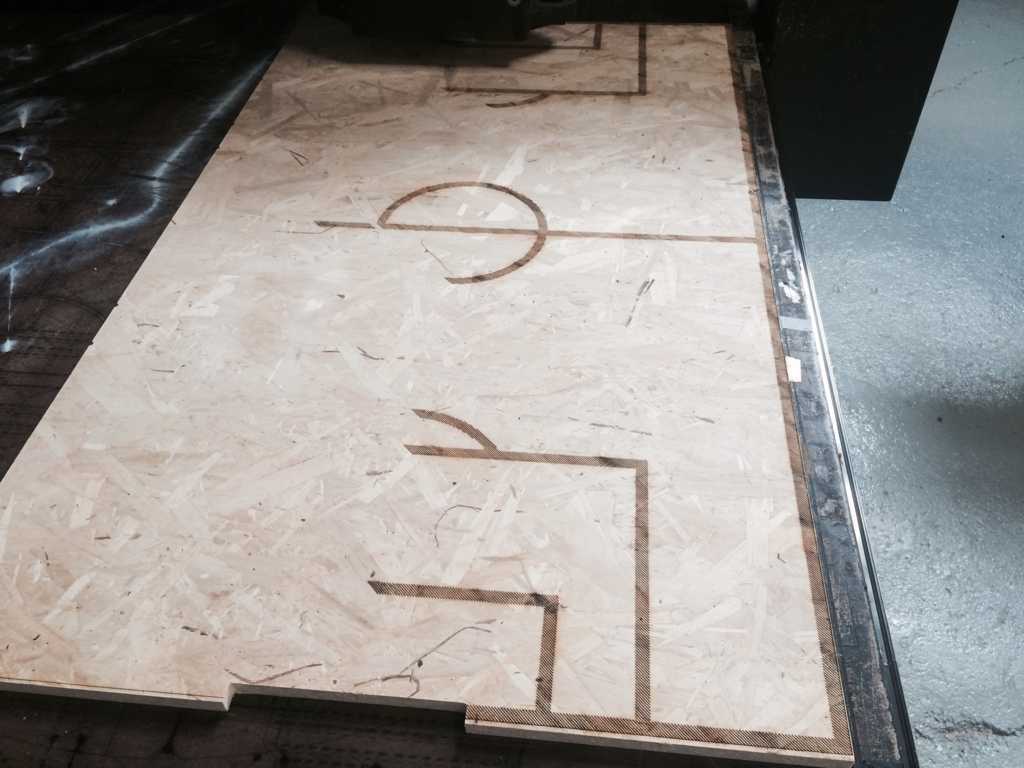
Laser Engraver Parameters
Speed 20%
Power 55%
Assembly

Tolerance
Press fit female: 0,5 mm offset

The Heroes Picture!

For further details visitFinal Project page
Copyright © Elia De Tomasi 2016