
Molding & casting
Task: | mold and cast something
This week i wanted to work on creating a more accurate peristaltic pump (as i have been having problems with friction of parts) and configure the model in a way that parts could be cast and milled. This document is excellent for learning all about the process of this weeks class on molding & casting .
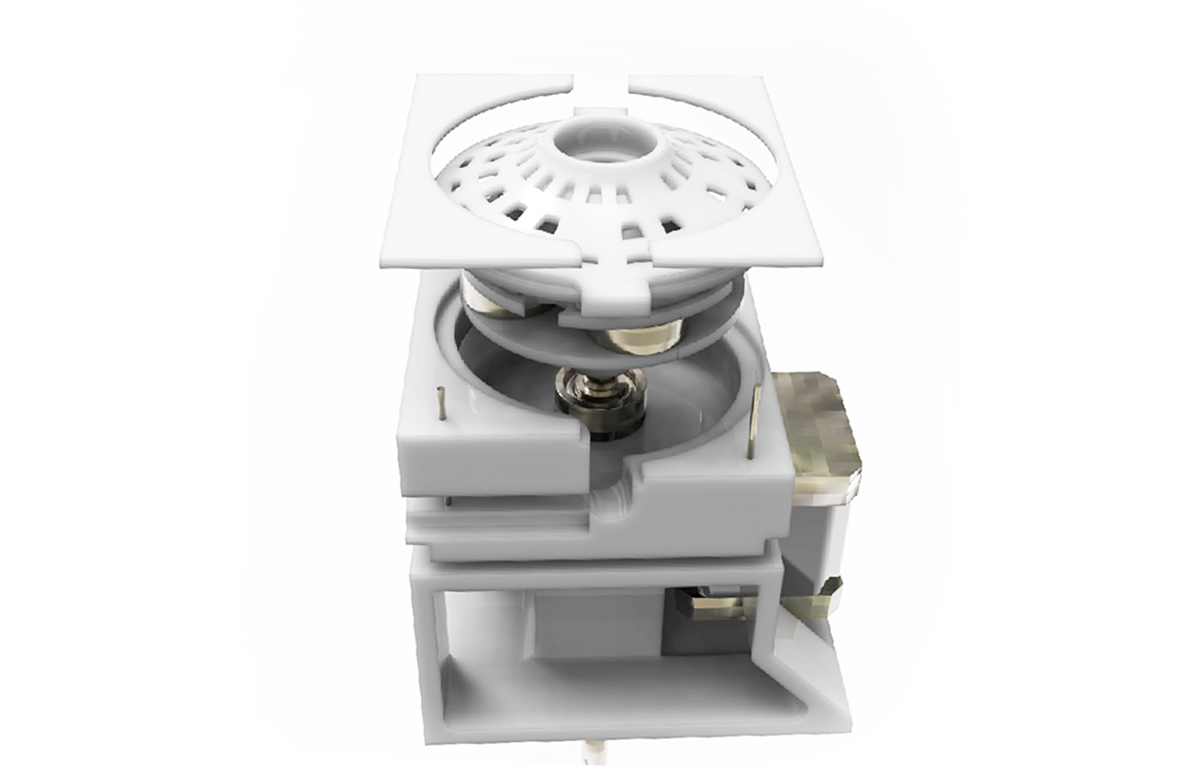
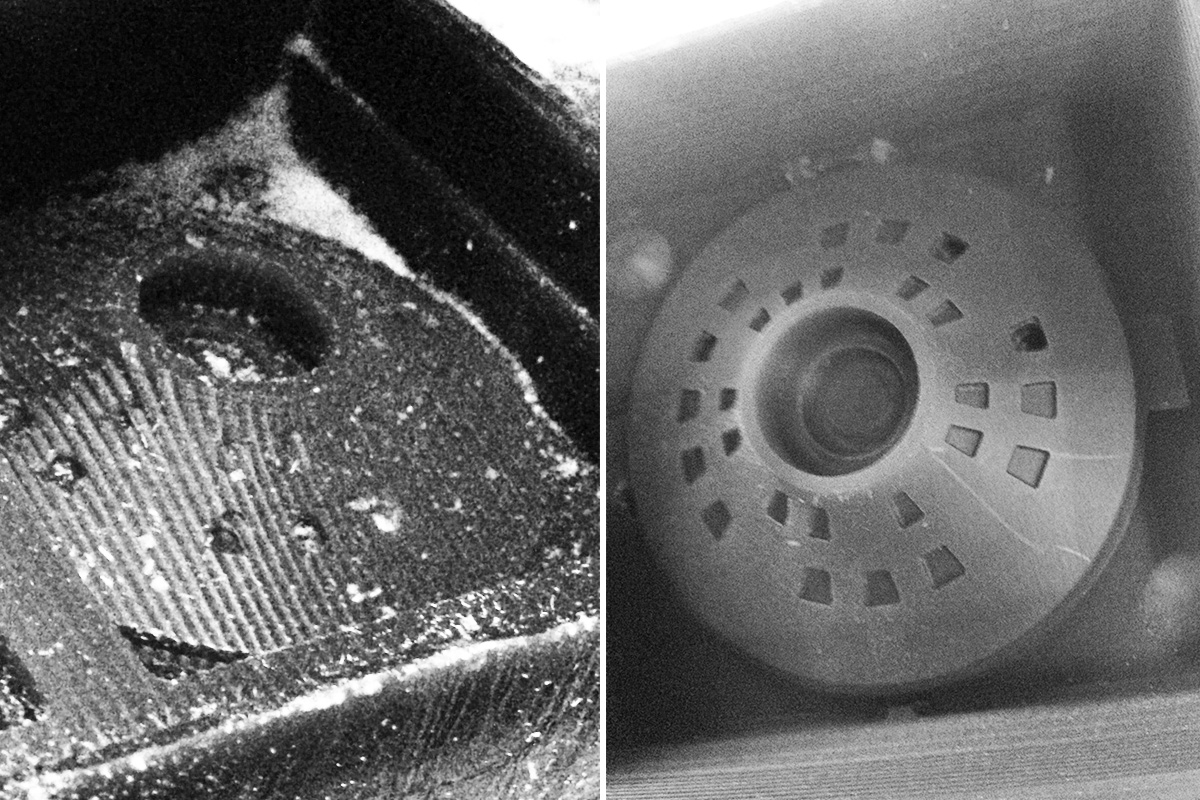
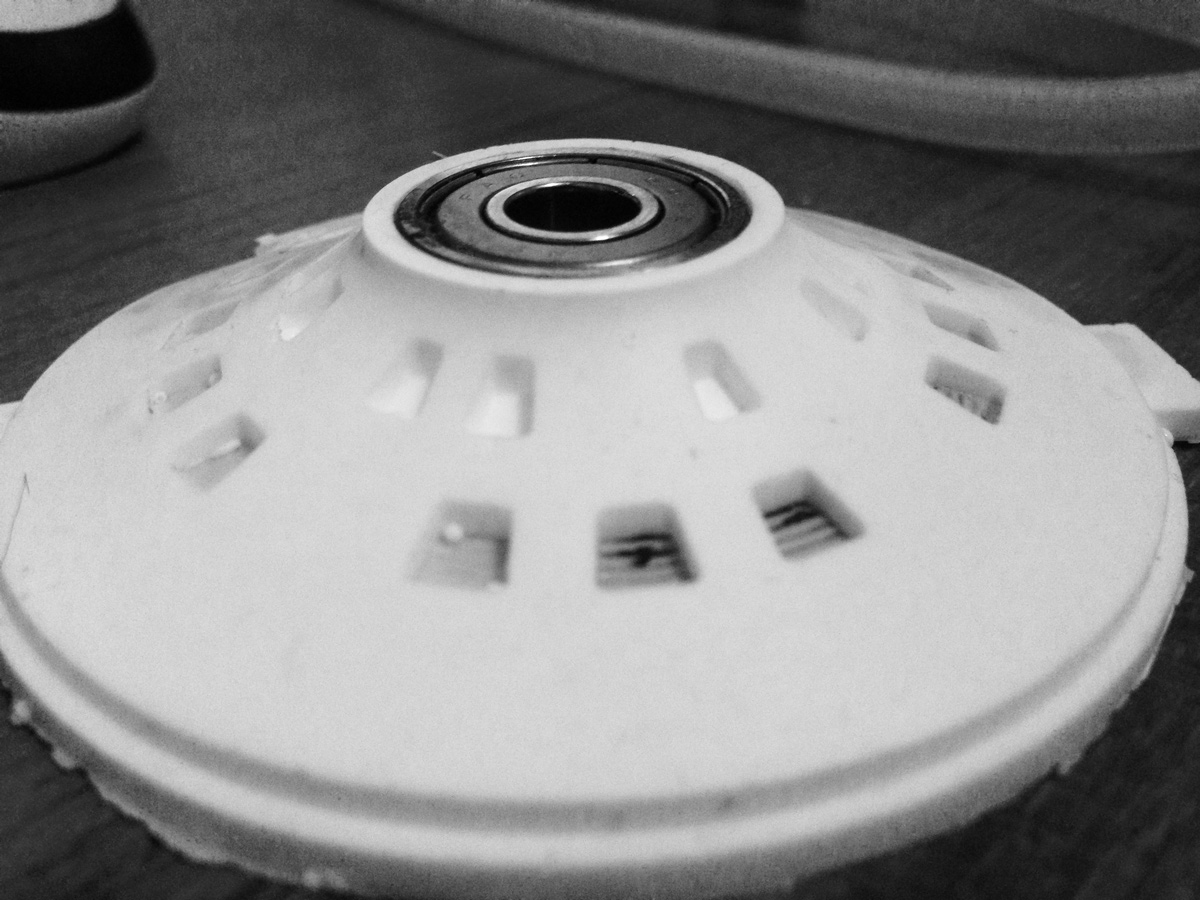
The part i chose to mold is a domed cap which will work as a place holder for the pipe and act as a end vertical connection for the rotation axis. I would have liked to cast this in a transparent resin. However due to the precautions in that; i chose to perforate the surface iThe 32 inch bit is being used for refinement so i modelled it to check that everything passes properly.
 | Preparing files
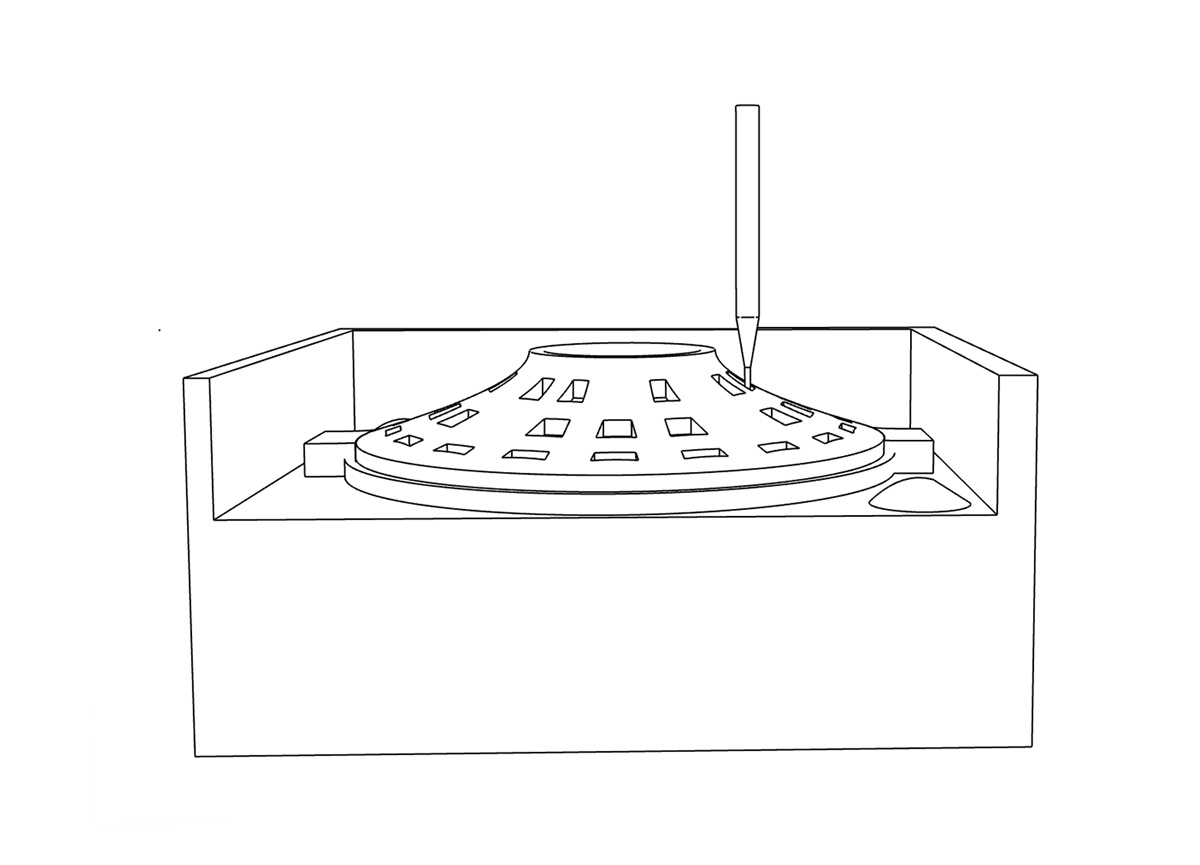
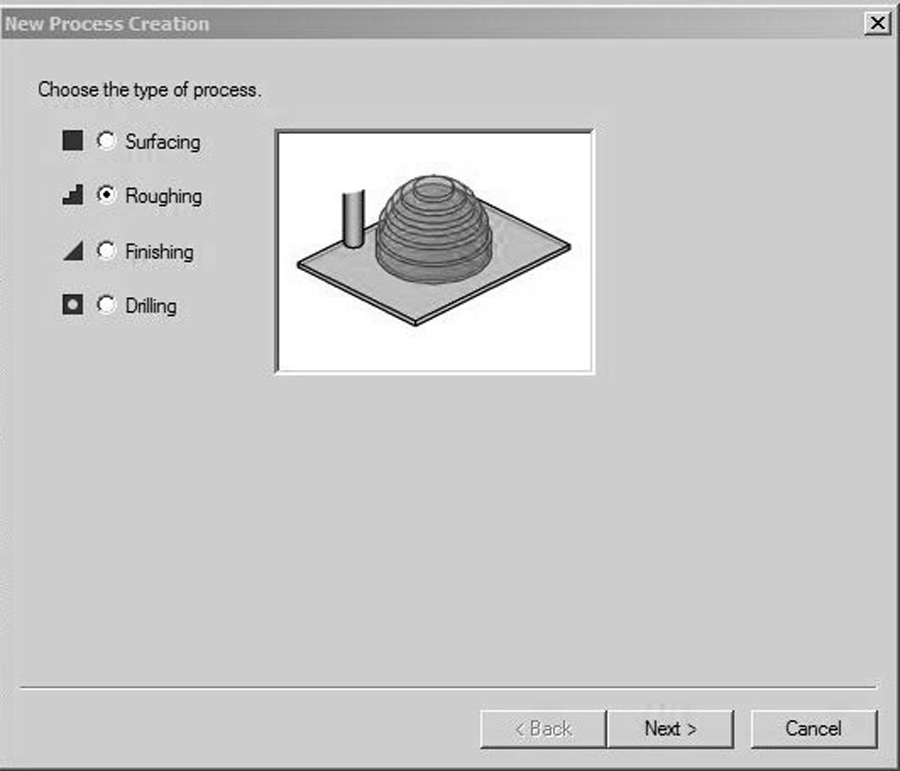
>To mill the wax; two process' are made. One is raughing using 1/8 drill bit (3.175mm of constant diameter) and the other is the finishing process which uses the 1/32 drill bit (0.7838mm- straight fro the first 3mm and an inclination to the rest) Because of this it is important to angle the walls if they are deeper than 3mm.
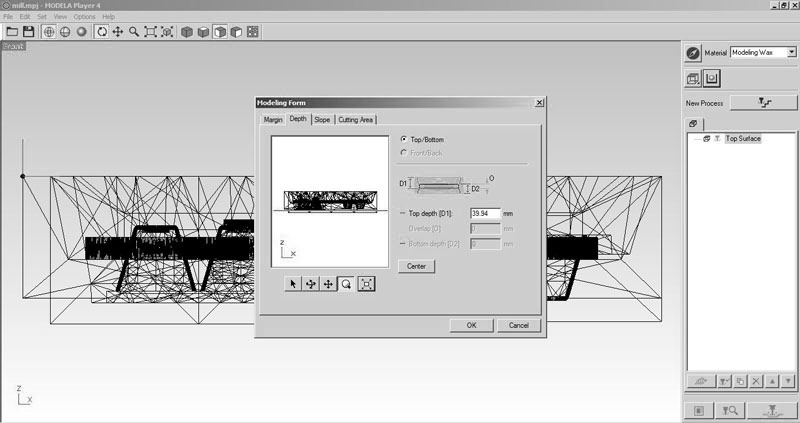
> the program to produce g-code this week was Modela player 4;
1. select the machine in File> Select machine (SRM-20)
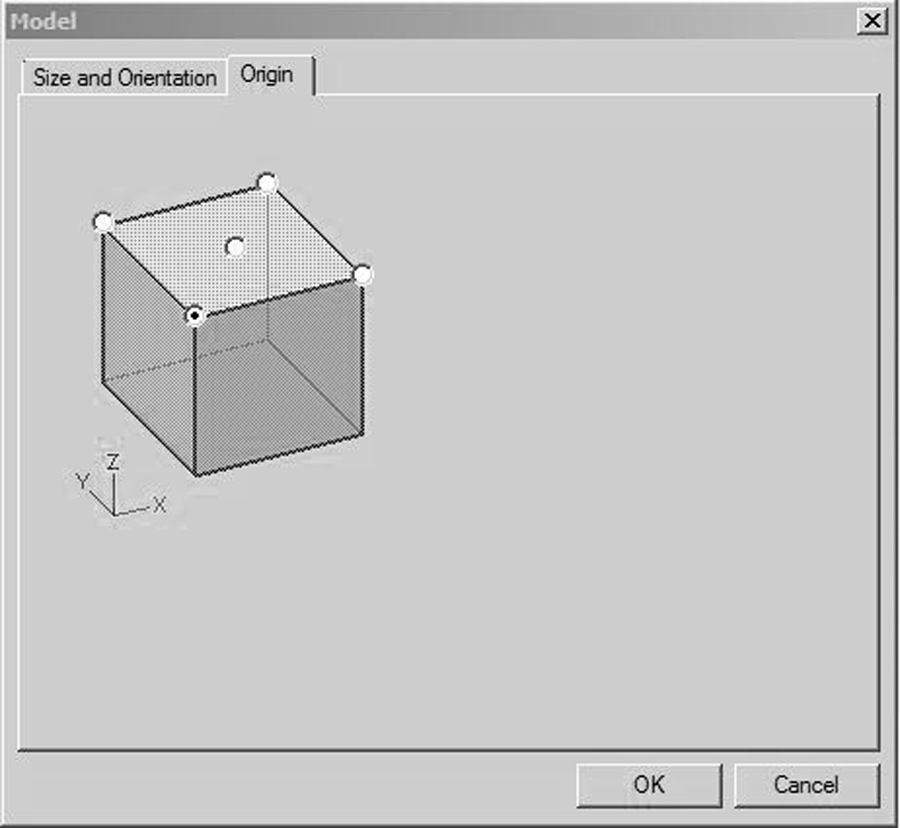
2. set the dimensions of the model
.jpg)
3. set the origin to the top left front corner of the model
4. set depth for safety
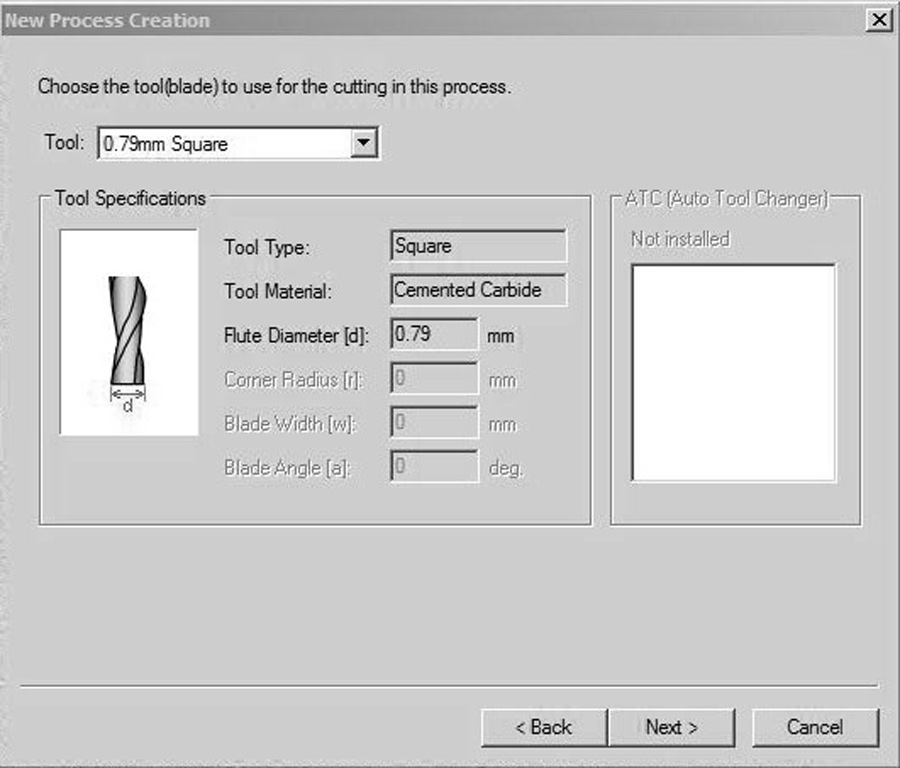
5.Generate the G-code for 2 processes: - Roughing with a 1/8 (3.175mm) tool- finishing with 1/32 (0.79mm) tool
6. select the tool
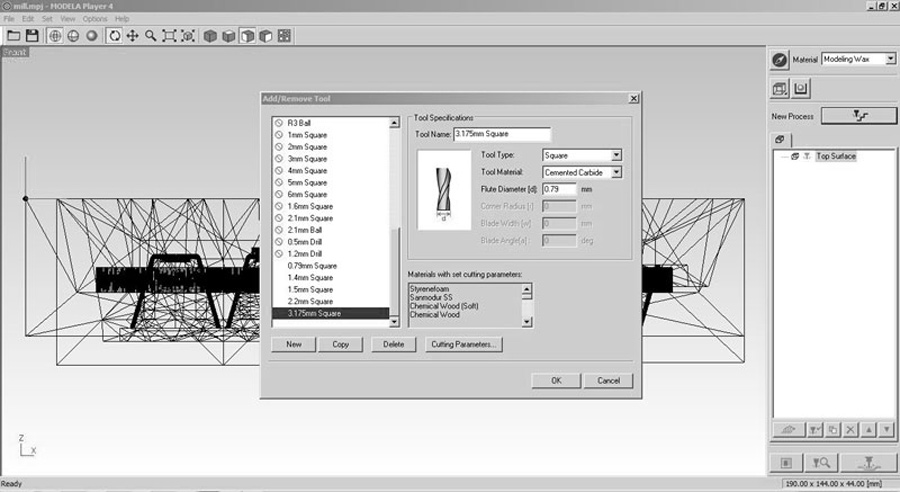
7. select the material (Modeling Wax)
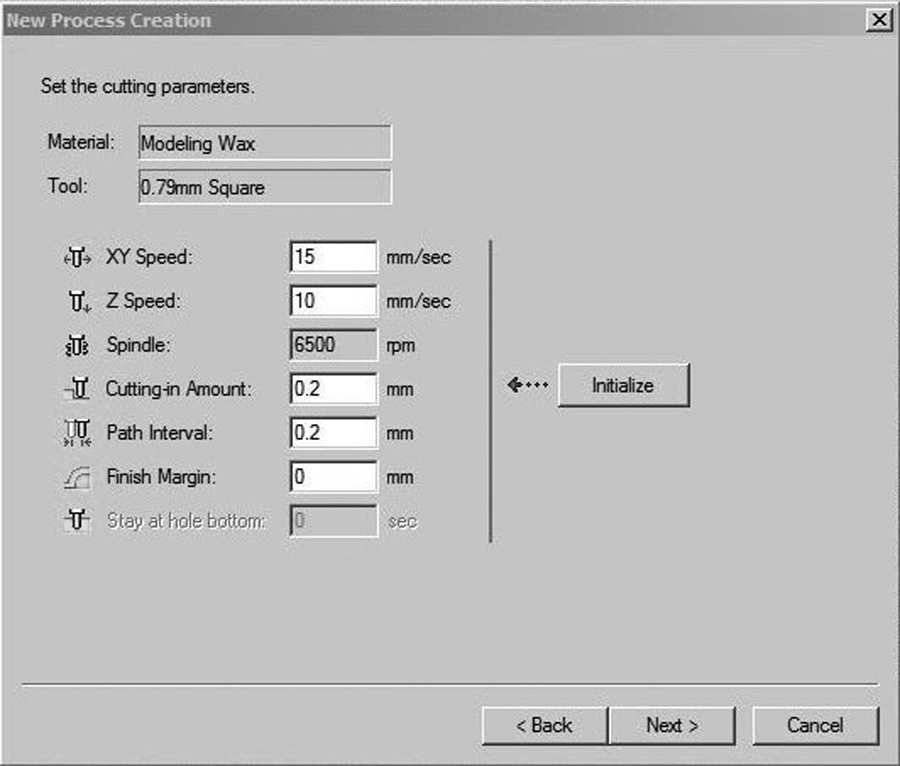
We used this values for the Roughing: XY speed:24 / z speed 15 / Spindle:6500-7000 / Cutting-in amount:1.5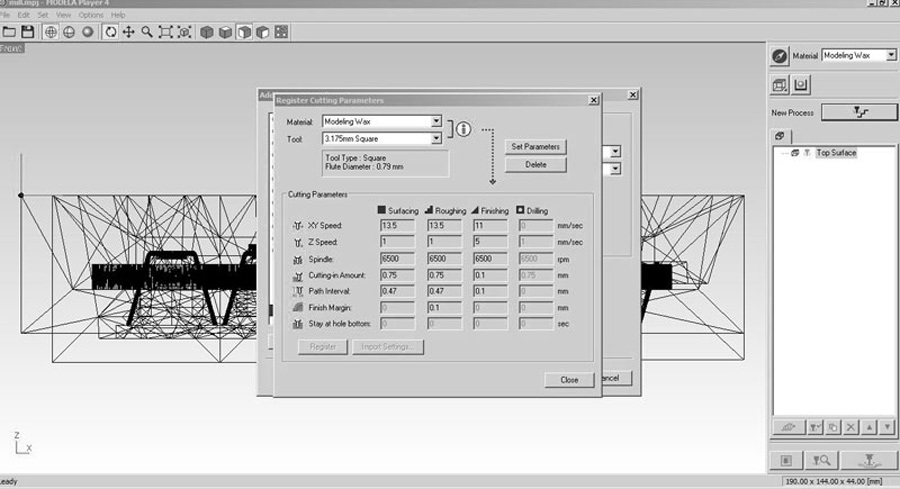
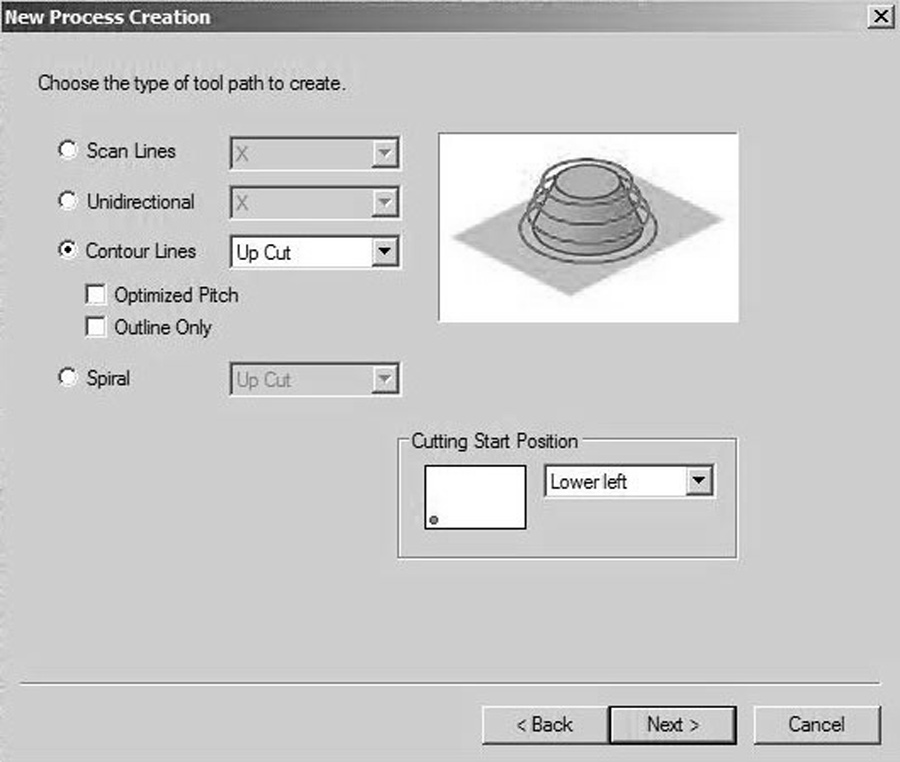
8. set the cutting area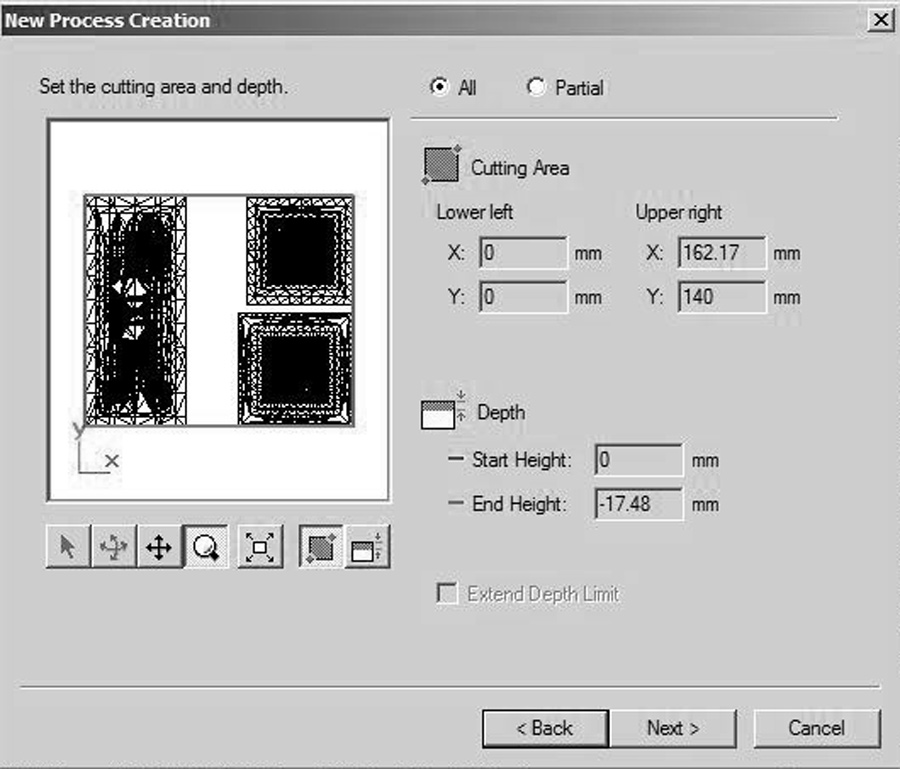
9. set finishing: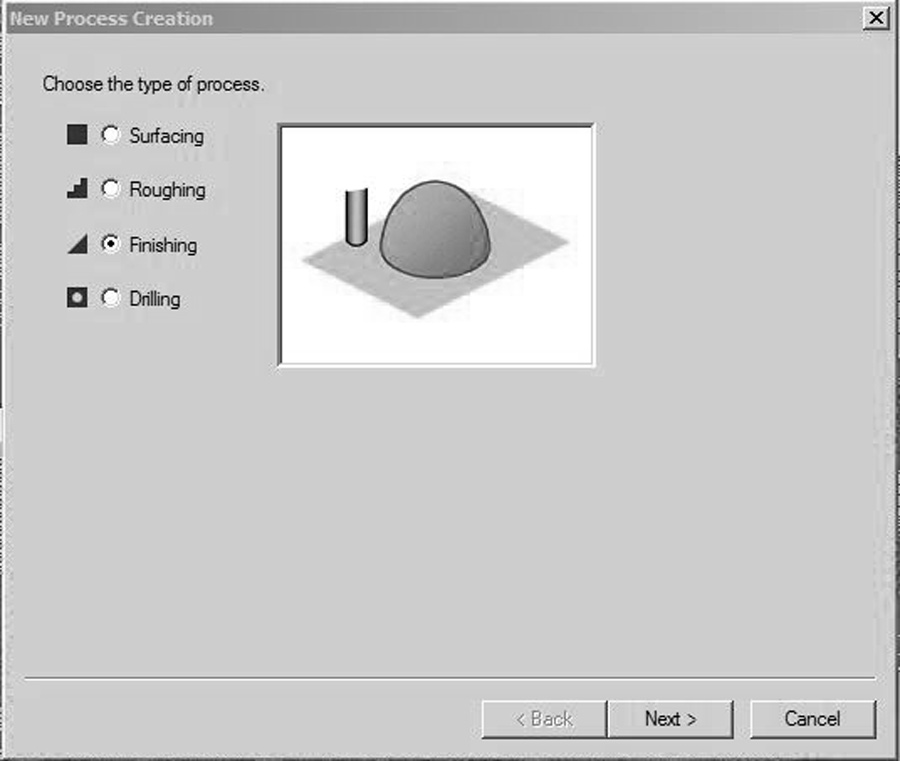
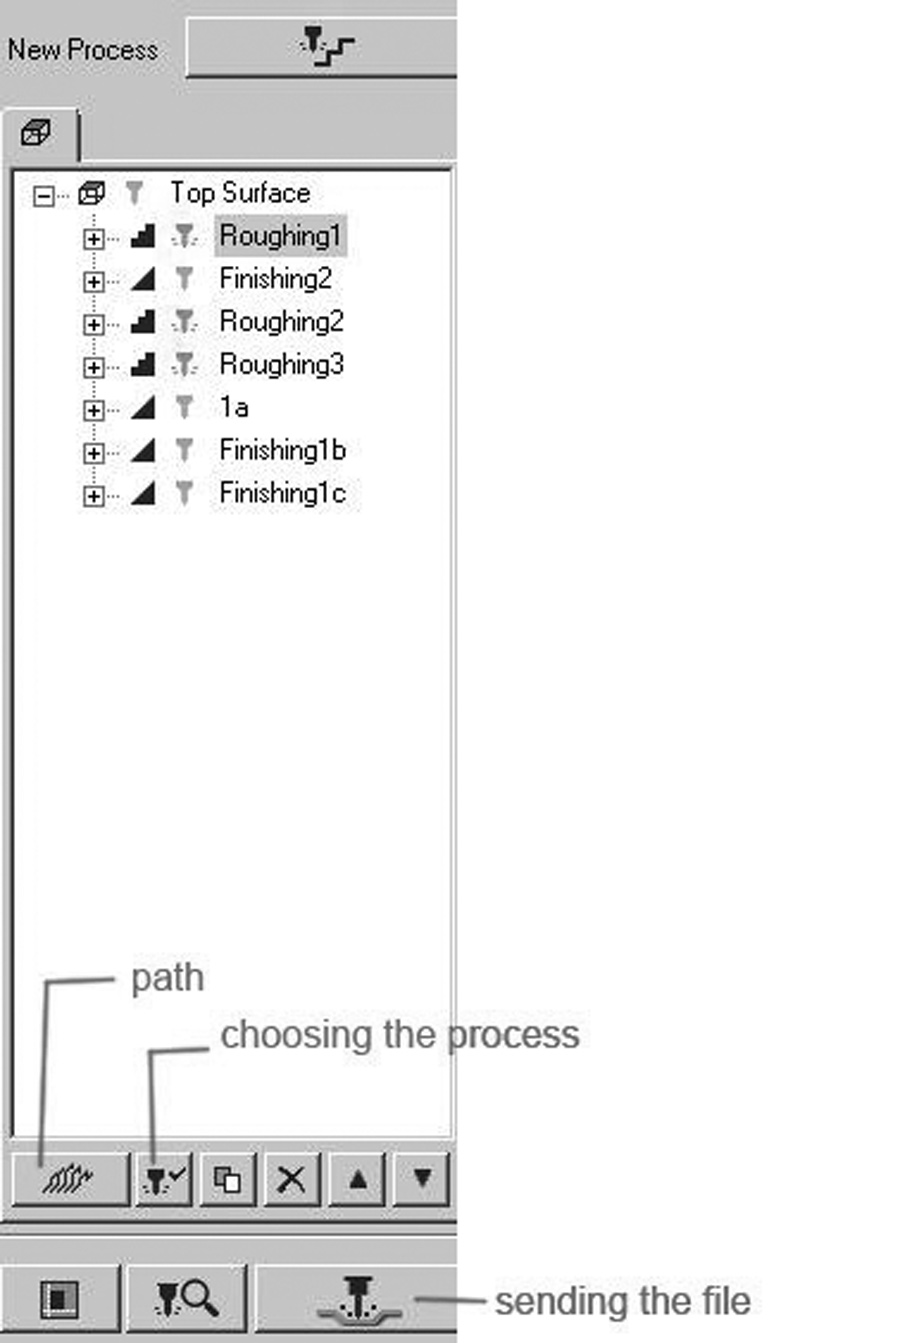
Set up the machine; set the new xy coordinates and z coordinates. Send the G-code to the machine.
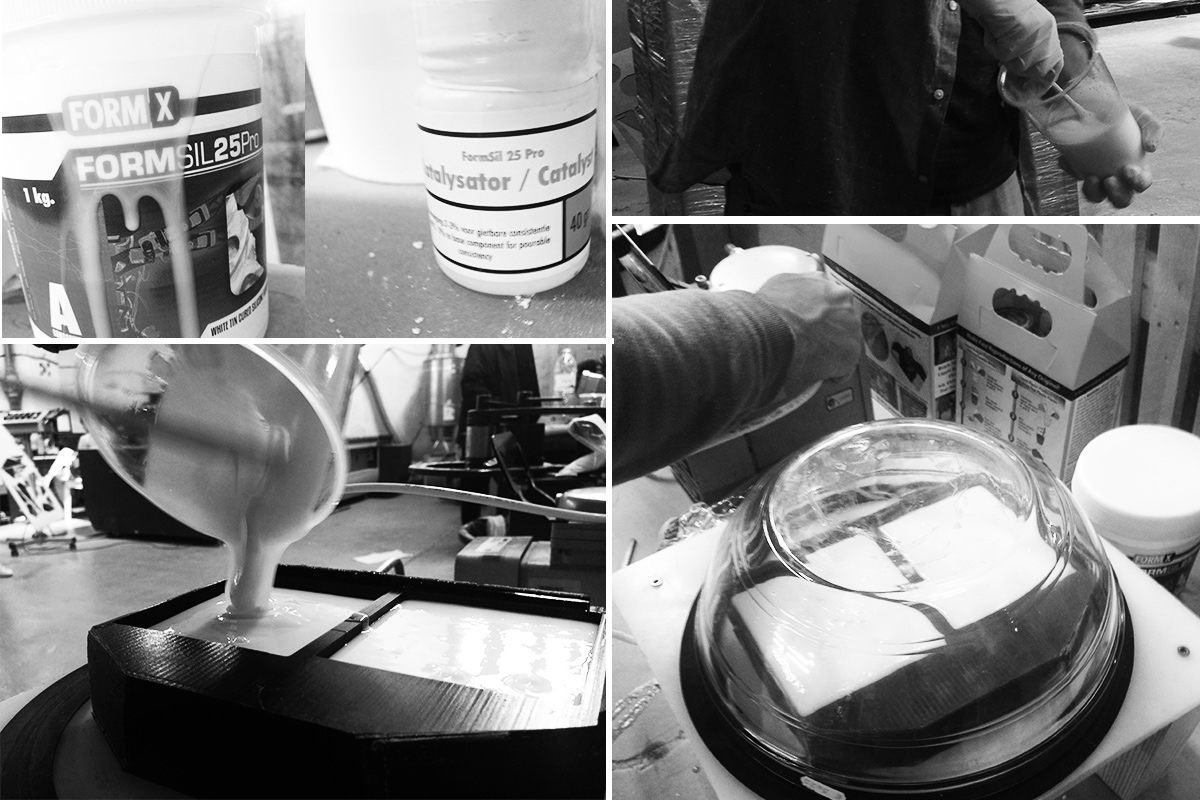
|Fabrication of silicone mold and casts
it is important to read instructions and specification but for this form silicone; I first filled the wax mold with water to measure the content of silicone required then added 3 % of hardner. Mixed very well; pored and placed inside a make shift vacuum untill all bubbles surfaced. The vacuum include a glass bowl on a plastic surface with rubber lining and an air pump to take out the air.
once the silicone mold was ready various attempts were made using liquid plastic ; epoxy(50 percend hardner annd some colouring)...
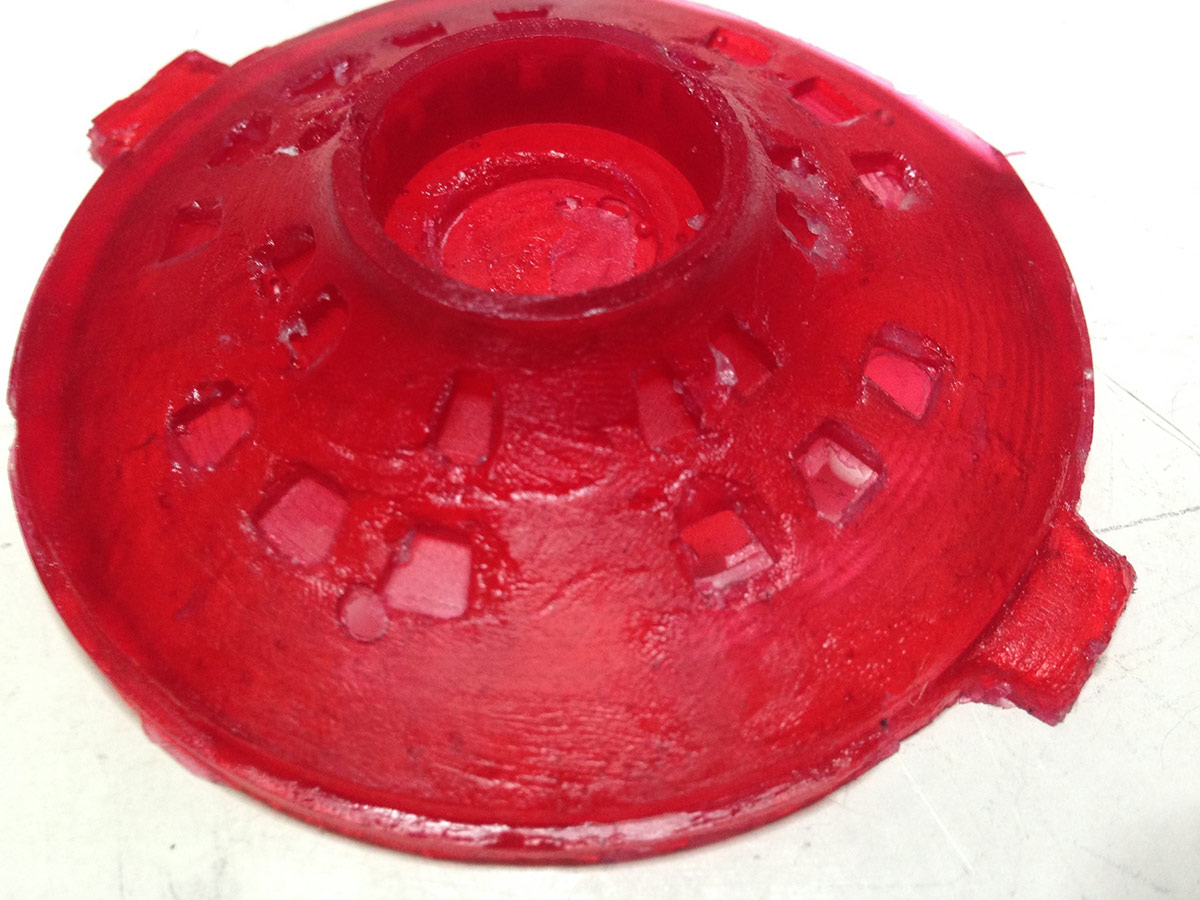
The main problem was that i was not managing to fill the mold till the top; so everytime the mold would have a piece missing. To solve this i would have had to add the holes to fill the mold in a better position or create a better container to hold the mold in place for better pouring.
|Brief MIT
|Lecture Neil Gershelfeld
|Download files