hola soy un mensaje secreto wiwiwi wawawa

WEEK 5: 3D SCANNING AND PRINTING

  • Assignment: * test the design rules for your printer(s) (group project) * design and 3D print an object (small, few cm) that could not be made subtractively * 3D scan an object (and optionally print it) (extra credit: make your own scanner).

  • | | | | | | | | | | | | | | | | | | | | | | | | | | | | | | | | | | | | | | | | | | | | | | | | | | | | | | | | | | | | | | | | | | | | | | | | | | | | | | | | | | | | | | | | | | | | | | | | | | | | | | | | | | | | | | | | | | | | | | | | | | | | | | | | | | | | | | | | |

    // 3D SCANNING


    I tested and worked with three different ways of 3d Scanning:

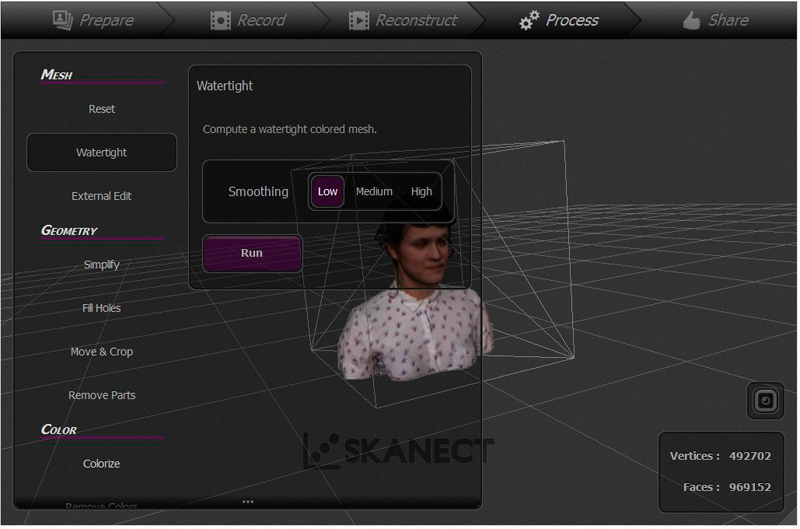
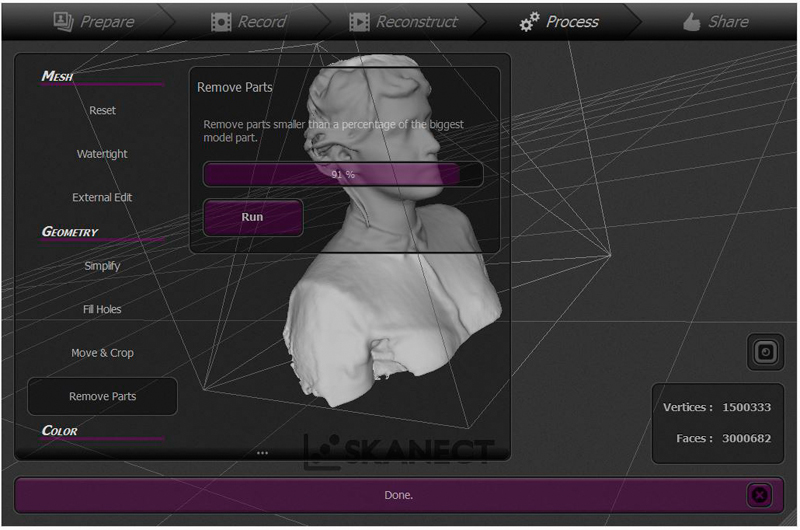
    >>> Kinect Sensor (1) + Scanekt Software:

  • Downloaded it from Skanect software and I used the free version which makes GPU unavailable and won't let you export your .stl in high resolution.
  • Make a new session and used a "Body" Scene in a bounding box of 0.6 x 0.6 x 0.6 Meters.
  • I scanned two of my roomates using the same parammeters, with them sitted in a chair and me moving the Kinect around them.
  • images images
  • Exported the .stl, and opened it in Rhino.
  • PROBLEMS: Using the free version showed a low resolution model, so the details my roomates' faces weren't good.
  • - images

    Caro has the PRO version of the Scanekt so she helped a lot ( a lot! ) to make my 3d scan. In this time she stayed standed with holding the Kinect sensor, i decided not to sit and just rotate slowly ( I wanted to avoid the chair ). Then she moved the kinect over my head and below my chin in order the camera of the Kinect to generate all those "hidden" zones.

  • The result was very nice. We exported it in medium resolution which was REALLY good. This was the model that I used for my final SUBSTRACTIVE model.
  • images images images images

    | | | | | | | | | | | | | | | | | | | | | | | | | | | | | | | | | | | | | | | | | | | | | | | | | | | | | | | | | | | | | | | | | | | | | | | | | | | | | | | | | | | | | | | | | | | | | | | | | | | | | | | | | | | | | | | | | | | | | | | | | | | | | | | | | | | | | | | | |


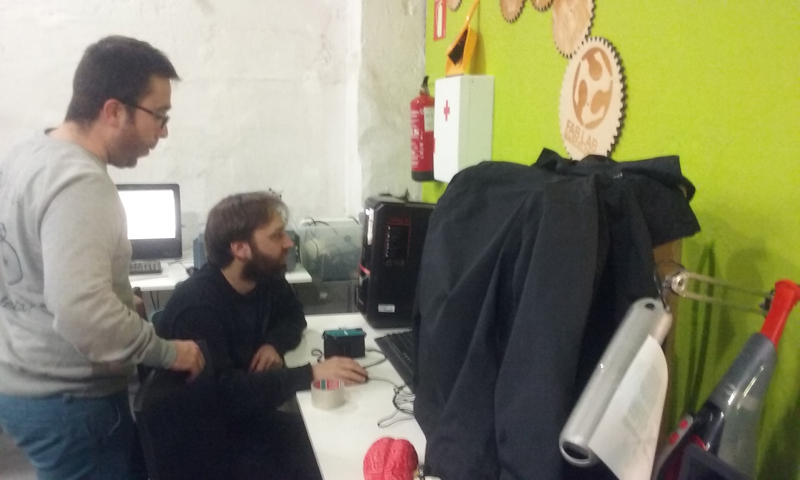
    >>> David 3d Scanner Software :

    Arnau, Xavi, Elisa and I decided to understand how the structured light method works. It tooked us a lot of time to figure out it! ( 3 hours aprox ).

  • We started using a picoprojector and a webcam.
  • PROBLEM: I am not completely sure about this, but by using the webcam we couldn't make the fist calibration step, but when we changed to a Canon (?) camera it worked!
  • We built a rudimentary carboard box using the laser and tape. :)
  • We used a jacket to cover the projection from external light.
  • images
  • We printed and pasted the calibration dotted paper.
  • images
  • Measuered the distance between the dots that are shown in the tutorual, and wrote it as a parameter for the calibration. It was 145 mm.
  • Results:
  • images images images

    | | | | | | | | | | | | | | | | | | | | | | | | | | | | | | | | | | | | | | | | | | | | | | | | | | | | | | | | | | | | | | | | | | | | | | | | | | | | | | | | | | | | | | | | | | | | | | | | | | | | | | | | | | | | | | | | | | | | | | | | | | | | | | | | | | | | | | | | |


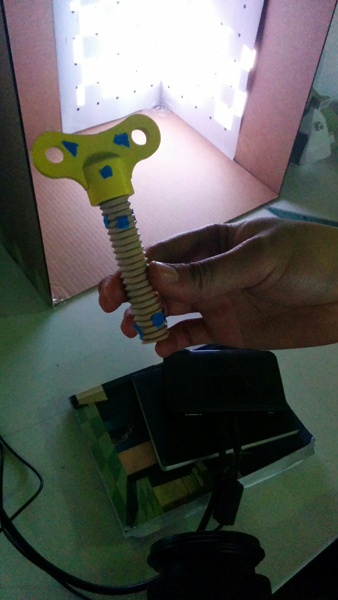
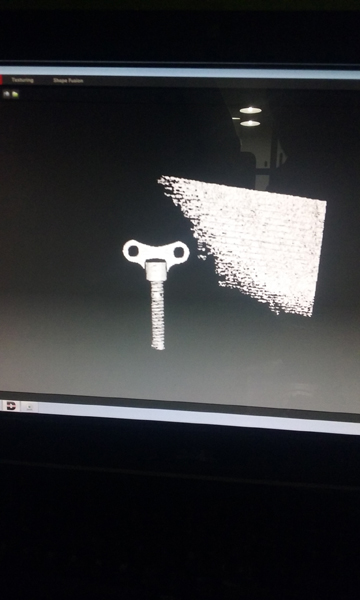
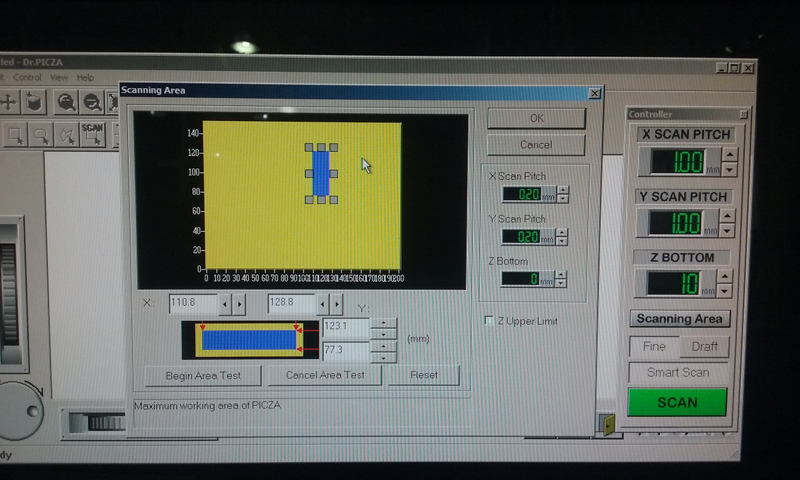
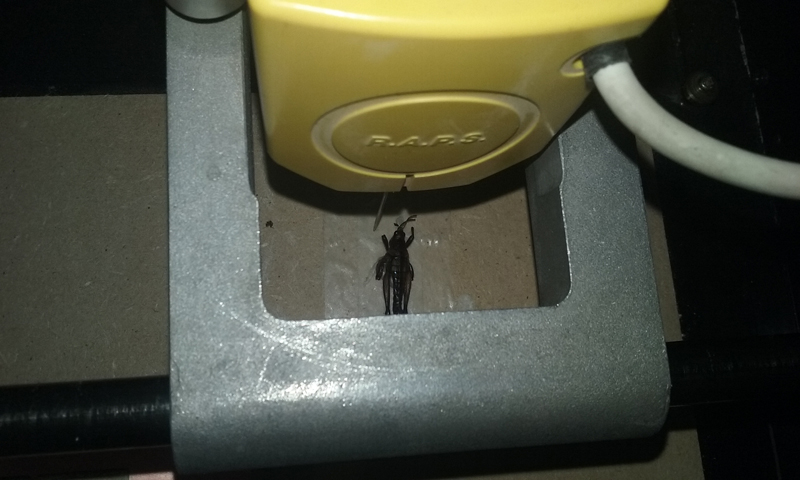
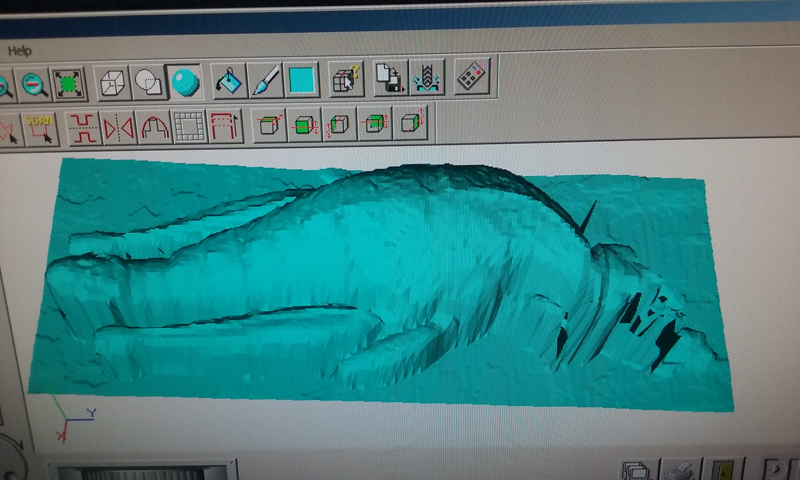
    >>> Roland MDX-20 Modela:

    I scanned a mexican "Chapulín", which is a grasshopper that is traditionally eaten in my country, specially in Oaxaca. My idea was to scan it, rebuild the mesh and then print it as a probable jewelry object. Thanks to Eva who helped me. :)
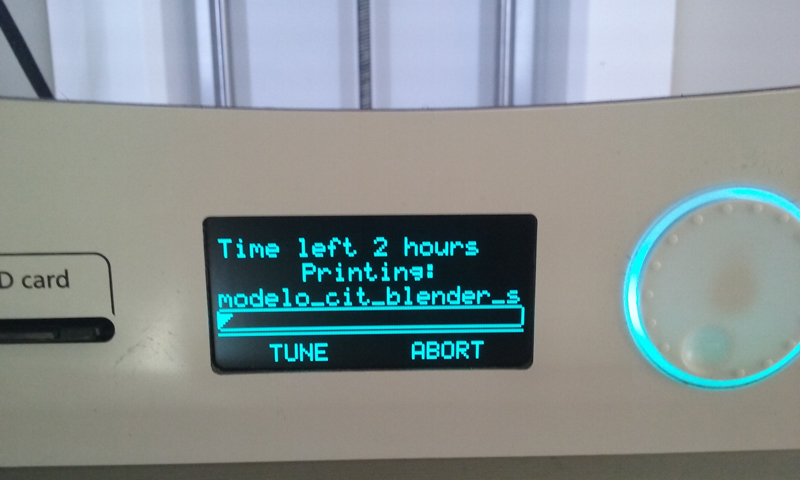
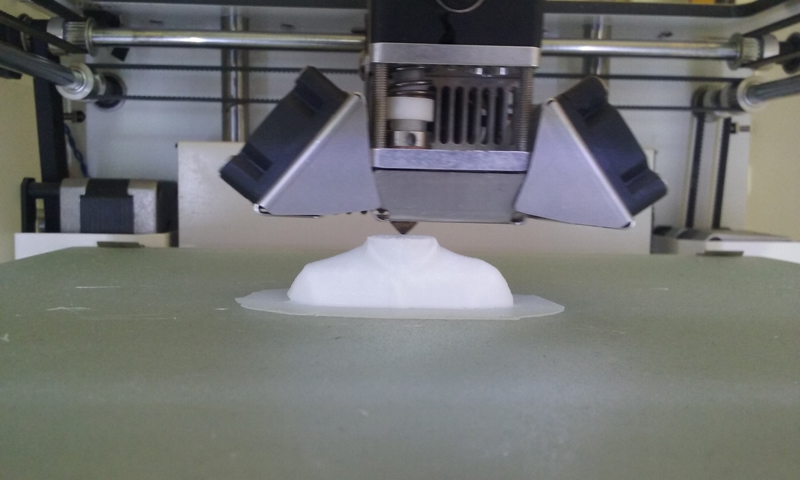
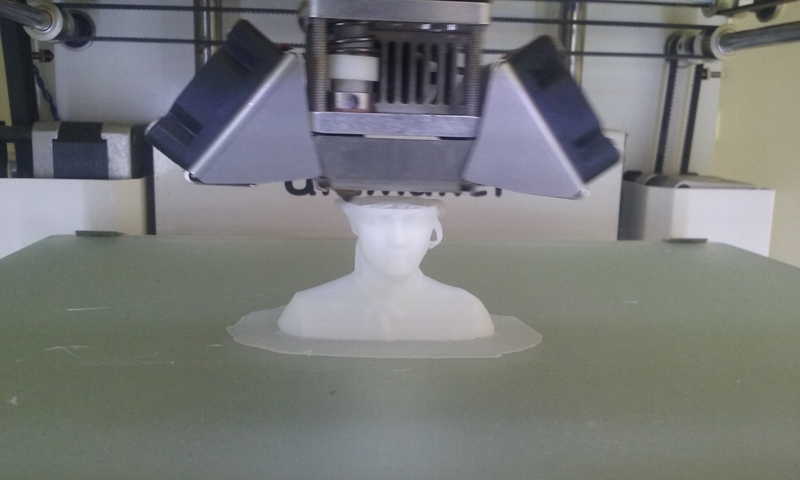
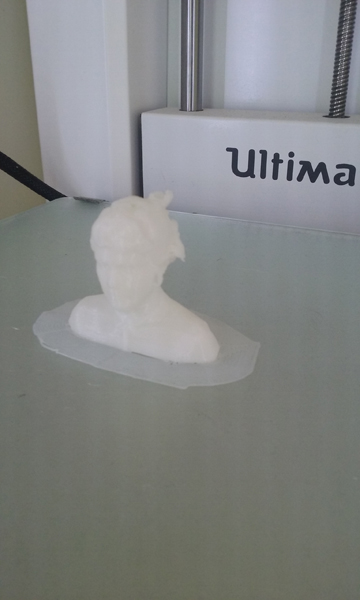
  • I placed the grasshopper over a double sided tape, but as the grasshopper was oily ( it is already cooked ) it dind't get glued over the tape.
  • I used chewing gum and it worked better. The "checking" trick was to blow over the Chapulin.
  • I set the the "bounding box" for scanning, using the Dr. Picza software. This allow you to reduce the space where the machine is going to search for de multiple spots over the object.
  • I set the resolution up tu 0.20 mm. This means that the machine will move 0.20 mm each time.
  • images images images

    | | | | | | | | | | | | | | | | | | | | | | | | | | | | | | | | | | | | | | | | | | | | | | | | | | | | | | | | | | | | | | | | | | | | | | | | | | | | | | | | | | | | | | | | | | | | | | | | | | | | | | | | | | | | | | | | | | | | | | | | | | | | | | | | | | | | | | | | |

    | | | | | | | | | | | | | | | | | | | | | | | | | | | | | | | | | | | | | | | | | | | | | | | | | | | | | | | | | | | | | | | | | | | | | | | | | | | | | | | | | | | | | | | | | | | | | | | | | | | | | | | | | | | | | | | | | | | | | | | | | | | | | | | | | | | | | | | | |

    | | | | | | | | | | | | | | | | | | | | | | | | | | | | | | | | | | | | | | | | | | | | | | | | | | | | | | | | | | | | | | | | | | | | | | | | | | | | | | | | | | | | | | | | | | | | | | | | | | | | | | | | | | | | | | | | | | | | | | | | | | | | | | | | | | | | | | | | |


    // 3D PRINTING

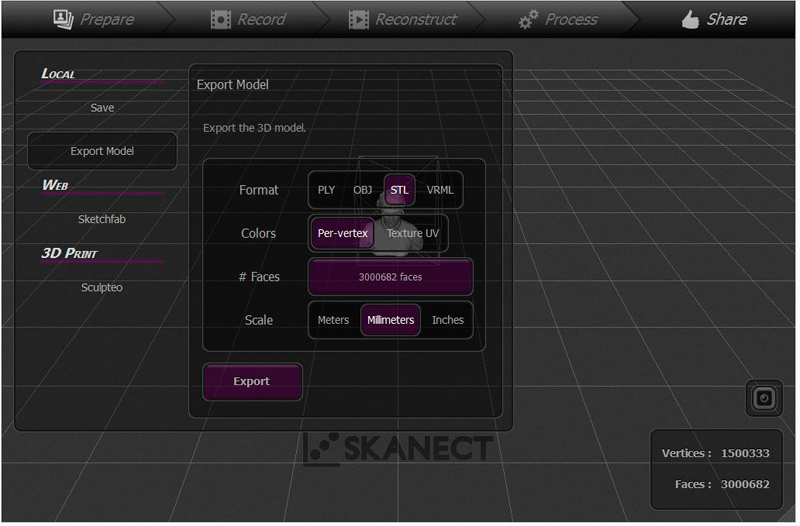
    For this task I decided to play with my own 3D model and learn in different softwares about how to manipulate and prepare a 3d object for 3d printing.

    My goal:

  • 1. Getting rid of all of those probable "bad polygons"/"naked edges"/"non-manifold meshes".
  • 2. Simplify mesh (Skanect original high quality .stl was too heavy)
  • 3. Print it as a solid .stl.
  • 4.Create a "substractive" thing to print with it.
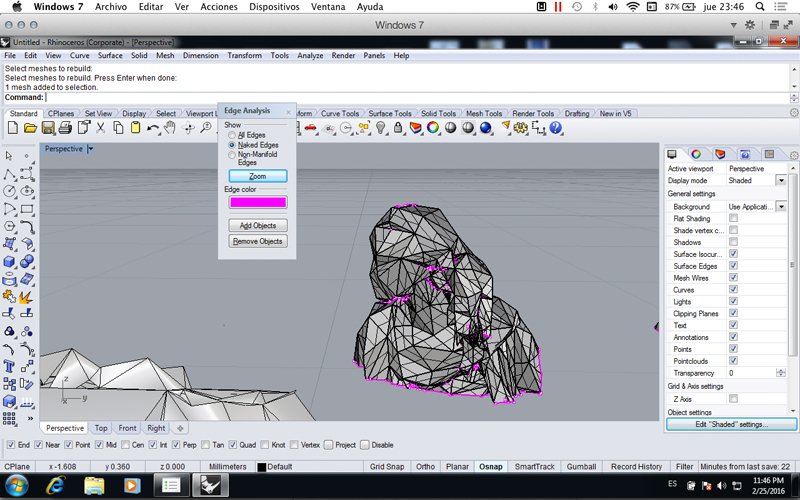
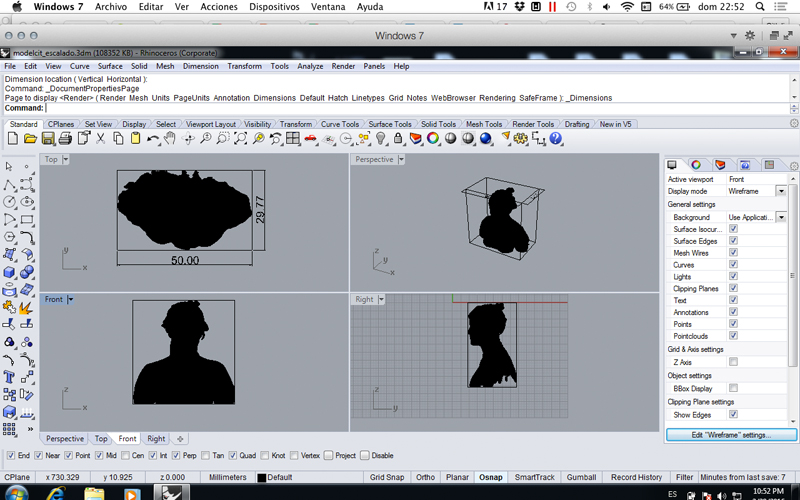
  • >>> RHINO: Rhino is the software that I have been using for the last 10 years for modeling, 3d printing, rendering, etc . This is why it was the first one I tried.
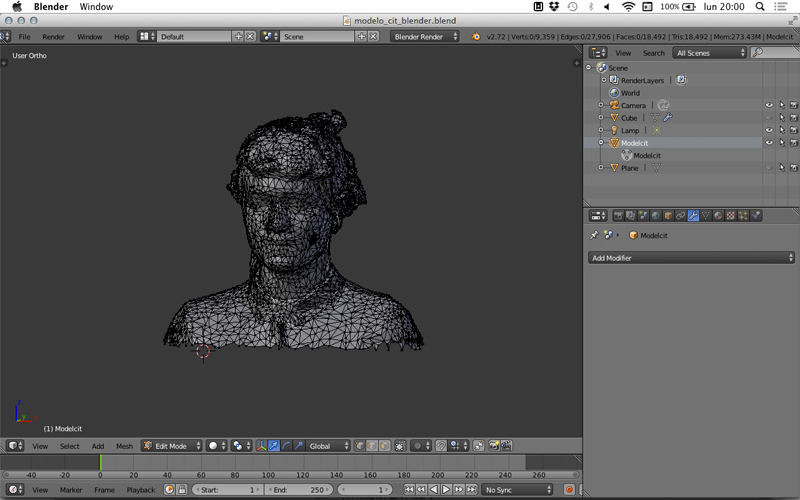
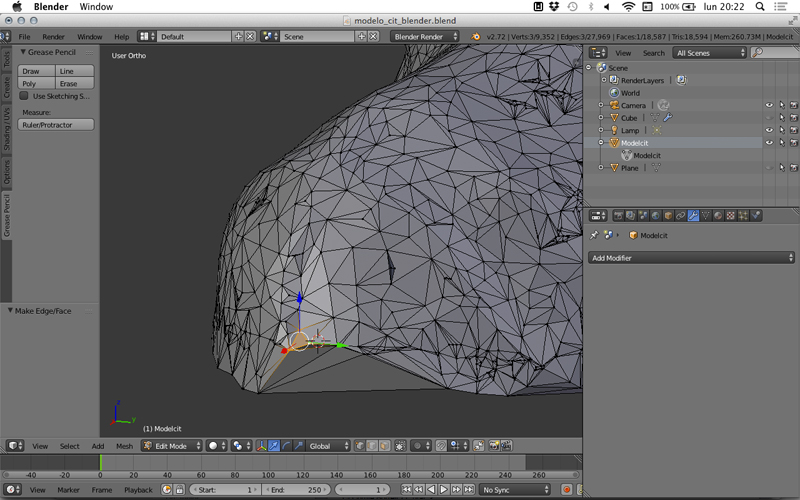
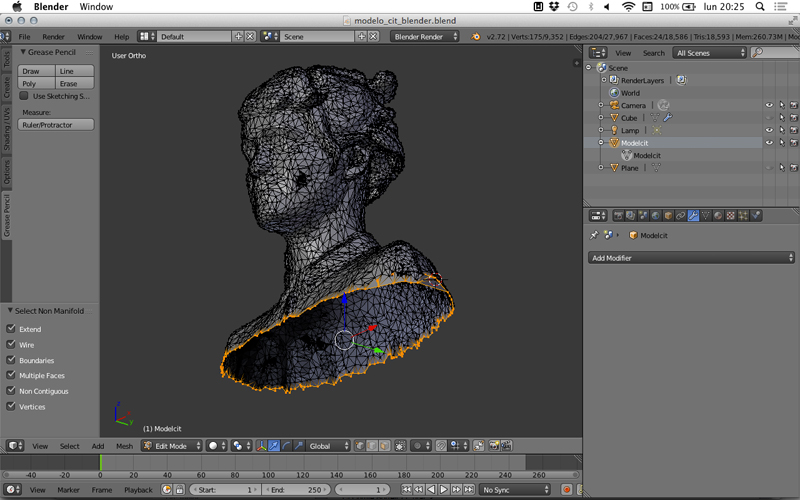
  • I scaled my 3d model to a nice small object fittable in a printer.
  • images
  • Applied "shownakededges", a lot of those usual pink edges appeared. I tried using the "join" command for meshes but it didn't work for all of the naked edges.
  • I also tried to convert the mesh into nurbs using the "meshtoNURB" command, but the file was so heavy that Rhino just made a message saying that my computer was going to crash. I ignored it, try it and Rhino showed to me another message saying that it failed.
  • So I tried to split my mesh, but just failed and failed.
  • Based on the idea of not using the mesh, I applied the "contour" command with the idea of using the new lines and make an abstract representation of me. Finally I decided just to change of software.

  • | | | | | | | | | | | | | | | | | | | | | | | | | | | | | | | | | | | | | | | | | | | | | | | | | | | | | | | | | | | | | | | | | | | | | | | | | | | | | | | | | | | | | | | | | | | | | | | | | | | | | | | | | | | | | | | | | | | | | | | | | | | | | | | | | | | | | | | | |


    >>> BLENDER:

    Using this software was the easiest way to reppair the model.
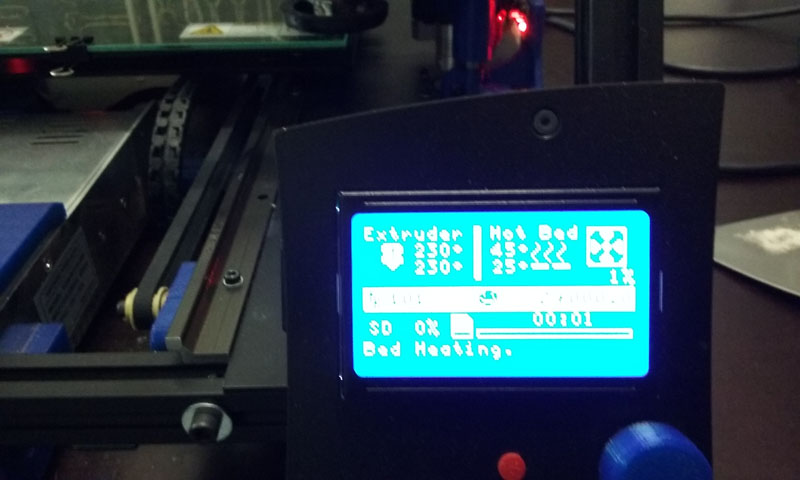
  • Scaled it using "S" key and the parameters directly in the "N" menu.
  • Applied "Decimate" modifyer and reduce polygon size.
  • images
  • Erased the lower part of the model using "B" key for Box selection mode.
  • images
  • Separated the intern surface erasing "faces".
  • Selected "linked faces" with "L" key, and erased intern faces.
  • images
  • Applied "Select non manifold" command to verify bad faces/edges/vertices.
  • images
  • Repaired faces using "F" key over manifold vertices.
  • Selected all of the lower vertices and created a cap using "F" key.
  • Exported .stl model

  • | | | | | | | | | | | | | | | | | | | | | | | | | | | | | | | | | | | | | | | | | | | | | | | | | | | | | | | | | | | | | | | | | | | | | | | | | | | | | | | | | | | | | | | | | | | | | | | | | | | | | | | | | | | | | | | | | | | | | | | | | | | | | | | | | | | | | | | | |


    >>> CURA:


  • Downloaded CURA software
  • Scaled model to 0.18
  • Took a look to the layers strategy and verIfy that everything was ok.
  • PRINTED using a Multimaker 2.
  • images images images images images

    | | | | | | | | | | | | | | | | | | | | | | | | | | | | | | | | | | | | | | | | | | | | | | | | | | | | | | | | | | | | | | | | | | | | | | | | | | | | | | | | | | | | | | | | | | | | | | | | | | | | | | | | | | | | | | | | | | | | | | | | | | | | | | | | | | | | | | | | |

    | | | | | | | | | | | | | | | | | | | | | | | | | | | | | | | | | | | | | | | | | | | | | | | | | | | | | | | | | | | | | | | | | | | | | | | | | | | | | | | | | | | | | | | | | | | | | | | | | | | | | | | | | | | | | | | | | | | | | | | | | | | | | | | | | | | | | | | | |

    | | | | | | | | | | | | | | | | | | | | | | | | | | | | | | | | | | | | | | | | | | | | | | | | | | | | | | | | | | | | | | | | | | | | | | | | | | | | | | | | | | | | | | | | | | | | | | | | | | | | | | | | | | | | | | | | | | | | | | | | | | | | | | | | | | | | | | | | |


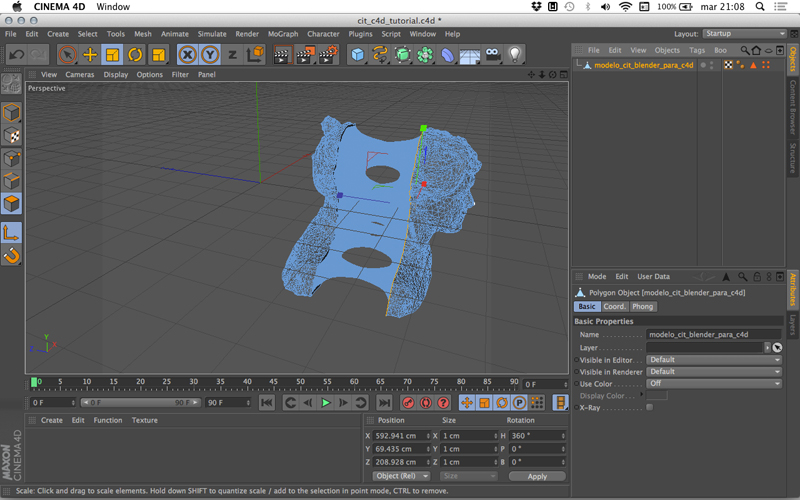
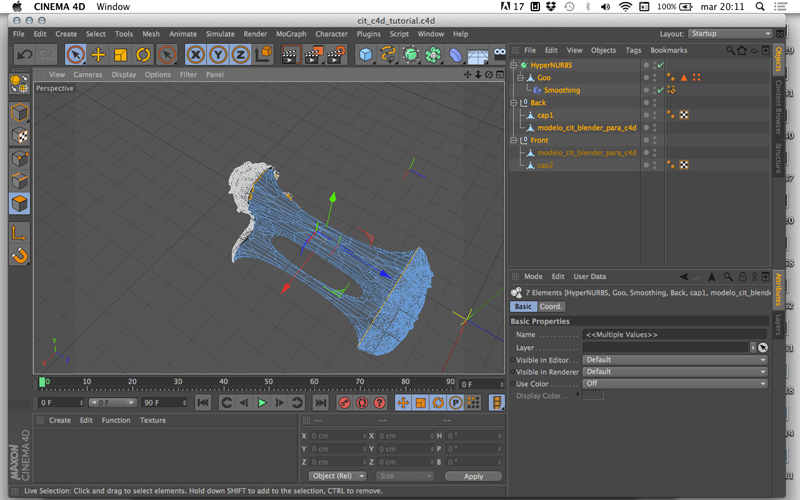
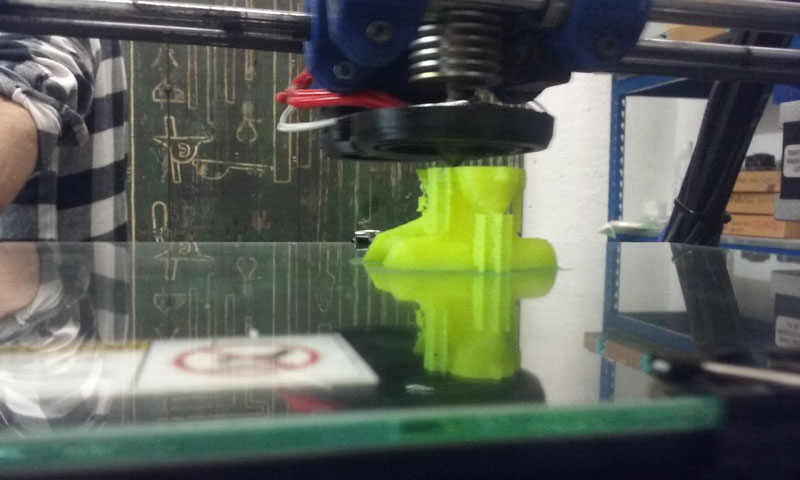
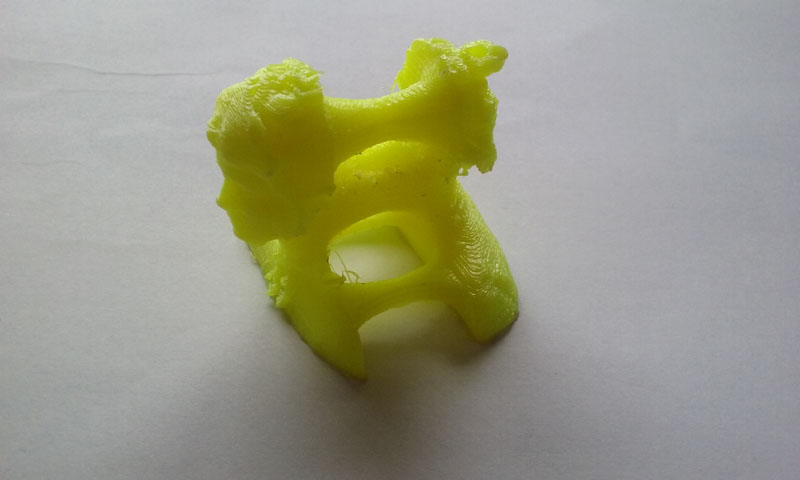
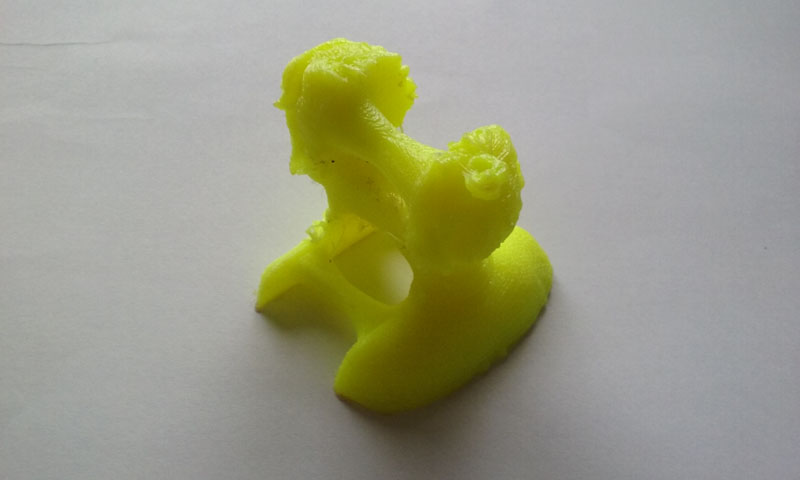
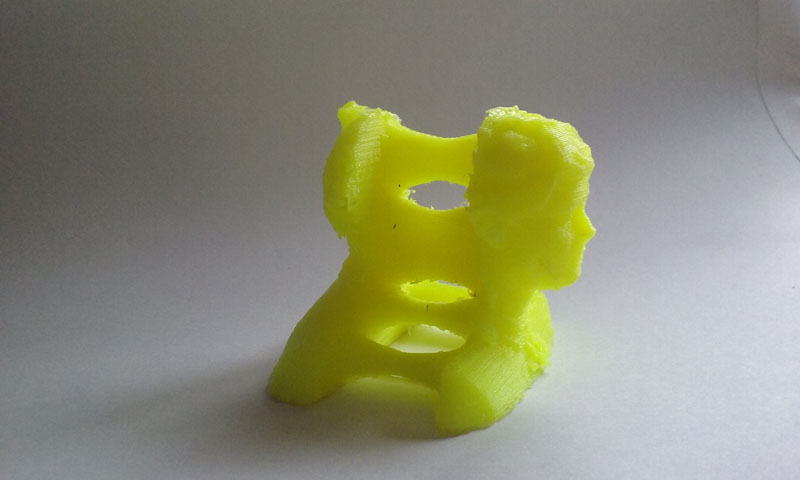
    // SUBSTRATIVE MODEL:


    For this task I decided to split my 3d model and create "fluid" or "chewing gum" mesh in bewteen. I based my modeling on "Grayscale Gorilla's" C4D tutorial that you can watch here ( Tnx to Arnau who sent me the info! ).

    images

    It took a long way to achieve what I wanted, but basically I followed all the steps of the tutorial.

  • I splitted my 3d model with a vertical axis, using 2 boxes perfectly aligned one besides the other and using the "Boole" modifyer.
  • Then I separated my 2 parts, and using "untriangulate" command I created 2 nice caps for every one of them.
  • I followed the tutorial untill 23:53 min. generating a heavy mesh that looks almost like I wanted.
  • Saved it as a new file.
  • Opened my original C4D model (with the 2 parts separated) and imported the new "goo" mesh using the "merge" command.
  • I selected all of my objects and make them one using the "Connect Objects" and "Delete" command.
  • Exported model as a new .stl file.
  • PROBLEM: Big problem! The file was more than 500 MB. so whenever I tried to opened it with Blender or CURA directly, my computer crashed.
  • SOLUTION: And for this I have to thank again Arnau. We opoened the C4D file and discovered that my new "chewing gum" mesh had 100% polygons.
  • EVIDENCE FOTO:
  • images
  • So we reduced it over the "smoothing" modifyer applied to the object.
  • Then applied "Connect Objects and Delete" to all of my 3d parts ( part 1, part 2, and "chewing gum" ).
  • Exported it as a new .stl
  • Ready to print!
  • images images images
  • When 3d printing, I used an elastic filament called filaflex, using RepRaps made by BCN 3d.
  • I used CURA to export my stl to the RepRap, and by mistake a exported it as a complete solid, without reducing the % of the infill. This is why it took almost 3 hours to get printed.
  • For the machine setup I put temperature to 230 degrees.
  • images
  • Notes about using filaflex: It's flexibility works better with thin walls. It leaves a lot of material not attached to the main volume and it is hard to get rid of support material.
  • images images images images

    | | | | | | | | | | | | | | | | | | | | | | | | | | | | | | | | | | | | | | | | | | | | | | | | | | | | | | | | | | | | | | | | | | | | | | | | | | | | | | | | | | | | | | | | | | | | | | | | | | | | | | | | | | | | | | | | | | | | | | | | | | | | | | | | | | | | | | | | |

    | | | | | | | | | | | | | | | | | | | | | | | | | | | | | | | | | | | | | | | | | | | | | | | | | | | | | | | | | | | | | | | | | | | | | | | | | | | | | | | | | | | | | | | | | | | | | | | | | | | | | | | | | | | | | | | | | | | | | | | | | | | | | | | | | | | | | | | | |

    | | | | | | | | | | | | | | | | | | | | | | | | | | | | | | | | | | | | | | | | | | | | | | | | | | | | | | | | | | | | | | | | | | | | | | | | | | | | | | | | | | | | | | | | | | | | | | | | | | | | | | | | | | | | | | | | | | | | | | | | | | | | | | | | | | | | | | | | |


    You can take a look at our group documentation about testing our machines in Fab Lab Barcelona clicking over this link: TESTING DESIGN RULES OF OUR PRINTERS

    This was super helpful!

    // DOWNLOAD MY FILES:
  • Solid "me" model: STL File
  • "Chewing gum me" model: STL FILE
  • Modela grasshopper-Chapulín 3d scanning:2 STL FILES
  • Citlali Hernández - Fab Academy - 2016