The lasercutter can be used for engraving flat surfaces, but for more awkwardly shaped objects, another more flexible method is needed.
Glass can be etched chemically by masking an area, leaving the areas to be etched exposed and applying a etching agent (etchant) such as Armour Etch. I searched for a suitable etchant for use with acrylic - there were many suggestions out there, but I didn’t come across a conclusive answer.
Instead I decided to try mechanically etching the acrylic using a dremel with a light abrasive brush attachment.
Preparing the Files
I used Adobe Illustrator to design a logo for my final project (growbox™®©) and started with the logotype in Geometry Soft Pro N:
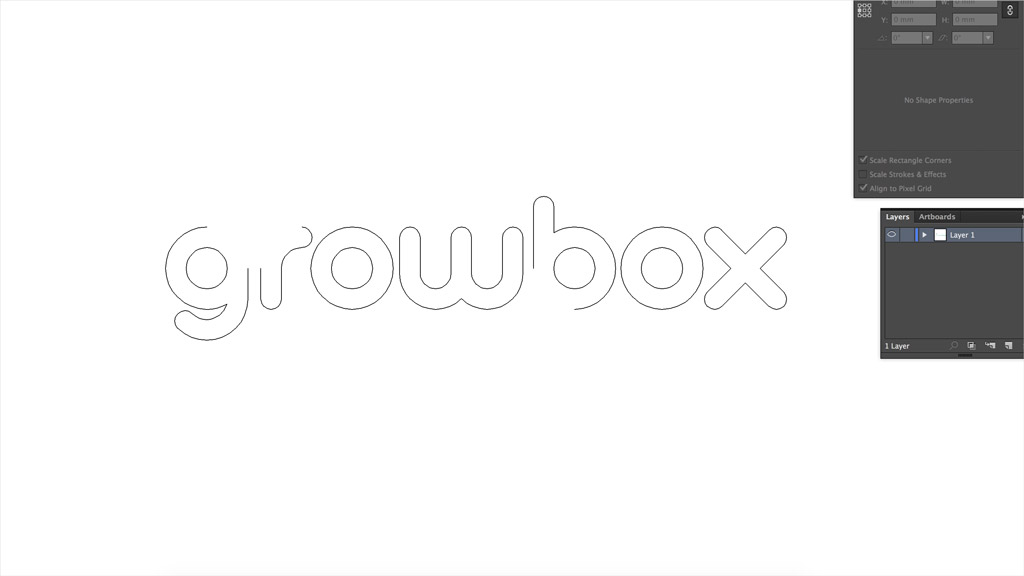
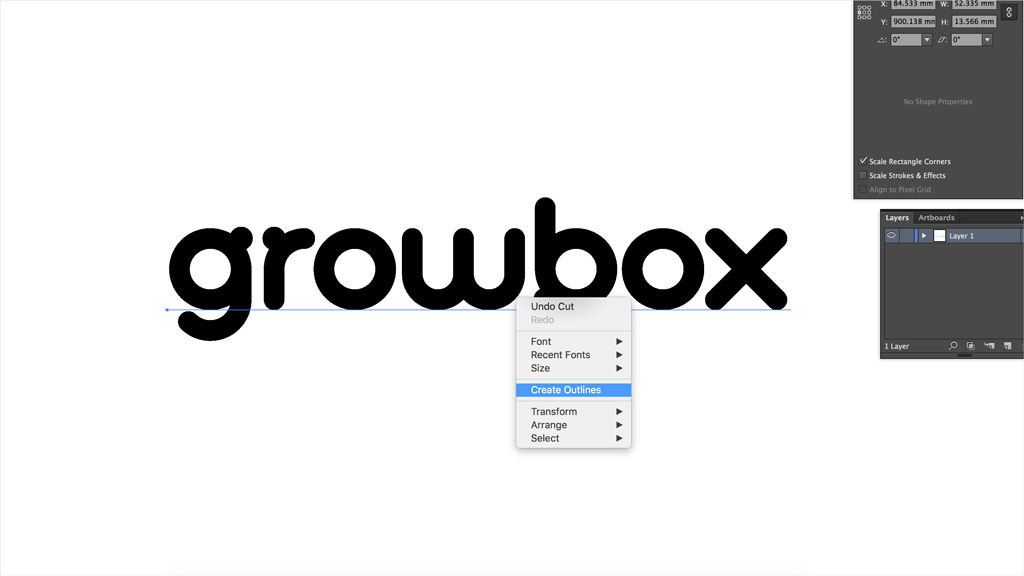 Converting the text into vector paths with ‘Create Outlines’
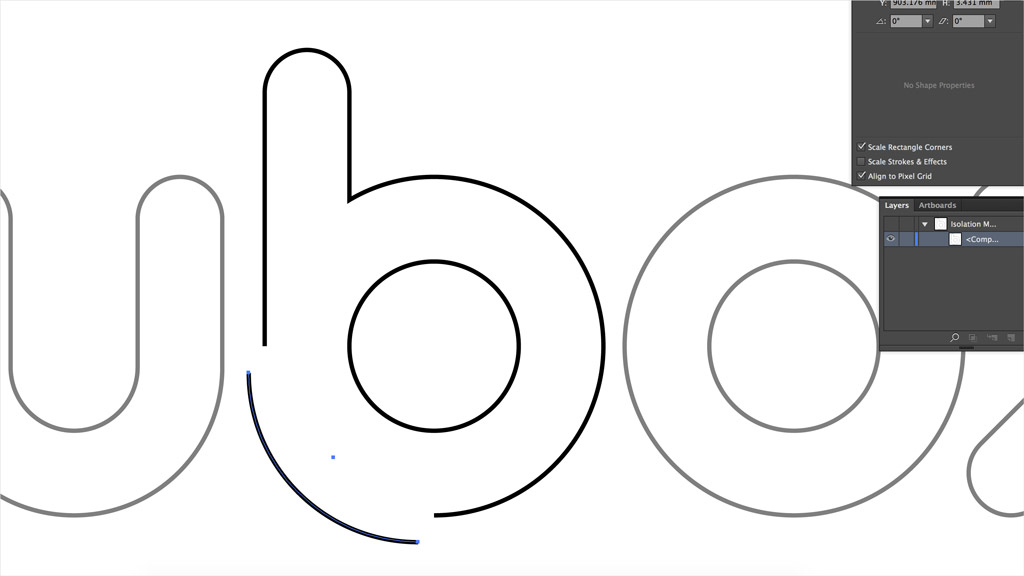
With the text outlined, I used the Direct Selection tool (quick key A on mac) to pick anchor points and break the curves and remove the bumps from the font:
 Bumps removed from the g, r and b
Next, I patched the characters with circular segments:
 Joining the gaps with quarter-circle segments
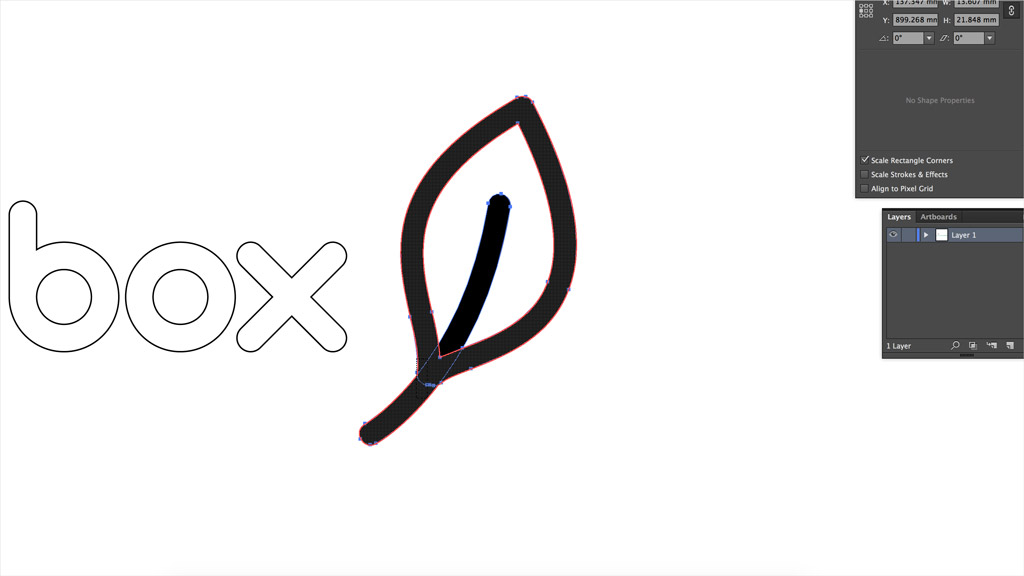
The leaf was made using the pen tool (quick key P on mac) with a thick stroke and rounded ends.
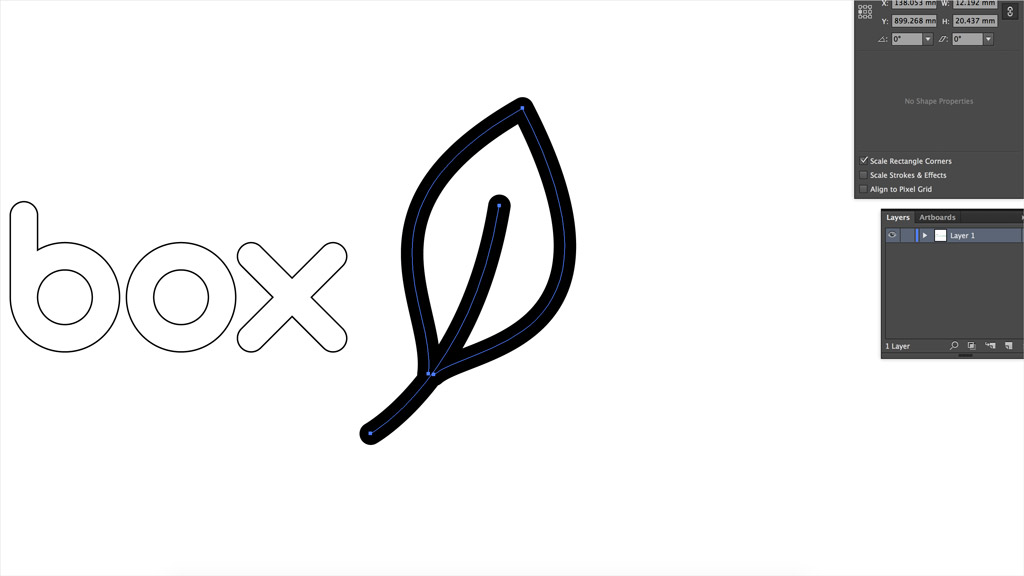 The leaf logo was defined by two control-point curves
I vectorized the paths with Object/Path/Outline Stroke, and used the shape builder tool (Shift-M on mac) to combine the shapes into a single object:
 Using the shape builder tool to combine the shapes into one object
Finally I scaled the objects to a few different sizes (some stickers as well as masks) and assembled them at the lower edge one artboard (580mm wide) ready for cutting.
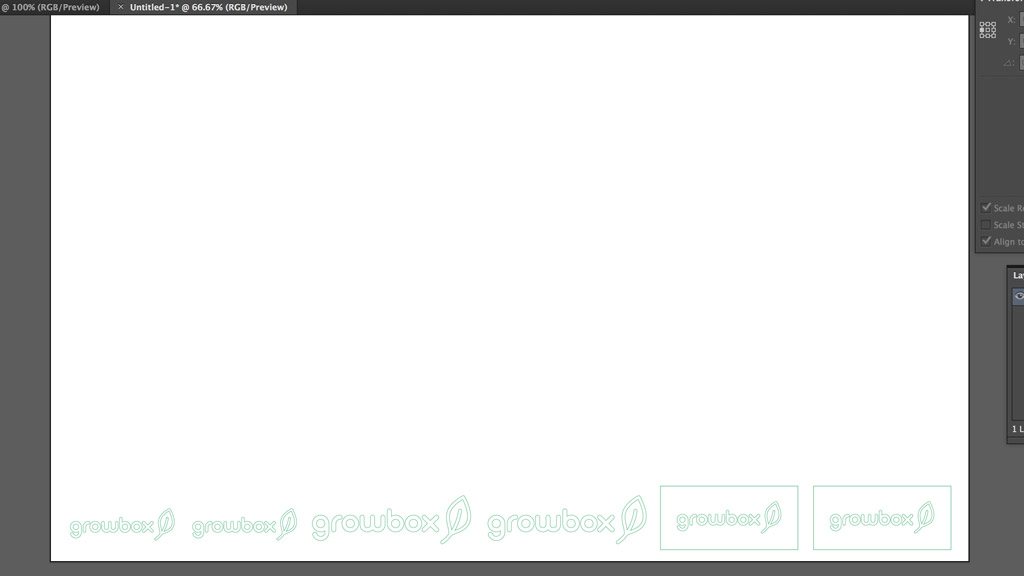 The cutting file ready to go!
Cutting the Masks
I chose white vinyl (3M Scotchcal 300 Series) for the stickers and masks and loaded a roll into the back of the vinyl cutter, adjusting the guide wheels and taking care to align the roll parallel to the machine at the front and back.
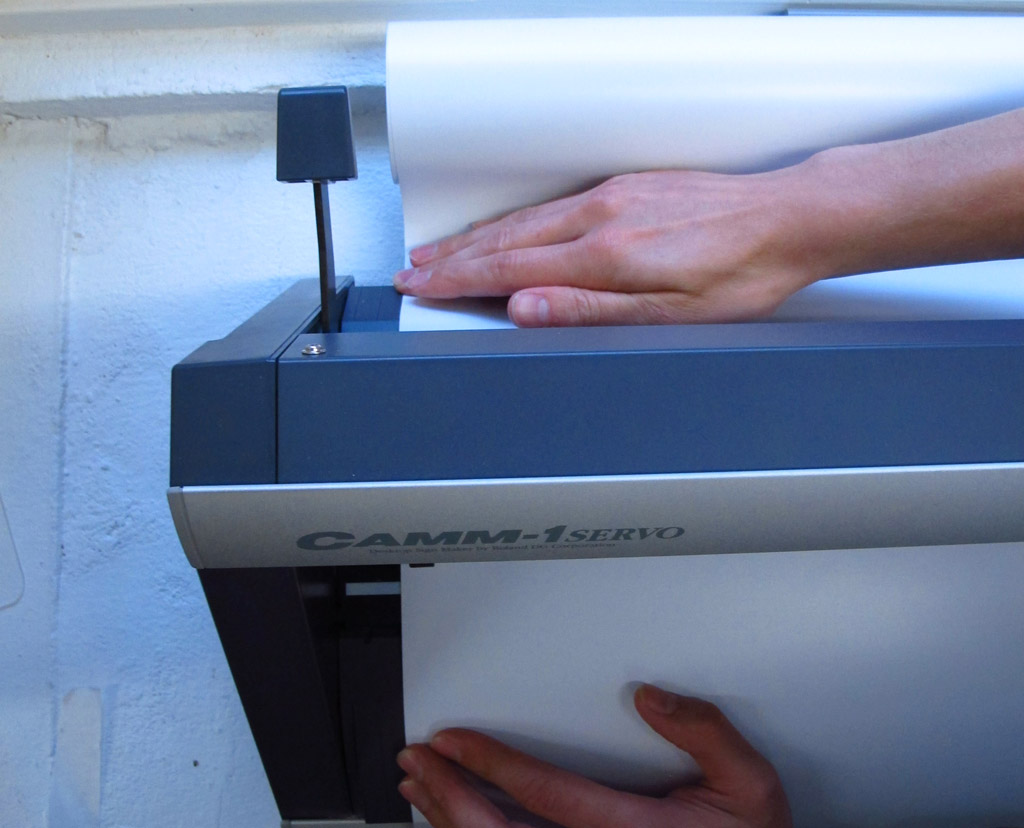 Aligning the vinyl roll against the guides at the front and back
I usually select ‘Edge’ as the material type with the Roland GX-24 which brings the roll up to the front edge and reduces material wastage. The cutter settings were:
- Speed - 5cm/s
- Force - 120gf
- Offset - 0.125mm
From Illustrator, I selected the paths and updated the preview in the Roland CutStudio plugin and exported the paths to the cutter.
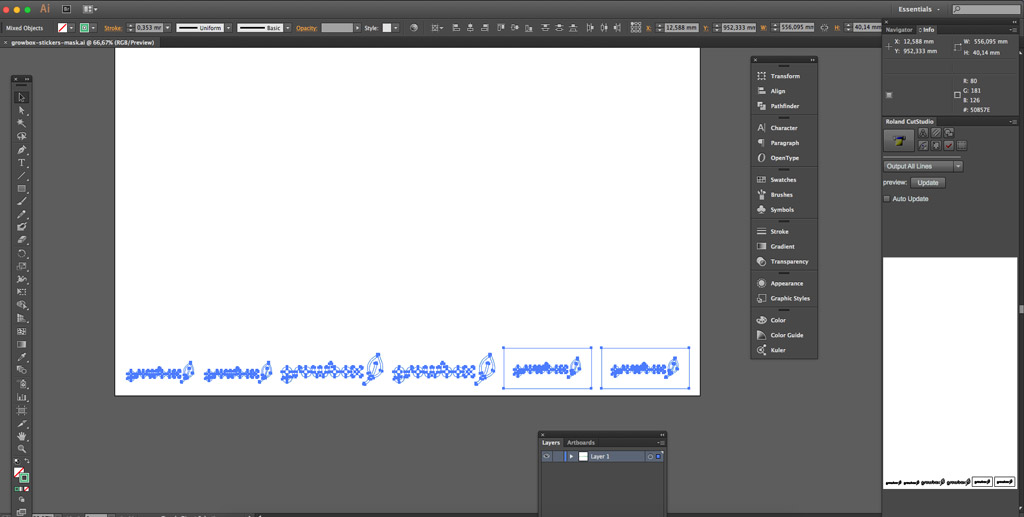 Paths exported to the Vinyl Cutter with CutStudio plugin
Etching
The next step was to weed the vinyl mask (remove all the parts which will be etched) with tweezers and patience.
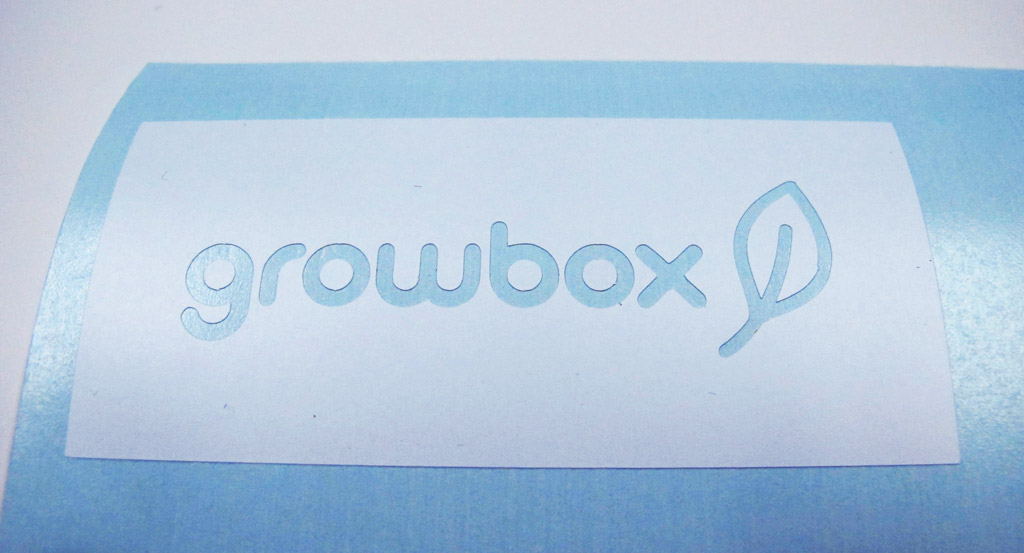 The mask weeded and ready to do it’s job
![]() Using prespacing tape to transfer the mask to a test piece of glossy black acrylic
Using prespacing tape to transfer the mask to a test piece of glossy black acrylic
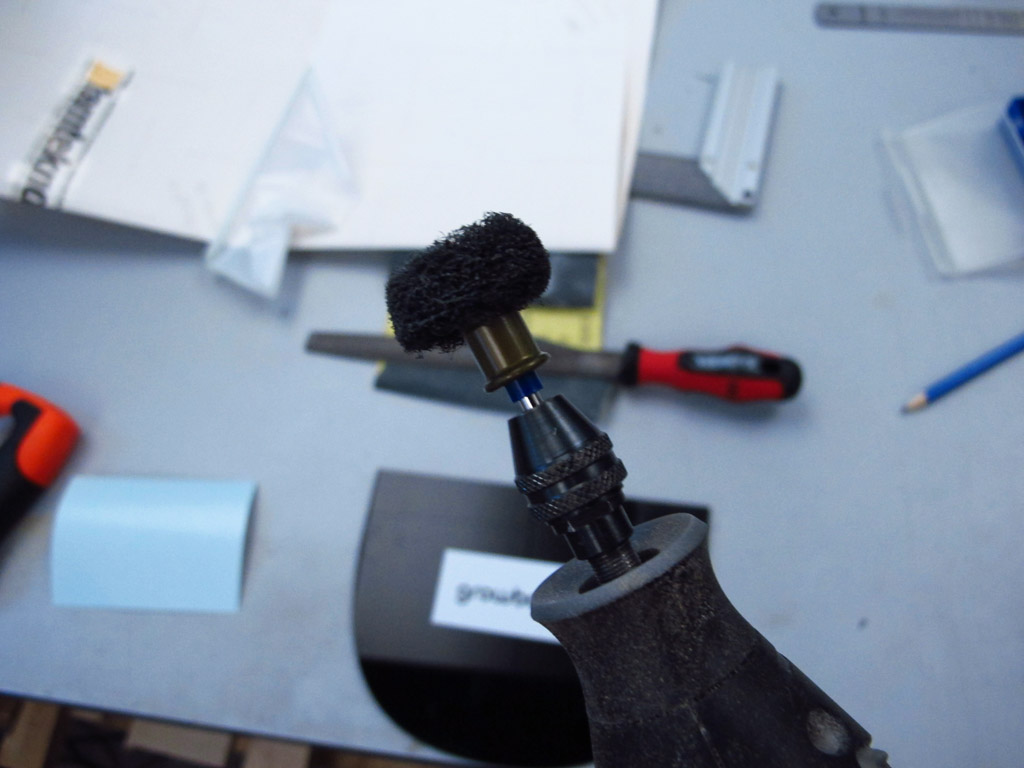 The light abrasive brush used for etching the surface
I passed the abrasive brush at 10000 rpm over the masked surface from left to right in 3 light passes, removed the mask and washed the dust and glue away with warm water and soap.
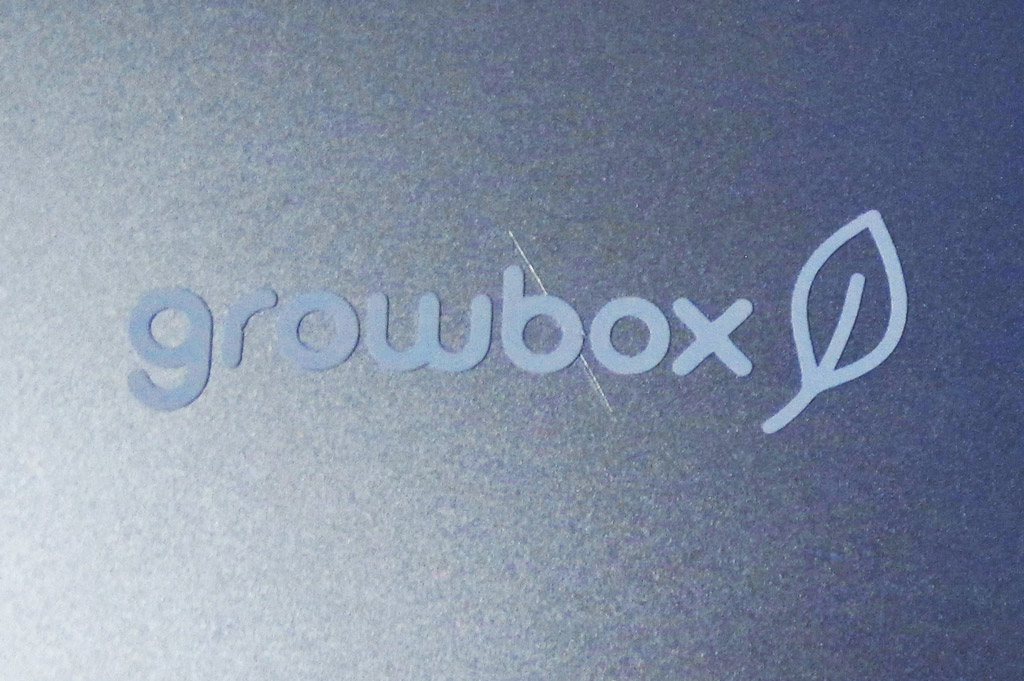
 The test after removing the mask and washing
There were a few scuffs to the right of the logo where I carelessly etched outside the masked area, but apart from that, the etching was even with crisp edges. An all-round success!
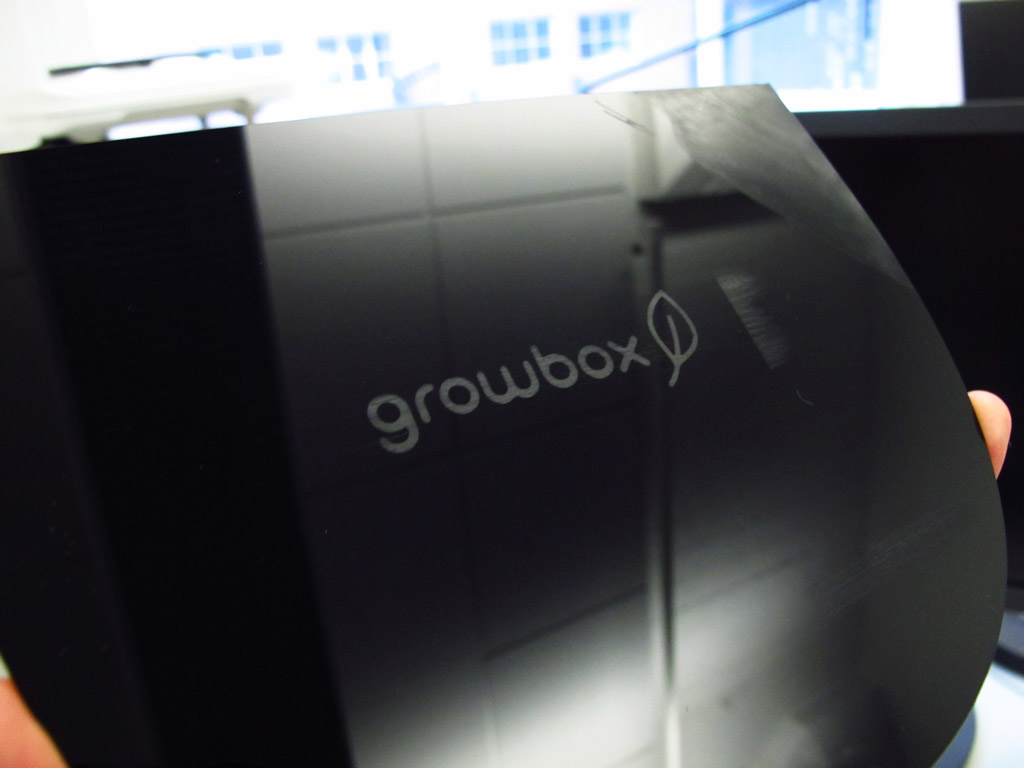
 As a bonus, I branded my laptop with a vinyl sticker as well
Files
Cutting File (Illustrator) (399kB) - growbox-stickers-mask.ai
Cutting File (PDF) (427kB) - growbox-stickers-mask.pdf
TODOs
☑ Explain how the cutting files were created
☑ Show how the product was produced
☑ Include original design files and photos of the finished product
Links
Fab Academy 2016 - Computer Controlled Cutting