Making a box is easy. Making a box with curved edges is more difficult. Making a box with curved edges that will hold water and doesn’t leak is more difficult still. Guess which one I decided to do?!
Many homebrew hydroponic or aeroponic systems are built using a shop-bought plastic vessel or container, with holes cut for plants, wires and tubes. Since my system is intended to be used in the home kitchen, I wanted to do better than buy a tub and put some holes in it. This is Fab Academy after all!
My first consideration was what material should I use to build the tank. Ideally, I wanted to use sheet metal or some form of ceramic, but since time was limited, I opted for a familiar material which I can work with easily in a Fab Lab - acrylic. This was a difficult choice for me, since I’m trying to reduce the amount of plastic I consume, but for a first prototype it would be ok.
Before proceeding, I checked the food-safety information related to acrylic from the European Food Safety Authority.
Building a watertight tank from acrylic was never going to be straight forward, but I had a good idea of how it could work. Here’s an exploded view of the box made with Fusion:
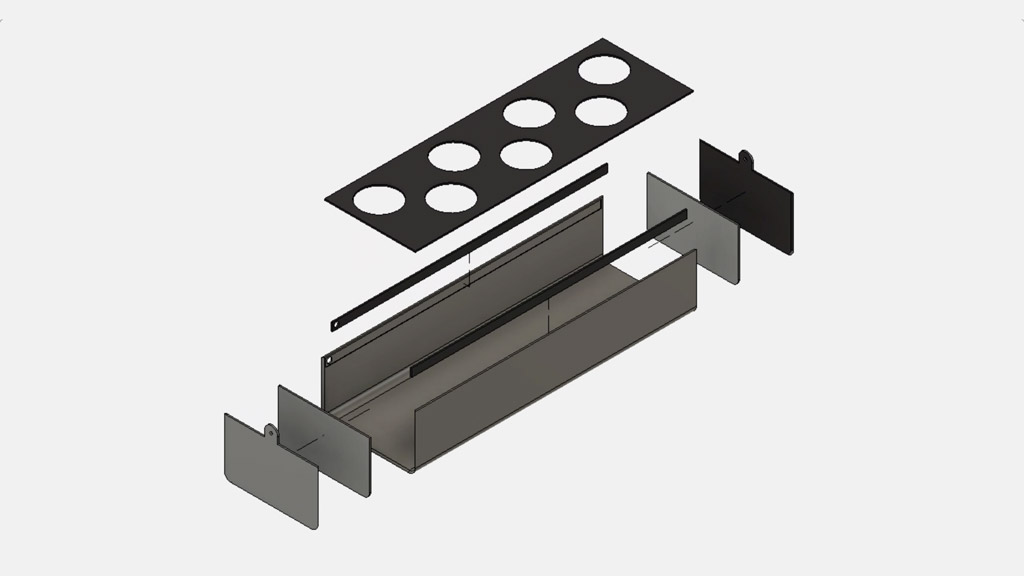
To make the channel profile, I would need to heat and form the acrylic around a jig. I wanted a larger radius for the curves, so this wasn’t going to be as simple as using a hot-wire strip heater.
I also wanted to make the end panel joints as clean as possible, so I decided to try to make mitred joints using a 45 degree cutter in the CNC router.
Making the Jig
I used the sketches and geometry already setup to design a slot-fit jig directly in Fusion. The jig is designed to be used on the edge of a desk or flat surface with the acrylic clamped on top and butted up to alignment tabs at the back. The acrylic can then be heated with a heat gun along the radius and uses gravity to assist the bend.
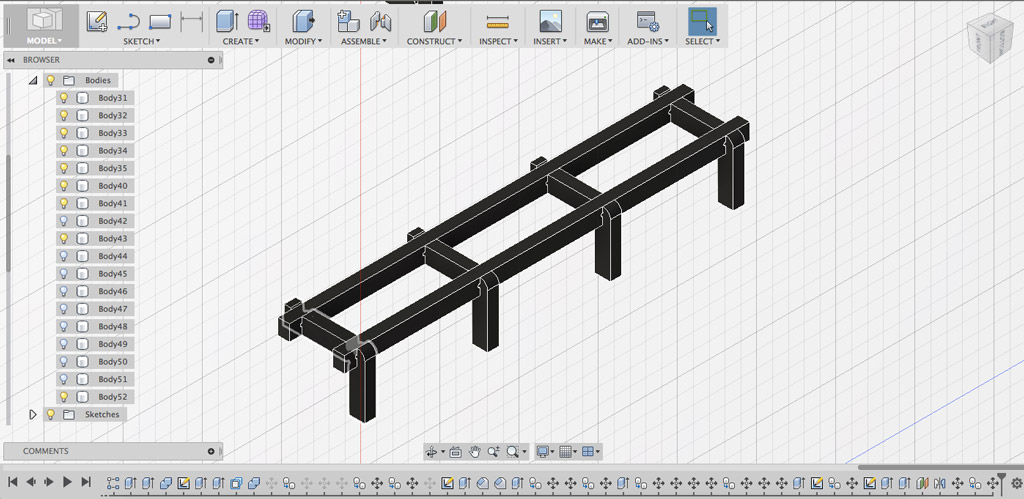 The jig design assembled in Fusion 360
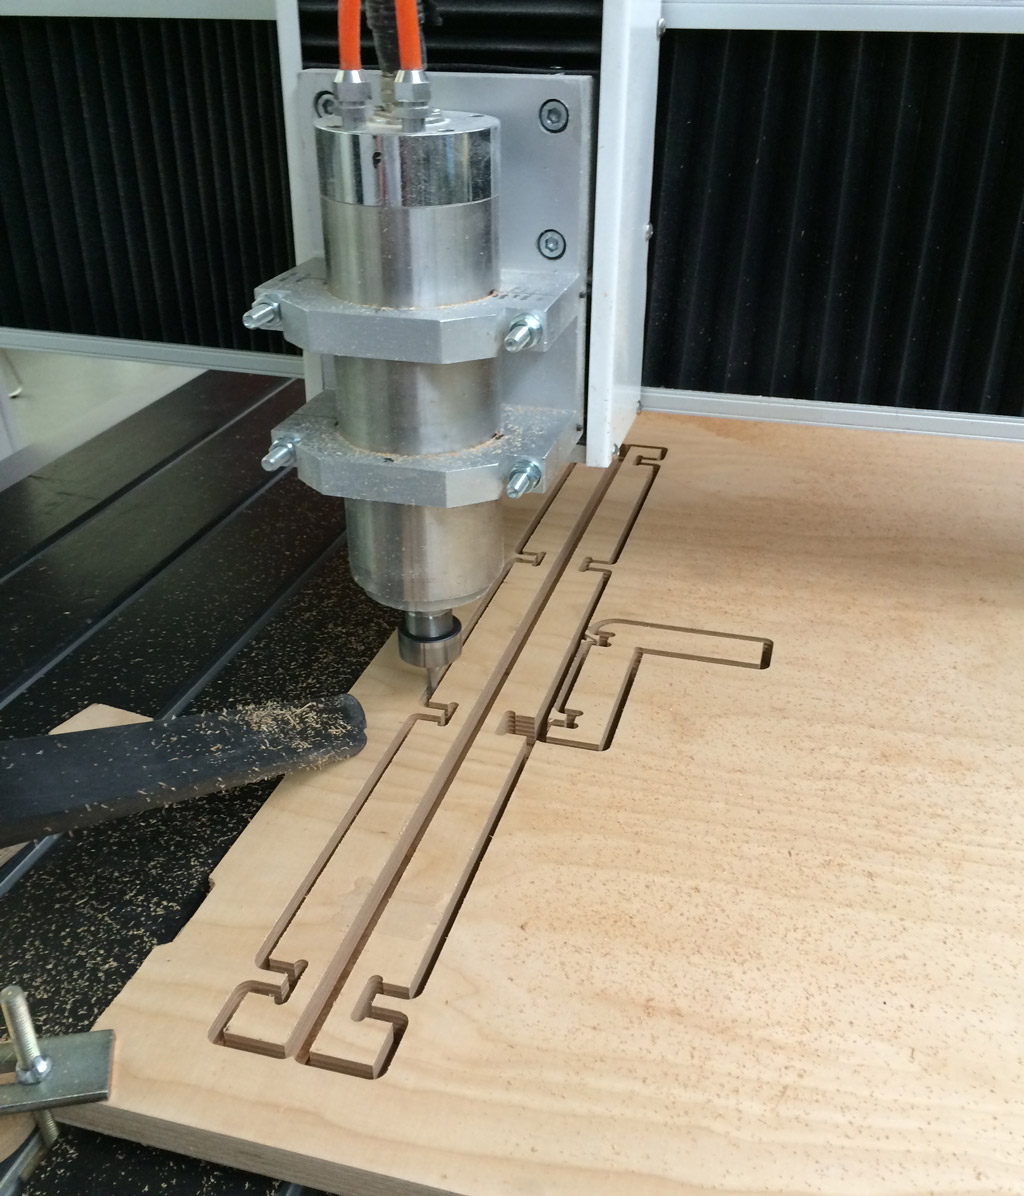 Cutting the jig parts from 18mm plywood with the CNC router
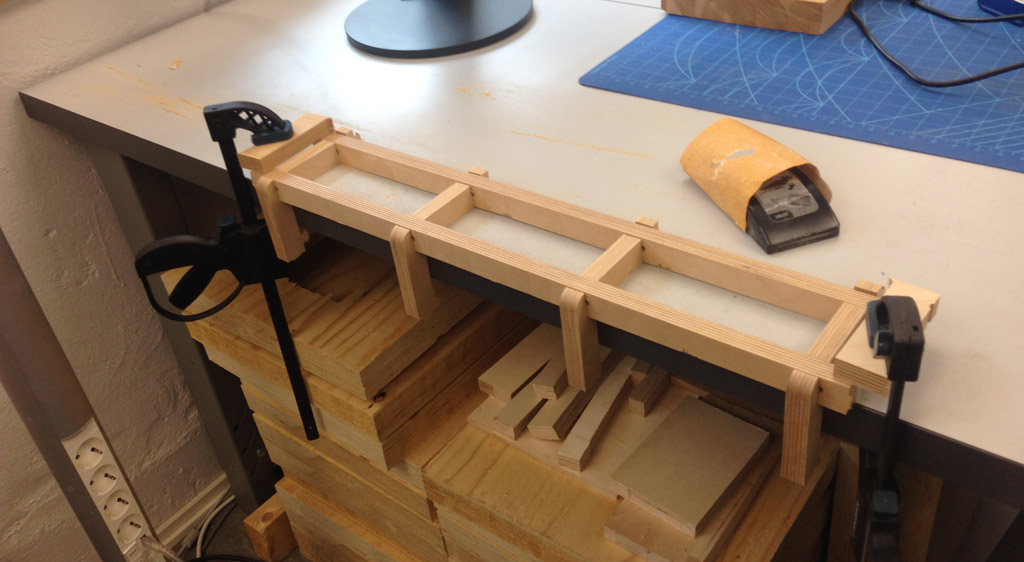 The jig assembled and clamped in place
Machining and Cutting
Parts with chamfers and recessed pockets were milled with the CNC router (main channel and channel ends) and the remaining parts would be lasercut (end inserts and side rails).
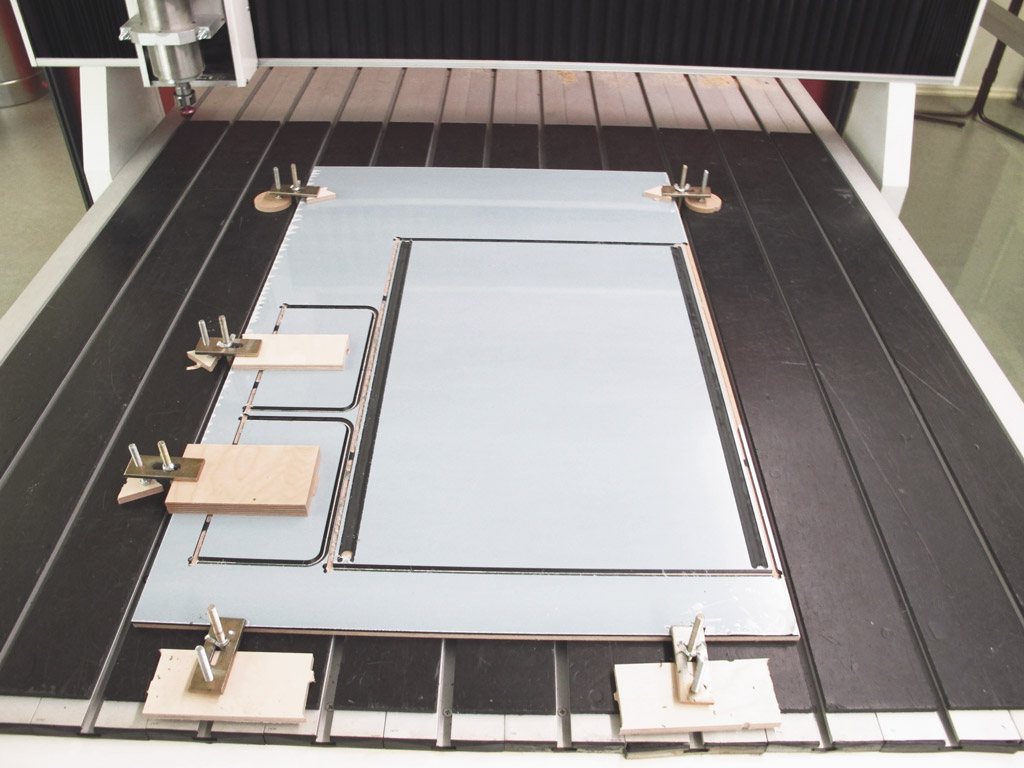 Clamping arrangement for chamfer operations
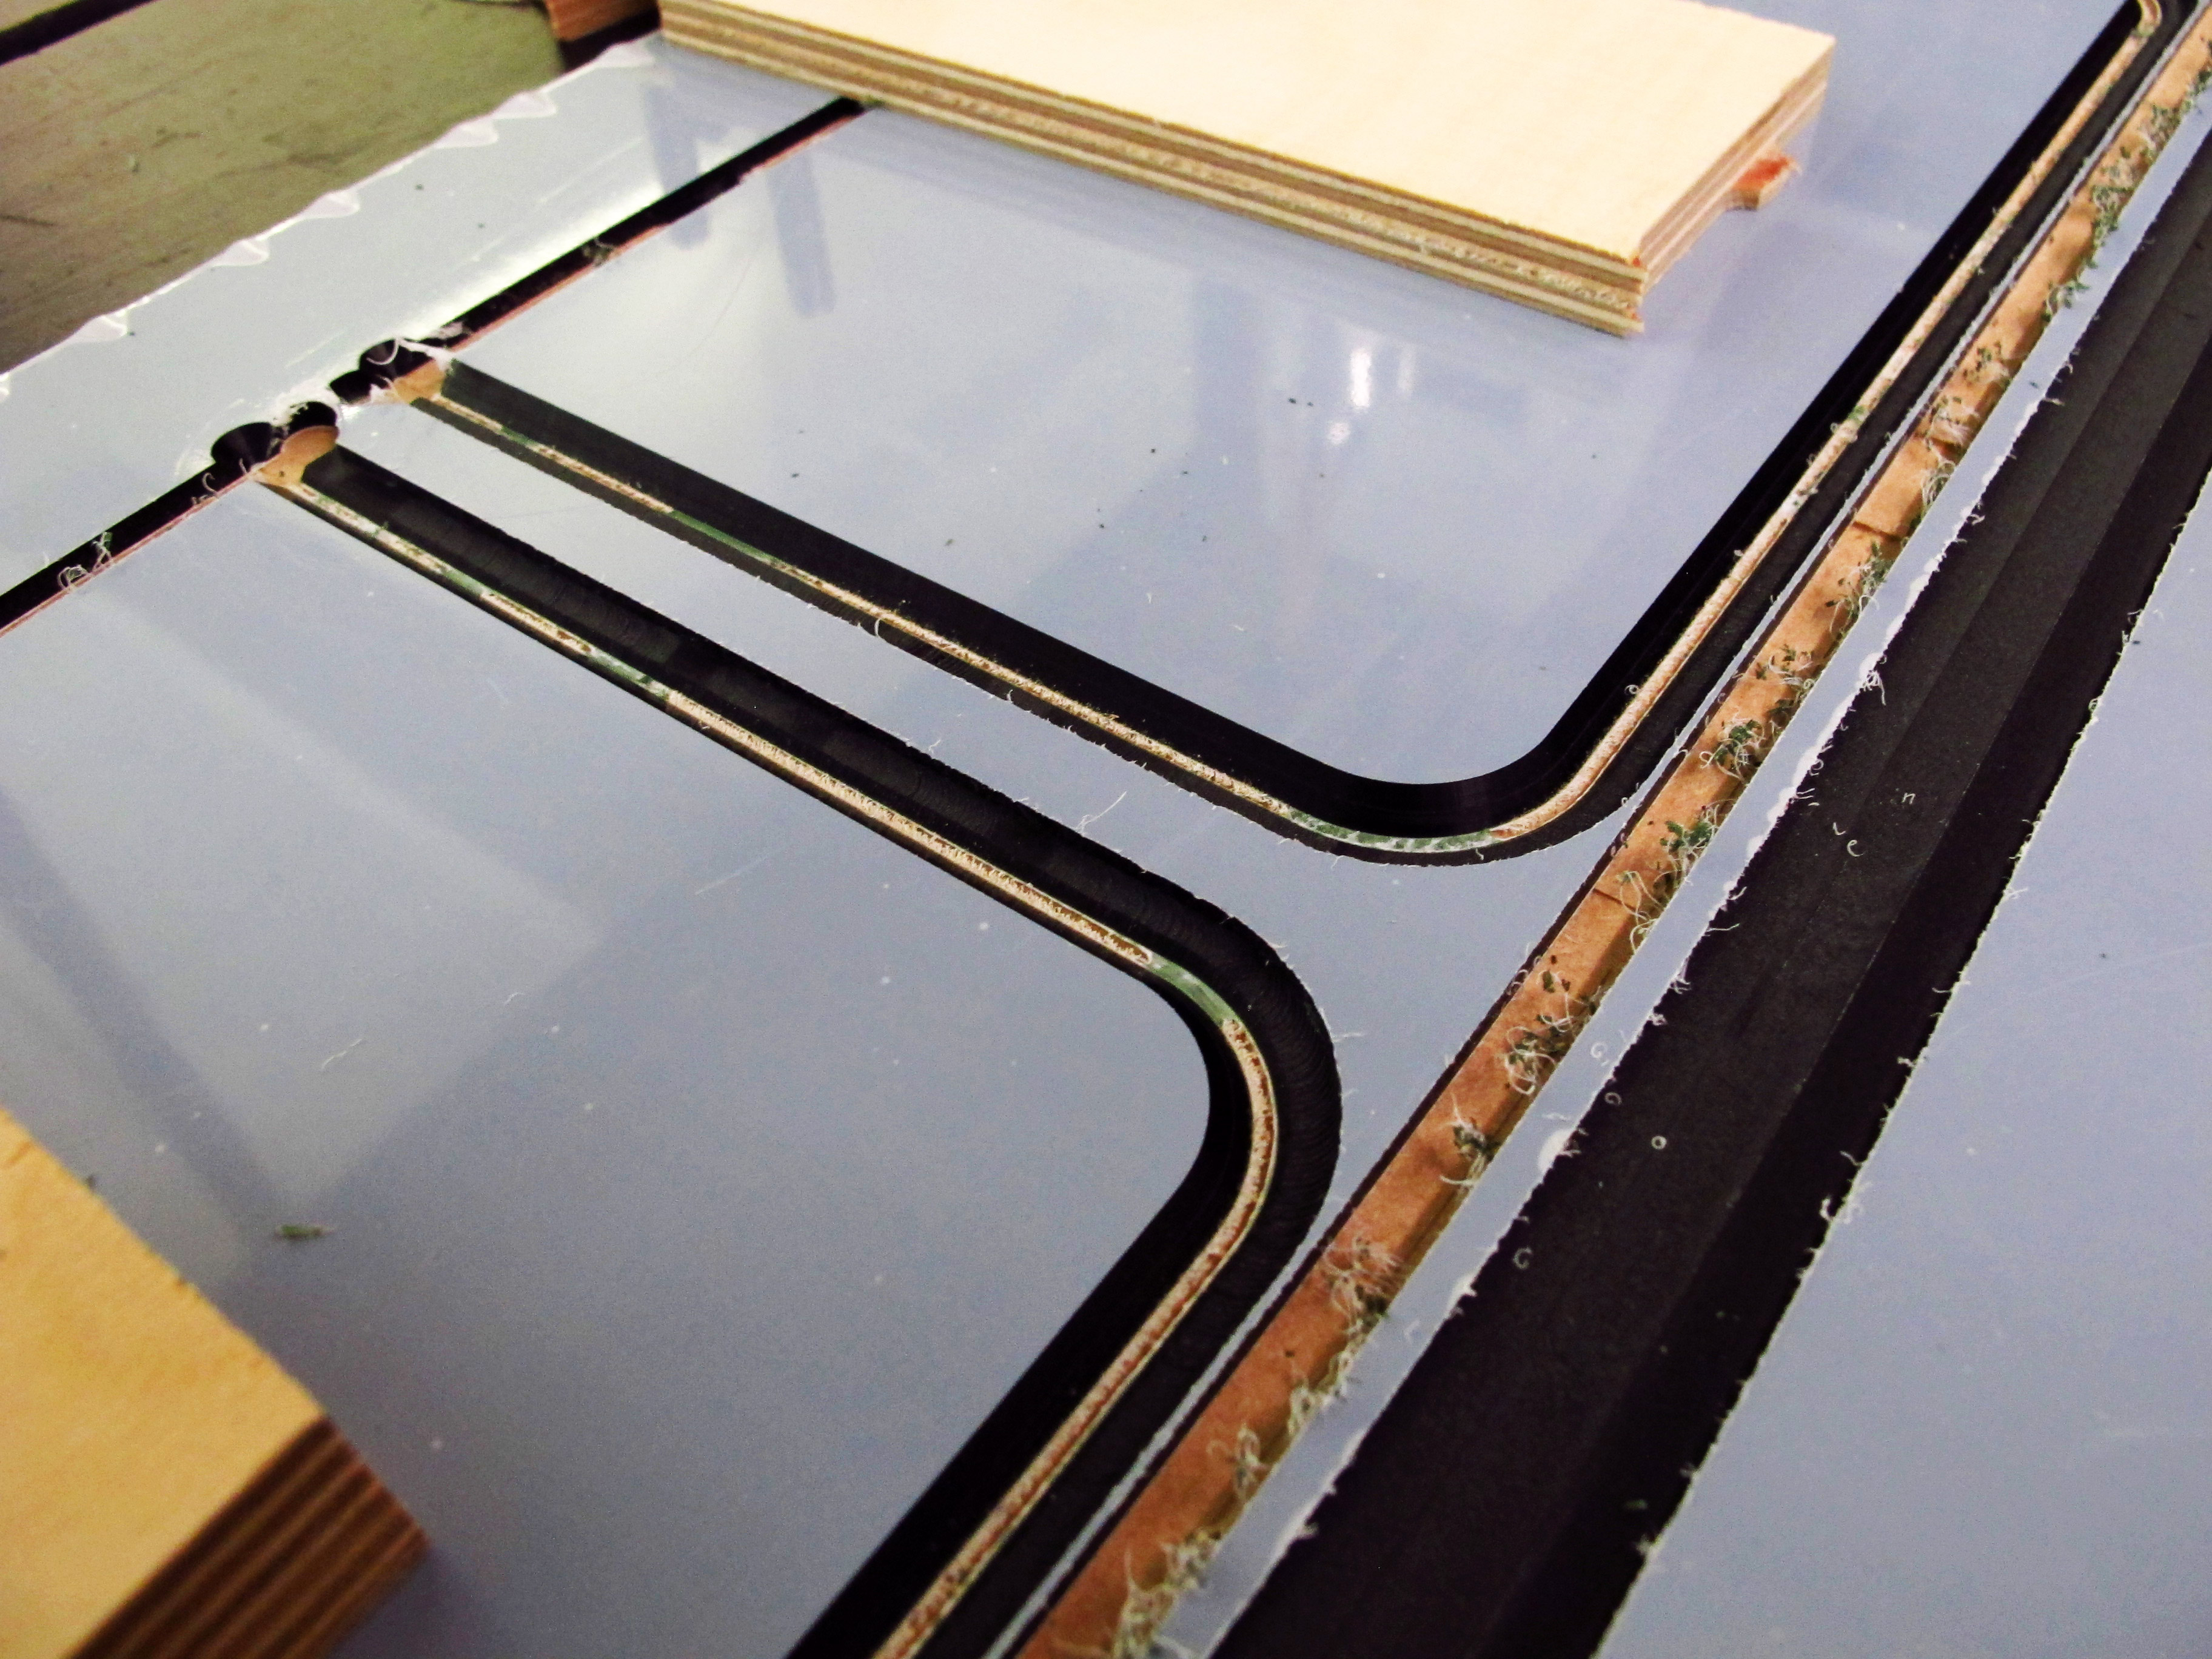 Close-up of the chamfered edges made with 45 degree V-bit
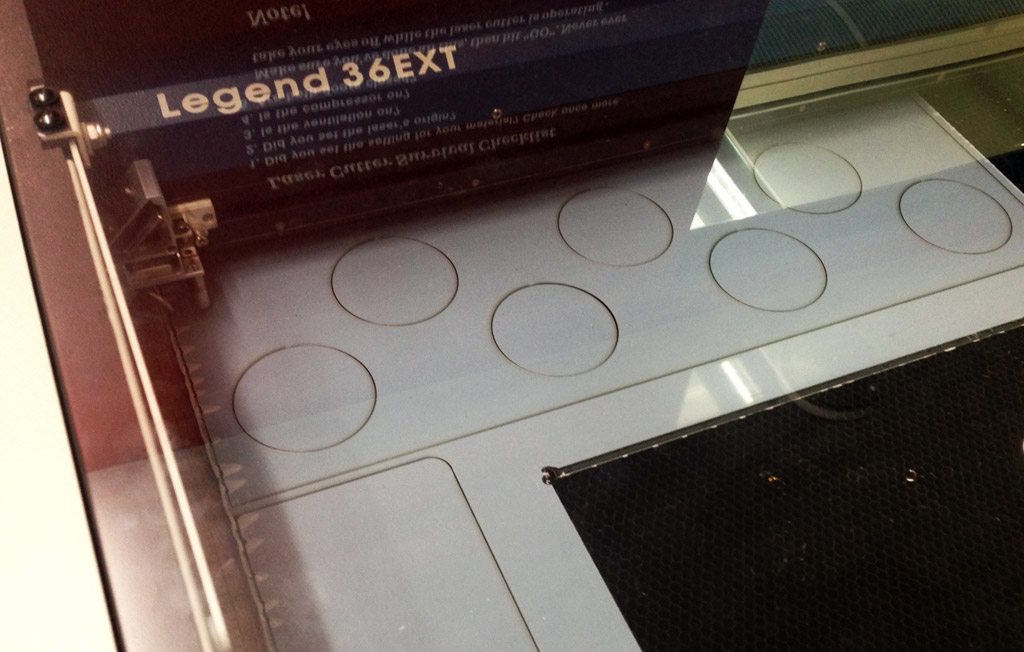 Lasercutting the top plate and end inserts
Heat Forming
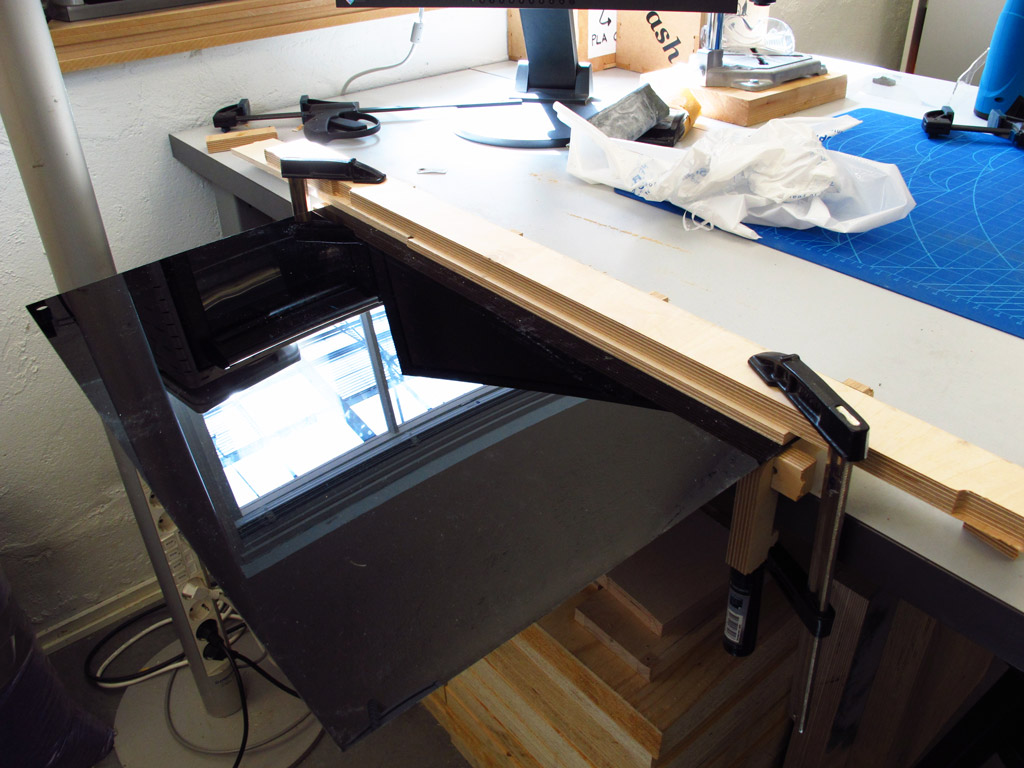 The main channel piece clamped in the jig ready for heat forming
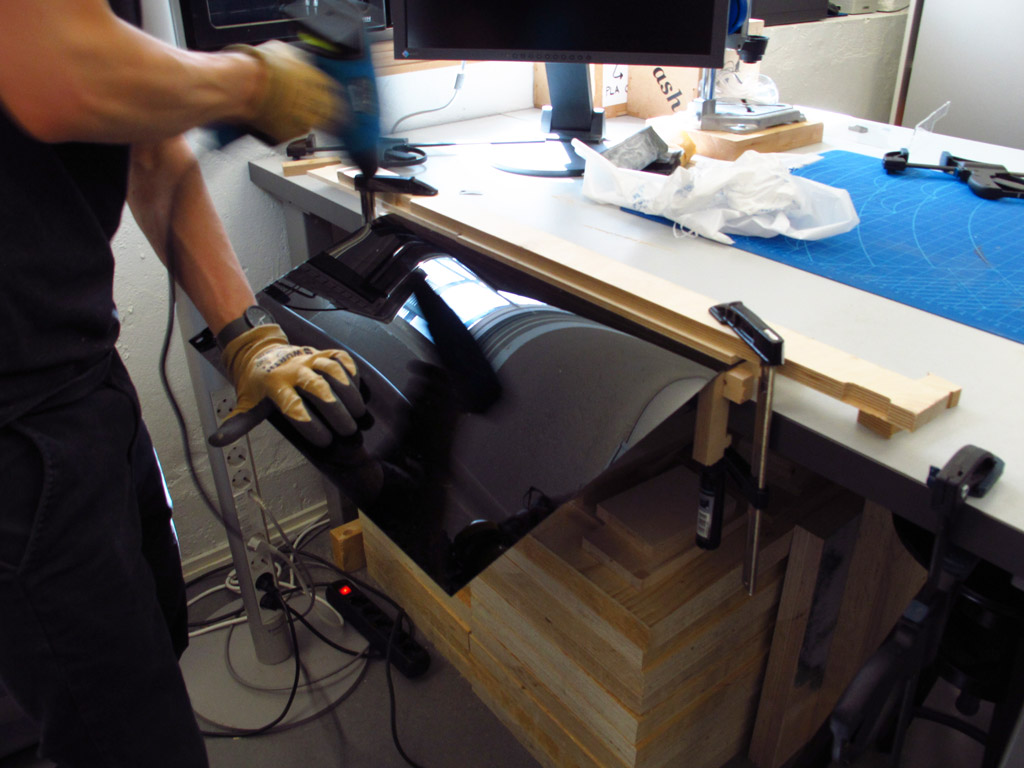 Heating along the bend with a heatgun in long movements left-to-right
 The first edge fully bent and clamped during cooling
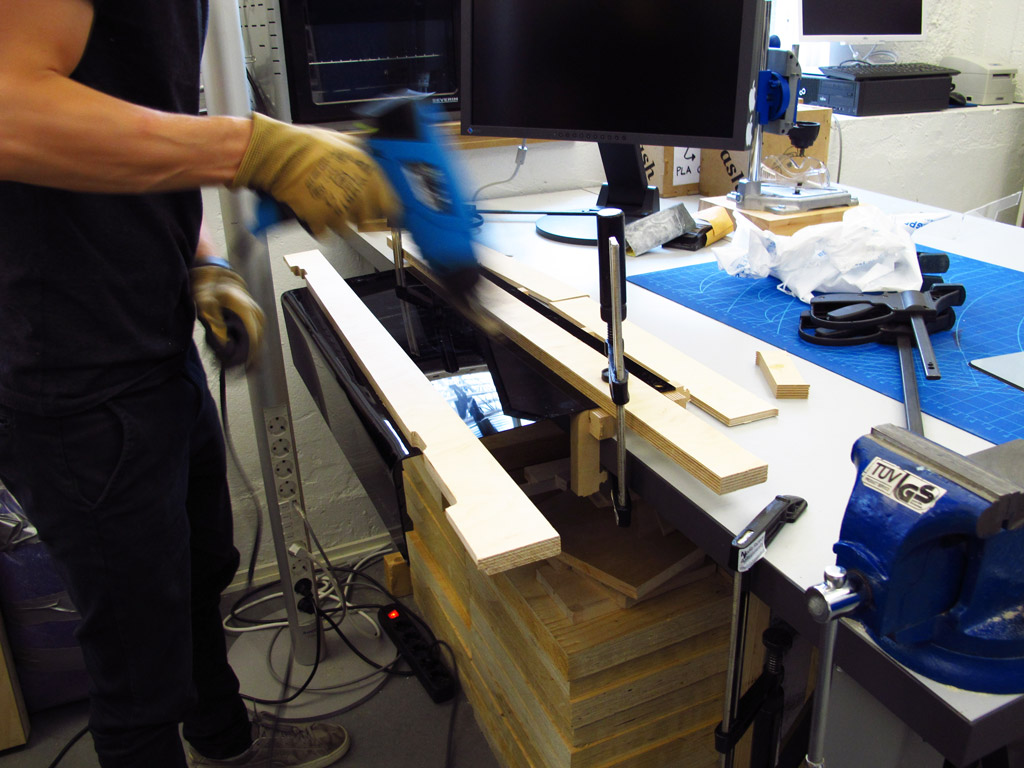 Heating the second bend, using a length of wood to apply pressure evenly
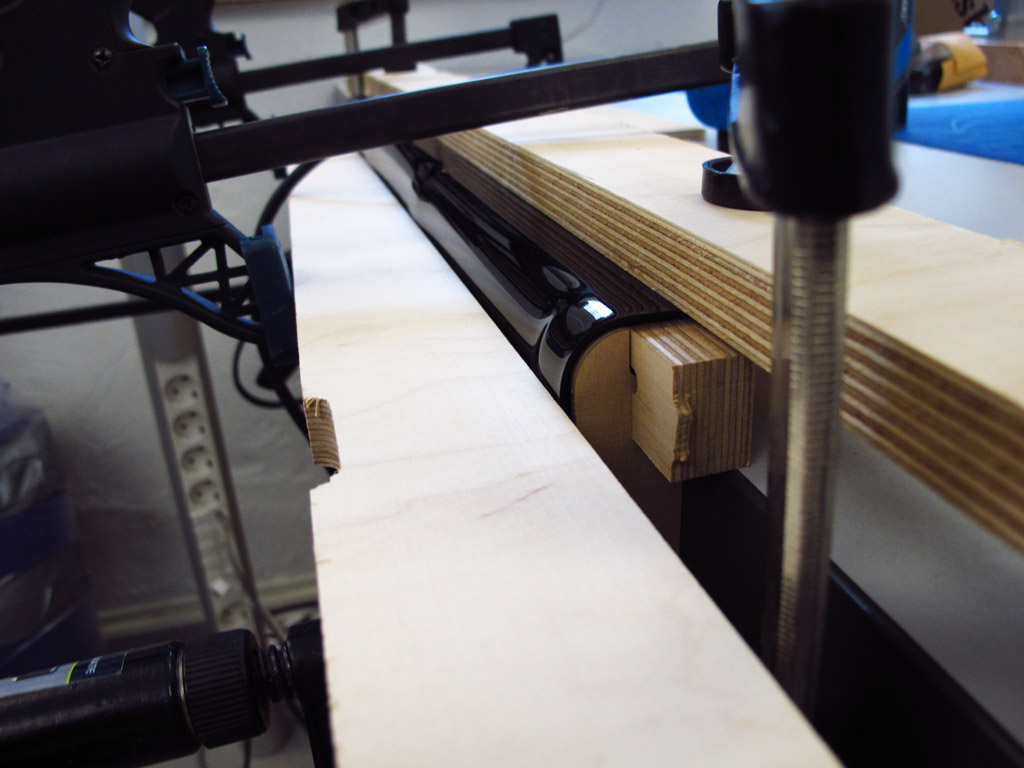 The second edge bent and clamped in place
Notice how the second edge began to sag between the ribs of the jig - apparently I heated the acrylic too much. Improving the jig to make it continuous rather than with discreet ribs could help prevent the sagging even if the acrylic is overheated.
Bonding & Sealing
With the main channel formed it was the moment of truth - would the endplates fit and how big would the gaps be?
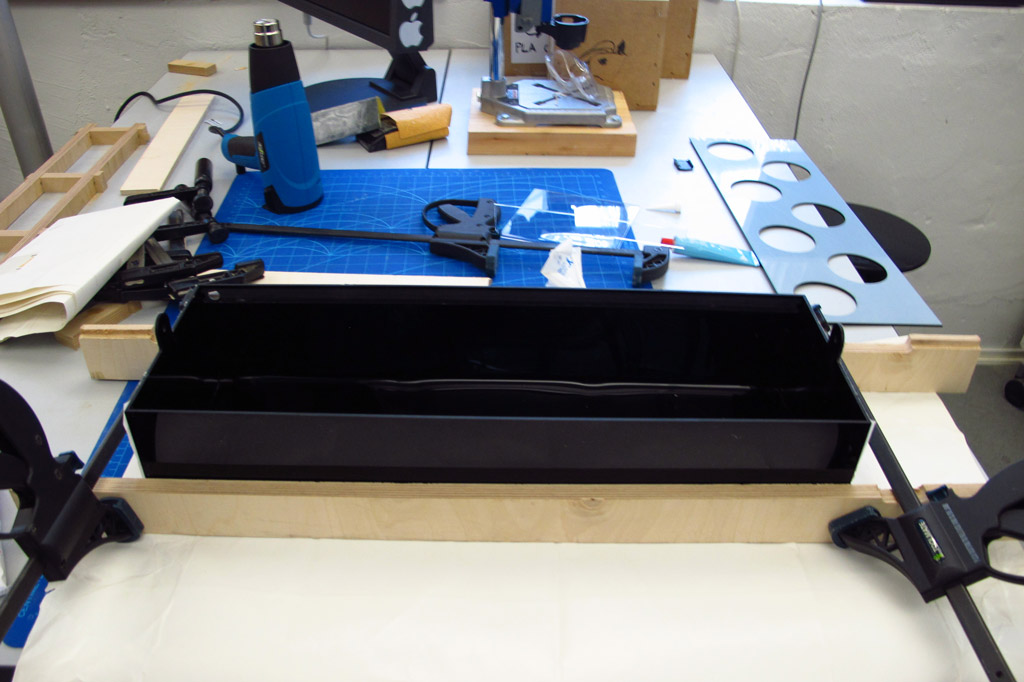 Test-fitting the box to see how close (or far) to perfect the joints would be
Inevitably, there were gaps. I used clamps to pull the top edges of the channel in for a better fit.
 Yeaaaaa - not such a great fit
I used a superglue to initially fix the endplates, then broke out the silicone to bond the end inserts, side rails and seal the inside edges. A word of warning here - some silicone sealants stick to acrylic and some really don’t! Make sure you get the right stuff!
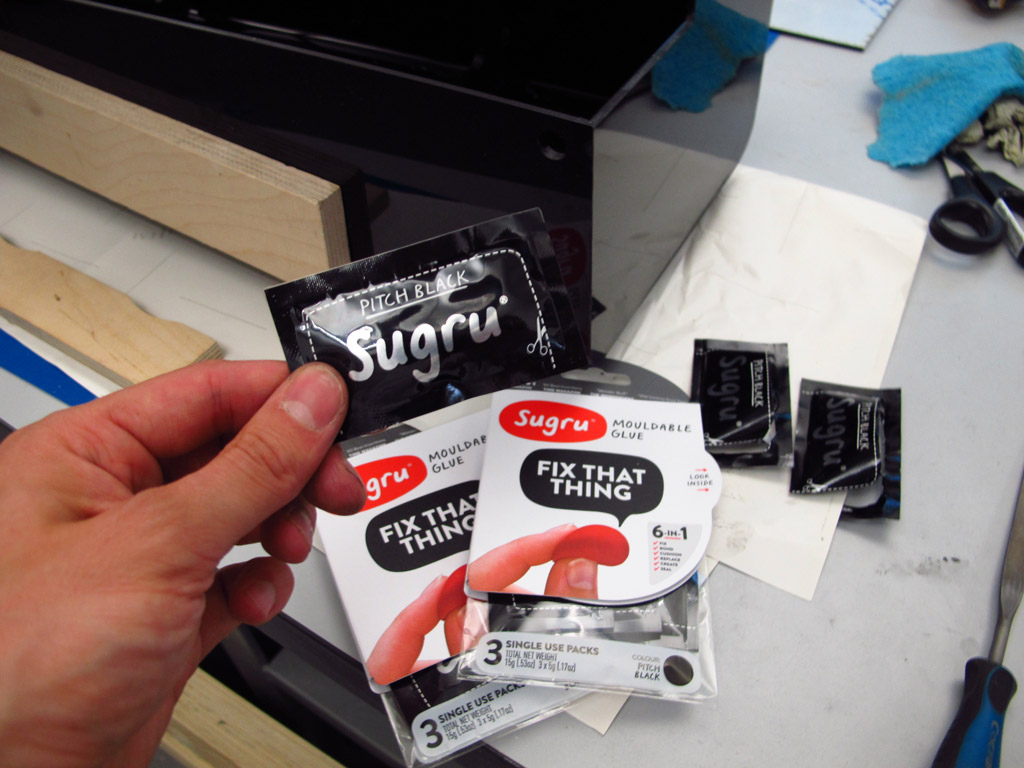
After bonding the endplates, the channel was bowing outwards slightly in the centre, so I decided to add some internal reinforcing ribs. I was also a bit sceptical about the strength of the endplates, so I brought some black Sugru (great stuff) and bunged a load of it inside the joints. It was also very effective at filling gaps from the outside as well.
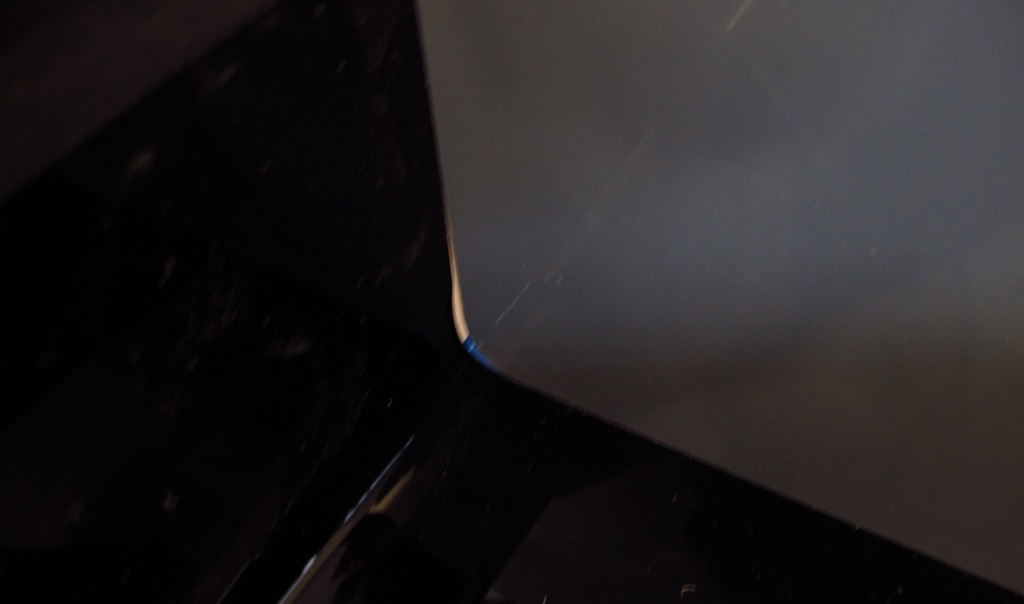
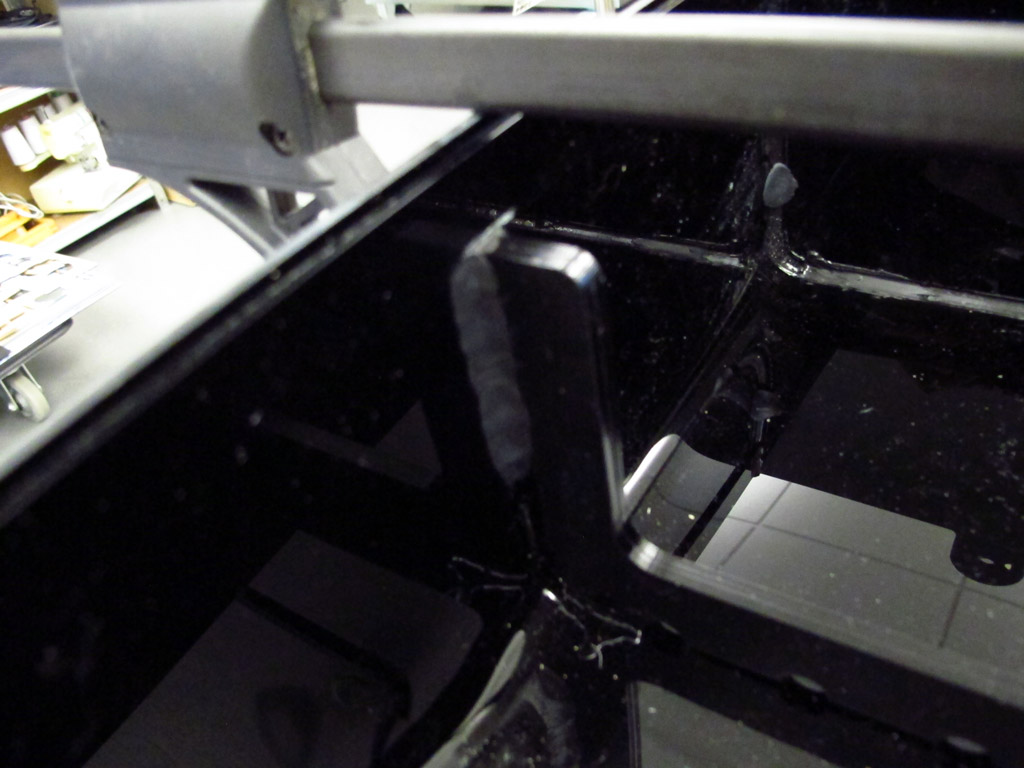 Stiffening ribs and lots of Sugru
 The magic stuff stopping my tank from falling apart
Testing
After leaving the Sugru to cure for 24 hours, the clamps were ready to come off and it was time to test the tank for watertightness (mop and bucket at the ready)! 😁 😁 😁
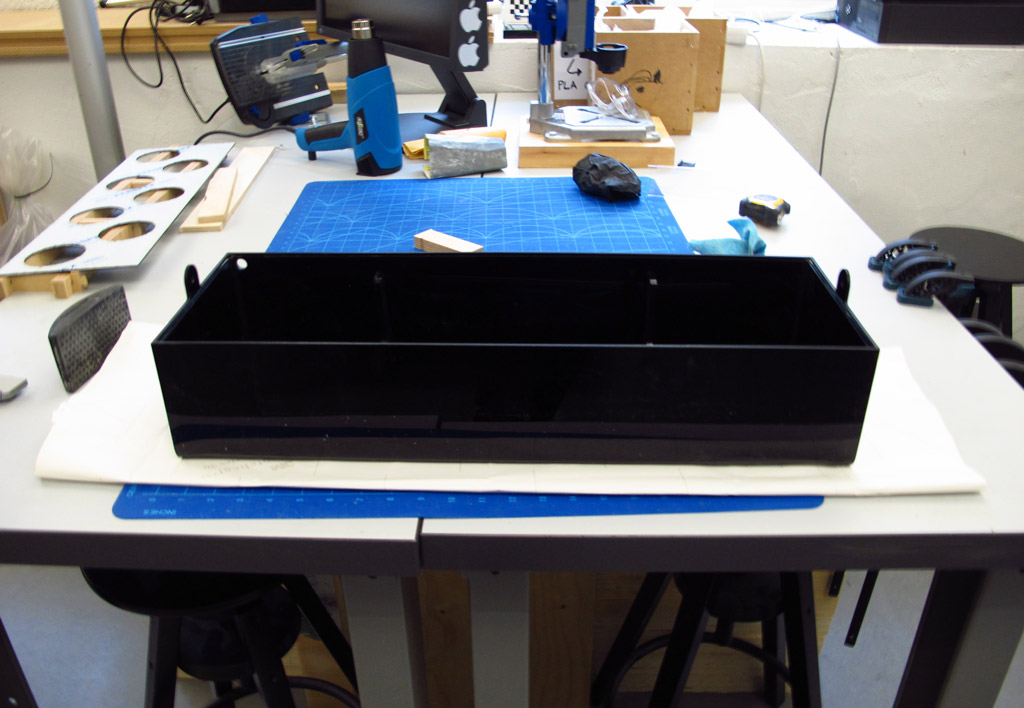 The tank with the clamps off, ready to be tested
Hurray! To my surprise and great relief, the tank was watertight! While I had the tank filled, I took the opportunity to try out the ultrasonic atomizer.
Files
Fusion 360 Archive (625kB) - growbox_v42.f3d
Links
Growbox Fusion 360 Project - a360.co/29rxSF1
Sugru - www.sugru.com