Setup
I used Skanect Pro with an ASUS XtionPRO sensor for 3D-scanning.
The setup requires a computer with a decent graphics card to capture the 3D and image data at a reasonable framerate. Running with a basic PC laptop achieved <10 frames per second (fps), meaning the sensor must be moved around the object veeeery slowly to avoid interruptions in the scan. Once set up on a more powerful machine with a good graphics card, we managed >30 fps making the scanning much more stable.
I wanted to scan an object that warrants using a 3D scanner - something with geometric complexity that is difficult or impossible to model in CAD software. From previous experience, 3D scanners are not very good at capturing simple objects precisely (like a simple cube for example). These objects are much more easily, quickly and accurately modelled in CAD.
I decided I would scan my hand gesturing, which I could later 3D-print as a coathook or statue.
Scanning
First I cleared some space and placed a stool in the middle of the area to use as a pedestal to rest my arm on and keep it still for a few minutes whilst scanning.
 Setting up the scan with Skanect
I first made a test to check everything was working well. Before starting the scan, it’s important to make sure the object is positioned close to the centre of the scanning area on screen. Pan around to check the position front-to-back and left-to-right before initiating the capture. Any geometry outside the scanning are will be clipped.
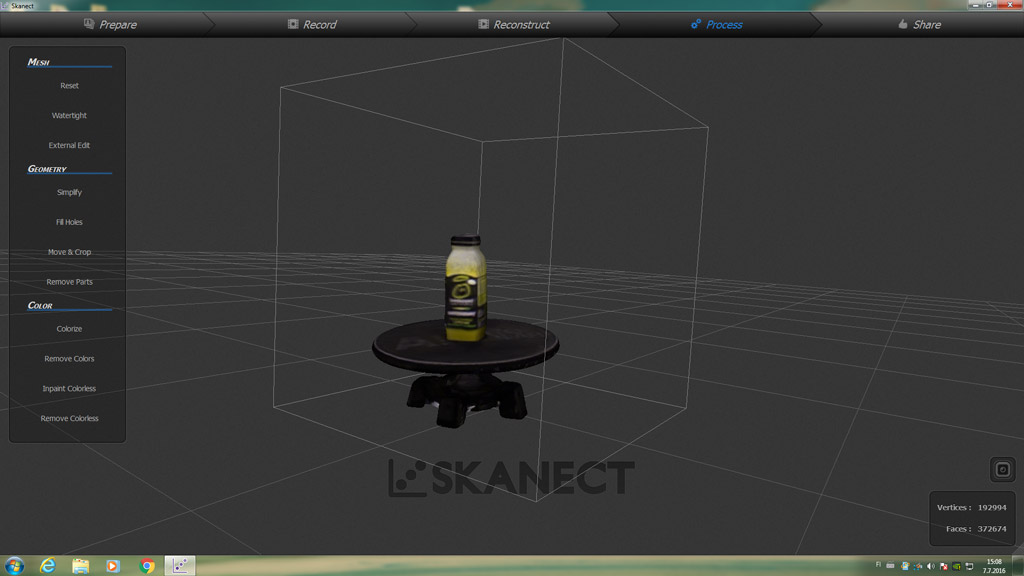 Test scan of a Innocent smoothie - colour mapping really brings 3d-scanned objects alive
Scanning my own arm was going to be logistically challenging. I needed an assistant. Luckily Zsu, a student at Aalto and regular Fablab visitor, was happy to help.
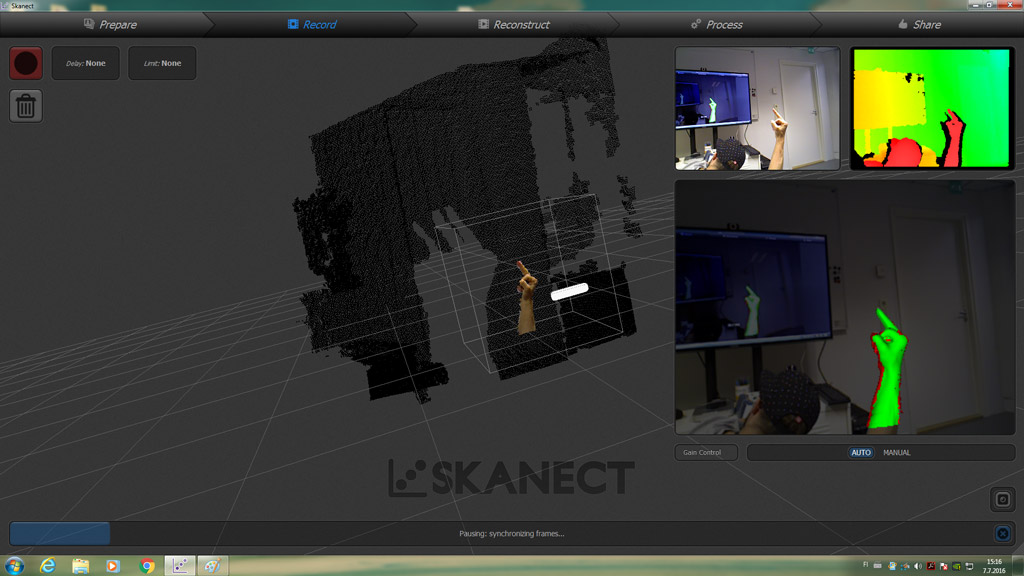 The scanning in progress - a bit less innocent than the test object
As you can see from the image above, I had to try and duck out of the way as much as possible to keep my head out of the scan.
 Post processing the scan
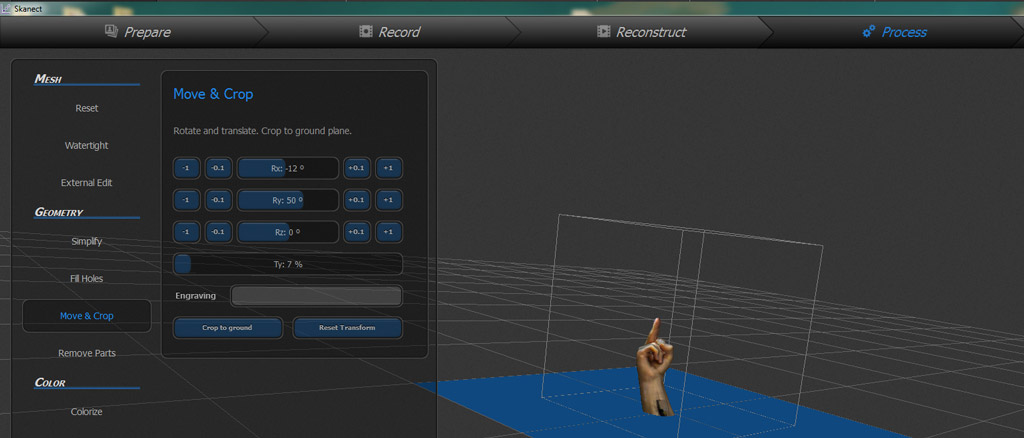
The scan was post-processed in Skanect, first using the Watertight function to seal any holes in the mesh (important for 3D-printing), and then using the Move & Crop tool to straighten up the object and clip it flat to the ground plane.
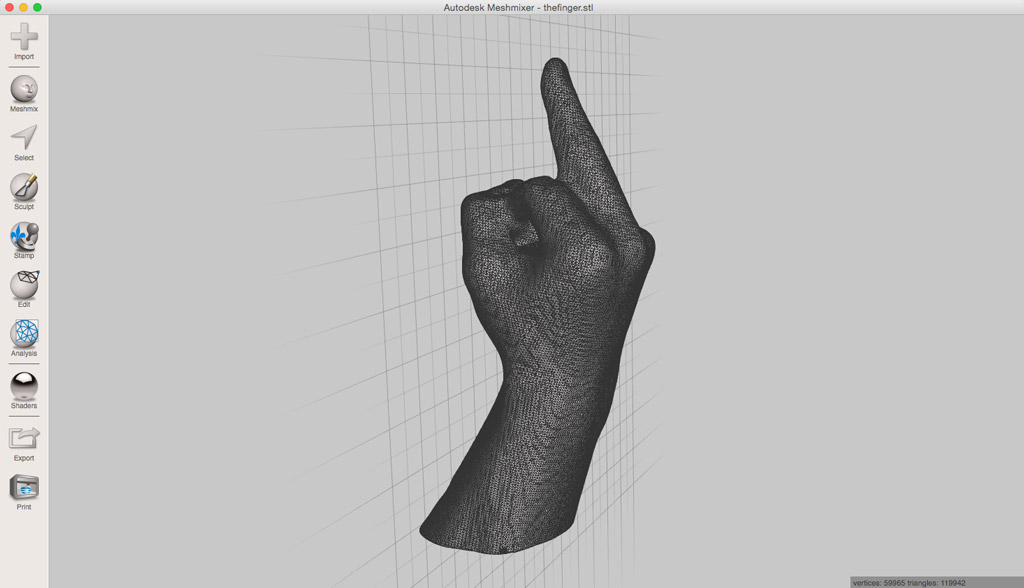 The mesh exported from Skanect and previewed in Meshmixer
Files
Post-processed Scan (19.8MB) - thefinger.stl
TODOs
☑ 3D-Scan an object
☑ Outline problems and how the were overcome
☑ Include files and a ‘hero shot’
Links
Fab Academy 2016 - 3D Scanning and Printing