The Object
I’m going to 3D print my ‘Up Yours’ hand that I scanned in the 3D-scanning exercise.
In a similar way to scanning, 3D-printing is suitable in some circumstances but not all. When I’m teaching about 3D-printing, I like to talk about when to use 3D-print and when not to.
When to use 3D-printing:
- Complexity - use 3D-printing for producing complex object in one piece that can be manufactured with other methods
- Efficiency - 3D-printing can be material efficient, with material being placed precisely where it is needed and with minimal waste (as in reductive manufacturing)
- Uniqueness - there is much much less cost associated with changing the design when compared to traditional manufacturing or milling. You could make a unique object every time, particularly if the geometry is generated algorithmically, with little time and cost penalties.
- Distributed - the dissemination of 3D-printers around the world means that designs can be sent digitally and produced locally, on-demand.
When not to use 3D-printing:
- Speed - very often, 3D-printing will be slow for a given part compared to other methods
- Volume - mass manufacturing techniques have evolved to be very efficient at producing thousands of the same parts quickly. 3D-printing is not going to compete with volume production any time soon.
- Just Because - since 3D-printing has been so hyped, and it’s a good hashtag or keyword to use on social media channels and on blog posts, many people are using the technology for the wrong reasons - just because.
This is one of my favourite examples of using 3D-printing just because (sorry Finland):
My hand is unique. There is not another one quite like it. With 3D-scanning and 3D-printing in combination, I can capture the shape and details of my hand and reproduce it with minimal intermediate steps.
If I was to try to produce the same object subtractively, there would be a lot more planning and preparation involved and due to the geometry (undercuts and the ‘barrel’ formed by the bent finders) it would not be possible to produce in one piece without a loss of detail and a very fancy 5(+)-axis machine.
Prepping the File
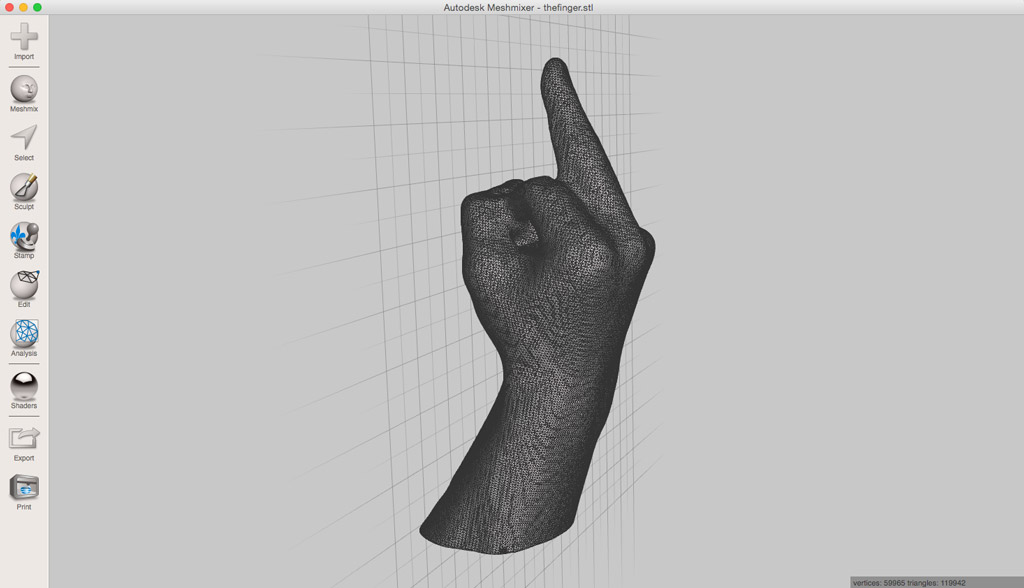
Before sending the object to the 3D-printer, I opened the stl exported from Skanect with Meshmixer (a handy and relatively simple program for mesh modelling/manipulation), and used the scult tool with Draw, Robust Smooth and Reduce brushes to fill out any holes and give the object a slightly low-poly, digital look.
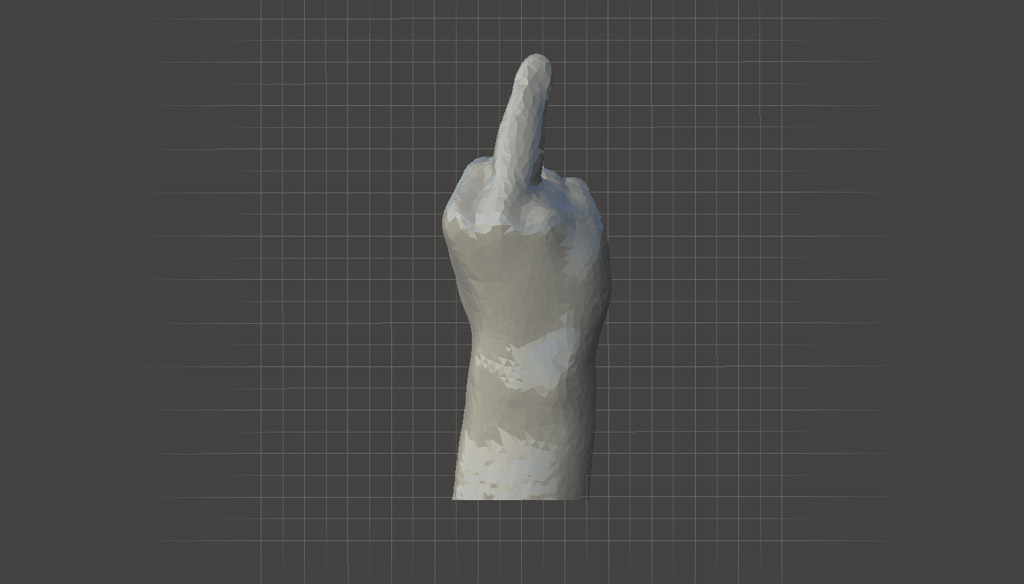 The mesh after sculpting
I saved and exported the mesh and loaded it into Cura. With 0.15mm layer height and 25% infill, the hand was going to take 22 hours to print! That was too long for me, so I went bak to Meshmixer to hollow out the model.
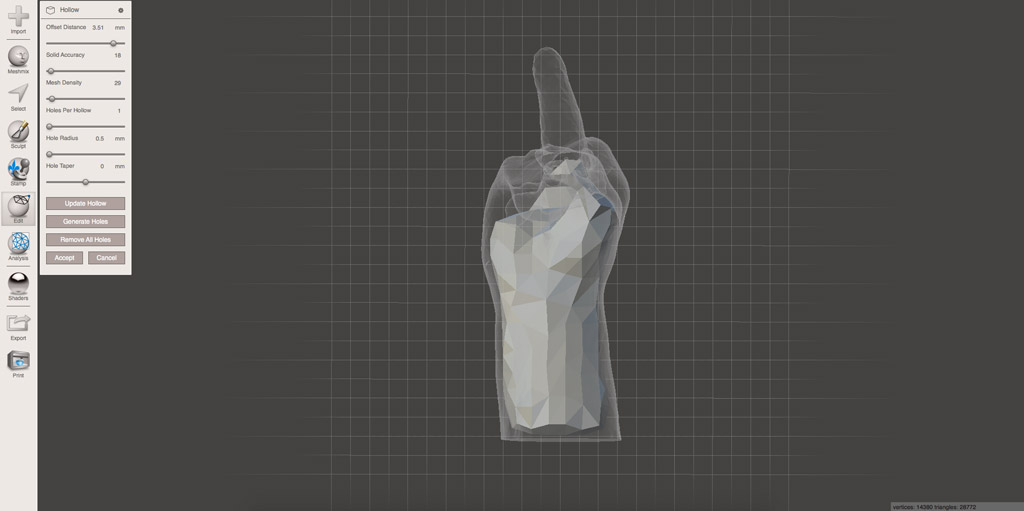 Using Edit/Hollow to hollow out the object and reduce print time
I exported the mesh once more and loaded the file into Cura.
3D Printing
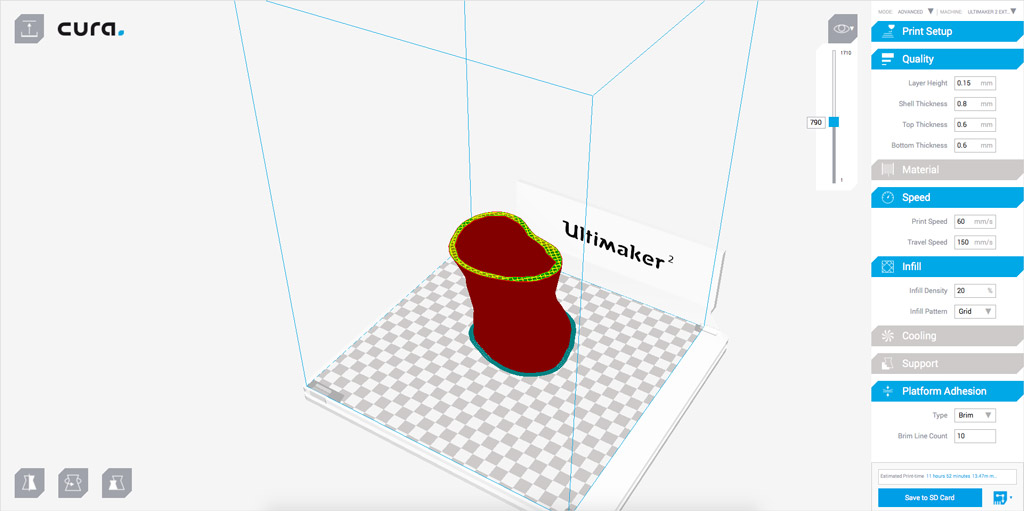
With the mesh in Cura, I scaled the object to be 200mm tall and set the print settings using the Ultimaker 2 Extended:
- Extruder Temp - 230°C
- Platform Temp - 60°C
- Layer Height - 0.15mm
- Shell Thickness - 0.8mm
- Top/Bottom Thickness - 0.6mm
- Print Speed - 60 m/s
- Infill Density - 20%
- Platorm Adhesion - Brim, 10 Lines
 Checking the slices with Cura in layer view
The estimate of 11h 52min was much better. Before printing, I flushed the extruder nozzle and loaded white PLA.
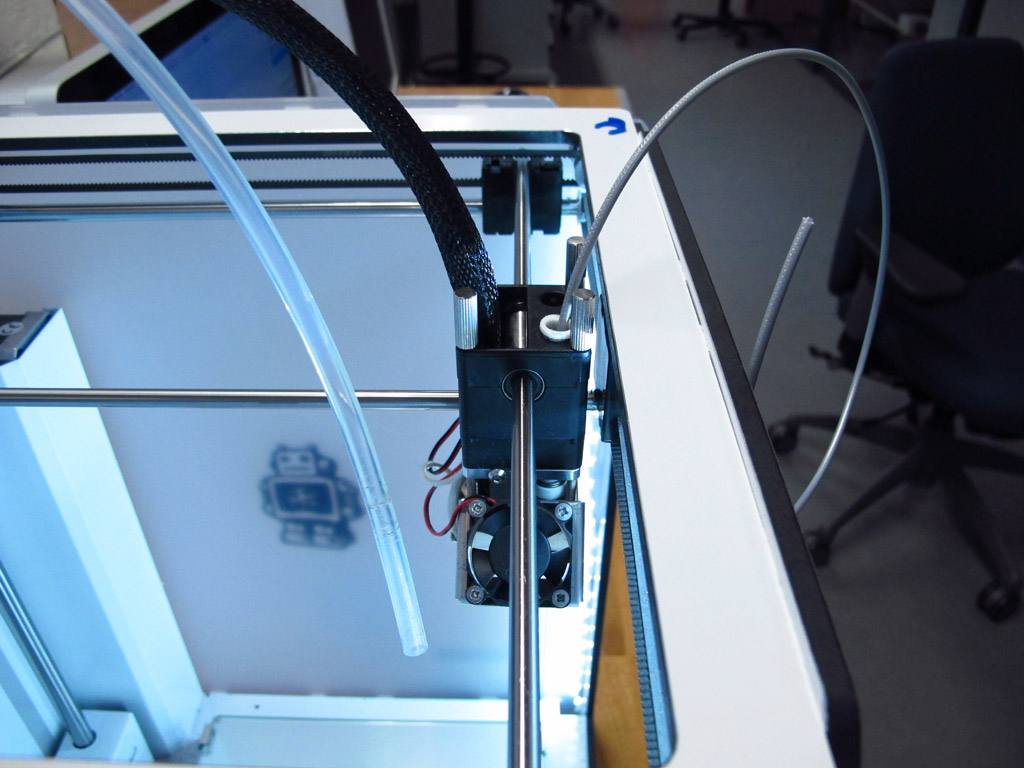 With the nozzle heated, I used a small length of filament to flush out any blockages from the nozzle
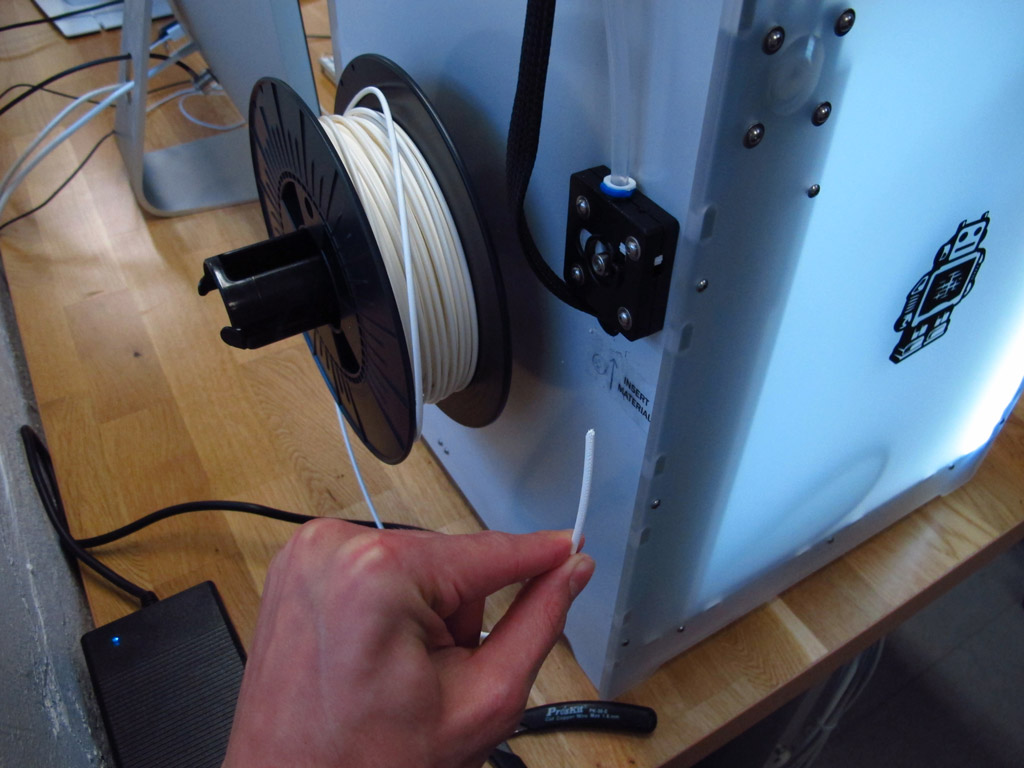 Loading the filament (notice the direction of the wind)
I exported the gcode from Cura onto an SD card (this prevents interruption in the print if the computer is accidentally switch off or goes to sleep) and started the print.
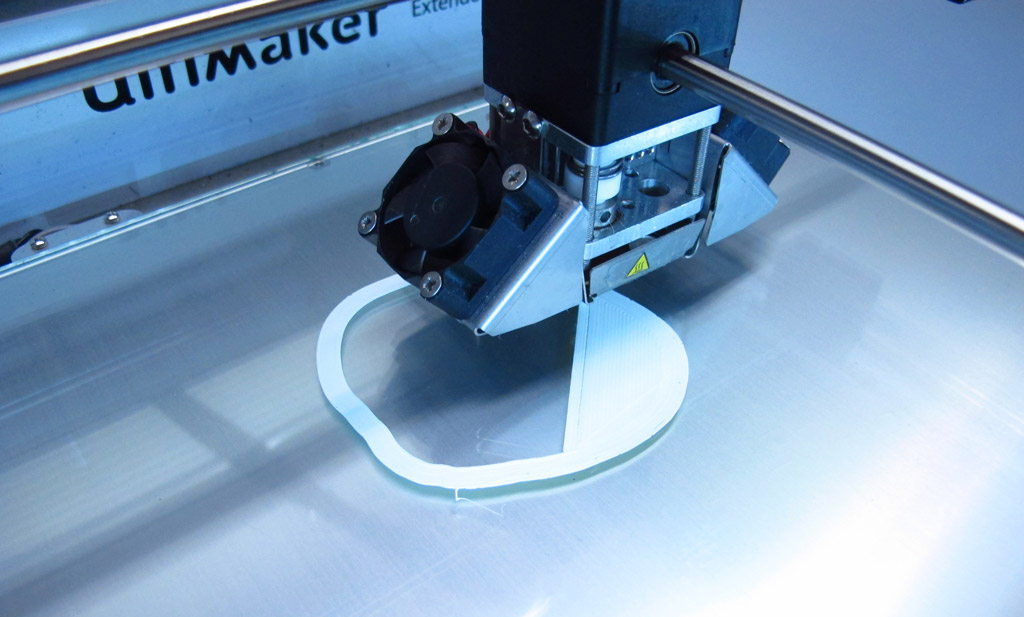 The first layer in progress and adhering well to the build platform
The Finger
After 12 hours of printing, here’s the result:
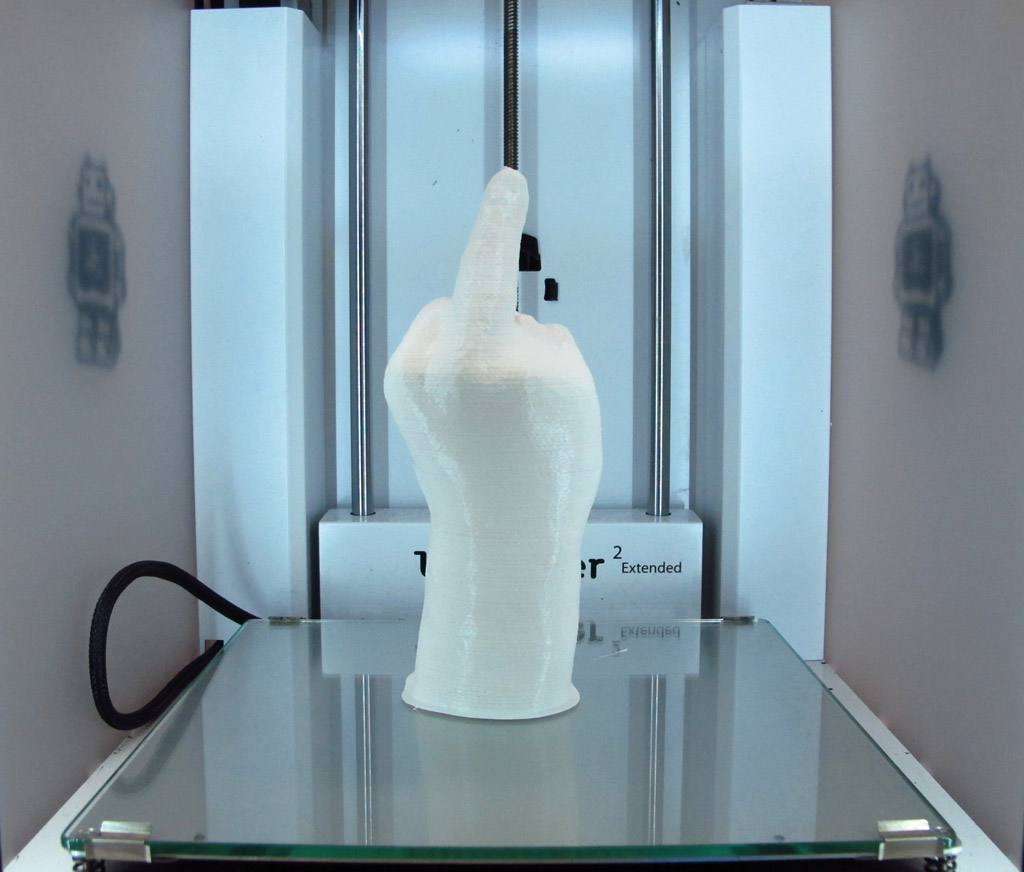 The Ultimaker 2 Extended letting me know what it thinks of me
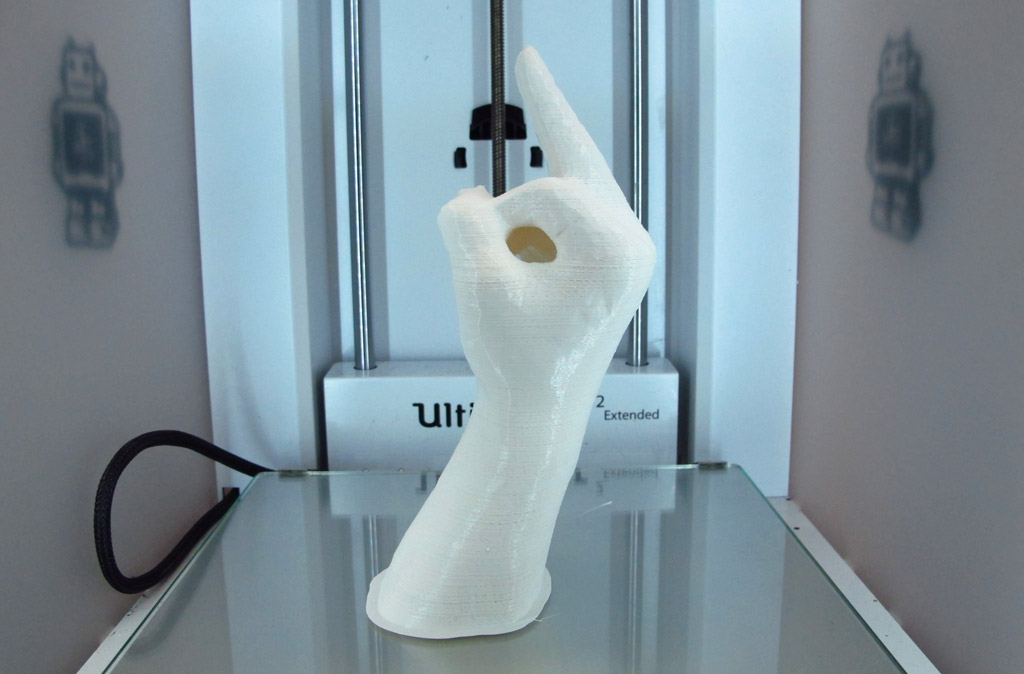 The Finger view from the side
Overall, the print came out ok. There were signs of slight under-extrusion throughout (small gaps in the surface) and the layers were very obvious. This has unfortunately been very normal for prints with our Ultimaker 2, the very first object it printed was fine and since then, it’s been consistently average!
Files
Reduced and Hollowed Mesh (1.4MB) - thefinger.stl
Meshmixer file (1.3MB) - thefinger.mix
TODOs
☑ Show how the 3D object was designed and made
☑ Explained why it could not be made subtractively
☑ Outline problems and how the were overcome
☑ Include design files and a ‘hero shot’
Links
Fab Academy 2016 - 3D Scanning and Printing