Exercise 14: Composites
Idea
For my final project I am making echolocation goggles. I am going to make the goggles out of cardboard but one concern I have is that with sensors and an LCD screen the goggles will fall forward without support. For composites I thought that it would be a good idea to strand that would hold the goggles.Process:
Digital design
I started by using a tape measure to get the distance around my head from ear to ear. I used Inkscape to draw a band to the dimensions. I saved to document as a PDF and then imported it into Inspire for the Shopbot and Corel draw for the laser cutter.
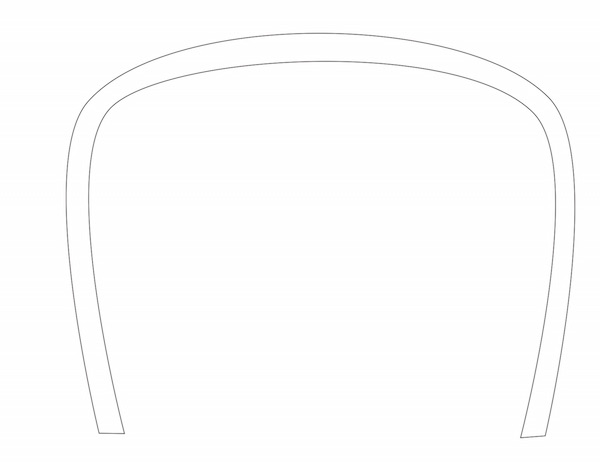
To download the PDF file click here.
Machining
Next I needed to machine the mold. I decided to use ½ inch acrylic for making my mold as other people in my lab had success using it to mold their composites. Once in inspire I set the tool paths so that I could cut it out with the Shop Bot. The only thing I added in Inspire was a box around the headband cut. I next cut it out of with the Shop Bot using a ¼ inch up bit.
For Aspire file click here.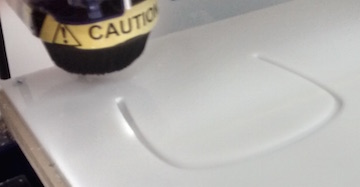
Cutting out the Burlap
Next I used the PDF to cut the burlap. One issue that I had was that narrow pieces of burlap tended to fall apart. This was not too much of an issue because they could be pieced back together in mold. I cut out 20 headband pieces
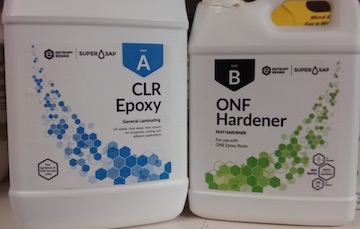
Mixing the epoxy
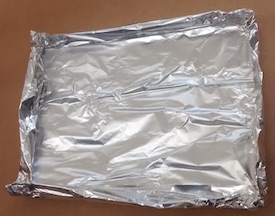
Next I prepared my mold by coating it with wax. I then prepared the epoxy by mixing 2:1 mixture of A and B. I poured both into a disposable plastic cup and then mixed them thoroughly. Next I poured the mixture into the tray fashioned out of aluminum foil (note: it is a good idea to save the cup with the remaining epoxy as a way to gauge the progress epoxy hardening).
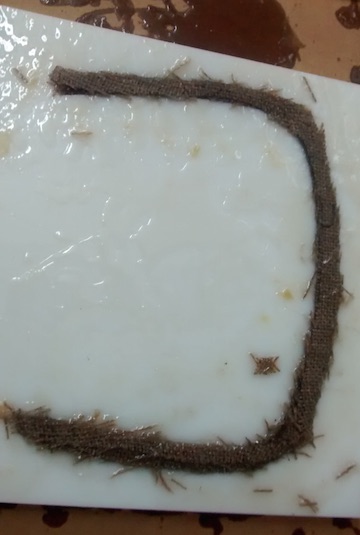
Making the composite
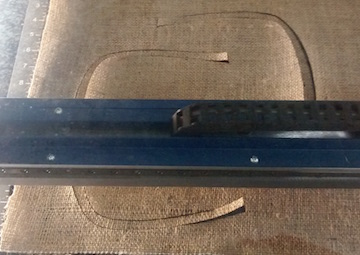
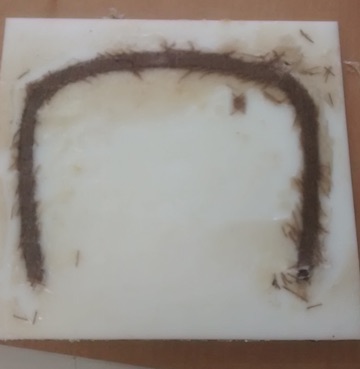
The next step was placing the burlap strips into the epoxy. I then placed the burlap strips into the mold. The weight of the epoxy soaked into the burlap often made them break although again this was not much of a problem to piece them back together. Luckily I only had to soak every third strip, as there was enough to soak the rest. In the future I think it would be better to just take a spoon and put it directly into the mold to avoid any breakage. This is especially true since any excess will squeeze out when clamped.
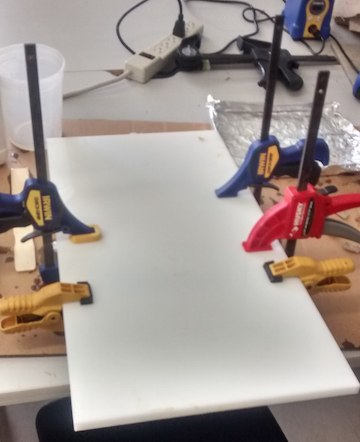
Once I had placed all two pieces into the mold, a sufficient amount to rise above the top of the mold, I placed a second piece of acrylic on top and compressed it with clamps.
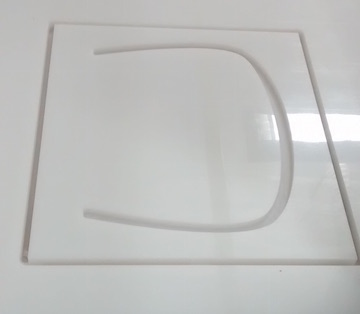
After setting for three hours the epoxy remaining in the cup appeared hard so I decided to remove the clamps. To get out the head band out I drilled holes in the back mold with a ½” drill bit. The head band easily came out.
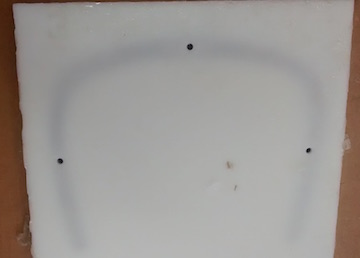
Once drilled out holes it came out easily.
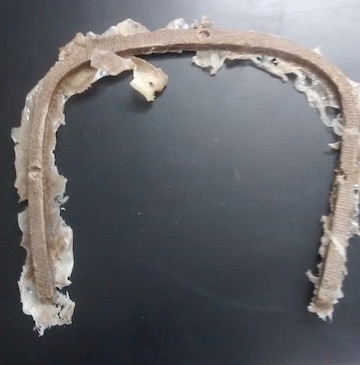
It still had extra epoxy that needed to be cleaned. In cleaning it I realized it was still a little soft but it also made it easier to clean off extra epoxy.
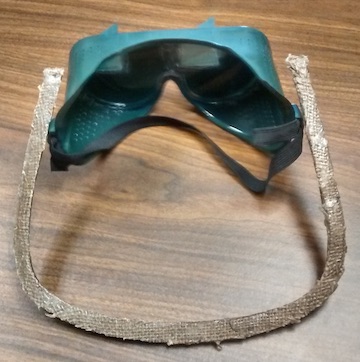
I next wanted to determine if the headband fit. I did this simply by putting around my head. My plan is to attach to the sides of my cardboard goggles. I used some welding goggles to mock up what this would look like.

Conclusions
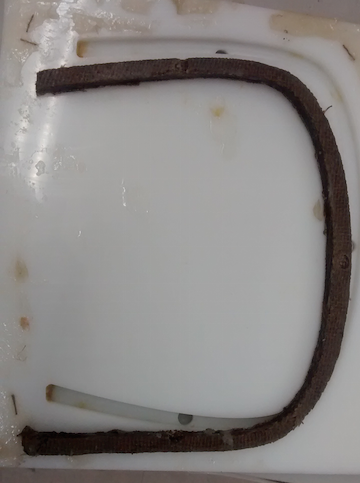
Using burlap to make composites works well and seems to make a strong final product. The biggest problem that I had and others is that when cut into pieces it had a tendency to fall apart. I wonder how something like plastic weave would work instead of burlap.