
Introduction
During the 9th and 10th weeks we worked on a group project. It was about making our own machine and then automating it in order for it to produced a desired result.
We decided we wanted to make an automatic Cookie Decorator, in order to extrude frosting or icing into cookies having had a design made beforehand on a computer.
The following videos show the machine working in its test modes. Before the rest of the documentation they are worth looking at to see to what we arrived up to our deadline:
When we finally got the cookies we also bought a different kind of frosting, more like cake frosting and it was really thick:
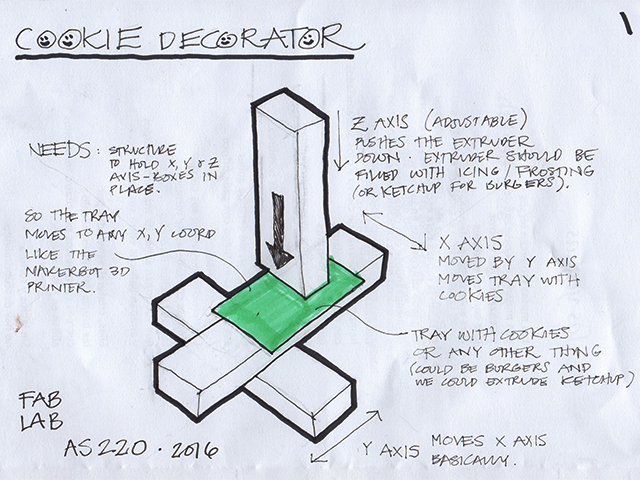
This is a scheme of how we used the X, Y and X axis:
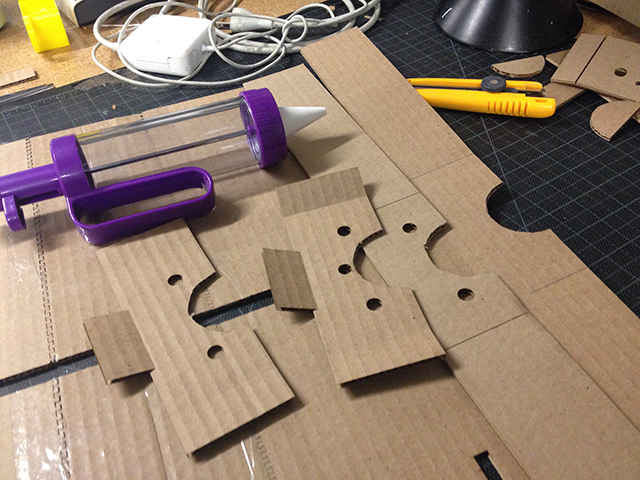
To do this we began with the files and instructions that were provided by MTM and so we started making some boxes with cardboard. After testing with our own cardboard (different thickness) and having the settings adapted to our machines, we started producing them:

Then we made boxes for the three axis:

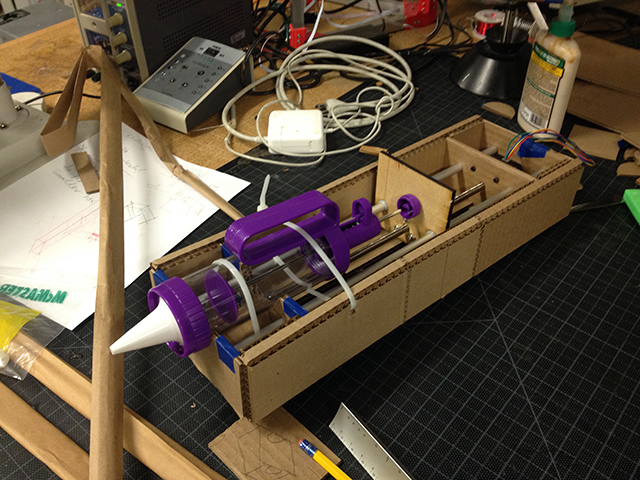
But as shown in the schematic image way above, the Z axis would be an extruder. So we thought of buying an extruder from a super market specially made from frosting and re-adapted the Z axis box so that we could fit it in and make it work with that motor:
It fitted very well so we didn't have to make many adaptations for this prototype.

We fastened it with zip-ties and also adapted the board that was pushed by the motor in order to become taller and reach the arm of the extruder when being pushed by the stepper motor. We also made it with wood instead of cardboard in order to have something stronger...
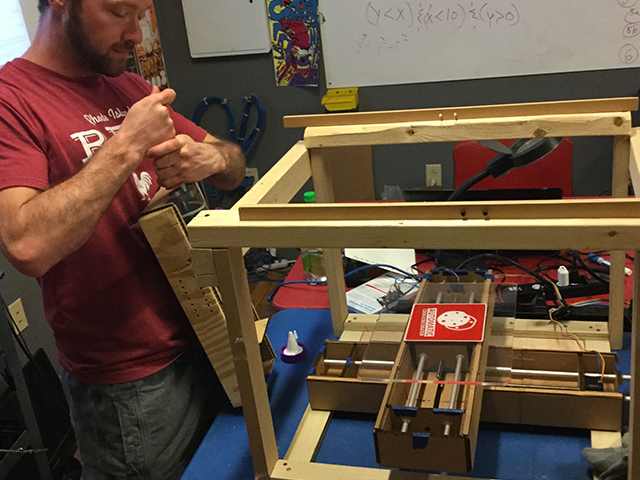
We also needed to make a structure, a "house" for the whole machine, otherwise the Z axis wouldn't have a place where to hang from. Since this was the first prototype it was best to make it from scrap wooden parts found in the industries area and little by little acknowledge the necessities of the structure.

The structure worked well and the base fitted well on the bottom as well as the Z axis on the top, with a certain level of adaptation in order to bring it up and down depending on the height of the cookie, or cake, and also the type of frosting or icing that was coming down.
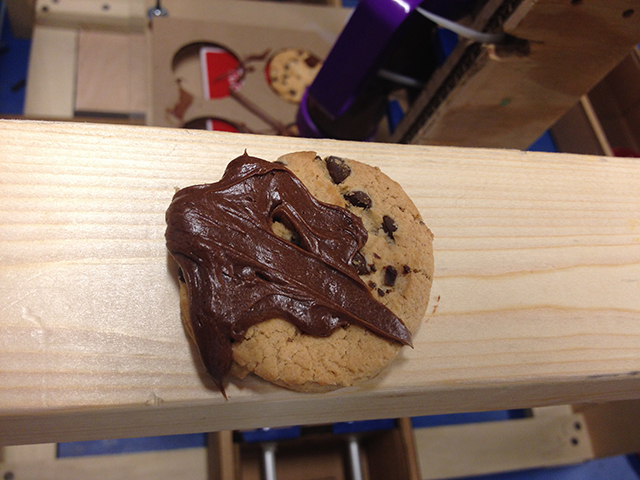
Finally when we had everything in place we were ready to start producing our first designs and we had the cookies, the frosting and everything set up.

THE COOKIES WERE DELICIOUS.
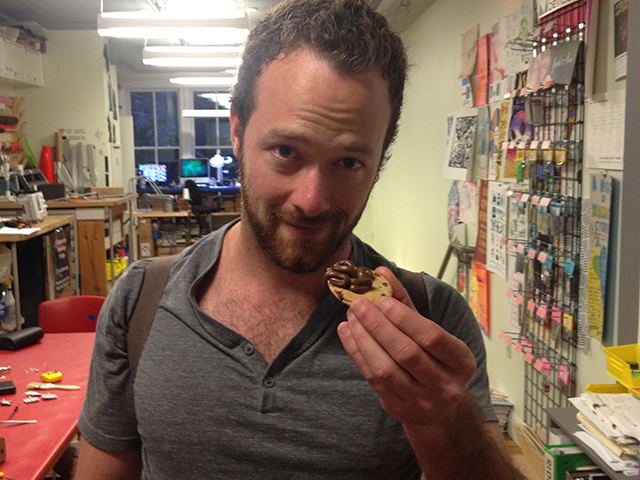
But the design was not "printed" with enough accuracy.
It's very difficult to make one of these machines and make it work! Especially in terms of an extruder, there are so many possible variables that can affect the Z axis --- the thickness of the frosting, the height of the "material" (that is, the cookie, the cake, the burger, the...). Although we did a lot to customize the machine within the problems we found, we also realized that it's not easy to make a fully functional machine without having this prototype part. And how important having the prototype for the next versions is! I hope we can come up with Beta 2 soon, it only can improve!