
Introduction
During the fourth week we learnt about the advantages and DISADVANTAGES of 3d scanning and printing.
For the most advanced machines out there, the process shouldn't be as difficult either for scannir or for printing 3D objects. The problem comes when a common and regular machine is to be used, the ones that don't cost a lot. They are difficult, imprecise, faulty and many of the things that they do can be done with other machines and materials. However, many times with patience and a good design, a 3D printer can do things that are otherwise impossible to do in one single operation.
Assignment
To test the design rules for our 3D printer (group project). Also. to design and 3D print and object that could not be made subtractively. Finally, to 3D scan an object and optionally print it.
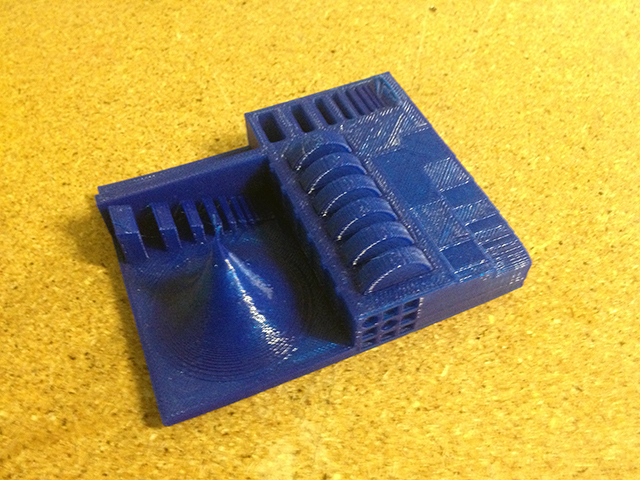
We are using MakerBot Replicator 2X 3D printers in the lab. We needed to download MakerBot's official software called MakerBot Desktop. To test the design rules for our 3D printer we downloaded the 3D Print Tolerance Test and after setting up the printer to PLA and 220 C degrees extrusion temperature and 60 C degrees base temperature, we exported the file as an X3G in order to save it into an SD card and then send it to the printer. This is the MakerBot Replicator 2X we were using:

After loading the PLA material which is very easy (hit the left arrow in the machine to Utilities and then follow the instructions to load / unload new material) we loaded the file using the PLA card. In the machine menu there's an option to print from SD card and so we looked for the X3G file we saved before. After almos 3 hours, the object we obtained was this one:
After this, it was time to try and create a new file. I wasn't able to follow on my own idea because I felt I had to redesign some other things of my final project before trying the 3D design. So what I did is that I got inspired from an illustration I did some time ago, where I took some component from Sketchup's 3D Warehouse, especifically a "working class heroine" which is a cleaning lady or a maid vaccuuming the floor. This is the illustration I did:
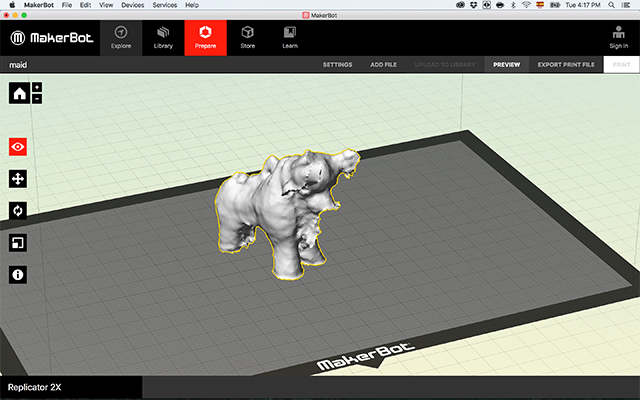
I downloaded the Sketchup Model done by Max Grueter, this is the screenshot of Sketchup with the model:
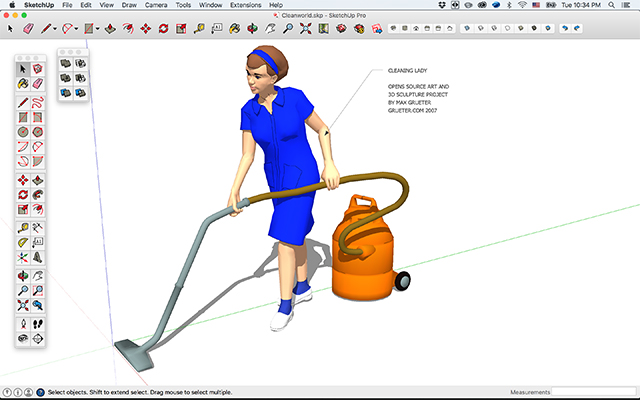
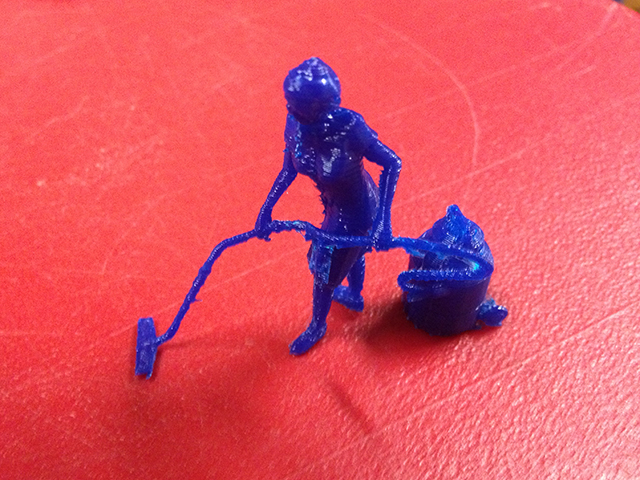
The files above linked are that the OBJ is the file format that SketchUP exports. But then, the working class heroine lady was problematic because she was not behaving like an object so the OBJ file was opened with MeshLab and fixed there, exported as an STL, then imported with MakerBot Desktop and finally exported ready to be 3D printed as an X3G file, which is the toolpath file format that the printer understands. I will soon explain how to fix a model, but I will do so when showing my also problematic scanned object. First, check out the working class heroine actionf figure printed in 3D!!
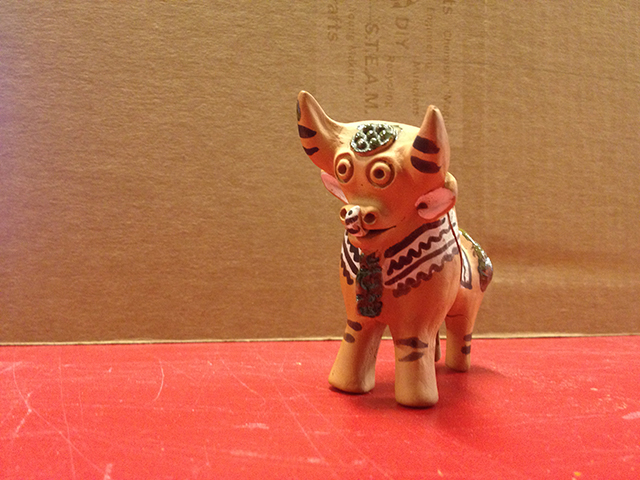
After this 3D print I had the idea to 3D scan an object that had broken a couple of times before and this could have been an idea to make a "backup" of this object. It's an artisan "Torito de Pucará" that my sister gave me as a present:
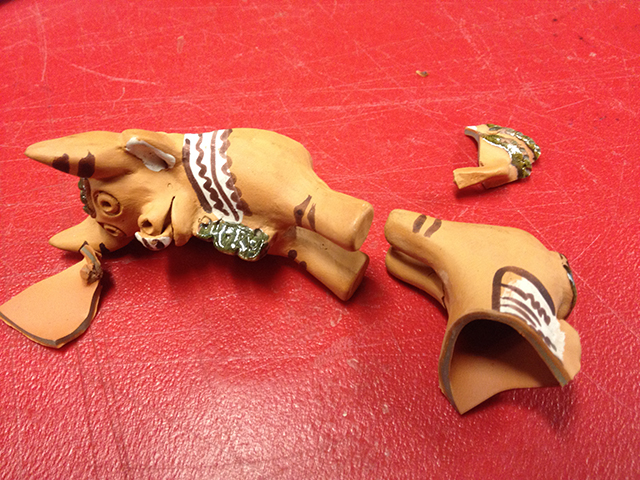
This is how it looks in one piece:
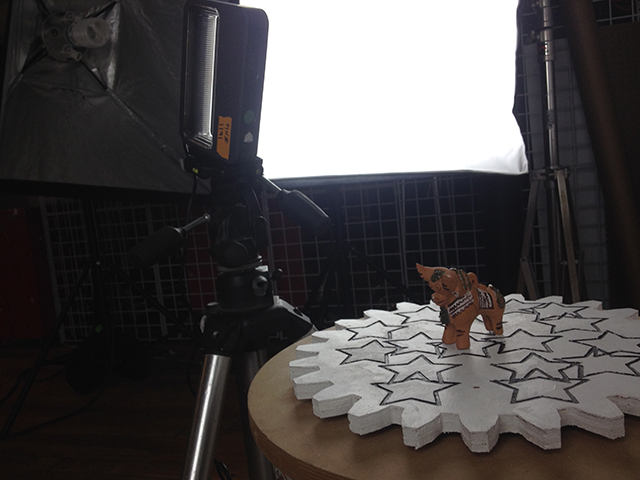
To 3D scan we use the Sense which is a hand scanner that uses light to trace the object. I heard it wasn't really good with small objects, but I still tried it. We have a media lab in AS220 so it was a good idea to have a proper set up to have a top-quality scan:
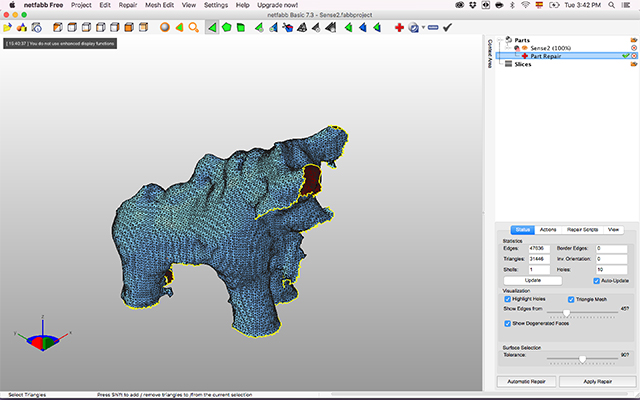
Even though I had the most perfect set up a human being could ever ask, the scanning process was very painful. In the end, the files I got from the Sense scanner (here and here) where mediocre. But they could be fixed and later 3d printed so I continued with my operation. This is how those files looked like when opened with either MeshLab or netfabb basic which could have the potential to be a good piece of software but in the end is HORRIBLE and I would never recommend it because their "free" version is more like a trap for you to buy their pro version all the time. It is not possible to export files using netfabb basic, so it's *basic*ly useless. This is how the scan looked:
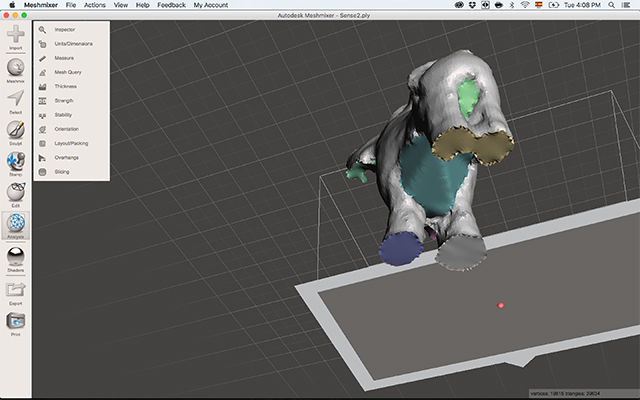
I had to repair the file and netfabb was good repairing it, but rubbish exporting it because that was not even possible. I downloaded Autodesk's Meshmixer and it actually worked pretty good and it had the possibility to export the file as an STL, something that later can be imported with MakerBot Desktop. This is how the repair looked like (INSPECTOR command in Meshmixer), all those patches were holes before:
The reason why I recommend Meshmixer and not MeshLab is because Meshlab is very raw and not very clear in what you can do with it, especially when you're trying to fix a model. Also, if you mess up you have to close the file without saving and open it again because there's no undo command! Weird. I imported the file to Makerbot Desktop and it was looking "good":
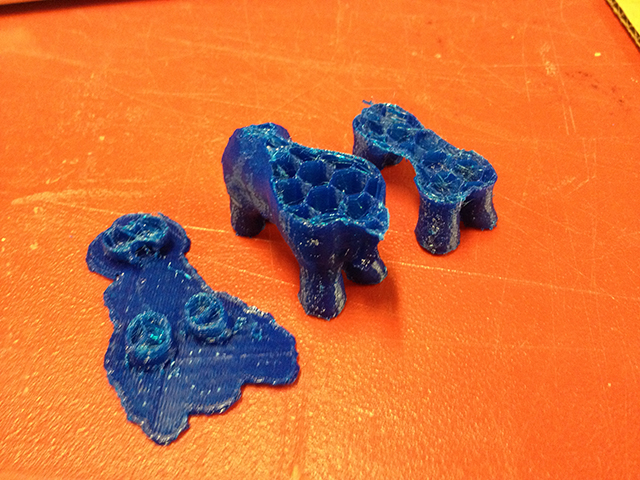
I was happy to leave the 3D printer doing its job for 1-2 hours so I went to eat lunch, when I came back I found myself with horrible ERRORS! I had them 3 times in a row, where I was each time changing a little bit the temperature that the extruder uses to burn the filament. In the end I thought like it was the end of the world:
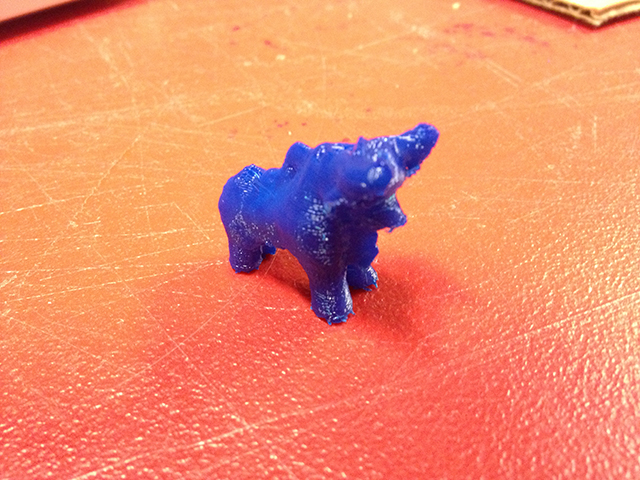
I decided that I could overcome this horrible moment of the process so what I did is that I scaled the little bull down to a smaller size so he'd be cuter and also manageable by the Replicator 2x and it worked!!
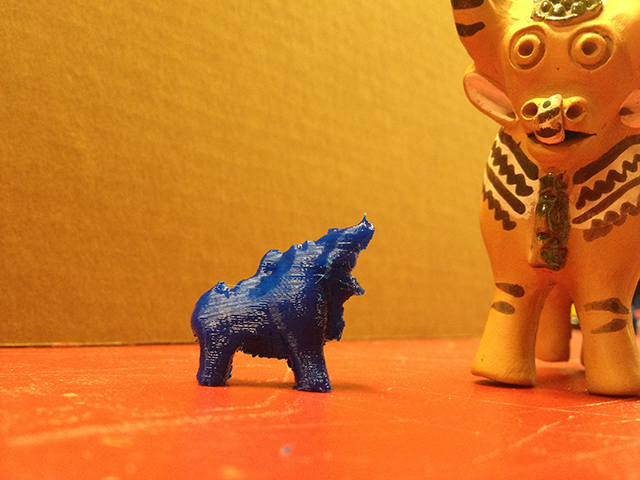
Now it feels like a smaller brother in the family, although the older doesn't really know what is going on:
The most important thing I learnt this week is that if you don't have those million dollar 3D printers, or until they become a better technology, it's better to avoid them. Otherwise, they can be very useful but one has to be patient! It's not easy.
Download the STL file for the Pucara bull and the X3G big size (difficult to print) and X3G small size (print your own!).