Week 6: 3D Scanning and Printing
This week's tasks:
- Group assignment:
- Testing the design rules for your 3D printer(s).
- Link to the Group Assignment Page
- Individual assignment:
- Designing and 3D printing an object (small, few cm) that could not be made subtractively.
- 3D scanning an object (and optionally print it).
Challenges:
- I tried 3D scanning so many times and it was quite challenging to get a good result. Each time I faced a new challenge that I have explained in the text. But I learned a lot about 3D scanning.
Considerations:
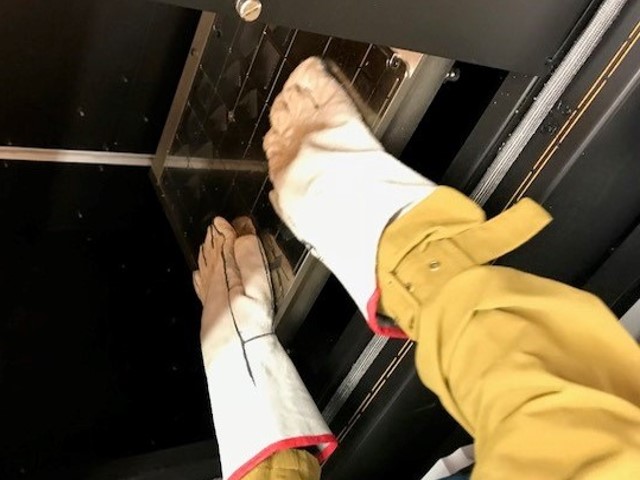
- It is very important to wear special gloves when one wants to open the sodium hydroxide tank and float the piece there. And it is even better to wash the hands afterward.
- It is also important to wear special gloves when one starts to remove the extra material from the piece with a sharp tool.
- When you are 3D scanning it is good to keep in mind that choose an object that is not too shiny, balck or white.
- When you are 3D scanning it is better to make sure you are in an environment that your background does not move.
- It is better to keep the color contrsat between the object and the background. In the first try I had a light color with a light background and the program could not recognize some parts.
Technology used:
- 3D Printer
- 3D Scanner
- Iphone 7
- ReCap Photo Program
- Sense Program
- Fusion 360
Designing a pendant
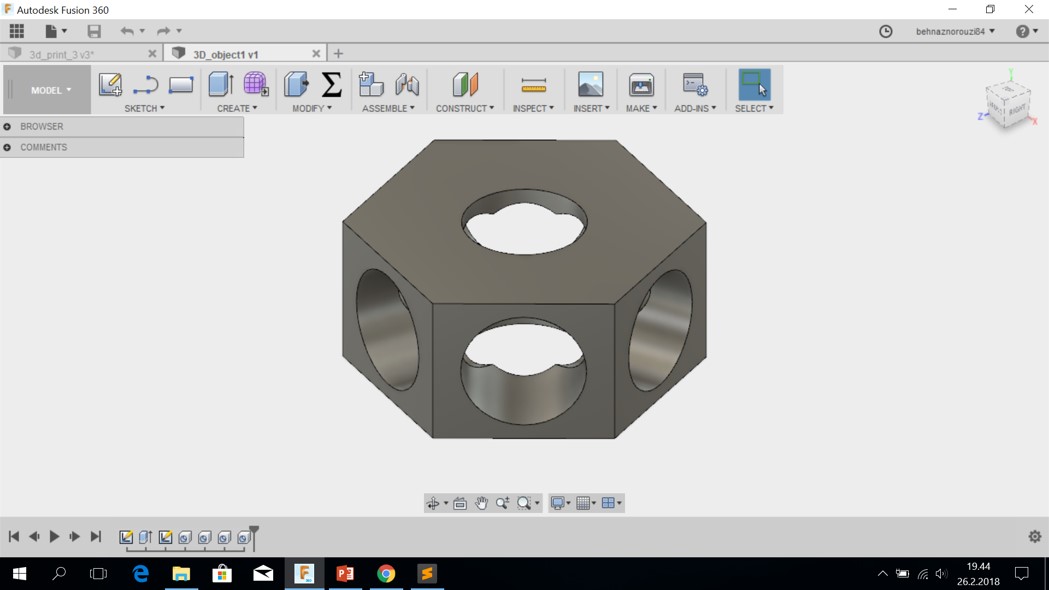
I decided to design a pendant, which constitudes 2 components. The inner componenet is free to move inside the outer componenet without the possibility of getting out of it.
I used fusion 360 to 3D it.
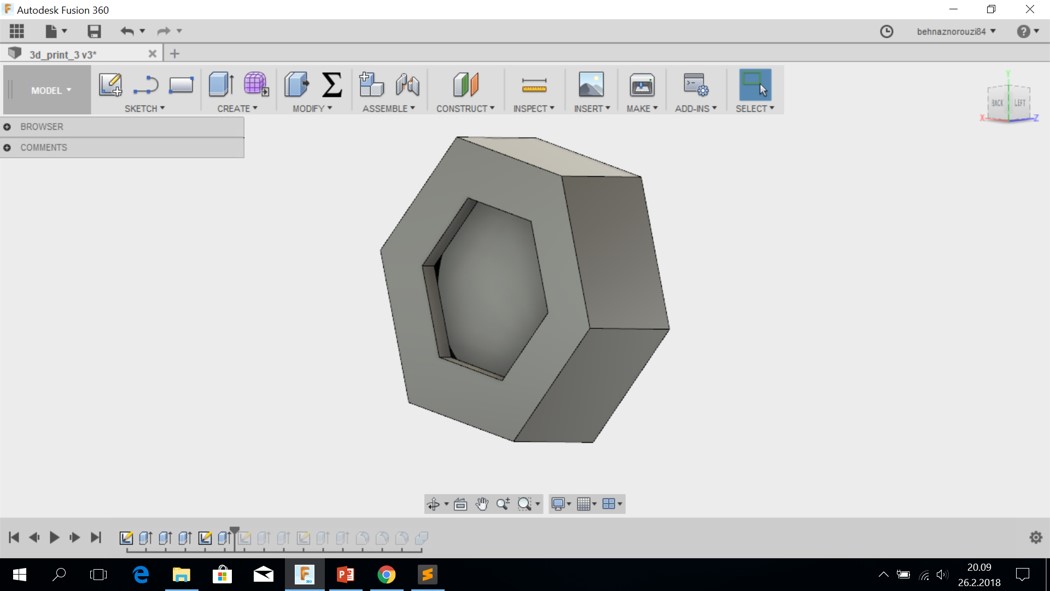
- The outer component of my design ended to be like what you see in the following picture. And since I was not happy with the result, I tried another approach (which was Jari's suggestion) to design the pendant that I had in mind. first design ended up with
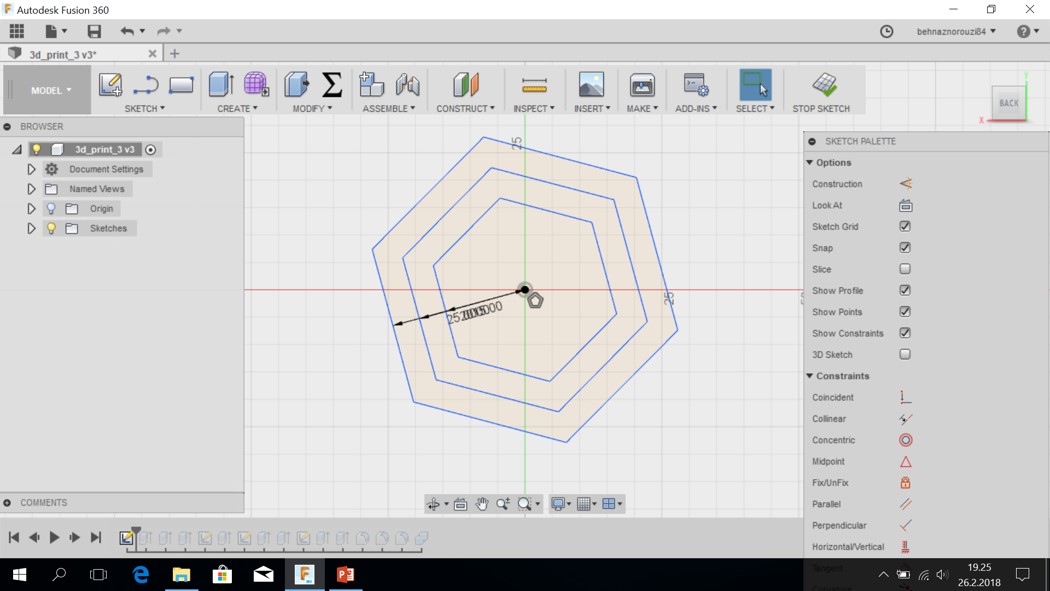
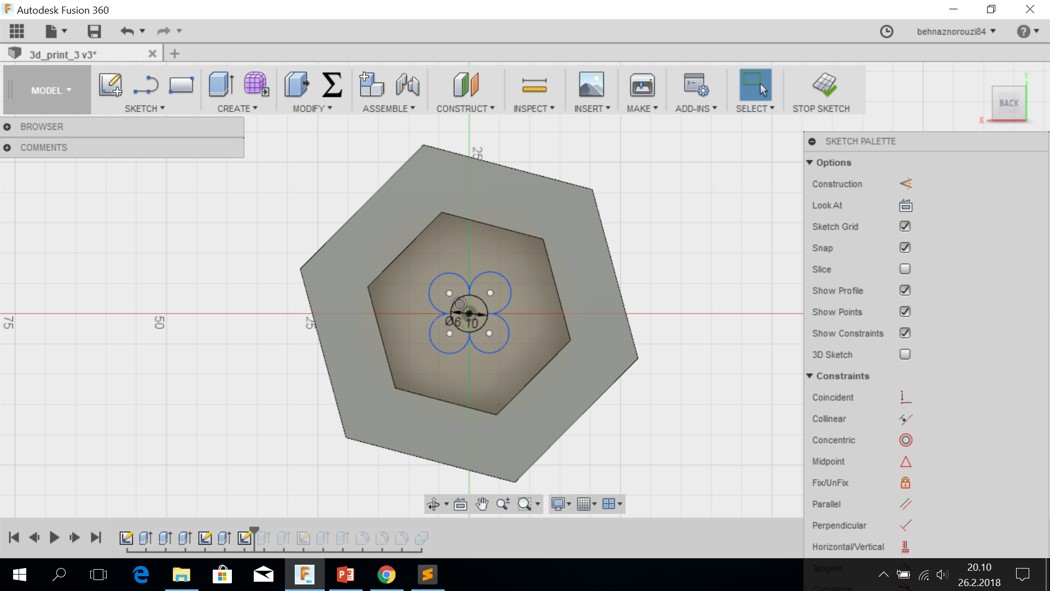
- I drew 3 polygons inside each other.
First one: 25mm
Second one: 20mm
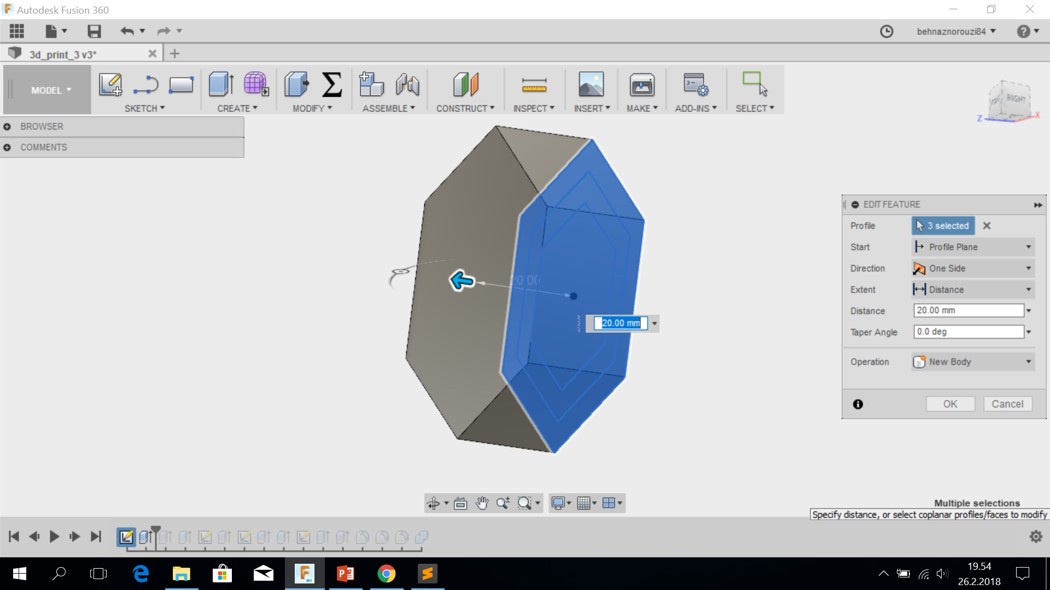
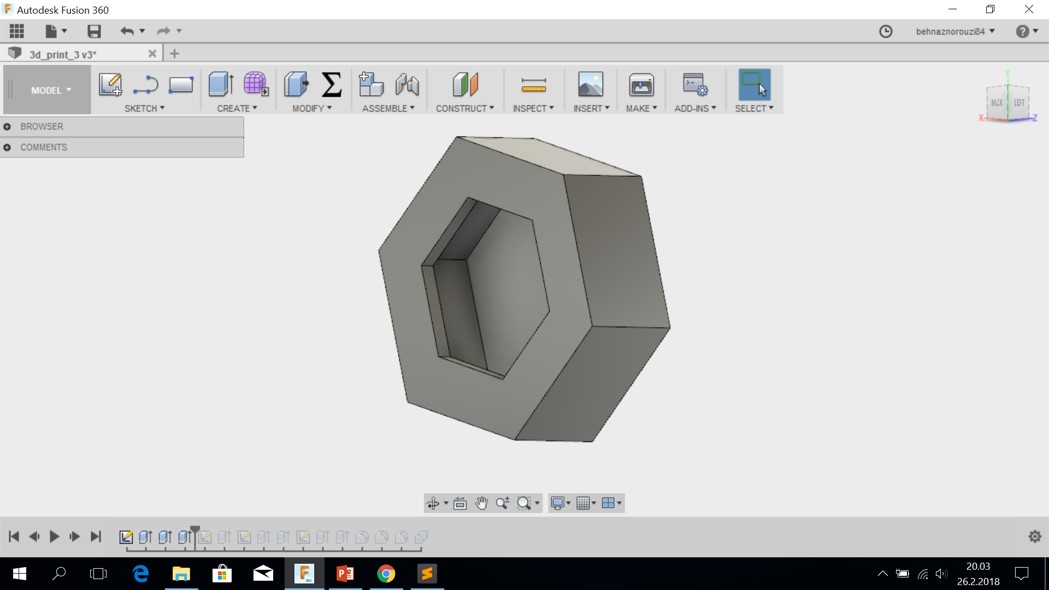
Third one: 15mm - Then I extruded all of them to 20mm.
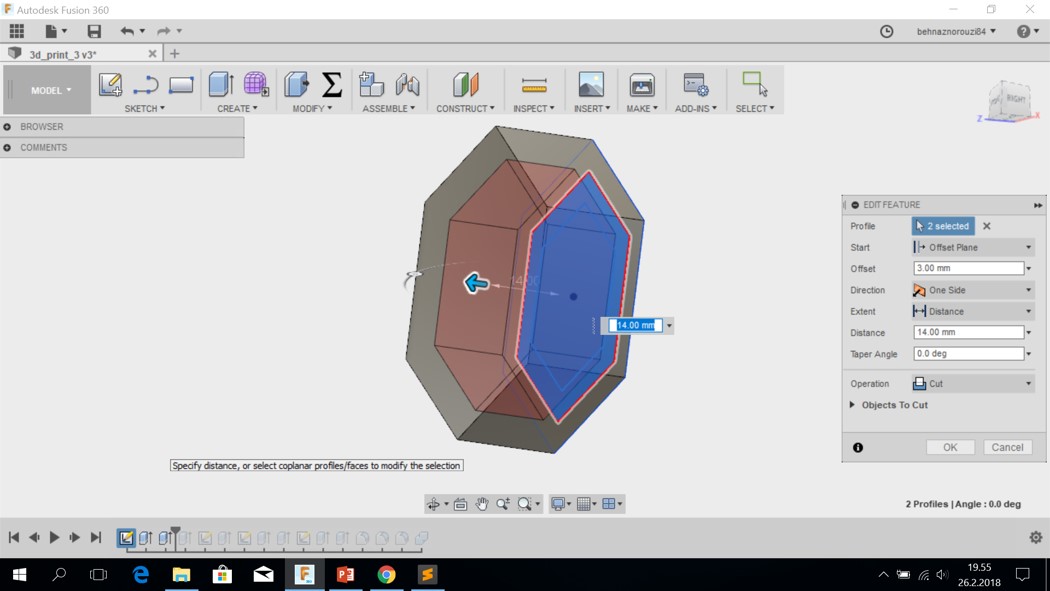
- I extruded the 2 inner ones to 14mm. And the offset of 3mm. Because I extruded the whole for 20mm. And I wanted to have the tickness of 3mm, so 20mm - (3mm(top)+3mm(bottom)) = 14mm
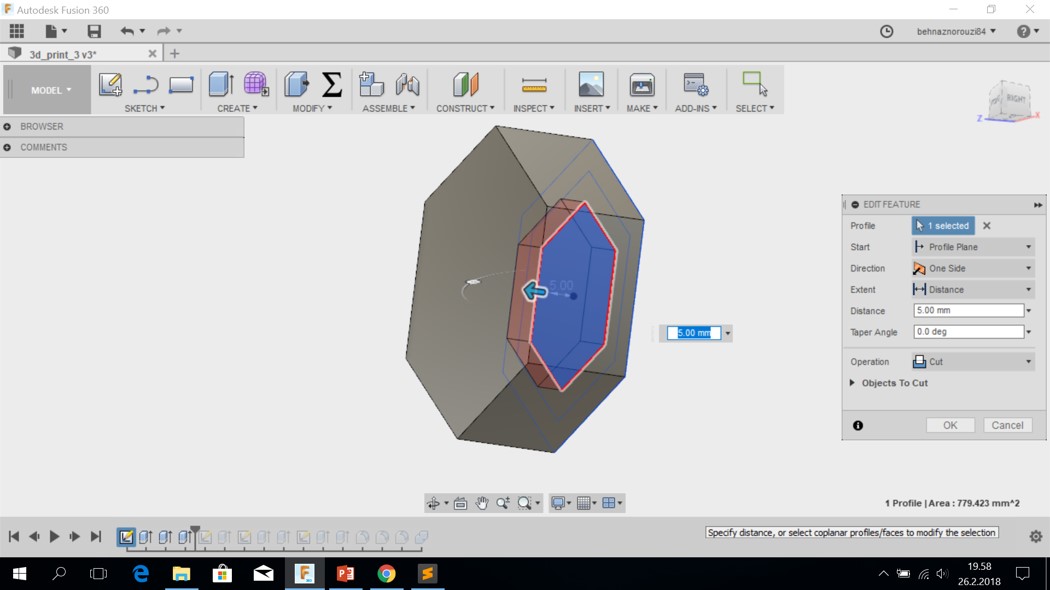
- I extruded the most inner one to 5mm.
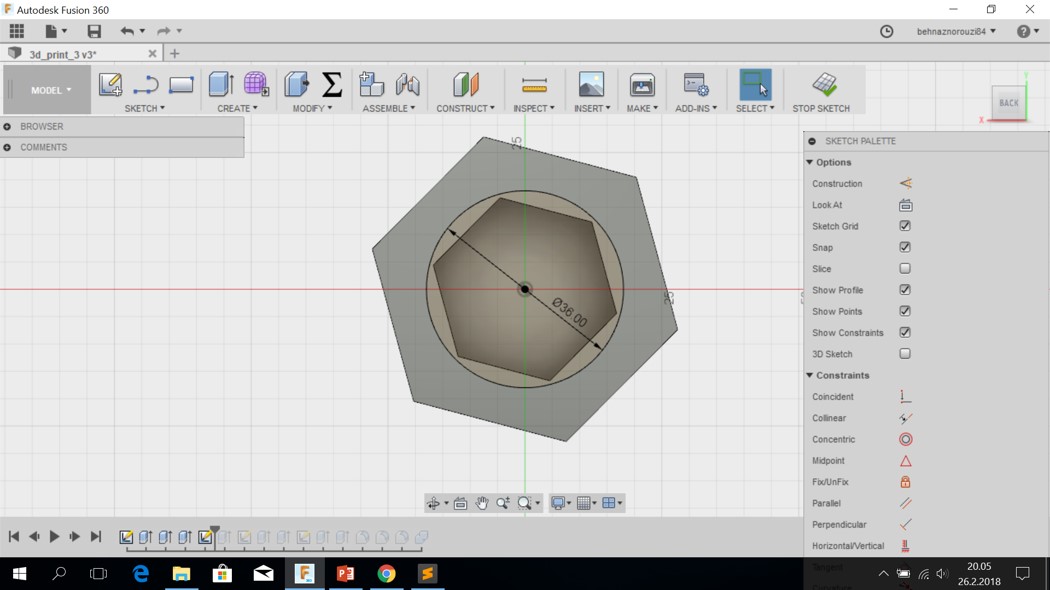
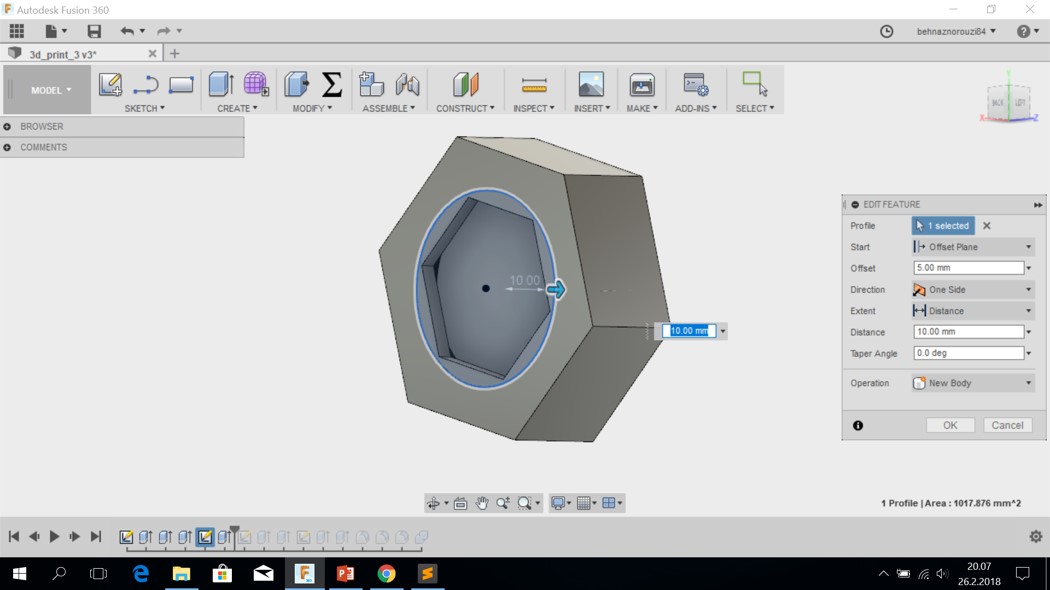
- I drew the circle as the inner component. And I adjusted the size so that it is bigger than the hole and it doesn't come out of it.
- Then I extruded it with the distance of 10mm. And the offset of 5mm. And the operation: new body.
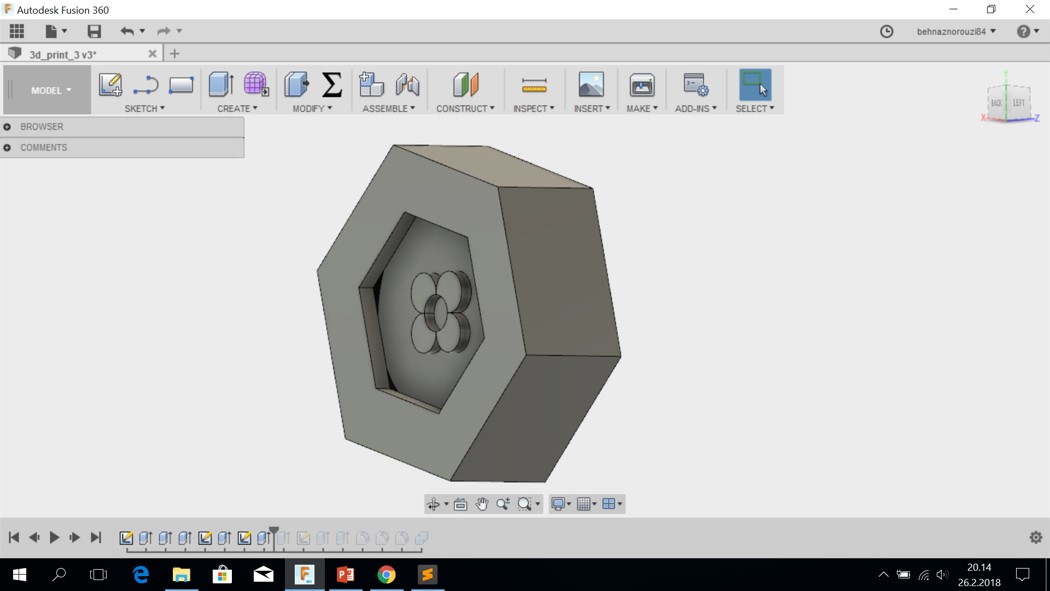
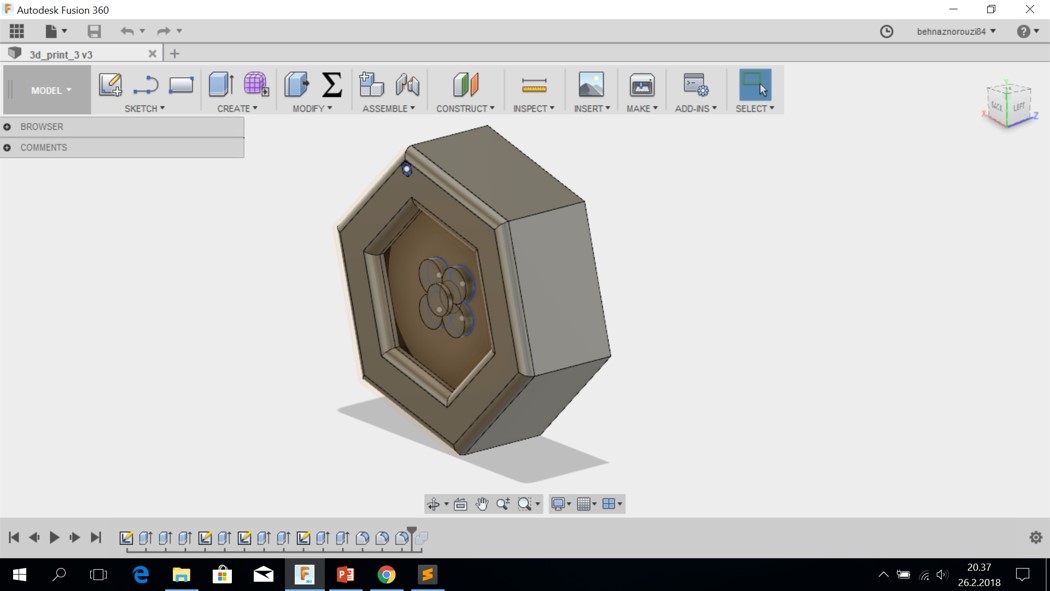
- Then I designed it by drawing a flower on it.
- Then I extruded the petals to 2mm.
- Then I extruded the middle part of the flower to 3mm.
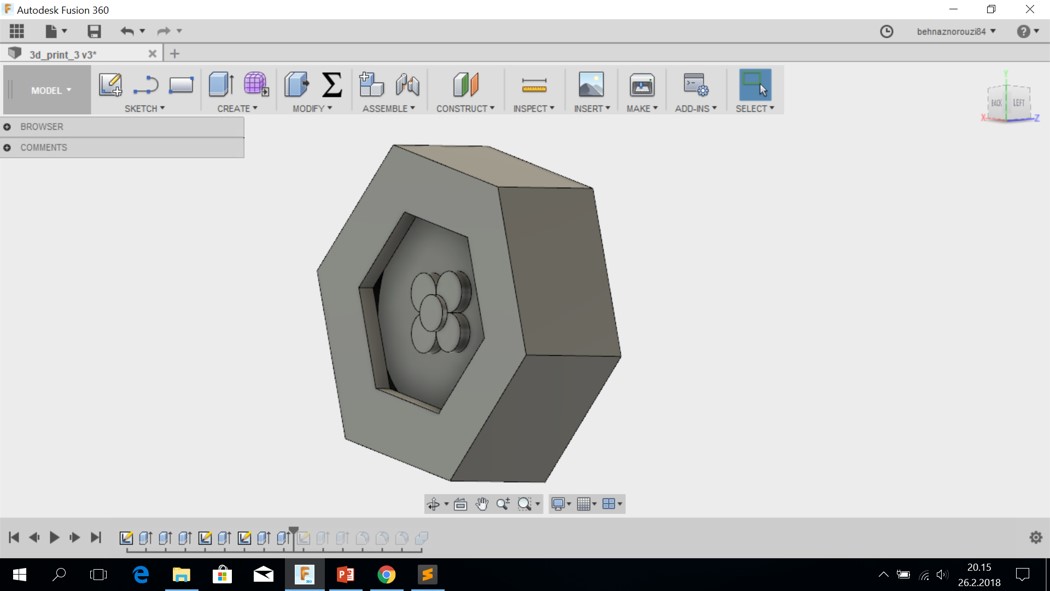
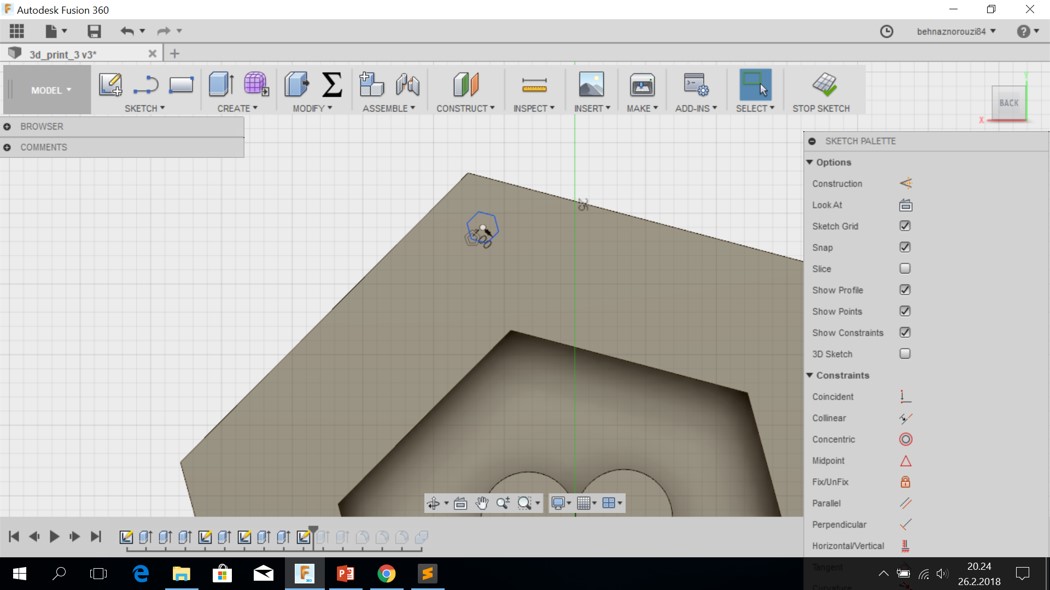
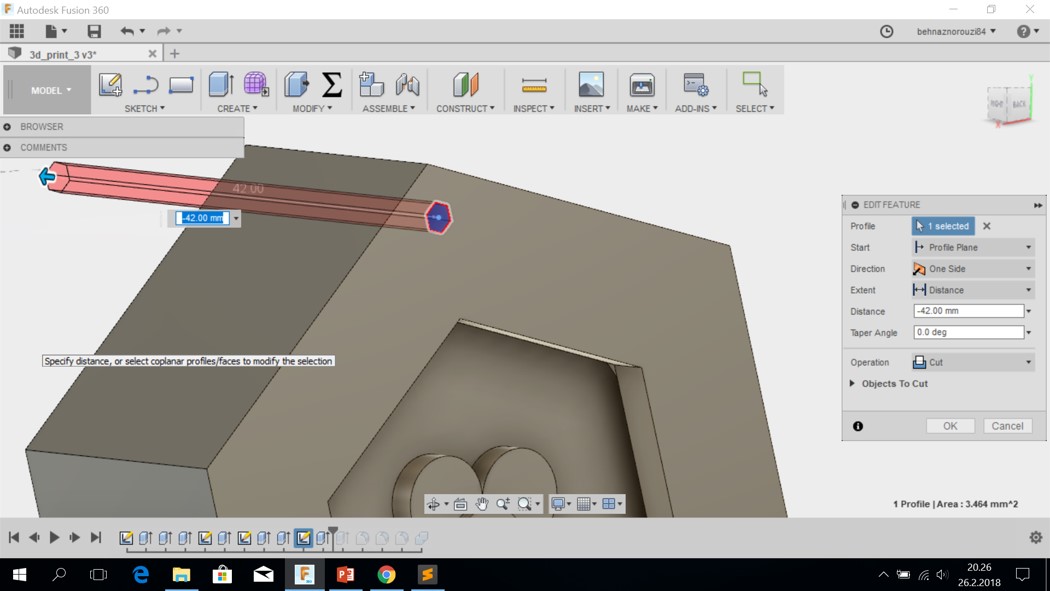
- Then I designed a hole for passing the chain.
- Then I extruded it to create a hole.
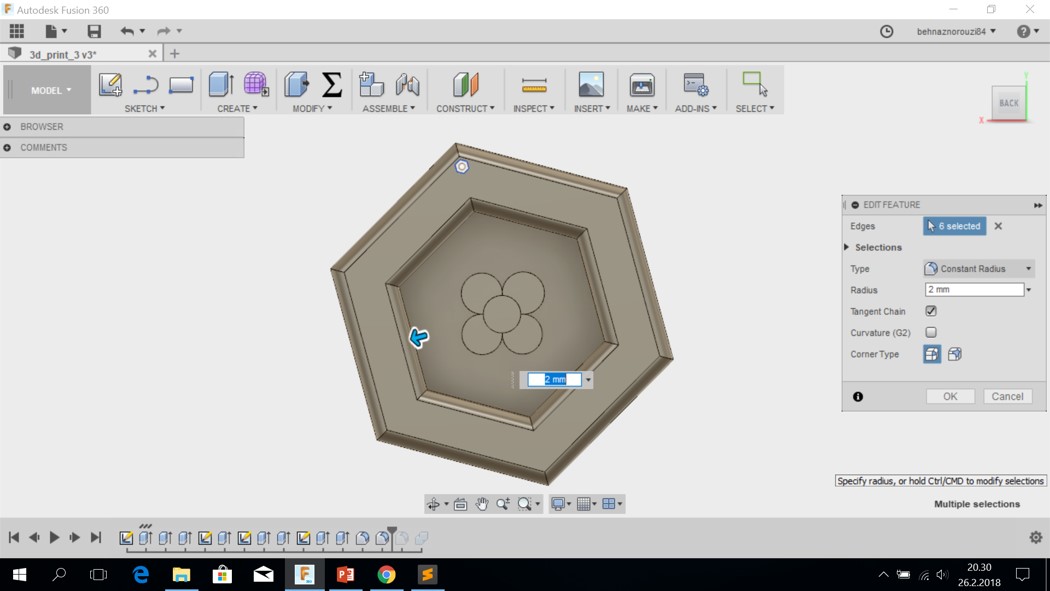
- I used fillet feature with the radius of 2mm.
- The same fillet feature for the inner polygon.
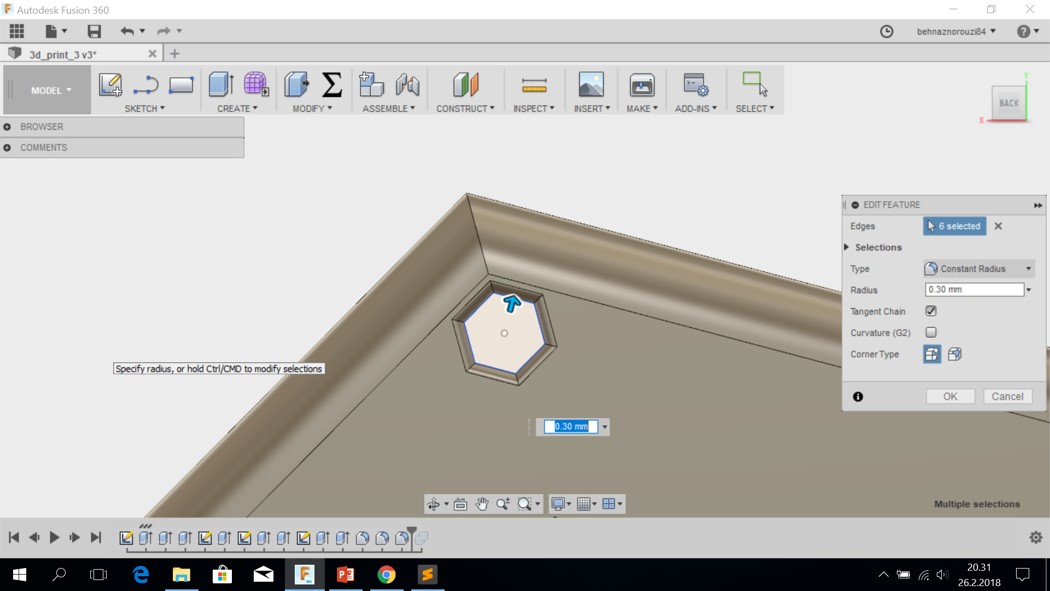
- Another fillet feature for the hole.
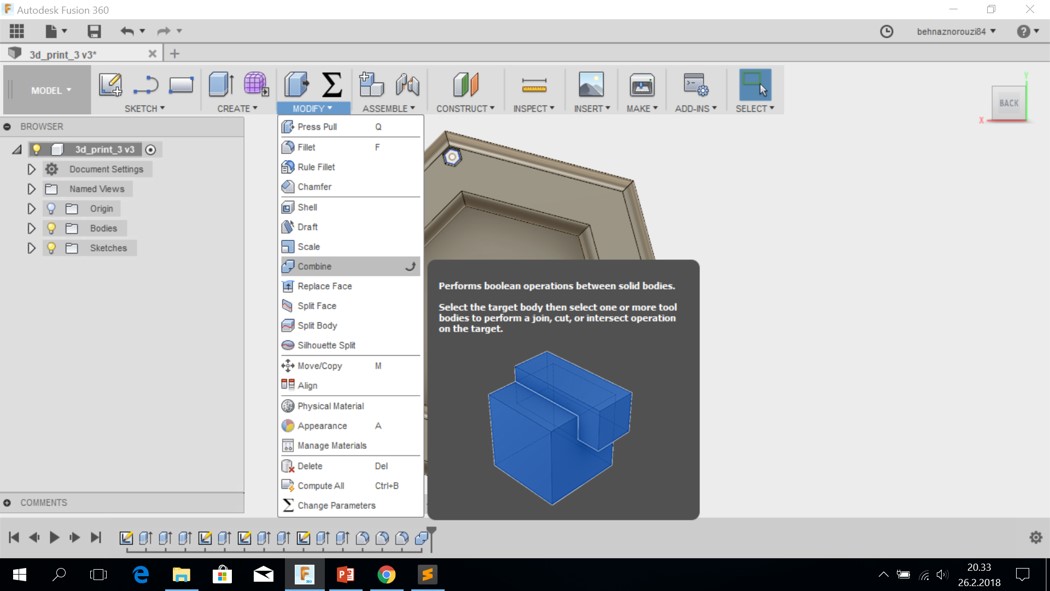
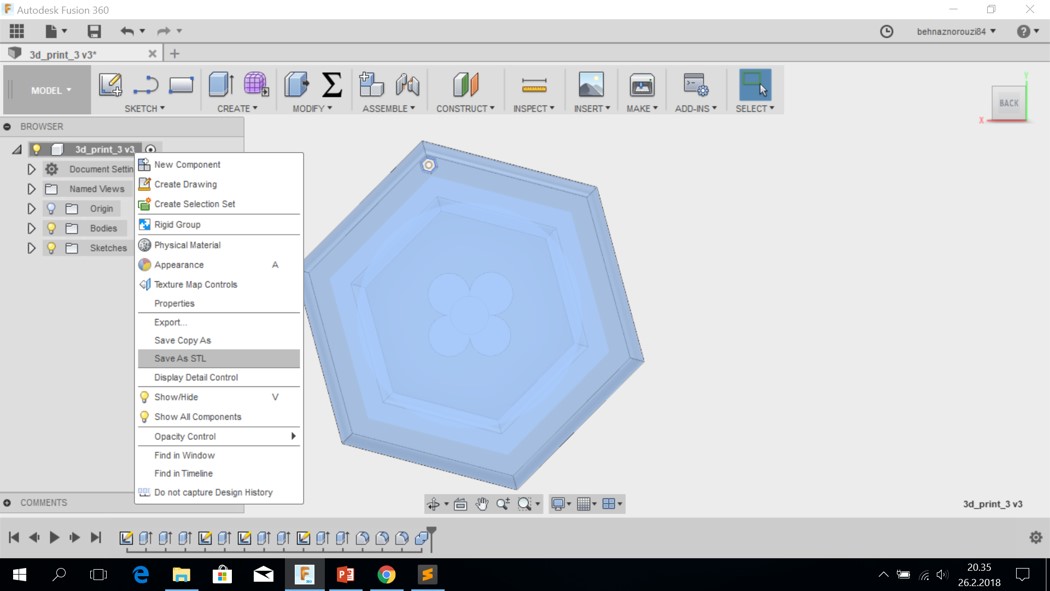
- Then I selected bodies and combined them.
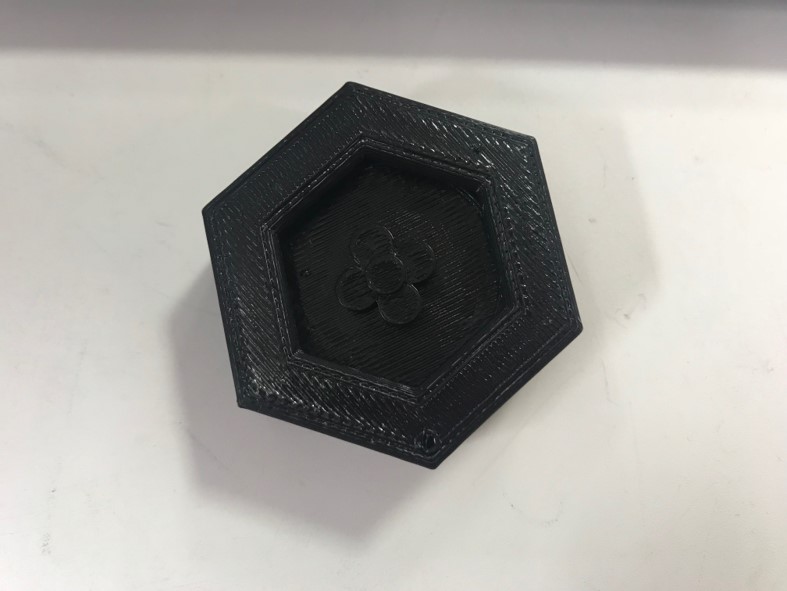
- I right clicked on the main document and saved it as .STL
- And here we go

3D Printing
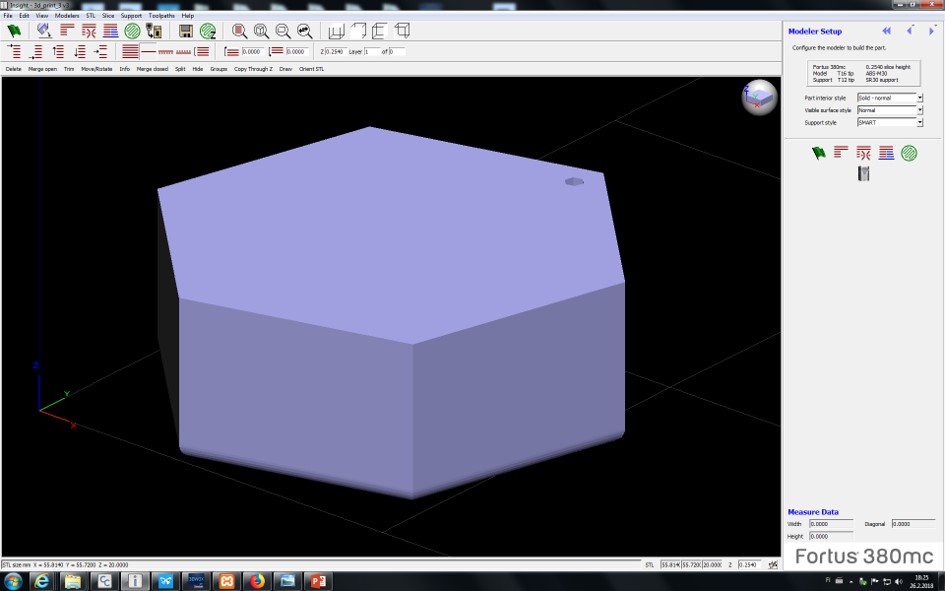
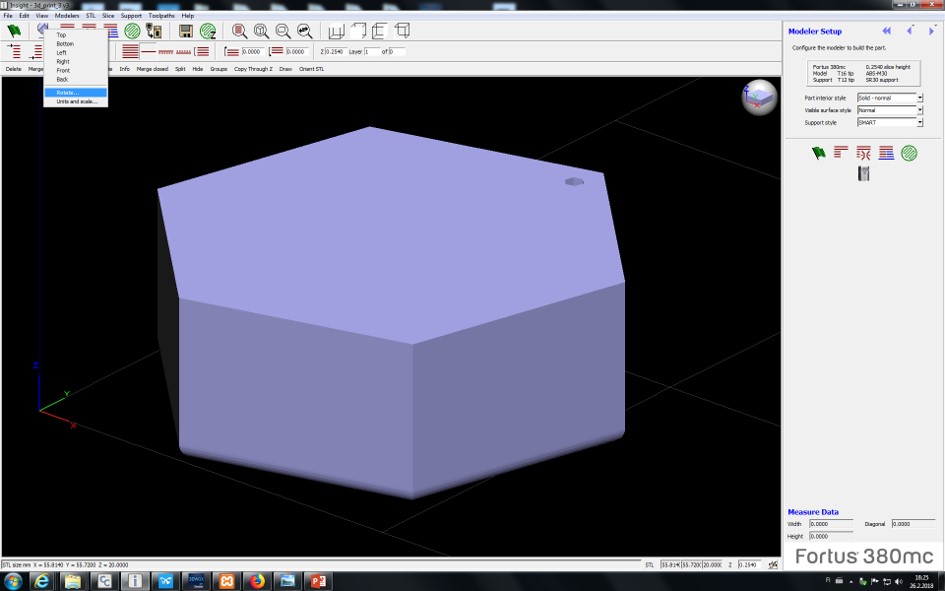
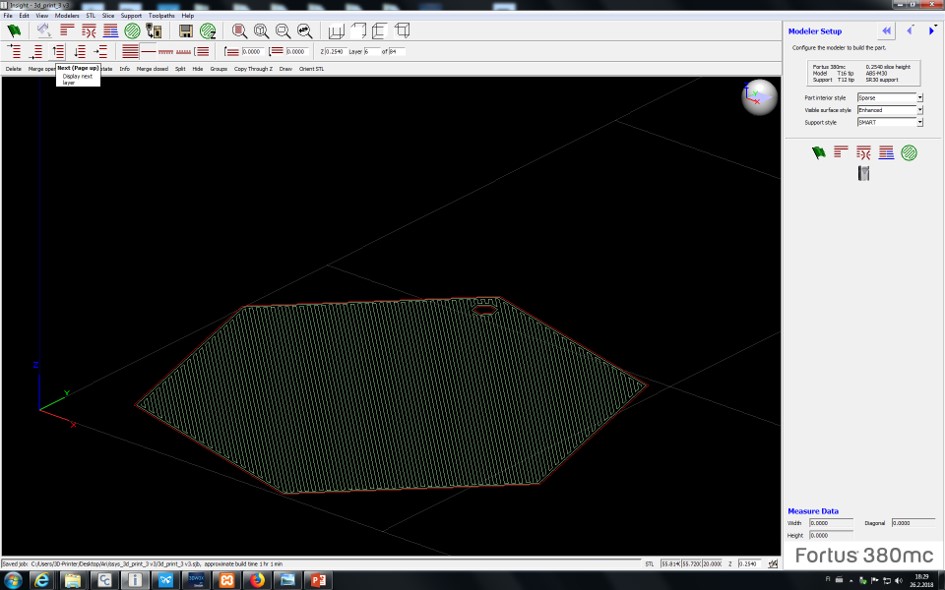
- First I opened the STL file inside the insight program.
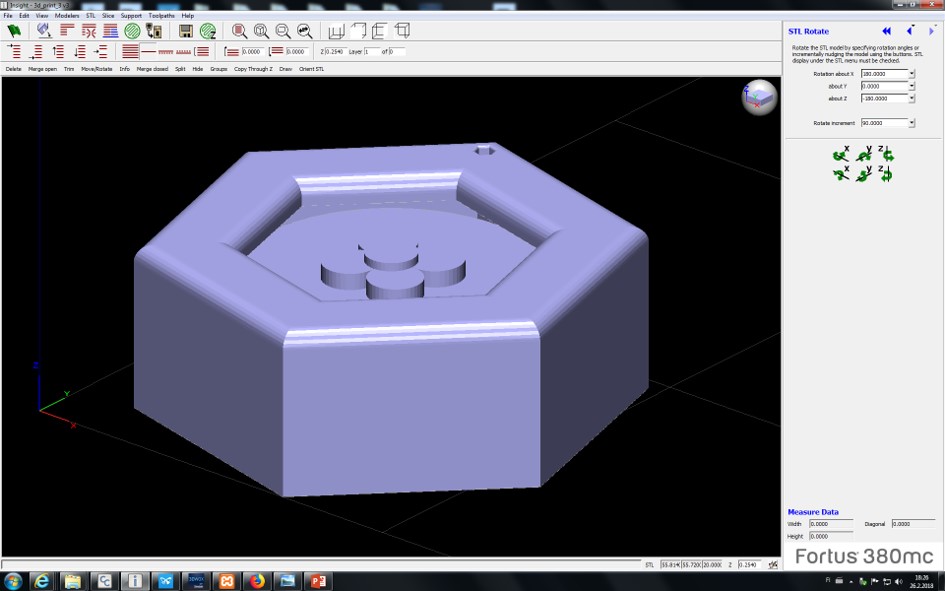
- Then I rotated it.
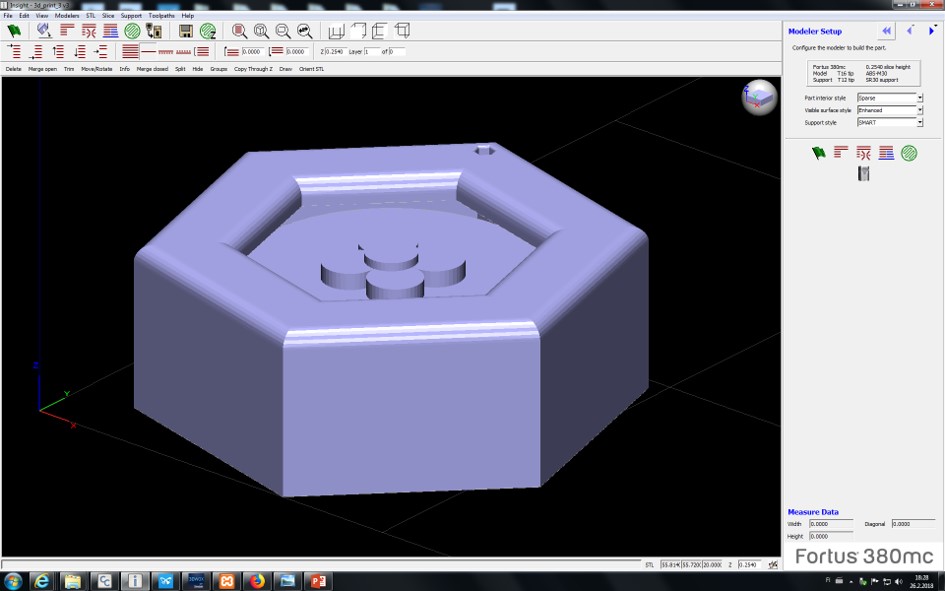
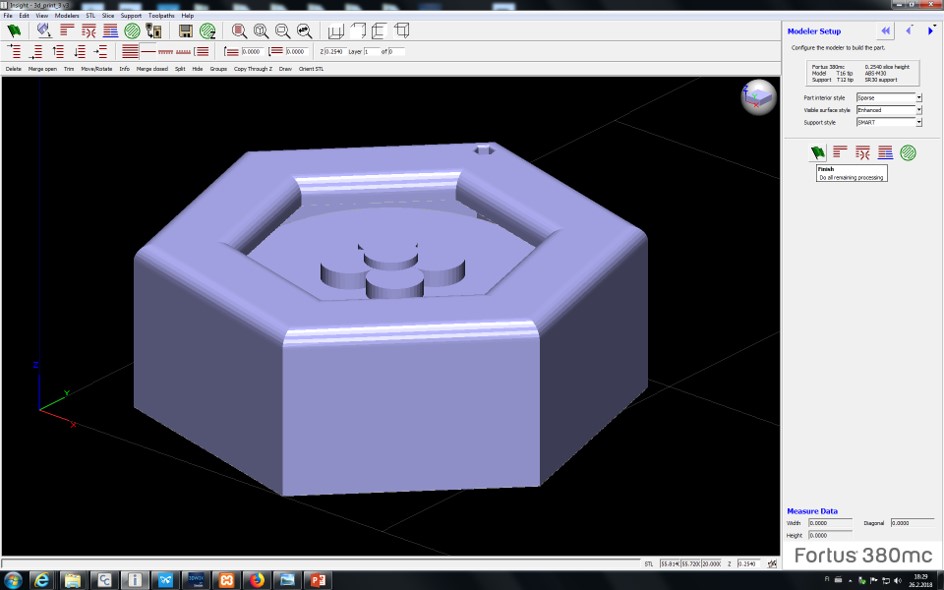
- Part interior style: sparse
Visible surface style: enhanced
Support style: smart - Then I pressed 'finish'
- Then I ckecked the layers by using 'Next(page up)'
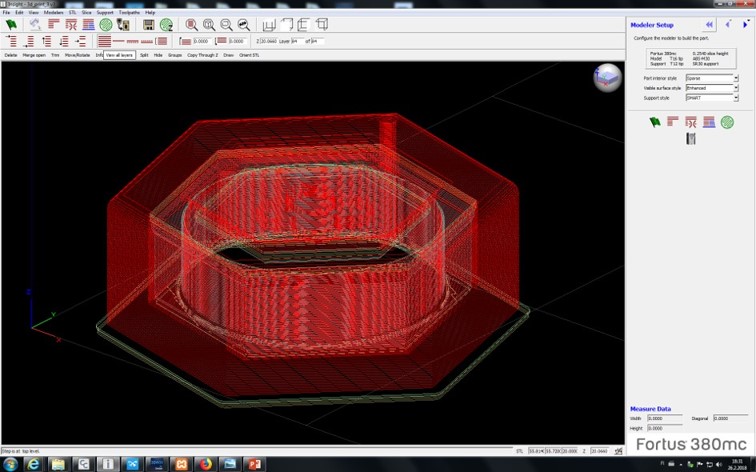
- View all layers
- Build
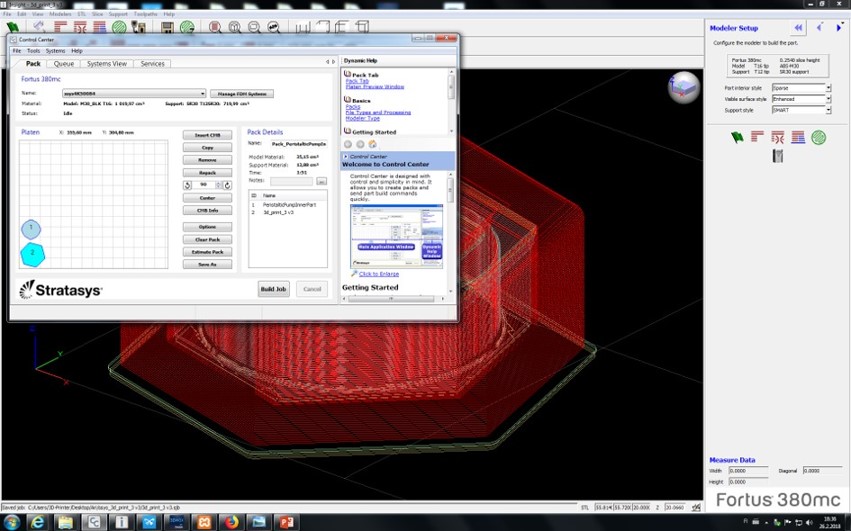
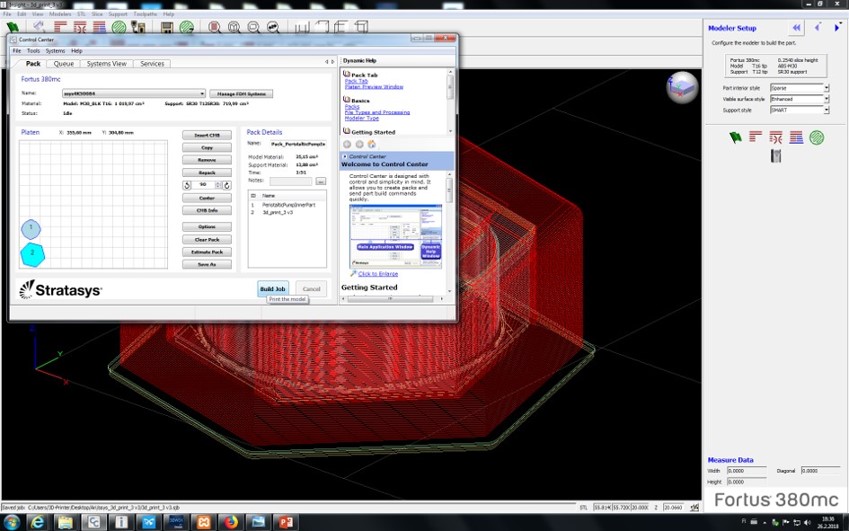
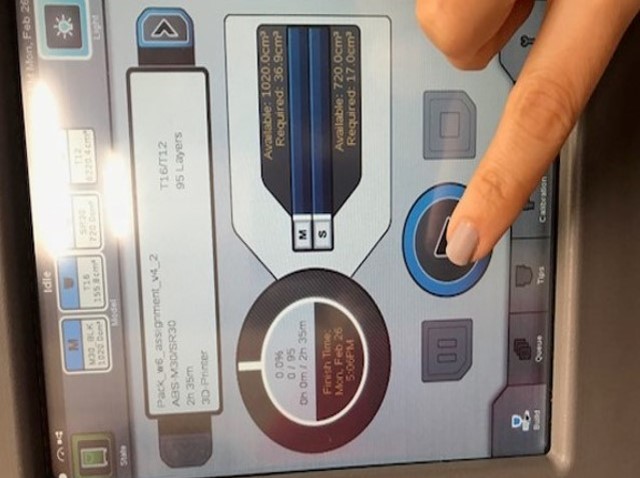
- I palced the object in a proper place that matches the empty place on the sheet that I wanted to use. Object number 2 is mine.
- Build job.
- I Placed the sheet inside the 3D printer.
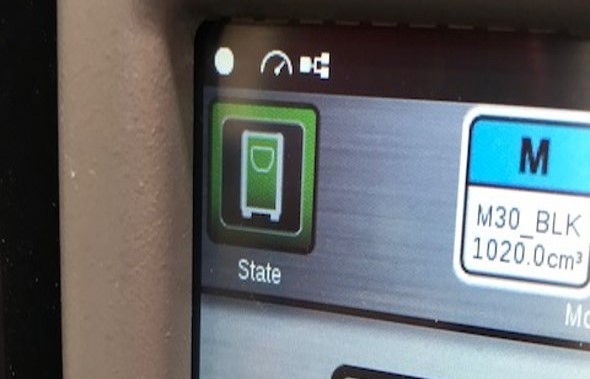
- The state should show that there is no air between.
- And finally I pressed Play. Since fab lab is closing now and this print takes around 2 hours, I will see the result tomorrow
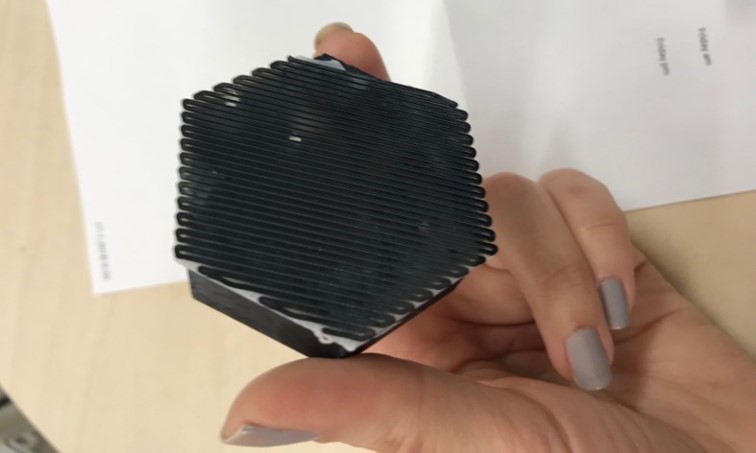
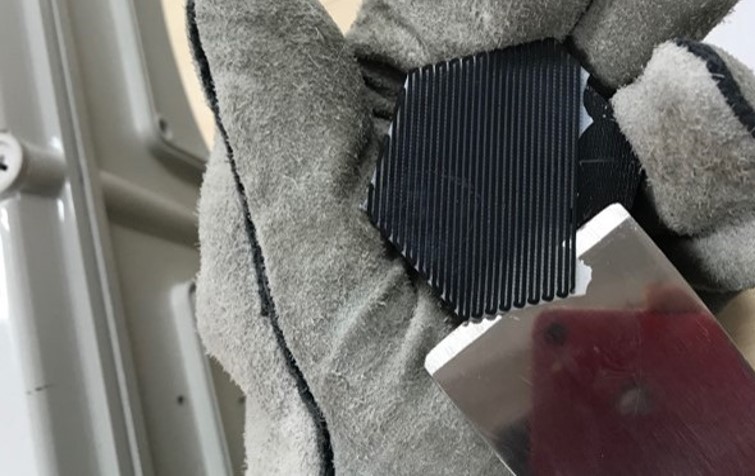
- As you can see in the picture, there is a layer of ABS at the bottom and then a layer of support. The reason is that the ABS attaches very well to the plastic sheet that we have here.
- I removed the layer of ABS and the layer of support with the tool that you see in the picture. We should remove the ABS layer because it blocks the way of sodium hydroxide to go inside the piece.
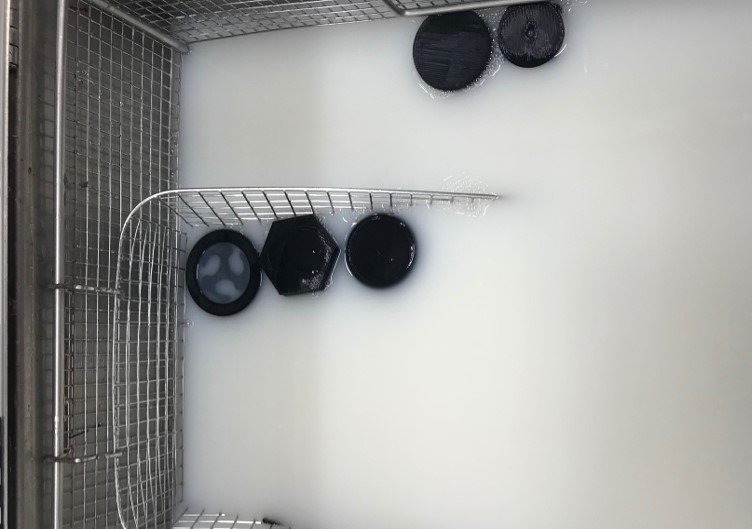
- The I left my piece in the tank of sodium hydroxide for a few hours to be cleaned completely from the support material.
- Here is the result

3D Scanning First Try
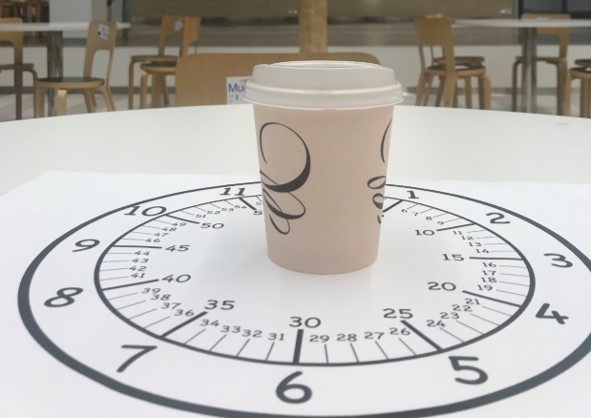
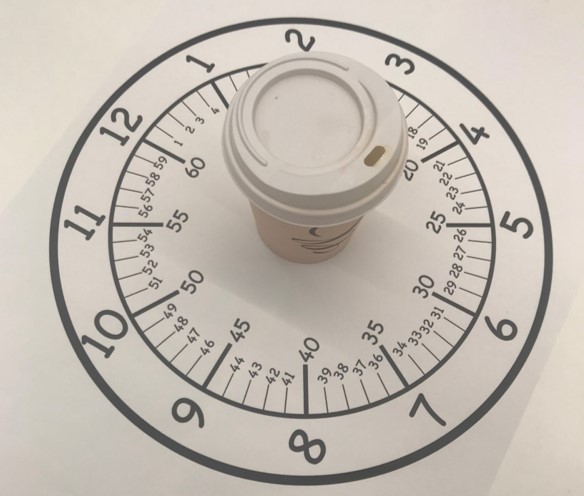
- First I placed the object on a clock template that I printed beforehand. And I took 24 pictures from front and 24 pictures from above while moving around the objects.
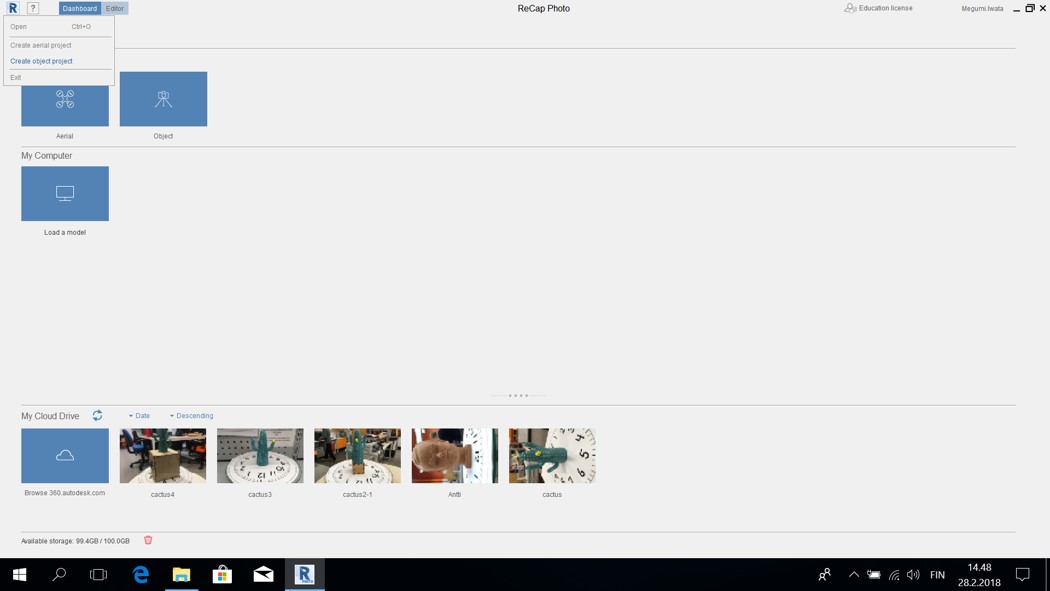
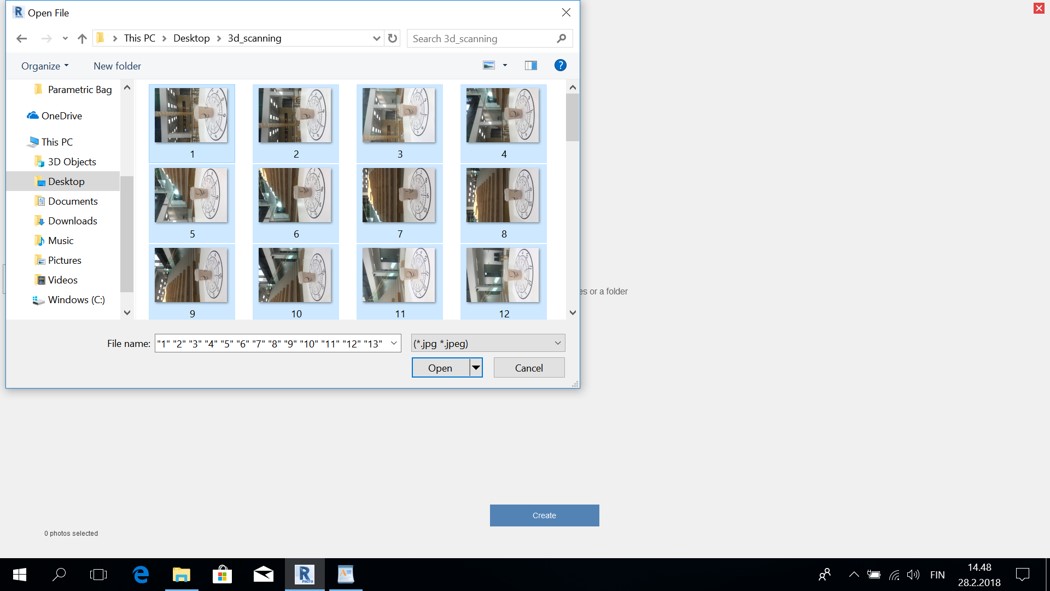
- Then I opened it in ReCap Photo program: Open > create object project
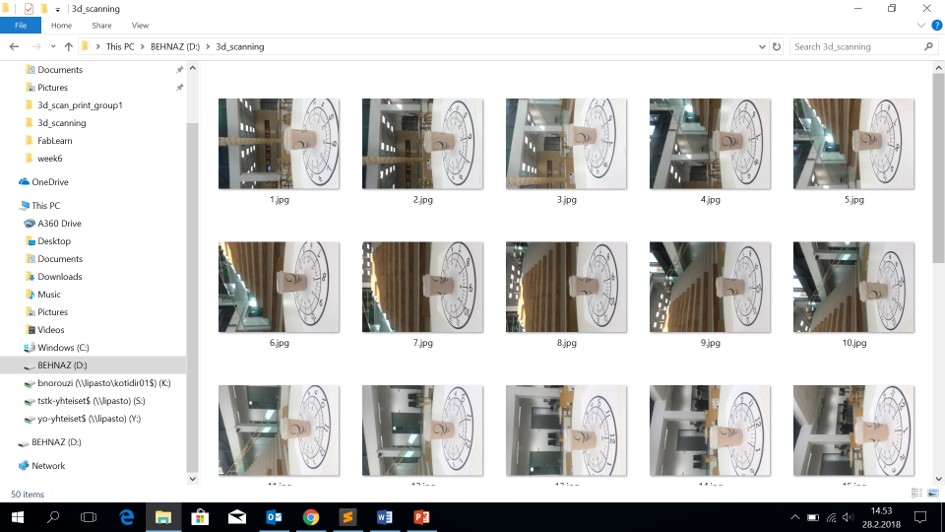
- I clicked for going to the related folder.
- Then I selected all the pictures. And opened them in the program.
- I clicked on create. And then start. Now I it takes something like 30 minutes for program to make it ready.
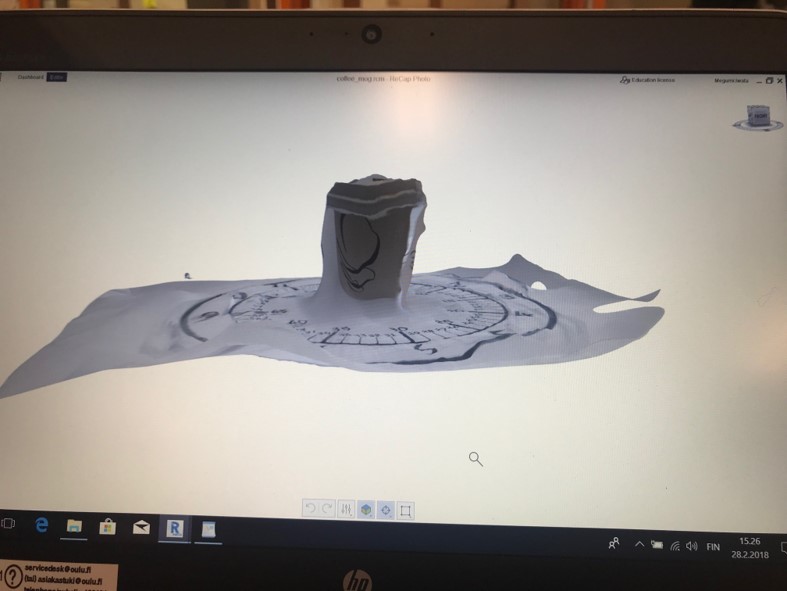
- Result: some parts are good but some parts are not.


3D Scanning Second Try
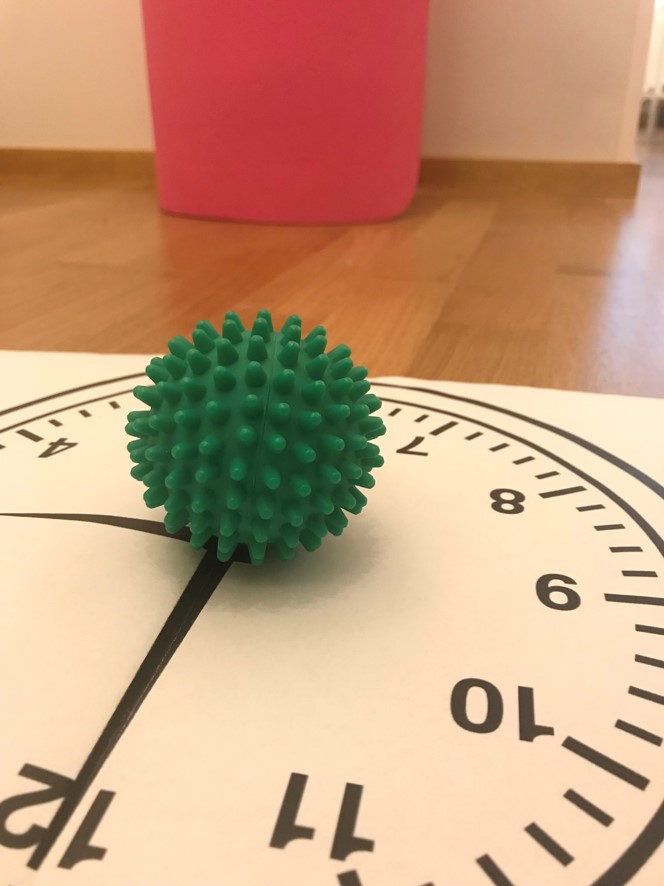
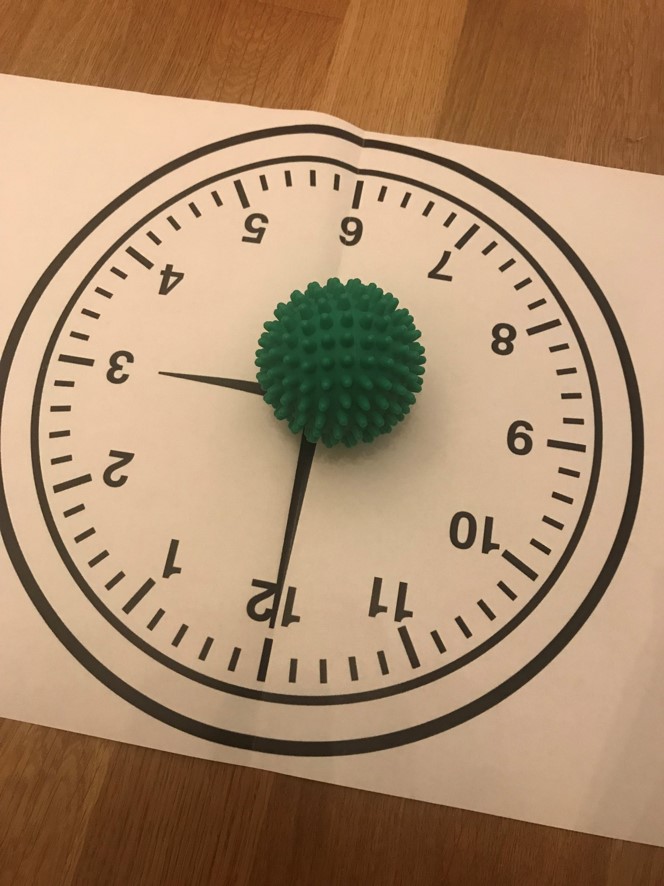
I repeated 3D scanning this time using a smaller object with more details. And I placed the object on a paper including a clock printed out on it and I put them on a rotating chair. This time I am going to rotate the chair and keep the camera fixed instead of moving around the object with camera (that I did previously). I used the clock shape to make it easier for me to know how much should I rotate the chair. So then when everything was set, I took a set of 15 pictures from the front angle. Then I took another set of 15 pictures from a bit upper angle. And also another set of 15 pictures from again upper angle compared to the second angle. I used my mobile phone's camera, which is iPhone 7 camera (12MP camera). You can see the object and 3 diffenet angles and the setting in the picture bellow: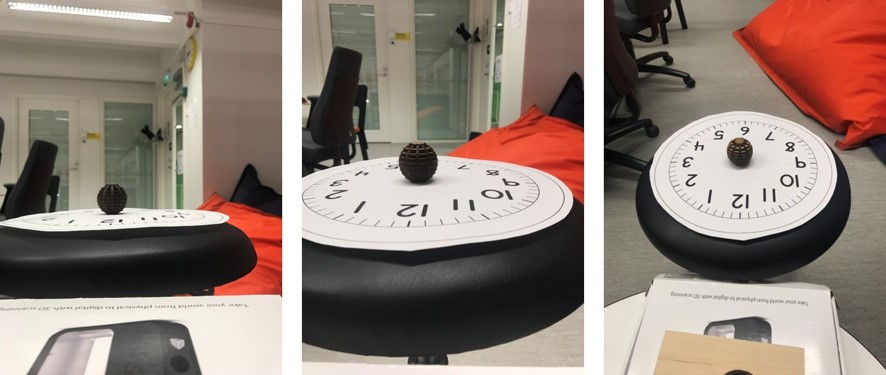
I did all the stages that I explained in detail in the previous try for 3D scanning. Here I just add some pictures:
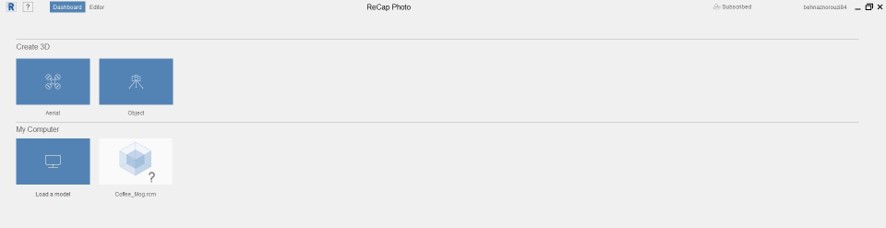
- Create 3D > Object:
-
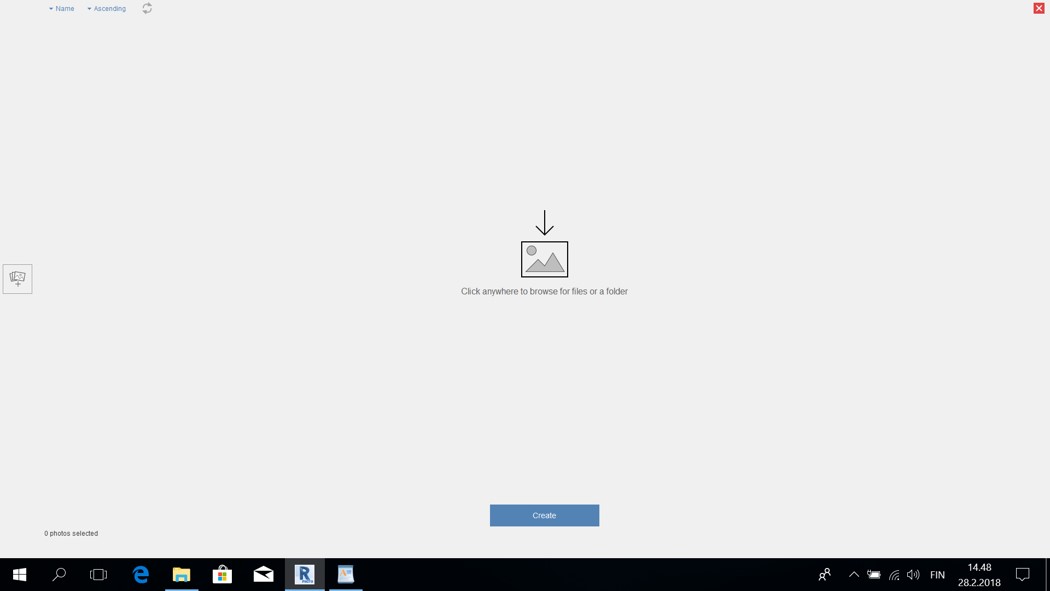
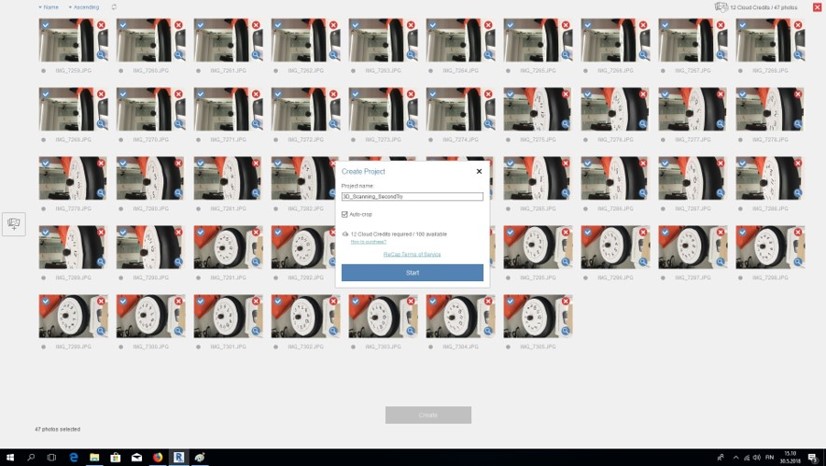
Adding pictures:

-
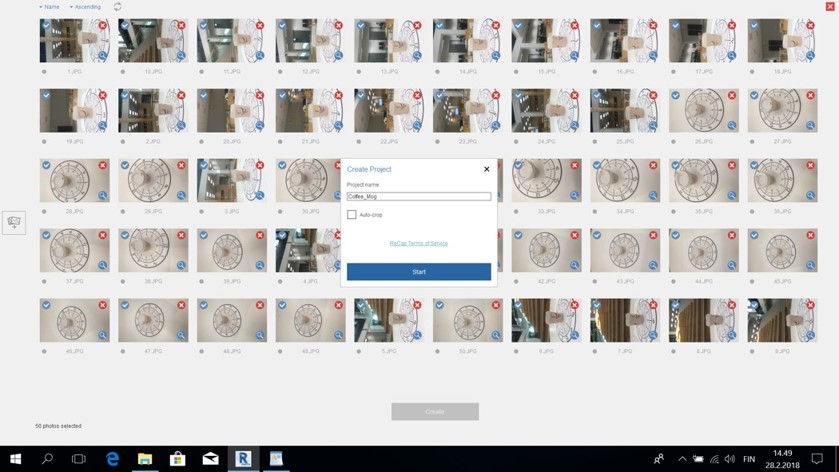
Naming the project. I also checked auto-crop:
-
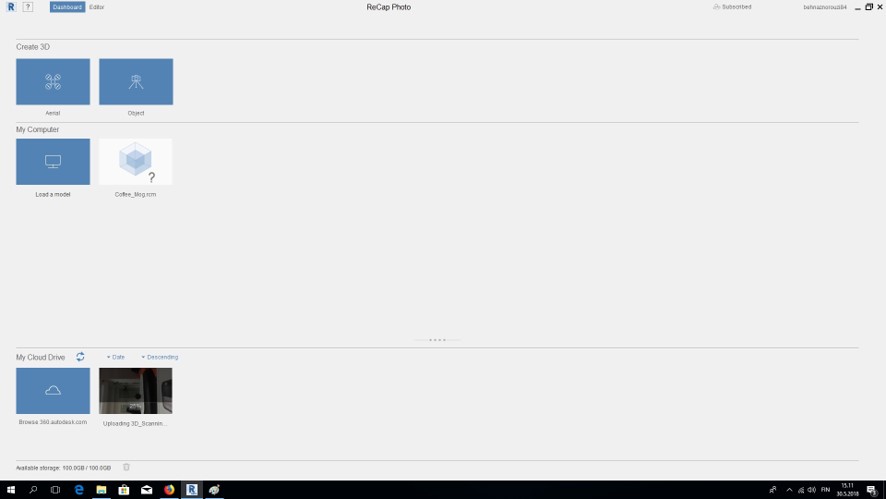
Waiting for the result:
-
And eventually surprisingly the total failure result:
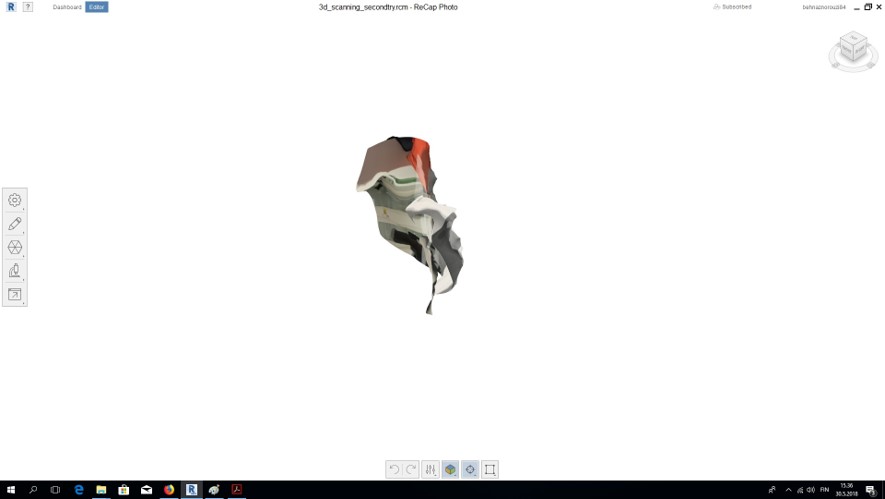
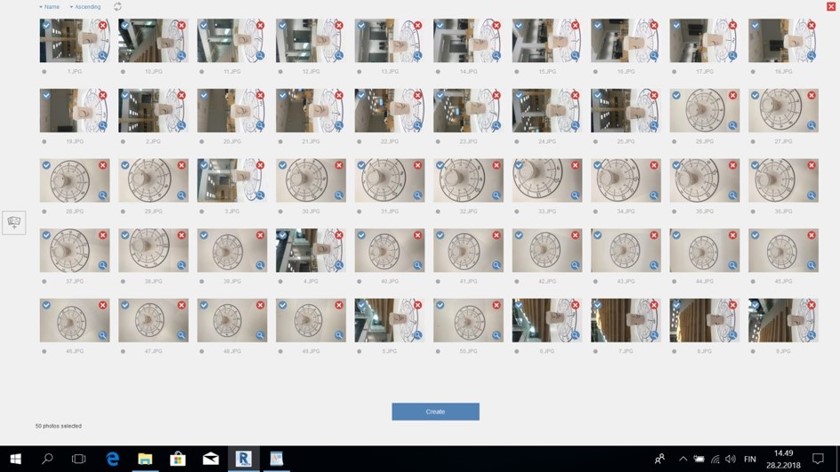
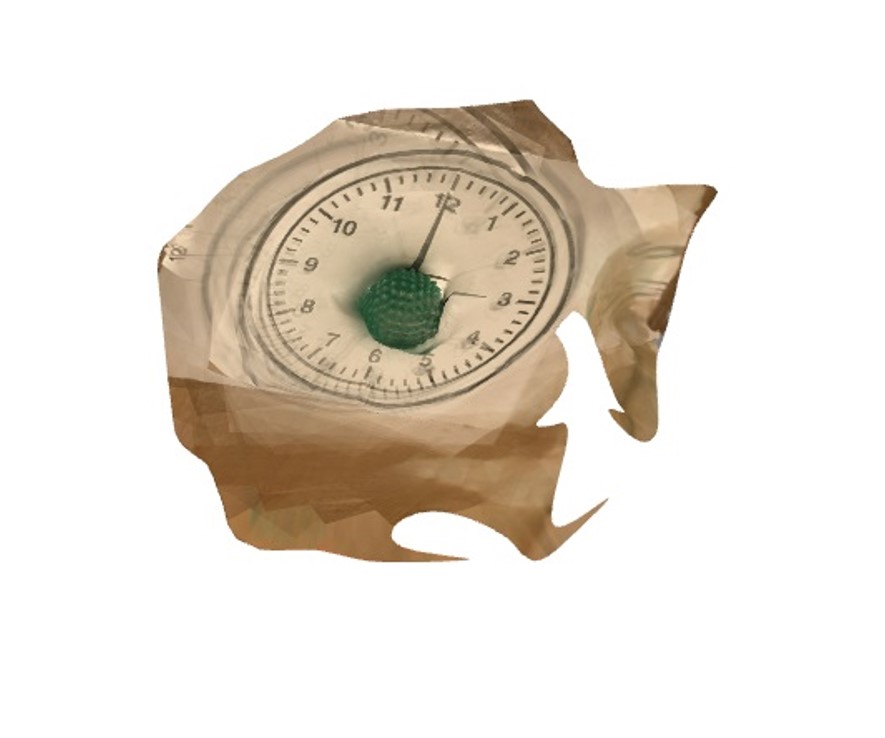
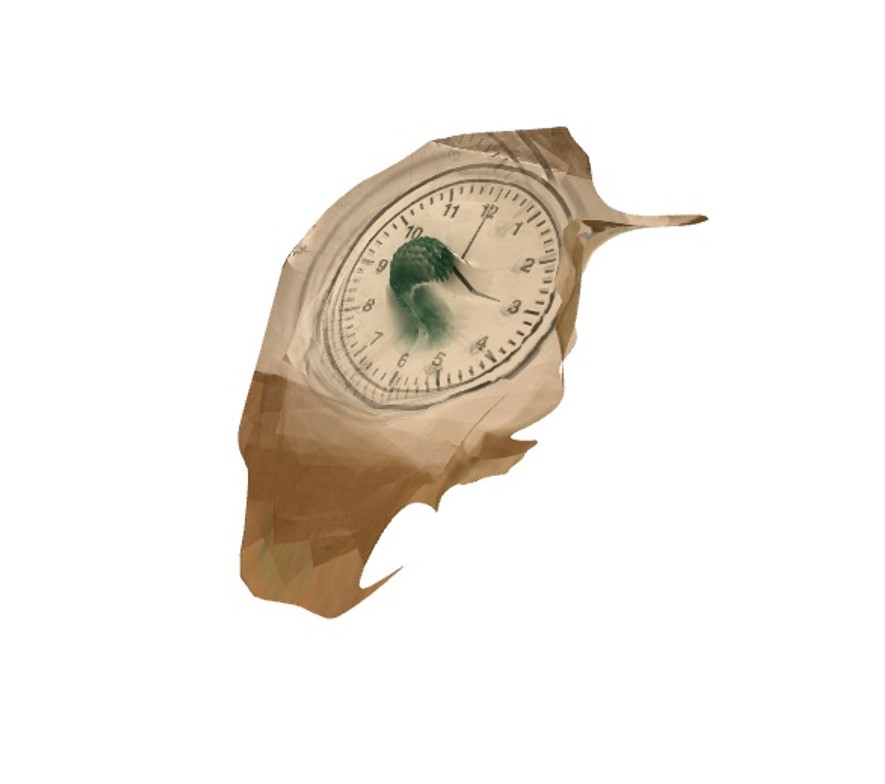
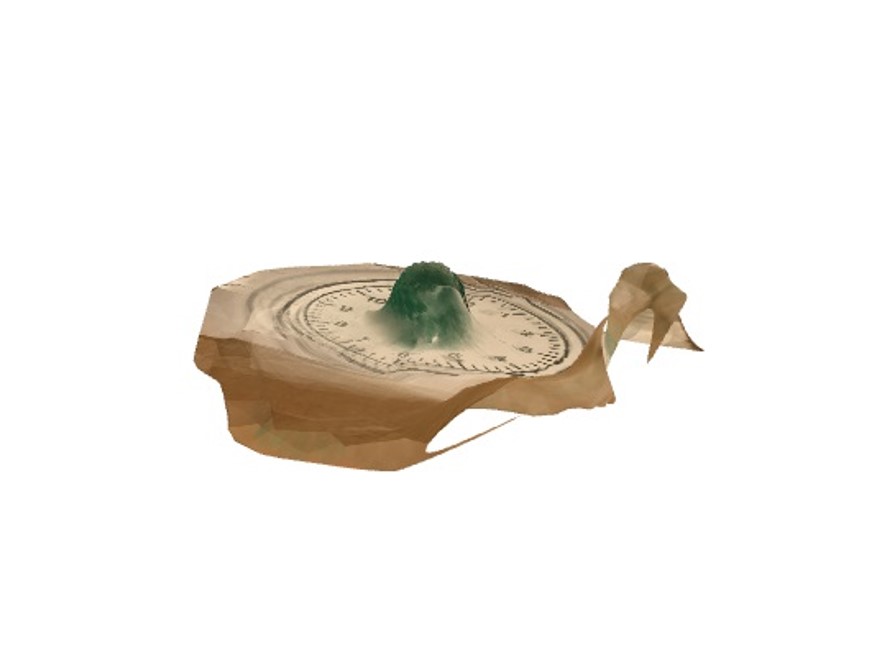
The result shows that the application was not able to recognize the object. So in order to get some usefull tips about 3D scanning I started to browse the web and also in another fab academy student's page, Megumi, who had a very good result of 3D scanning. She had the same strategy that I had for the first 3D scanning, which was partially successful. I had considered the light to be sufficient, rotating around the object and taking a set of 24 pictures for each angle. The only difference is that I was using a very simple object with a very simple background and in the same range of color. So maybe that was the reason that the program could not recognize some parts. SO this time I would use the same strategy that I used in the first try but I would use some color contrast between the object and the background. - I did so as I mentioned above and it partially worked this time. See the results in the following pictures: (the first two pictures show the model and the setting (I took 50 pictures from 2 different angles). The other pictures show the result)
The problem with this attempt was that the software considered the background as part of the model and mixed the model with the background somehow. I had limmited options to edit it so I decided to start another scan.
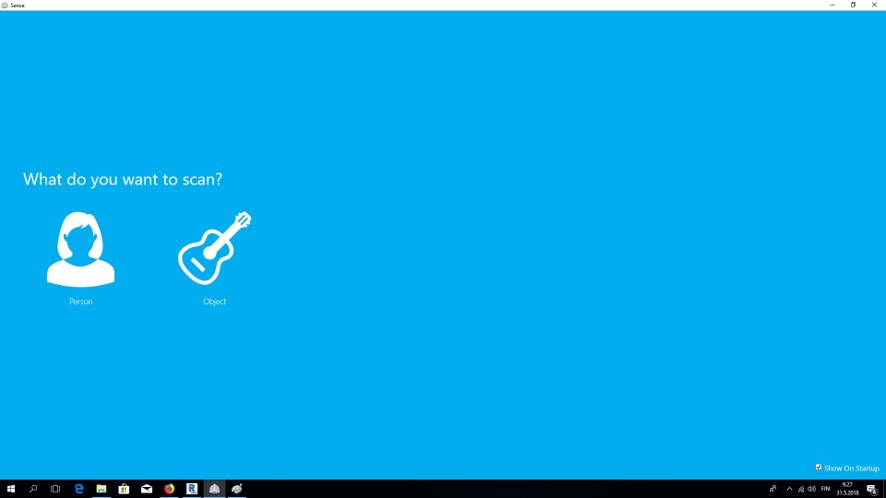
- When I connected the scanner to the computer and opened the Sense program, As you can see in the following picture, it asked "what do you want to scan?" and gave me 2 options: Person or object. I chose "person".
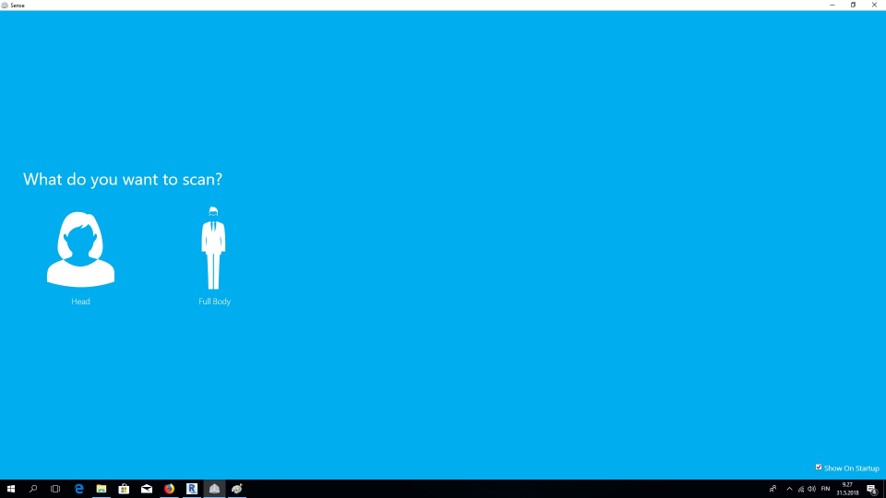
- Then as shown in the following picture, the program asked whether I want to scan a head or a full body? And I chose "Head" option.
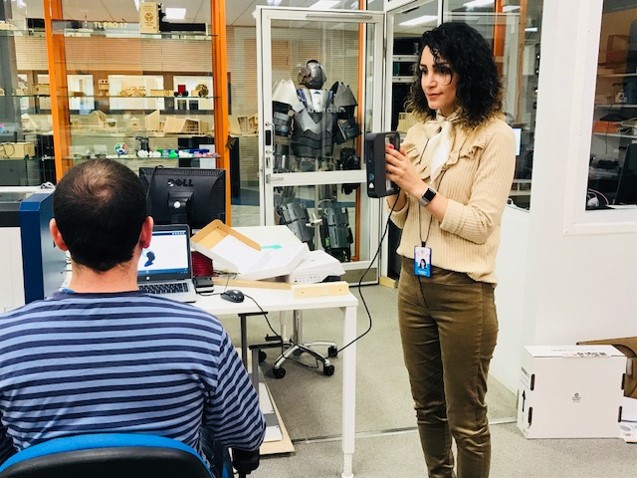
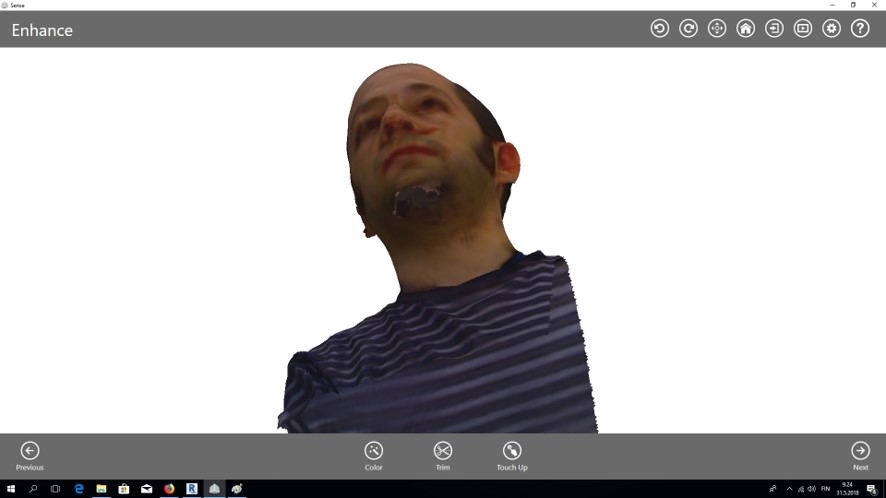
- Then I kept the scanner in a way that I had Ivan's head in the middle of the area, which was marked in the program. (As you see in the picture bellow):
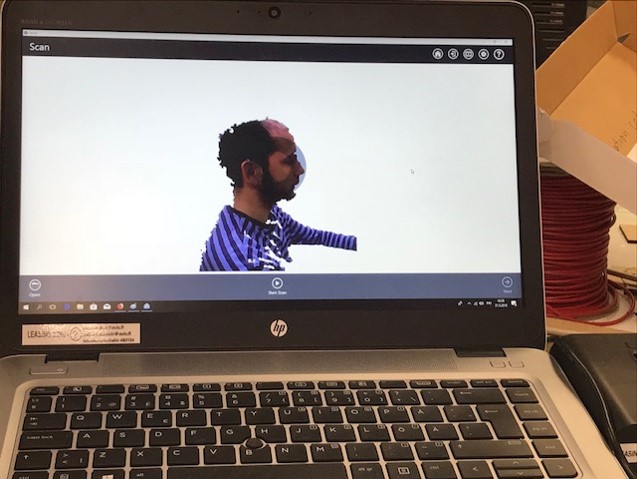
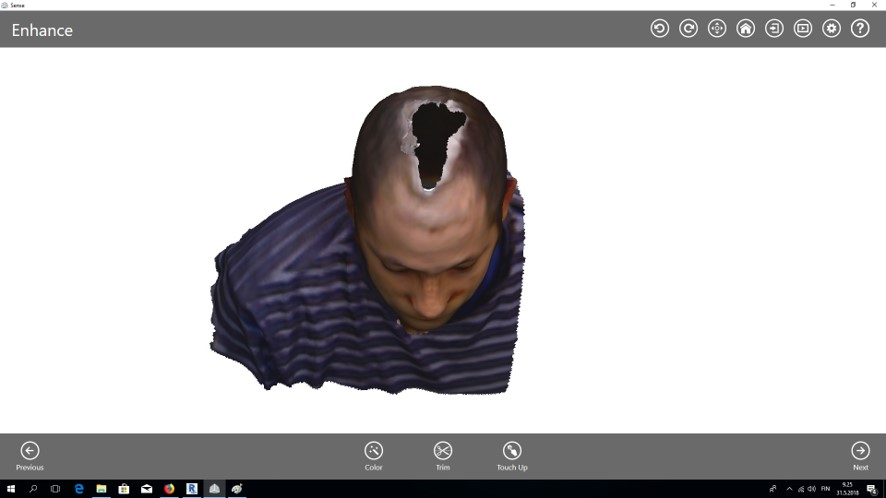
I kep the scanner still and Ivan started to rotate 360 degrees while sitting on a chair. When Ivan stopped rotation at the point that he had started, I paused the program and pressed next to see the results. The result was quite good and clear in almost all areas except under the chin and above the head (as you can see in the following pictures). And the reason was that after scanning was done all around his head, I needed to move the scanner starting from under my model's chin to the back of his head. In that way I could cover all the areas of his head. So I would try it again.
-
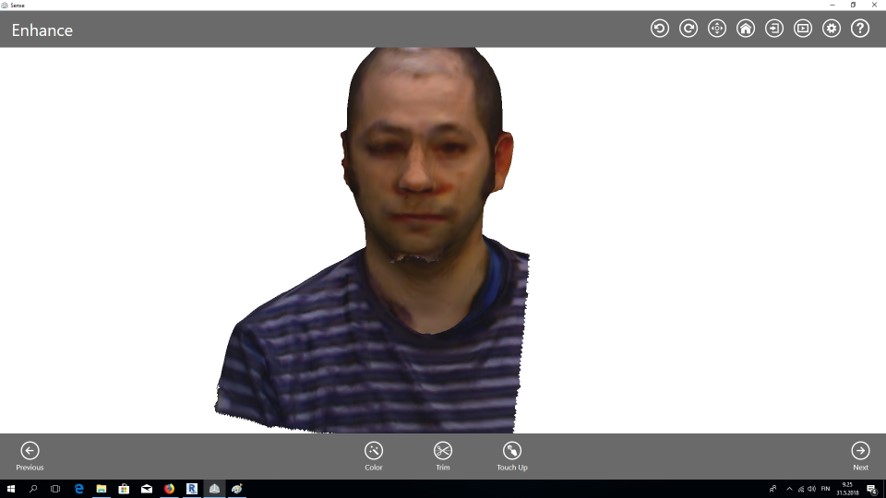
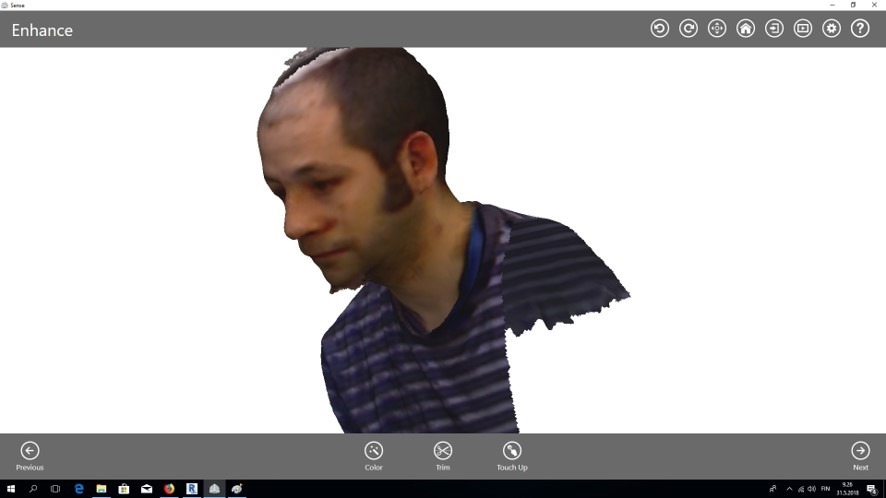
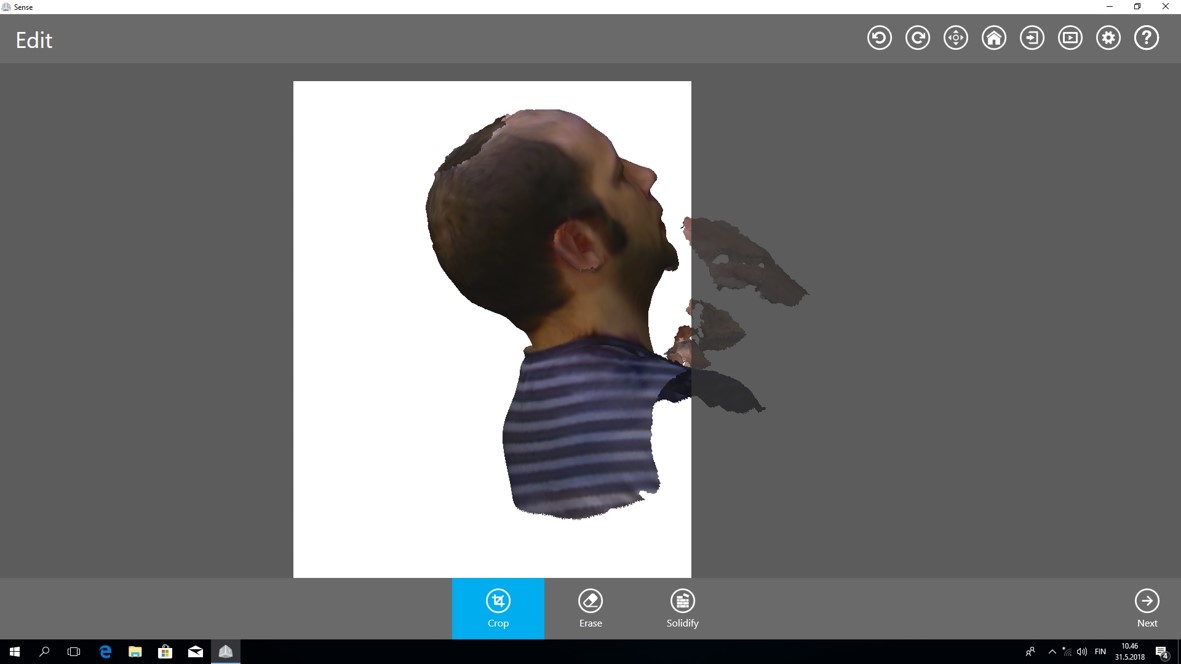
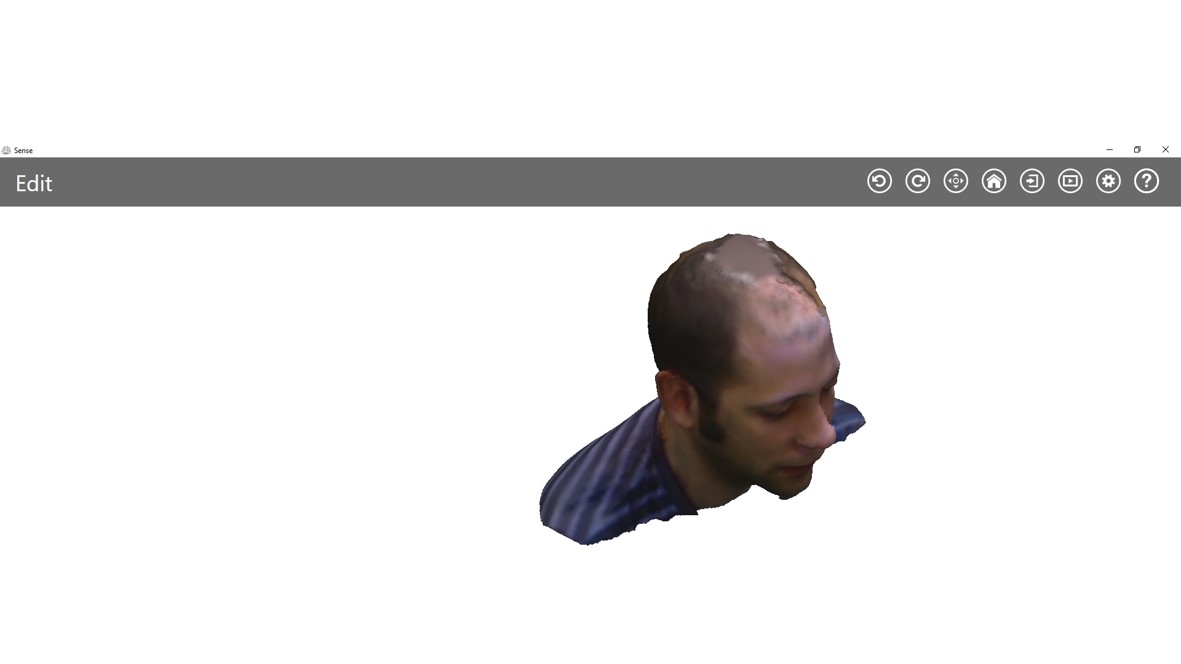
This time I adopted another strategy. This time Ivan sat still and I started to move around his head in different angles to cover all the areas including under the chin and above the head. The result is good enough but need some edition. For example there are some extra parts that need to be removed and also there are some holes that need to be filled. The following picture shows the result:
-
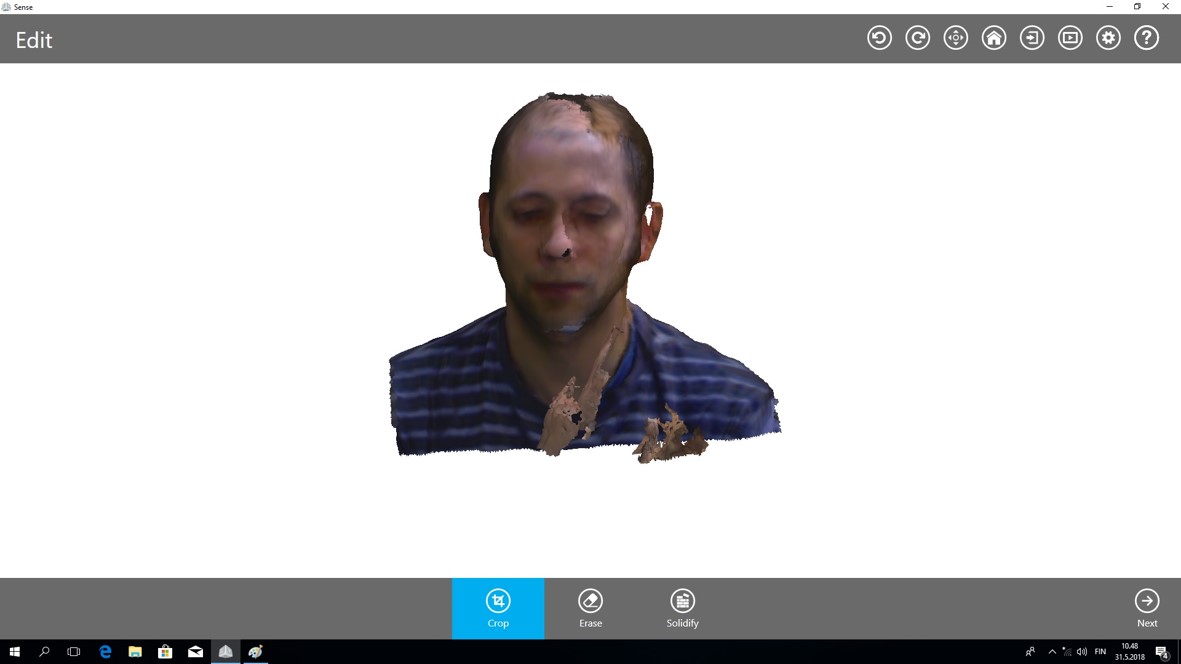
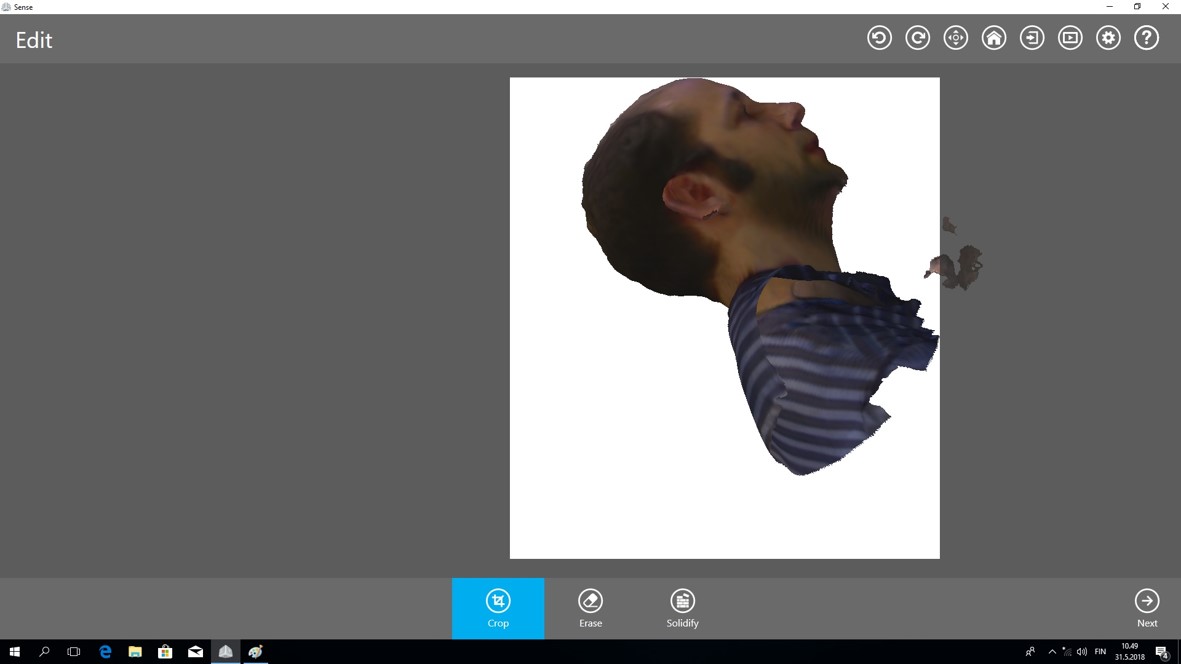
When scanning was done, I figured out that I have a few options such as crop, erase and solidify for editing. These three options appear in the middle button of the screen. I started editing by cropping extra parts. In order to remove all extra parts I rotated the image in different directions and croped the exceeds, as you see in the followign pictures:
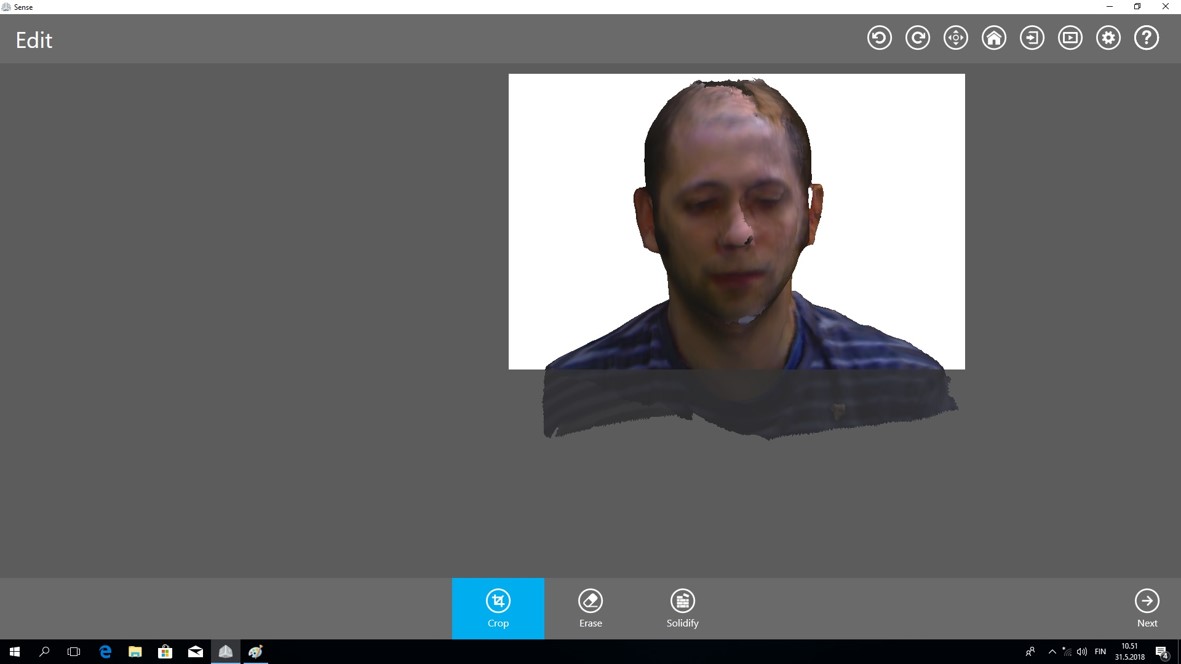
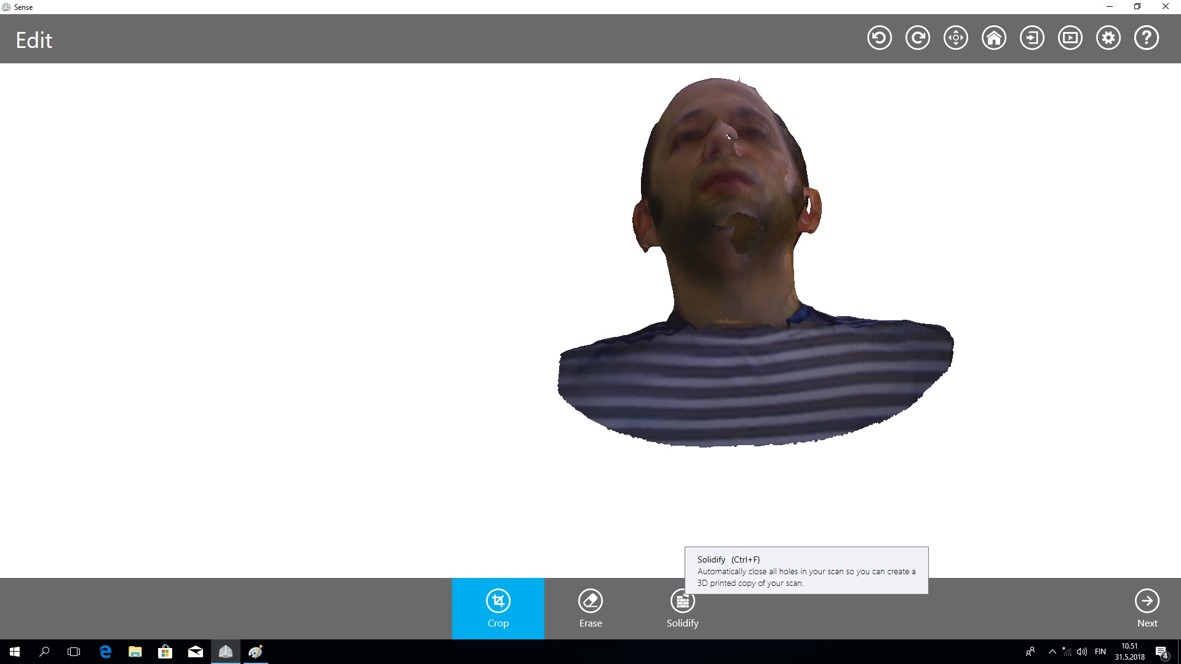
- Then I hit "solidify" button, which automatically closes all the holes of the scan.
-
And as you can see in the following pictures, the two holes that I had under the chin and above the head are closed now.
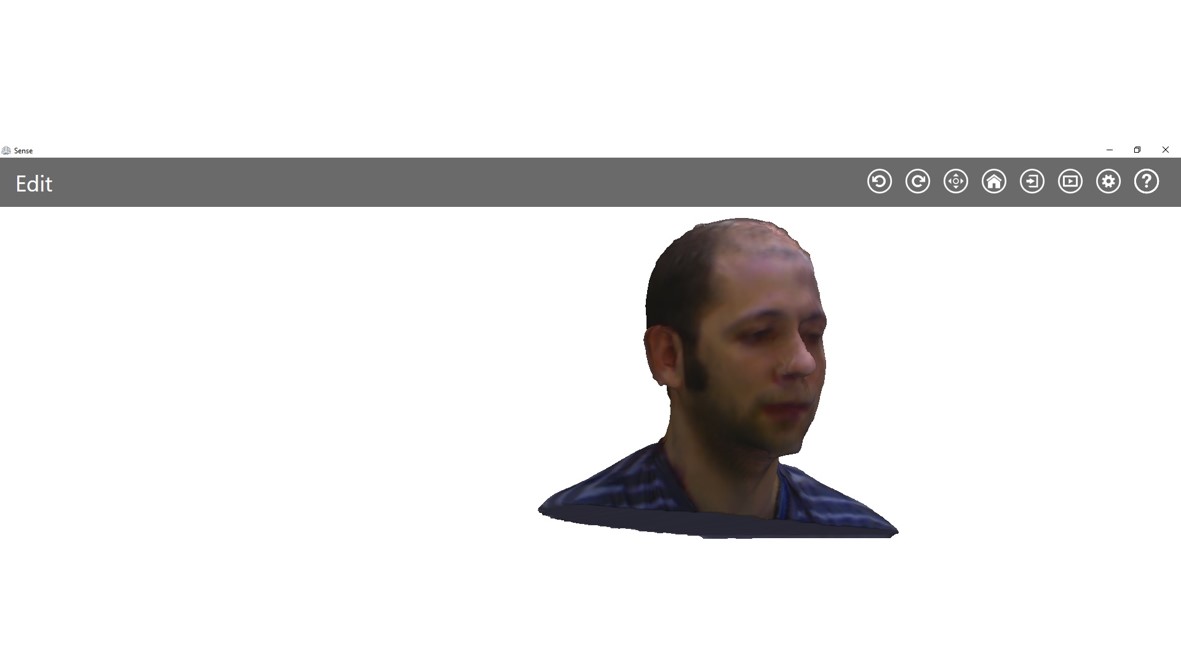
-
Then as Ivan suggested, I opened the .obj file that I saved in sense program in fusion 360 program. I switched from Model to the Mesh environment as shown in the picture below:
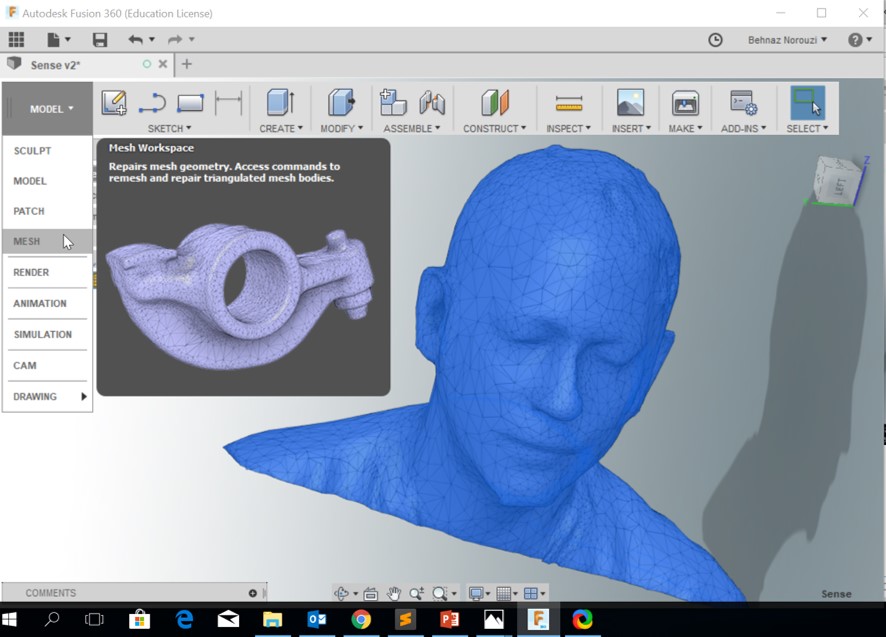
-
Then I selected the Body > Modify > Reduce:
Reduce Type: Adaptive
Reduce Target: Density
Density: 0.250
By doing this, I tried to reduce the density of the object and it led to a smaller .stl file.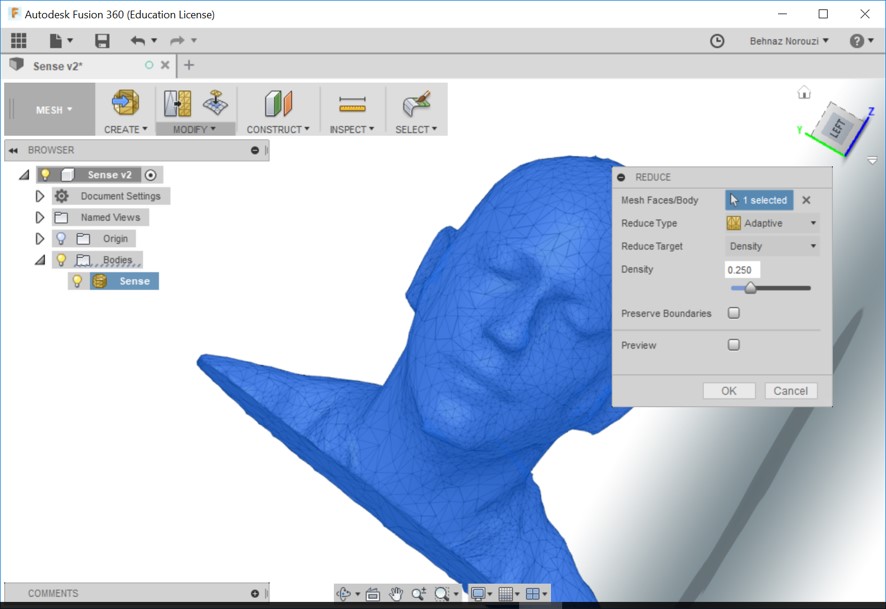
Advantages and Limitations of 3D Printing and Scanning Technology
I had heard previously a lot about 3D printing technology, but personaly being involved in this process, its advantages and limitations bappeared to be more tangible for me. For example I could say that 3D printing process is wonderful in a sense that it enabled me to visualize, design and prototype my desired product in an affordable way. People could easily print any product even the complex ones and have a quick access to the small scale version of their product. It is a wondeful opportunity since it gives the chance to cheaply give the prototype a test in the initial stages of the production and to identify the problems of the design.
Additive manufacturing was another wonderful experience that I gained through this week's task of 3D printing. Additive manufacturing means making parts by adding a layer at a time. But subtractive manufacturing refers to the process of cutting away layers of a block of material till one achieves his/her desired shape. My 3D printed product enjoys having been made in an additive way and it is not possible to make it subtractively. My petal has:
- an outer and inner part
- and the inner part is not attached to the outer part
- and inner part freely moves inside the outer part
- and at the same time inner part does not come out of the outer part of the petal.
The limitation that I experienced was the limitted choice of color. I had only the option of 3D printing in black or white. So it is quite more interesting especially for attracting children if we could have a colorful 3D printed object. And another limitation that I faced was not having the variety of choices in type of the material. (It is mostly plastic.)
Regarding 3D scanning I experienced lots of challenges that I have explained in details in the text, and it was quite difficult to get a desirable result. In my opinion, with 3D scanning technology there are still some considerable limitations such as not having the total freedom of choose in color, shape and size of the model. I could also mention the scanner that I used. In my opinion, it was not user friendly and it could easily loose the track of the object. Moreover, the program that I used for 3D scanning had some limitted options for editting the result. But the advantage is that it enables people to save a considerable amount of time in their design work.
Original Design Files
.stl for 3D Design of a pendant.f3d for 3D Design of a pendant
.stl file for 3D Scanning