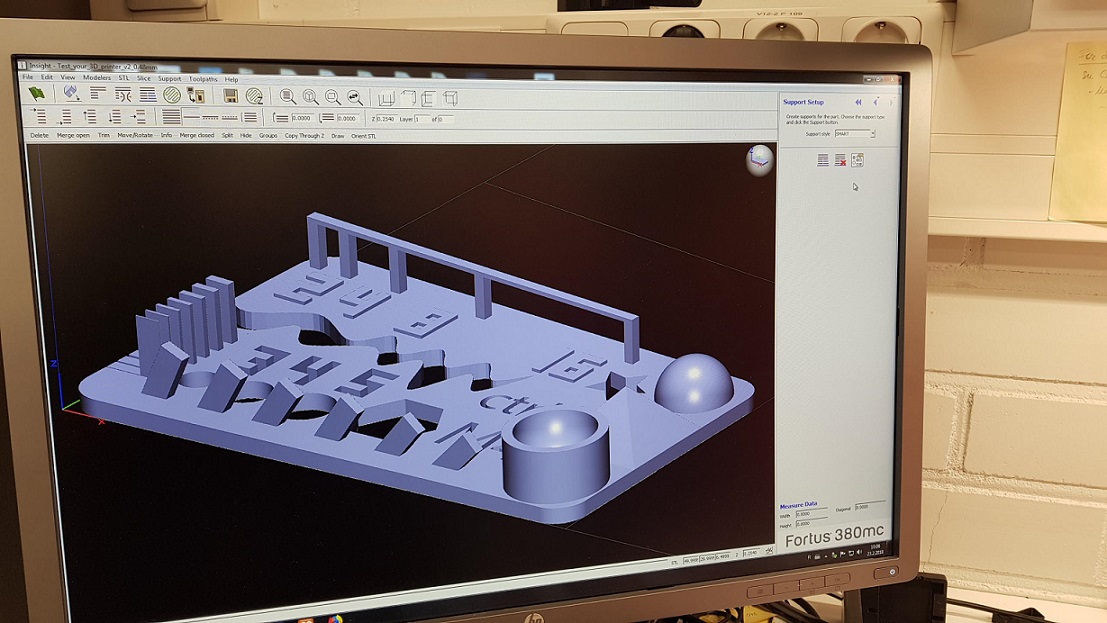
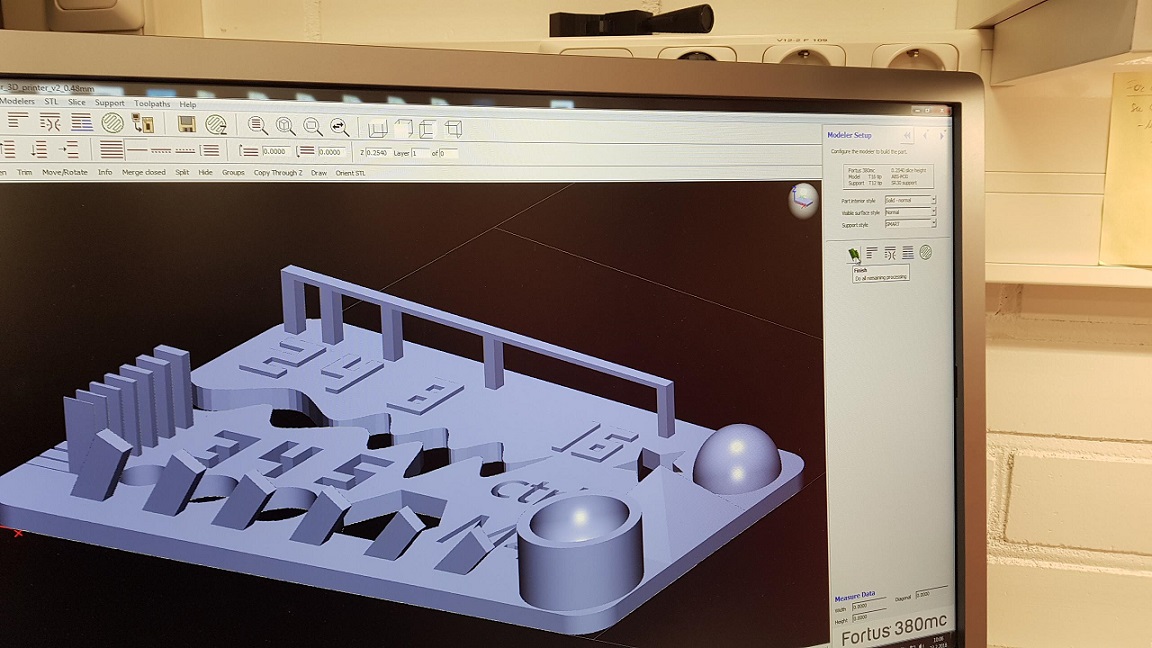
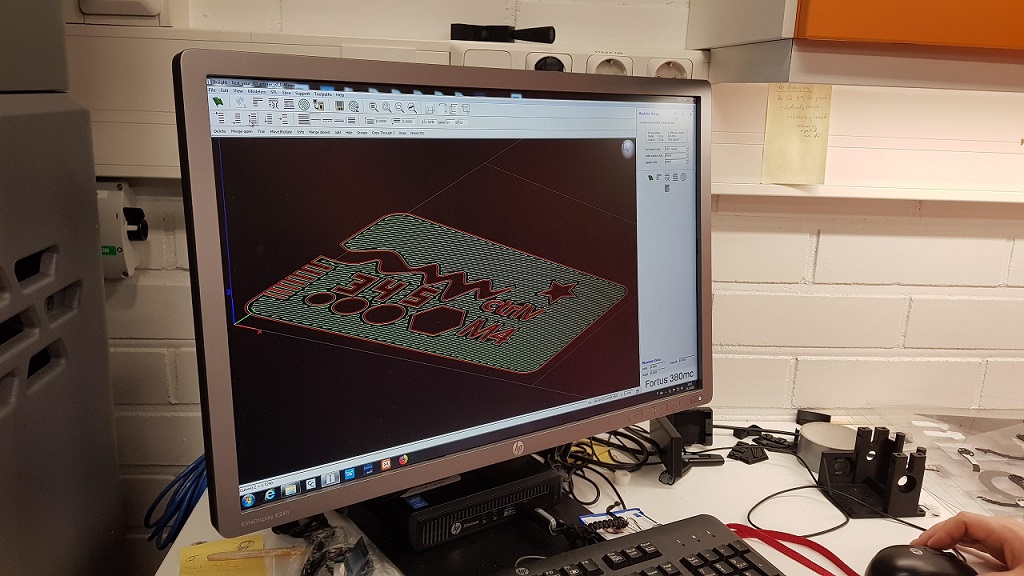
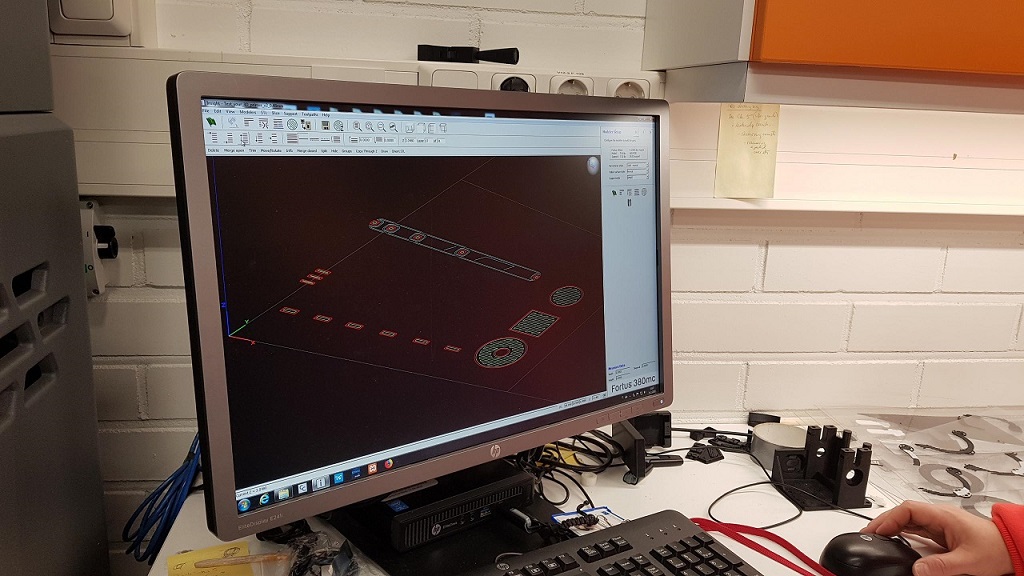
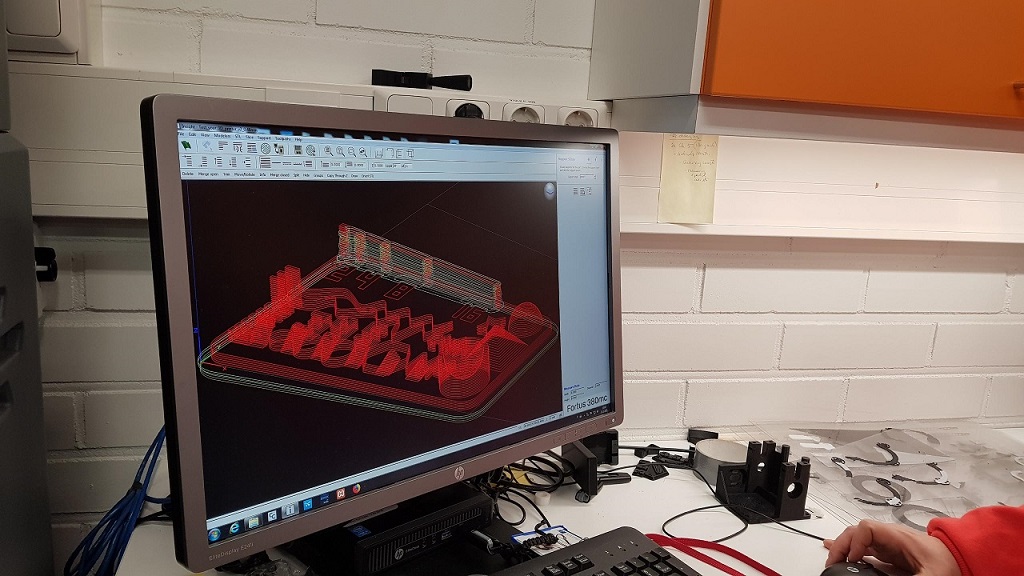
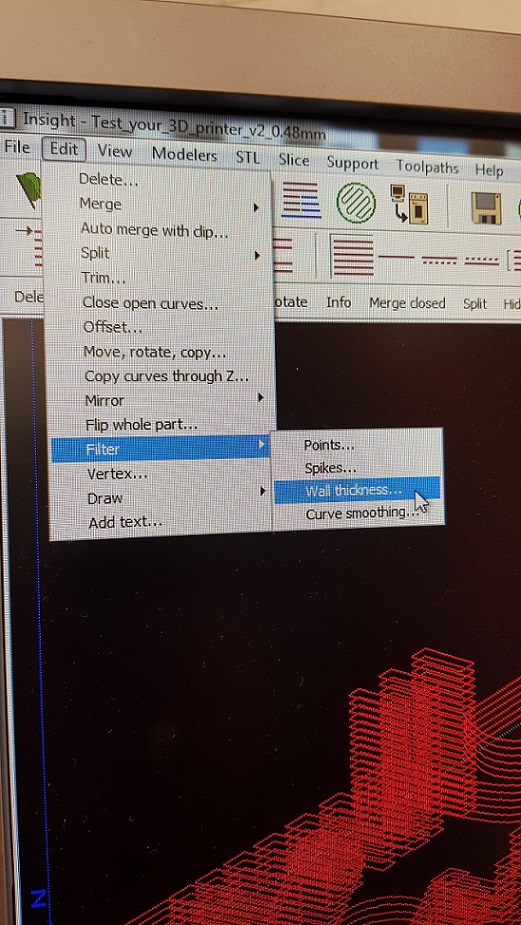
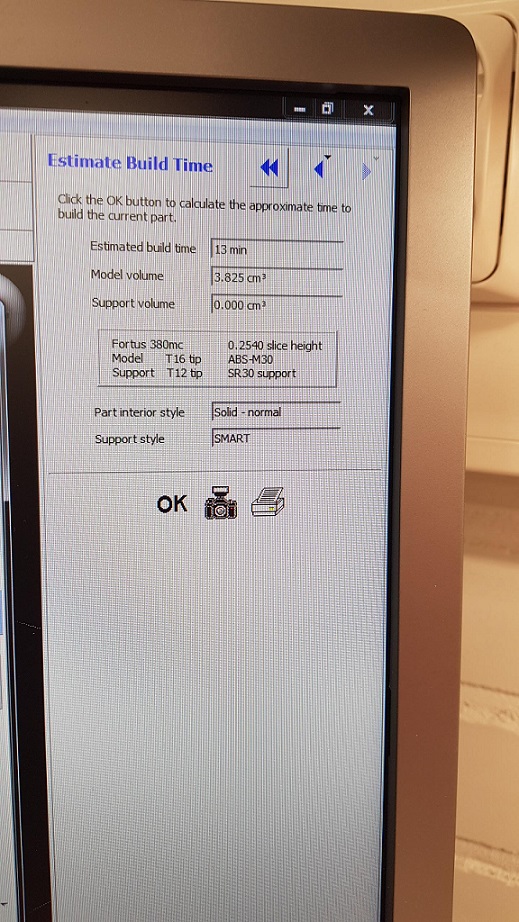
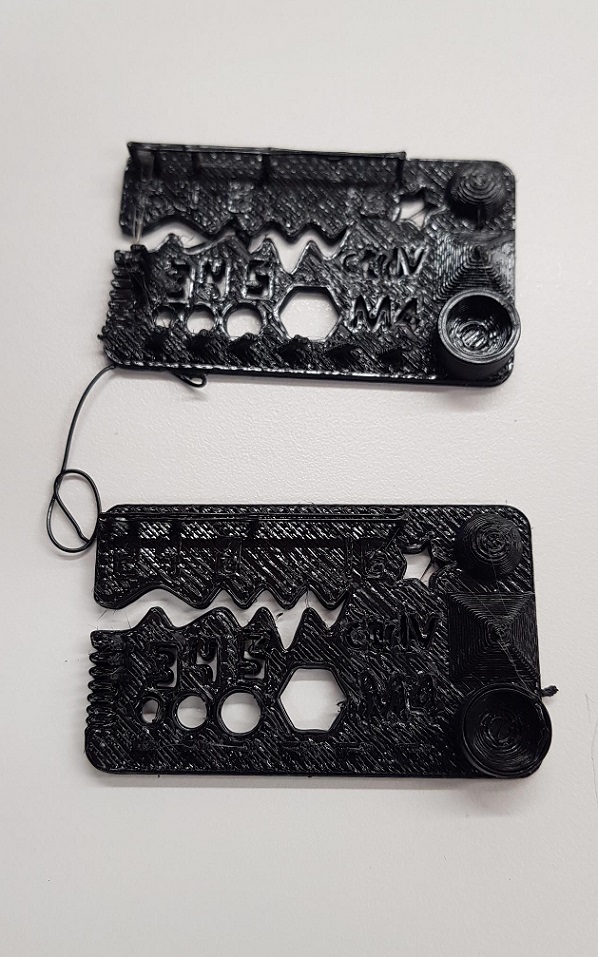
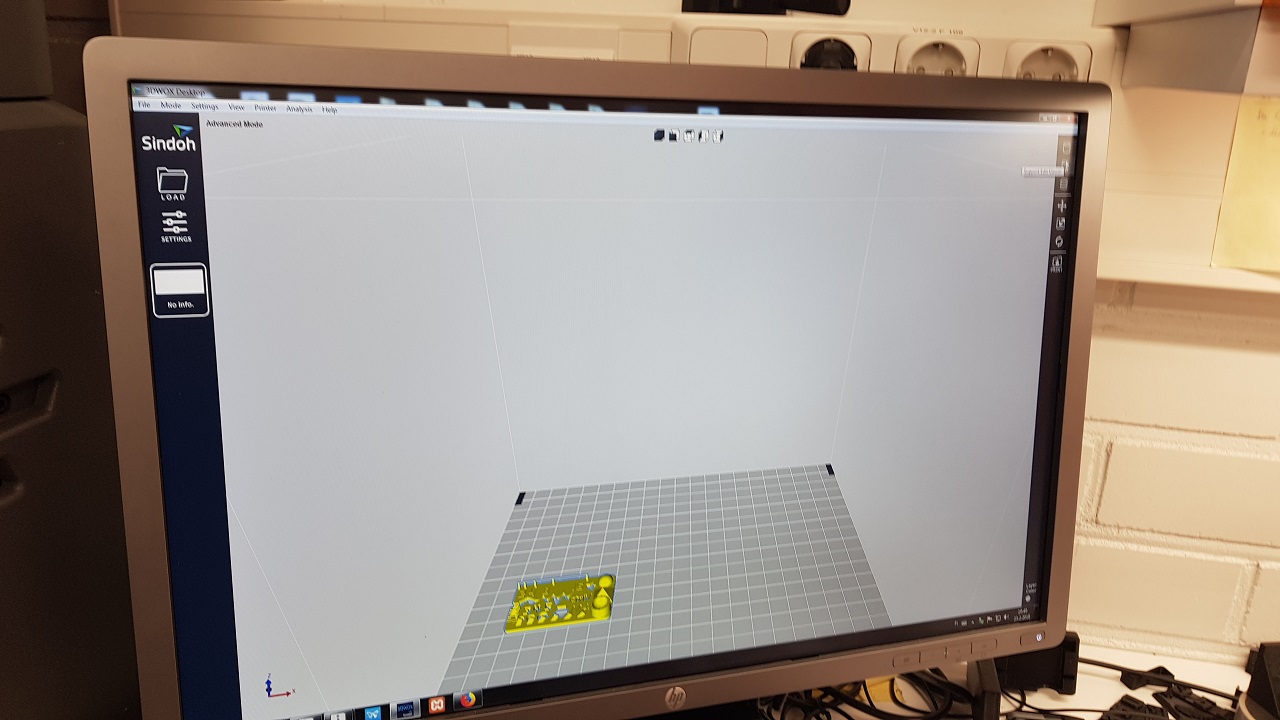
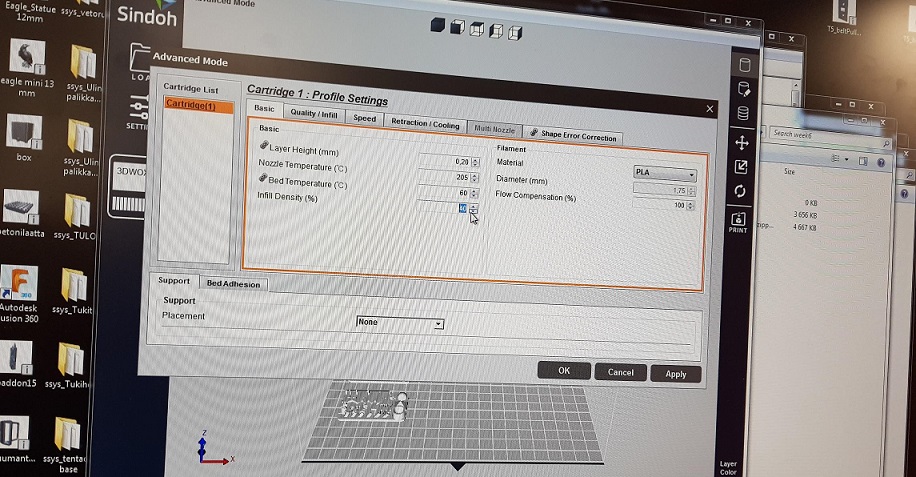
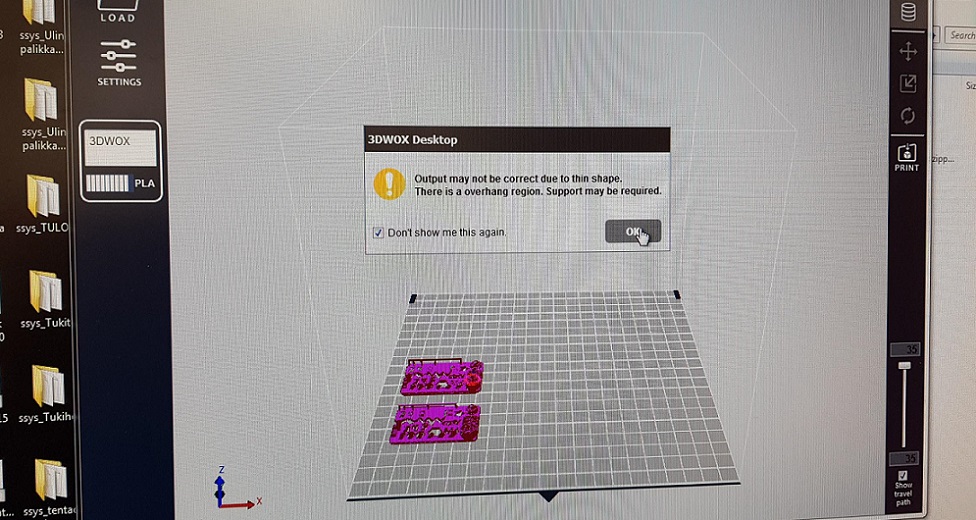
Before testing the design rules, we browsed thingiverse to find a suitable test part. We used search words like 3D test, and narrowed the search to 3D models. We found a test part that we liked. The model is called "Test your 3D printer! v2", by user CtrlV, and it included a test part with a thicker base, and a thinner base.
The result in both cases is quite similar. The bridge was perfectly printed. Just three walls were printed in both cases, and not very clean. Although the gaps are visible, none of them shows a clean separation between lines
FormLabs
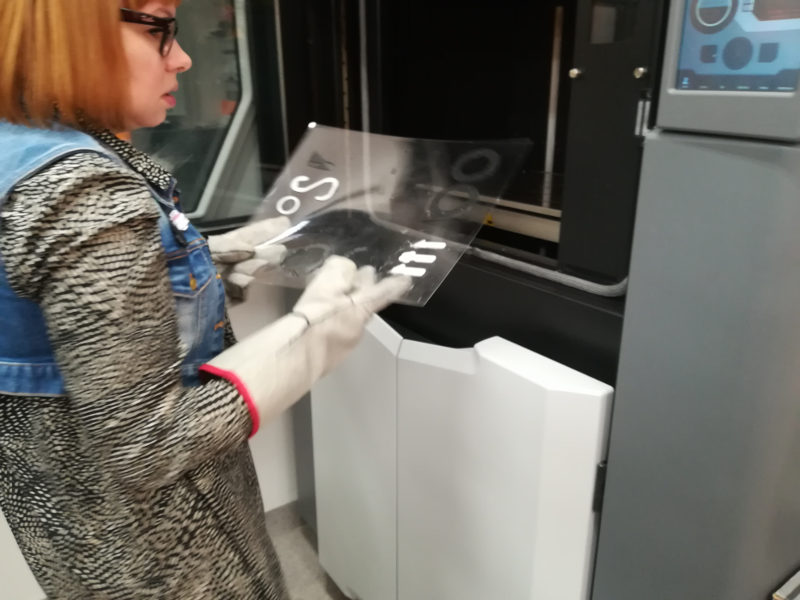
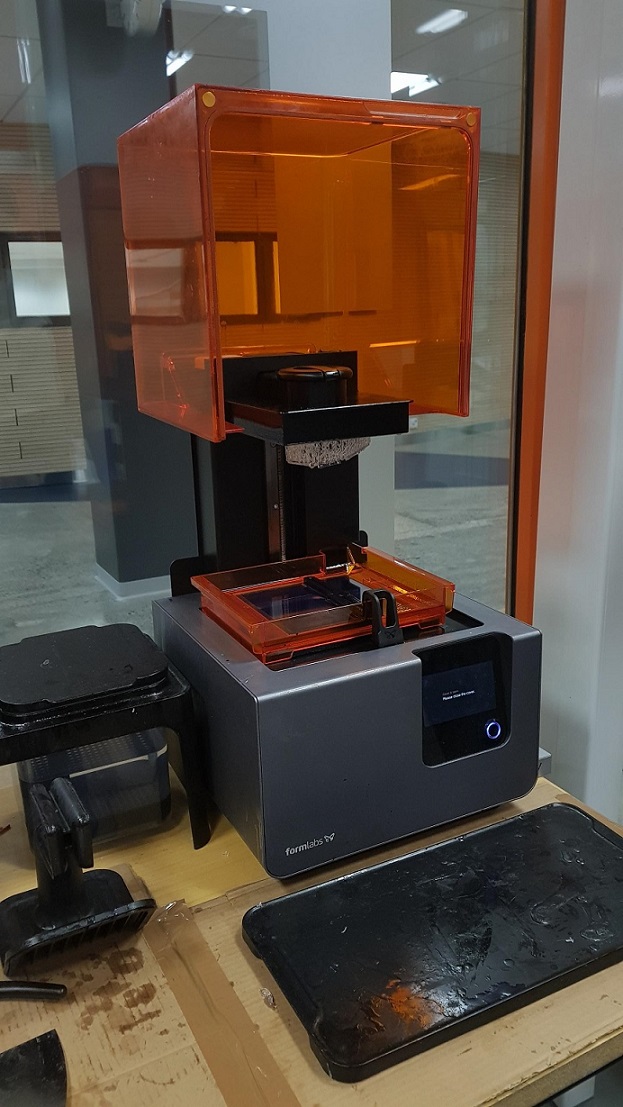
Lastly we tried out the Formlabs Form2 printer in our FabLab. It prints the model into resin, the finished model is cleaned in two small tanks, first one containing isopropyl alcohol, and the second one water.
According to the Formlabs website , some safety issues should be taken into account when working with FormLabs Form 2:
- The laser beam is harmful to the eyes, so one should avoid direct contact. The printer contains an interlock system to automatically shut off the laser when the cover is opened. If this system is fails for some reason, there is risk of exposure laser light.
- The 3D print is is made out of resin.You should always use chemical resistant gloves whenever handling it. Eye contact may cause eye irritation and skin contact may cause skin reactions. If you get any on your skin, wash with soap and water. To clean tools after handling resin wear gloves and use alcohol, followed by soap and water.
- The finished 3D prints are first cleaned in a tank of Isopropyl alcohol and then moved to water. IPA is flammable and should be kept away from heat, fire, or sparks. Containers holding isopropyl alcohol should be closed when not in use. It is also recommended that you wear protective gloves and have good ventilation when working with IPA.
Reflection
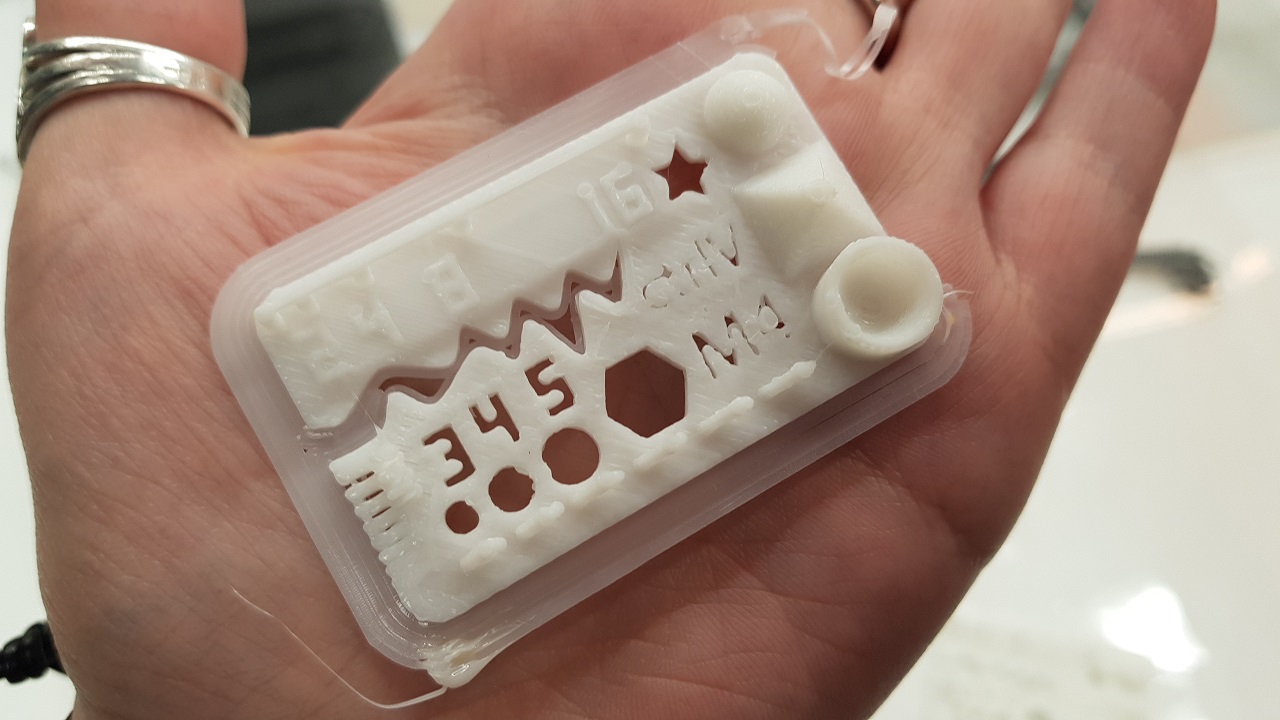
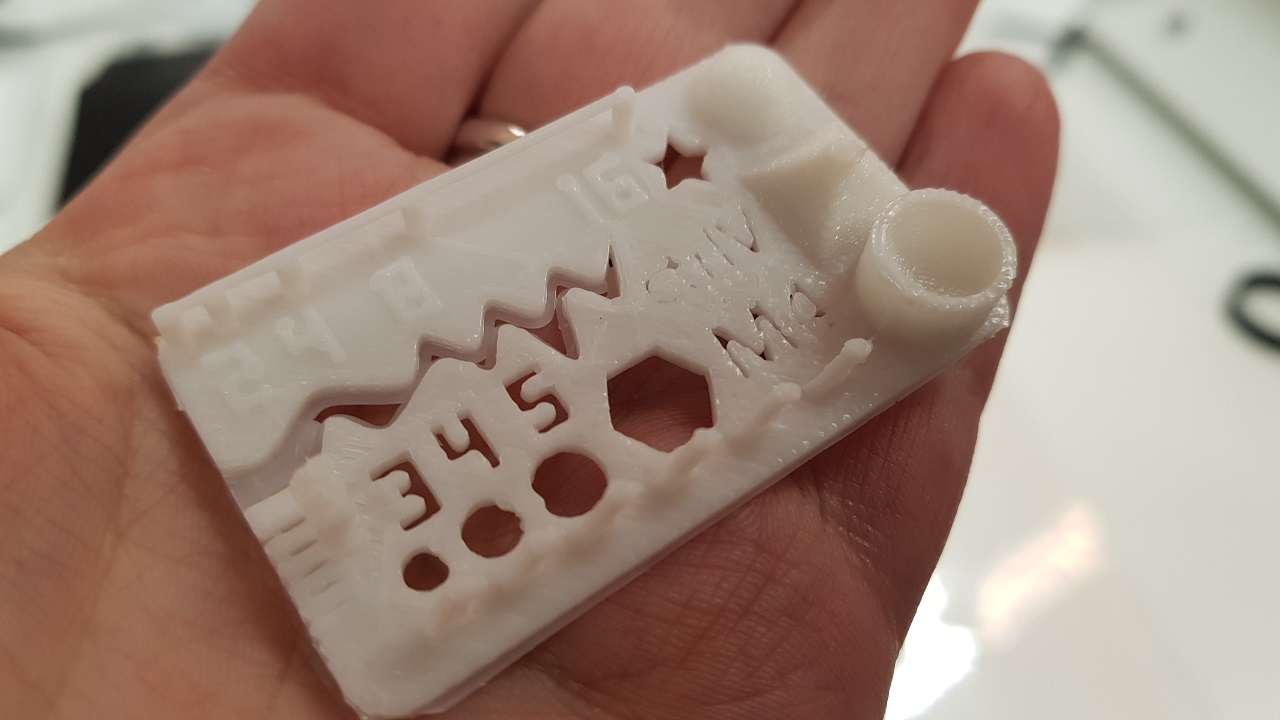
We have compared qualitatively three of the printed pieces (one from each printer). At first sight, it is quite obvious that FormLabs printer is able to do a finer work in general. There are, however, some details to take into account.
Holes
In the FormLabs piece, all the holes are visible. It is possible to distinghish all the letters and numbers that are carved on the surface. This is not possible with none of the other two pieces. The quality in those two is quite similar.
Wave. Rounded print
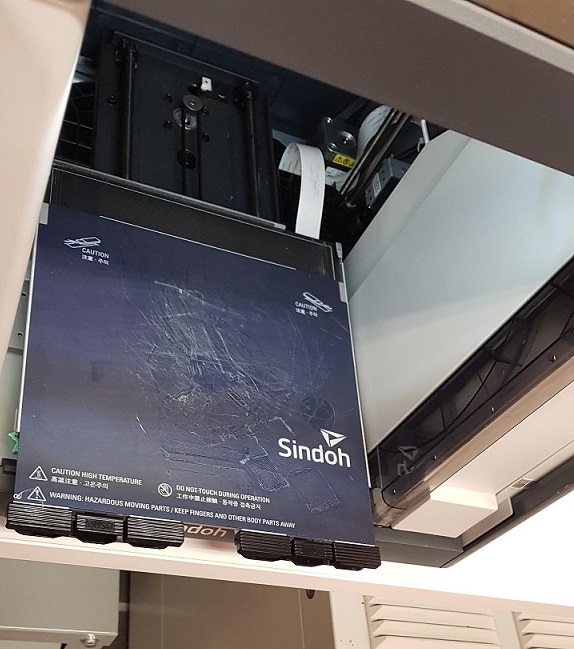
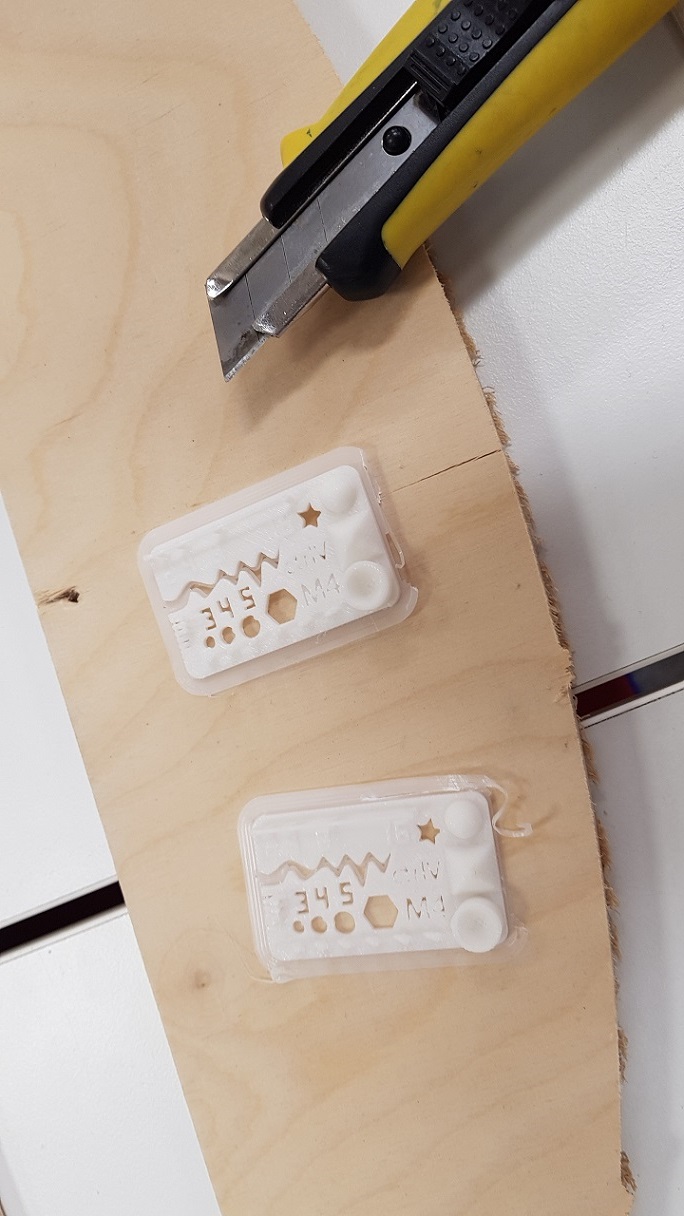
The rounded shapes are quite OK in the three of them, with very similar result. In case of sindoh, as we used some brim as bed adhesion, it would have to me removed so the waves look clear.
Star. Sharp Edges
With the star again formlabs' piece looks almost perfect. The quality in the other two is worse. Stratasys managed to have some sharp edges in the star, but the star in sindoh has more rounded edges
Walls and minimum distance
In this case, Formlabs is the winner. It was the only one that managed to print the six walls and five of the gaps. Then, stratasys managed to print three well separated walls, and just one clear gap. Finally, sindoh printed three not very sharp walls and did not manage to leave any clear gap.
Pyramide. Sharp details
Sindoh printer did not manage to print the edge of the pyramide. Stratasys printed the edge, but not as sharp as formlabs printer.
Bridge print
This is the only characteristic where Formlabs looses. Formlabs bridge was too thin and, in the larger part, it broke. However, the two other printers managed to create a good bridge, being sindoh the better one
3D Print font
In this case, the font is almost not visible in the piece from stratasys. It looks a bit better in sindoh, and it is clearly visible in formlabs.
Overhang
The quality of these details is quite similar for stratasys and formlabs printers: they look quite good. However, in sindoh, the pieces do not look sharp, and have much more extra material.
Download
Store the files in files/assignment_name
You can set up a button for files to be downloaded with:
			<a href="#">
			<button type="button" class="btn btn-primary btn-lg">Download the file</button>
			</a>