Week 03: Computer-Controlled Cutting
Laser Cutter
- characterize your lasercutter, making lasercutter test part(s), making test part(s) that vary cutting settings and dimensions(group project)
- cut something on the vinylcutter
- design, make, and document a parametric press-fit construction kit, accounting for the lasercutter kerf, which can be assembled in multiple ways
Learning outcomes:
- Demonstrate and describe parametric 2D modelling processes
- Identify and explain processes involved in using the laser cutter.
- Develop, evaluate and construct the final prototype
Have you:
- Explained how you parametrically designed your files
- Shown how you made your press-fit kit
- Included your design files and photos of your finished project
Vinyl Cutting
There is no specific project that is focussed on this very useful tool. There are a range of ways you might utilise it throughout the programme, or your local instructor may set a specific project. You might make:
- stickers
- flexible circuit boards
- a textured surface/relief pattern
- screenprint resists/stencils
Ensure that you have used it in some way during this time and met the objectives below.
Learning outcomes:
- Identify and explain processes involved in using this machine.
- Design and create the final object
Have you:
- Explained how you drew your files
- Shown how you made your vinyl project
- Included your design files and photos of your finished project
Source: Fab Academy Assessment - Computer-Controlled Cutting
My Process
Background
I already have a moderate amount of experience with both the vinyl cutter and the laser cutter. Though I did find the lecture and exercises informative - there's always more to learn!
Vinyl Cutter
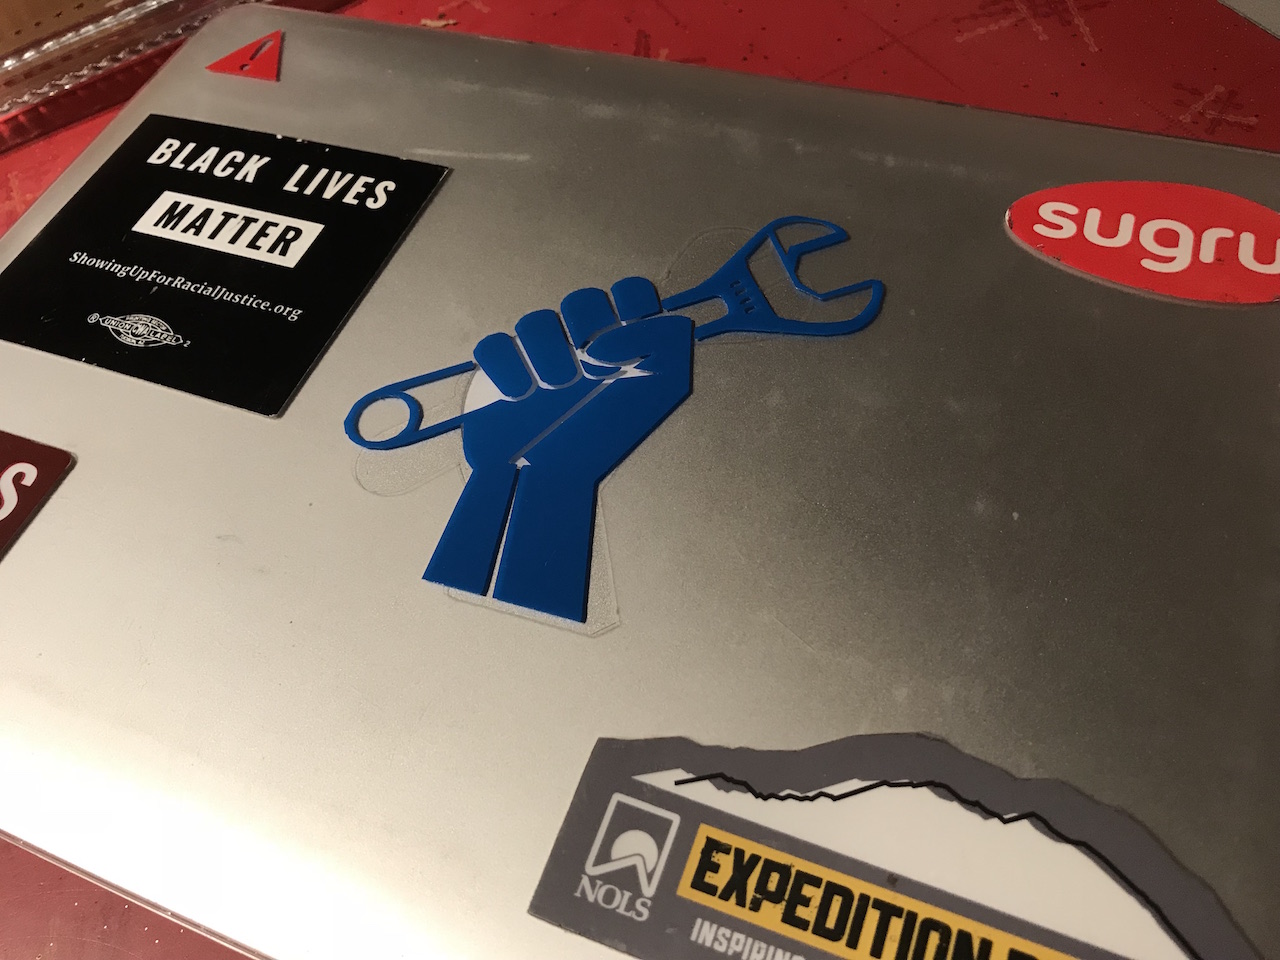
I started with the vinyl cutter. I wanted to get my feet wet with mods, and I had a sticker in mind. It's a clone of an iFixit sticker that I've had on my laptop for several years and the coloring has worn off. Given the iFixit ethos of self-repair, it seemed an appropriate task to make my own vinyl cut replacement. I went and found the image I wanted to trace:
![]()
programs > open server program > Roland > vinyl cutter > GX-24 > cut png.
![]()
I found a piece of blue vinyl that I liked and loaded it into the machine. I resized the image to fit the vinyl piece by changing the dpi in the first mods panel. I sent the file to the printer. On the first pass, the cut did not go all the way through, and also there were some artifacts because some parts of the png image did not have a white border (and so mods skipped some cut lines). I increased the force to 100g (from 50g), used MS Paint to make sure there was a white border around the entire image, and tried again. After weeding and transferring via transfer tape, I'm fairly happy with the result:
In addition, I have wanted to make some vinyl cut stickers to help people find my Fab Lab. I did a quick vector drawing of what I wanted to create in Inkscape:
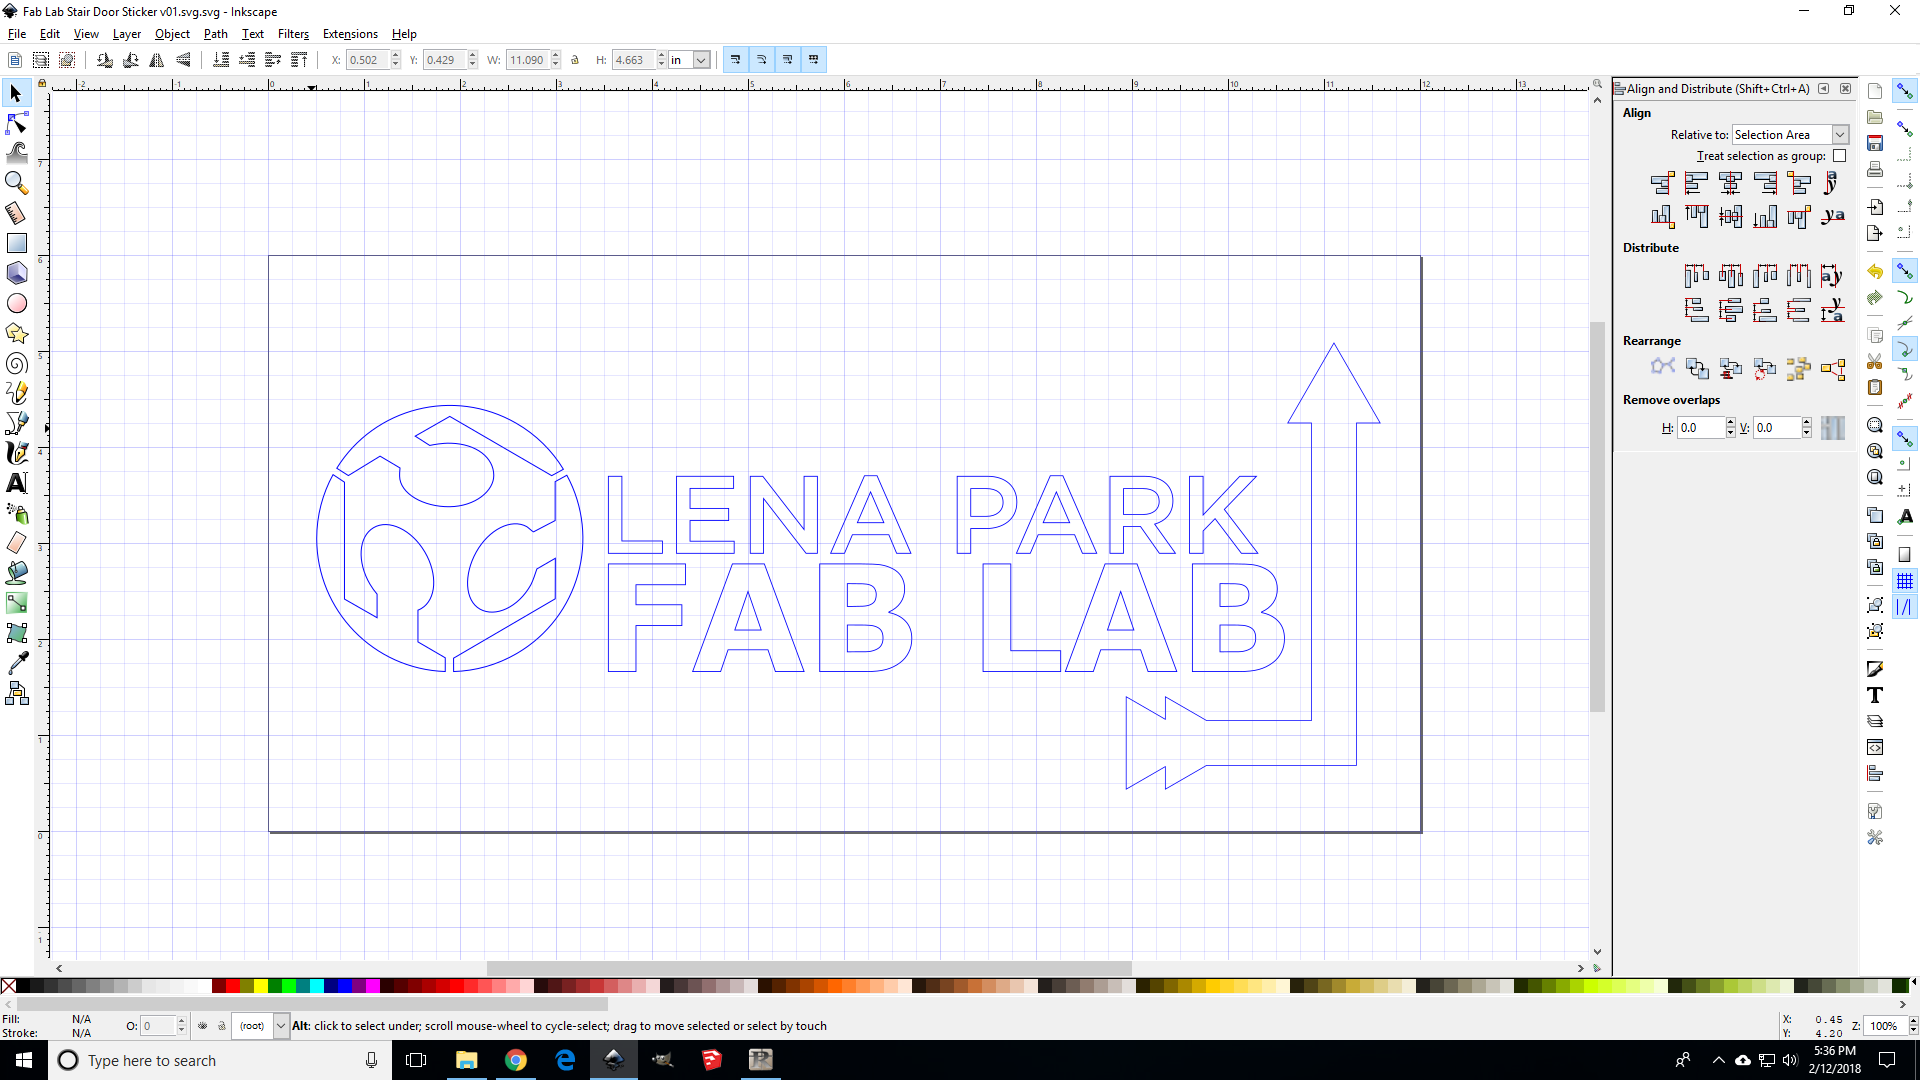
My design file for this sign can be found here (.svg file).
I then loaded it into the Roland CutStudio software (I did not have a print server setup on this machine, so I didn't use Mods - though I would like to set this up for the future):
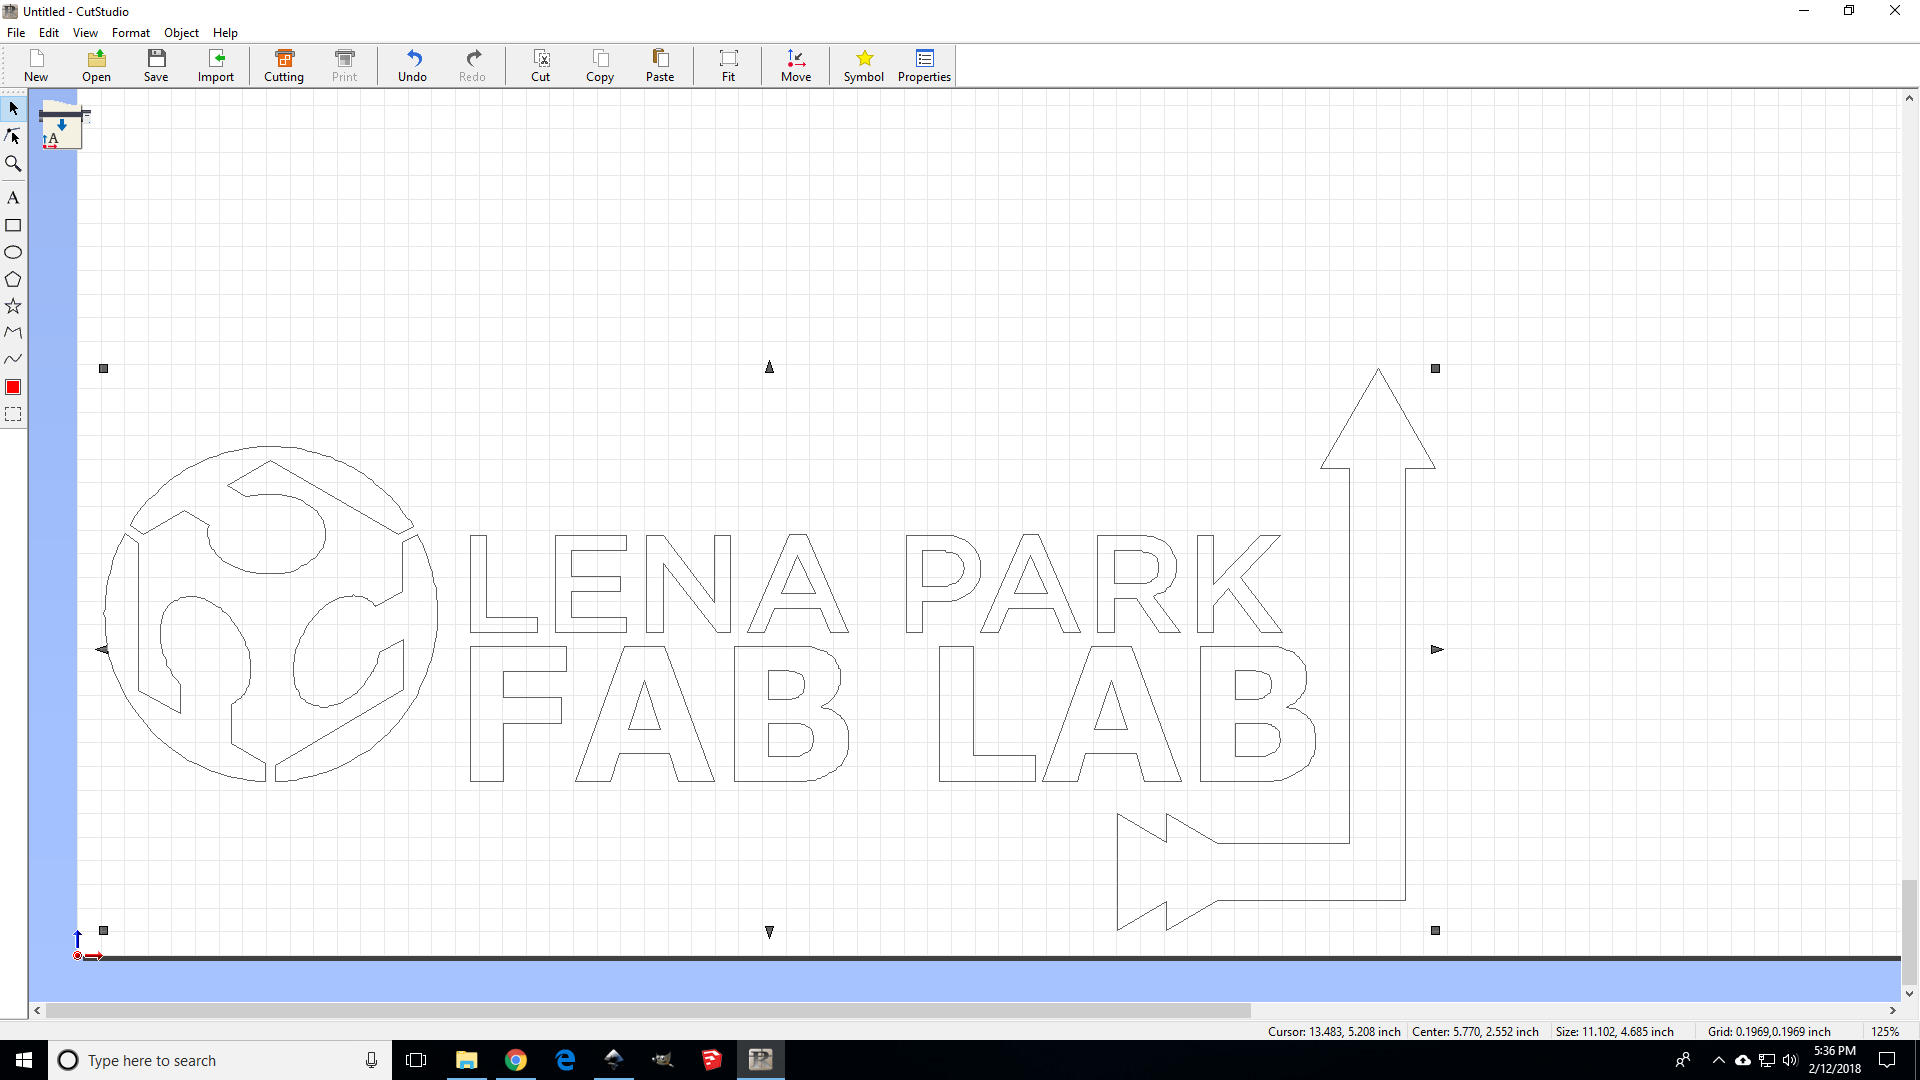
I noted with some test cuts that this vinyl cutter needed to be set at a higher force setting: 170g seemed to work best. After cutting the file on the vinyl cutter, I weeded and prepped the sticker with transfer tape:
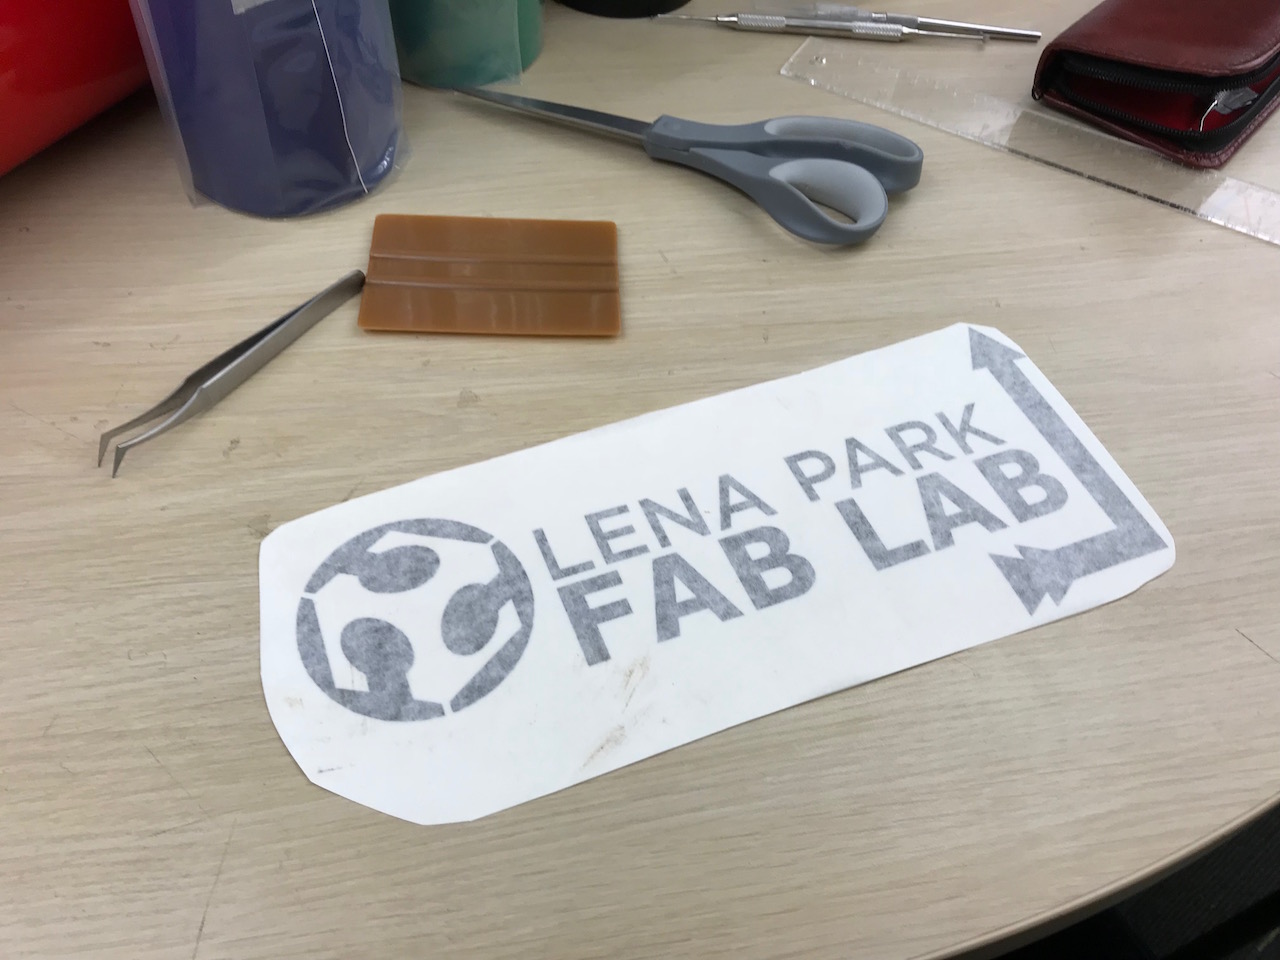
Using a spirit level I carefully placed the sticker where I wanted it to go on the door:

Again, I'm fairly happy with the result. I think it's highly readable, and makes finding the Fab Lab just a bit easier:
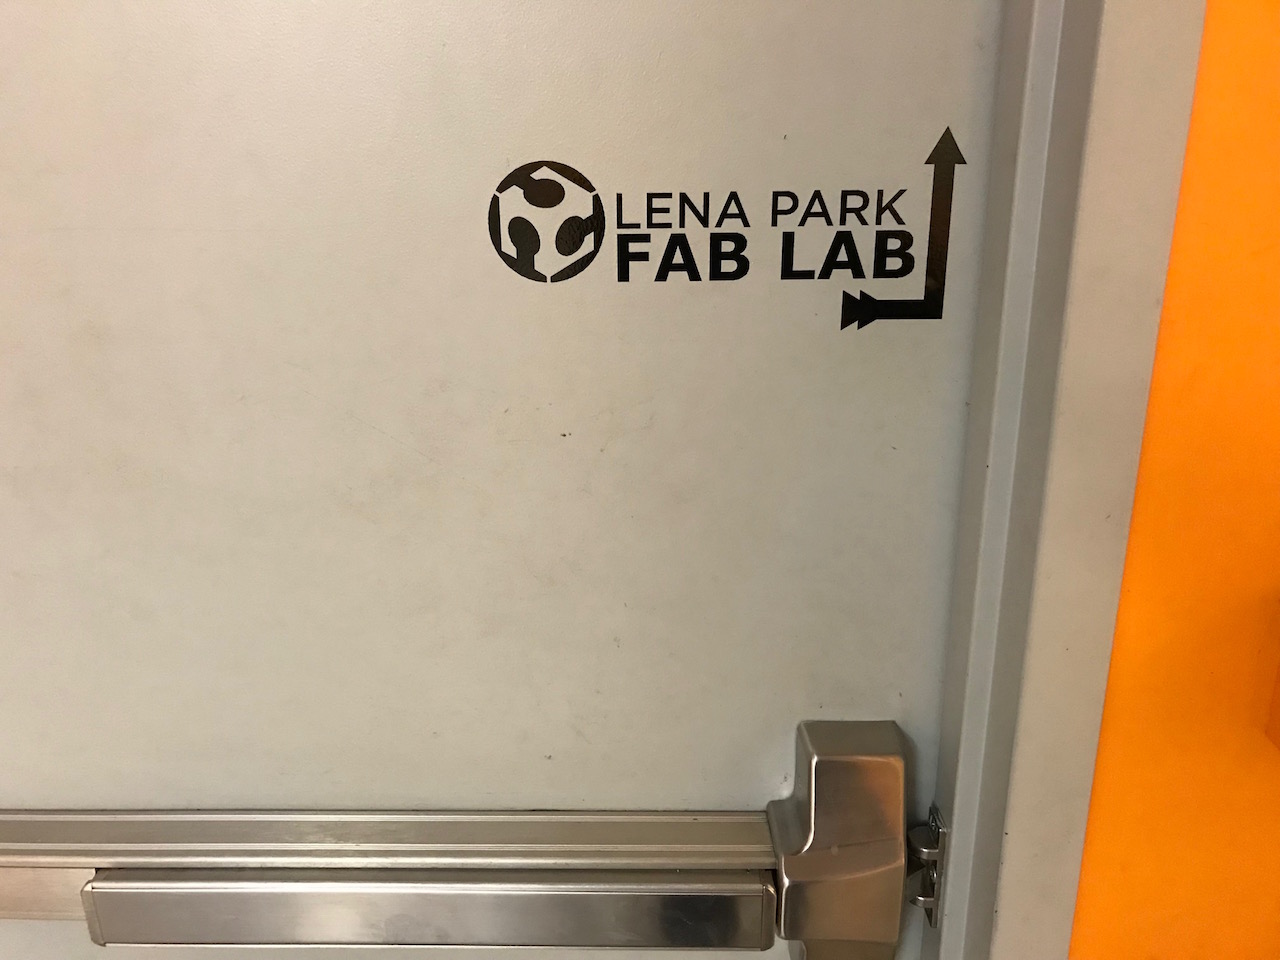
Note: I chose to keep this monochrome because the lab will actually be moving to a new location and this sticker will need to be taken down. Once the lab is in its new location, I'll do a nice color version with the RGB Fab Lab logo.
Laser Cutter Characterization
Because I have access to my own laser cutter at Lena Park Fab Lab, I did some of my own characterization, in parallel with what my group did at our shared facility.
I began by creating a cut file with some nominal sizes to compare to actual cut-sizes and thereby determine the approximate kerf width of my laser cutter. I created an array of circles and squares, starting at 1mm wide and increasing by 1mm increments to 10mm wide.
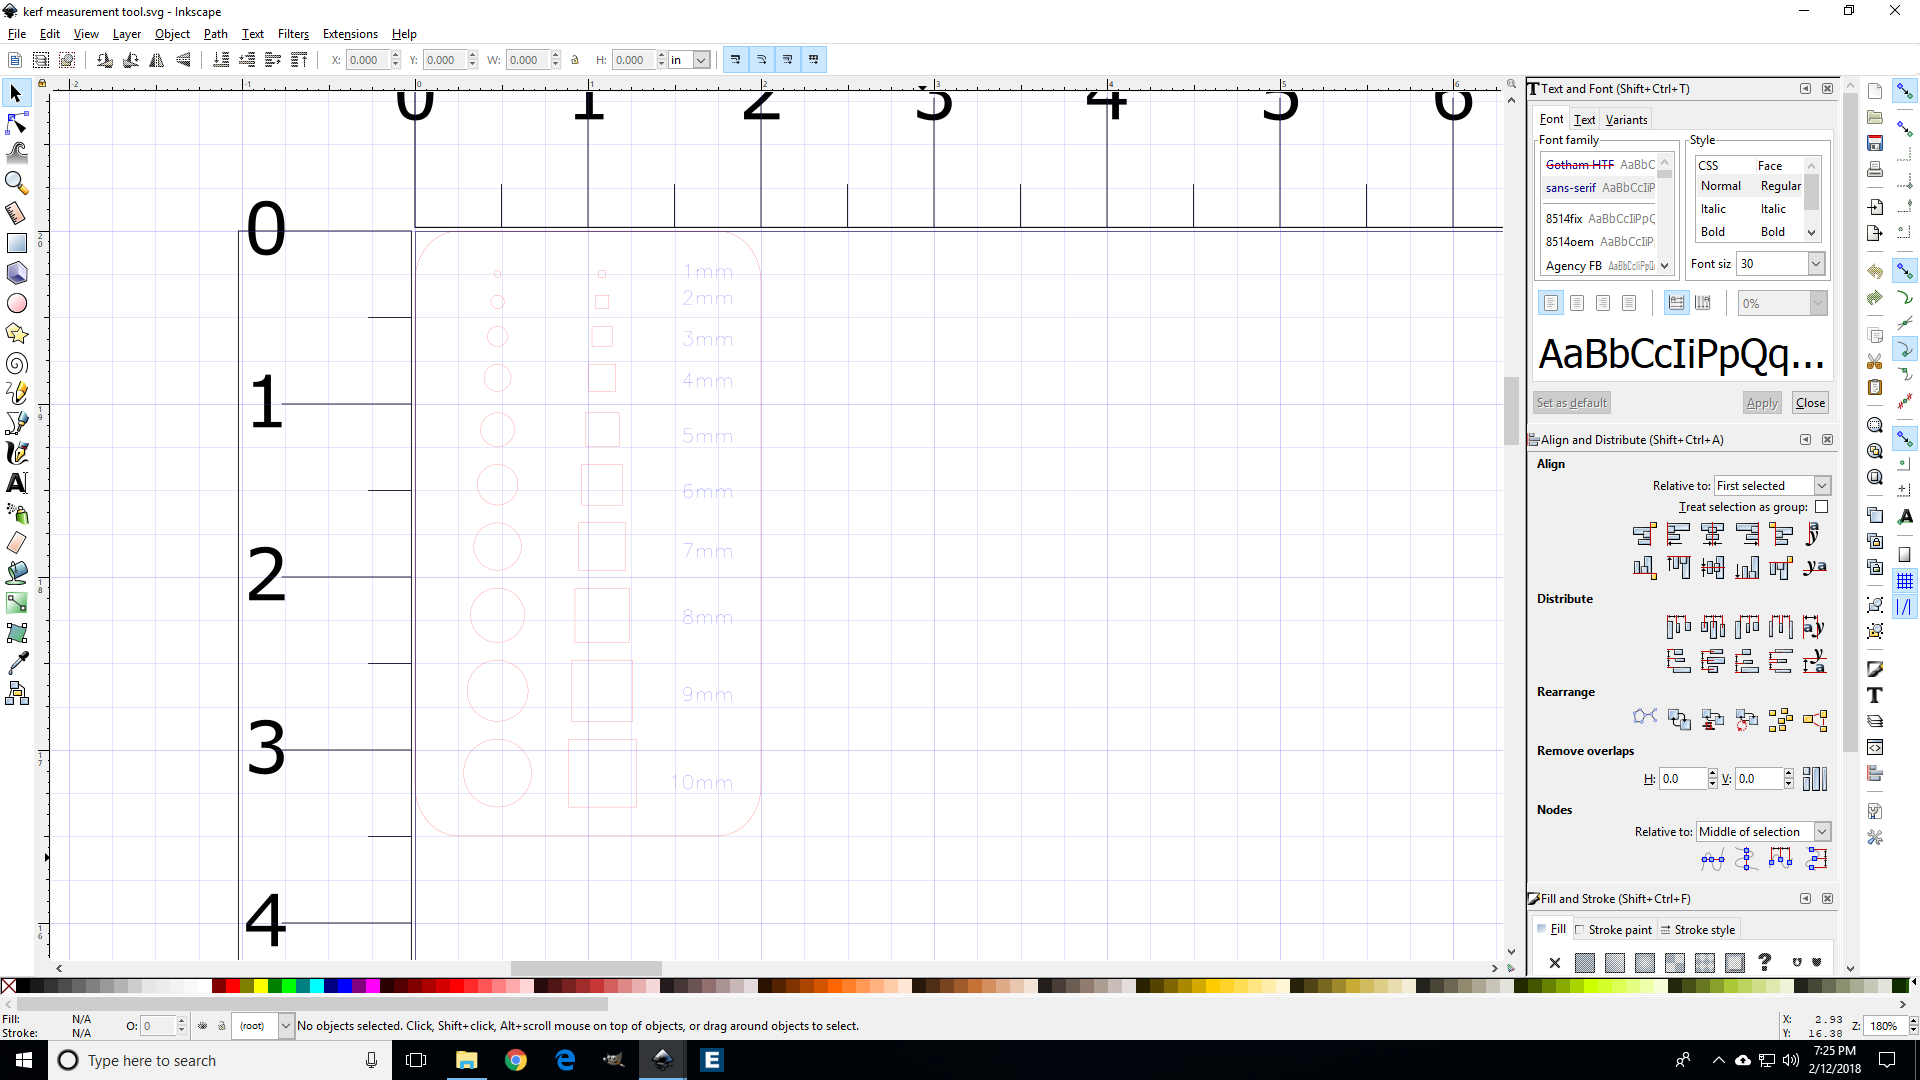
Design file for this kerf measurement tool can be found here (.svg file).
I then cut it out on the laser, and used my digital calliper to measure the actual widths of the cutouts:
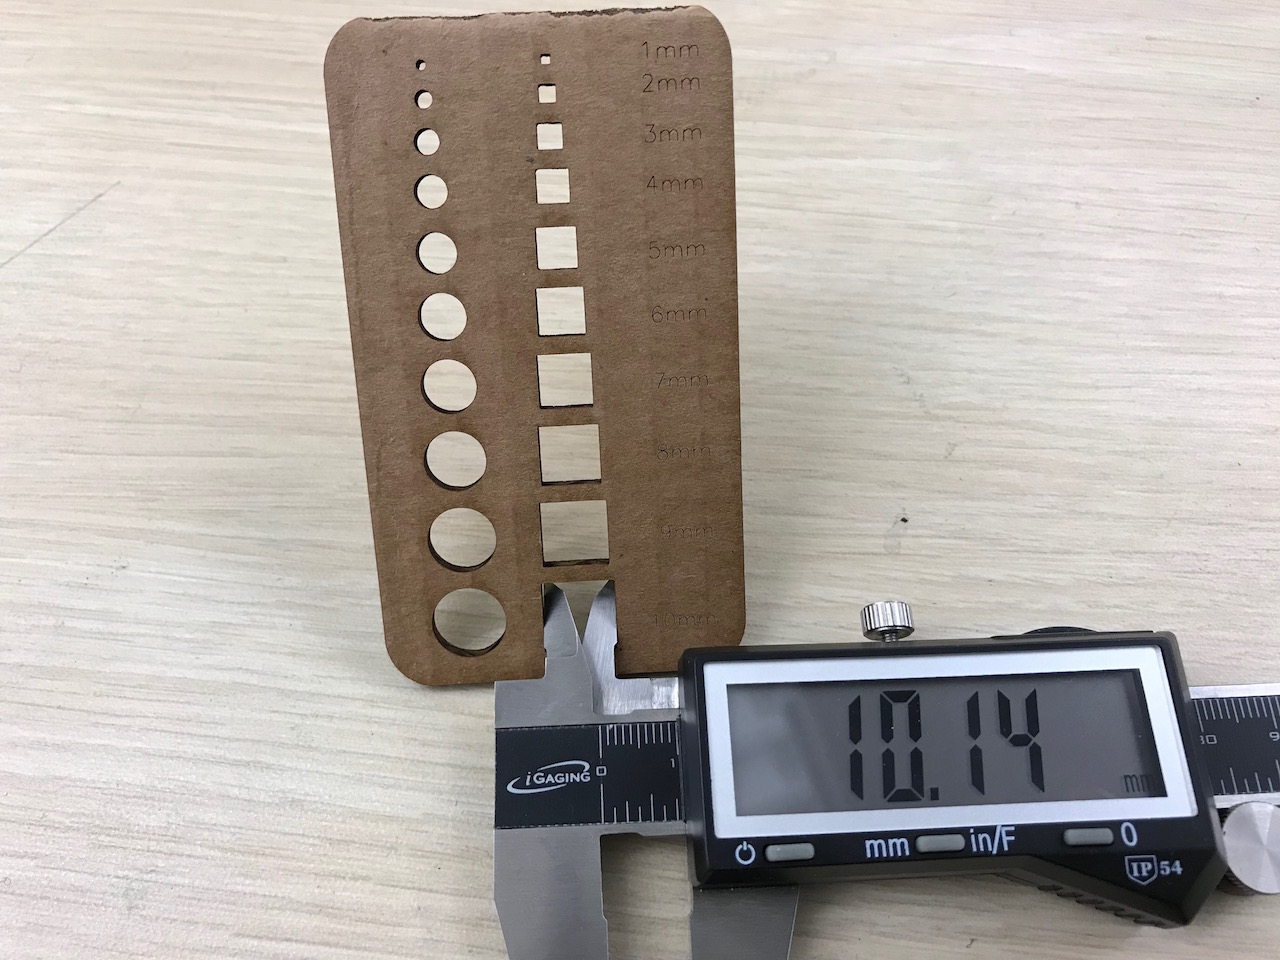
I created a spreadsheet with the measurements and used it to calculate an average kerf size over all the measurements. I got an average kerf size of 0.187mm (or 0.0074" a.k.a. "7.4 thou"). To be precise, this number may be considered 1/2 of my kerf-width. In other words, 0.187mm is how much I want to offset my laser on a given cut, either inside or outside a line depending on the cut geometry. The actual kerf width of a straight cut would be 0.374mm.
In addition to kerf width measurements, I also made a "comb" jig to test different slot widths for press-fit.
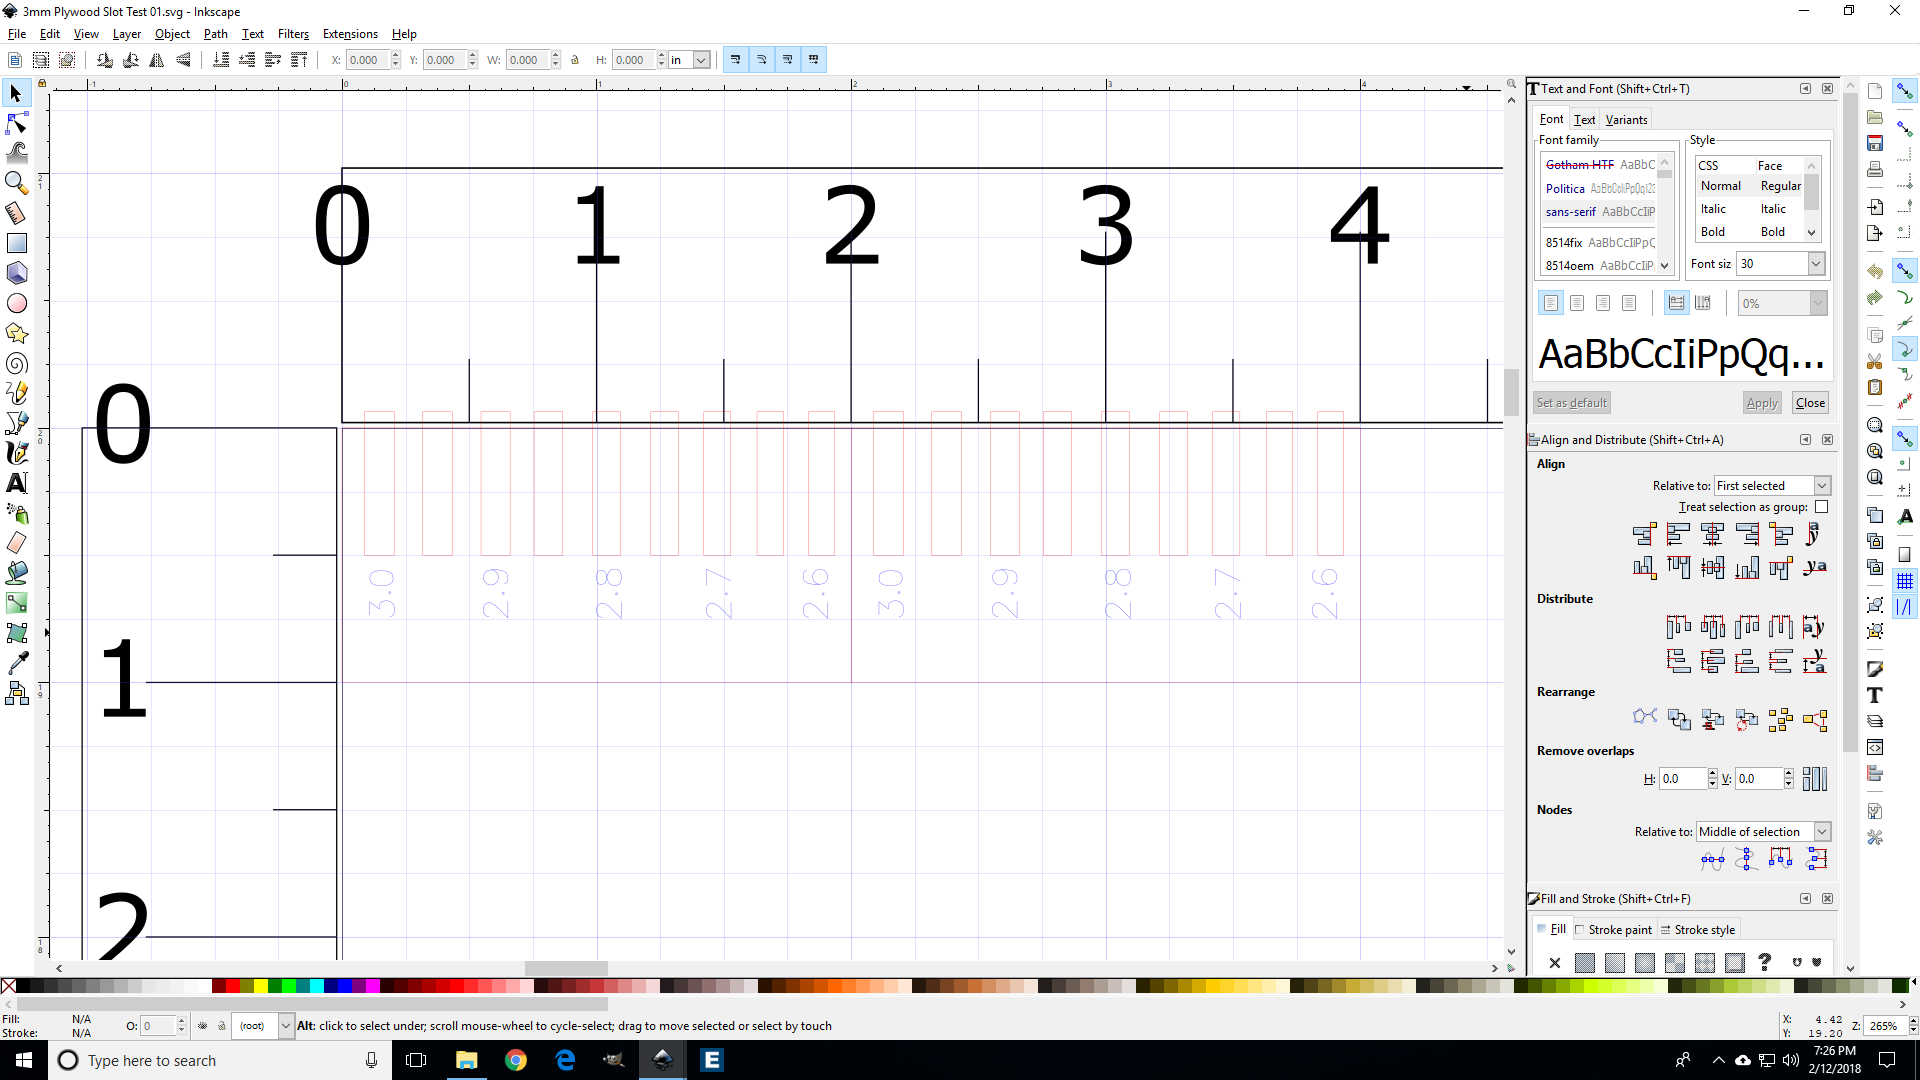
Design file for this slot comb test can be found here (.svg file).
I ran this test for 3mm plywood with good results; a similar test can be run with any given material.

The numbers on the comb represent nominal milimeters (mm) in the cut file.
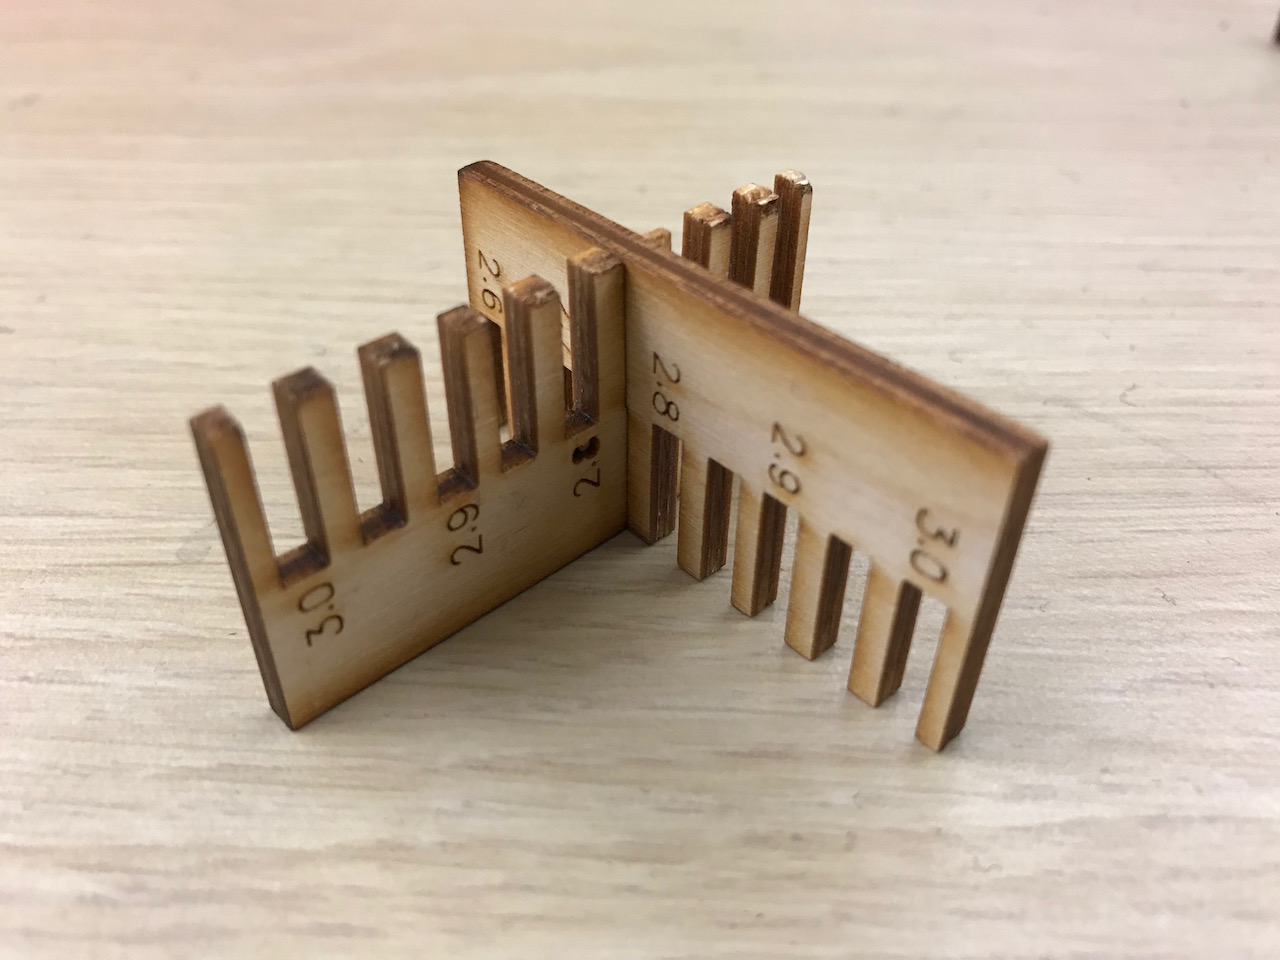
The slot that made a snug, friction fit was 2.75mm. This makes sense given that my nominal kerf size (in the cut file) was 2.75mm, and my kerf, as measured above, is .187mm. Added together those almost exactly match the 2.93mm that I measured the plywood (which was nominally 0.125" or ~3mm). Again, these combs can be created for varying materials and thicknesses and used to characterize a snug press fit in a given material before designing/cutting.
Press-fit Construction Kit
I have done a variety of press-fit designs using inkscape and "trial and error" (i.e. design something, see if it works in my chosen material, guess-and-check changes until it does). I decided to revive a press fit construction kit that I developed last Fall for kids in my Fab Lab, and this time to sketch it parametrically.
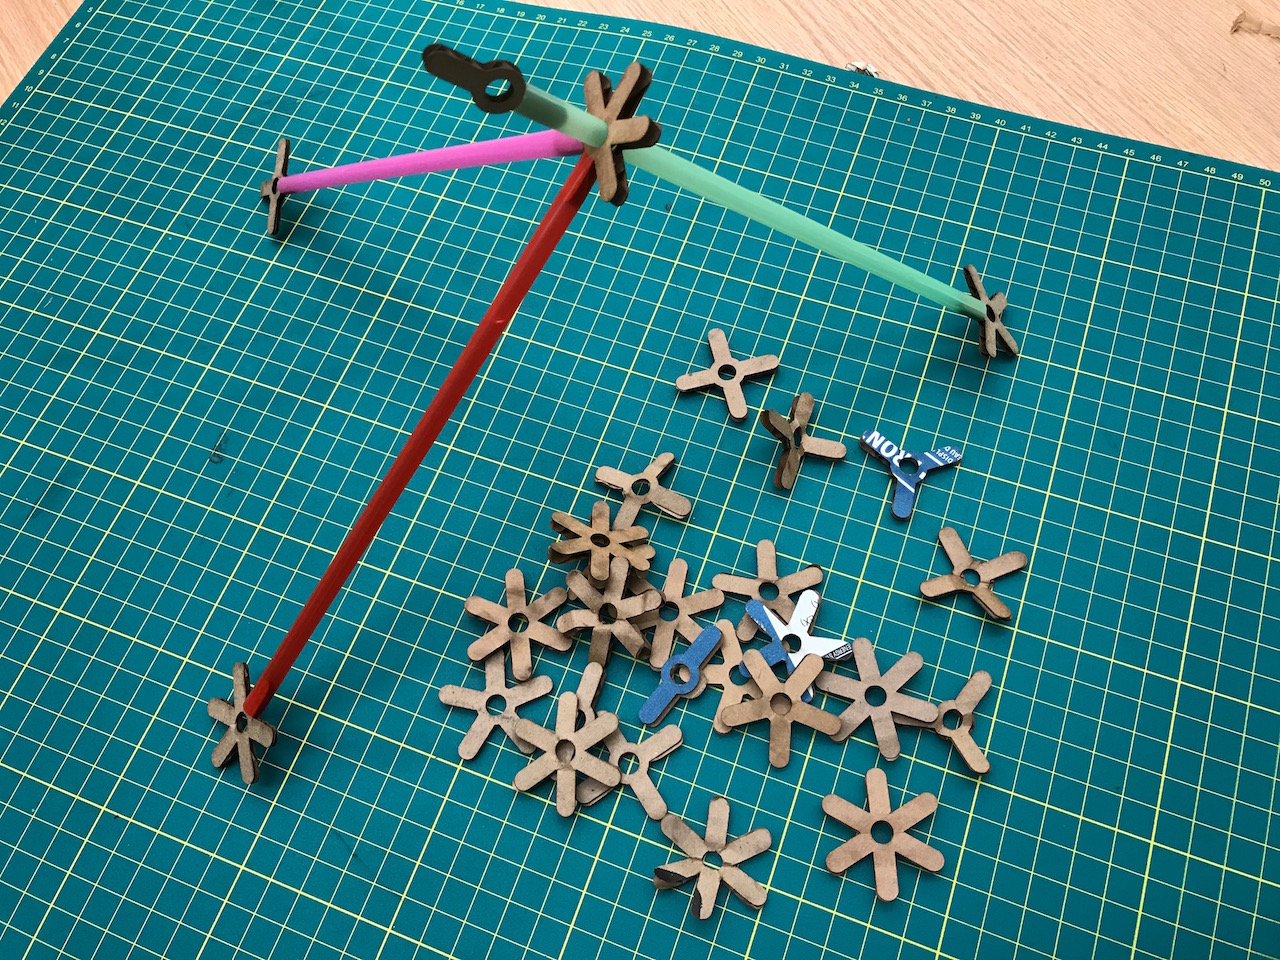
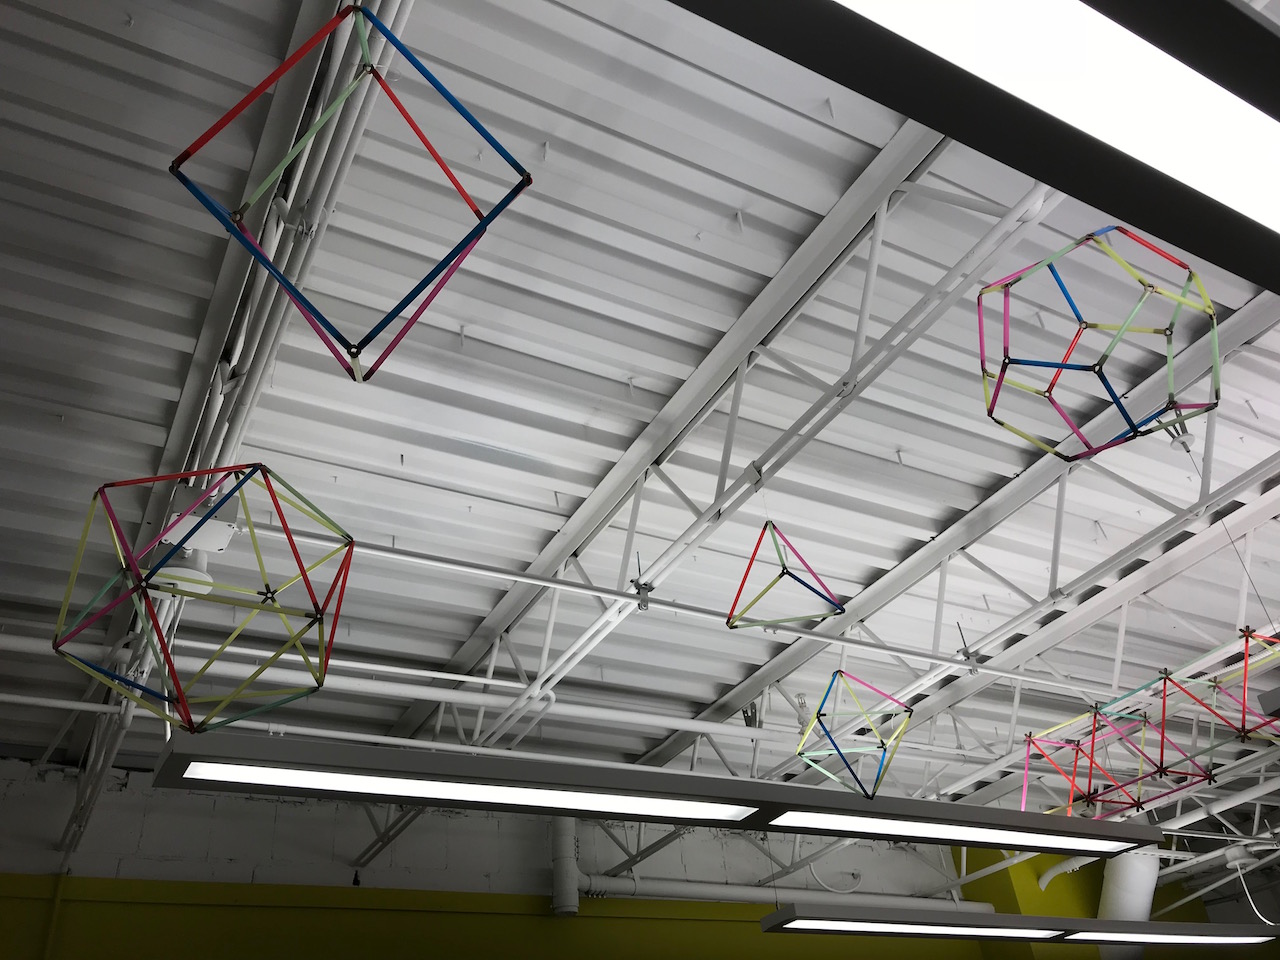
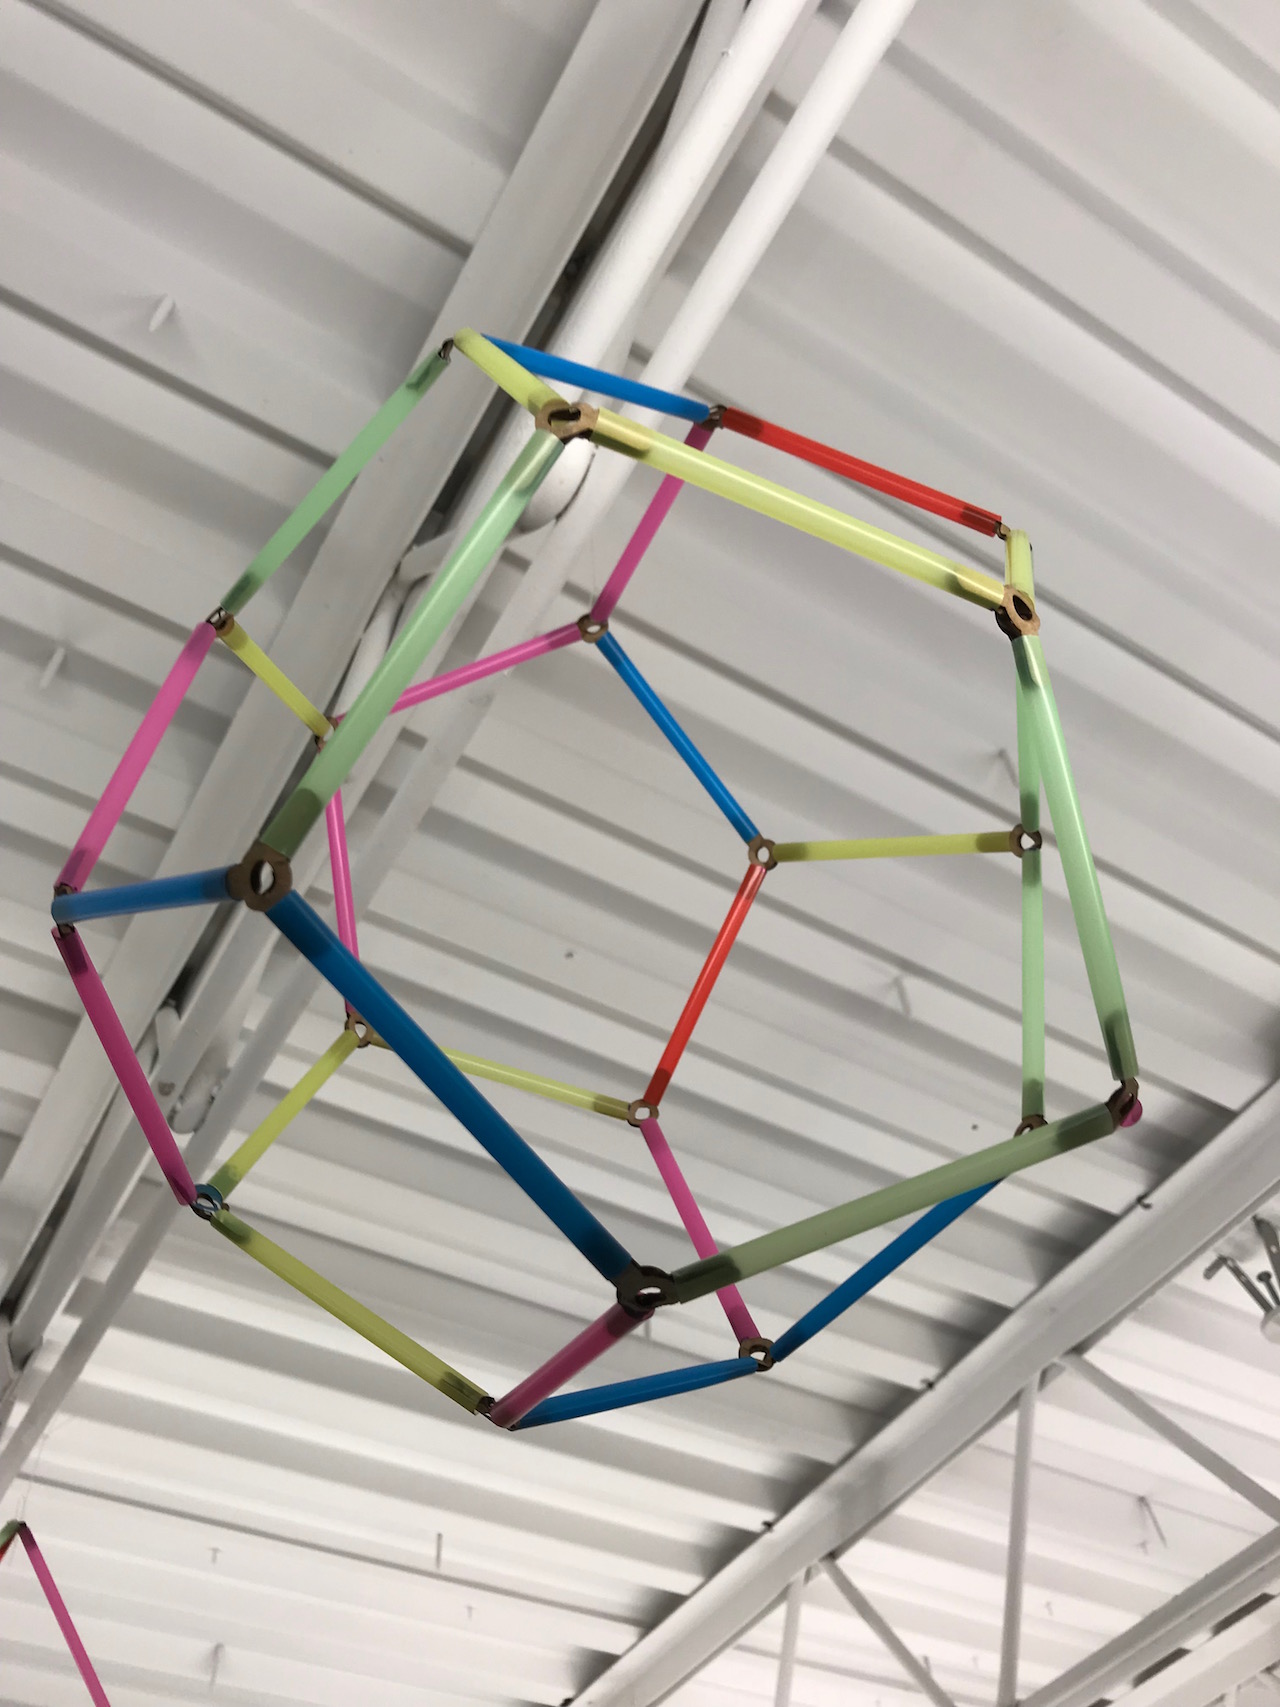
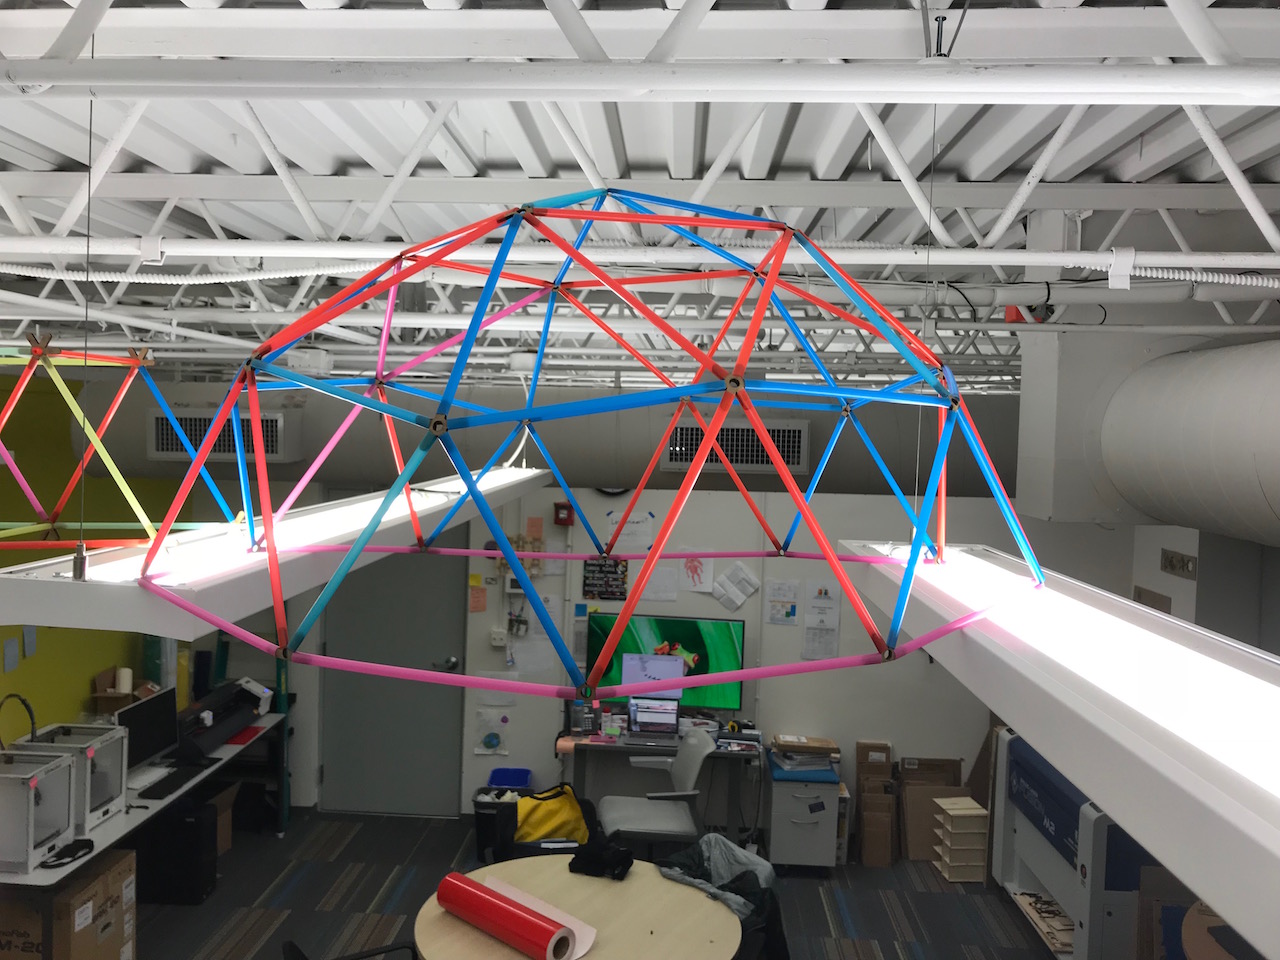
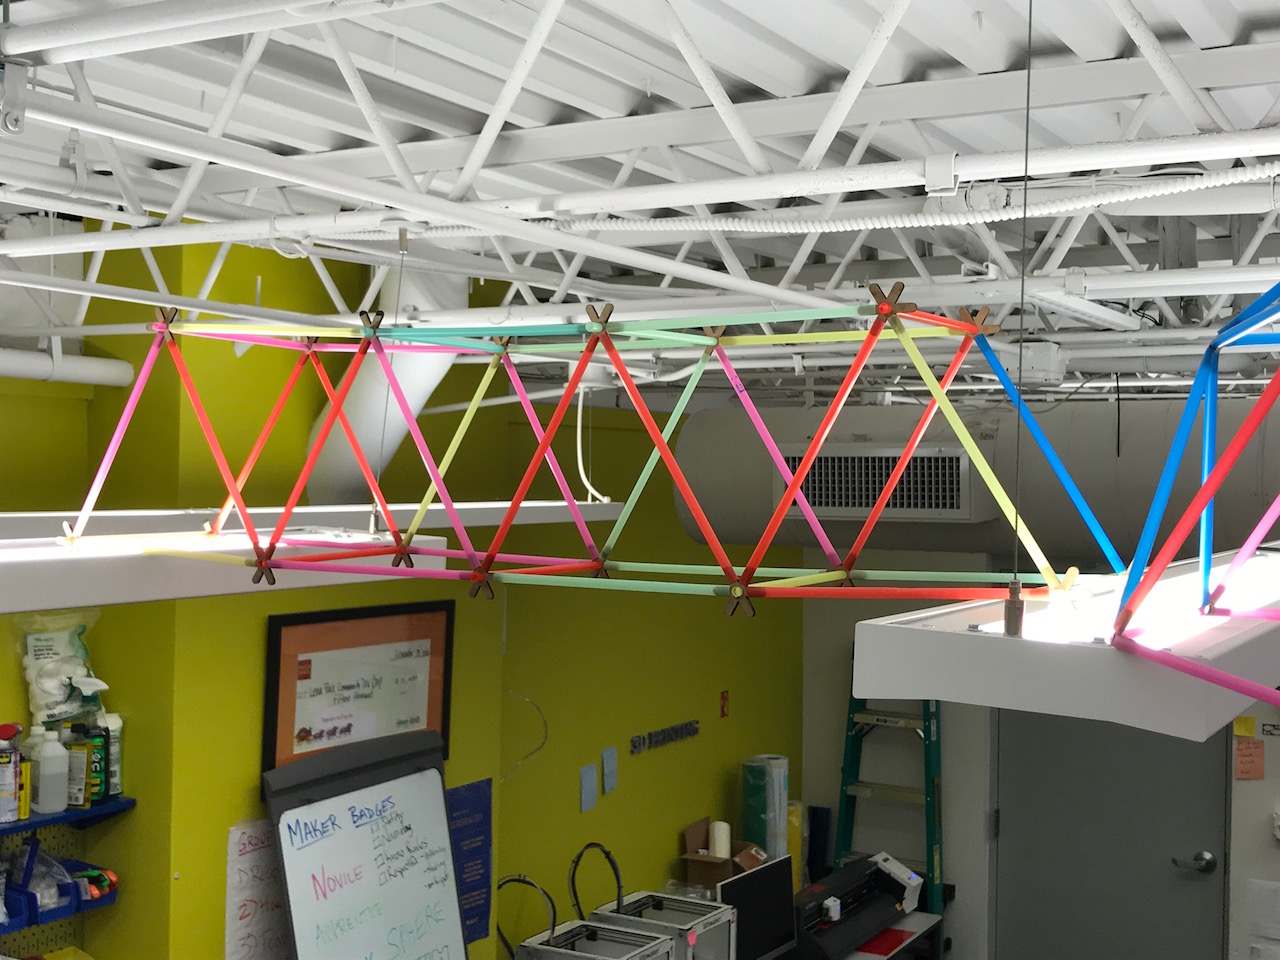
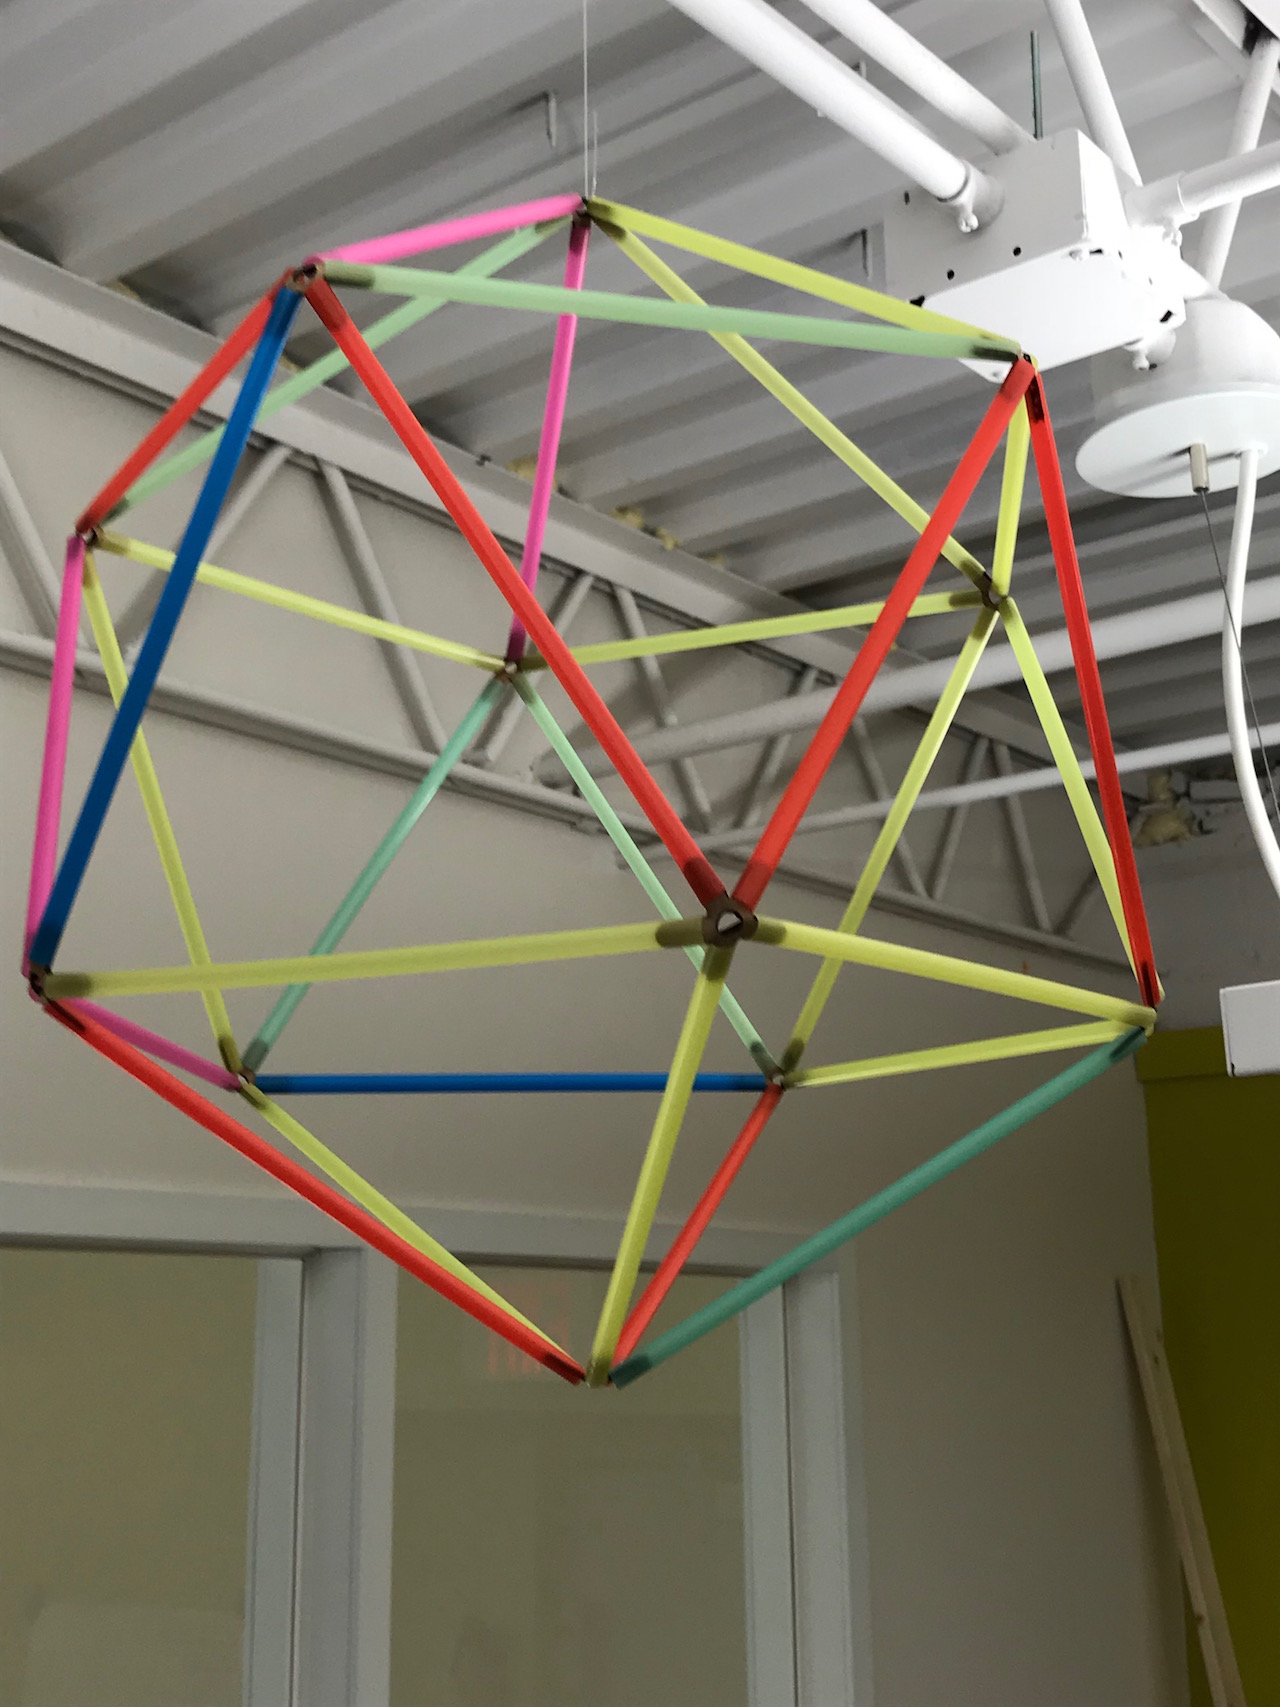
The idea is to laser cut spoke hubs of various shapes and number that can be used in a press-fit to connect to straws, using the straws as spokes off the hubs to create a variety of 3D shapes and designs. I had a toy like this as a child with injection molded spokes - this is my DIY Fab Lab laser cut version.
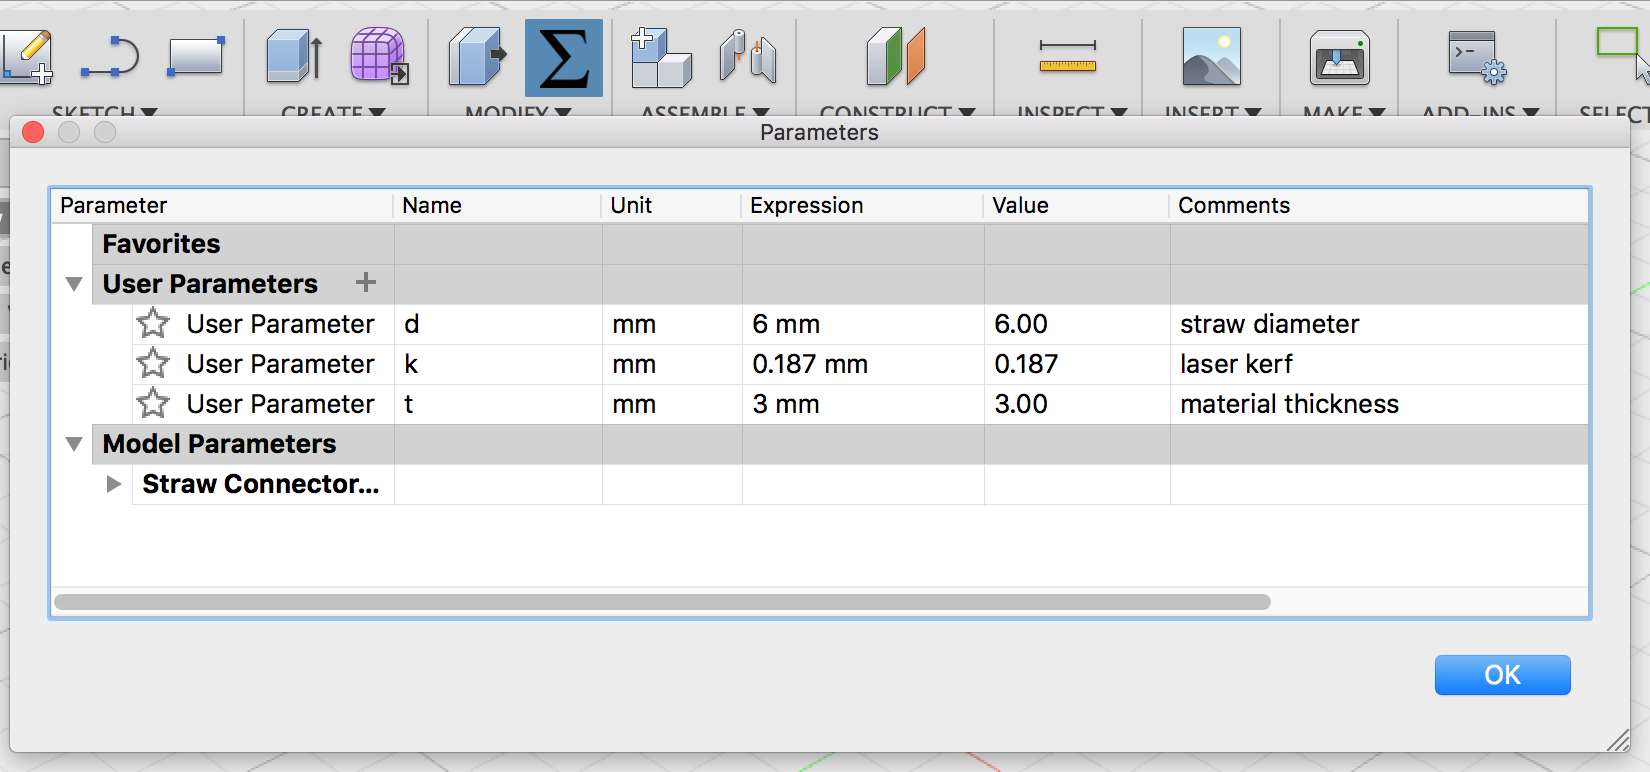
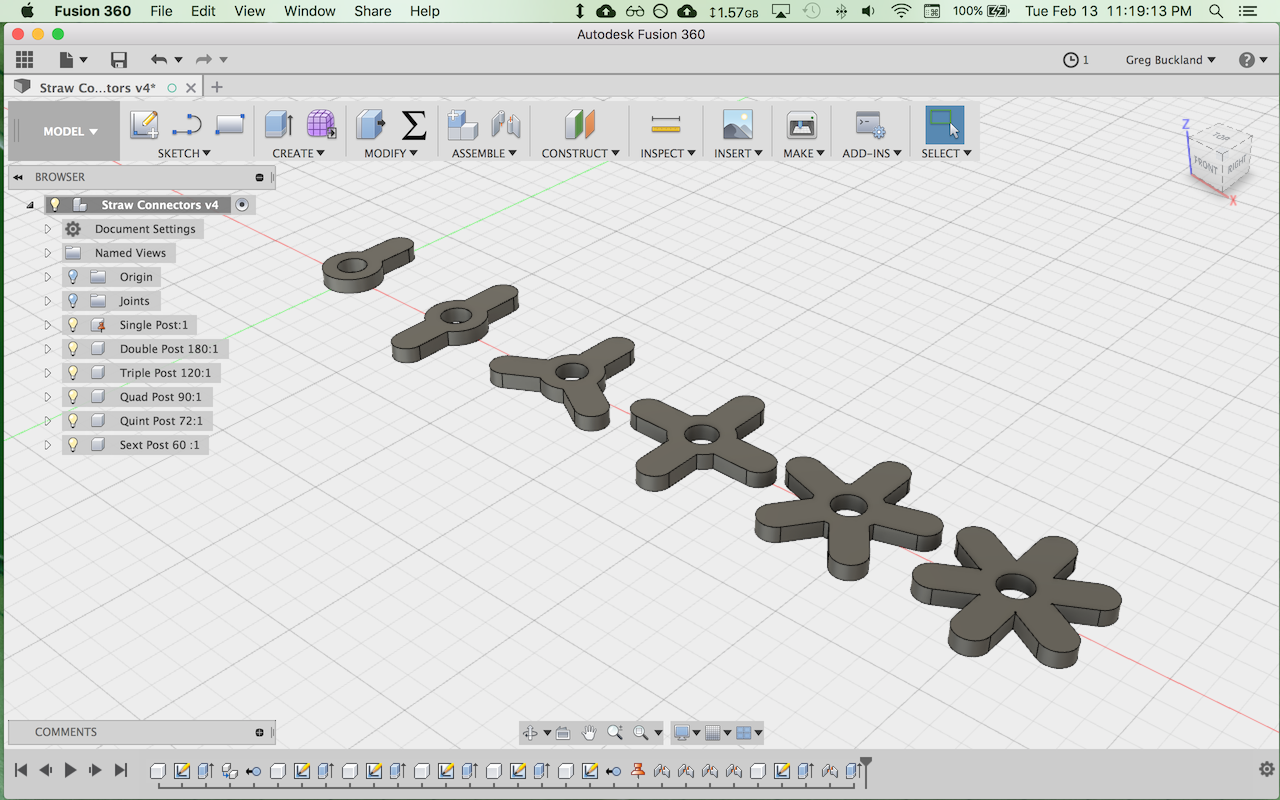
I began by setting up the variables in my parametric design in Fusion 360. I created a variable "d" for the straw diameter (in my case 6mm), "k" for the laser kerf (0.187mm), and "t" for the material thickness (in this case ~3mm cardboard).
I then sketched and constrained the basic shape for my baseline part - a hub with a single spoke. I dimensioned the sketch using the appropriate variable parameters (e.g. the width of the post is k + t = 6.187mm, the inner diameter of the center hole is k - t = 5.813mm, the post length is 3 * d = 18mm, etc.)
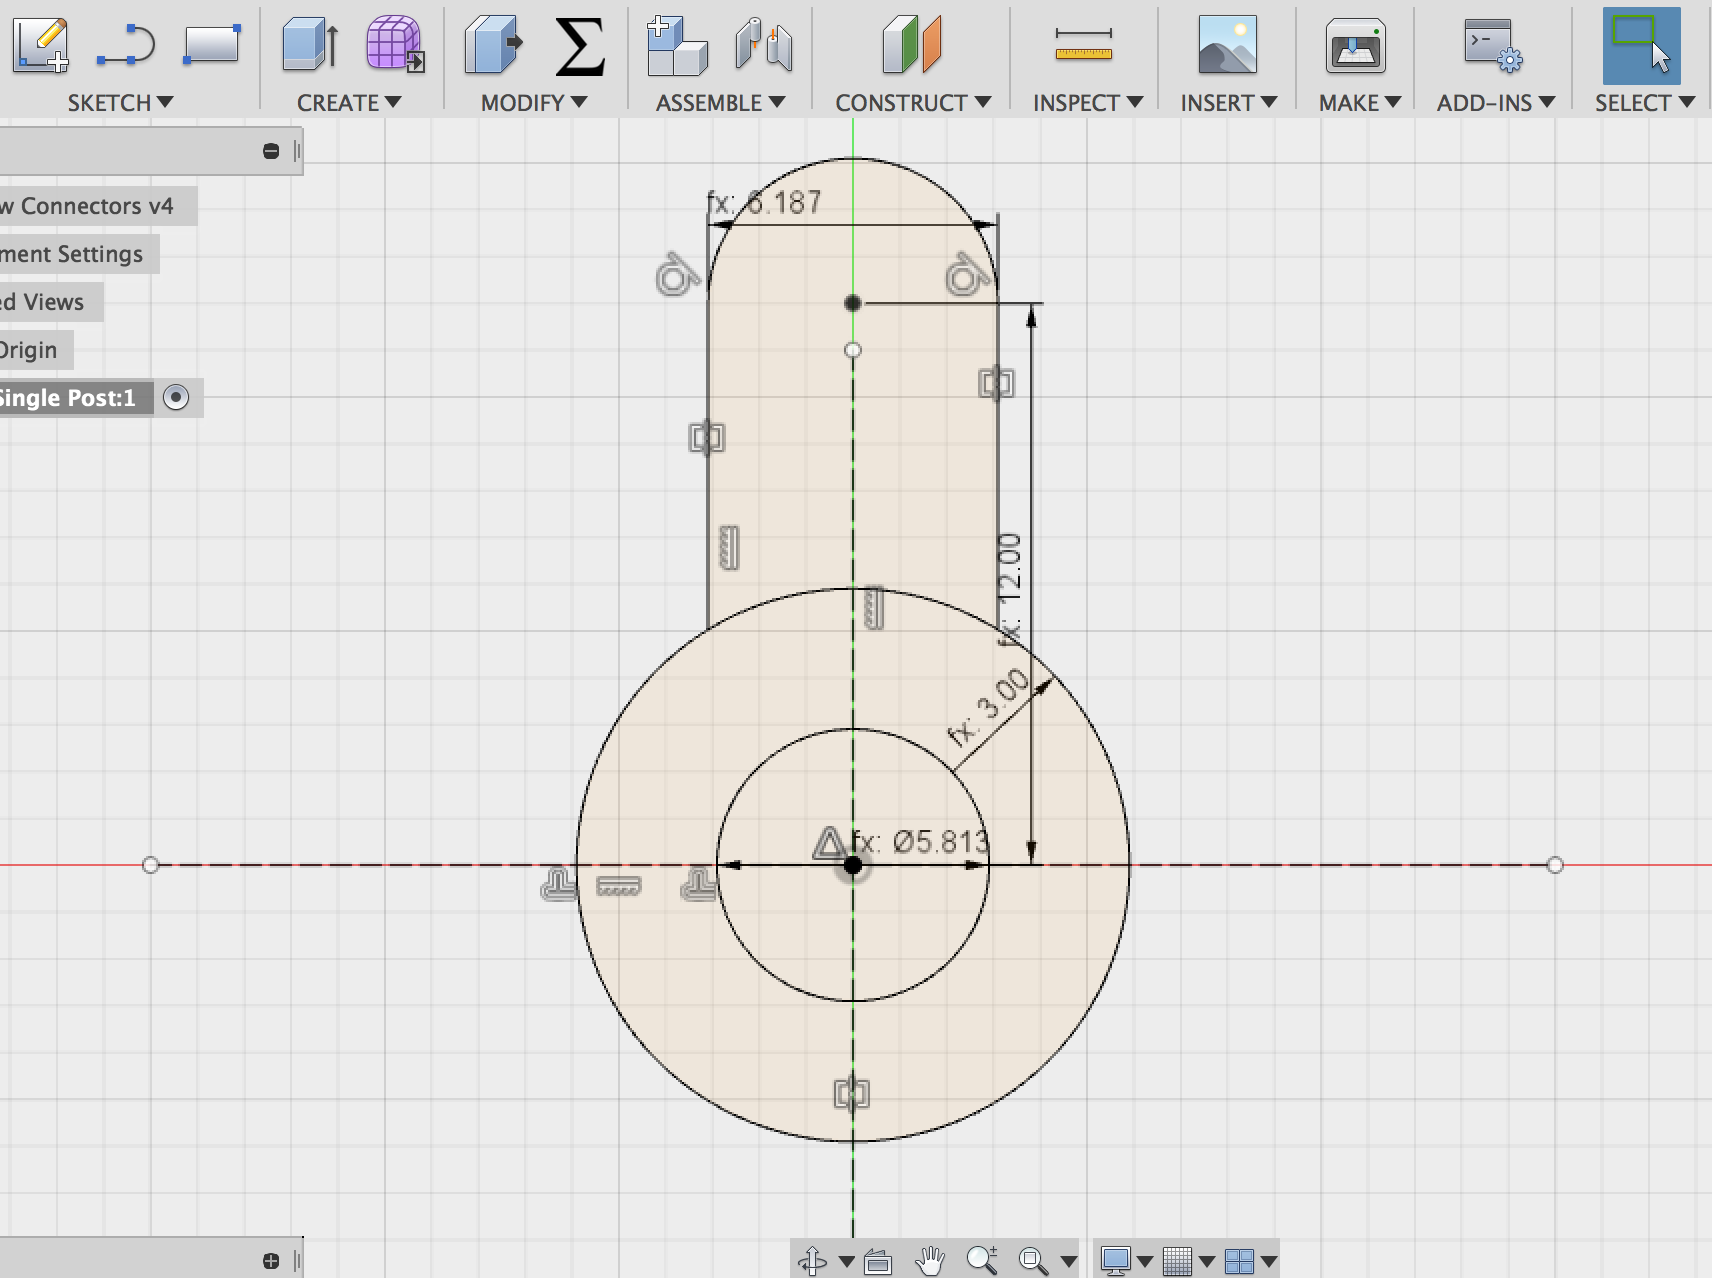
Using the extrude tool, I set the thickness of the part equal to "t" or 3mm in this case.

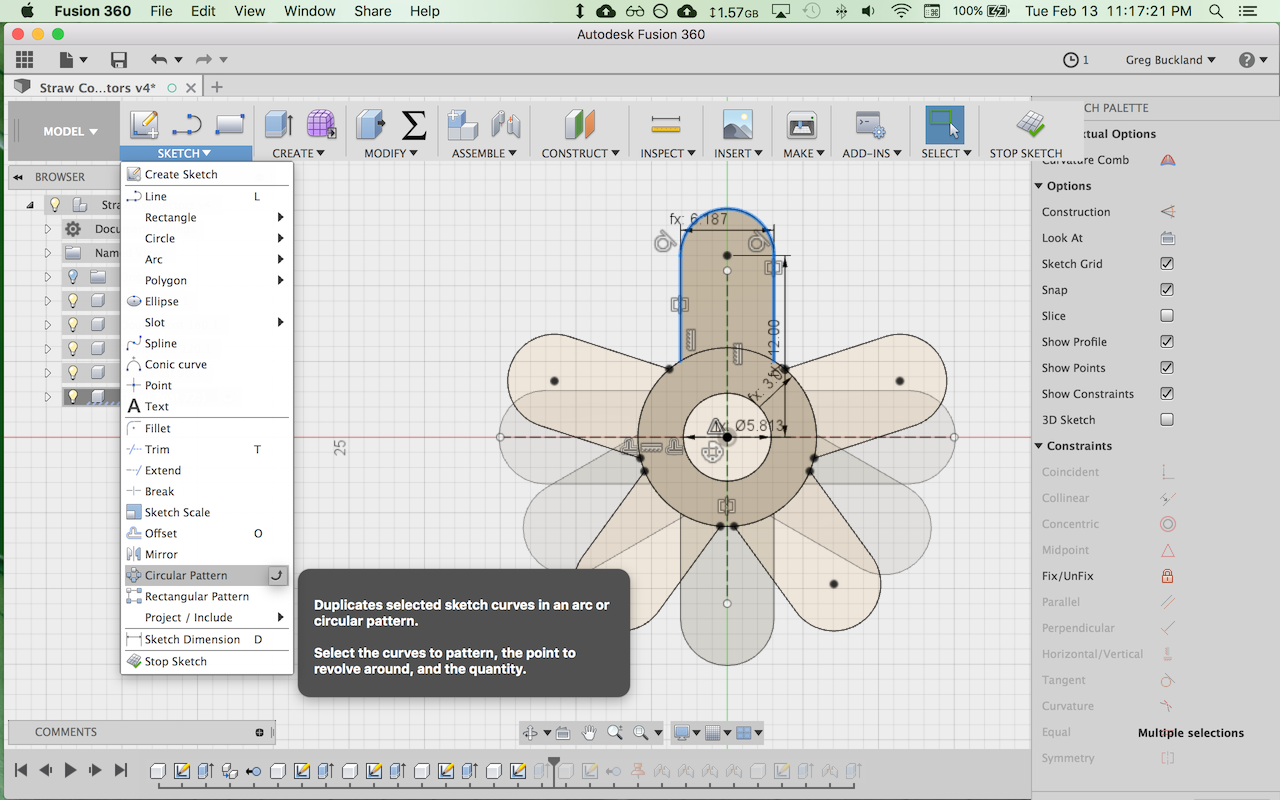
I duplicated the component multiple times and then edited the sketches of each duplicate to create a differently shaped spokes, using the "circular pattern" tool in the sketch menu.
After prepping and cutting, the kit came out great - you can make all sorts of cool stuff with them!
Design Files
SVG file of Fab Lab Door Sign sticker (.svg file).
SVG file of kerf measurement tool (.svg file).
SVG file of slot test comb for 3mm plywood (.svg file).
F3D file of straw connectors (.f3d file).