Exercise 05 - 3D Scanning and Printing
Test the design rules for your printer, design and 3D print an object, 3D scan an object
3D printing rules
Together with Enrico Bassi we checked the rules of 3D printing in general and then we did a printing test with our Ultimaker 2+.
In my understanding main printing rules are:
- If some part exceeds 45° from z axe, that part will probably need a support
- Big arc or circles needs supports, small holes do not
- Maximum strenght of a 3D printed object is along the fibers which goes orizontally and not vertically (remember that the piece is printed by layers and each layer is made of parallel fibers)
- The rule above is not always true, look also at the shape of the object not only at the direction of fibers
- You can do bridges if you have supports at the beginning and at the end of the bridge (obvious?) and if the bridge has same direction of fibers (only if they are orizzontal, remember the layers)
Resuming rules with three letters:
- "Y" is ok,
- "H" take care of bridges,
- "T" not such a good idea without supports.
First 3D printing test
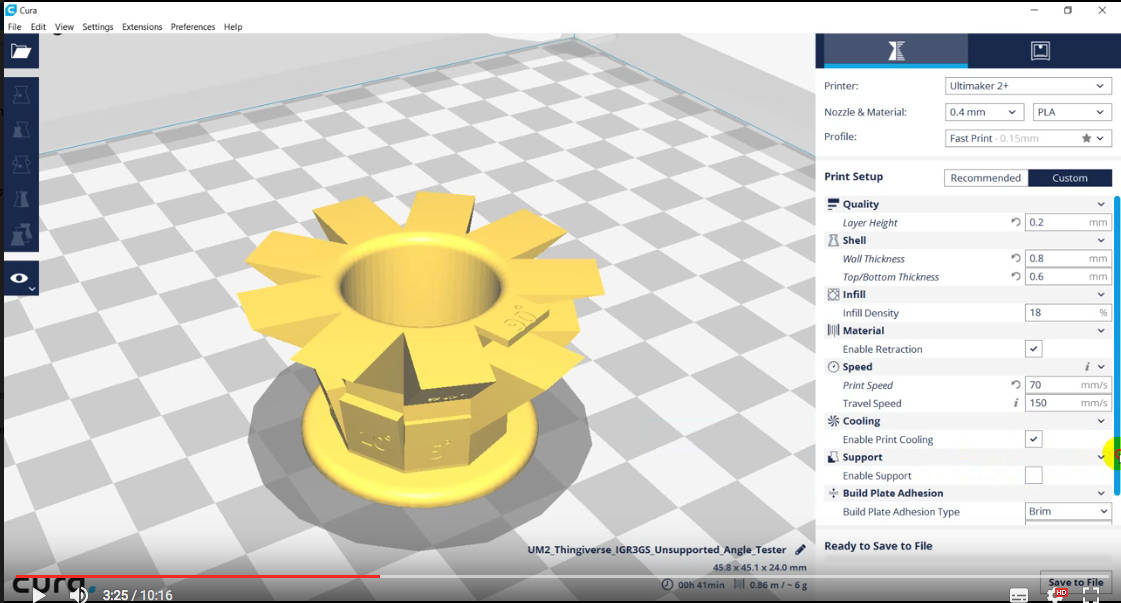
We did also a printing test. We downloaded from Thingiverse a model for our test.
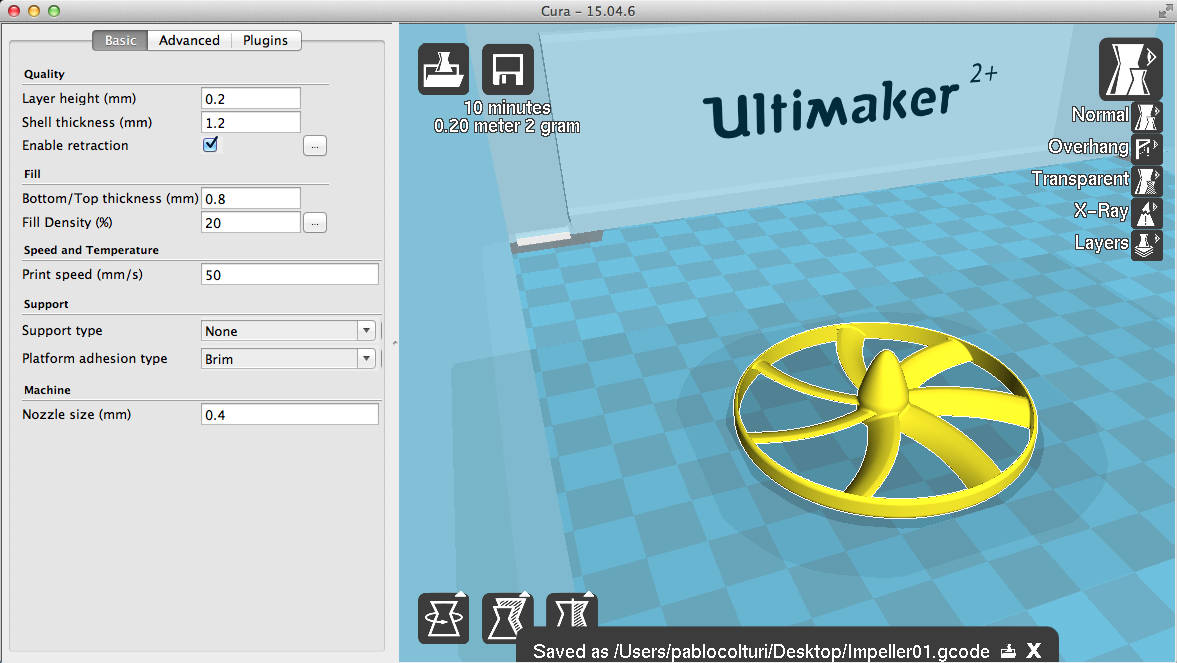
We did some settings.
- Layer Height = 0.2 mm
- Wall thickness = 0.8 mm
- Top/Bottom thickness = 0.6 mm
- Infill density = 20%
- Print speed = 70 mm/s
- Travel speed = 150 mm/s
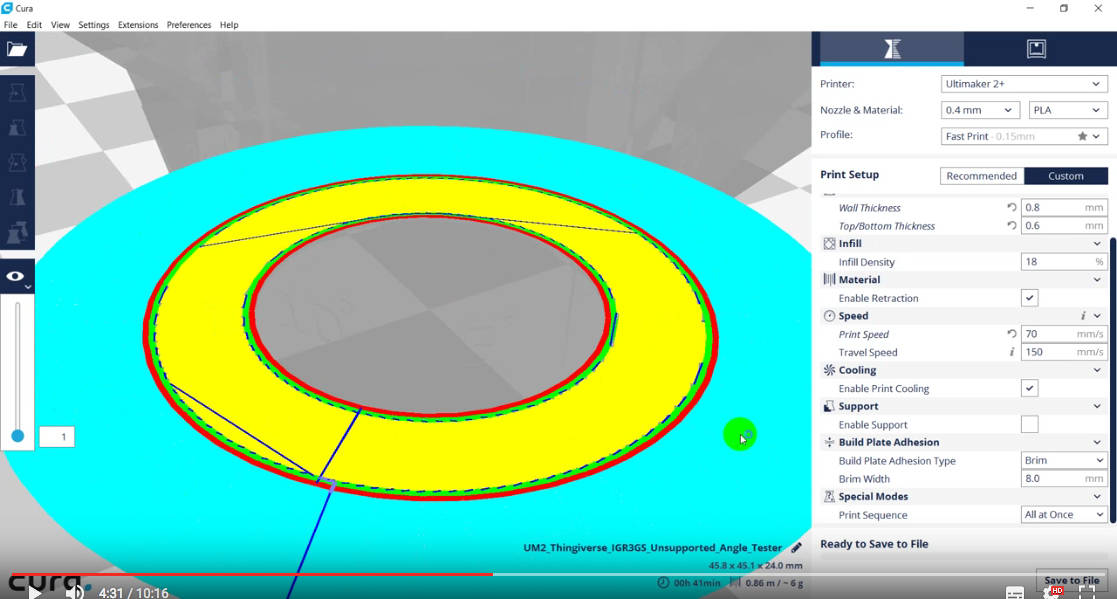
In the view option, we clicked on layers. The view showed the different printing parts that can be controlled. In particular:
- Light blue = everithing not coming from the original model, for example the basement and the supports
- Red = the skin of the model
- Green = wall thickness seen above
- Yellow = infill density seen above
- Dark blue = travels
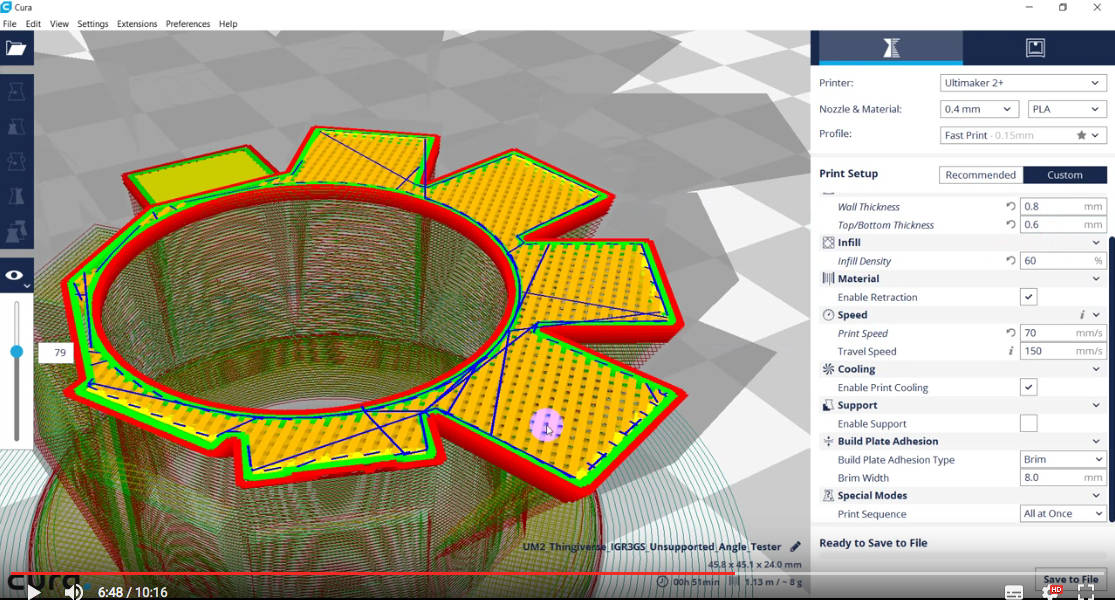
Here below changing the infill density.
Here below with supports.

Here below the final result. It is clear that over 45° the printing quality is quite low.
Printing an impeller downloaded from the web
In order to be more efficient I tried to print something that could be useful also for my final project. So I thought to an axial impeller which could suction the dusted air throug the filter. First I tried to download it form the web and I found one in Thingiverse.
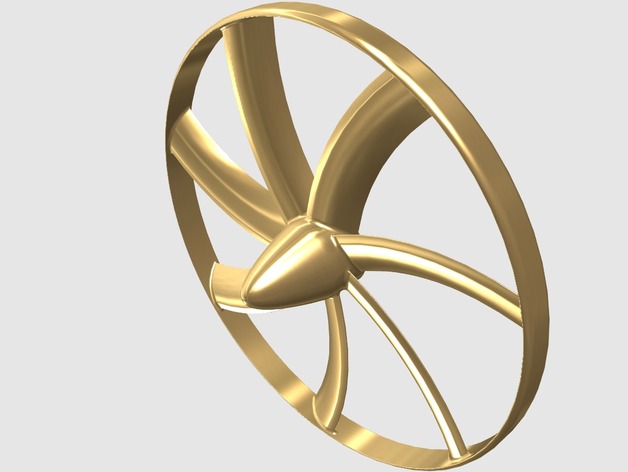
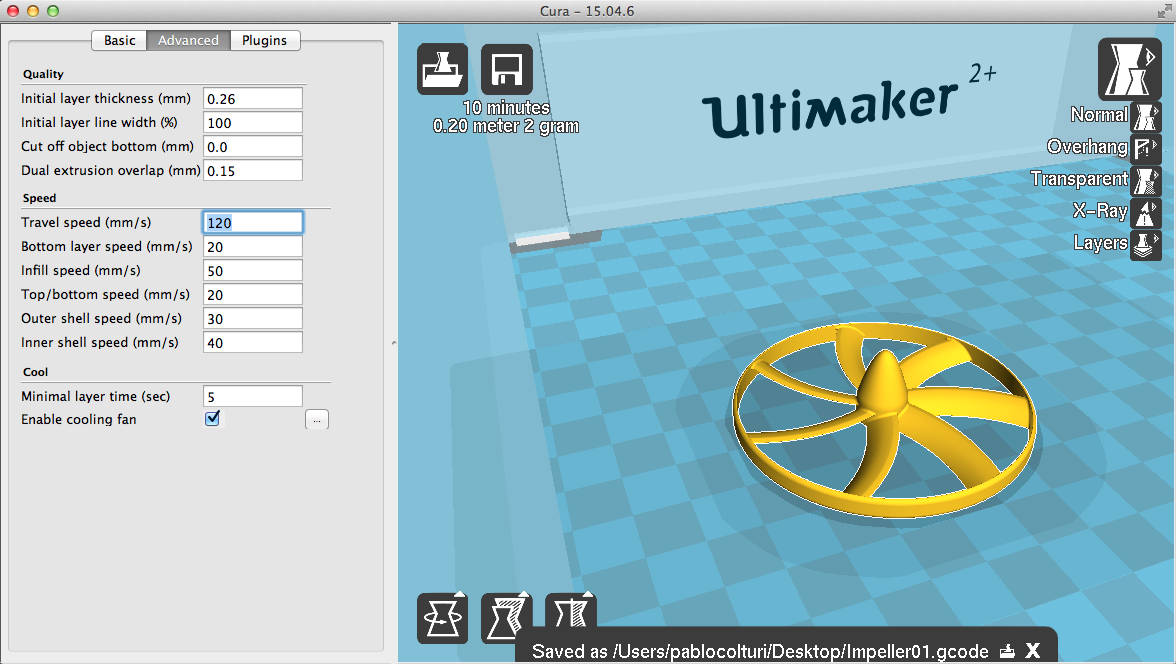
I used more or less the same settings of our first test with the Ultimaker 2+. Only difference was lower printing speed and lower travel speed.
The result was not good because one of the rules of 3D printing was not respected. In particular the blades of the impeller had a grade of more than 45° from the vertical axis. This meant that the fibers could not properly stick together.
So I thought to design one by my own.
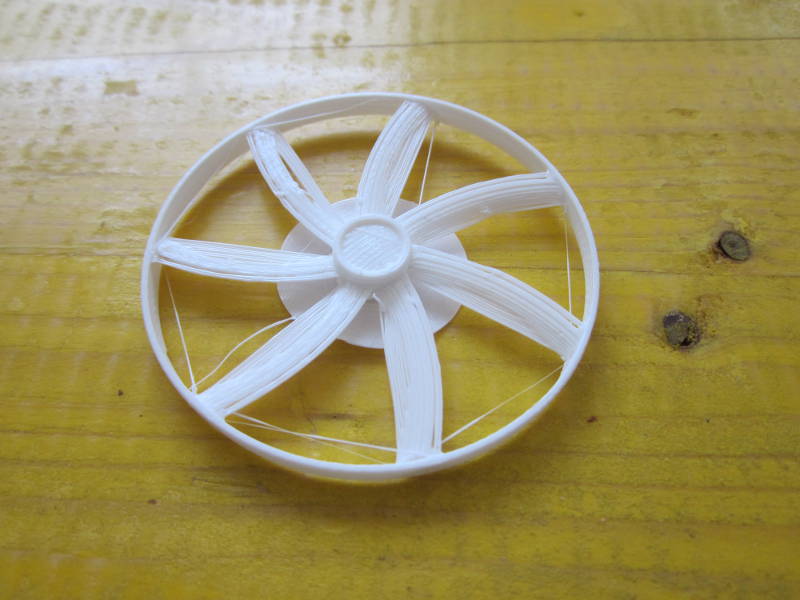
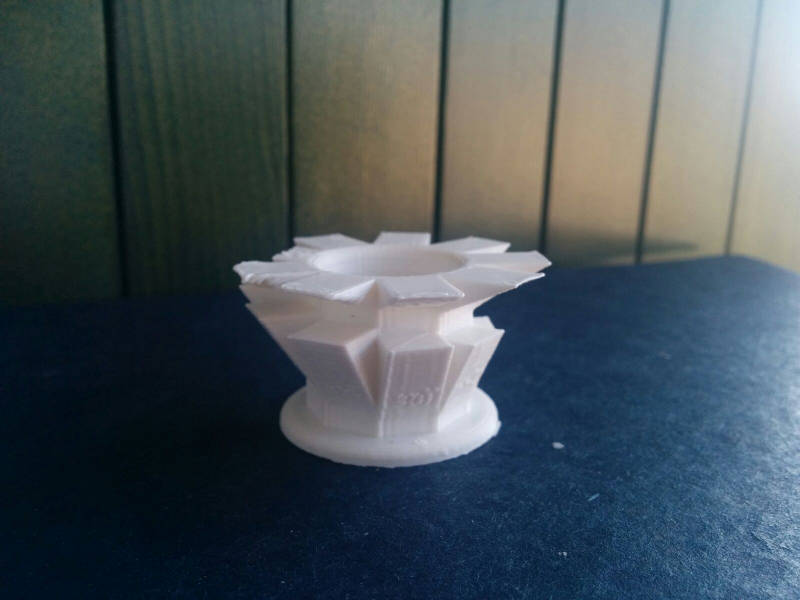
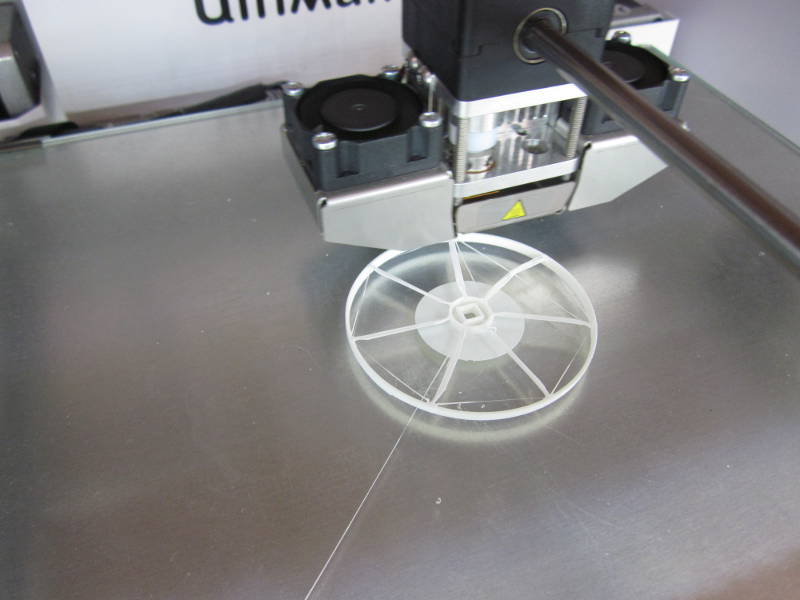
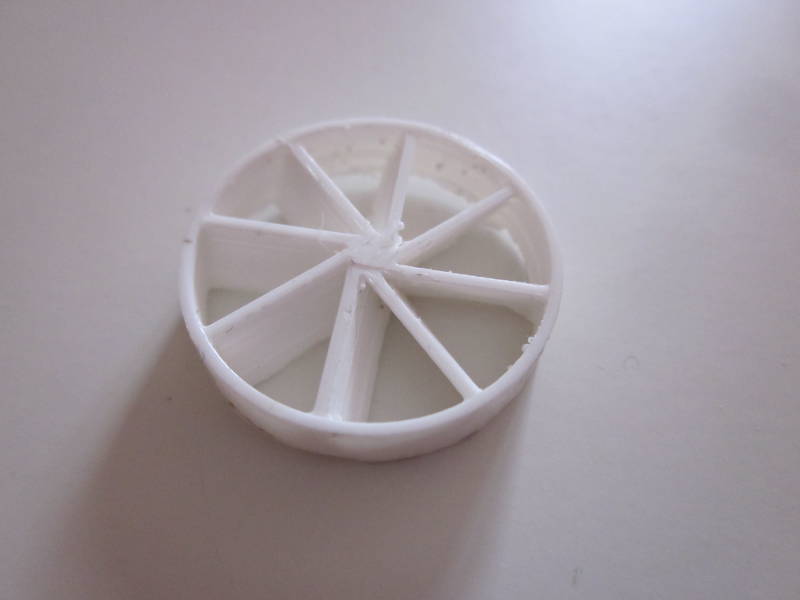
Designing a 3D impeller and printing it
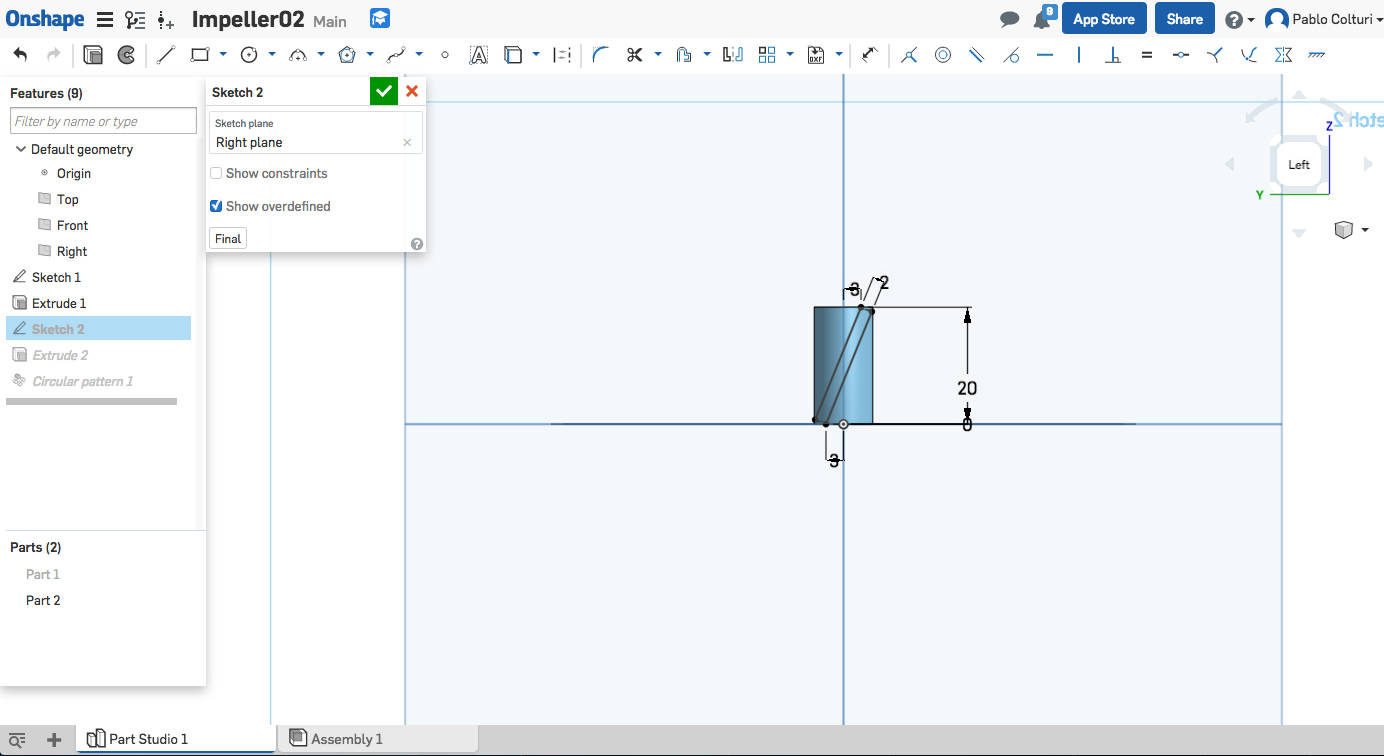
I designed the impeller with On-shape.
The design was parametric.
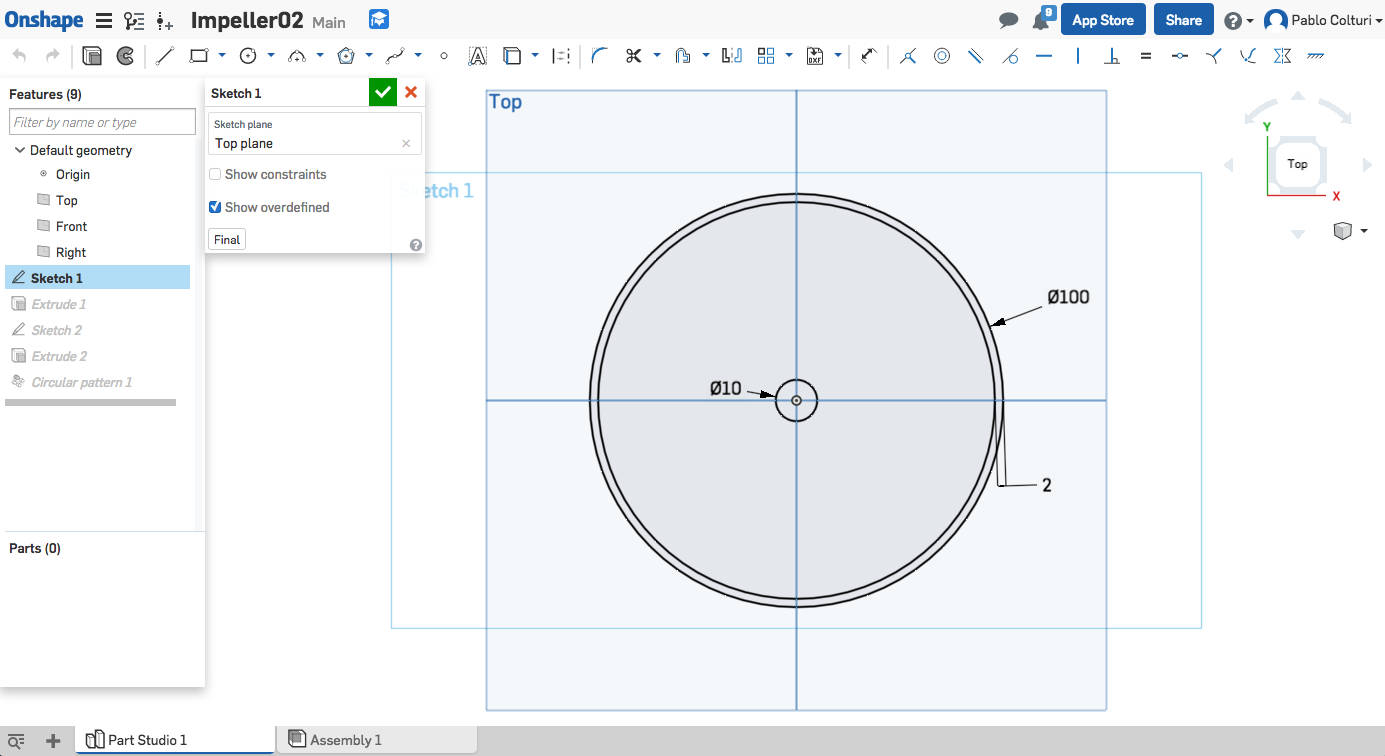
I designed blades of the impeller under the 45° from vertical axis.
The result was simple and quite efficient.

I got the same settings from the last 3D printing: a bit slower than the first group test.
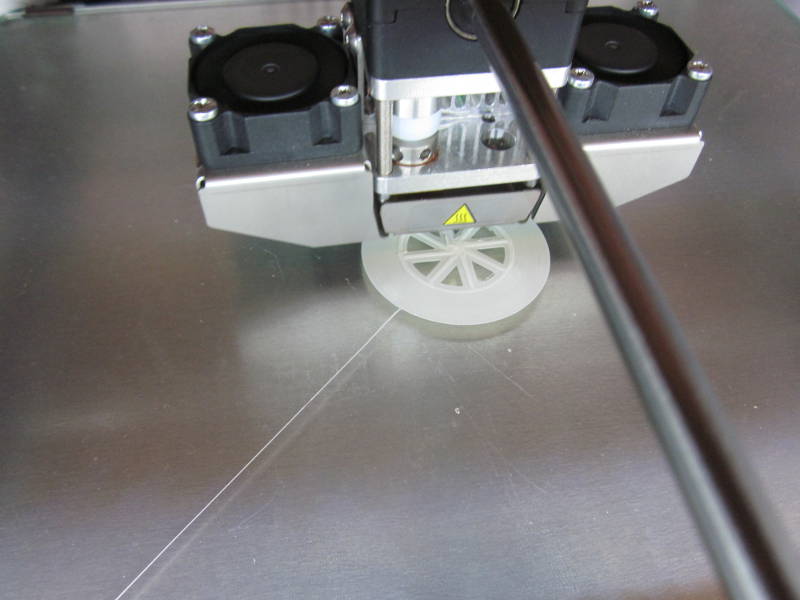
The result was quite good in my opinion. Probably if I printed the same model with a bigger scale it would have been more precise.
3D Scanning
Ok I know that this sounds curious but during my Fab Academy I didn't received any practical teaching about 3D scanning and my tutor didn't care that I couldn't start and use the 3D scanner present in the fab lab. Too many times during the Fab Academy I was left alone learning tasks that were completly new to me: I think that this is not the way to teach a course that is worth 5.000 euros. If you want to read more about what didn't work during my Fab Academy please see at the end of my Exercise n.19. And thank you for your patience!
With no dedicated hardware, I was looking for a software that was able to do a 3D scan from a simple camera or a smartphone. I checked on older Fab Acedemy pages and I found that some people used 123D Catch of Autodesk. After some checks I discovered that form January 2017 it wasn't available anymore and I didn't feel secure to download it from other sources.
During my research I found some other softwares recomended by unknow people on the web, for example this. I tried to use ReCap 360 but it didn' work fine on my Android smartphone.
So I tried the app Scann3D on my smartphone.
I did several tries on several objects with many fails. The app looks very handy but at the end you need a lot of practice to get good results.
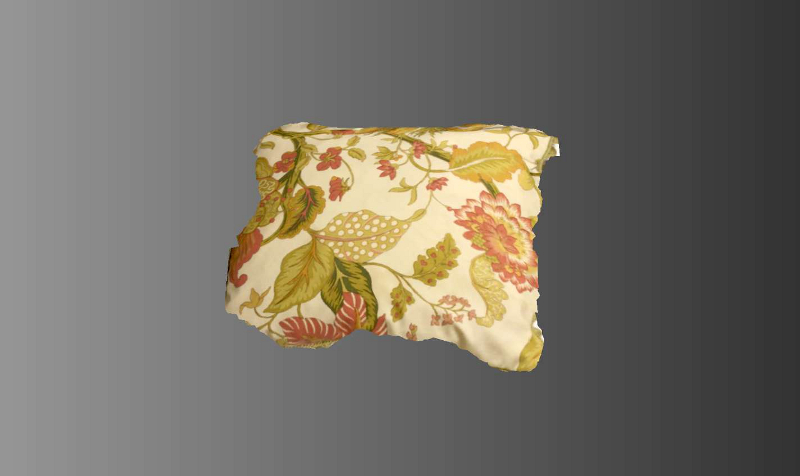
Keep in mind that the objects with textures are easier to scan and process probably because the software have a clear path to follow.
The best 3D model I got is this one of one cousin below.