Vinyl Cutter
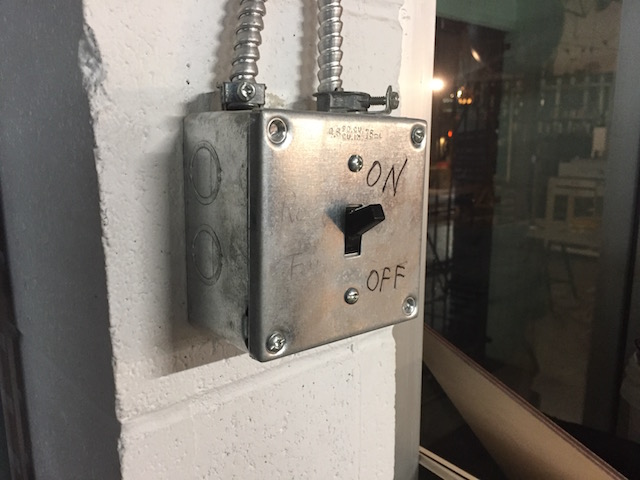
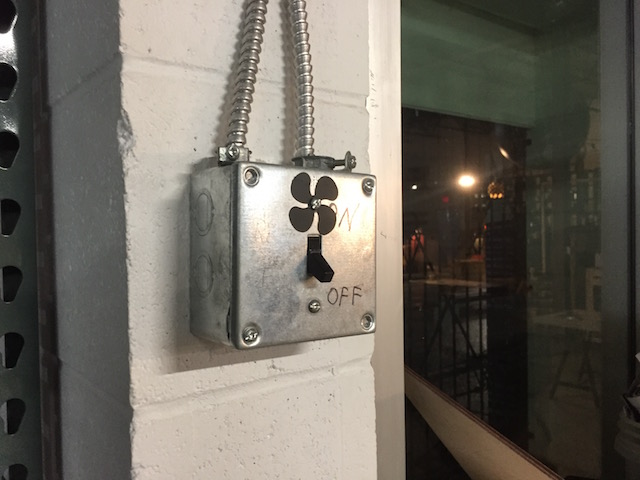
The laser cutters at MakerLabs have an unlabelled switch that controls the exhaust fan. This switch needs a label. A vinyl label.
I went over to the Noun Project, an online resource of icons, and downloaded an image of fan propellor. Actually, I took a screenshot because it was faster.
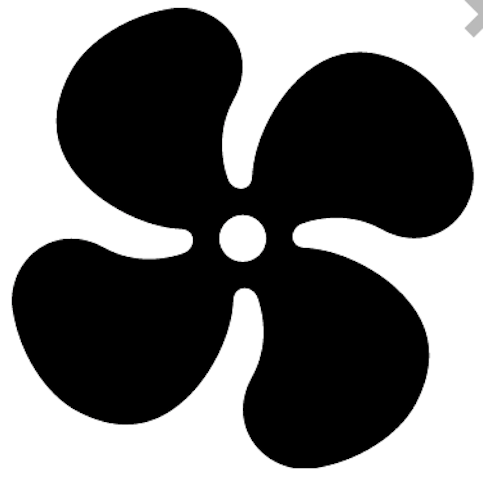
I imported the screenshot into Inkscape and converted the bitmap to a vector using the Path->Trace Bitmap feature. Choosing two gray scans produced acceptable results. Then, I deleted the original bitmap, resized the fan to be 1.5" wide, and saved the vector as an SVG. That file is available for download here.

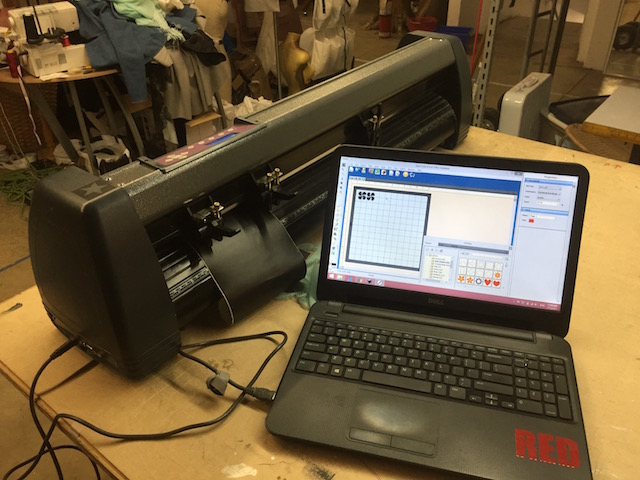
Next up, the vinyl cutter - I opened up our vinyl cutter's CAM software, Sure-Cuts-A-Lot 3. I imported the fan.svg and prepared the file for cutting. Feed rollers, check. Origin, check. Test connection, check. Print preview, check. Pressure and speed, check. Ready to cut.
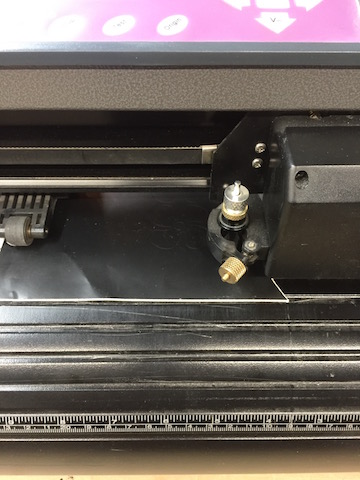
The black matte vinyl cuts quite easily.
I picked off the fan with an exacto blade and stuck it to the top of the switch. Since this was a single sticker, I could just place it roughly in position, but if it were more complex pattern, I would have needed to weed the vinyl and place the sticker with the transfer paper.
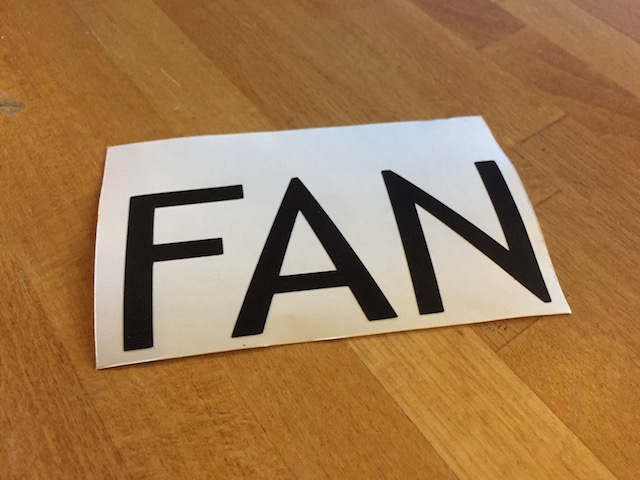
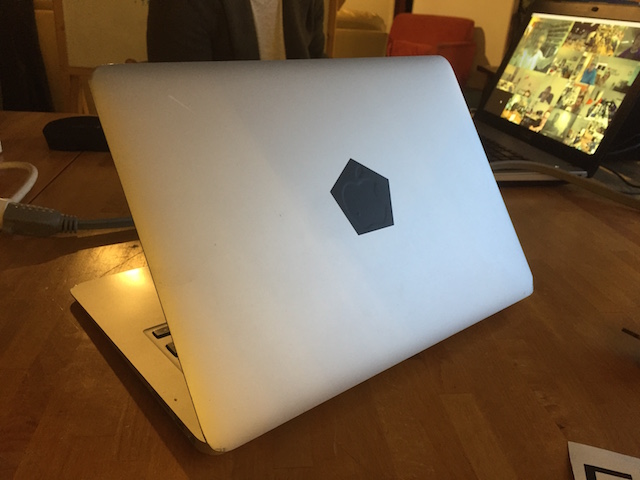
And while we're at it, I made some more vinyl stickers.
Laser Cutter
Test Part
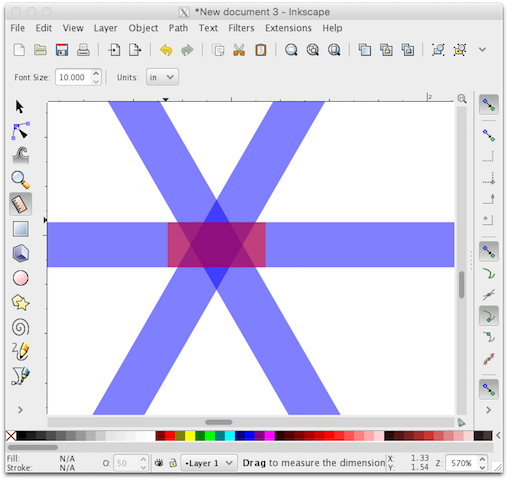
Most 2D Press Fit tools will assume a perpendicular fit, but I want to expore a three-way fit. I started by modeling the junction in Inkscape assuming 0.115" (3mm) material in blue. Then, I overlayed some red rectangles to determine what the gap size mightbe.
From those measurements, I decided to test notches from 0.18" to 0.25" with steps of 0.01".

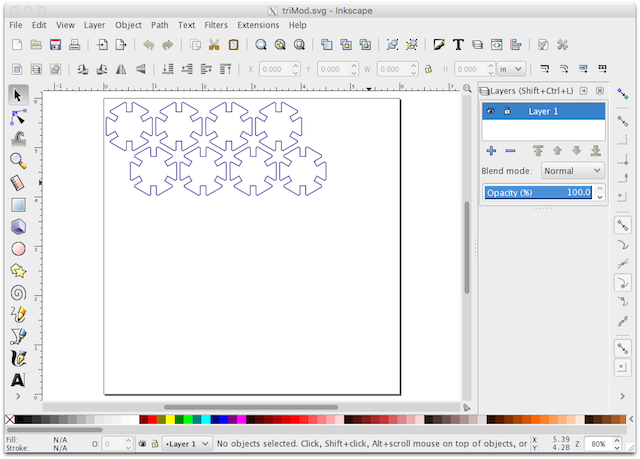
I generated red notches that ranged in thicknessfrom 0.18" to 0.25" with steps of 0.01". Then I drew some blue rectangles that would serve as the positive area for the test.
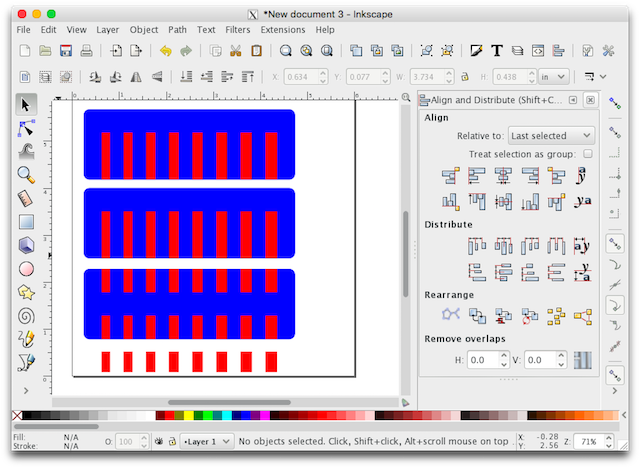
I subtracted the red notch rectangles from the blue rectangles and labelled the thickness of each of the notches. I prepared the file for the laser cutter by removing fills, converting cutting lines to red strokes, and filling the numbers that I wanted etched with black. This file can be downloaded here.

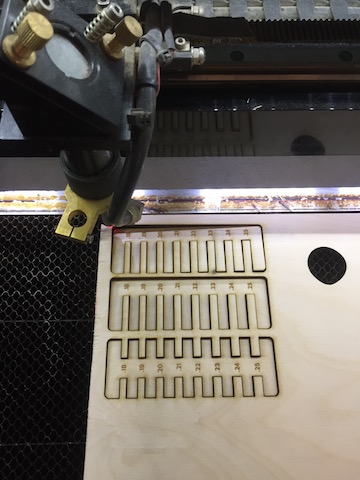
The material that I'm testing here is 3mm baltic birch plywood. I rastered the black numbers on our 150W CO2 laser cutter using 7% power and 100% speed at 250DPI. Then, I cut the red lines using 80% speed and 50% power.
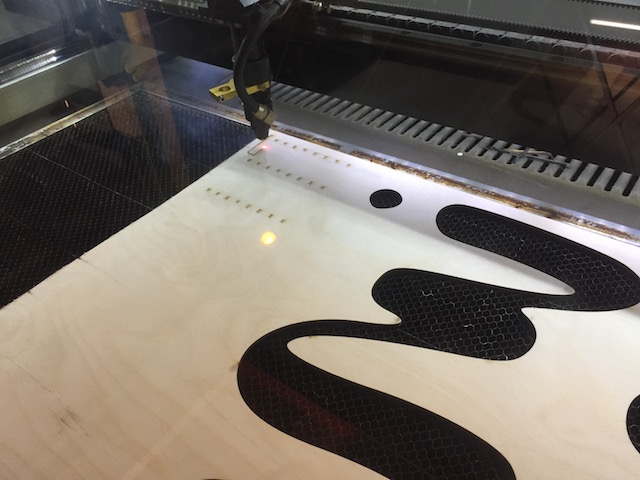
Cuts done. It took 3 minutes. It's so satisfying when the pieces just separate from the material.
Test fitting 0.25". Too loose.
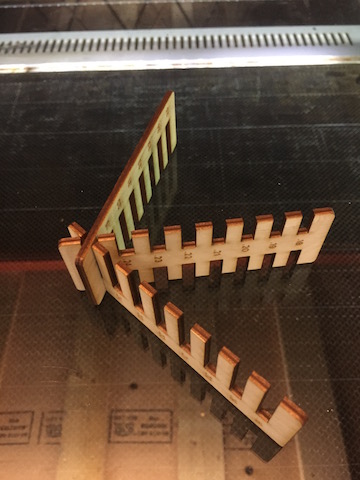
Test fitting 0.22". Better...
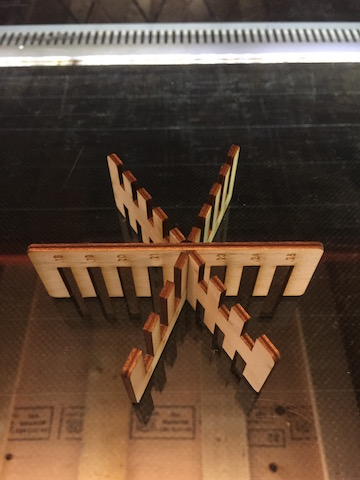
Test fitting 0.20". Just right.
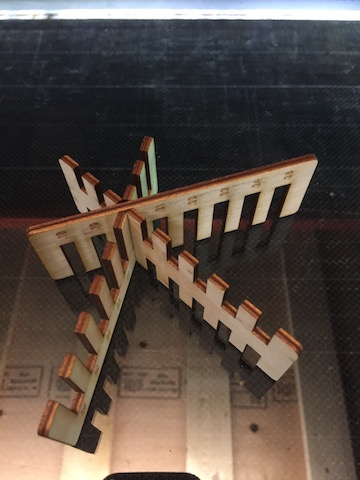
Modular Construction Kit

This file can be downloaded here.