
Week 3, Assignment 3
Computer Control Cutting
Video - Week Three, Lecture Three
Laser Cutter :- Epilog Laser Cutter Mini 40 Watts

In this assignment, as it was Group Assignment, Me and Jatin formed a group and designed a Mobile Stand and a Laptop Stand using Catia and Coral Draw and fabricated them using the LASER CUTTER with using Balsa Wood and Acrylic as raw material.
Group Assignment:
Designing:
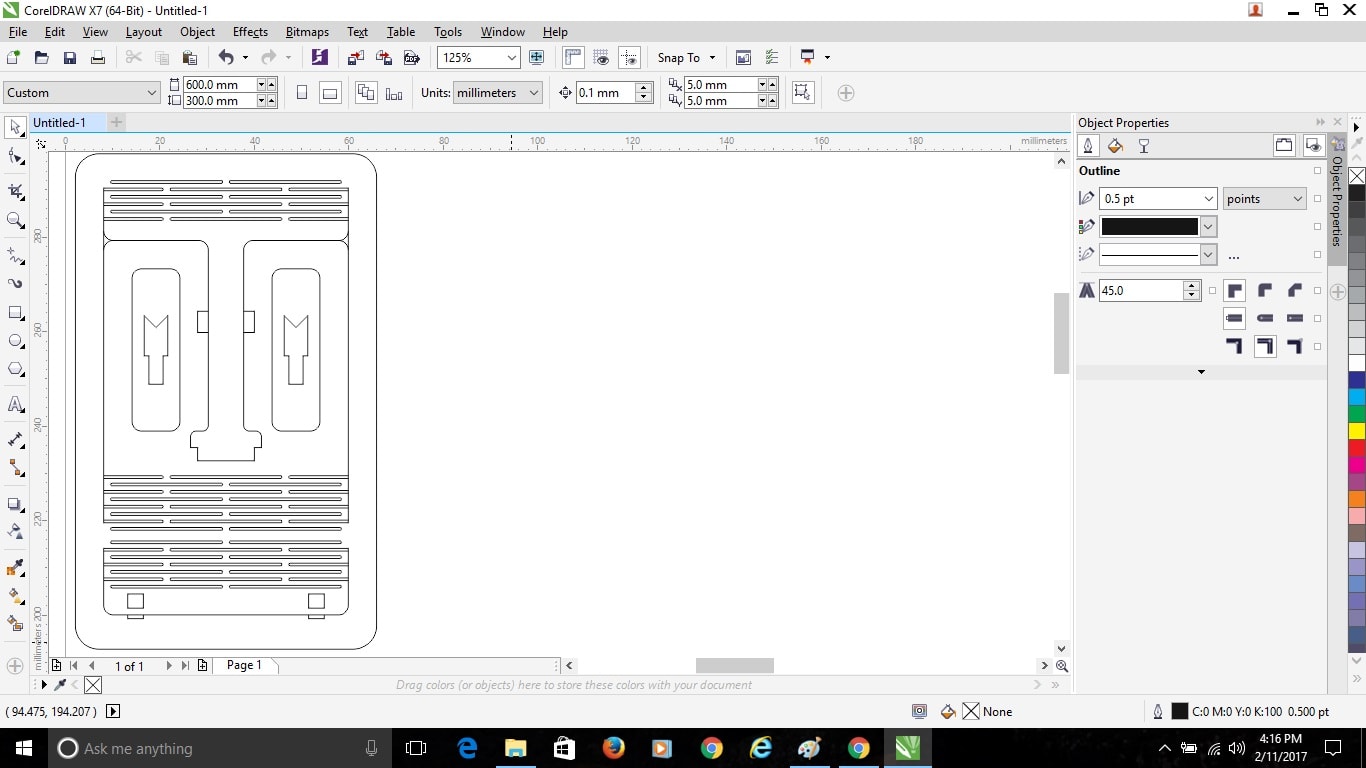
After some brainstorming and some rough designing we came up with the idea of making Mobile Stand and a Laptop Stand as our Group Assignment as we needed to use different types of joints in a as less objects as possible. So for final cutting design we used Catia for designing and Coral Draw for Editing and converting it to proper Vector format and Printing it on Laser Cutter.
It wasn’t that hard to design in Catia after getting a proper idea of object. So after making the 2d design in Catia we exported it to .dxf and .pdf format as we had to open it on Coral Draw later and those were the format which Coral Draw takes.
After opening the file to coral draw the file gets open on the pre defined template of 600 mm * 300 mm width and height as the Laser Cutter we have has a bed size of the same, now arranged the design to the left top corner of the page for the proper utilization of the Sheet been cut on machine.
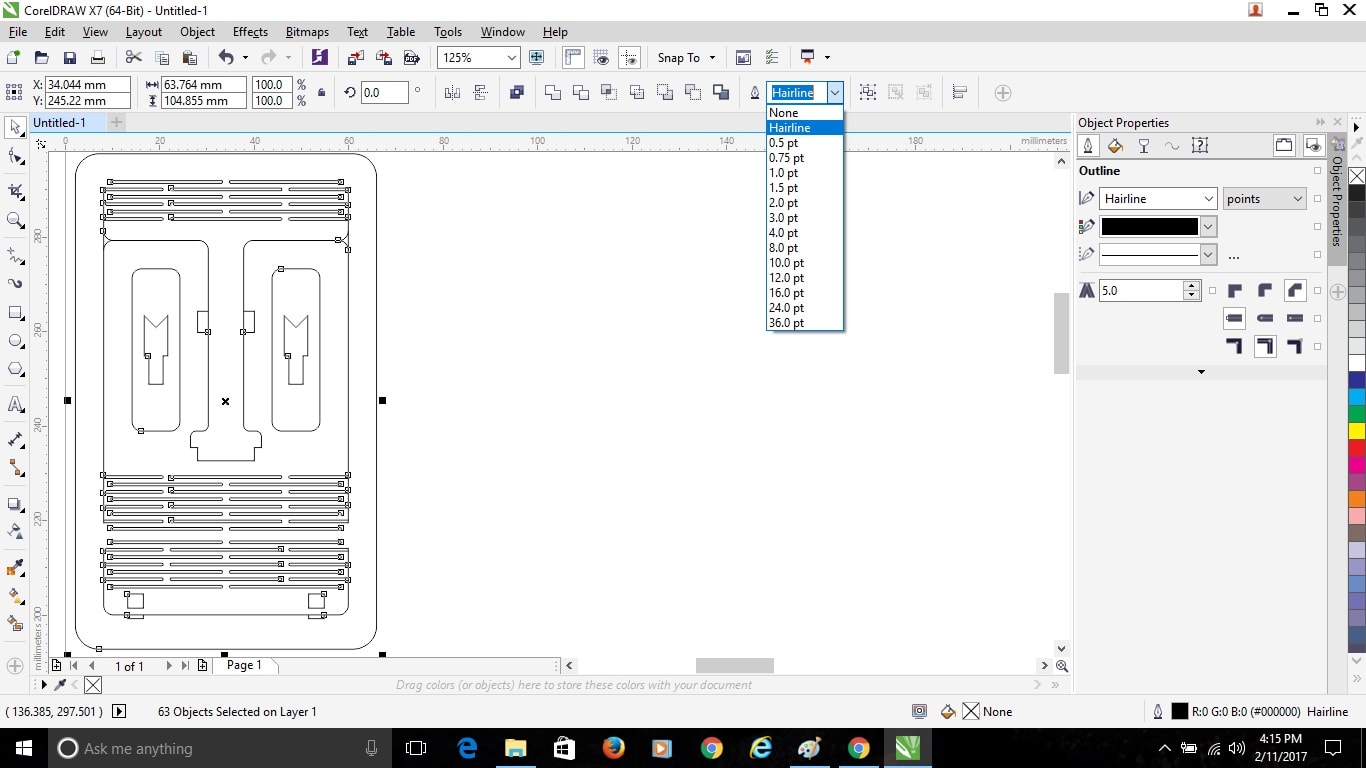
Select the whole design on the page by pressing “Ctrl+A” and convert the design outline to “Hairline” by going to the Pen shaped icon on the toolbar.
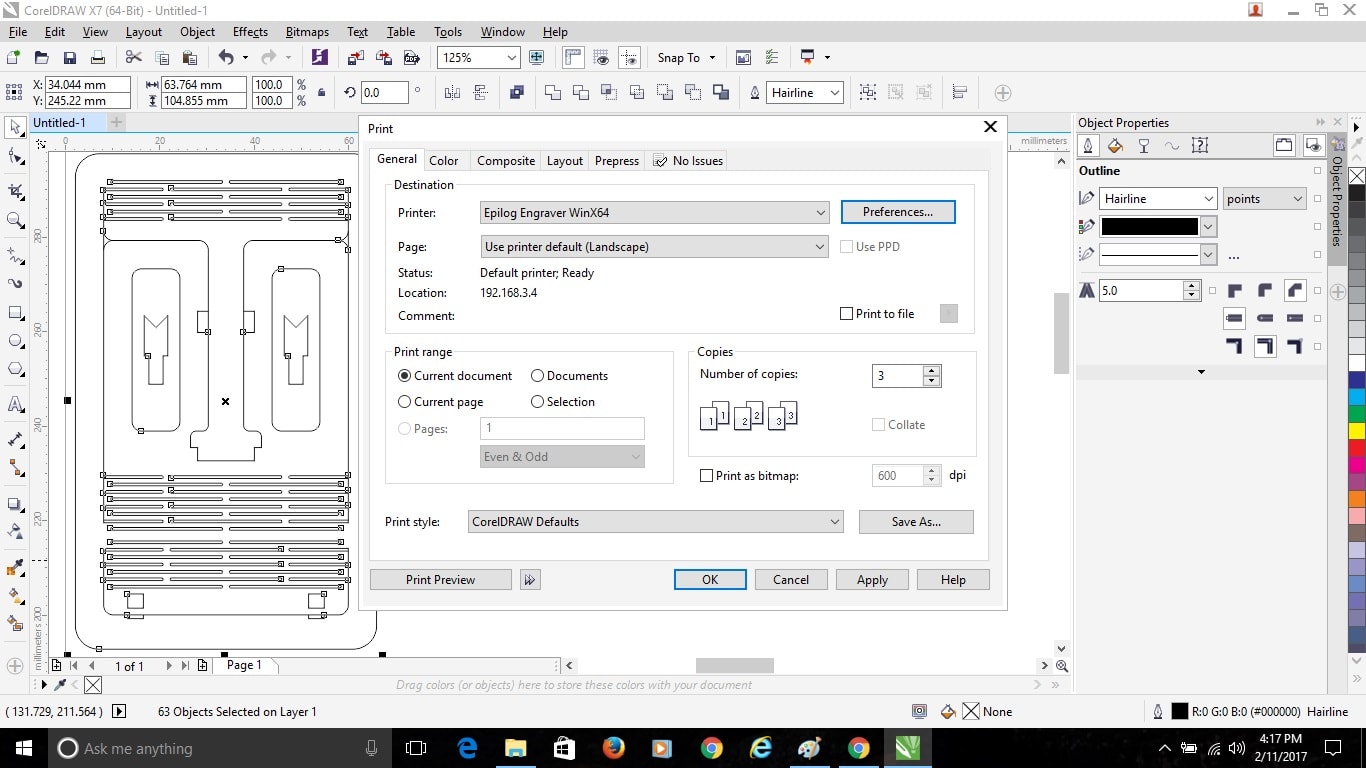
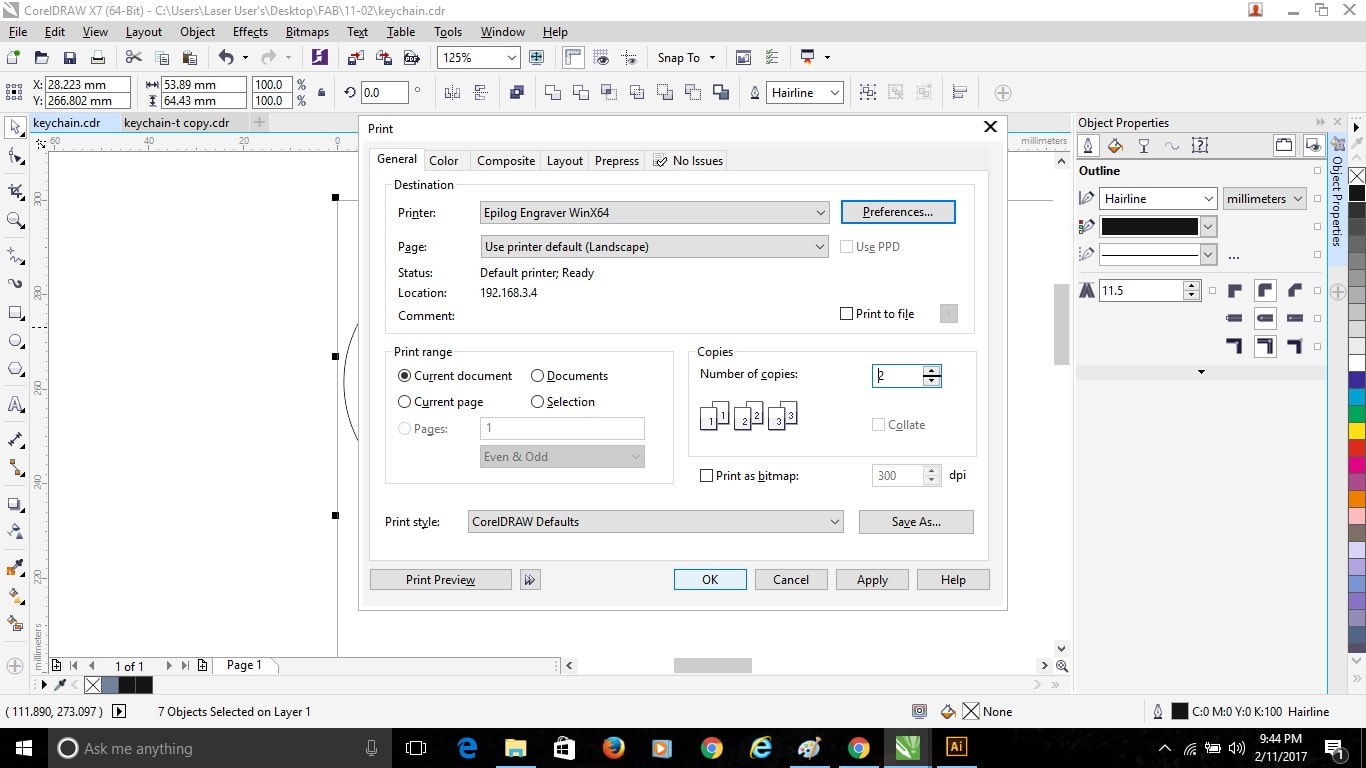
Now it’s time to cut it on the Laser Cutter, so to start cutting gave the command of print by “Crtl+P” and the printing dialog box popped up. In the print dialog box then go to “Preferences” which will give all the setting of Laser Cutter Machine which is required for cutting.
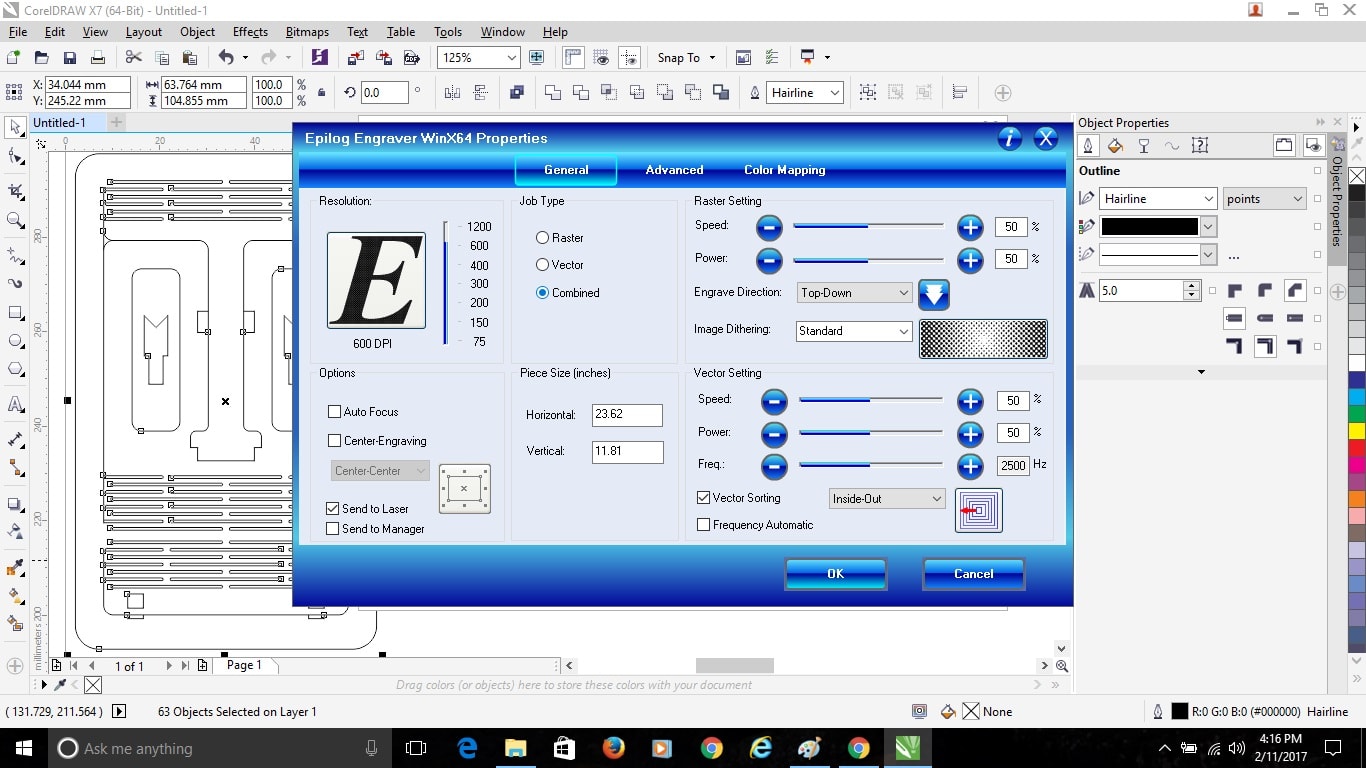
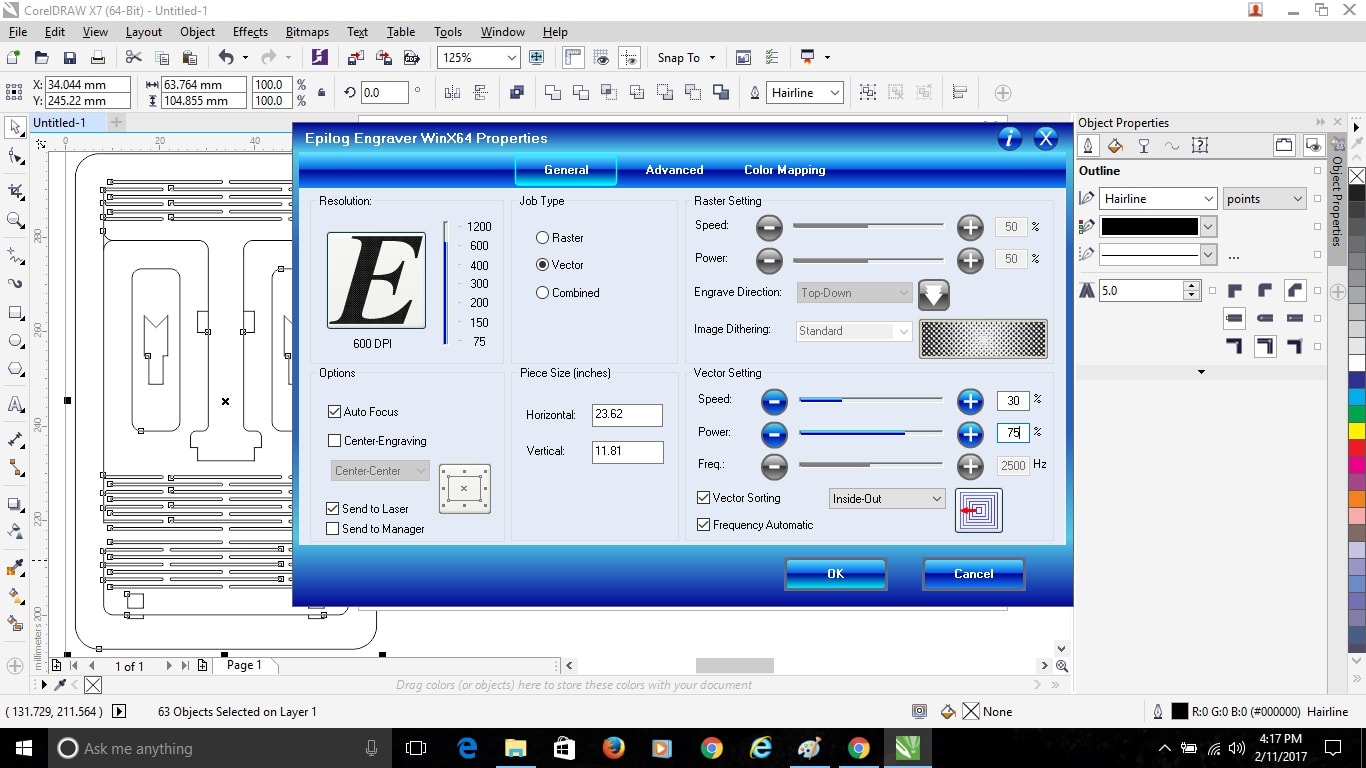
In the Epilog Laser Cutter window as this part was just to be cut I selected the “Vector” option and clicked the “Auto Focus” on (Auto Focus allows the sheet to get settled at a particular distance from the Laser while cutting by sensing the Sheets Thickness). After that I selected the Speed and Power accordingly for the material been cut. Material I used for cutting was Balsa Wood so I Kept “Speed = 30 and Power = 75”, and then clicked the Frequency Automatic box and switched it on and just pressed “OK”.
After pressing “OK” on Epilog Laser Cutting Window we get back to the normal Print window on the screen in that just we have to increase the number of copies as it laser doesn’t pass through in just a single cut, so as my Balsa Plank was of 3 mm thickness I gave number of copies as 2 and then press “OK”.
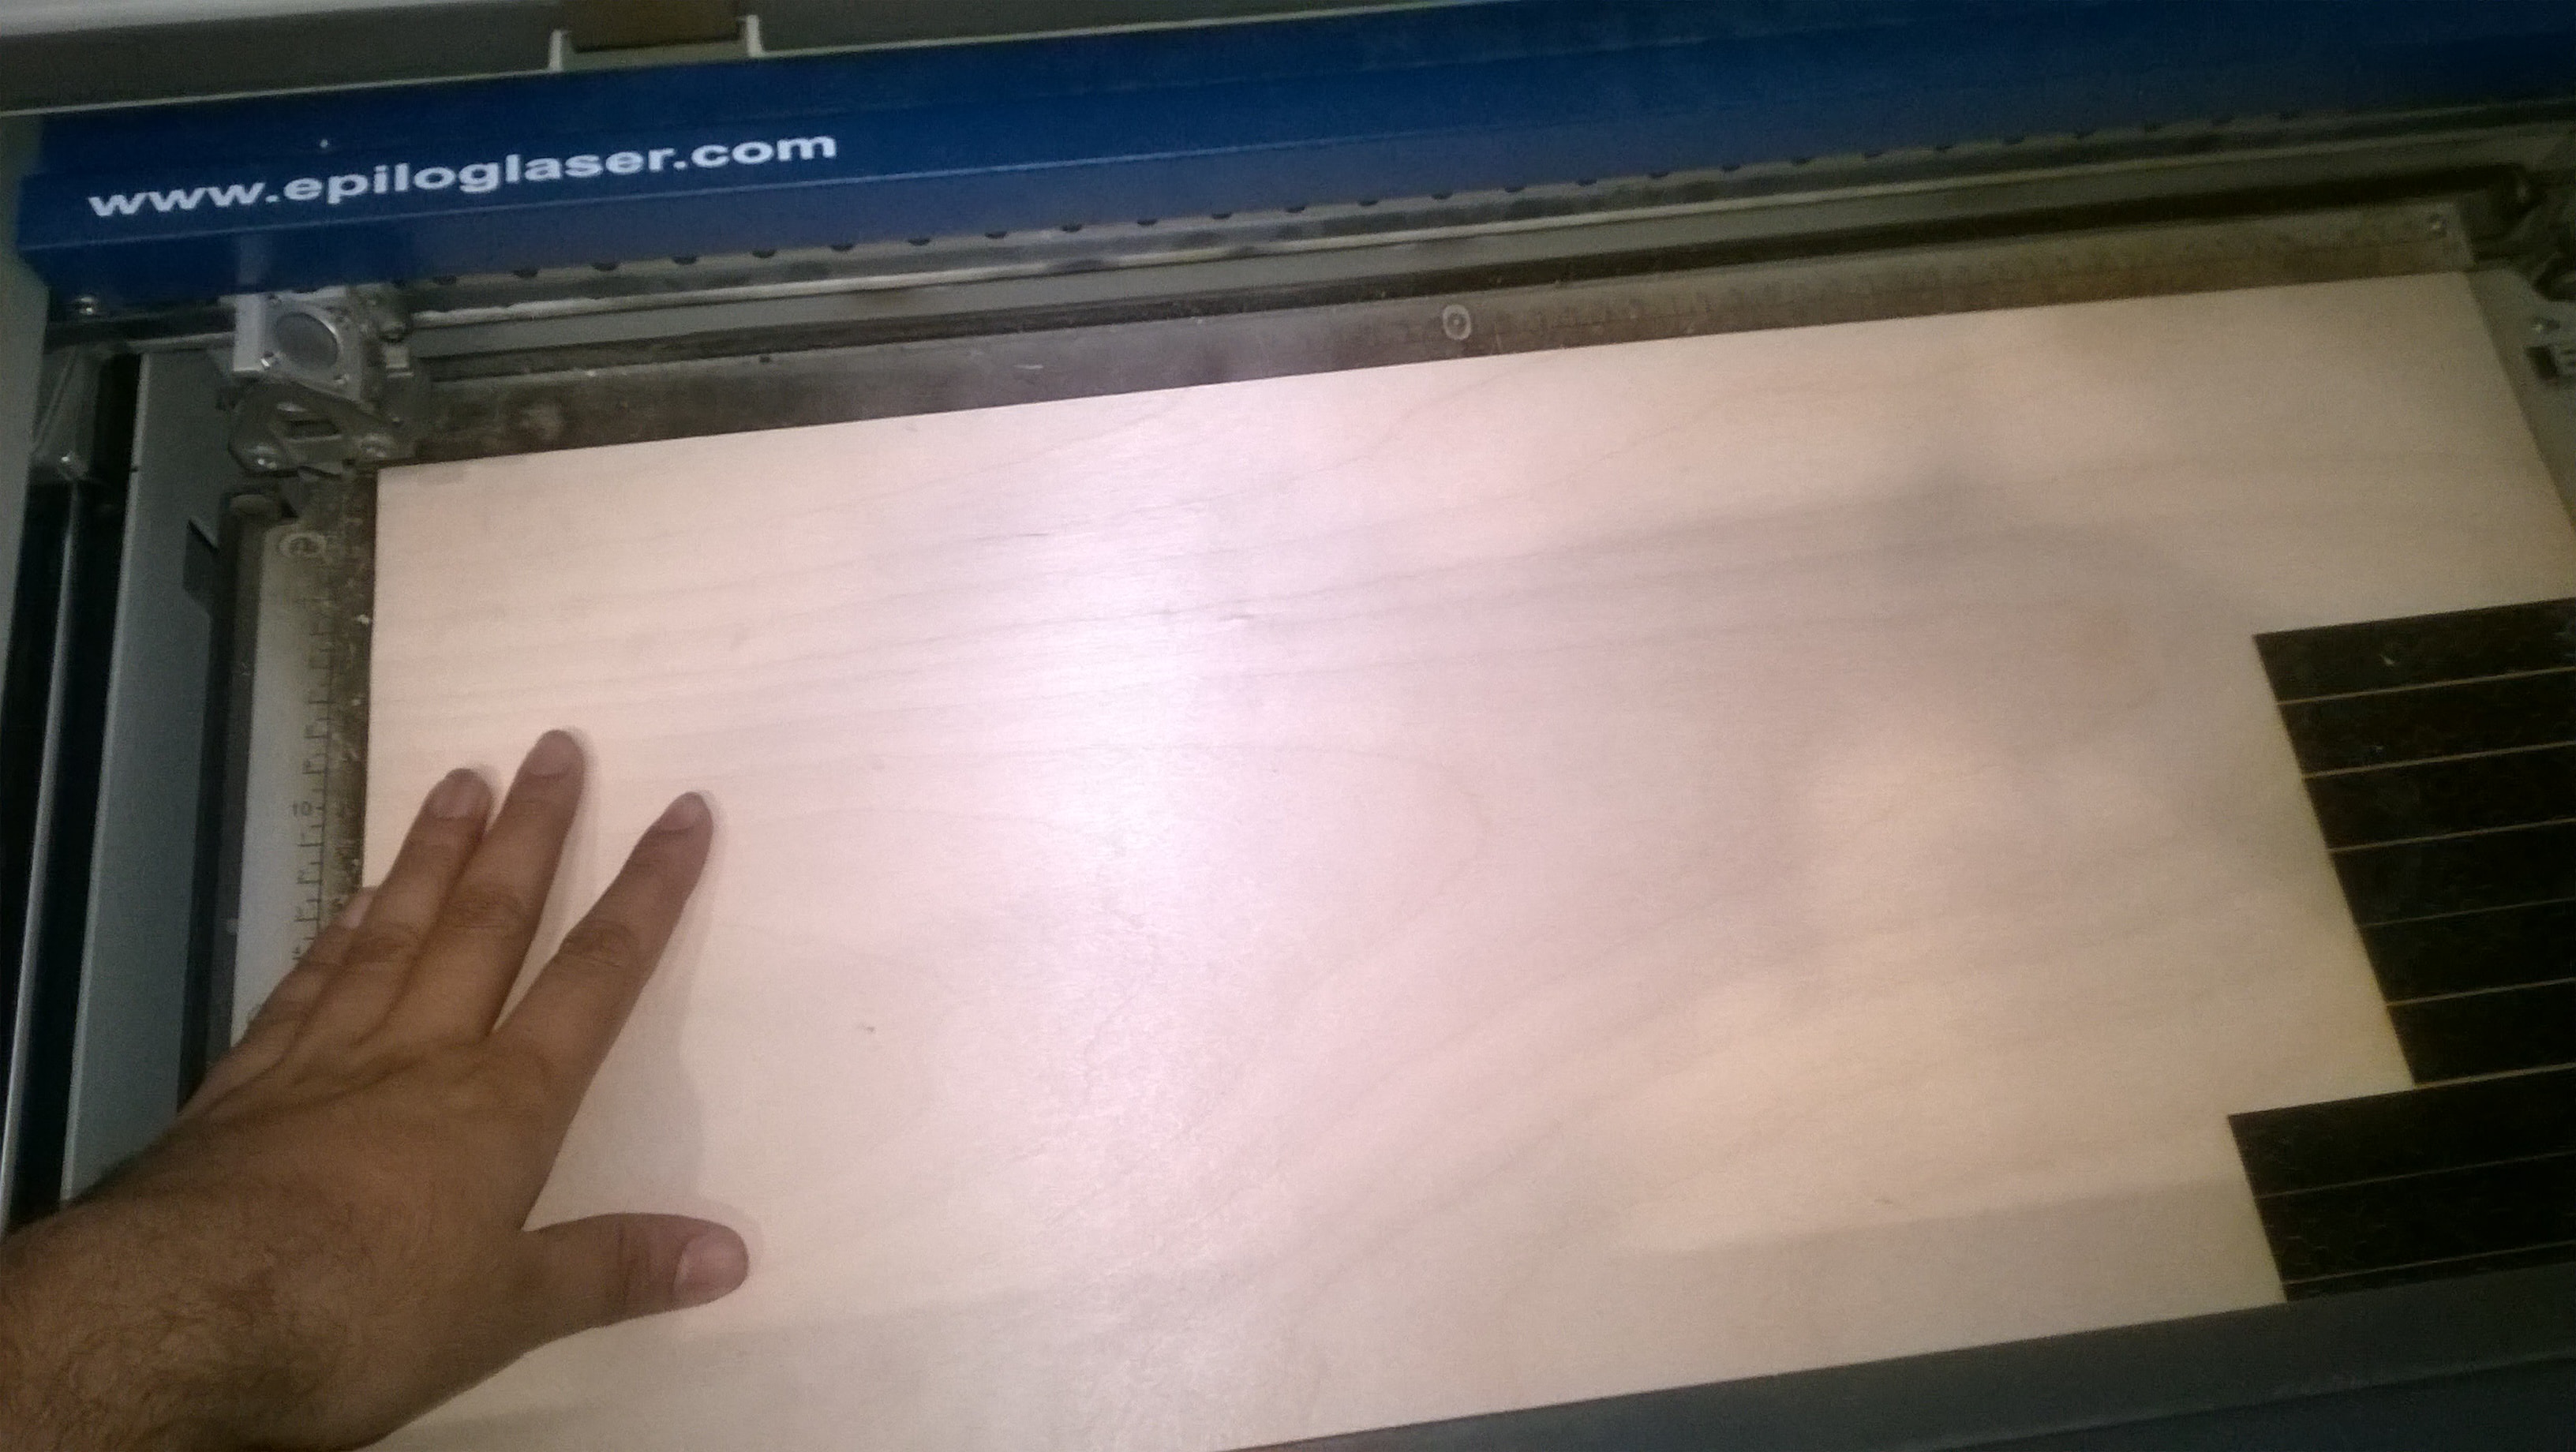
But before Clicking OK for printing, I switched on the machine, compressor for sucking air and Filter to purify that Hazardous air of Laser Cutting machine. Now I clicked OK for printing. After this all the work on Laptop ends, so now I shifted to the Laser Cutter Machine. Now I placed my Balsa Wood Plank of 600*300 mm inside the Laser Cutter.
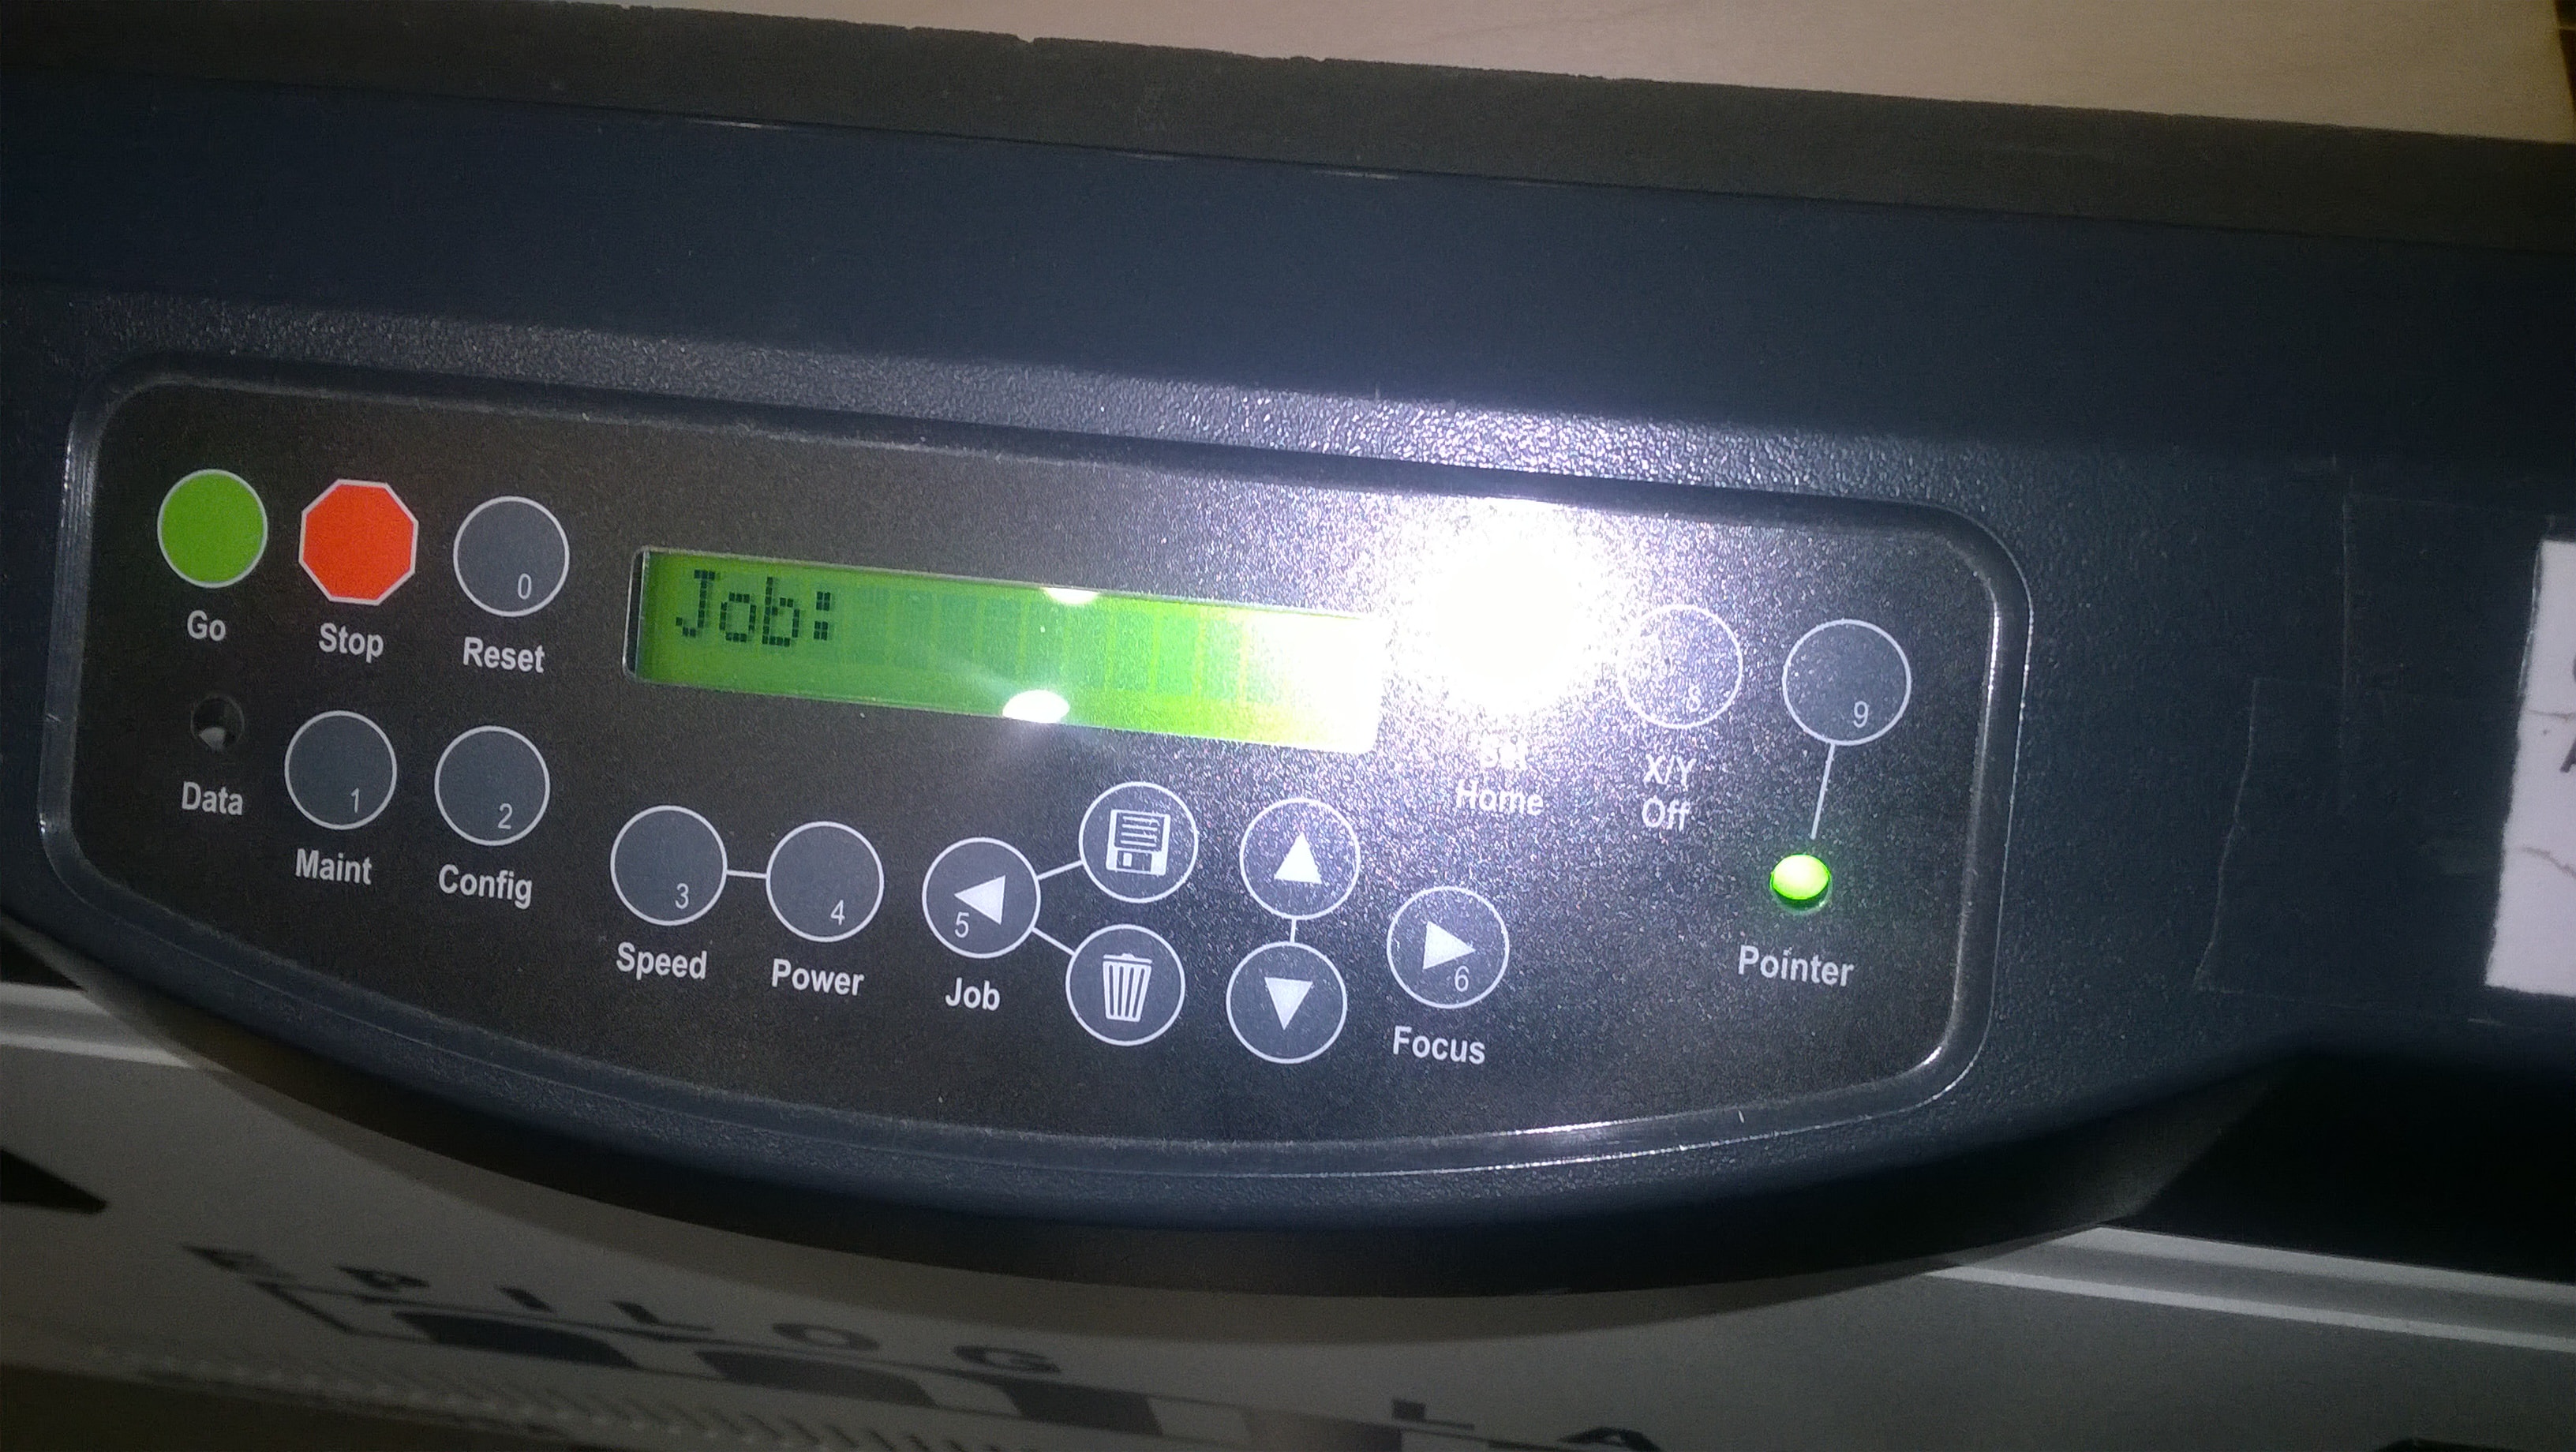
After Placing the plank properly inside the machine I put the “Pointer” button ON which is over the machine, as I put the button ON is switches the Green light ON so it’s not difficult to identify.
Now, to Set the X-Axis and Y-Axis of the laser pointer inside the machine Press “X/Y Off” button then press “Go” button now the X-axis and Y-Axis have been disabled and I can now adjust the printer where ever I want inside the Machine. So here I set my X-axis and Y-axis at the top left corner of the Balsa Wood Plank.

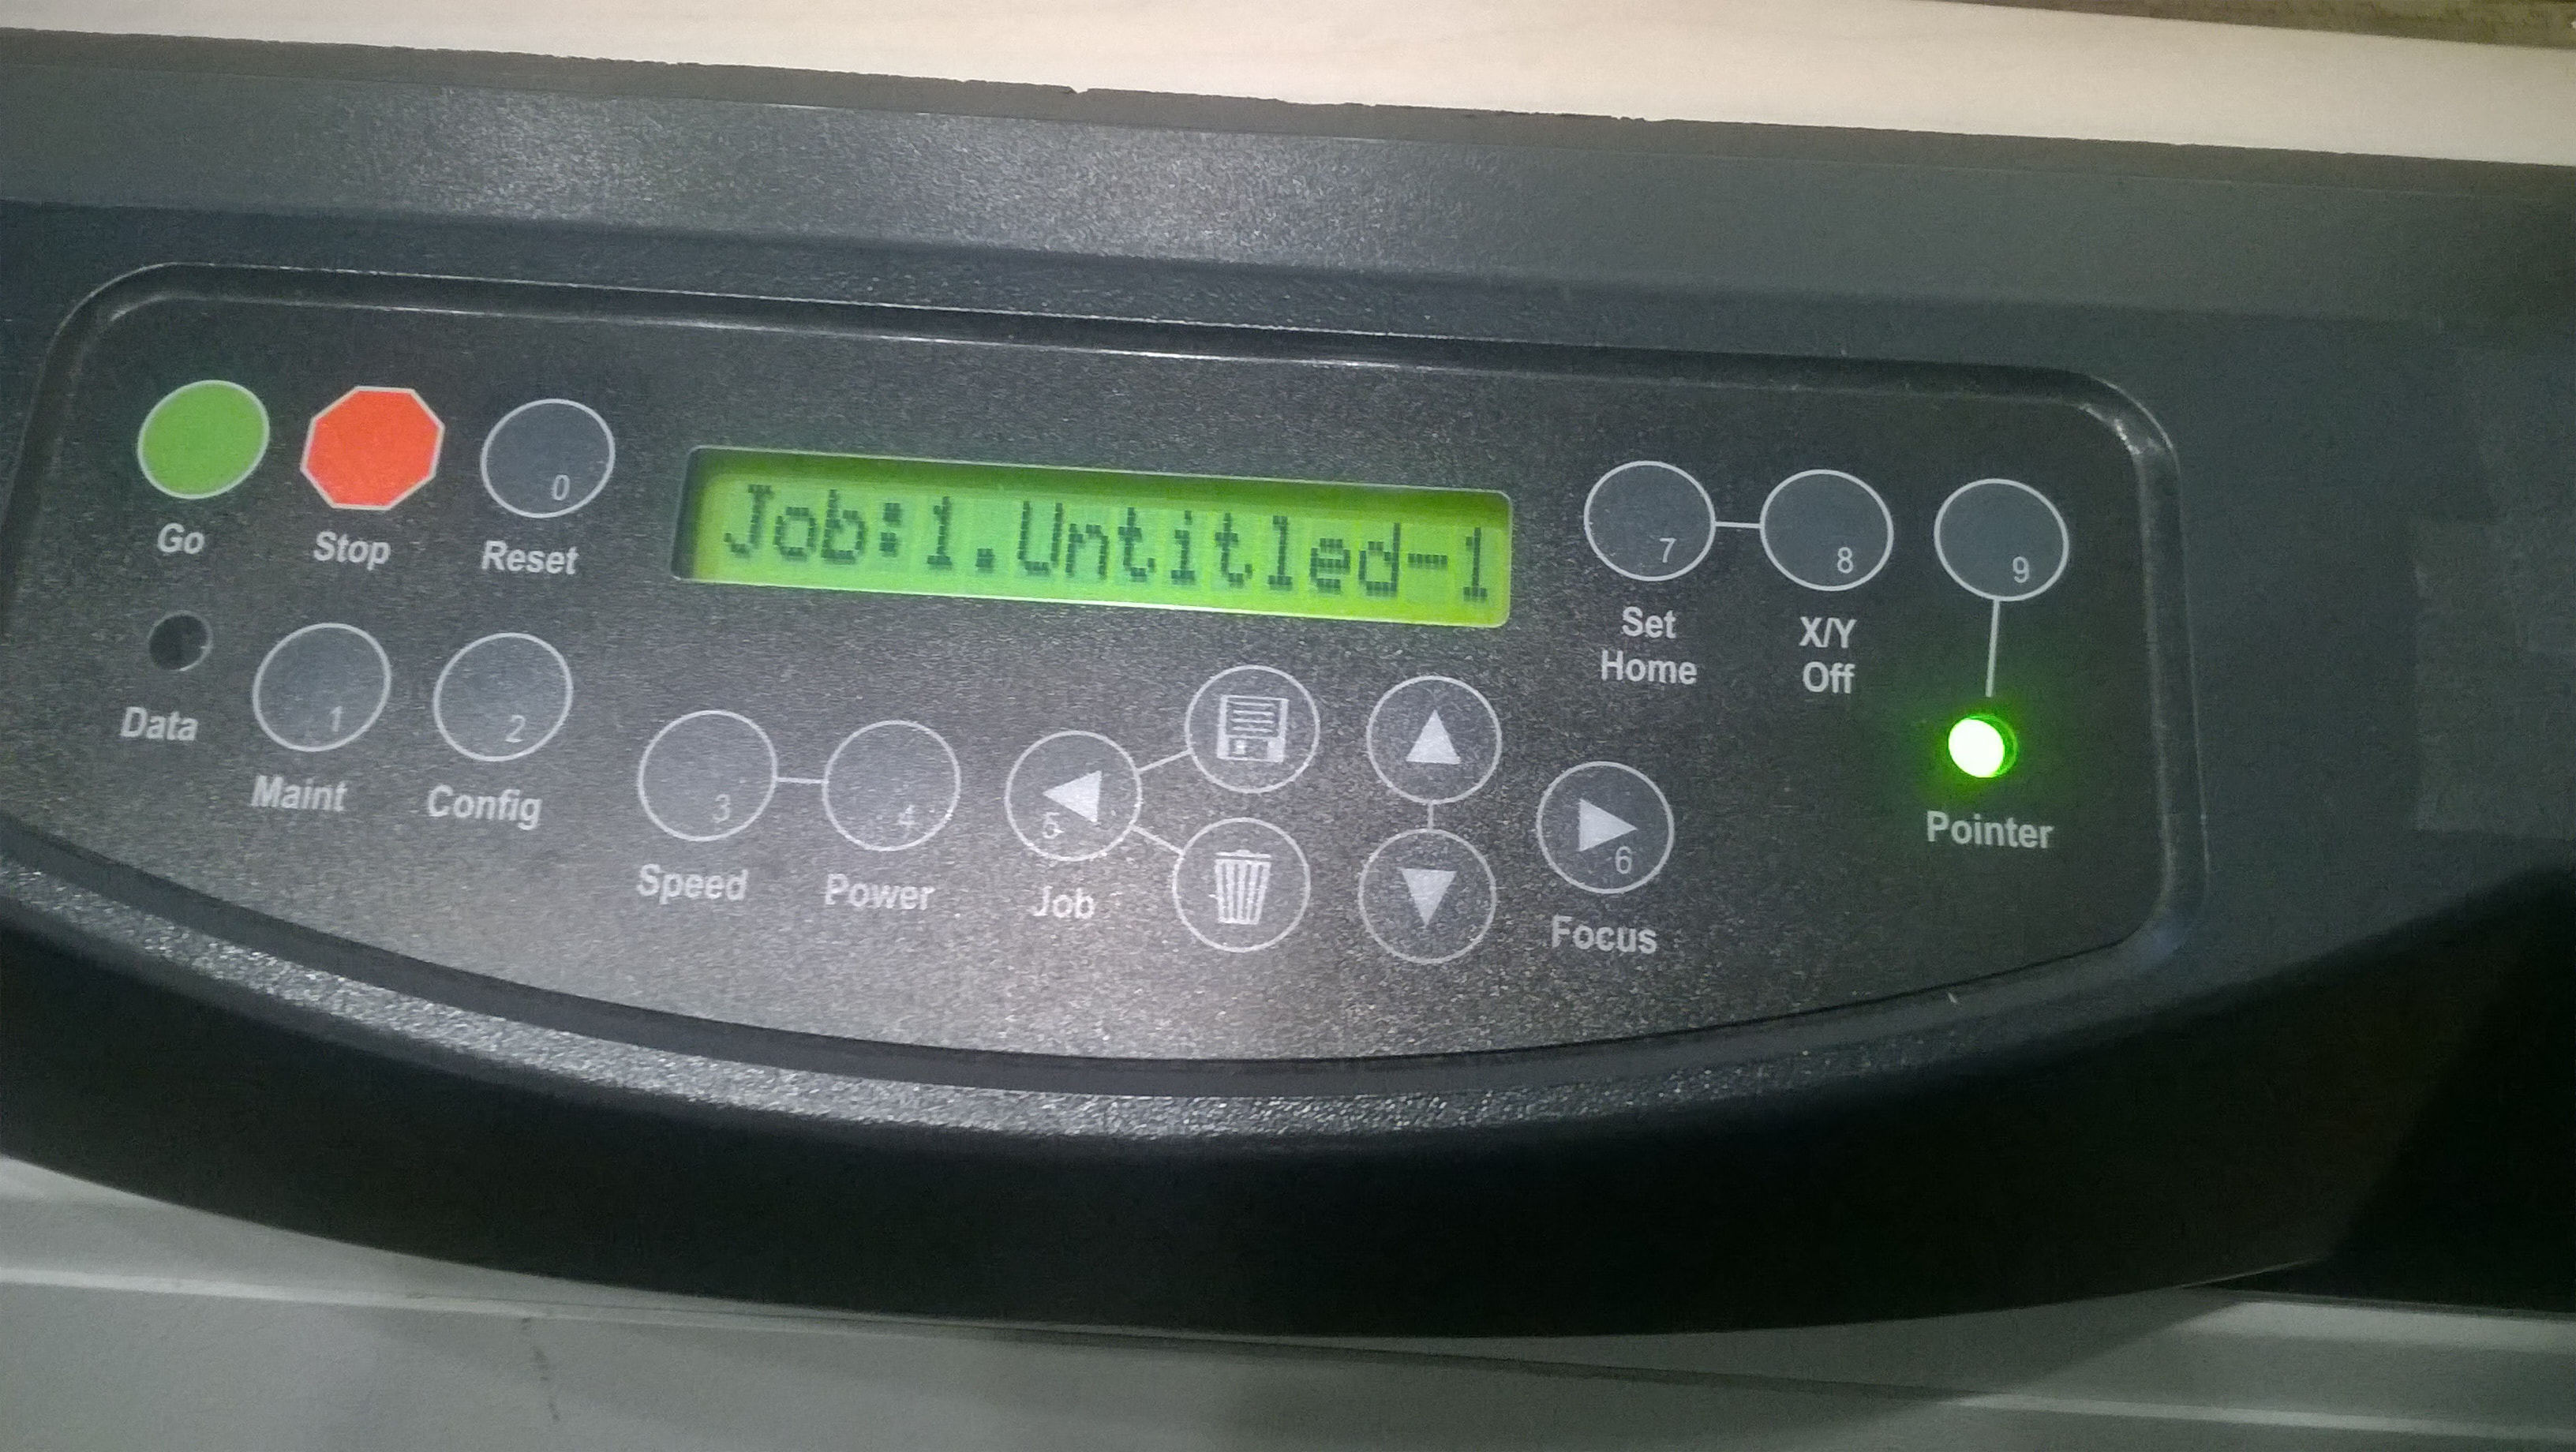
After setting the laser pointer at the desired location on the plank just press “Set Home” button on the machine and it will fix the laser pointer where we have kept it. Then as we gave the print command from the Laptop the File name will be displayed on the screen which means that the Laser Cutter is ready to cut now, so now just have to press the green “Go” button and the machine started cutting the design.
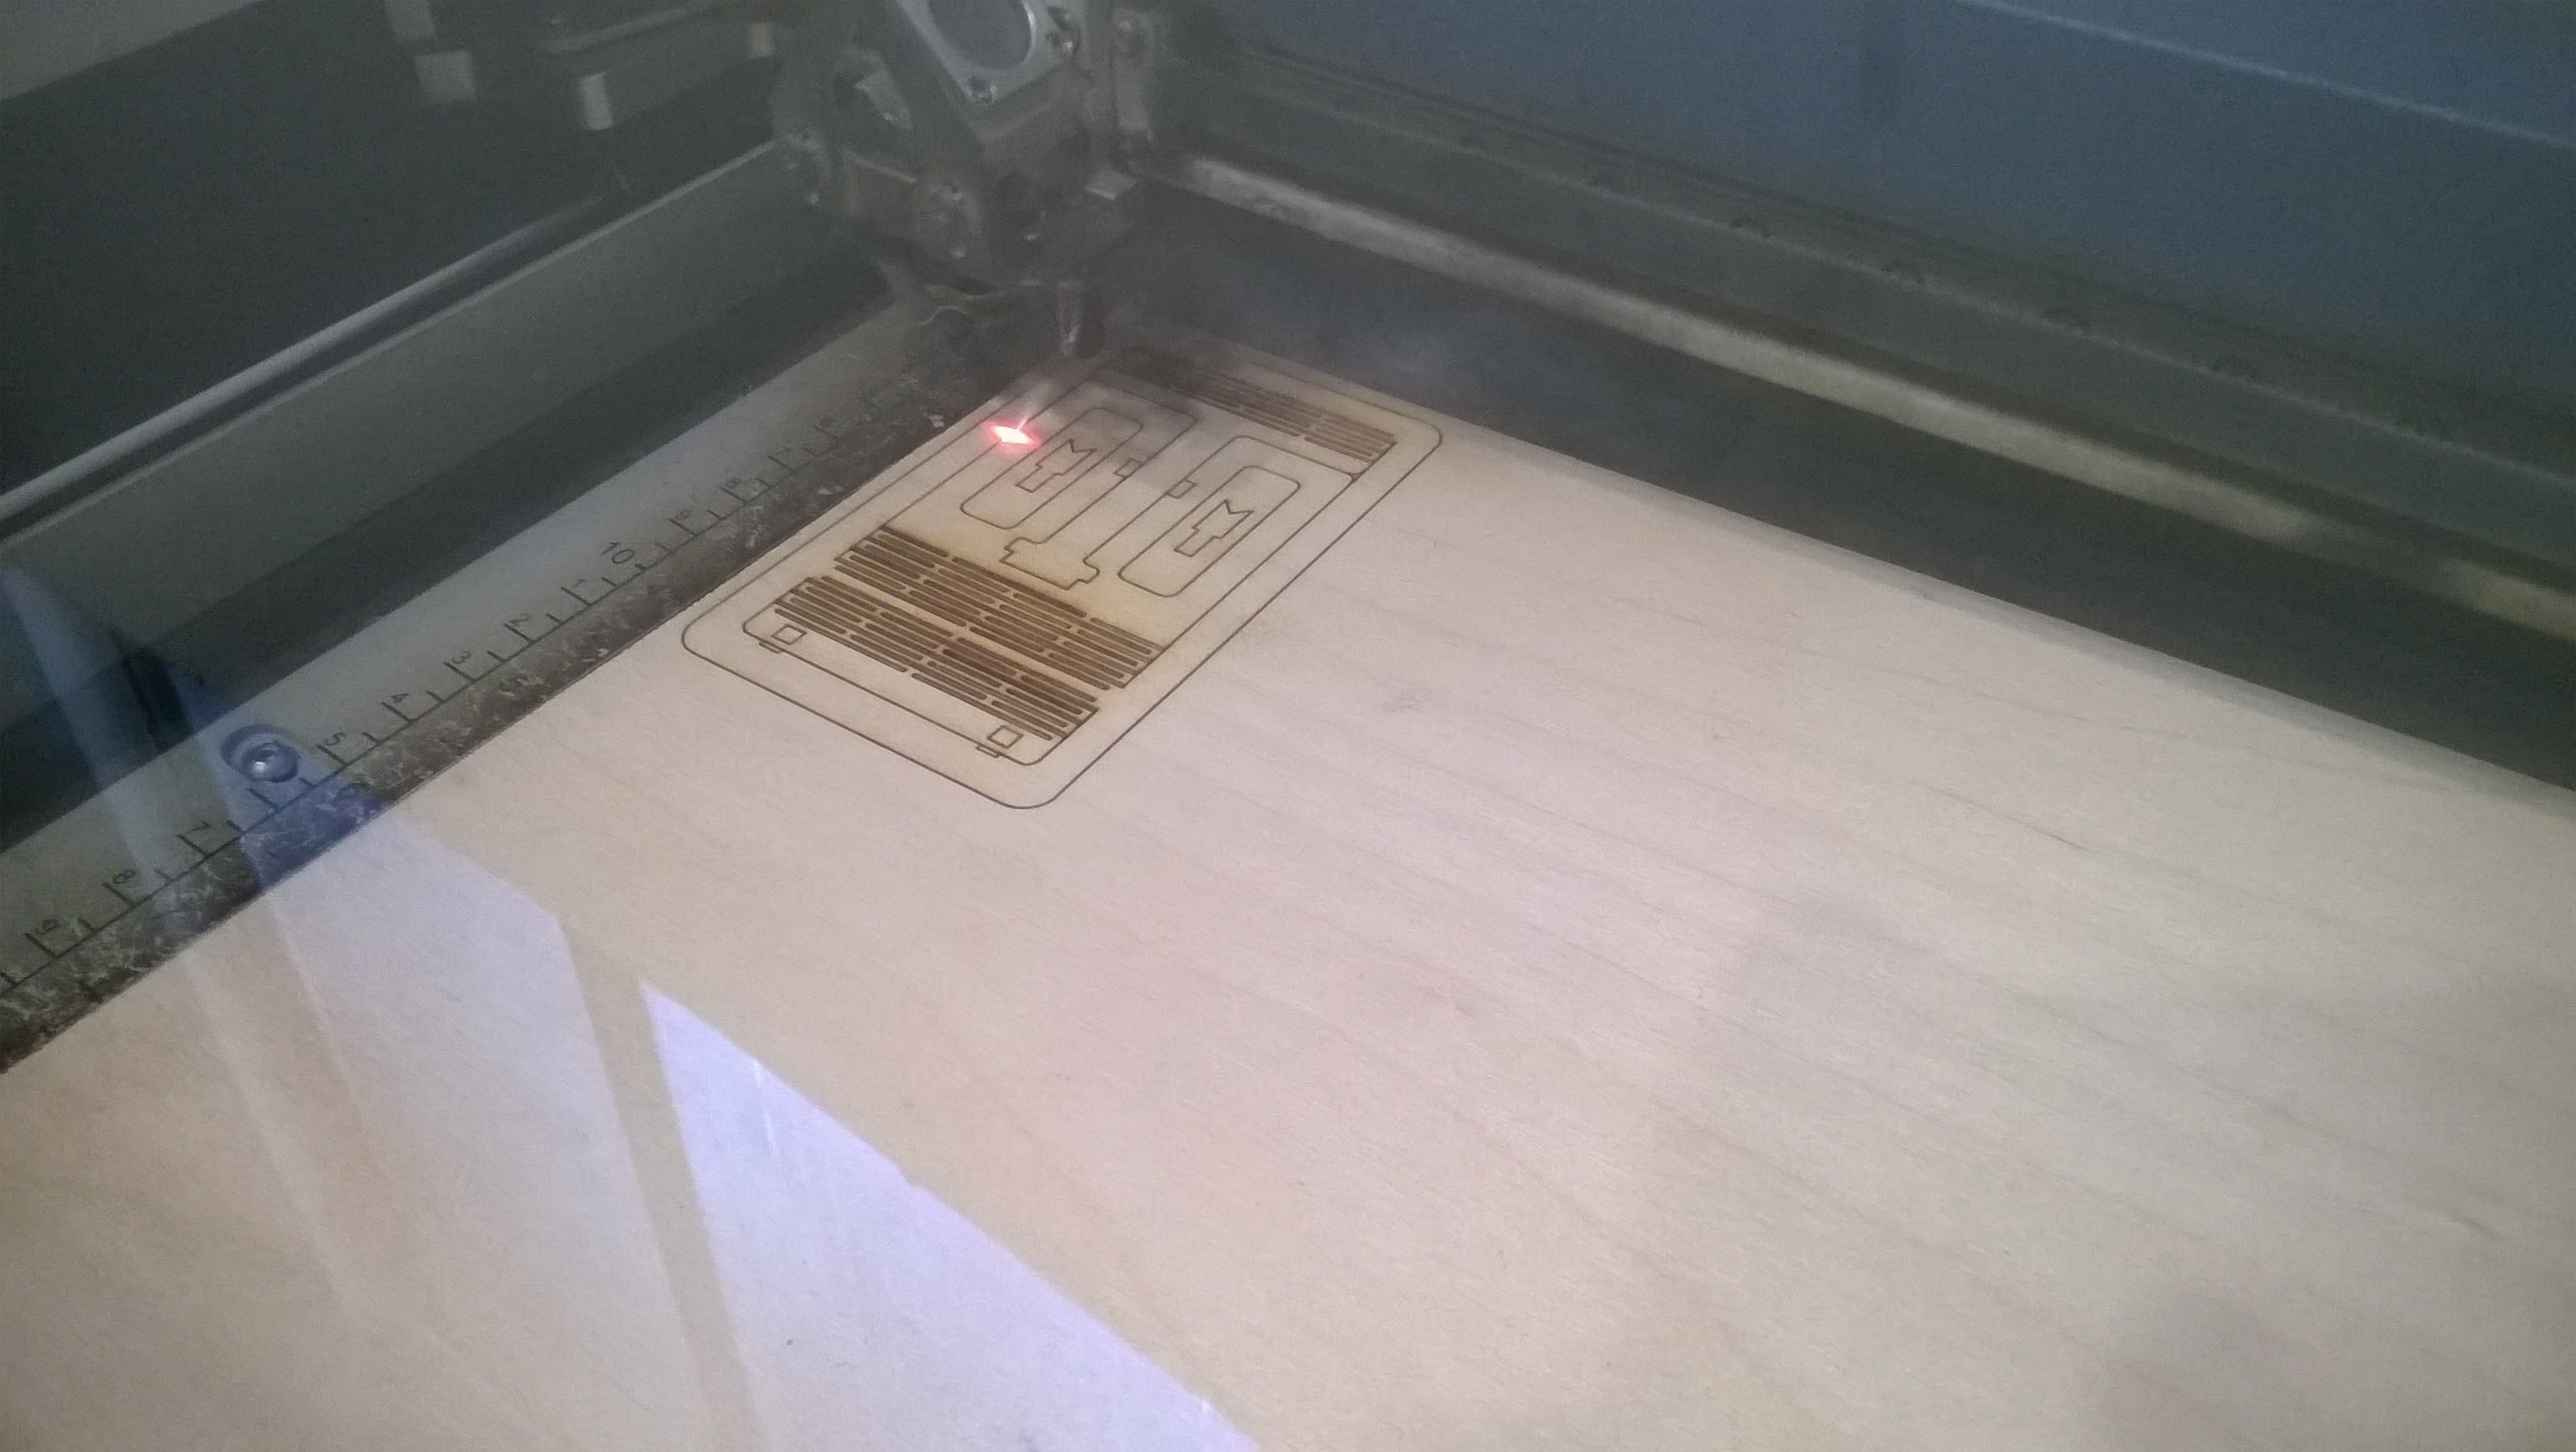
Laser Cutter while cutting:
Final Part
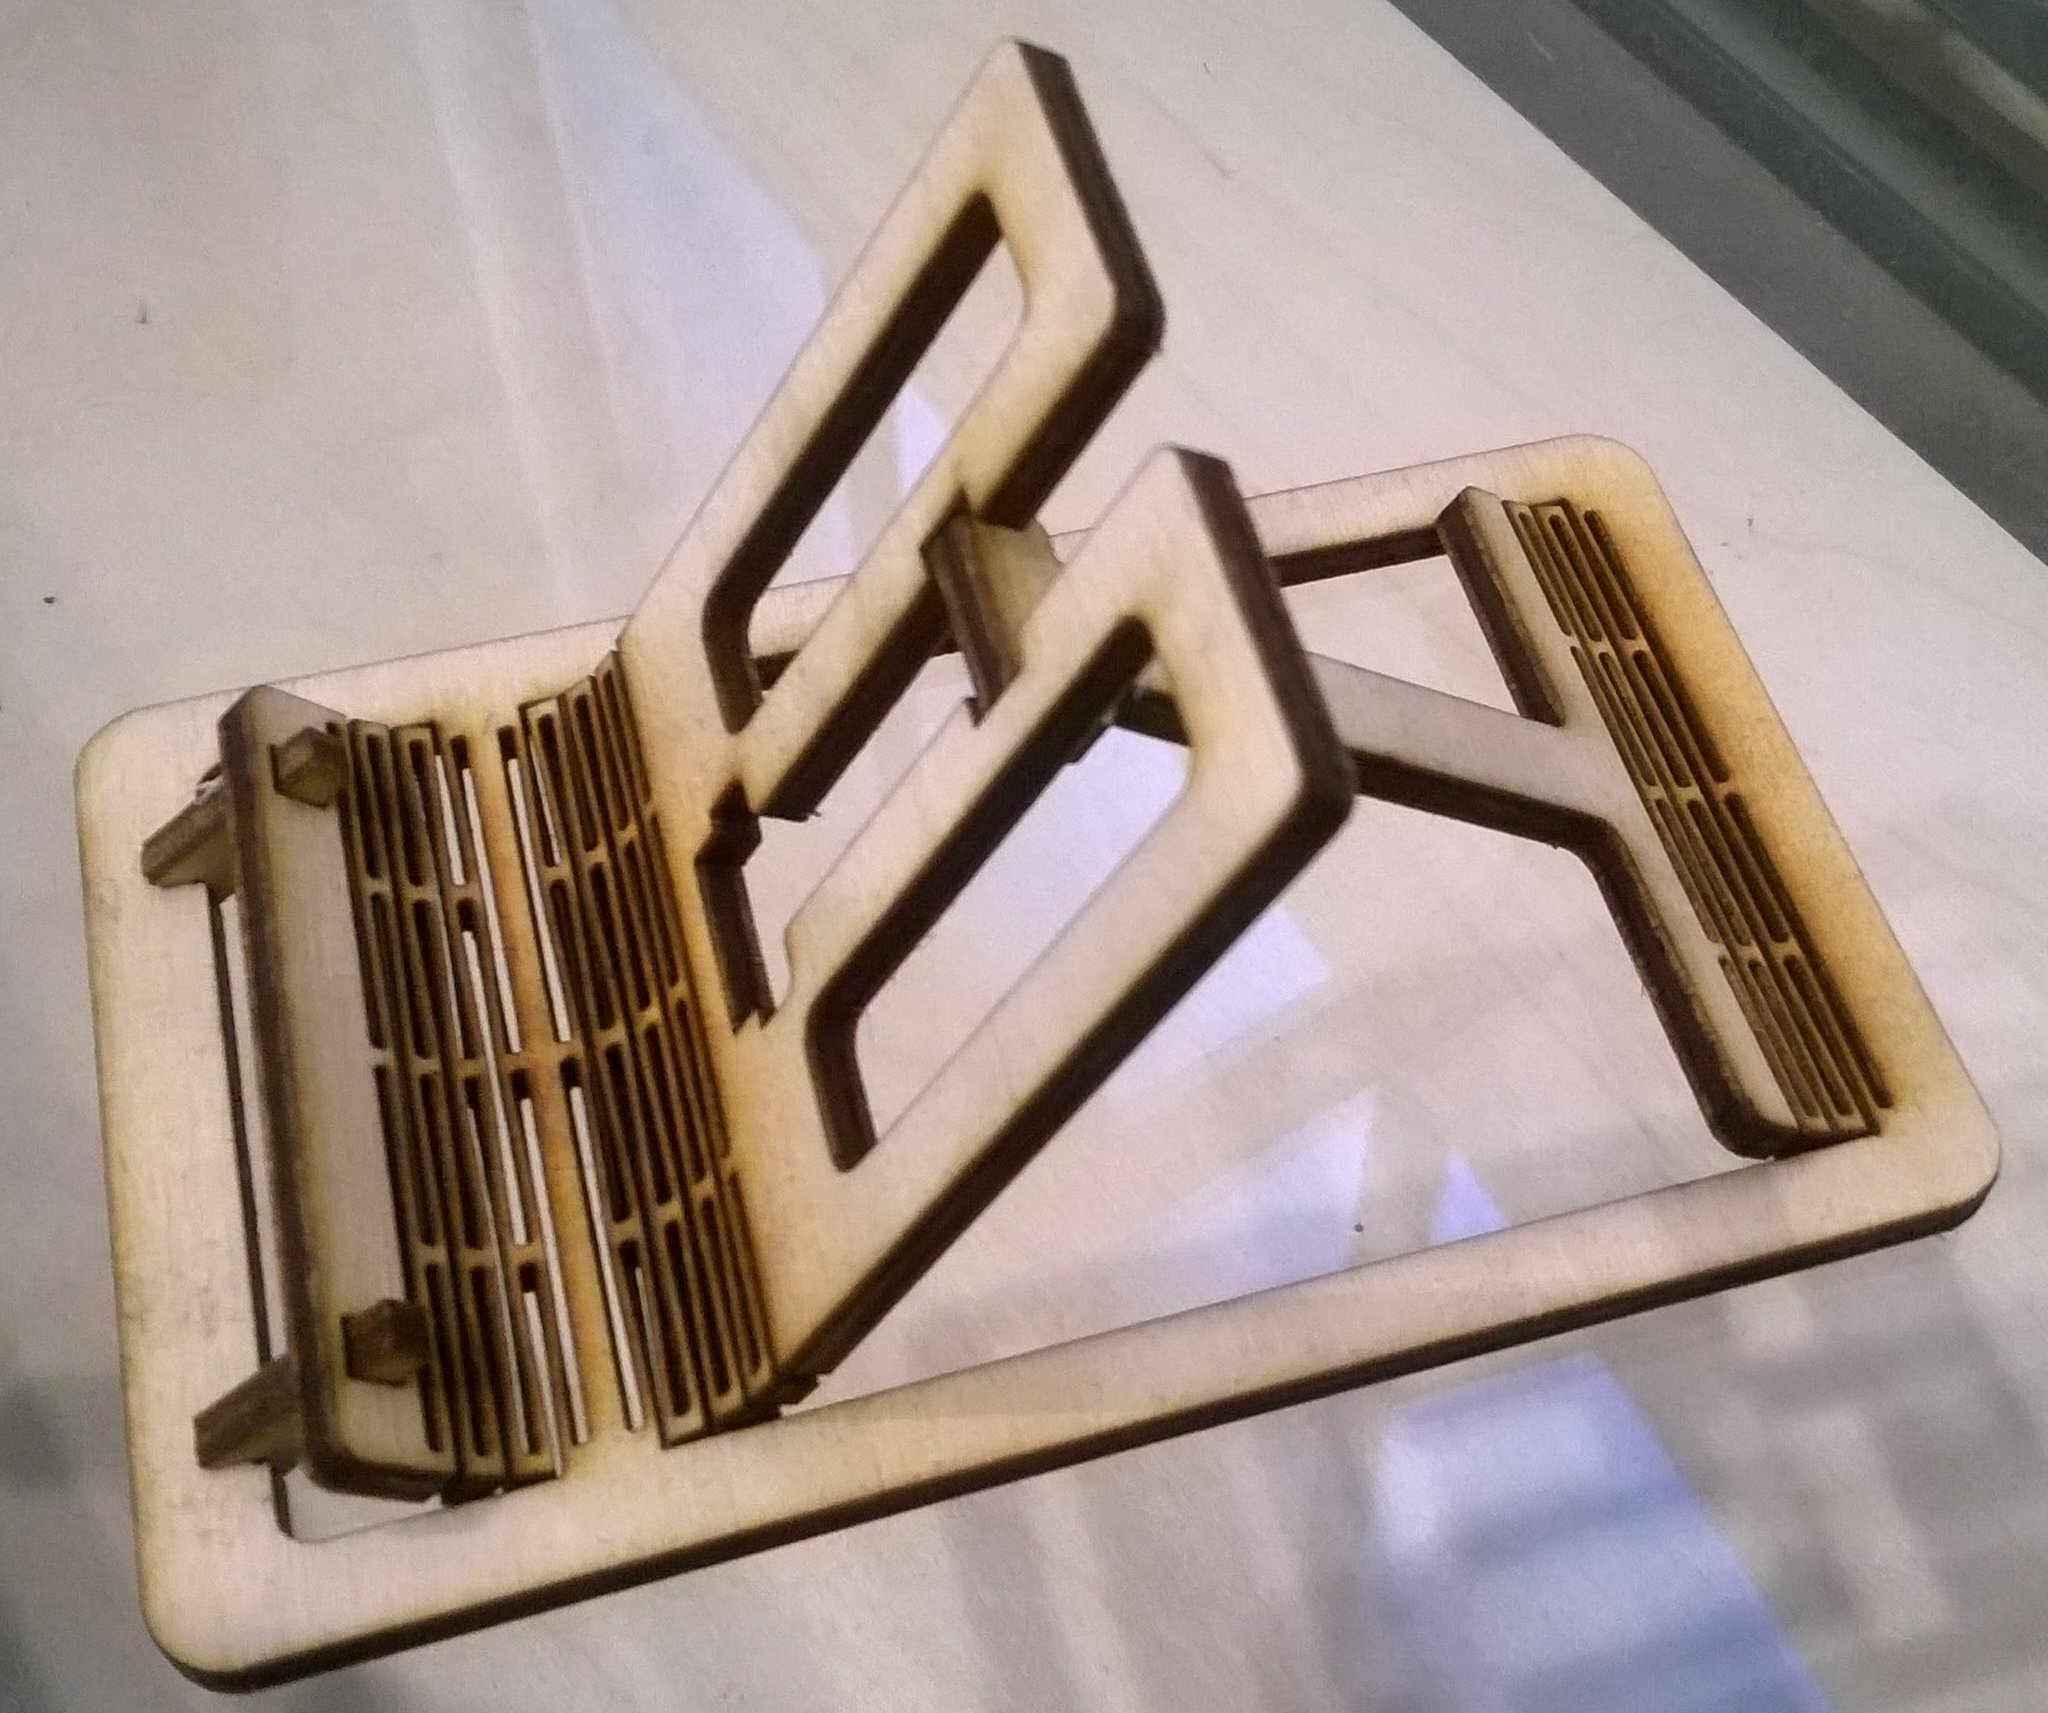
Laptop Stand:
The Process followed was just same as that of the above one for Mobile Stand. The difference in this was just that I used a Transparent Acrylic Sheet of 3 mm thickness and for that speed nad power for cutting differed, so here the I kept “Speed = 12 and Power = 100”.

Individual Assignment:
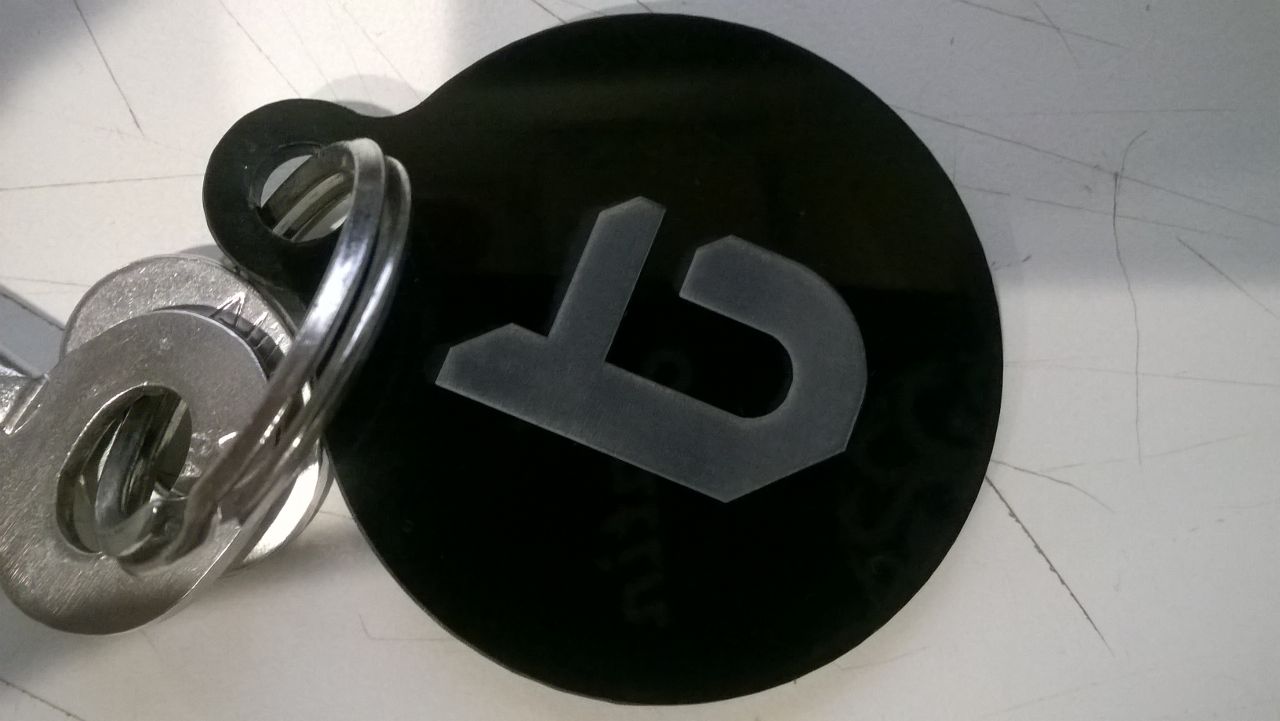
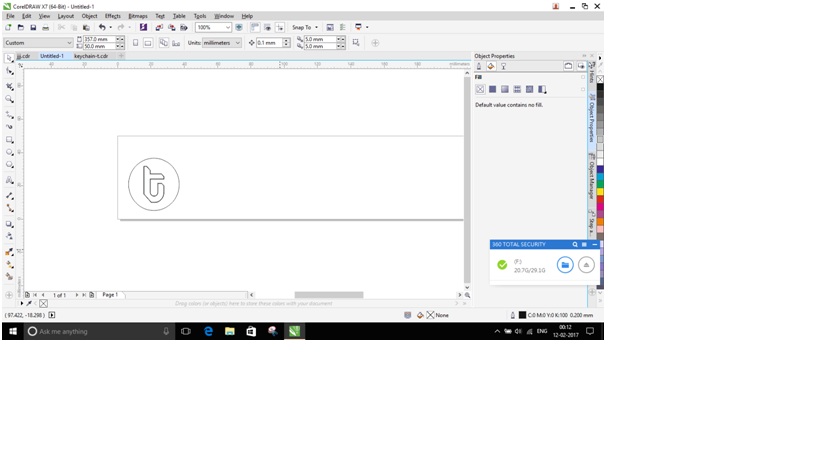
In this Individual Assignment I made a key chain, of my Labs symbol on it. The design for this keychain I made in my last Assignment in Coral Draw.
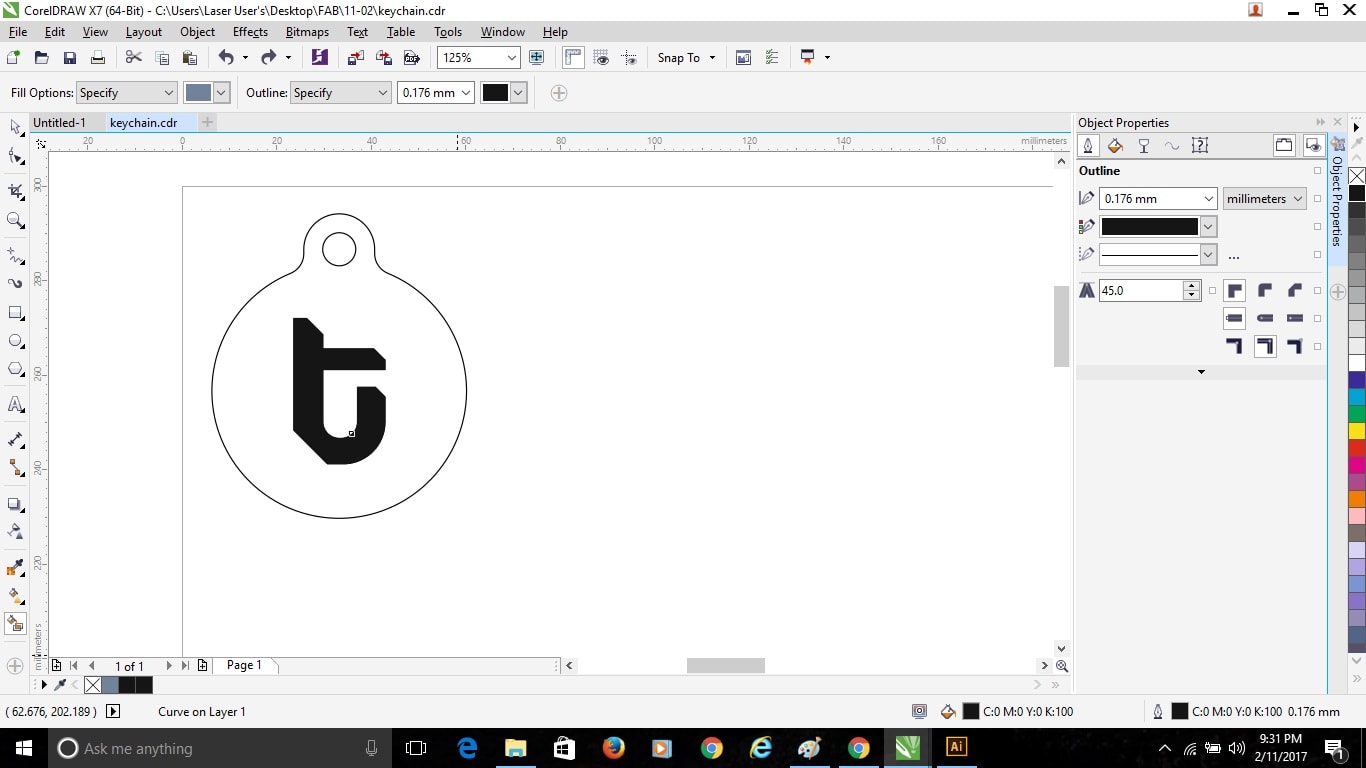
Here I made the "T" symbol inside the keychain Black for Engraving, Different Shades of Black color defines the power of Engraving on the material.
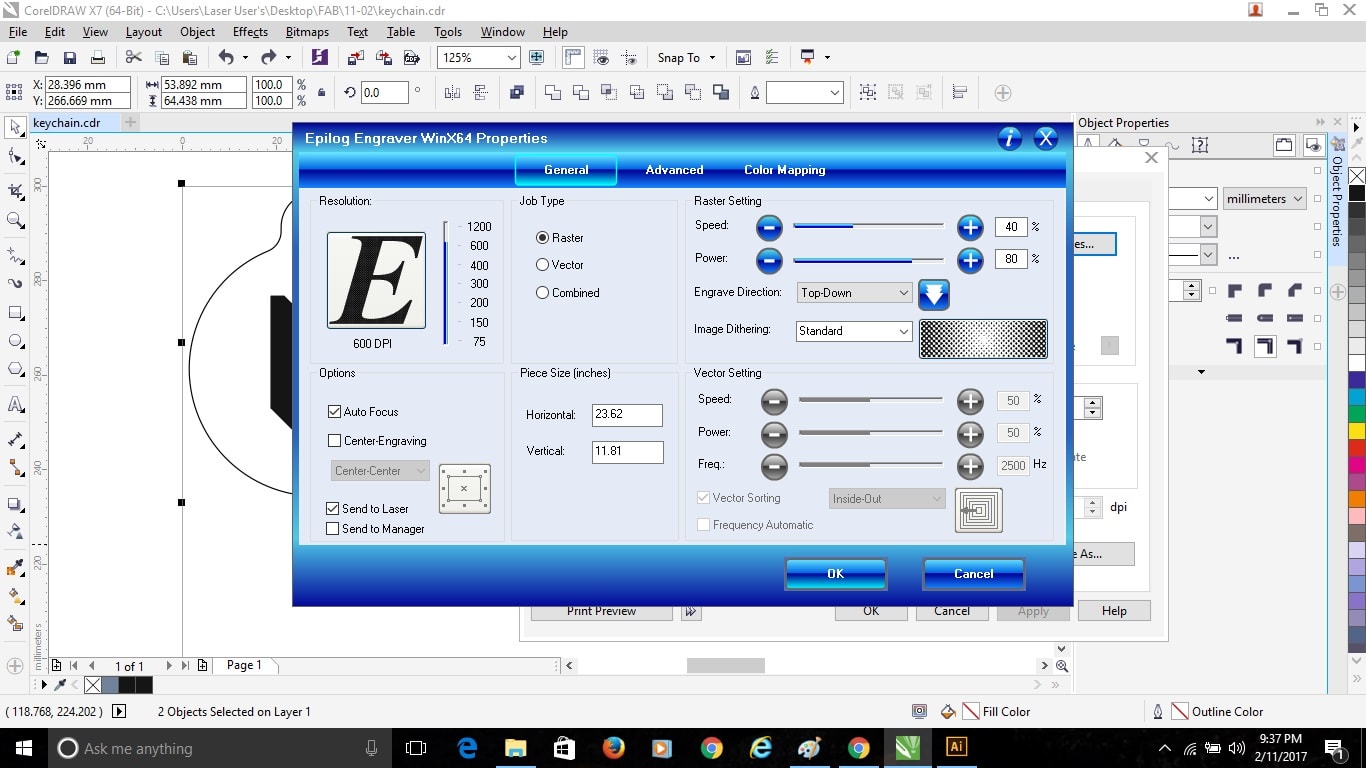
Here the combination of Speed and Power defines the sharpness of cut. As the Power is high, there are chances of catching fire and improve cutting of the object. In case of paper, Balsa wood and cardboard it is very important to keep power low and speed high as these catches fire very easily compared to acrylic.
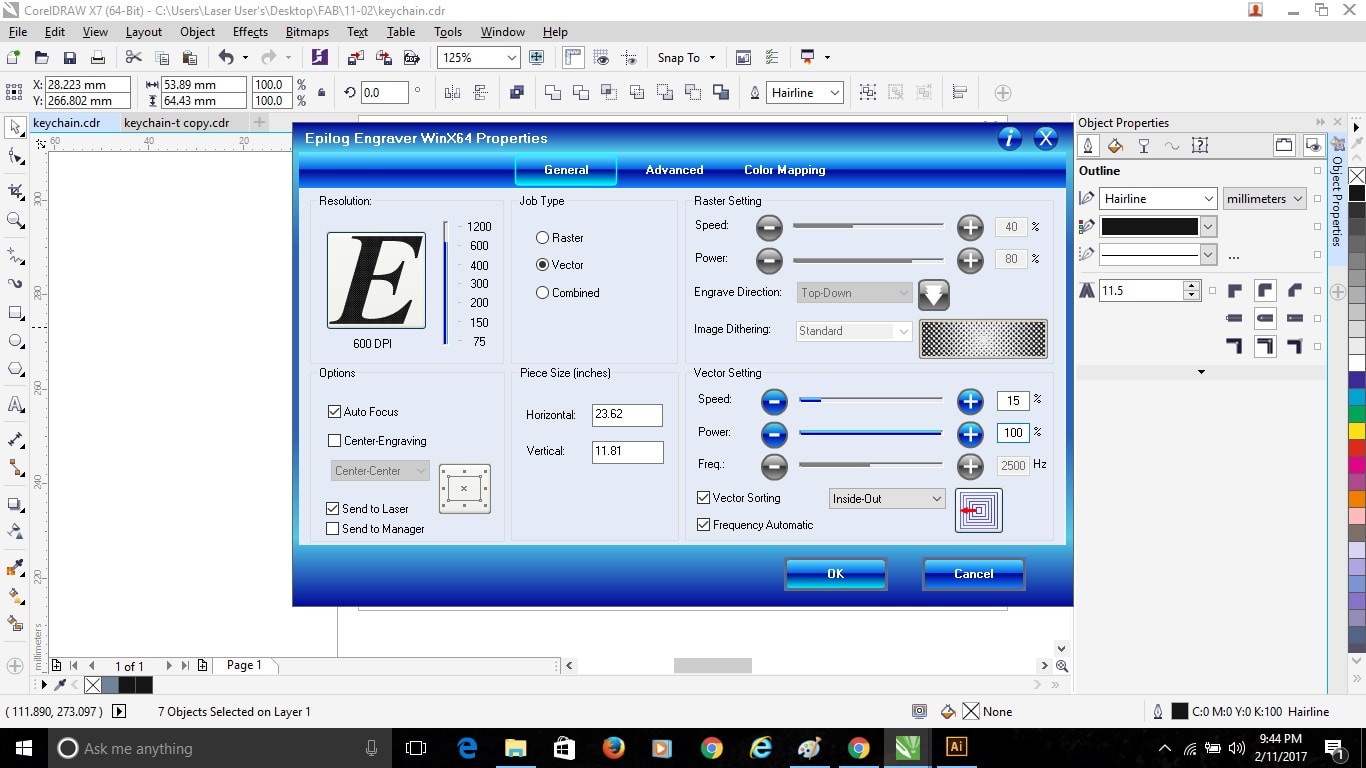
Here as I was first going to engrave on the Acrylic, so I first selected the Raster option and clicked Auto Focus ON and set the Speed and Powerv for Raster, I took “Speed = 35 and Power = 75” for Engraving. After that just clicked OK and the Print started on the machine.
Final Object:
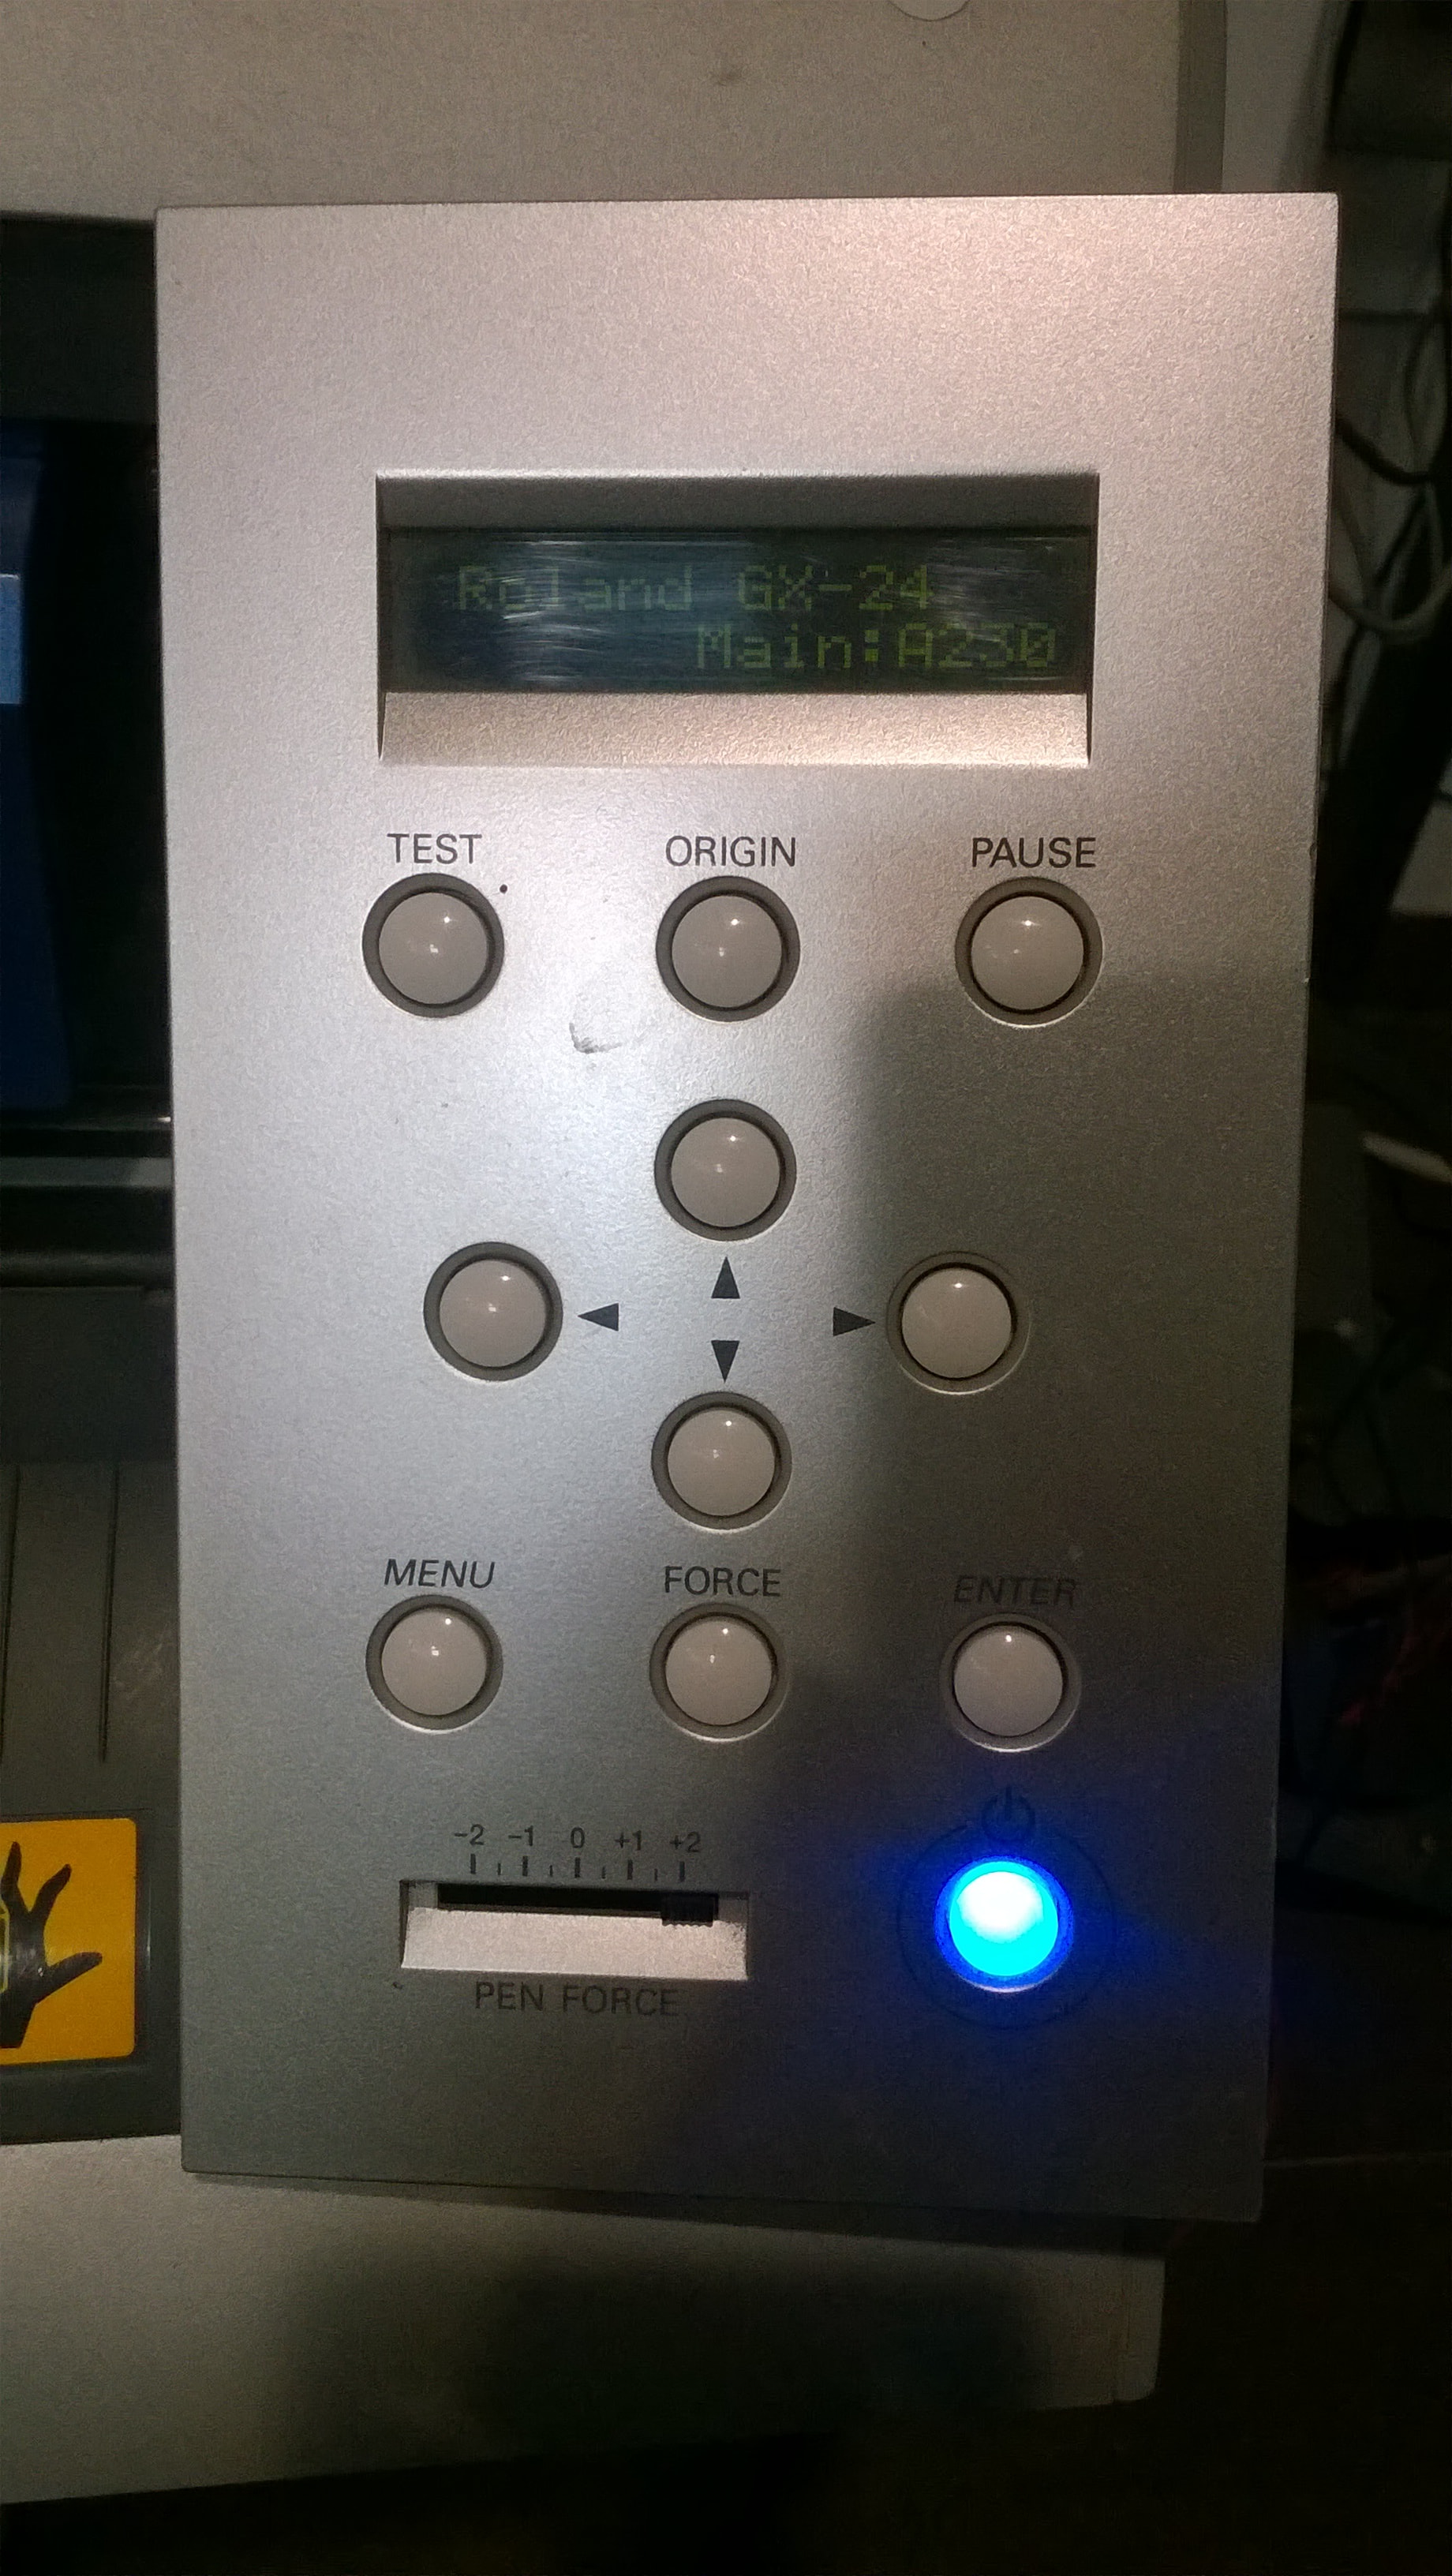
Vinyl Cutter:- Roland GX-24 – Desktop Vinyl Cutter
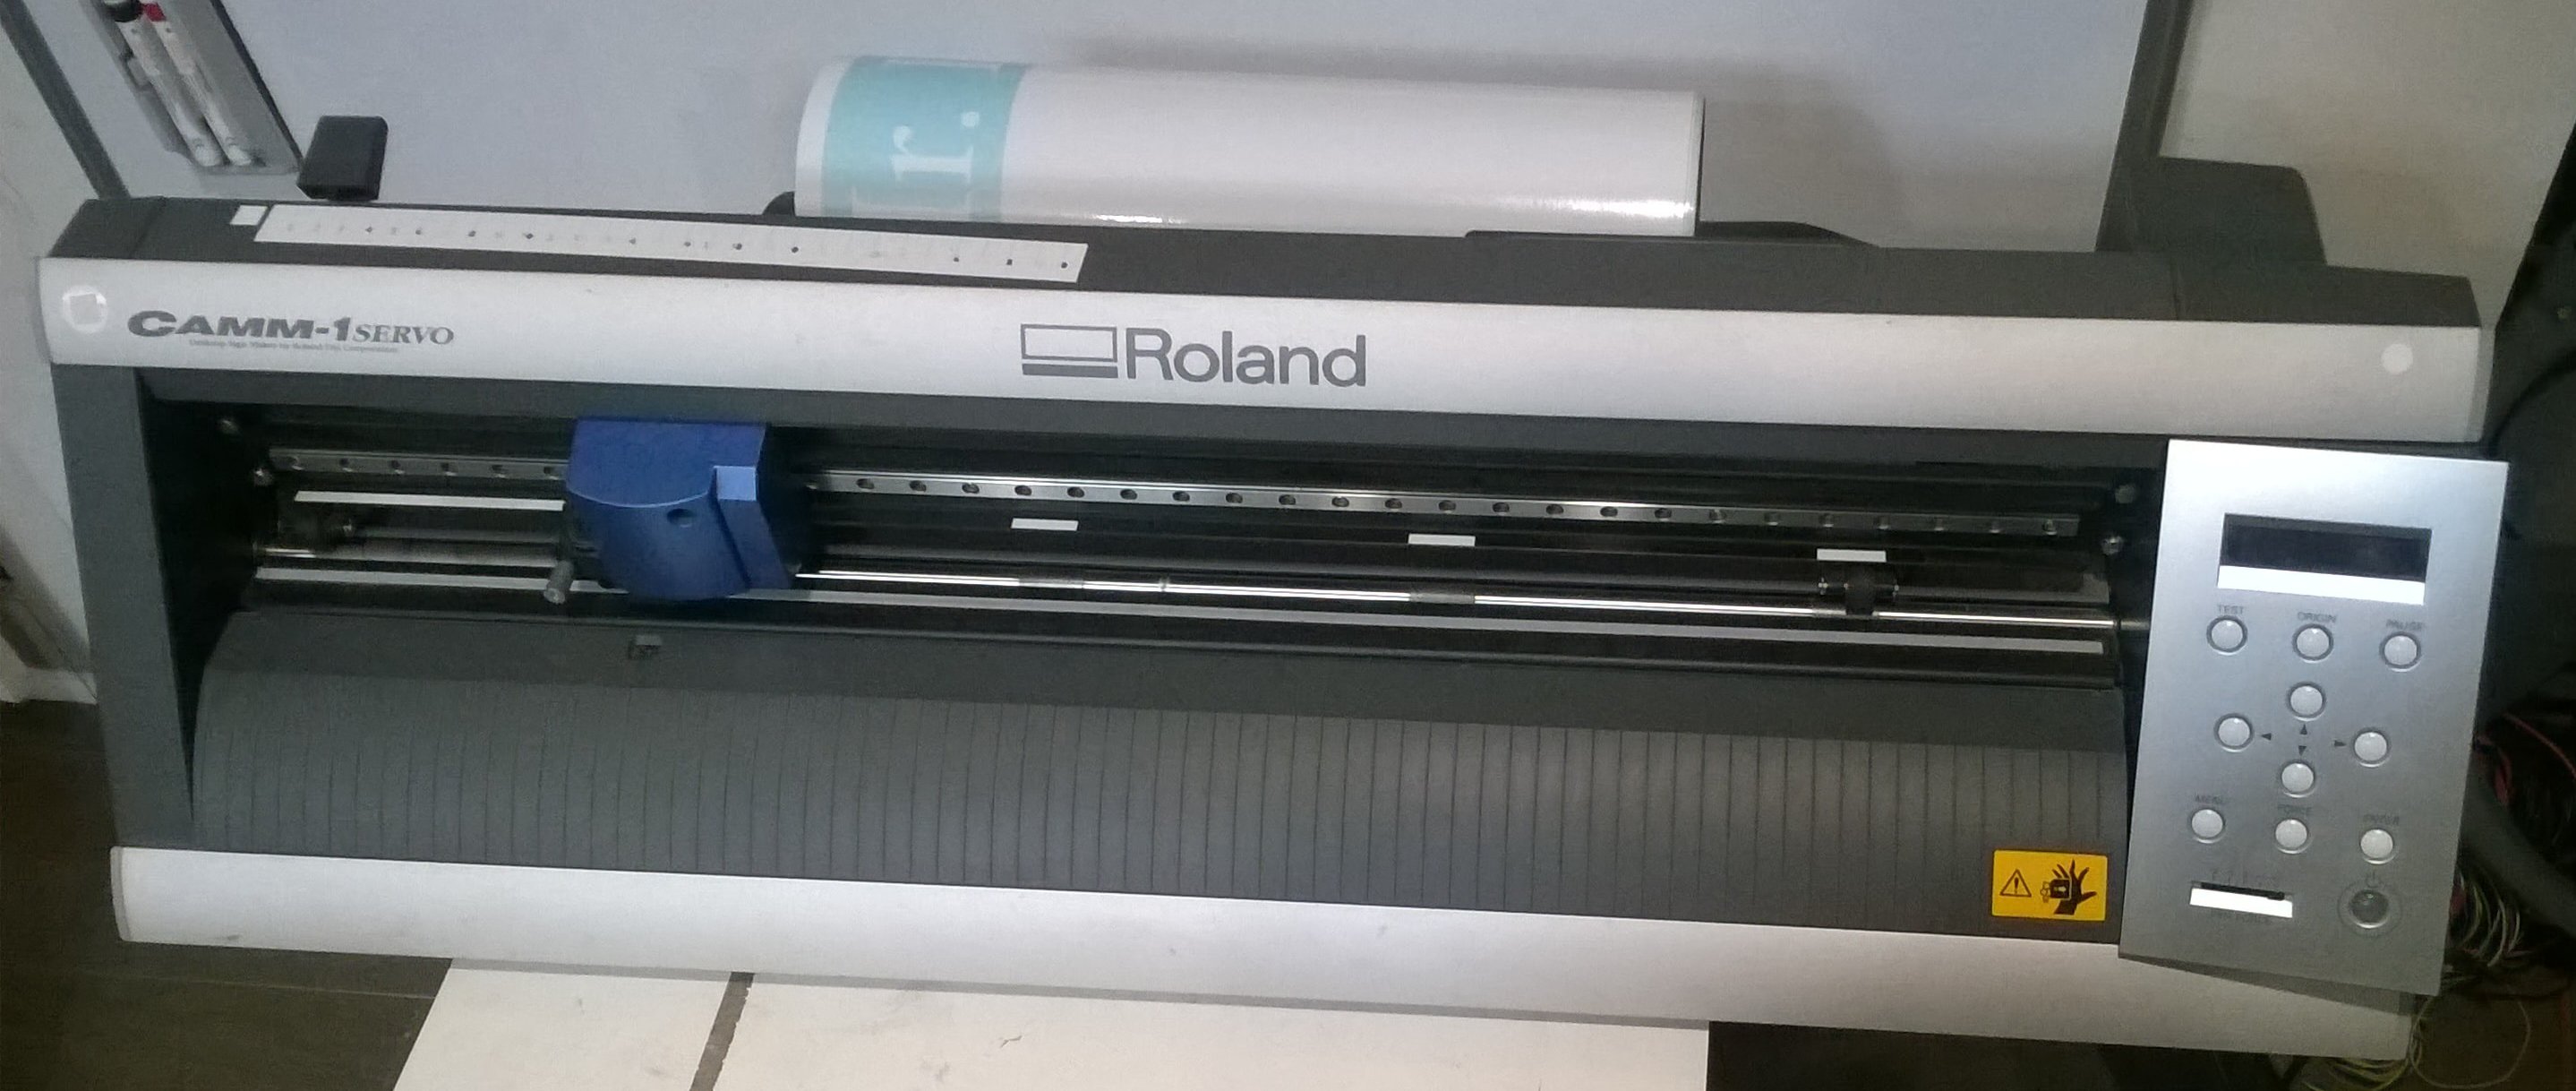
GX-24 Vinyl Cutter is the desktop vinyl cutter with working area of 700 mm wide vinyl.
Using the Vinyl Cutter, First entered the vinyl roll from behind by taking the wheels up and after inserting put the wheels down adjusting them on the Vinyl Roll by the use of Lever at the Left back corner of the machine. I here vinyl cut the same design I made in my previous Assignment.
Switched the Machine ON
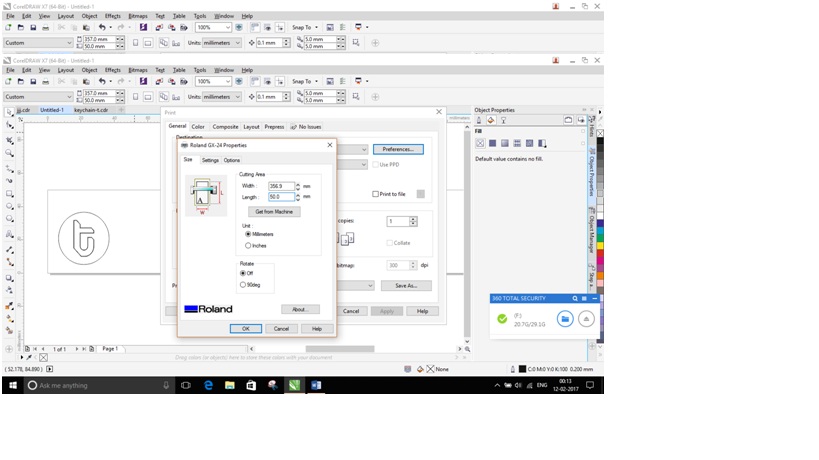
Now most importantly checking the width of the vinyl roll inserted in machine and entering the proper value of the roll and adjust the design properly on the software. This reduces the wastage of vinyl.
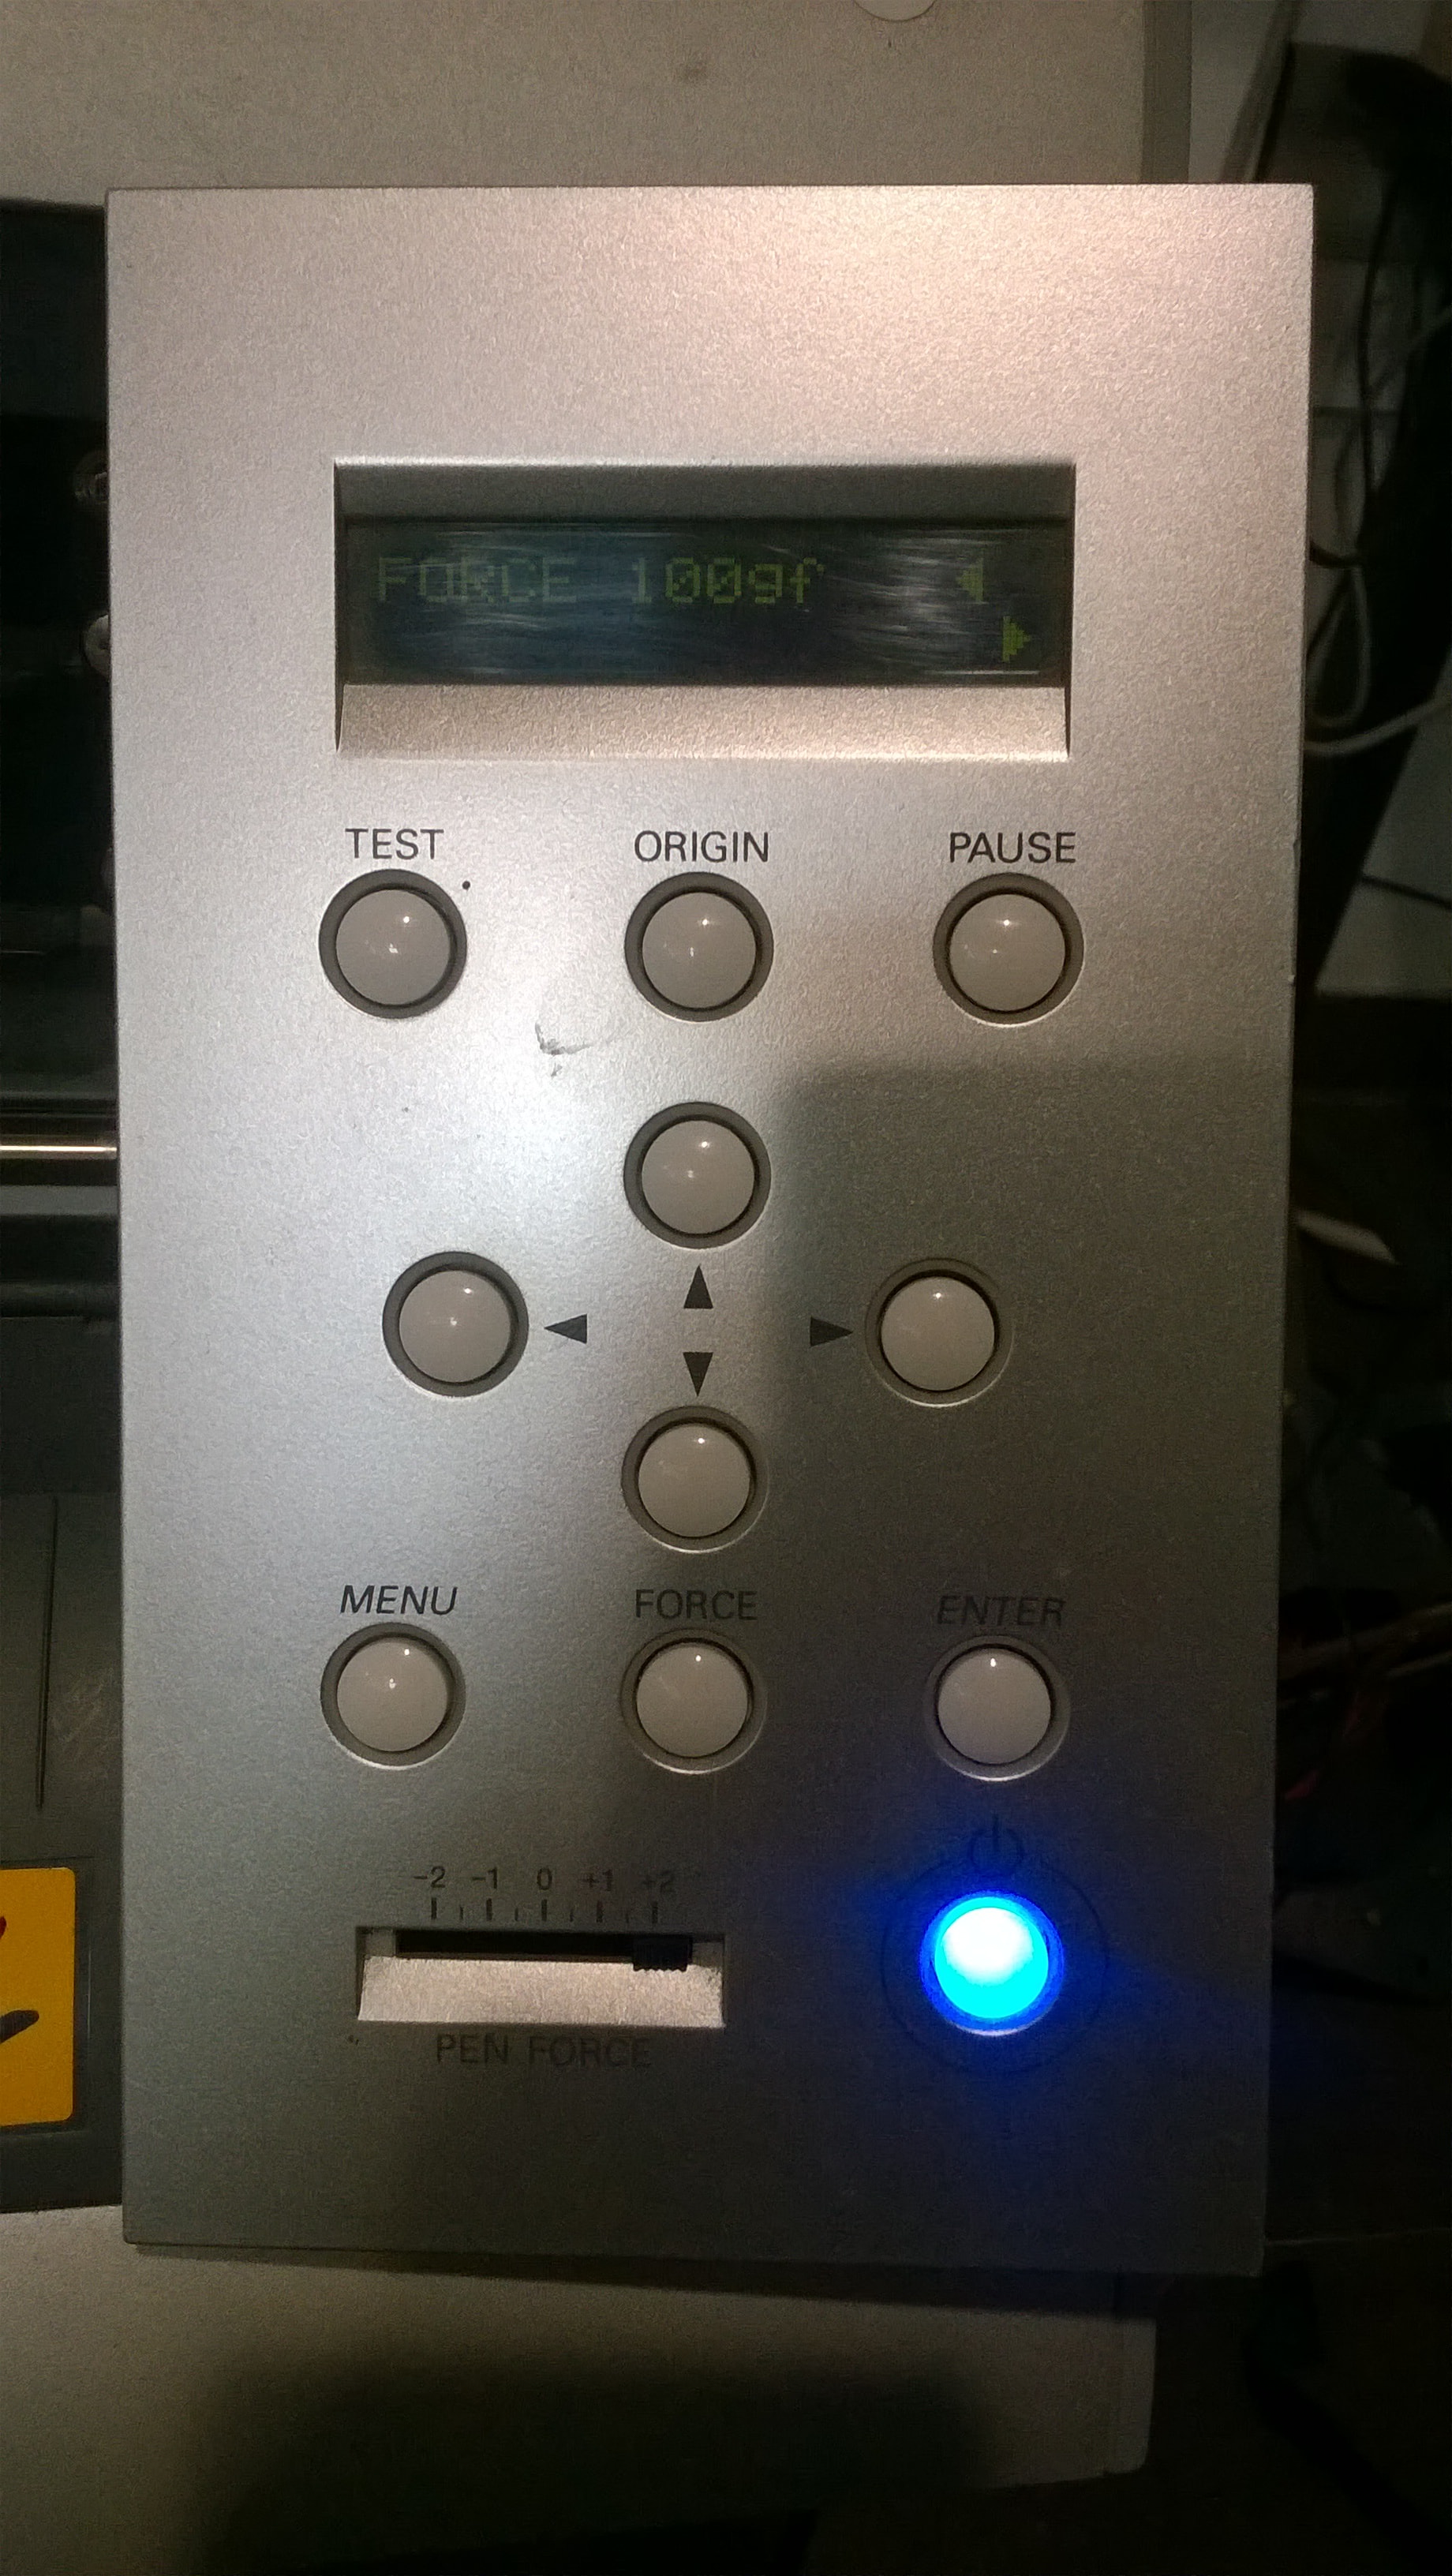
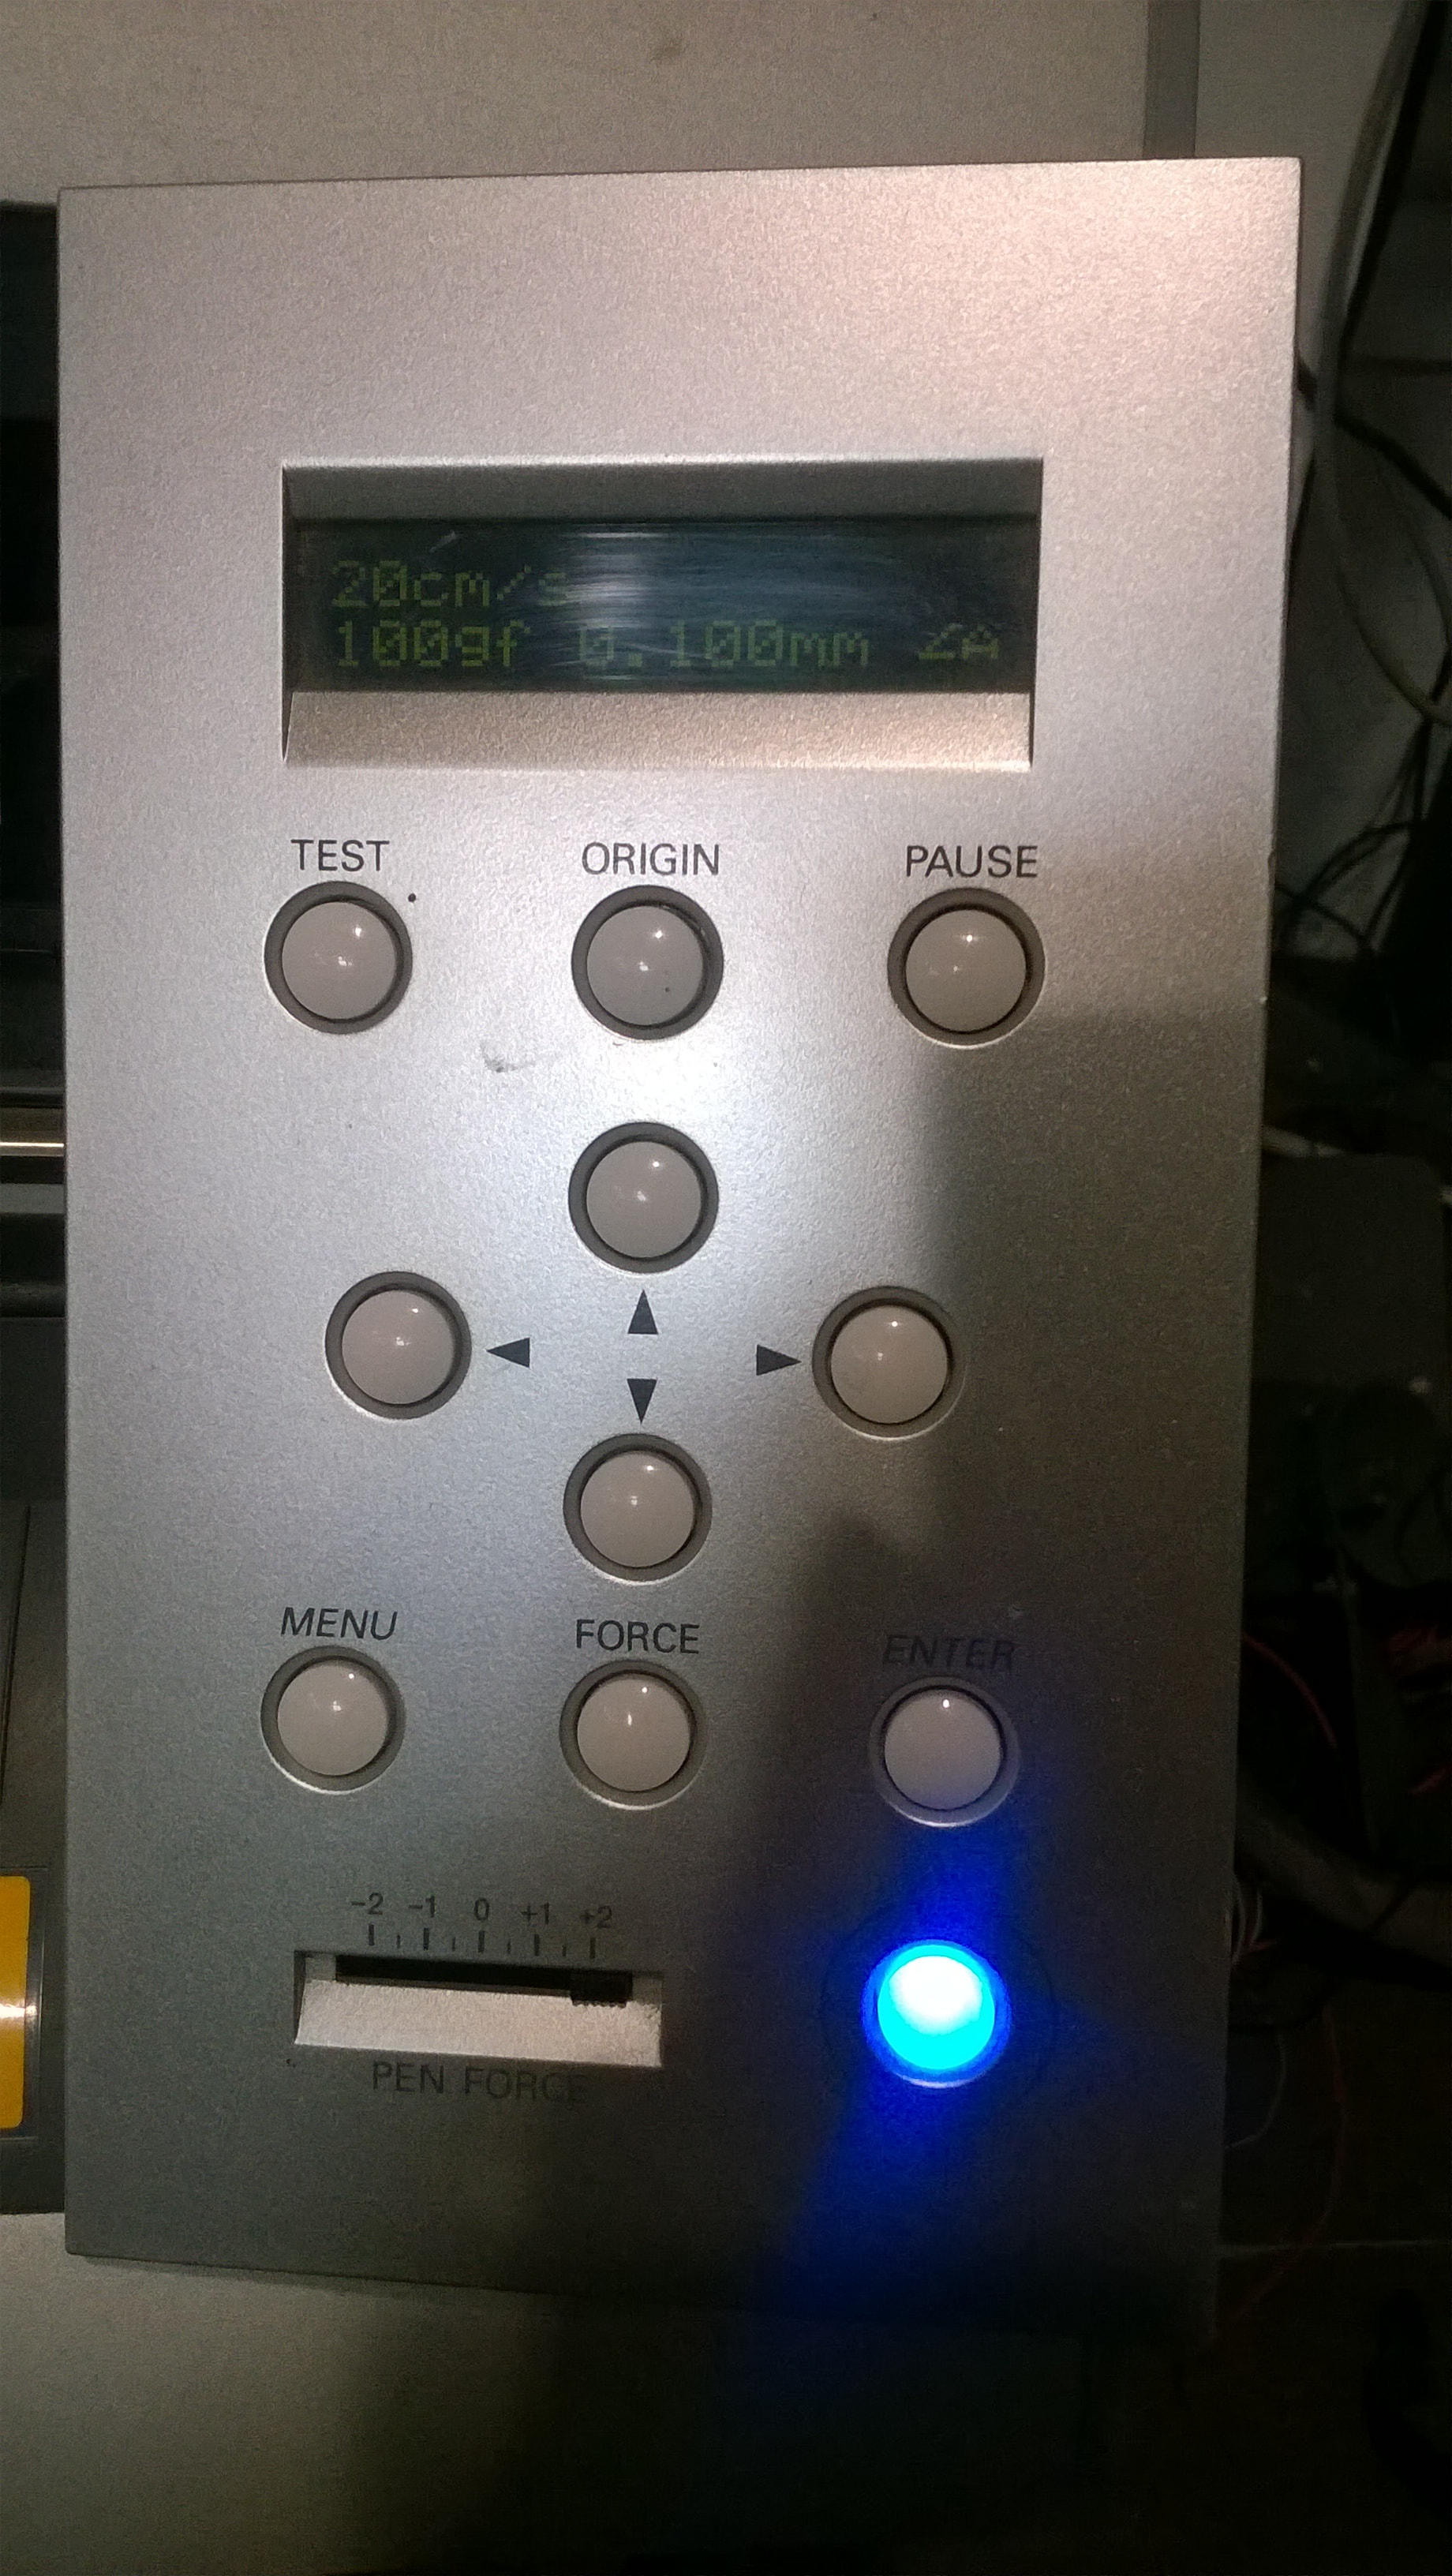
Now set the cutting force to ensure that the cutting depth will be enough to cut the loaded Vinyl roll. If the force increases the protective sheet below the glued sheet will get tear off and results in scramble and improper cut graphics.
Now the Vinyl Cutter is ready for use. It now requires a design to cut.
I used again Coral Draw for designing the graphic. So first I started with Simply getting my name printed.
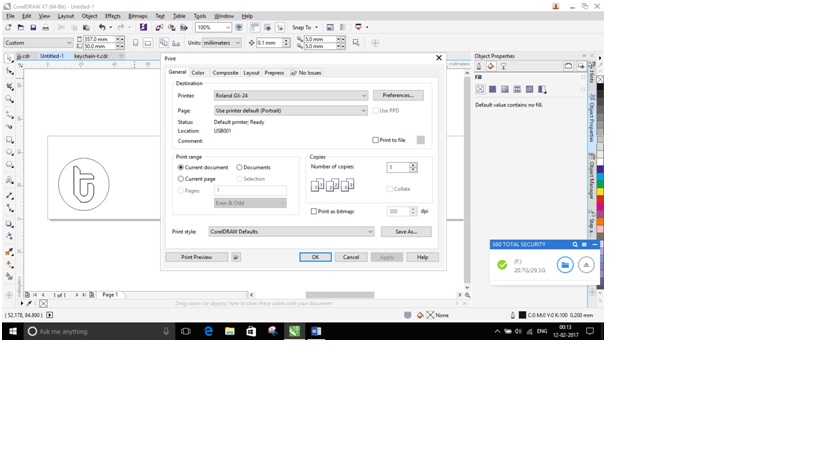
Converted the lines to Hairline and adjusted it according to the page, now simply pressed “Ctrl+P” and gave print command. Now similar to Laser Cutter, went to “Preferences” in the print dialog box, and Checked whether the Width and Height of the sheet is proper or not. Now clicked OK and again on print Dialog Box OK.
Now the Vinyl Cutter will start Cutting the design on our Laptop Screen.
After cutting the design with Vinyl Cutter now I need few tools to prepare the design to pull off the protecting case, used Tweezer and Masking Tape to peel off the cut design from the vinyl sheet.

Download Files:
Laser Cut:
Vinyl Cut: