From Fab Academy 2017 Schedule Link
1. Work through a git tutorial
2. Build a personal site in the class archive describing you and your final project

For 1. Work through a git tutorial
Resources:
Matthieu Borgognons getting started tutorial made for Fab Academy 2017 Link
Git branching model schematics and explanations, recommended in above tutorial Link
Version Control with Git a tutorial from Software Carpentry  Link

Software used:
Git for windows and Git bash for git through the shell Link
Gitkraken to try a visual GUI for comparission - Link

Comments:
We were not initially added to the fablab verket repository, but our instructor Ohad resolved it over the weekend.
I was initially not added to the Whatsapp group which slowed down communication at first.
I made a github rep to test things in, tested things like resolving multi user conflicts,
reverting commits, checking out older revisions and more.
Git novices tutorial
I have gone thought software carpentry course Version Control with Git for novices.
While doing so I took down my feedback for each section so that their instructors can update and improve the course material.
In general I appreciated the course material but I was clear that it was primarily made to be tought in a class and not as self study material.
Feedback to the software carpentry instructors
02-Setup
would be nice to test ones choice of editor, also I resent typing in stuff I don't understand. Case in point "-multiInst -notabbar -nosession -noPlugin"
03-create
Error in block "Places to Create Git Repositories" "mars" should be "moons"
Solution block comment:
This assumes that we know what a "staging area" is and what "tracking" in this context means.
(also "run cat")
04-Changes
I don't have nano and I have no idea how to open a file in my chosen editor, I even tried googling it, exensively.
Finally found "vi" to be an included text editor and figured out how to save and exit after more googling.
Nano does not work with Bash for windows so this will be very useful to fix for future users.
05-history
In block "Recovering Older Versions of a File:"
Nr 5 should be the solution, not another answer. See previous page.
in block "Reverting a Commit"
Solution is also missing (I think it is "git log -", but the # should be a "1" in the question)
The remaing solutions are also missing, they would be nice to have so that we know if we understood.
Unless it is to force the student to check for themselves. I wote to put in the answers.
In block "Explore and Summarize Histories"
Spelling errors
"Imaging" should be "Imagine"
"Recorded" should be "Recall"
In block "Explore and Summarize Histories"
07-github
The solutions are missing here too.
In block "GitHub GUI" the Solutions are missing and I can't find out the answer from the rest of the tutorial.
Even if somebody (a SC teacher) told me it would be nice to be able to use this tutorial later as a reference manual.
In block "Fixing Remote Settings" you could also mention that "git help remote" yields a different and much more exensive guide,
also true for all other git commands.
I can't solve this question. I don't know how to status check a remote without trying a push/pull.
http://swcarpentry.github.io/git-novice/08-collab/
I would add a Hint: the next chapter resolves conficts. (I though the tast was to resolve this on my own, which took unecessarily long)
09-conflict
Topic "Conflicts on Non-textual files"
Answer missing. More ok this time since it could be considered not part of the course.
My take on the course: Good! Feels friendly and in digestable chunks. I biggest grievance is that I could not find the answer
to some things that was asked in the questions.
Git commands
For my own use I wrote up a Git commands cheat sheet.
GIT BASH commands:
mkdir = make dir
cd = go to root
cd DIR = enter dir
cd .. exit DIR
ls = list contents of dir
ls -a = list all, also hidden
clear = clear screen
git status = get status, good to do
git init = start a new rep
git add = add individual files to be tracked (staged?)
git commit = upload tracked/staged stuff, use -m "Commit message here" to speed things up
git log = show the log
git diff = show unstaged changes, add --staged to see changes between stage and last version
git log --patch filename.ending = returns a combo of diff and log for a specific file. All commits and all changes.
git checkout HEAD(~# -nr of steps) filename.ending = overwrites local changes with a selected version, file by file.
git revert [first few chars of commit ID nr]  = Undo commit
git remote add origin [PATH] = set a remote target to host your rep. (Origin is the typical name for such a thing)
git remote -v = get info about set remotes
git remote remove [name] = removes named link to remote
git push origin master = pushing commited content to master branch in specified remote origin
git pull origin master = Pulling the master branch from the origin remote
cat = read file (typically text)
pwd = where am I? as in what dir.
rm = remove
Git workflow:
This is a workflow for working in a existing repository
git pull = Download the latest verison from the repository
Make your changes, edit, add or remove files...
git status = Check where you are and what you changed
Optional: git diff = to see the differences inside the files (q to exit)
git add . = add changes to stage for committing (use --all if you have removed files)
git commit -m "description of what you changed = to save your changes locally
git log = Shows you what was done
Choose the MIT license for my repository as well and included their standard license.txt file. Find it here.
For 2. Build a personal site in the class archive describing you and your final project
Personal site
Additional goals from Ohad:
Sketch web layput on paper
Sketch web layout in Inkscape
Menu requirements
About you
Final Project
Weekly assignments - and sub menu for each week
Resources:
Description of a basic HTML5 page from sitepoint Link
All the HMTL5 tags described from W3 Schools Link
Meta tags expained Link
Previous Fab Academy student web pages used for reference Link, Github
Software:
Brackets for html coding and live preview Link
Inkscape for vektor drawing Link
Image resizer for windows Link
Reviewed student web pages:
Ok landing page! http://archive.fabacademy.org/archives/2016/fablabbcn2016/students/362/index.html
Ok layout, seem to like top bar. http://archive.fabacademy.org/archives/2016/opendot/students/167/#/
Good, but should possibly frame top? http://archive.fabacademy.org/archives/2016/fablabegypt/students/319/Assignments.html
Design thoughts after reviewing other student pages:
Focus on making it understandable for an outsider to the course. Many are really confusing
and I could not understand what they were doing.
Should always strive to have it ready for walk off. It will never be completely finished anyway :)
Light on background pics
Timestamp updates automatically if possible.
Latest update on fronpage,
Link in the official assignment list (in some form that retains it live)
Comments:
Feels good to have a web precense again!
I am keen to document my old projects so that I can point to this page when reffering to them in the future.
I really want to make updating the site with new content or progress part of the work rather than in addition to the work.
My output:
Built this site in raw HTML, right-click and press "View source" for code and comments.
Pushed it to Git using BASH in windows. Later I changed over to using Gitkraken since I really prefer a grafical user interface.
A basic "About me text" is posted on the front page.
I hope that my Tutorials page will be useful for future years of fab academy studens as well as serve as a quick reference for myself..
Also se bottom of page for paper sketch and inkscape layout sketch as well as first test in Brackets.
Final project
Additional bonus goals from Ohad:
Collaborate with other students
Comments:
Will try to recruit more collaborators on this.
Reviewed other students final projects and my existing project ideas.
Decided to make a versitile and user friendly DIY CNC milling machine since I really want to contribute
to this the and the challanges fits the Fab Academy course.
See final project page for ambitions and status.
Images:Brackets Screenshot Sketched layout on paper Layout drawn in Inkscape Git branches for the FabLabVerket repo
Later HTML CSS additions:
I kept learning HTML and CSS after the first week
Display code on your page
When documenting my XML/SVG experiments I had to look up how encode my page to display HTML code like < & > in the page text. This thread solved the problem.
I learned that it's easiest to copy just the code you want to reformat into notepad or some external text editing tool so that you don't risk replacing other bits of your code. This is what you need to replace: (remember the ";")
& Should be written in HTML as: & (Do this first if you have them.)
< Should be written in HTML as: <
> Should be written in HTML as: >
" can be left alone or replaced with "
Put your block of code inside these tags to keep the line-formatting and spacing.
<pre><code> Code goes here! </pre></code>
Stuff I learned later
Git
My favourite command is git help [command]
HTML
Filename case does not matter on a windows machine, so when you preview your page it might look fine, but online some picture files can't be found. To change filename case in windows you also need to change something else in for windows to "get" that you changed something. Correct workflow for renaming File.jpg is, first rename to file1.jpg and then to file.jpg.
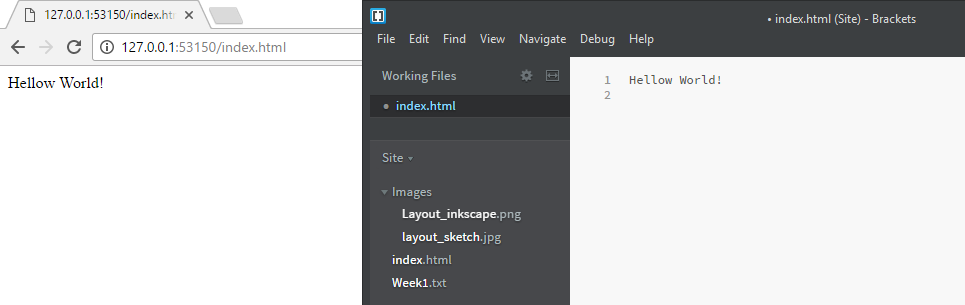 Brackets Screenshot
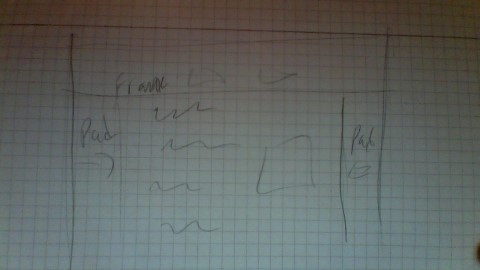 Sketched layout on paper
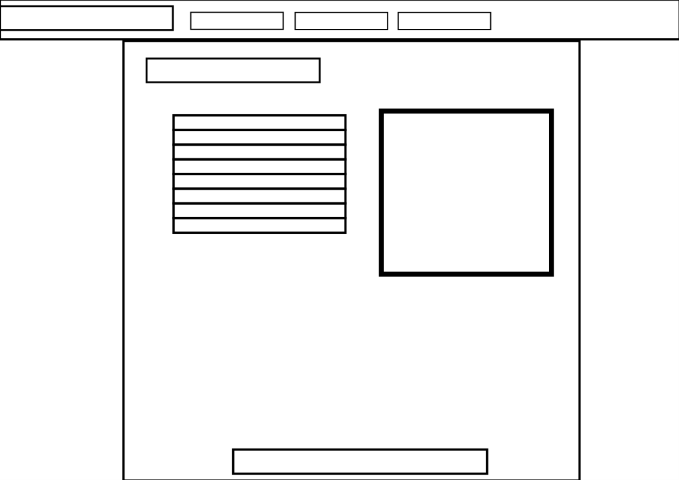 Layout drawn in Inkscape
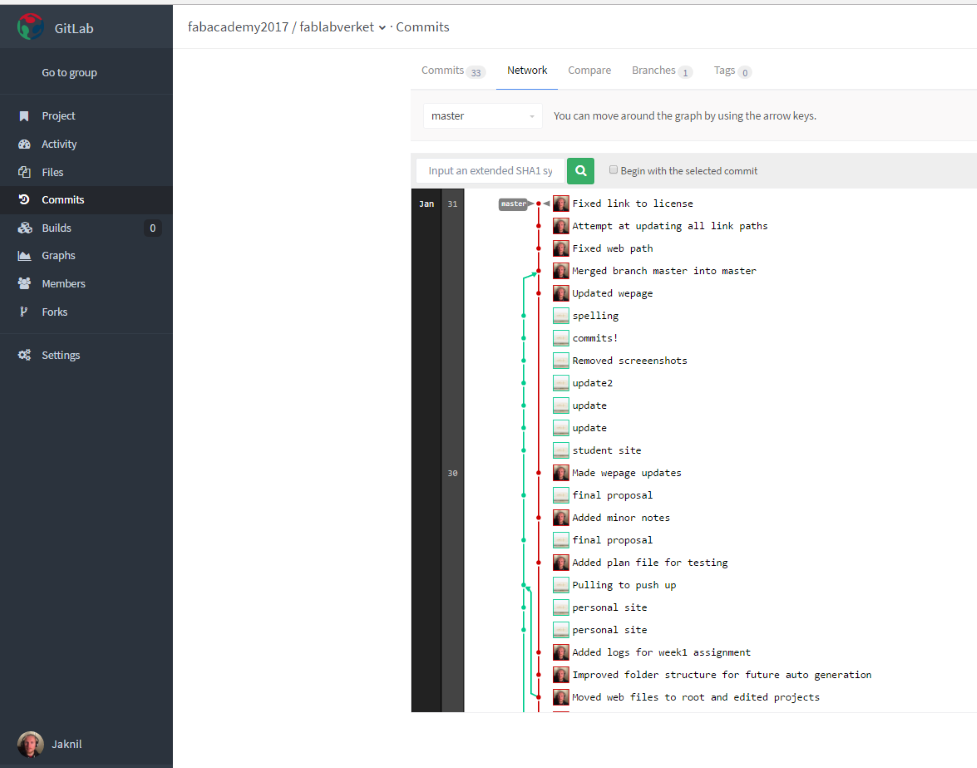 Git branches for the FabLabVerket repo