Week 13: input devices
Experience: Reading PIR Motion Sensor
Objetive:
Measure something: add a sensor to a microcontroller board that you have designed and read itLinks:
PIR Motion Sensor USB to TTL Serial Cable PuTTY softwareResources:
SCH Eagle schematic BRD Eagle board design INO code sample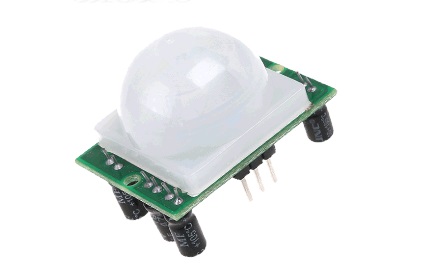
PIR Motion Sensor
For assignment I will use a PIR Motion Sensor. The module uses 3 pins, GND, VCC and DATA
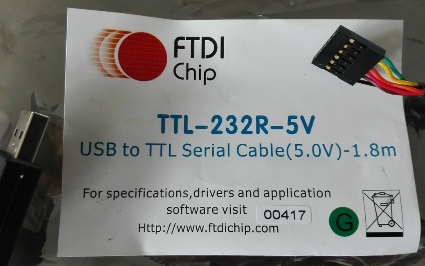
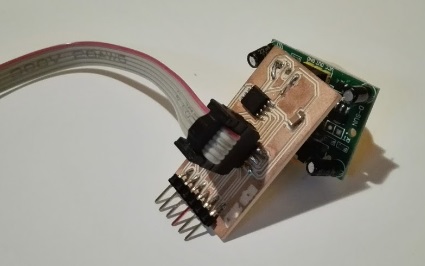
Serial communication
To obtain the value of the sensor to the computer I will use serial communication with the USB to TTL Serial Cable

Schematic view
This is the schematic view of the circuit, I will use 3 female pin header to connect the PIR Motion Sensor, but leaving the possibility to remove it and use other sensors
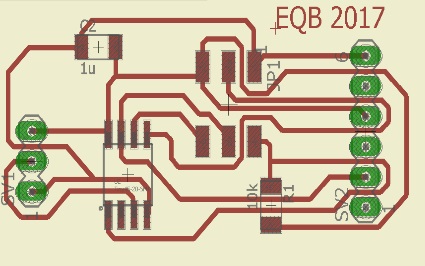
Board design
The complete list of components is: ATTINY45 microprocessor, 10k resistor, 1uF capacitor, 6x1 pin header, 3x2 pin header, and 3x1 female pin header
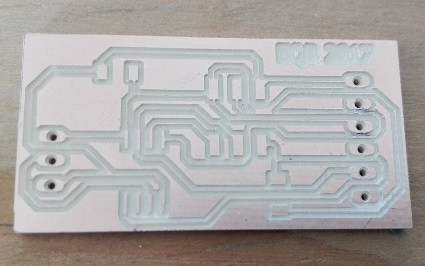
Cut board
This shows the board cut with the milling machine
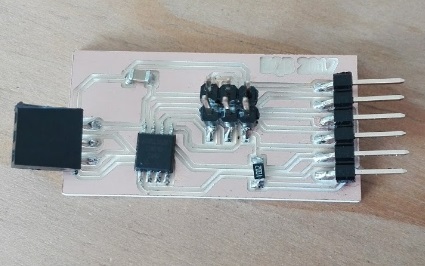
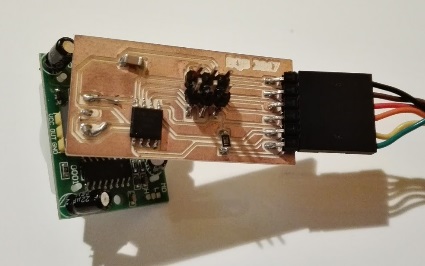
Finished board
This is the plate already with the soldered components
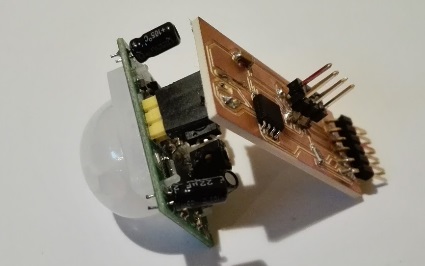
Last minute change
Because the female pin headers were not very soldered, I decided to put them on the underside of the plate for a better grip
Programming time
It is time to test the board, programming it with the FabISP
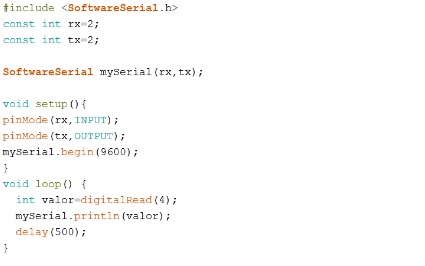
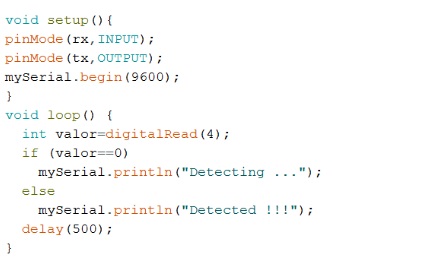
The code
I use the SoftwareSerial library that comes with the Arduino IDE. The only connected pin is that of Tx so it does not matter the value of the Rx. The speed is 9600. Basically I read the value of the sensor connected to pin 4 and send it through the serial
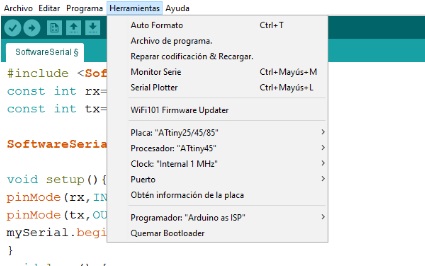
Attiny settings
These are the settings used and that worked
USB to TTL Serial Cable
We connect the USB cable to TTL Serial Cable, I use Windows 10 so I do not need to download the drivers, if necessary these can be found in the link above
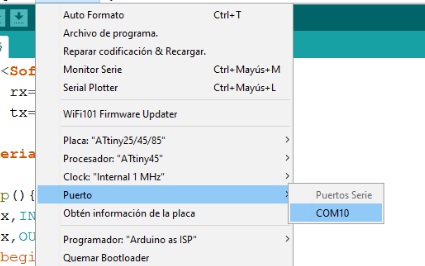
New port appears
For the first test of communication I will use the Arduino IDE, the first step is to select the respective port
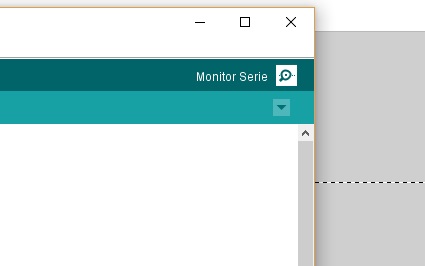
Serial monitor
Open the serial monitor in the upper right corner
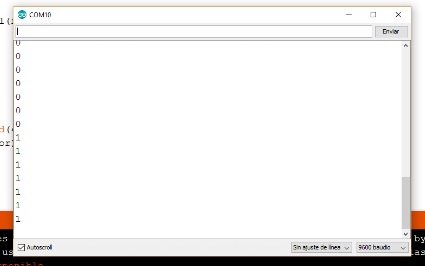
It works !
We can see the values of the sensor and that change when passing the hand in front of him
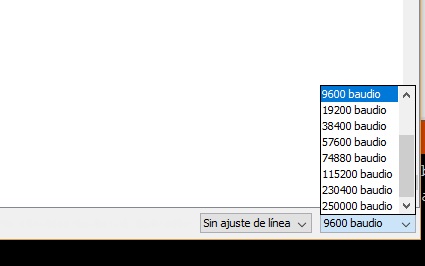
Check speed
If the values do not appear check the speed selected in the list below, in this case it is 9600
Another test
I want to do a test to know if I can receive text strings instead of just numbers, but I also want to try another program other than the Arduino IDE

PuTTY Software
I will use PuTTY software that is free, for Windows and that allows communication through a console with many protocols
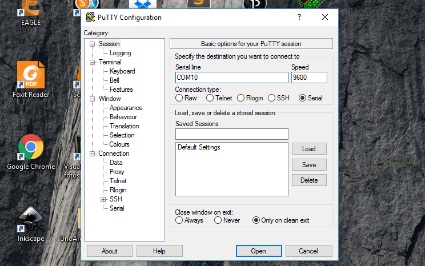
Connection settings
In type of connection we set Serial, in serial line we write the name of the port (COM10) in my case and in the speed we write 9600
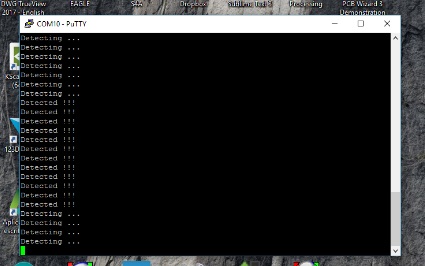
Here it is
We can see how we receive the values of Detecting ... and Detected! Instead of 0 and 1

Video demo
Click on the image to see a demo video
Powered by w3.css