Week 10: Output devices
Experience: Using RGB and testing another technique to make boards
Objetive:
Add an output device to a microcontroller board you've designed and program it to do somethingLinks:
How to build home PCB RGB Diffused 4PLCC SMD datasheet RGB clear common cathode datasheet PWM tutorialResources:
INO code RGB test SCH schematic RGB test BRD board RGB test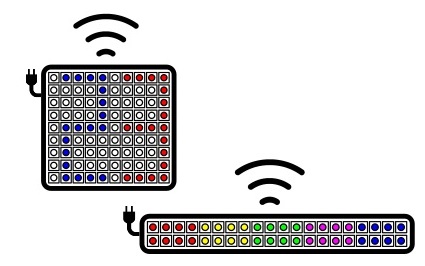
Something important for my final project
For my final project is very important to learn how to handle RGB lights, for this reason, in this assigment I will make a board that uses RGB as output but I also want to try another technique to make the PCBs

Great help
Neil's exposure to the handling of RGB lights as well as LEDs matrices was helpful. For the design of my plate I based on the proposed in class, but with some modifications
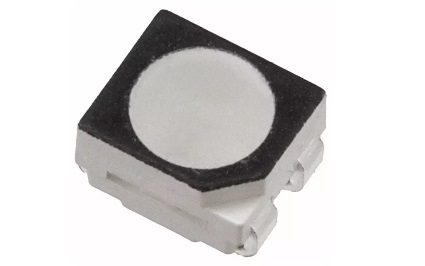
RGB Diffused 4PLCC SMD datasheet
This is the RGB led used in the example, however at the moment we do not have this component so I will use a generic one
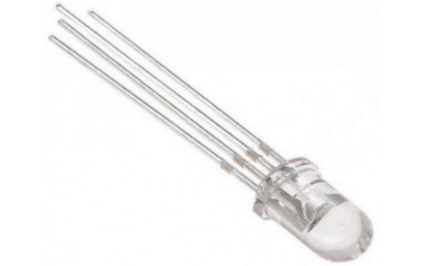
RGB clear common cathode
Instead I will use this RGB led cathode com, I do not really know if it will work, I hope so
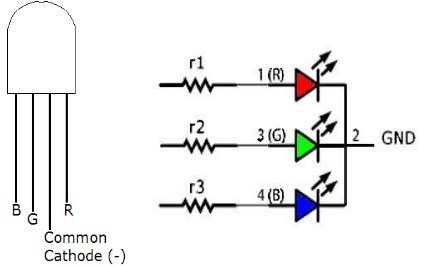
RGB connection
The led requires 4 connections, 3 for red, green and blue and one for common GND. The colored pins use analog outputs PWM and a resistance of 100ohm or greater for each pin
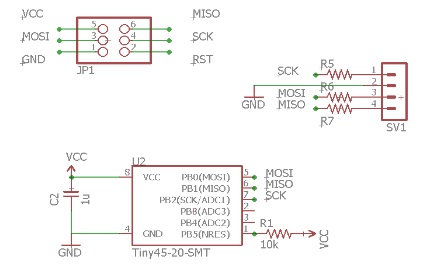
EAGLE circuit design
In the diagram we see that it uses an ATTINY45 microprocessor, with its respective resistance of 100ohm and a capacitor of 1µF. In addition there are the pins to connect to the FabISP and 4 spaces where the RGB led will be soldered
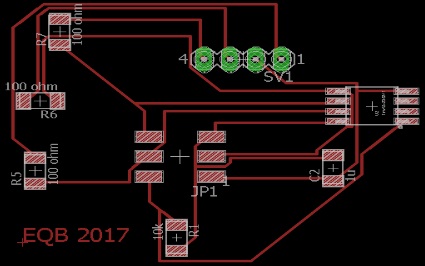
EAGLE board design
This is the best fit I could make for the routes
Making the board
As I indicated in the title, I will use an alternative technique of CNC milling to make the board, mainly I do it by learning to do it this way, with its advantages and disadvantages. The technique I found online uses materials that can be found in local stores. The main element is muriatic acid which is a product used in construction to clean new walls. It is very corrosive and should be used with care
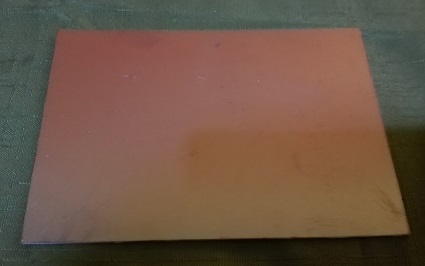
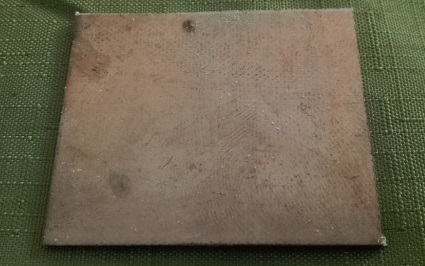
Clean copper plate
We will need a clean copper plate, this is a single face and is 2mm thick
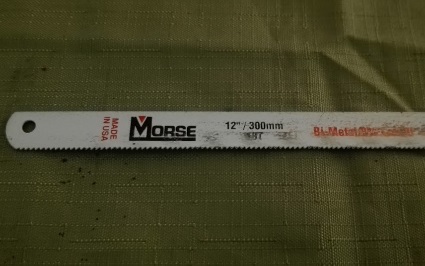
Cutting a piece
To cut the board to the required size, I used the blade of a 12-inch saw
Cut ready
The list piece measures approximately 50x45mm

Polishing the piece
To polish the piece I used an abrasive dishwashing dish sponge
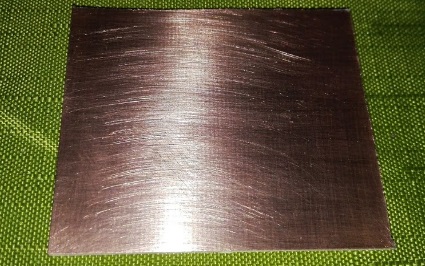
Finished polishing
It is not necessary to make an extreme polishing because we can damage the copper layer, it is only made to remove dust and grease from the surface
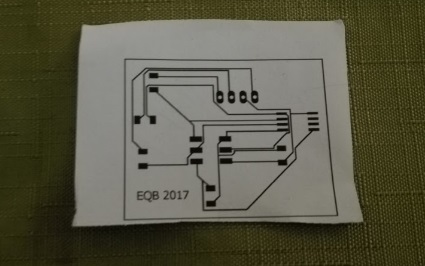
Laser printed design
It is necessary to have the design printed with a laser printer, preferably on photographic or glossy paper
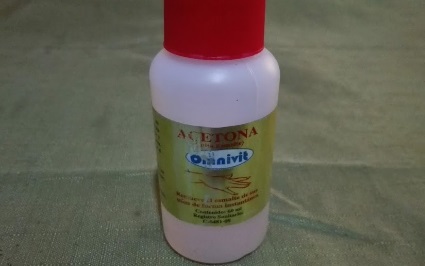
Acetone
On the internet recommend the use of pure acetone, however I could not find it so I will use the traditional used to remove paint nails
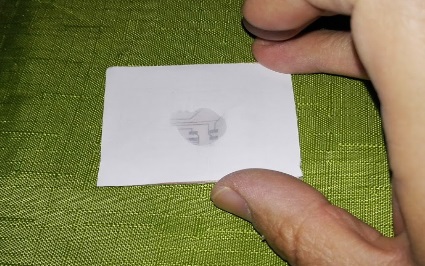
Copying the diagram
Put the printed diagram on the polished surface, hold the paper with some tape and carefully run the wet finger with the acetone on the paper without breaking it, until the drawing is transferred to the plate
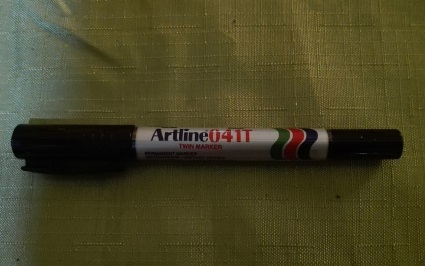
Permanent black marker
It is very difficult for the drawing to be transferred completely, because in some areas it will be gray or simply will not peel off the paper, so it is necessary to retouch the drawing with permanent black marker with fine point.
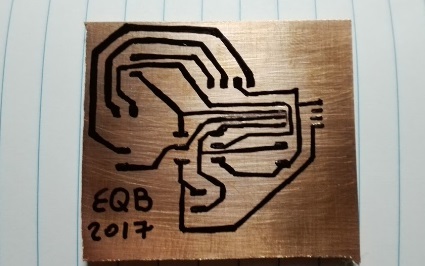
Transfer list
It is also important to redraw the tracks if they are close together. In some videos use a plate to transfer the drawing, in any case, if the drawing is not copied properly, it is best to make small marks with a nail or sharp point at the joints and then draw the tracks by hand
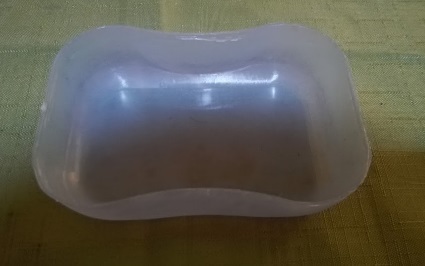
Plastic container
We need a plastic container of a size similar to the plate to be able to manipulate it more easily and to use the minimum amount of muriatic acid
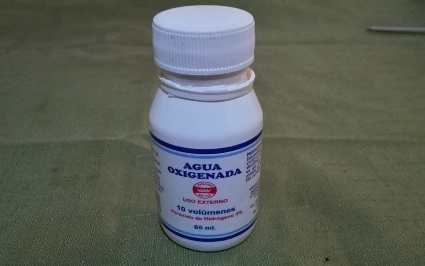
Peroxide
Again the videos recommend using special peroxide, but I used the common one that is bought in any pharmacy or supermarket. My intention is not to replicate the videos and tutorials to 100%, but rather to experiment with the materials that I have available and thus recommend or not their use
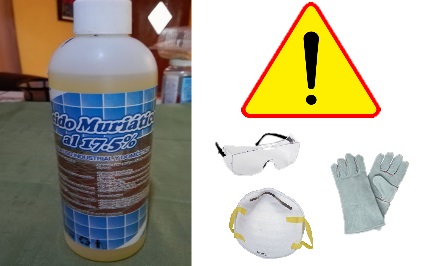
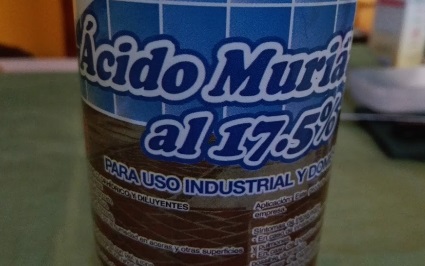
Muriatic acid
Muriatic acid is highly corrosive and can be harmful if not handled properly. Therefore always wear gloves, face mask and protective glasses. Never touch the acid with the hands, nor inhale the vapors that are produced while the copper dissolves
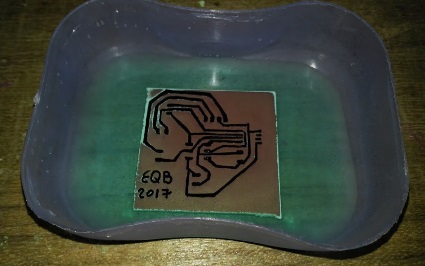
Dissolving copper
First we put 1/4 cup peroxide and then 1/8 cup muriatic acid, we only use the amount needed to cover the board. We will immediately see that small bubbles appear around the marked lines which means the acid is working. Carefully stir the container slightly until the copper dissolves completely, this can take about 8 minutes. It is important to perform this step in a ventilated place
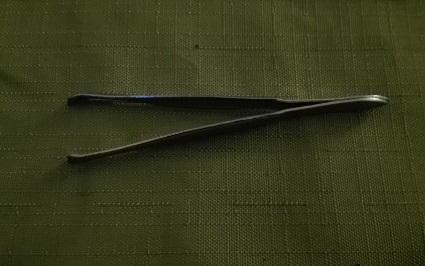
Tweezers
With the help of tweezers, pick up the plate and wash it with plenty of water. Properly dispose of the solvent and wash the container
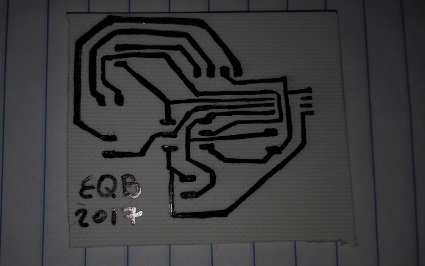
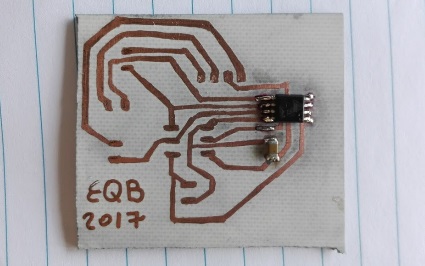
Almost ready board
When the acid dissolves the copper, only the tracks that we draw are left and the rest will go blank, however the tracks will still be covered by the marker ink
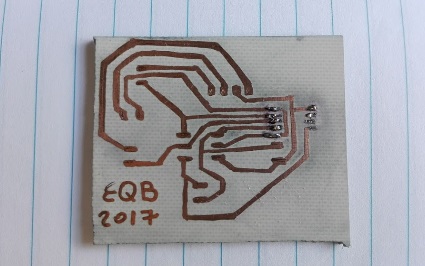
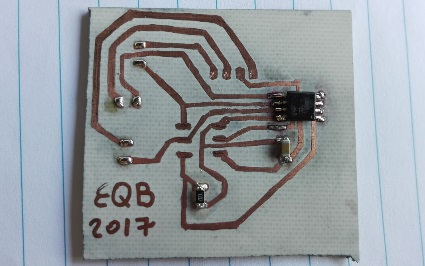
Cleaning the tracks
To leave the board ready, only need to clean the tracks with a little of alcohol. In the photo you see a bit of tin because by mistake I started to solder without having cleaned, which left an ugly black stain
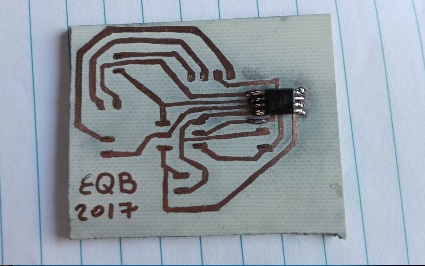
Soldering the components
We started the soldering process with the microprocessor
Capacitor
Then we put the capacitor of 1µF
First resistor
The first resistance is the 100 ohm that protects the microprocessor
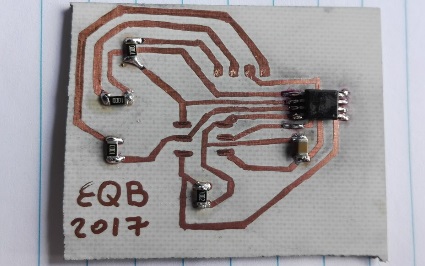
All the resistors
We put the 3 resistors of 100ohm, which are connected to RGB led
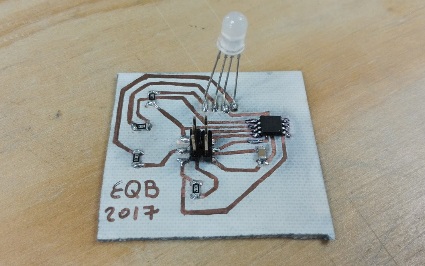
Board ready
With the RGB led and the pin headers the board is finished
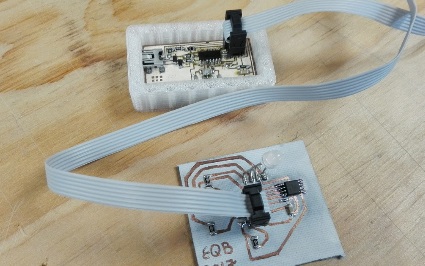
Time to test
Now we connect the finished board to the FabISP to program it

The code
This is the code that we load, simply initialize the pins corresponding to the red, green and blue color and randomly send values between 0 and 255 to each pin
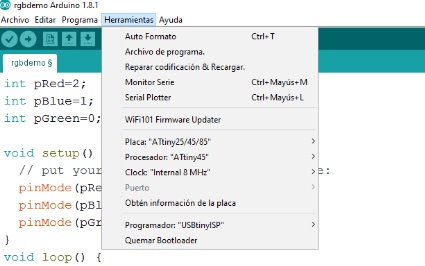
Check parameters
Check the parameters so that the code is loaded properly, just as we did in previous assignments
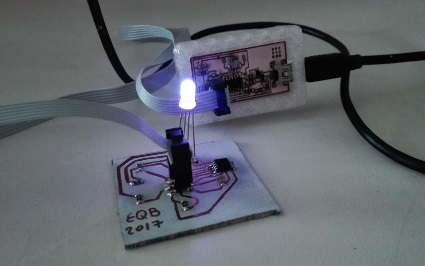
Successful blue!
Randomly displayed in blue in different shades
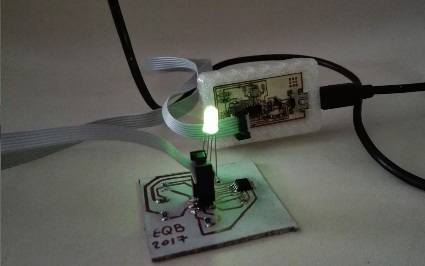
Bright green
The green color is the most outstanding for its brightness
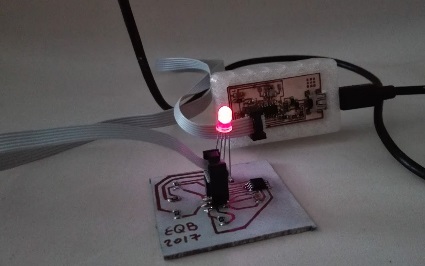
Good red
The red is not very flashy but it show good
Powered by w3.css