
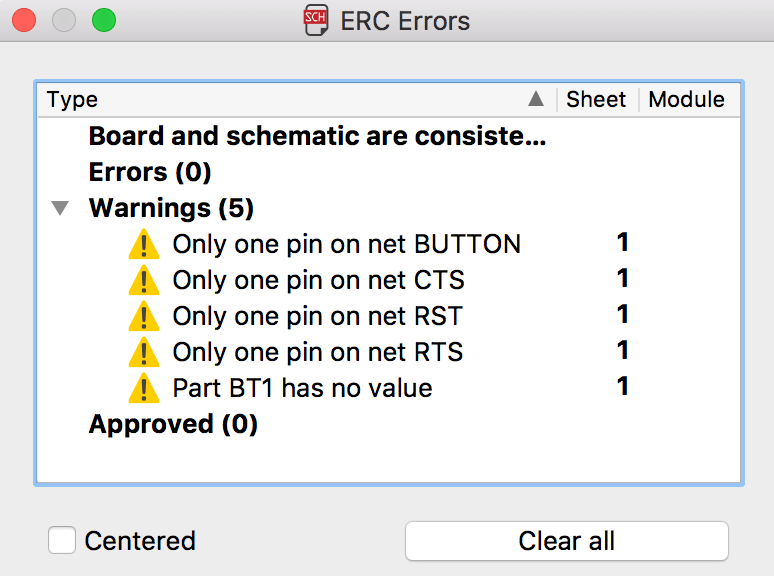
Schematics Design
Trying a new software is always fun. For this weeks assingment we where working with Eagle, a very know program but new to Autodesk's roster. I worked with a 2016 FabAcademy, which
a Eagle's Tutorial and the schematics for the Echo World
Comments
It was a very hard week. Usually I need to understand what I'm doing before actually do it. I could not figure out the board output, and adding (LED + button) something I don't understand
was something that grinds my gears. So I tried to simulate the board with Autodesk 123 Circuit but it couldn't be done.
Finally I found the guide, and everything was smooth.
|

|
|
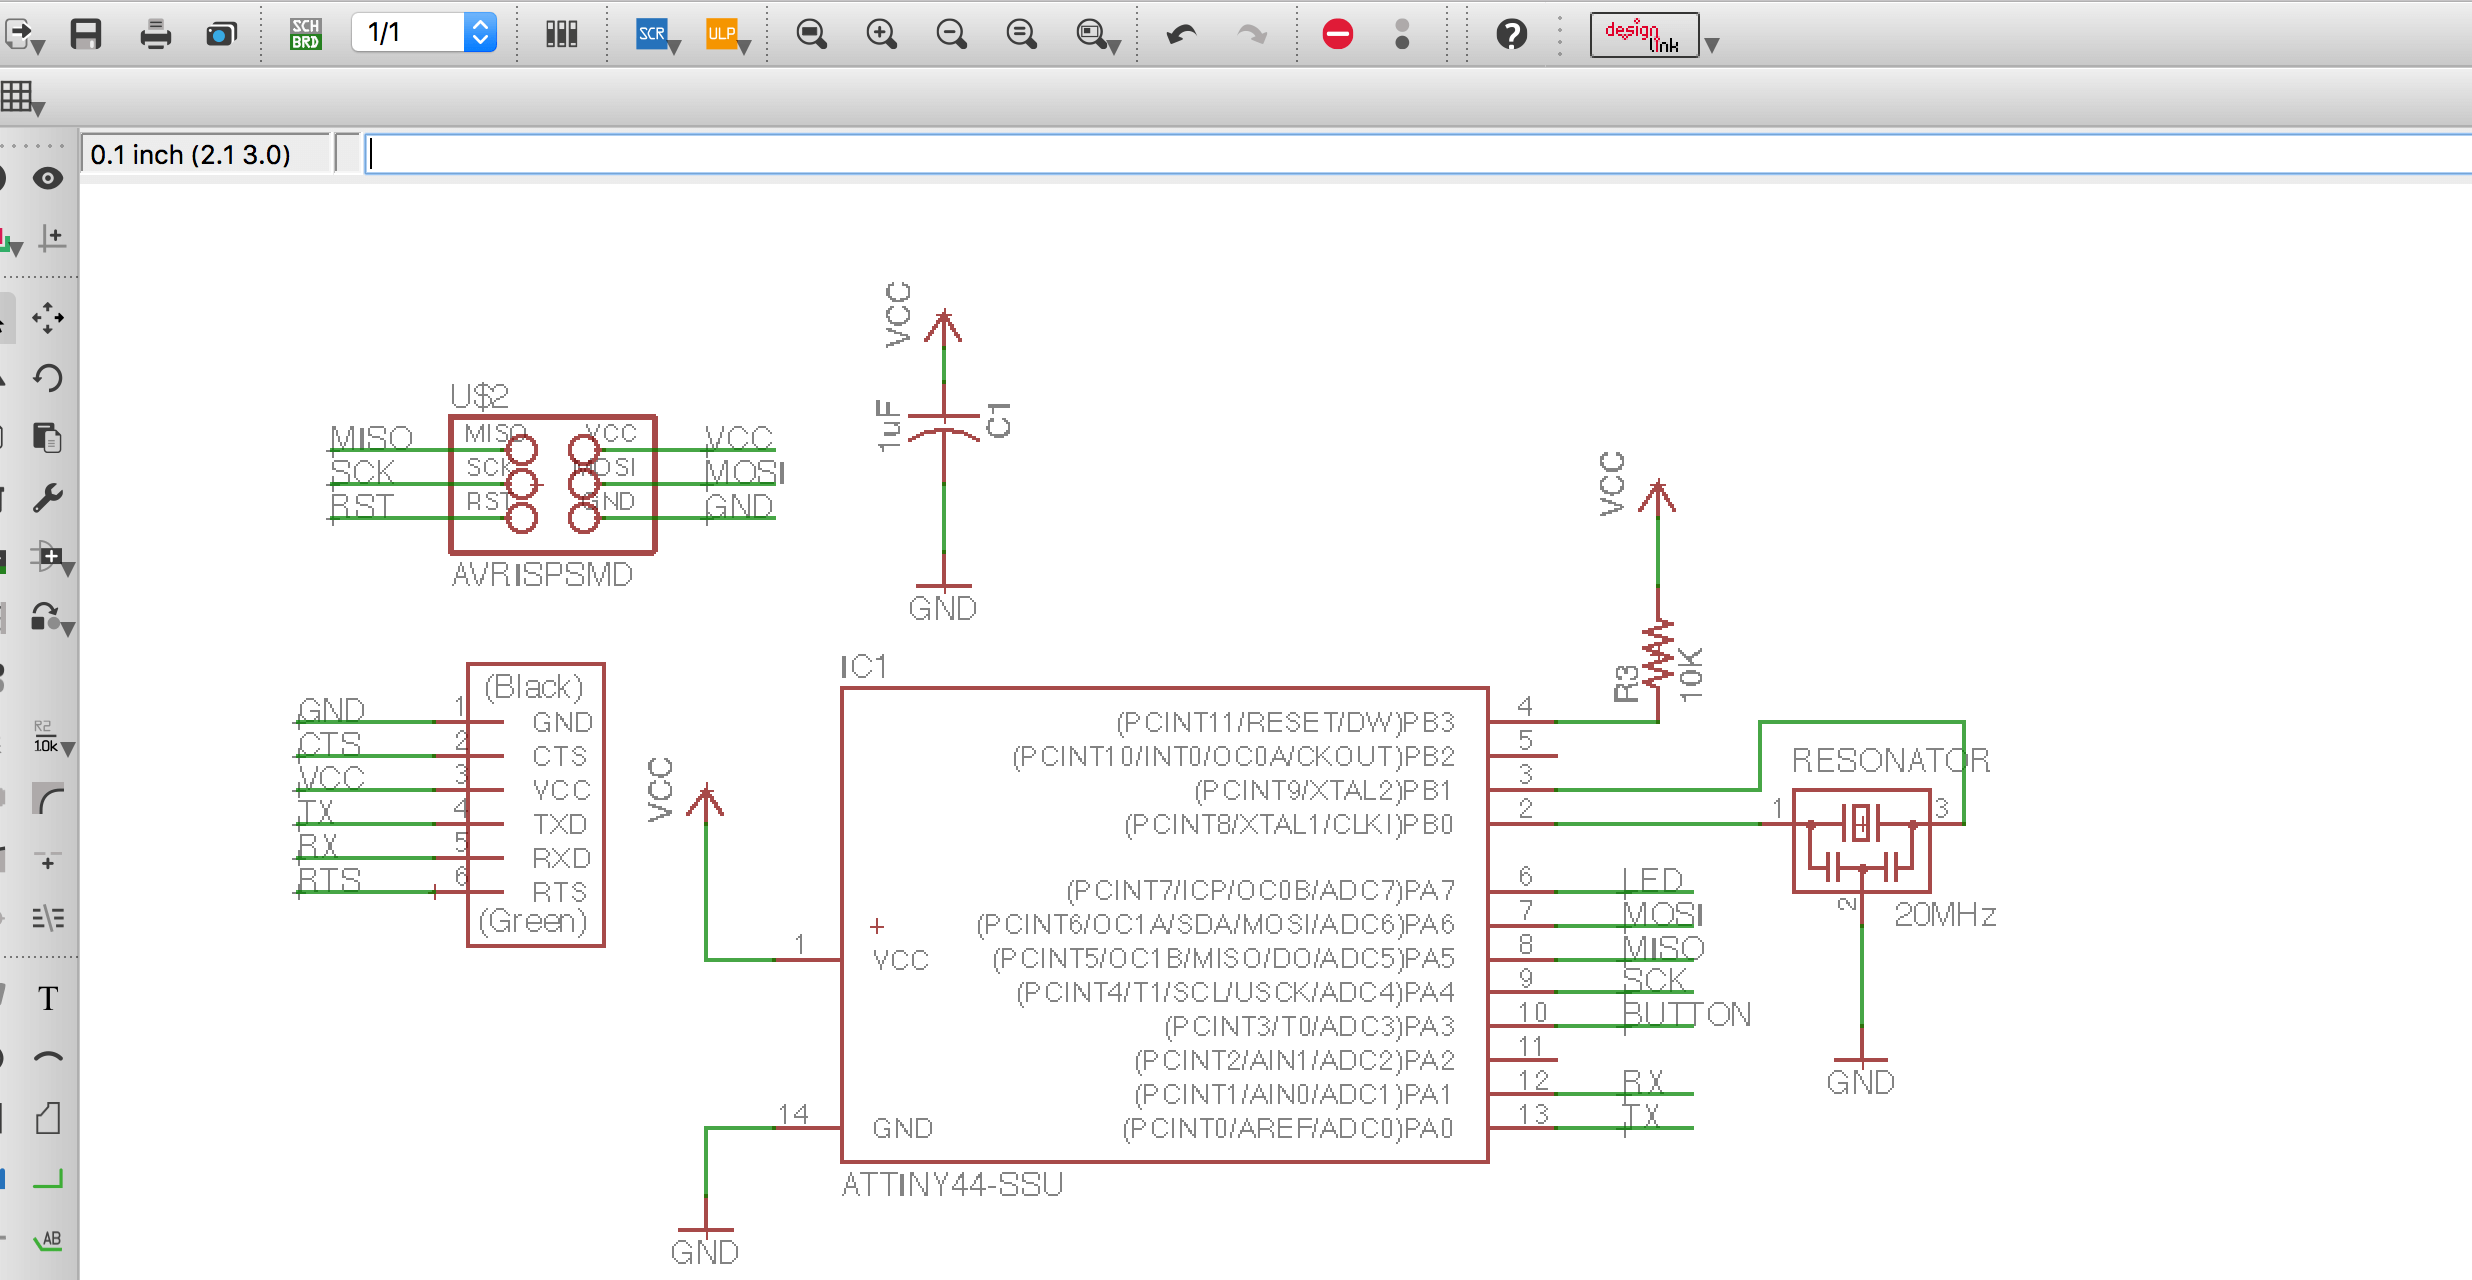
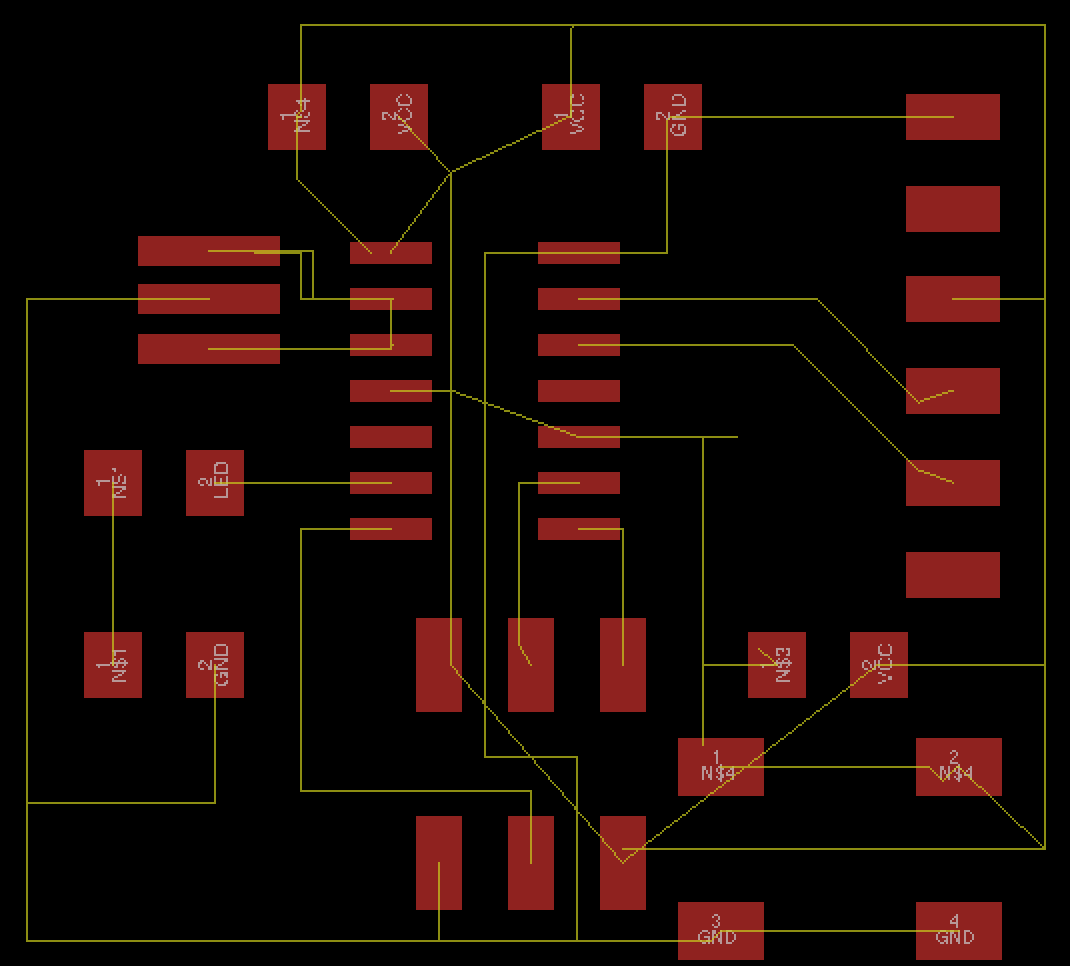
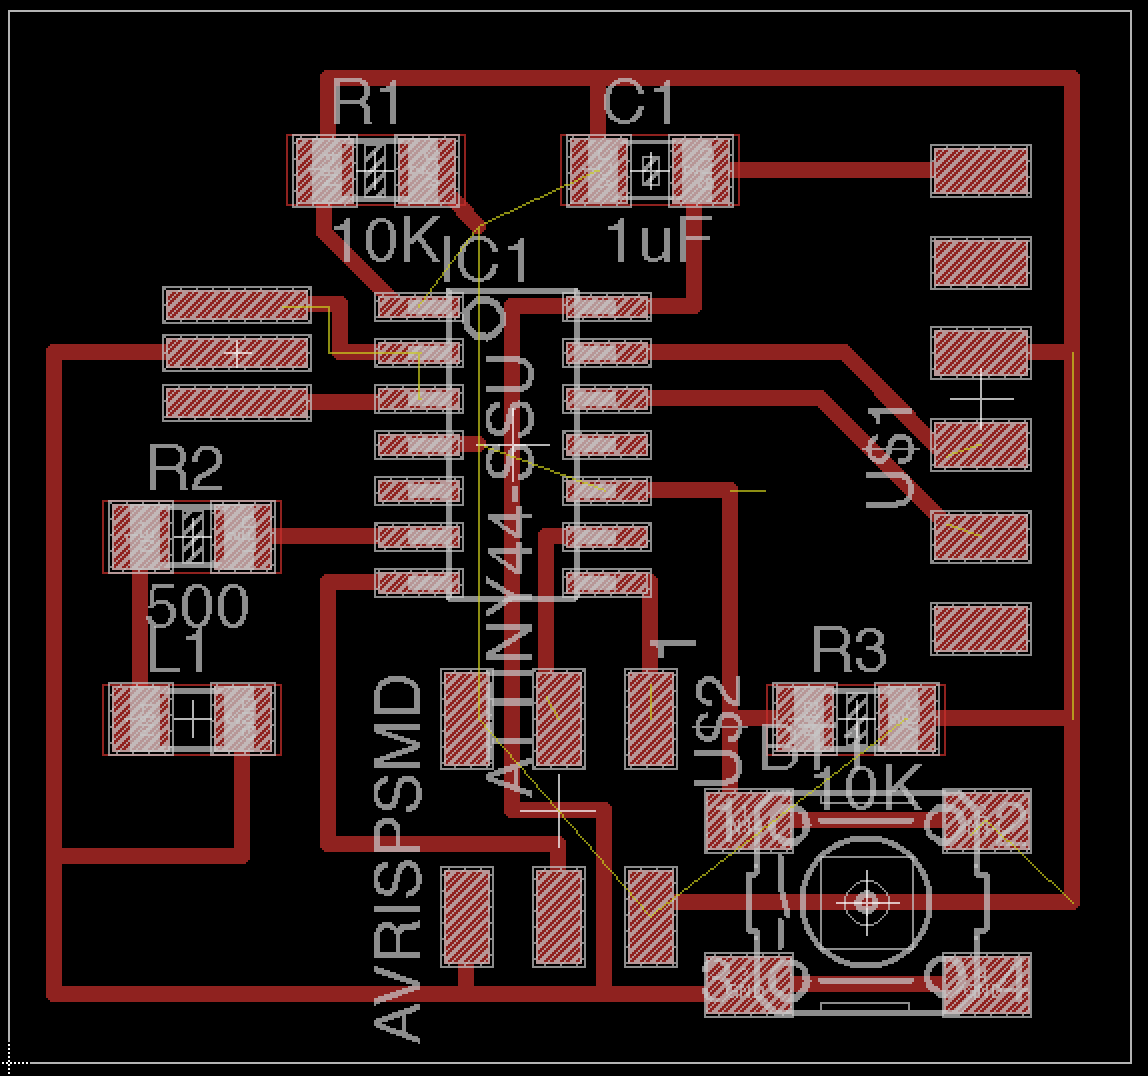
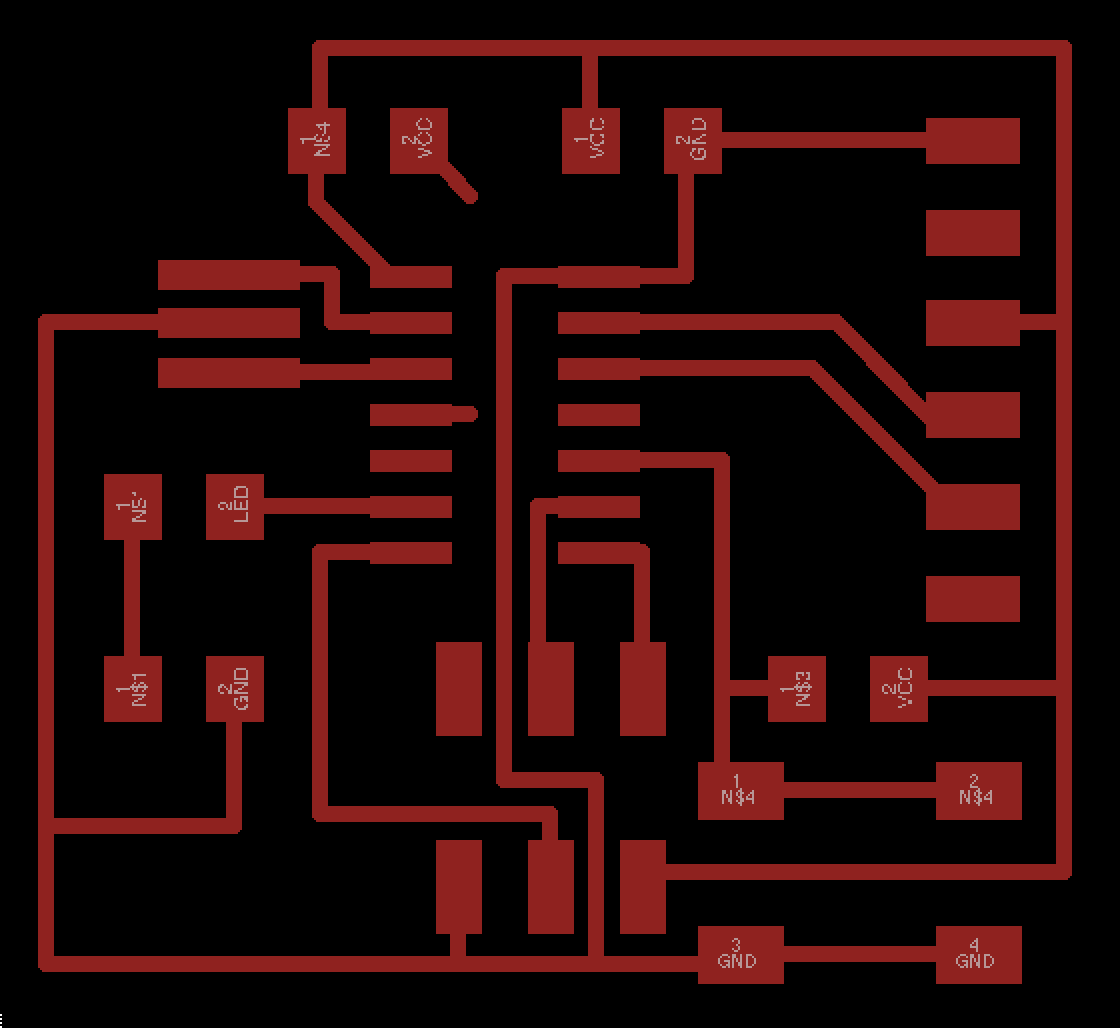
PCB Design
Eagle's PCB workflow is really simple. First, everything need to be placed like will be on the board (followed guide) and then connected. When you understand the workflow its really
simple to finish.
Comments
I had to rely heavily in the guide. With low electronics background I felt little confidence to try different routing.
|
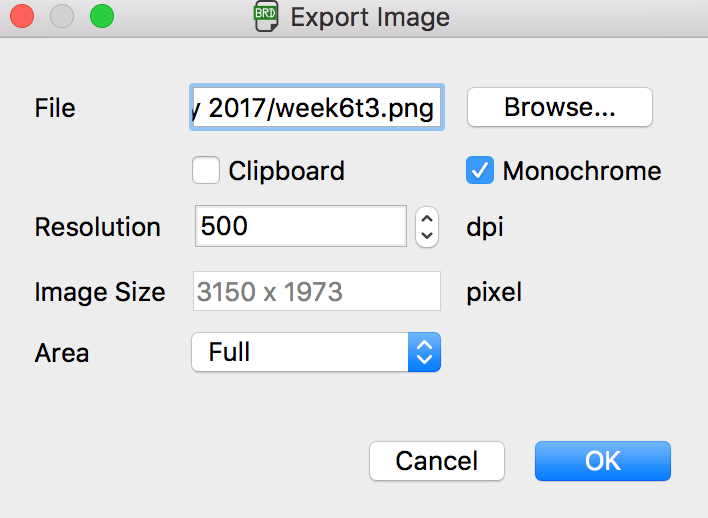
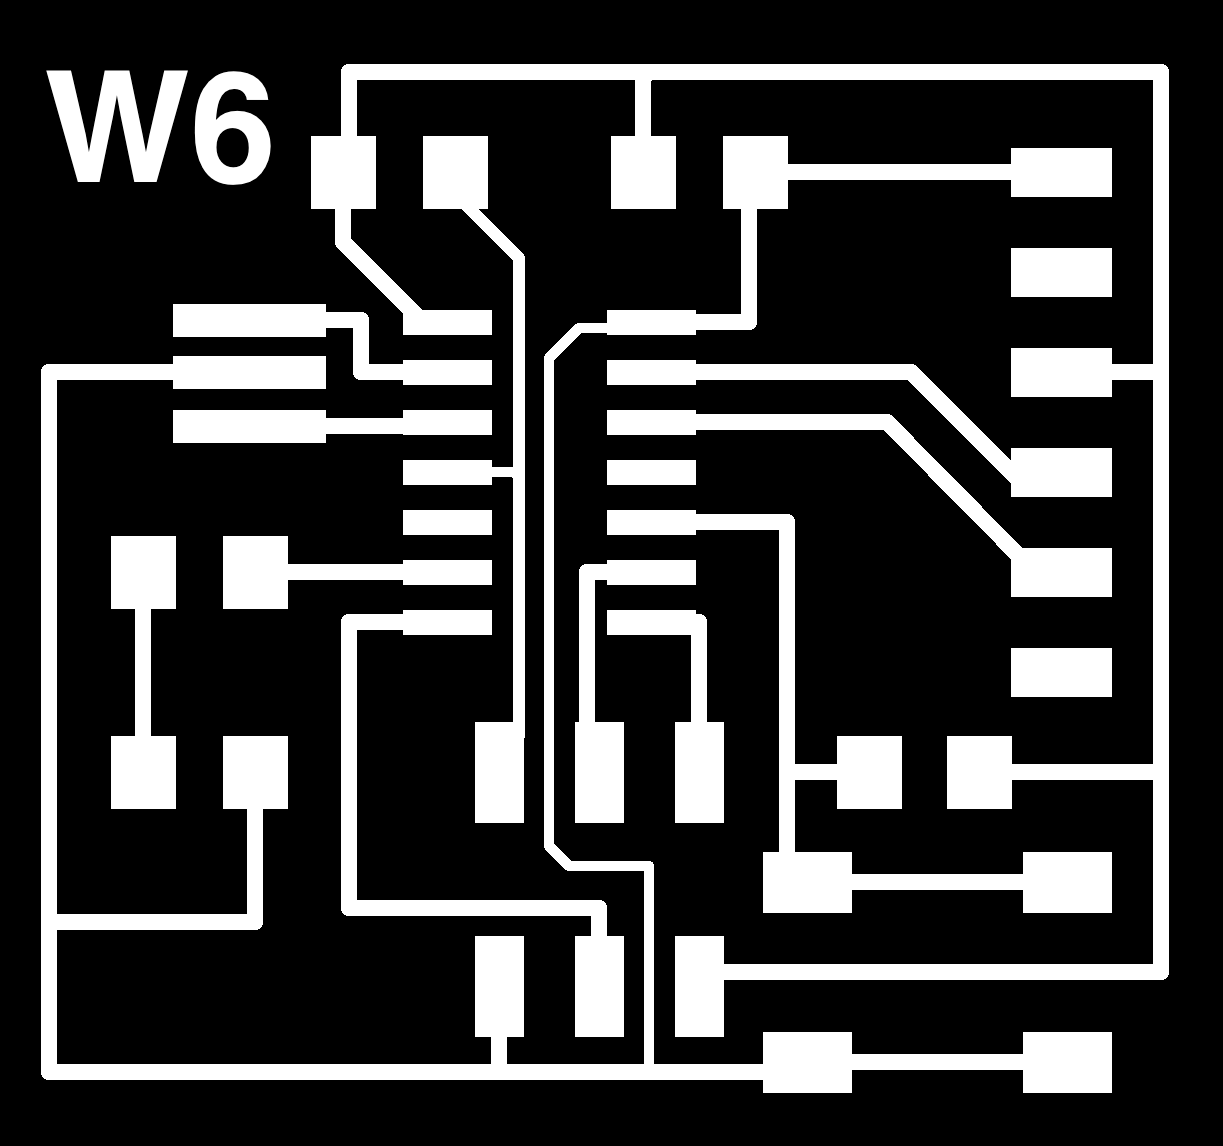
Milling
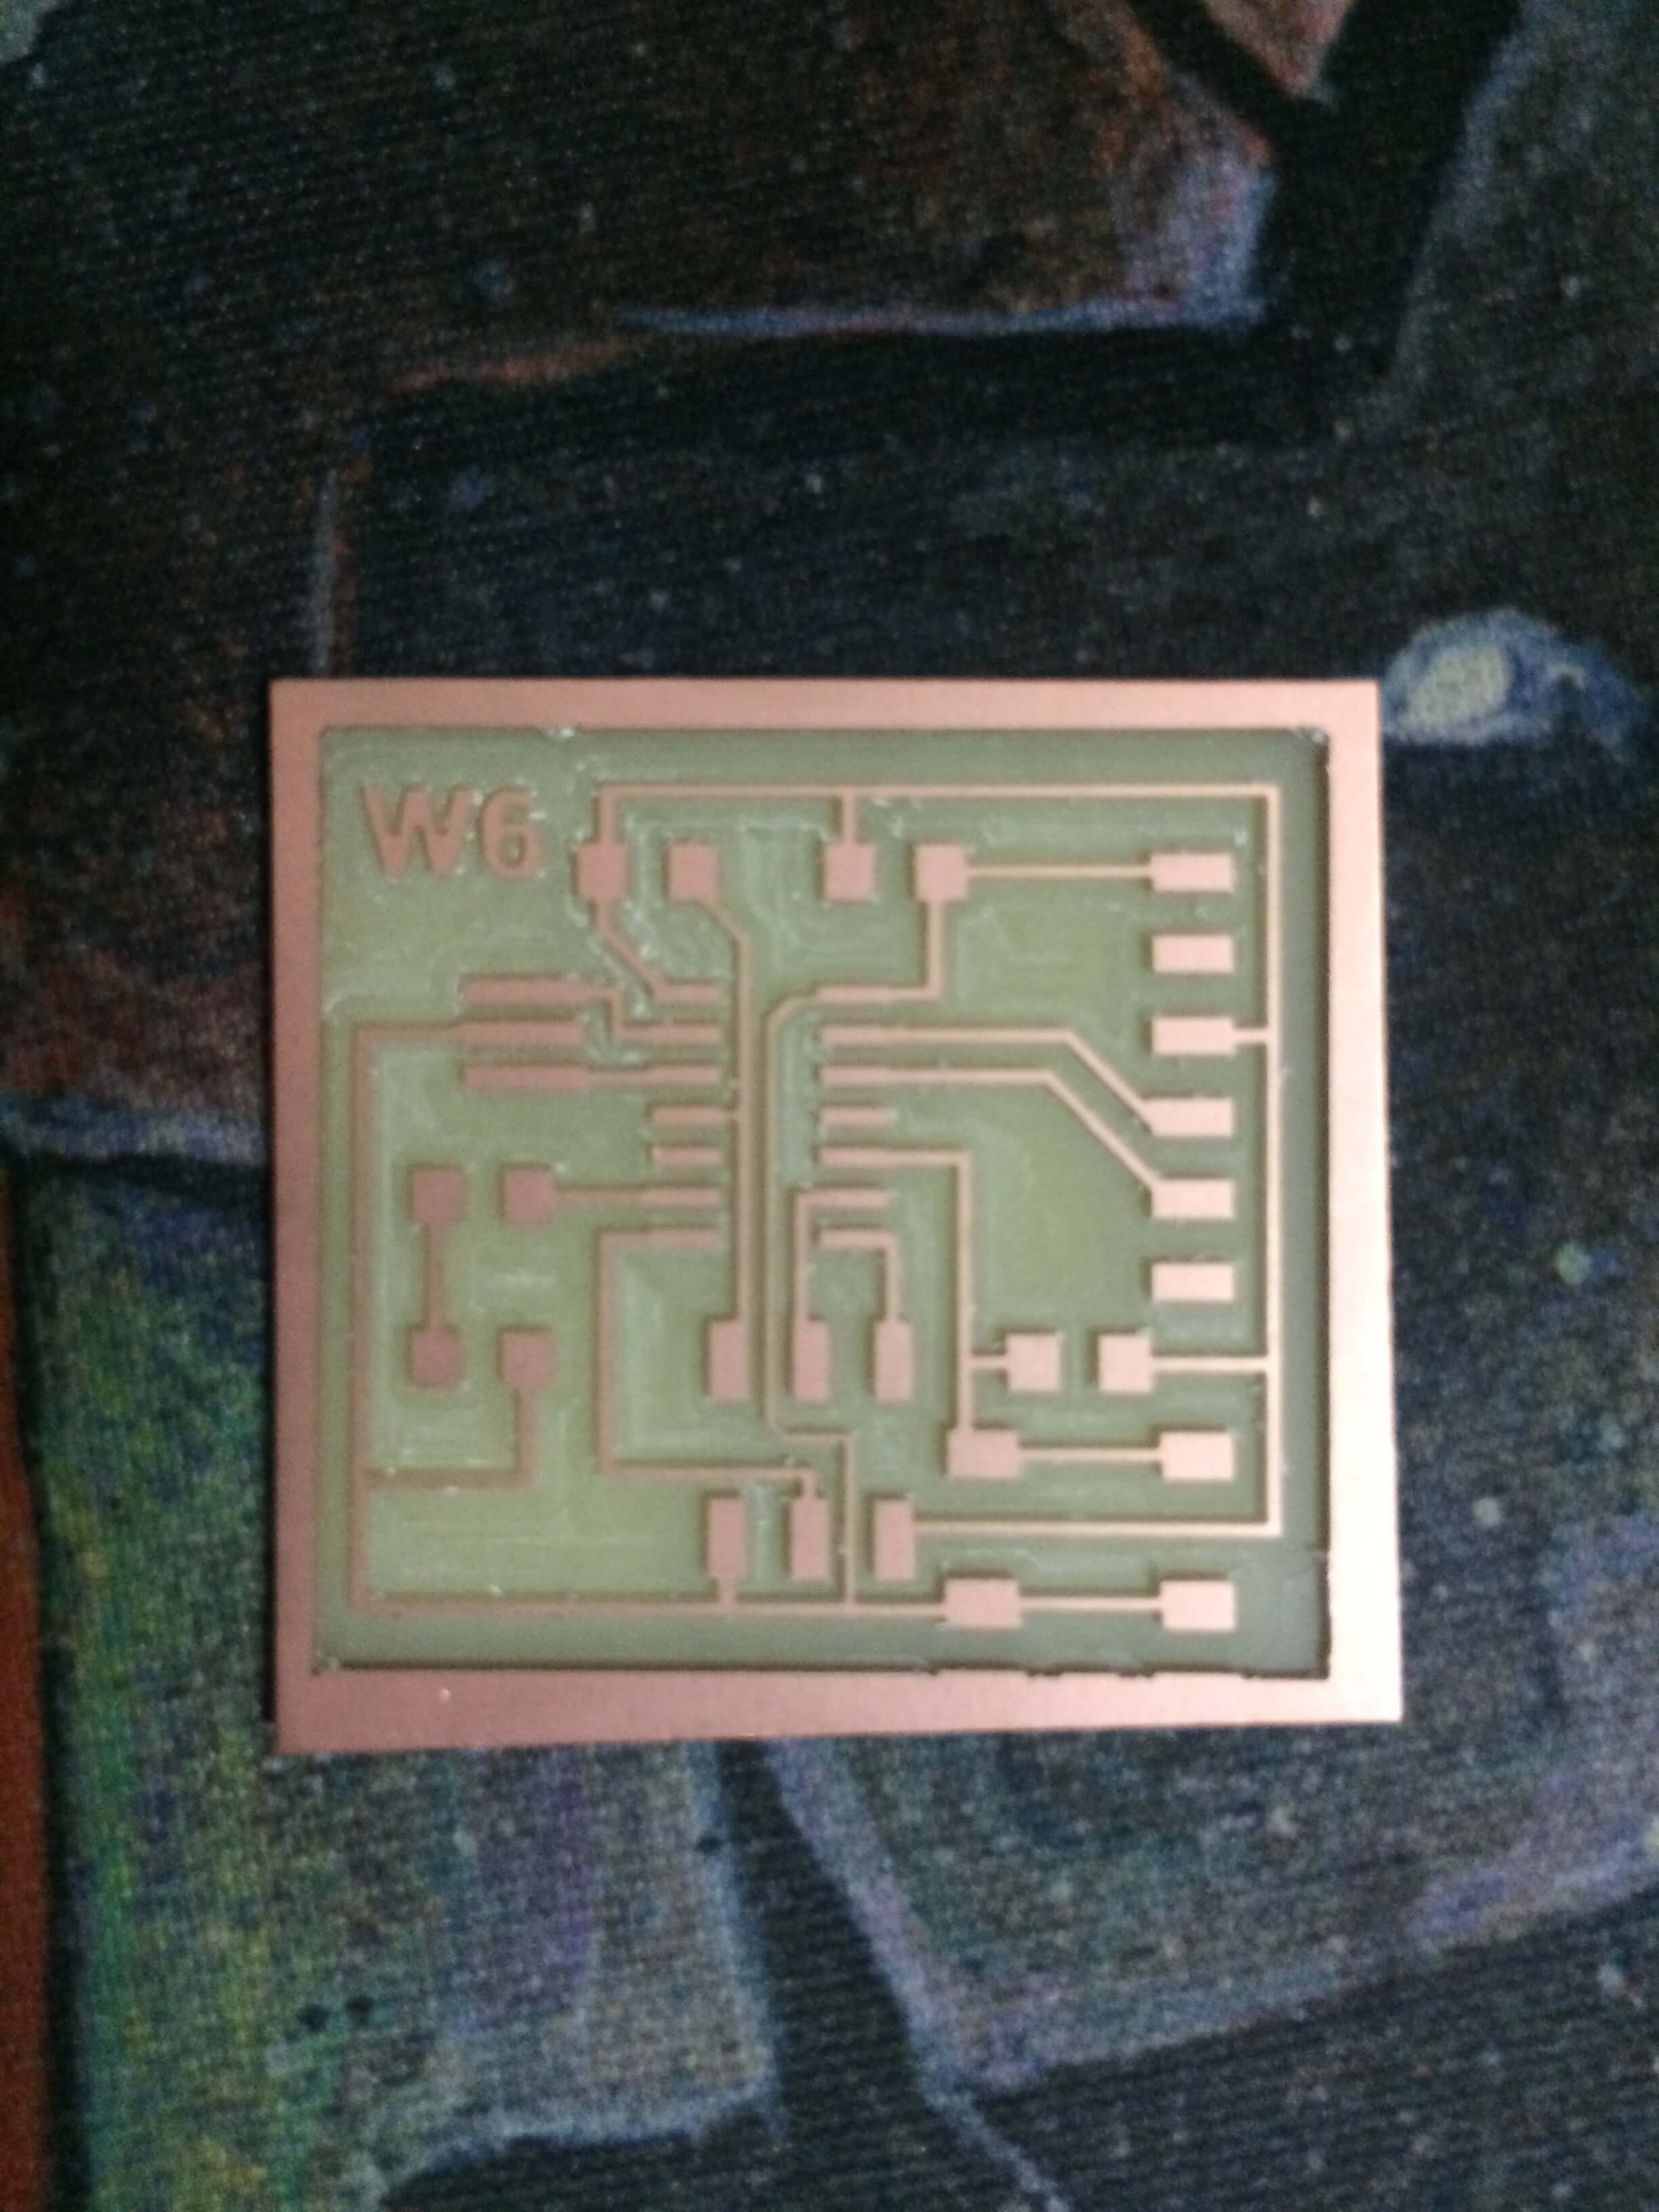
After I finished with PCB design, I exported the PNG file for milling. This part was tricky because my first board was not the dimension I wanted, it was larger!
some reasearch after that, I found how to measure my board on Eagle and then resized the canvas/file. When I was sure dimensions were fine, only thing left to do was adding
a "W6" as text, refering to week 6 assignment.
Setting the Modela mill was easier this time. Loaded my file, set it´s origin and mill started and finish correctly.
Comments
Finding why my board png file had that dimensions took some time. I was thinking the program will keep origin's dimension but created based on pixel output (500 for this work).
Some test and finally got the right dimensions for my work
I was suggested to change some routes width, because the machine was not recognizing the space between some routes. A quick change and those routes were changed from 0.016" to 0.01"
|
  |
 > > |
Soldering
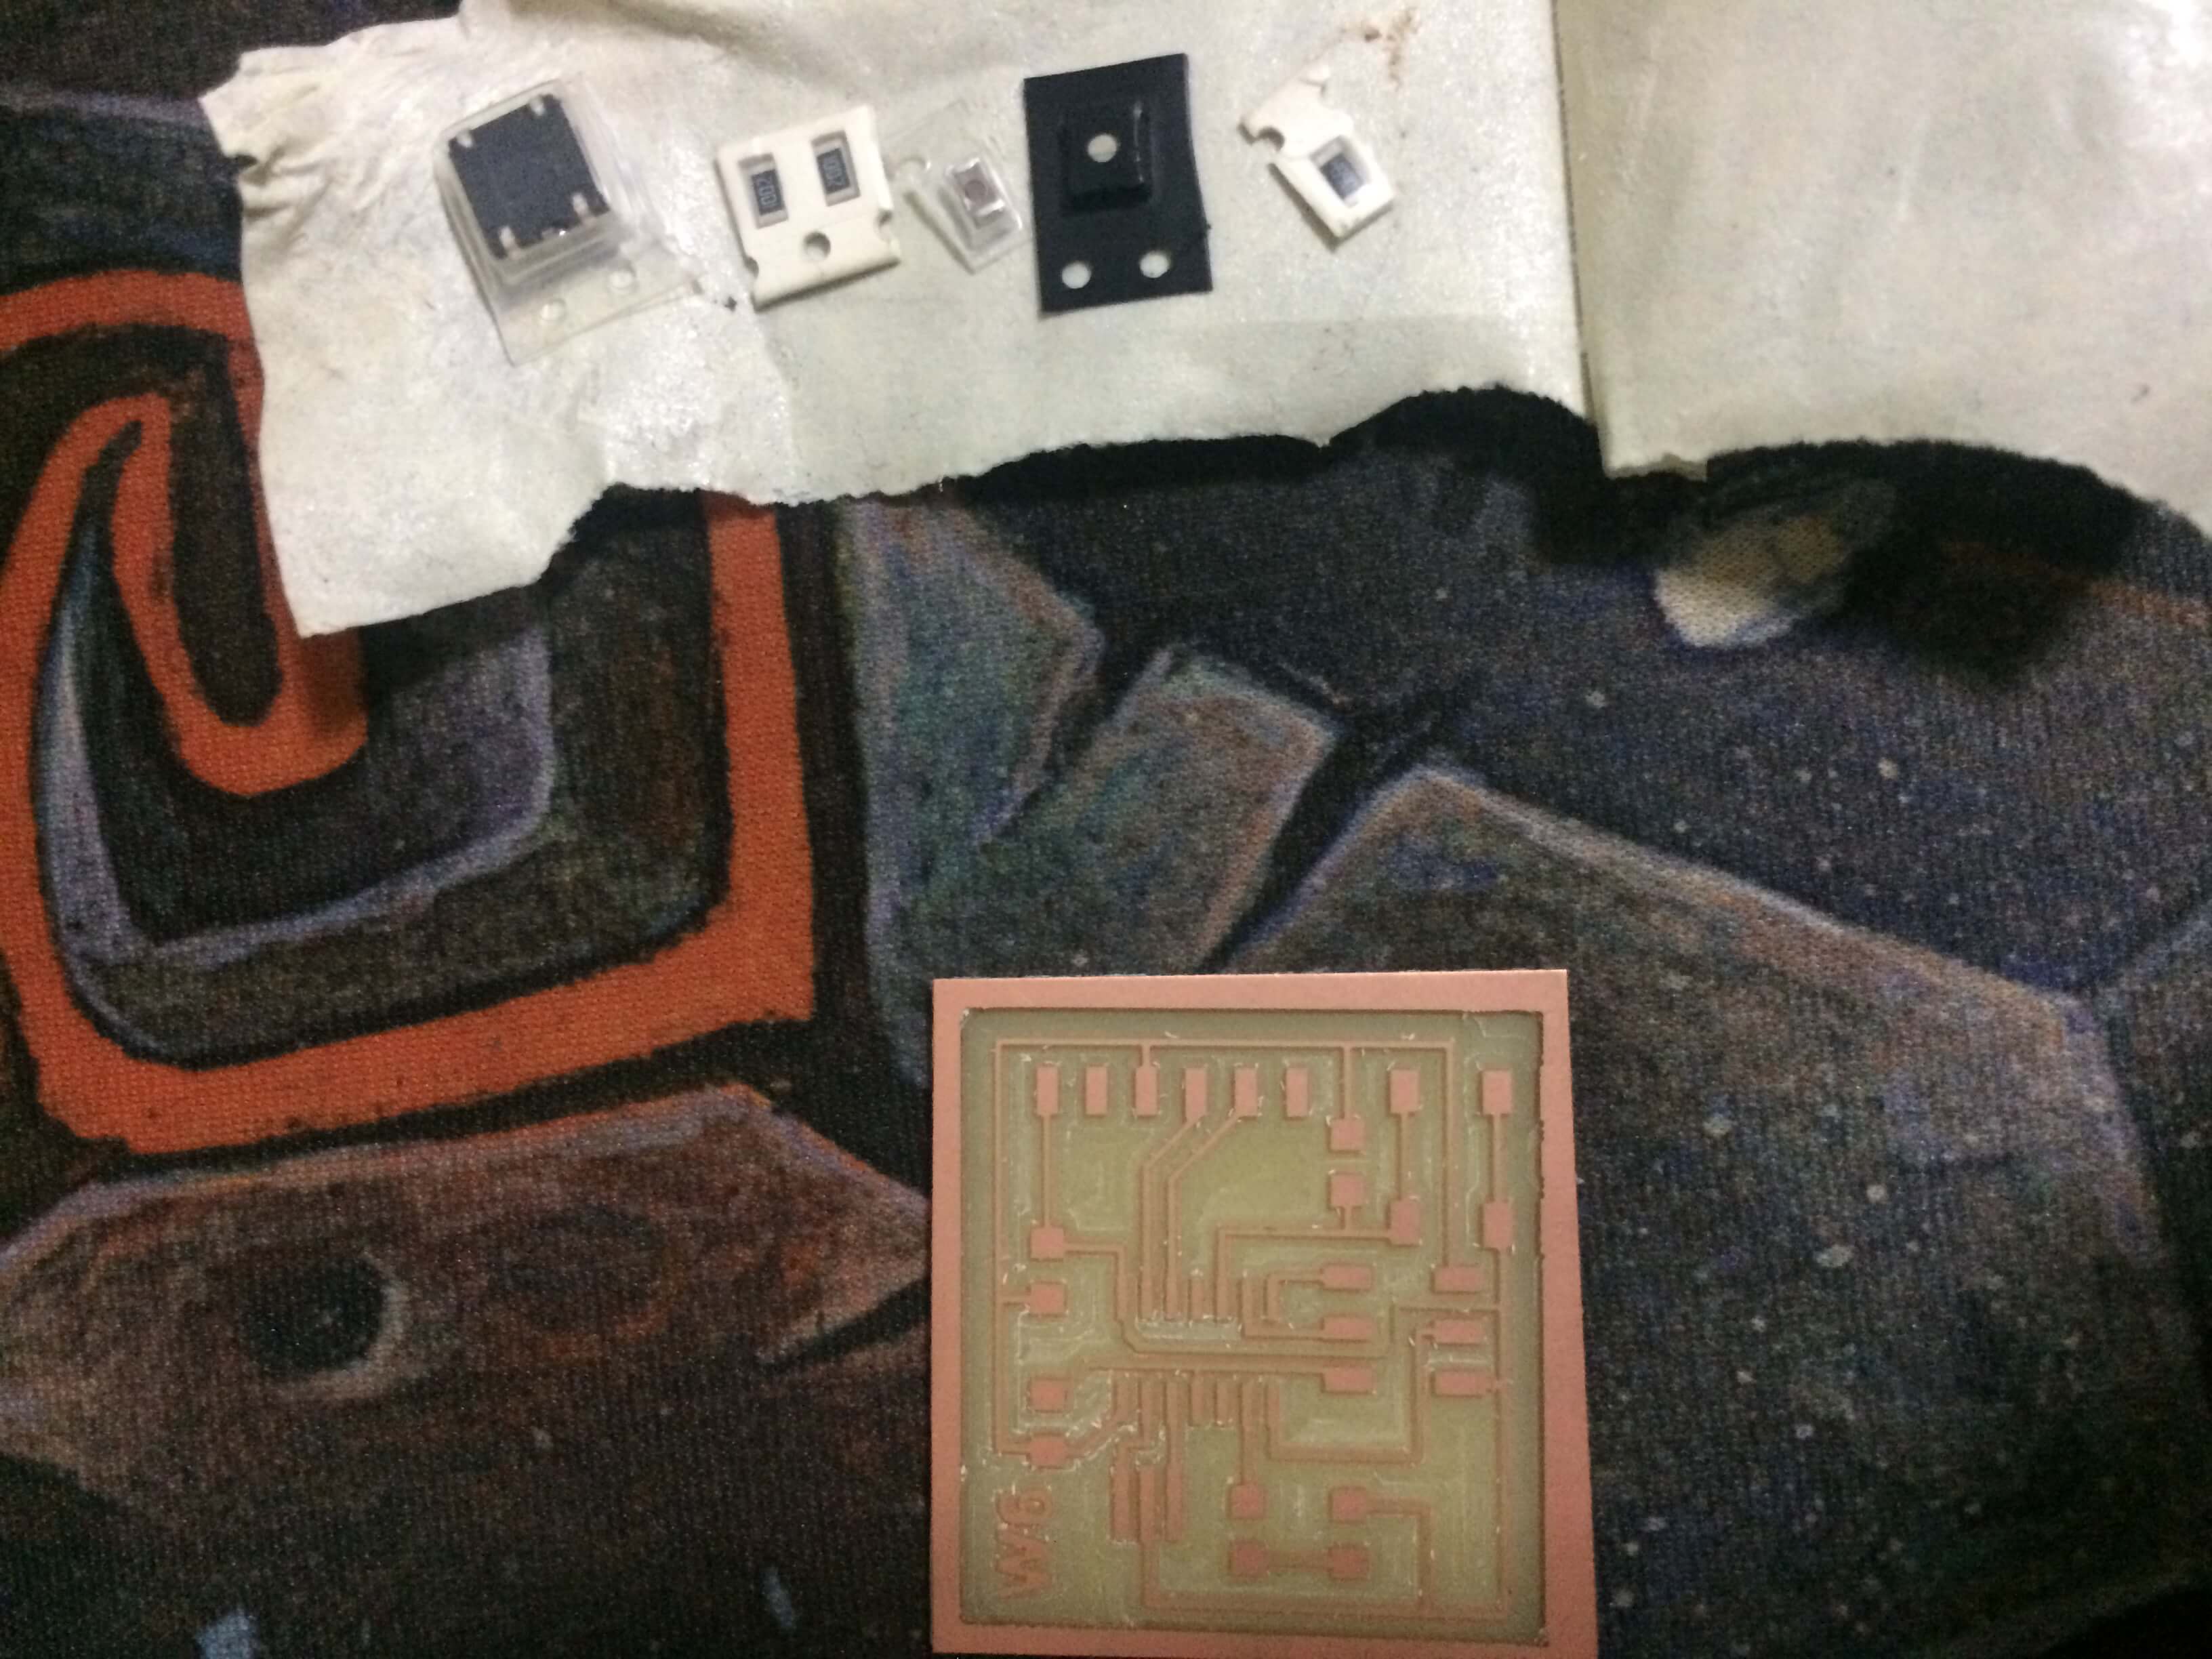
Got my board and my components and thats the result!
Comments
This weeks soldering was easier
|
