Week 14
Composites
Objectives
Learning Outcomes
Have I ...
Documentation
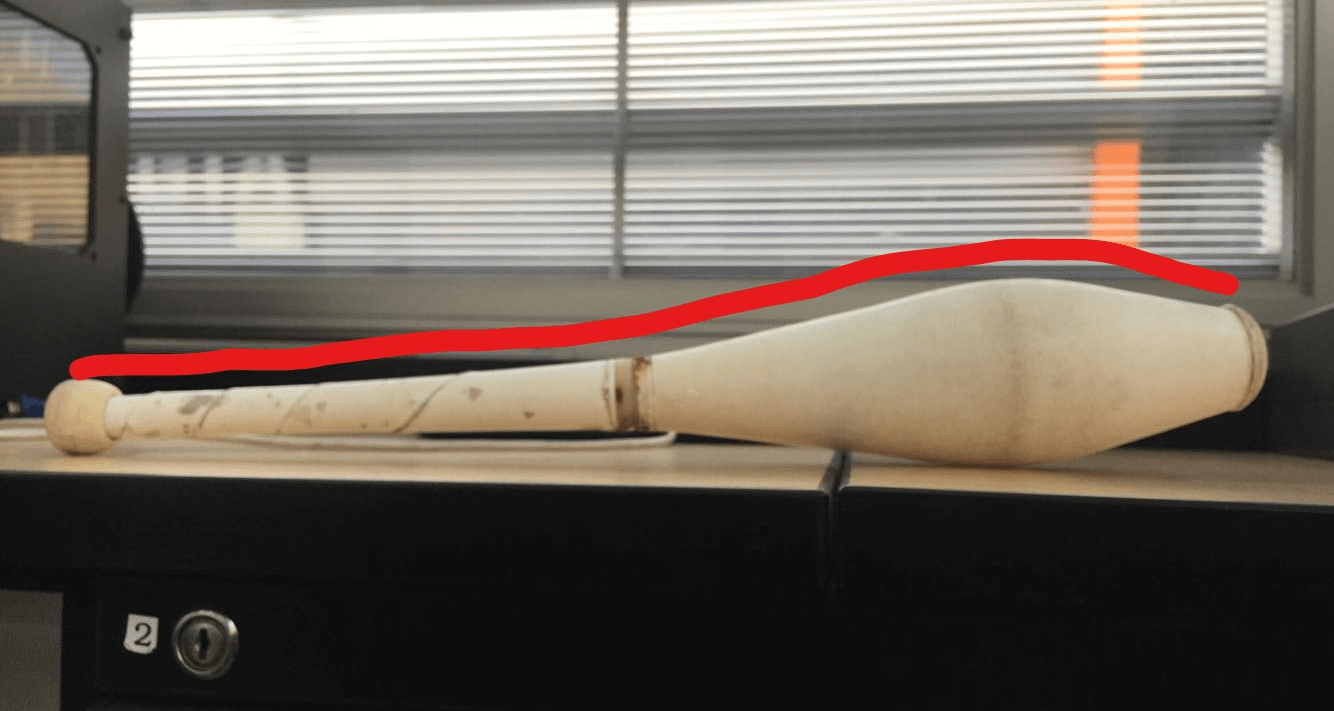
For this assignment, chassis of my final project, a juggling club, will be manufactured. Using, fiberclass and any kind of transparent resin. The final result of my composites have to be resistant to falls, because the clubs are in constant contact with ground. Addiotionally, I am looking for a composites that is as translucent as possible, because inside will be lights.
Going to be a great chanllenge to get the shape of the club.
Design
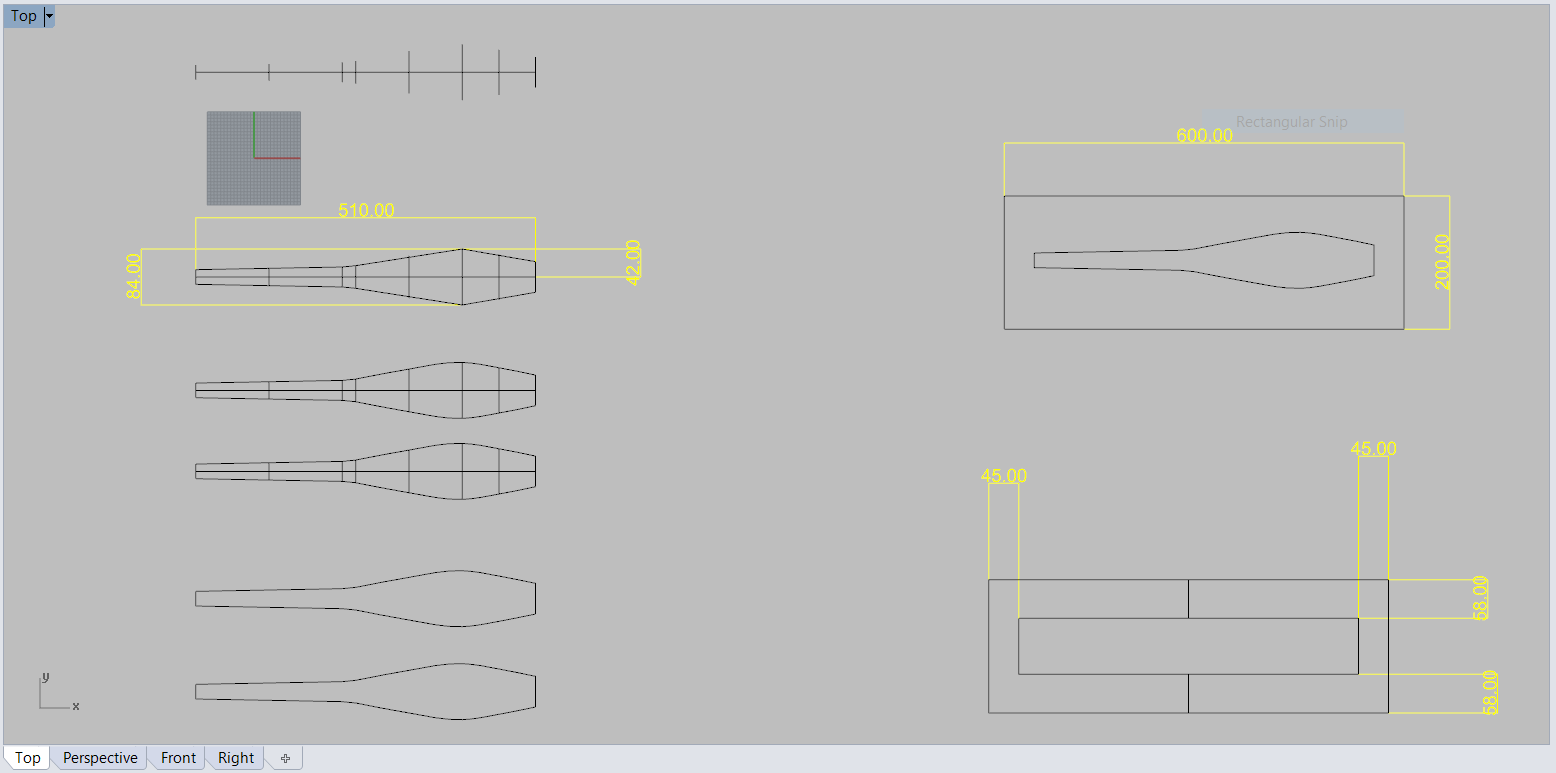
First of all, I started doing my design. I asked my friend to meet us one day to take measurements of his club using a measuring tape, pen and my notebook.
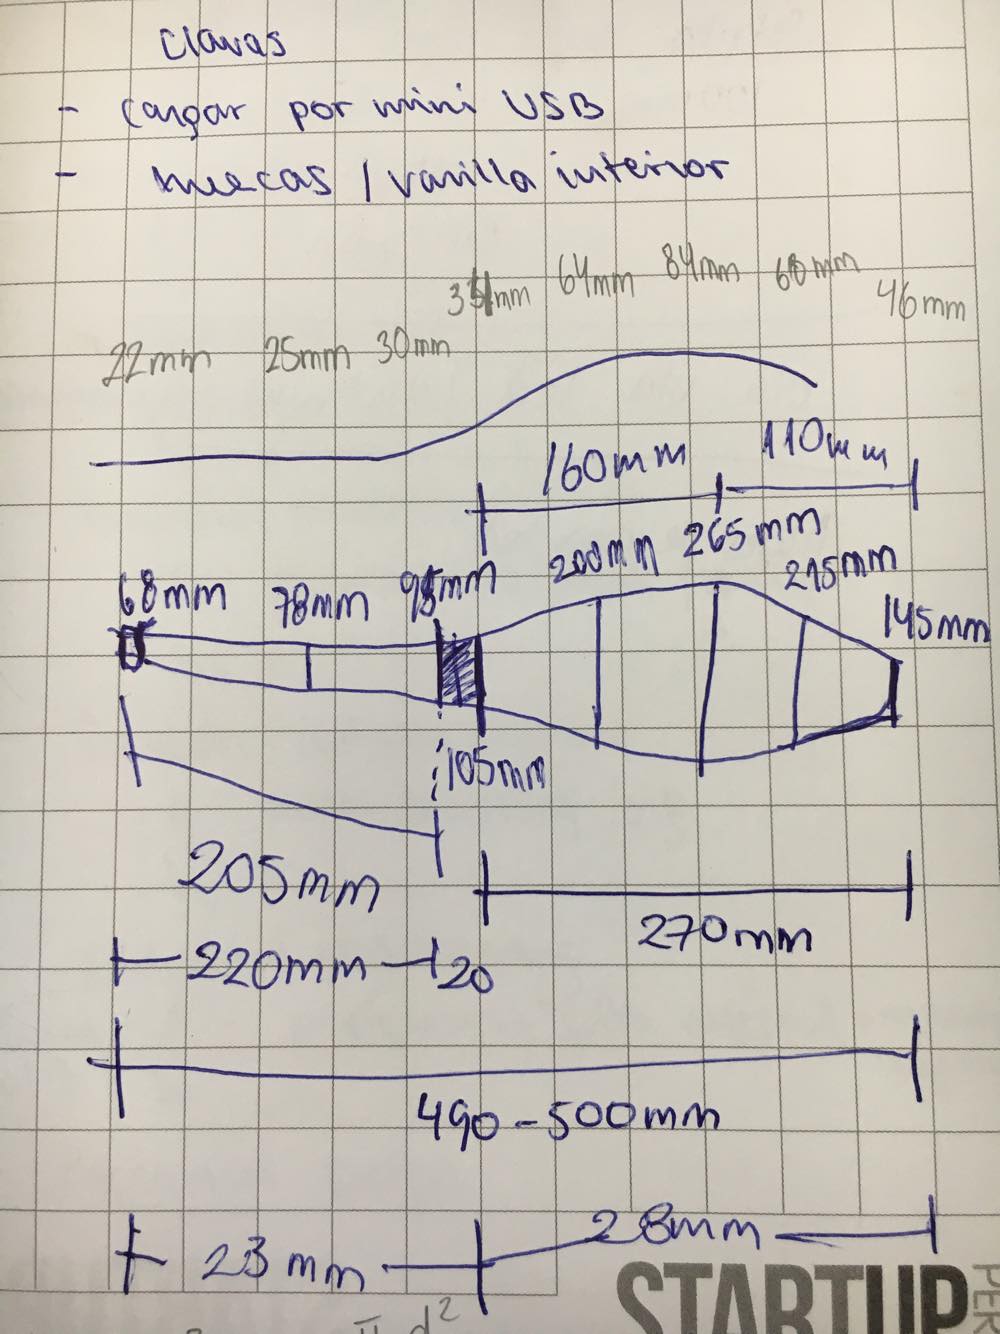
The software to design was difficult to choose, because I did a profile club on Rhinoceros thinking to revolutionize it on Inventor but I could not. So I decided to do all on Rhinoceros. I did the profile, solids and "hembra" (part A mold) and "macho" (part B mold). Files are at end.

Making Mold
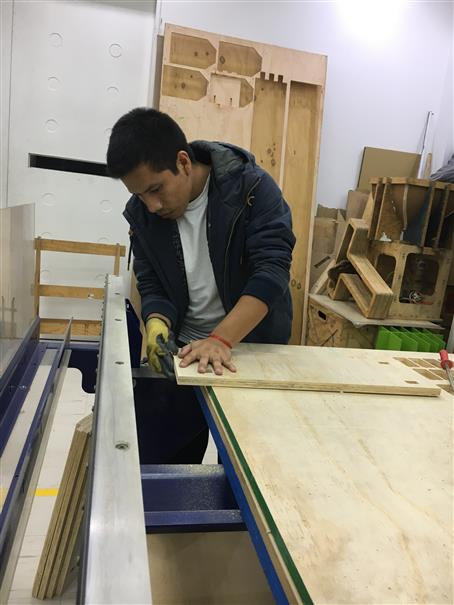
The largest thickness of the phenolic plywood is 18mm, or at least tha it is possible to find in market. So I needed a piece of wood of 55mm thickness. For this I cut 3 pieces of plywood 200mm x 600mm x 18mm for mold part A and the same for mold part B. In order to have a compacted block of wood I used a sandpaper to smooth the roughness.
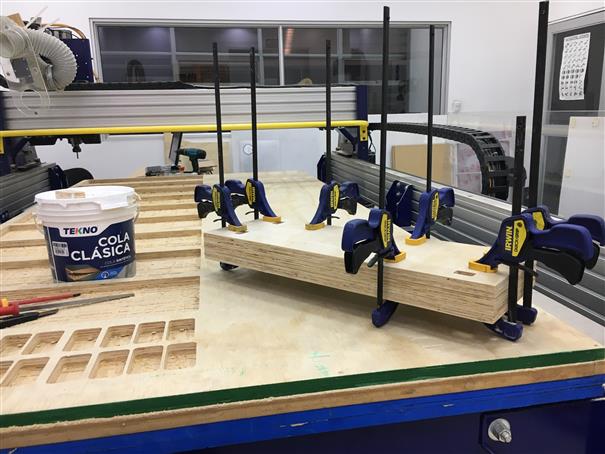
After that, using glue and quick grips each three pieces were joined. It is advisable to do it before nightfall so let dry overnight.

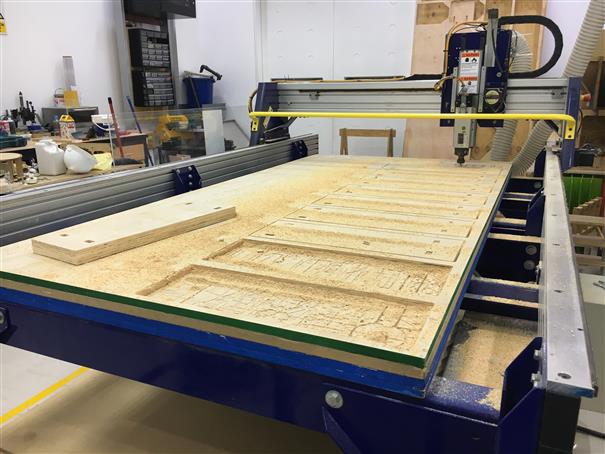
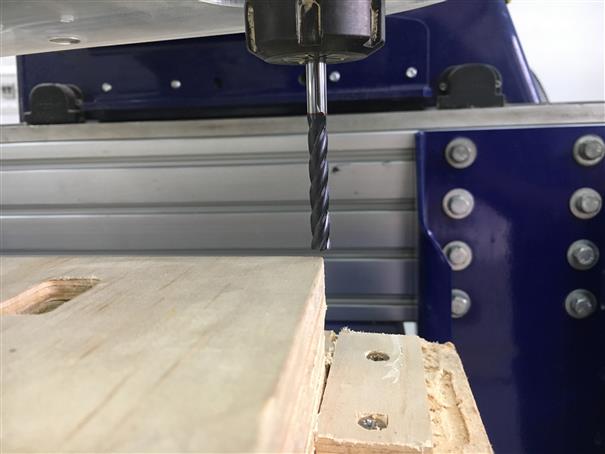
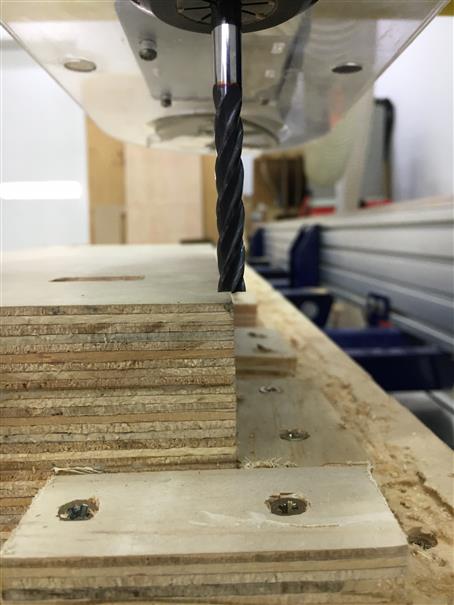
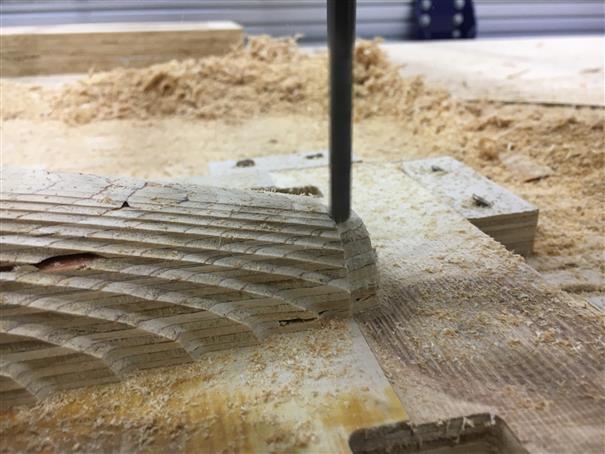
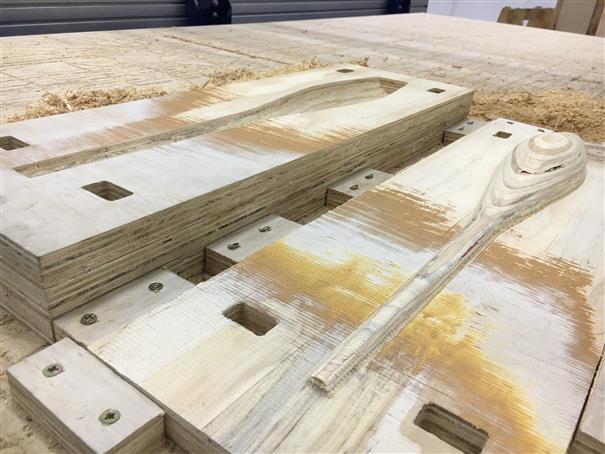
Once we have the wooden blocks. Let to mill the molds. Here, I had a problem about the length of cut of milling tool. In first instance, I had milling tools with a length of cut not enough. So I started looking at the store in the lab, I was lucky, there were! First, I used a straight milling tool as roughing tool, then a ballnose milling tool (finishing tool) to end the mold.
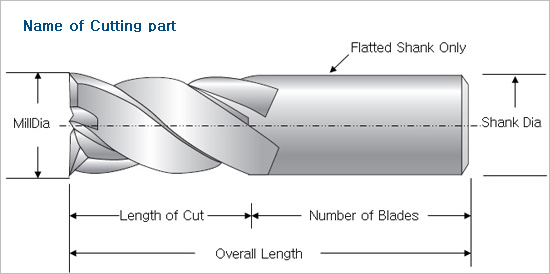
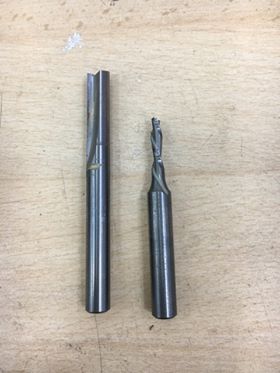
Length of cut: 20mm and 15mm
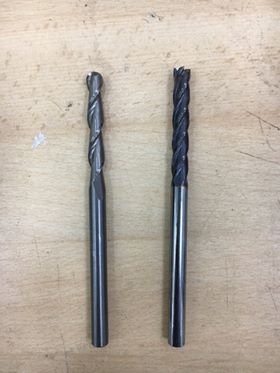
Length of cut: 40mm and 40mm
Just I need!
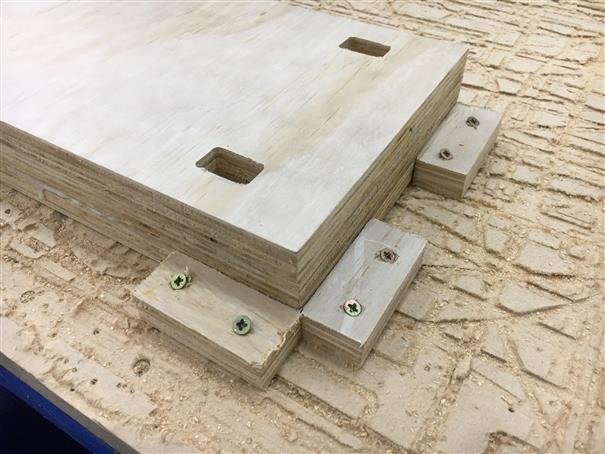
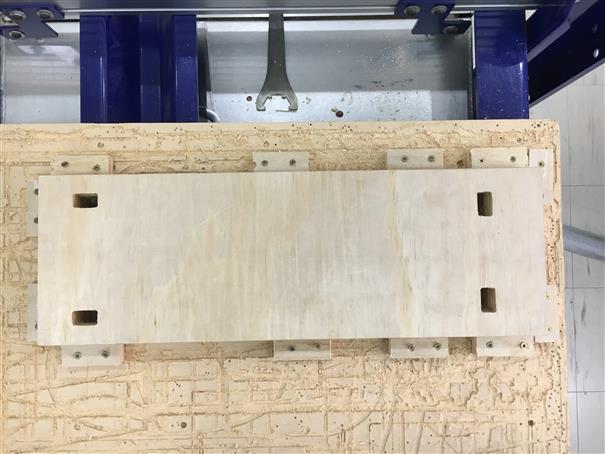
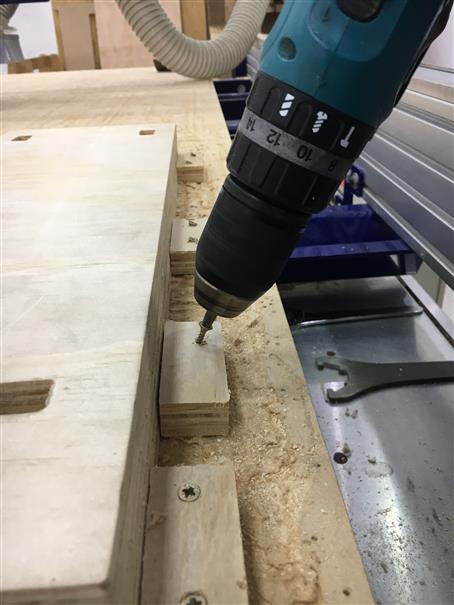
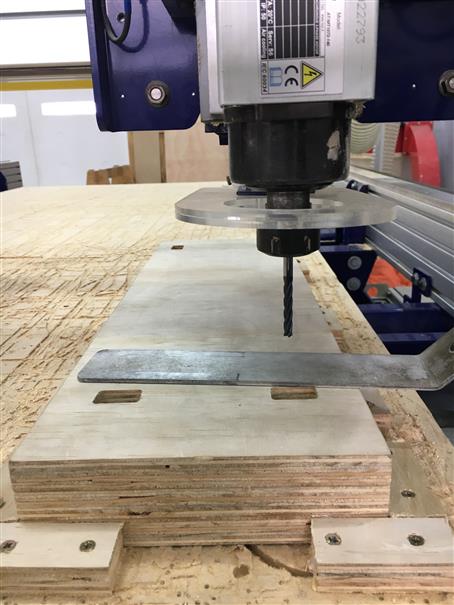
Next step, fix or secure a block to the shopbot base using small plywood pieces. As it is possible to see, try to bolt diagonally so we get a better fit.
Once the block is fixed, we proceed to set parameters and generate the cutting files. There are 6 windows to configure.

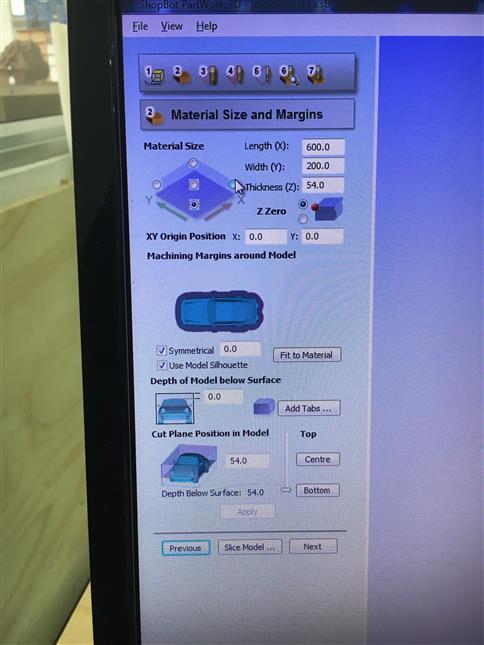
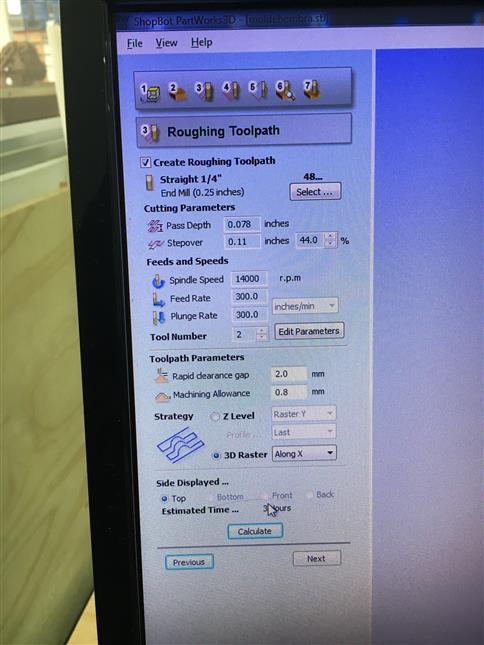
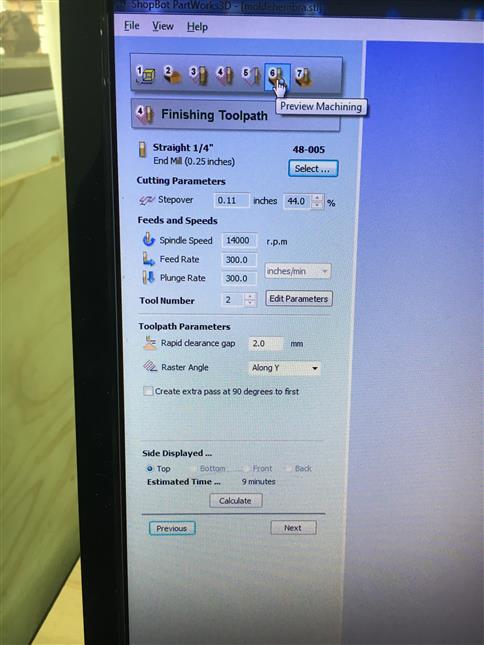
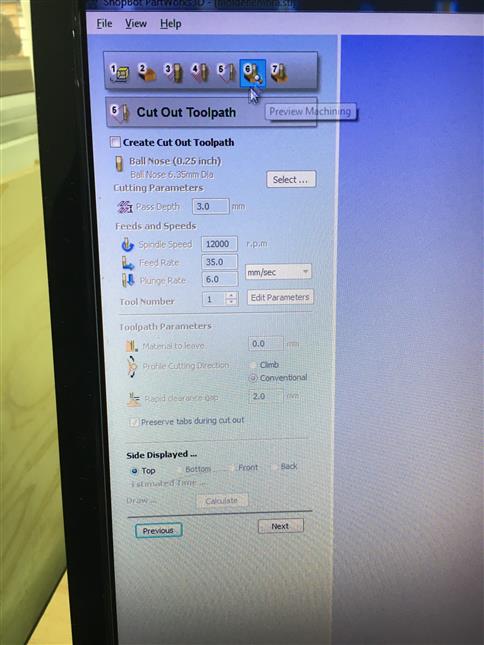
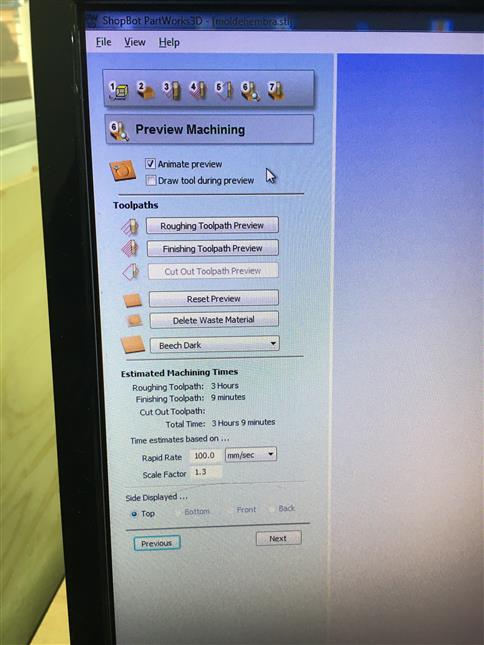
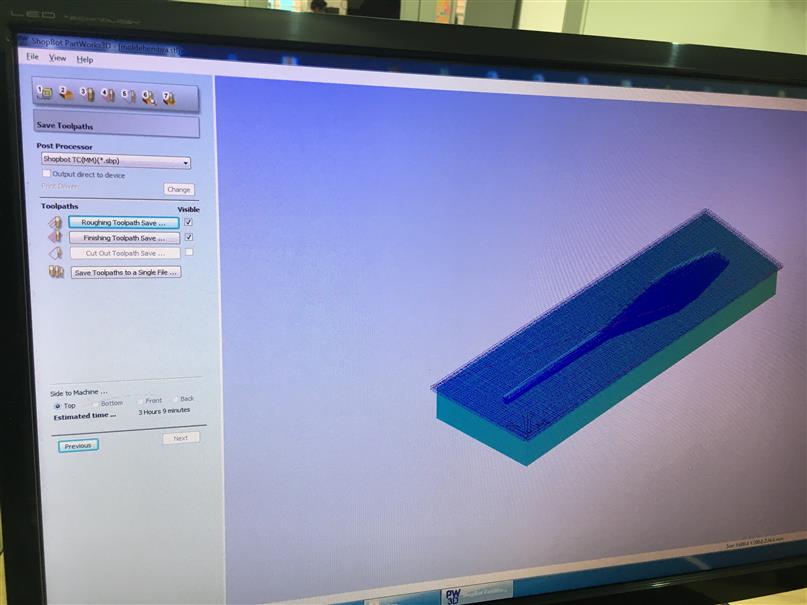
The last window allows you to see a simulation of the path that the milling tool will make. Also, save toolpaths (roughing and finishing).
Now, let to calibrate X, Y and Z axis of shopbot. For X and Y, move the head manually to the corner of the wooden block and set as zero. Then, for Z axis use the metal plate.
Wear safety glasses and earmuffs for your security. Supervise the machine constantly!
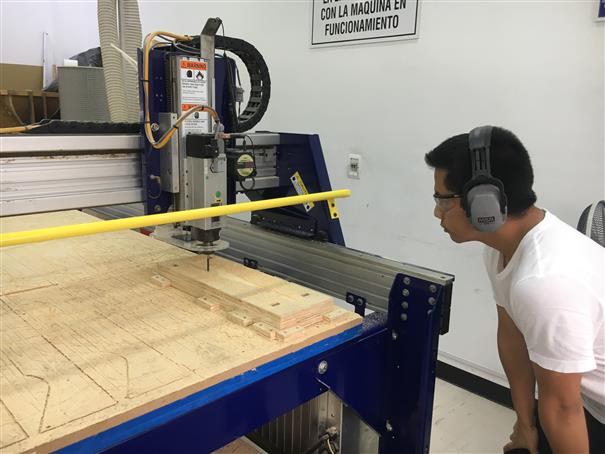
Let the magic begin!
Composites
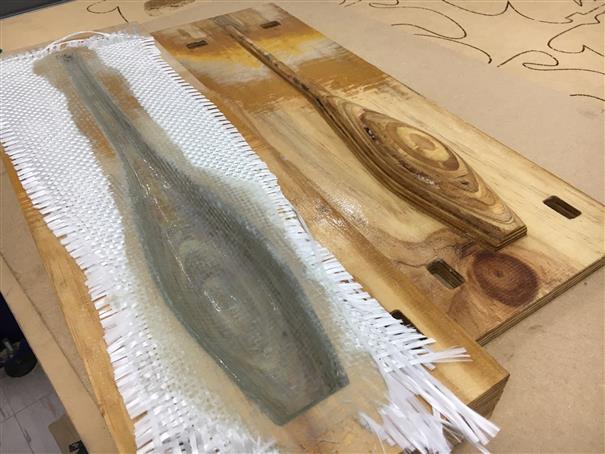
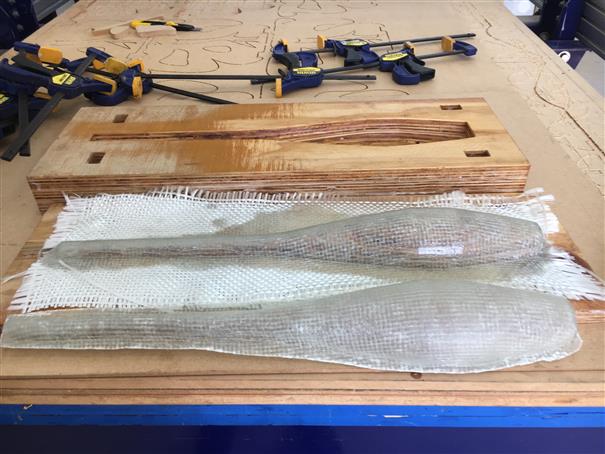
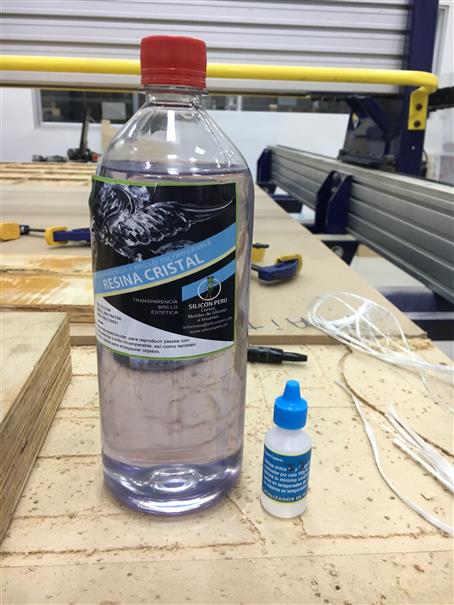
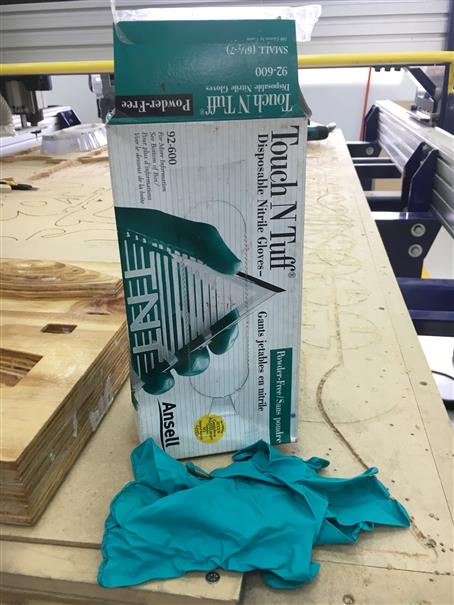
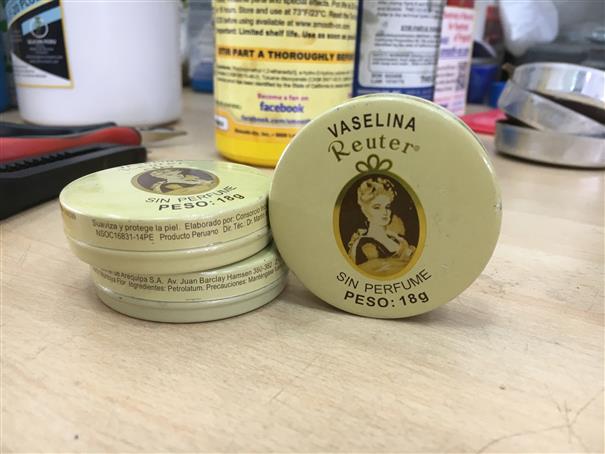
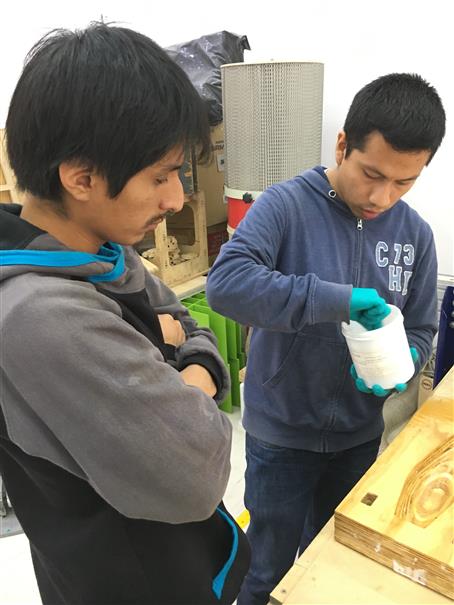
I used crystal resign, fiberglass, gloves to protect my hands from fiberglass (after all this assignment I end up having a special affection to it, was nice), some vaseline jars and grips. First of all, apply vaseline to wooden molds, it allows remove composite easily. Then, use approximately 200g ( at first attempt I used 100g; second, 150g and finally using 200g composite is perfect) of crystal resign and 80 drops of part B. (40 per 100g).
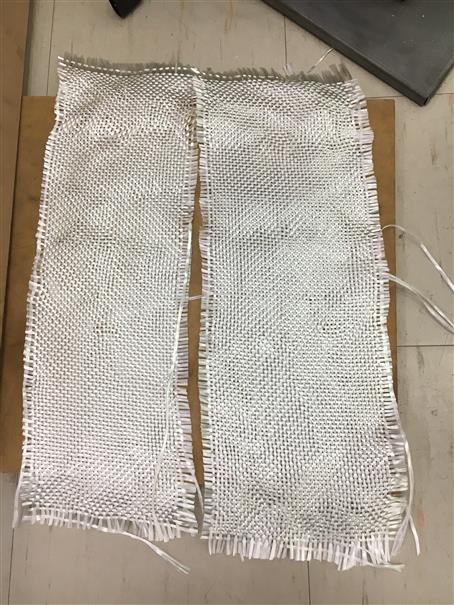
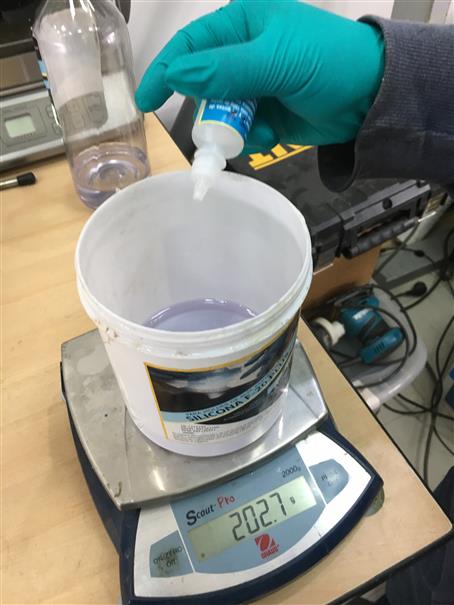
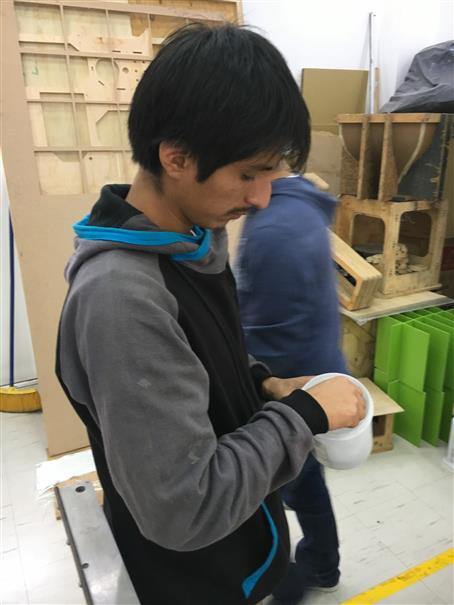
Ask a partner to help you. Mixed both parts and pour 100 grams into the mold.
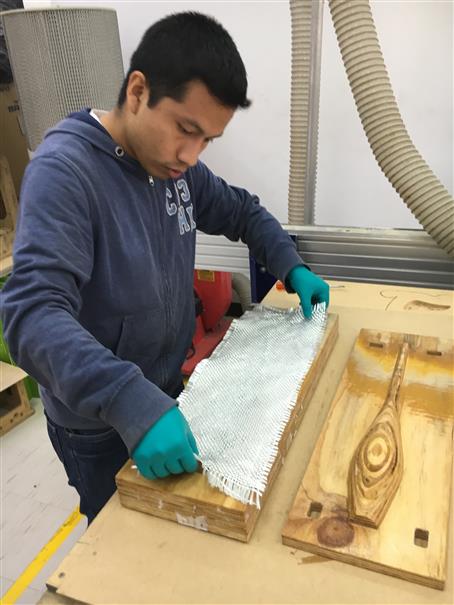
While placing the fiberclass your friend keep moving the resin. Spread the crystal around the fiberclass into the mold. Place second fiberclass sheet and add 100g remaining. spread again.
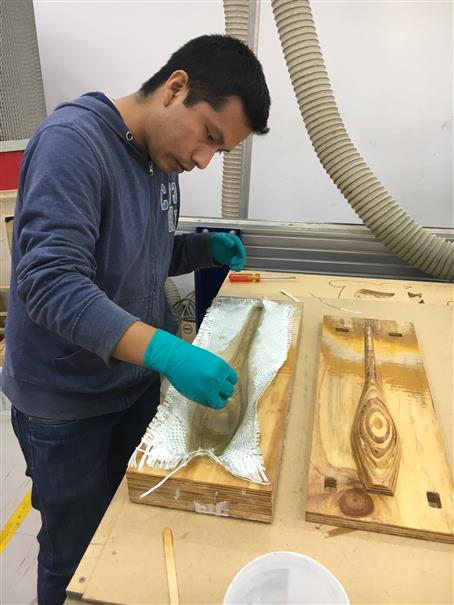
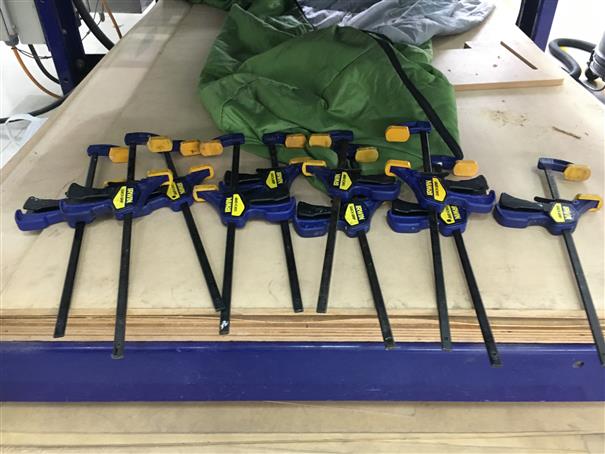
Quickly, place the grips and balance the mold so resin circulates throughout the interior.
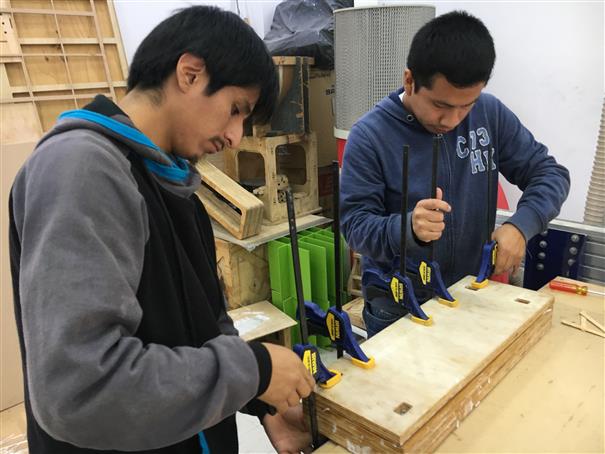
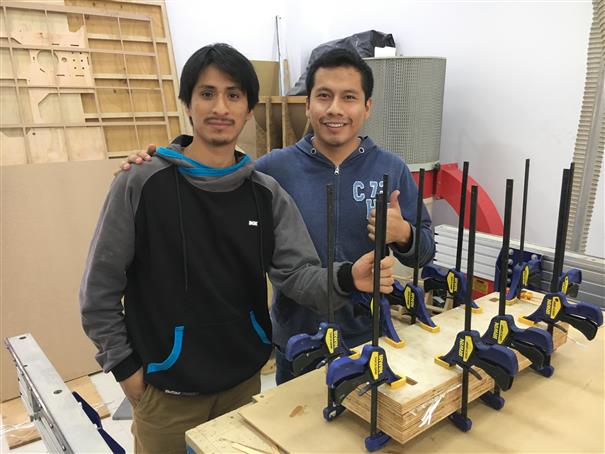
Special thanks to FabLab assistant, Isai. Who helped me on every attempt.
Files
Here my files: -Moldehembra.stl -Moldemacho.stl -Design clava.3dm [Rhinoceros]
Result
After many attempts, fails, mistakes, to use different materials.

I had this result, which works perfect for my final project.