Week 5
3D Scanning and Printing
Objectives
Learnign Outcomes
Have I ...
Advantages and Limitations of 3D printing and Scanning
3D PRINTING
There are a lot advantages about 3D printing, one of them I saw it allow us to obtain shapes difficult to do by hand, for example a sphere, we need specialized and highly accurate machines if we want to do and be qualified. A 3D printer can do it. In other fields, it allows us to see how our designs can be in 3D, touch it, to interact, so based on it make corrections or changes in our design. In this way, we can obtain our final product desing tested at a low price. Joining parts printed on 3D, it is possible to do protoytpes.
A limitation of 3D printing I could see is the material price, it is expensive for natural person and even for a medium-sized company. Another limitation is when a layer of solid that has no base or support is printed, it tends to fall or not adhere at all to the part of the object already printed. For this the software algorithm creates supports and when the print finishes they are removed. Now, in "low-price" printers like Makerbot those supports sometimes can not be removed at all leaving a not so good finish because supports are doing of the same object material. On the other hand, good printers use other types of material to do supports. Those are soluble in water or substances recommended.
SCANNING
An advantage I could see is if you do not have mastery of CAD software to design some object, scanning is a good option. Another advantage is that there are free applications for your mobile phone to scan and easy to use.
A limitation when more elaborate work is needed, this kind of apps does not retunr a good mesh. There exists amazing scanners but prices are amazing too, those scanners have their own software for the treatise of their meshes.
Testing (group project)
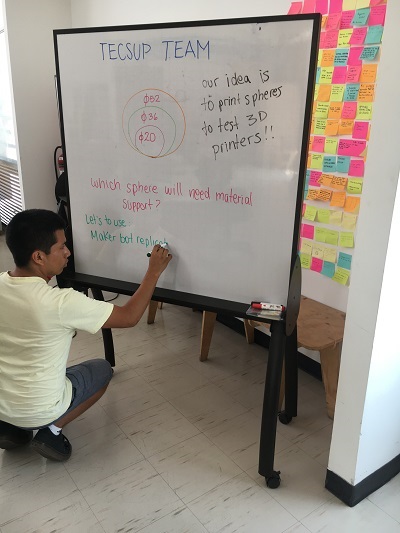
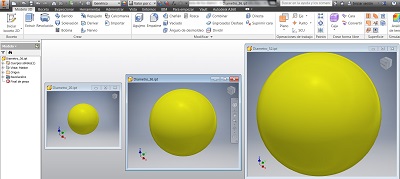
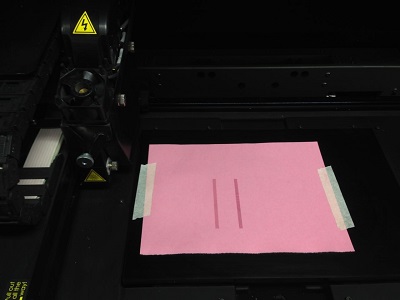
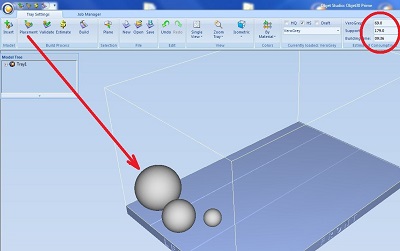
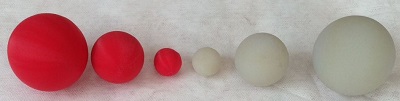
We starting making a brainstorm where we decided to print spheres with diameters of 20, 36 and 52mm. Our decision was based that a sphere has the bottom part that is difficult to print, because due to gravity the material tends to fall or not adhere at all to the anterior layer.
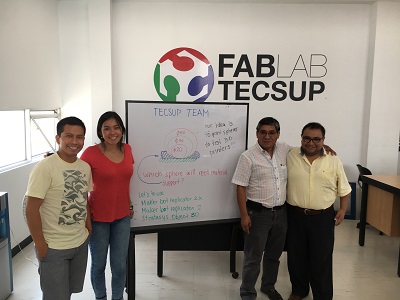
Our team is: -Armando Sarco -Ingrid Nuñez -Jhon Lozano -David Maita
Software Inventor was used to design the spheres.
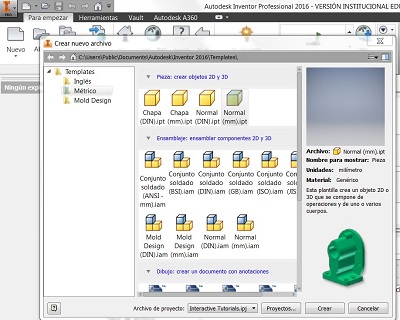
Draw a semi-sphere with 0,5mm of thickness and make a revolution.
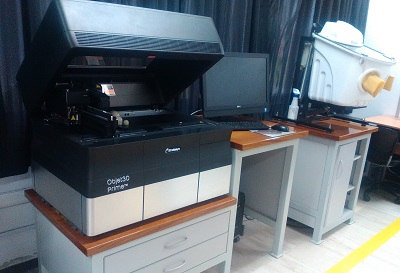
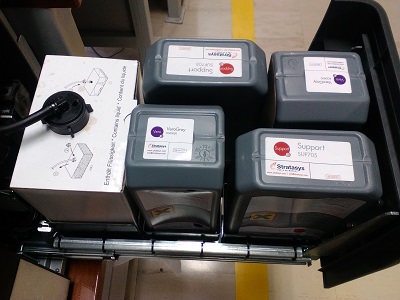
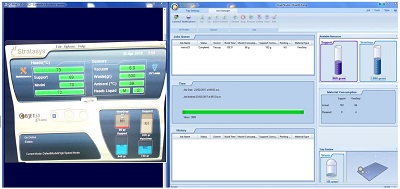
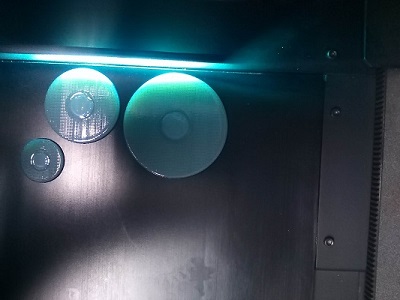
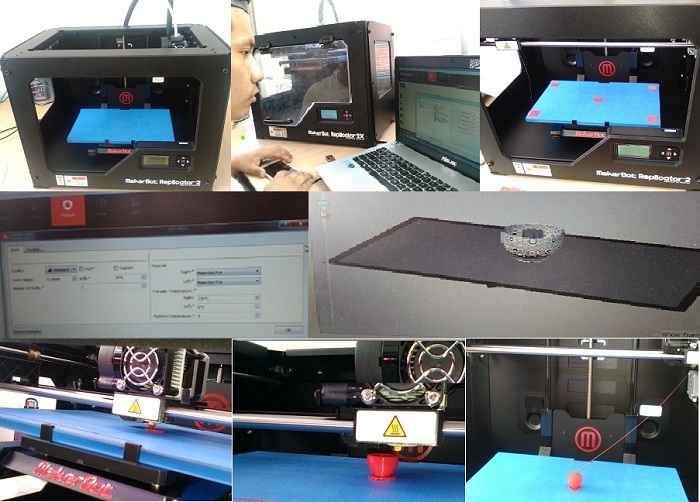
PRINTER: Stratasys Object 30 Prime / Material VeroGray RGD850. In this case, there is not much difficulty because, this printer has a support material where the resin to be printed is supported. The finish of the objects that prints this machine are very good.
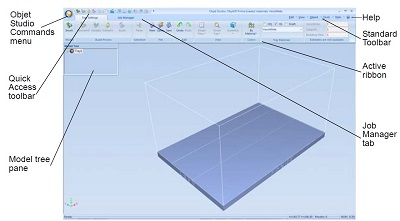
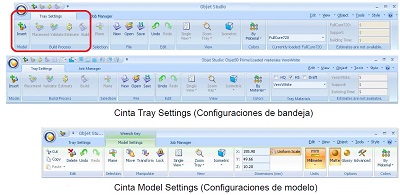
Printer Indicators / Object Studio opening screen / Toolbars
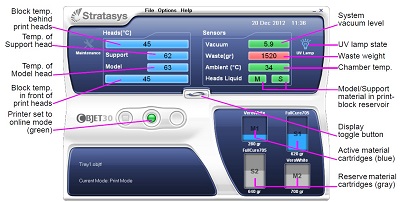
Testing the resin injectors
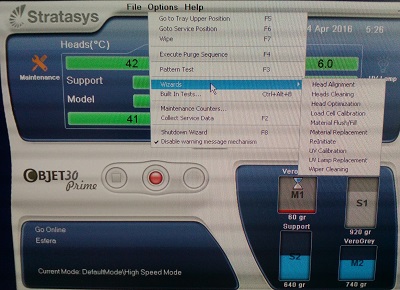
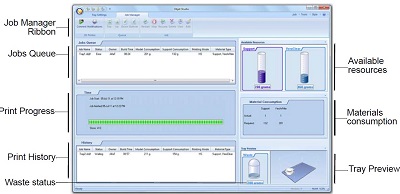
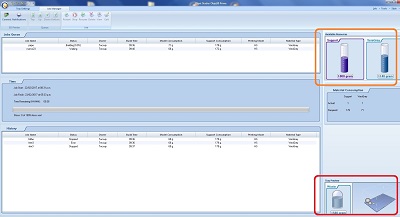
Printer settings: it is possible to see the amount of material that the cartridges have.
Printing: You have to be very careful with this printer during printing, since any accidental movement of the cover, printing stops. Additionally, this printer has an additional machine, which using pressurized water removes the support material.
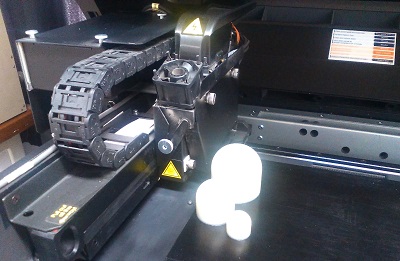
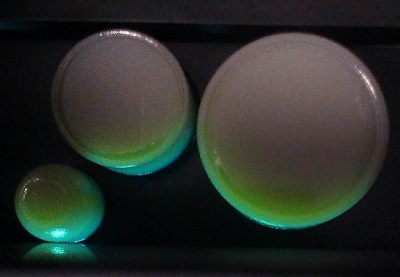
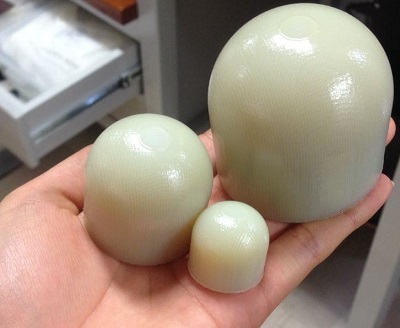

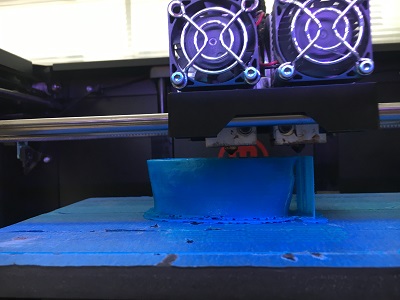
PRINTER: MakerBot Replicator 2 / Material PLA. In this case, where the material is PLA, the algorithm of the software did not place supports letting us know that it is possible to print that form. Well, when the printing finished the bottom of the sphere came out a bit rough as opposed to the top that the finish is thin.
In this part, we used a Makerbot Replicator 2 to print our spheres. There no was any problem, because we had good settings.
Design & Printing
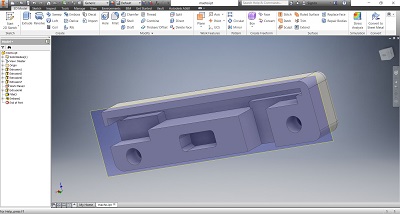
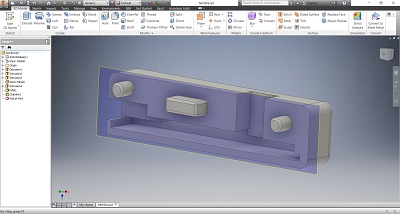
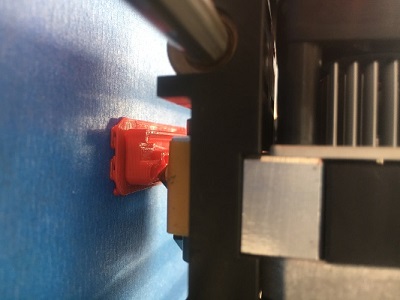
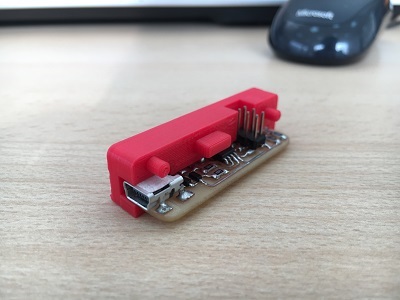
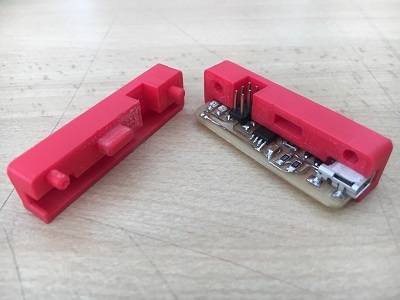
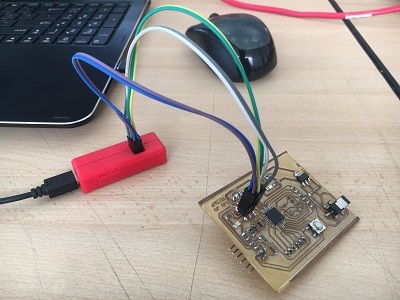
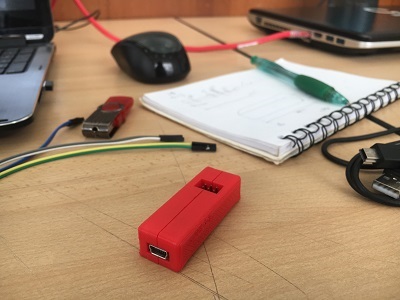
I used Inventor software to make my design. It is a case for my FabISP so I want to have it protected. It has two parts, which are joined by three pines.
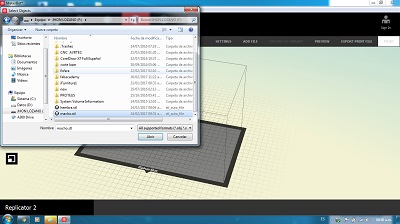
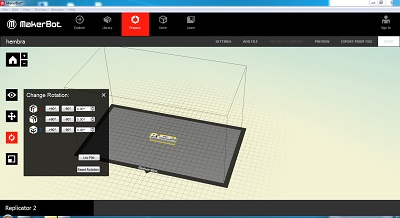
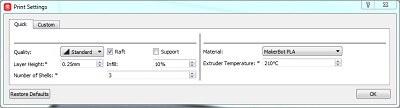
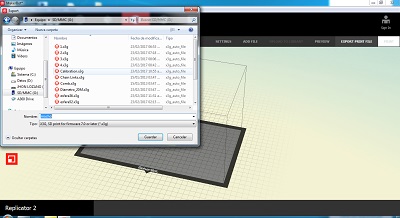
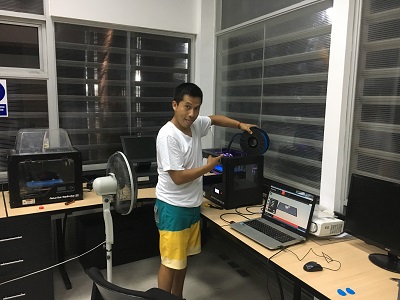
Then, I printed those two parts in a Makerbot Replicator 2 1. Open your file ".stl" on Makerbot software 2. Change the rotation of your object in order to have a good printing 3. You can change dimensions if you want to scale, in this case our scale is 1:1 4. Set up the print settings 5. Once you set parameters, export the file (.x3g) into the SD card.

How to use the 3D printer 1. My suggestion is to preheat the printer minutes before to print. 2. Insert the SD card into the slot and using up and down arrows select "build from SD" 3. Press the "M" button 4. Once button were pressed, 3D printer starts to print with the raft then the object designed. 5. Check constantly the printer

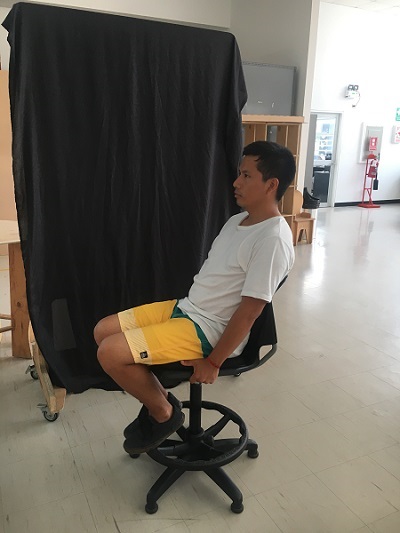
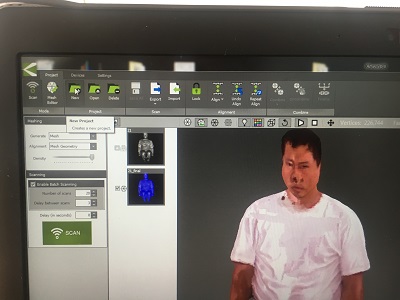
Scanning & 3D Printing
I test three options to do this part of assignment.
KINECT
It is necessary to download two softwares: Kinect SDK and Skanect (non-commercial version). When I finished to install both, I connected Kinect, but it did not connect. It appears on Device Manager with a question mark. I look for solutions on the internet. I found this page (it is in spanish) but it does not work for my situation. Well, I decided to look for another option. It does not mean that this metod do not work, it also depends of hardware of ypur lap or pc.
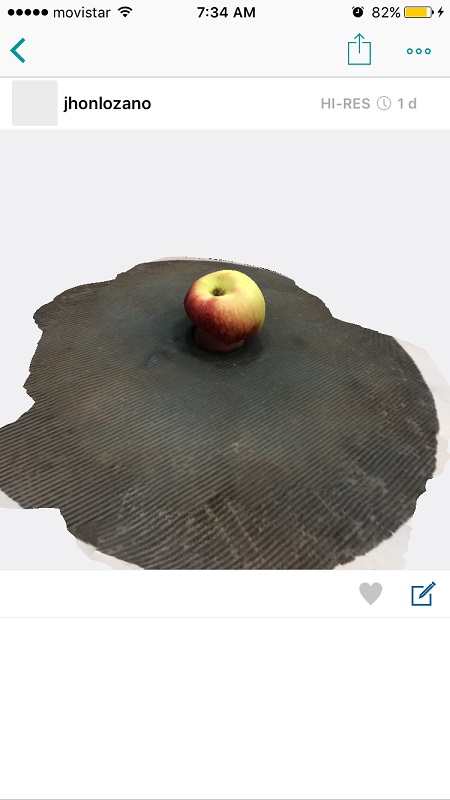
TRNIO
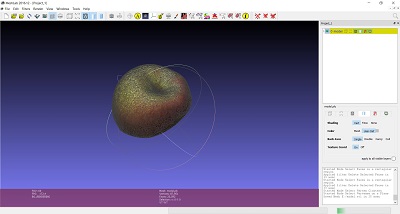
This app works very good. I did 4 tests. I download just one on ".ply" extension. Using meshlab to modify it. I had problems trying to obtain the download link. That is when I decided to use my last option. But I discovered that was only necessary to enter the mail application on my iphone to get it.

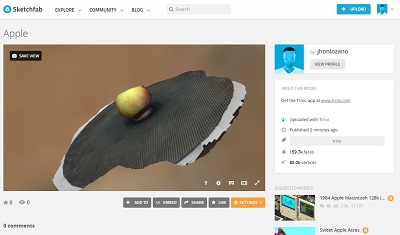
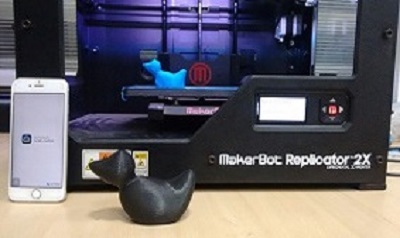
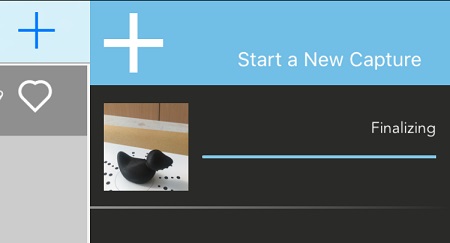
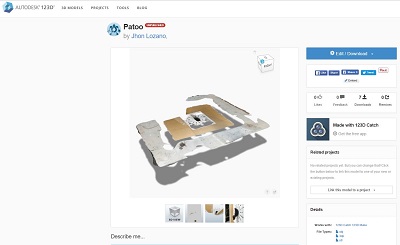
123D CATCH
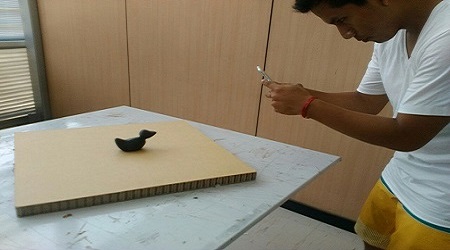
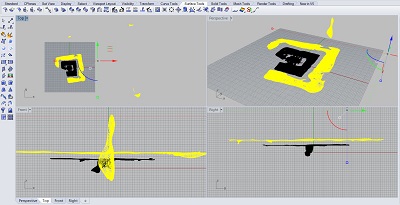
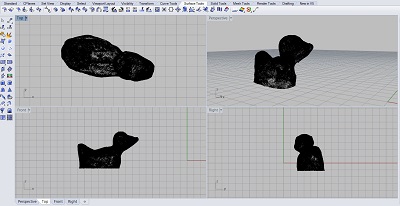
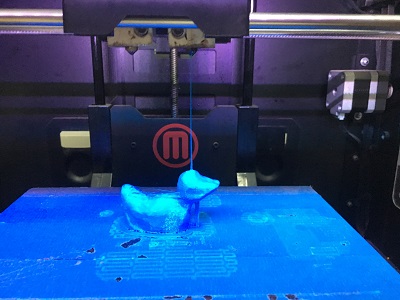
I use this app because I consider this a secure method. I choose a duck printed on a 3D printer to scan. Because my instructor, Roberto Delgado told me that this duck is a good object to test printers by its curves. When I got my scan file, I thought where is my duck or 123D app does not work very well. Trying to understand what happens, I saw that this app had scanned the entire area including the table. Doing a zoom I saw the duck, on the middle very little. I used RHINOCEROS to get just the duck mesh on ".stl". Then, I printed on Makerbot Replicator 2X.

Files
Here, files: -Case ISP A (.stl) -Case ISP B (.stl) -Case ISP A (.ipt) -Case ISP B (.ipt) -Duck file
Result
I could print my JhonISP case. Also, test printer printing this blue duck, whose design was obtained by scanning the black duck.