Week9 and Week11 : Mechanical and Machine Design
The assignment of these two weeks :
●Design a machine (mechanism+automation), including the end effector.
●Build the passive parts and operate it manually.
●Document the group project and your individual contribution
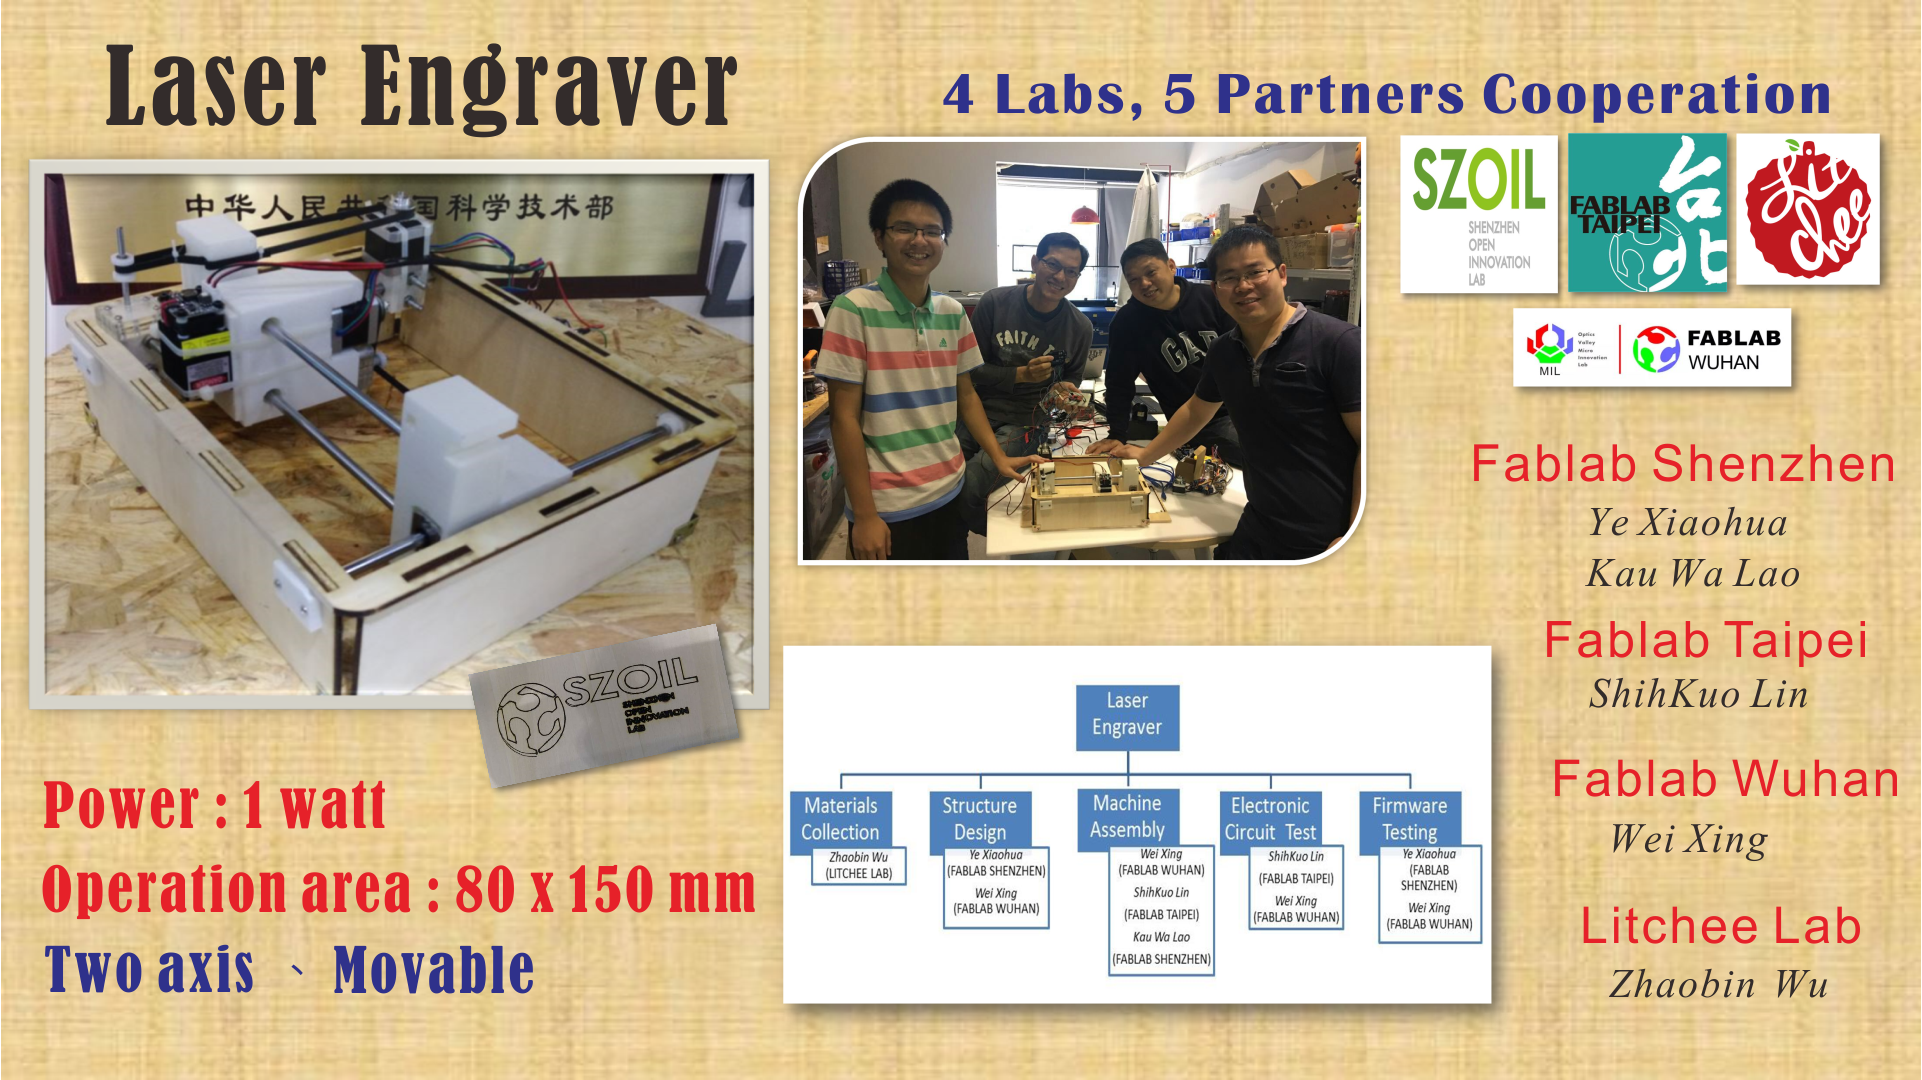
::Make The Machine -- Laser Engraver::
The finished laser engraver vedio is showed as follow:
Our team has five partners from four different fablabs. Since we decided to build the machine together in fablab Shenzhen, we discussed what machine we want to build and materials we need via online meeting one week in advance.
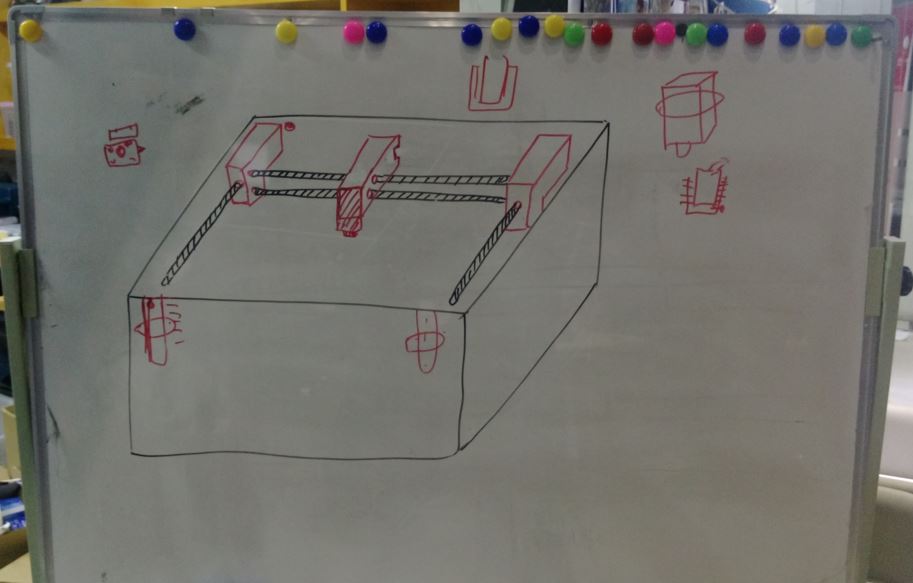
figure 1: Sketch of laser engraver.
We decided to make a laser engraving machine. Building the machine is divided into several parts, and the work of each partner is assigned as follows:
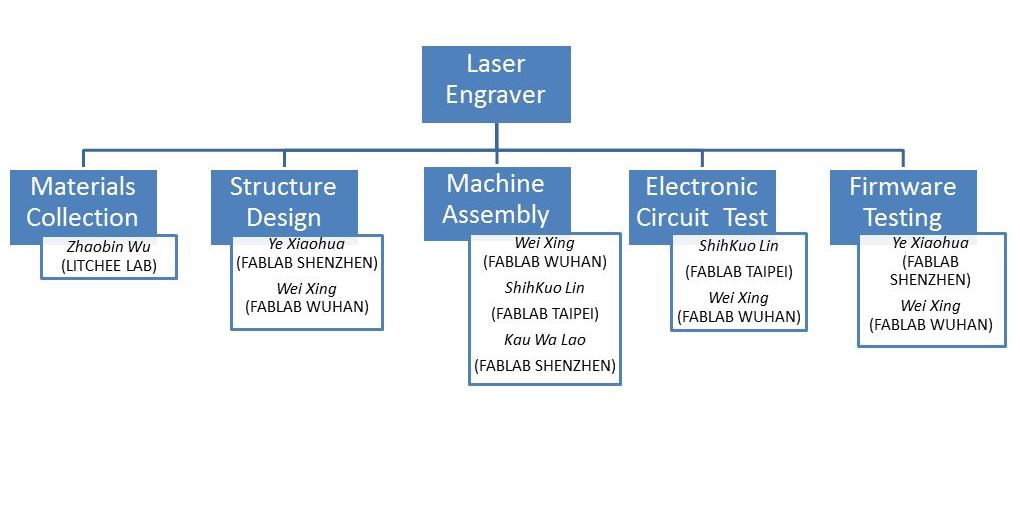
figure 2: Assignment of each partner.
My individual contribution of this project include electronic circuit design, assembly of works and document the group project.
::Electronic Circuit Design::
The laser engraver we designed has two stepping motors which control the movement of x and y axis. So we used arduino UNO as the central board and two pieces of "Easy Driver" as the motor driver.
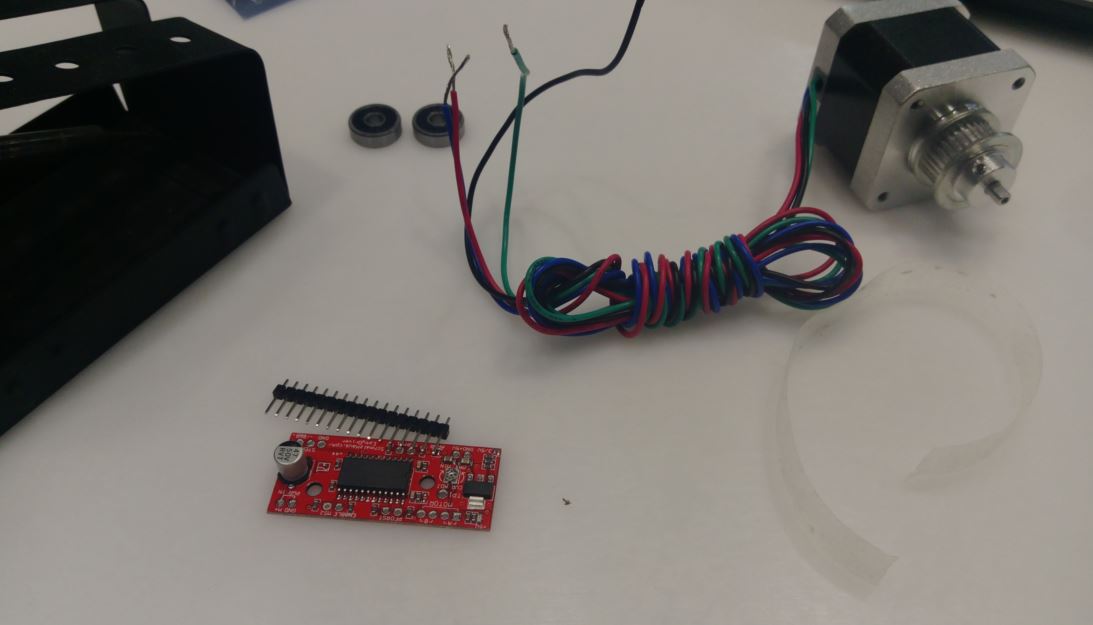
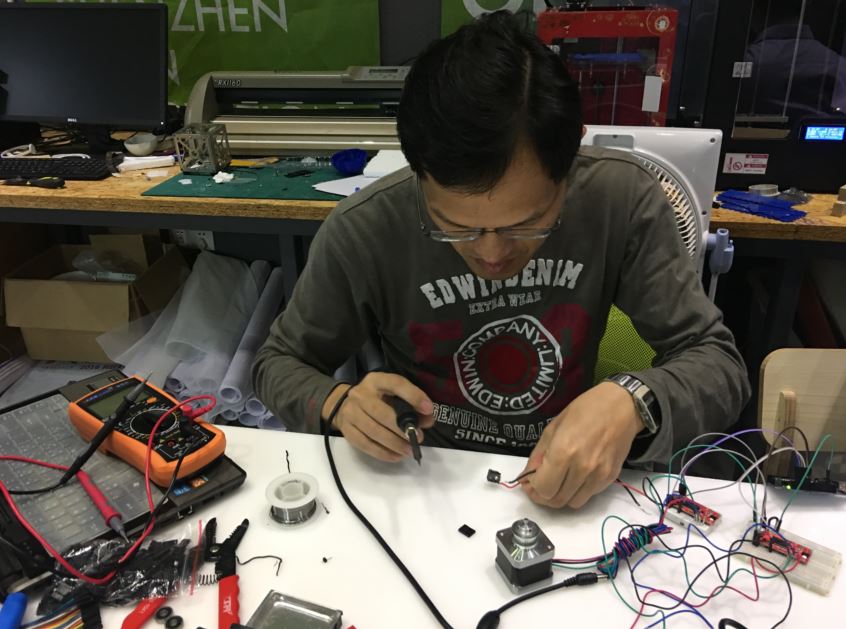
figure 2: Easy Driver, motor and soldering components and circuits.
There was some instructions about "Easy Driver" on website. Following the tutorial of connection between arduino, Easy Driver and stepping motors, I could easy test our electronic circuits. After finishing the connection of electronic circuits, I writed a test program with reference to the sample program to test them. The stepping motors worked properly.
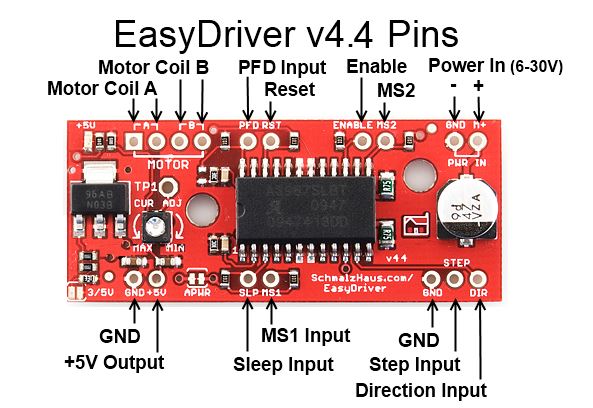
figure 3: Each pin function of Easy Driver.
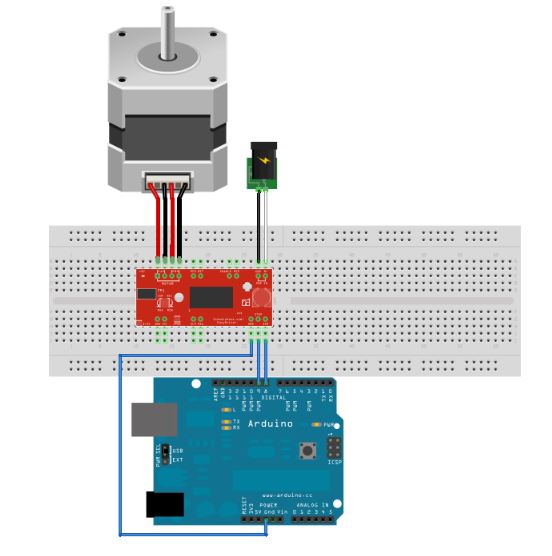
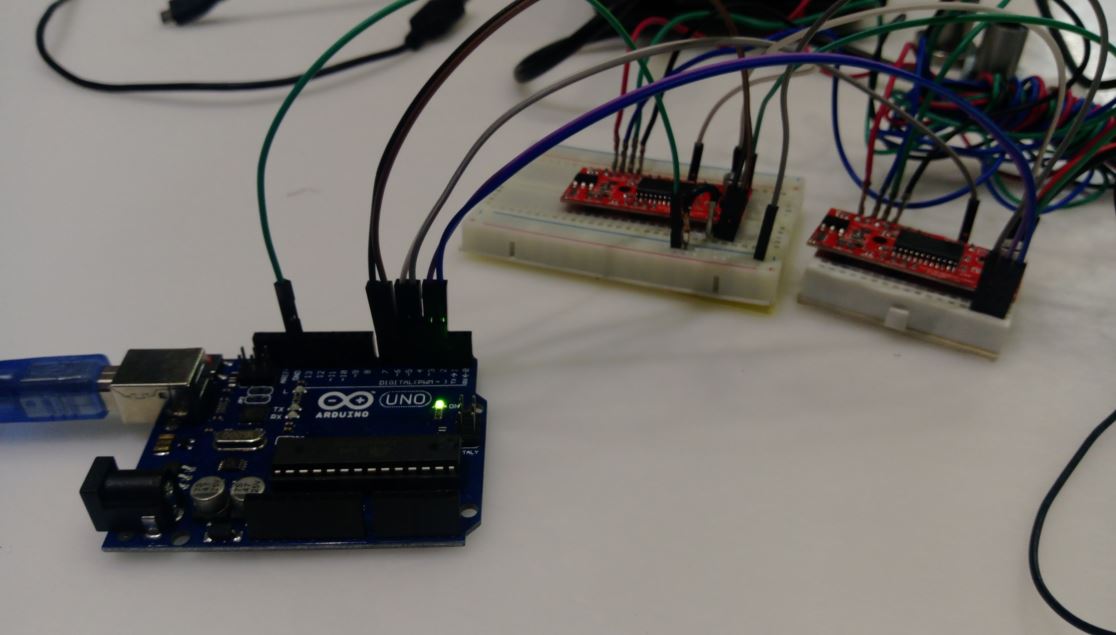
figure 4: Connection between arduino, Easy Driver and stepping motors.
The vedio of testing motors is showed as follow:
::Assembly Laser Engraver::
After connecting and testing the electronic circuits, we assembled the motor circuits on the machine. There were some important parts we did not concern before. That is how to connect the connection between the motor and the connector for moving along the axis. After a group discussion and testing, we designed a feasible way to connect the drive showed below:
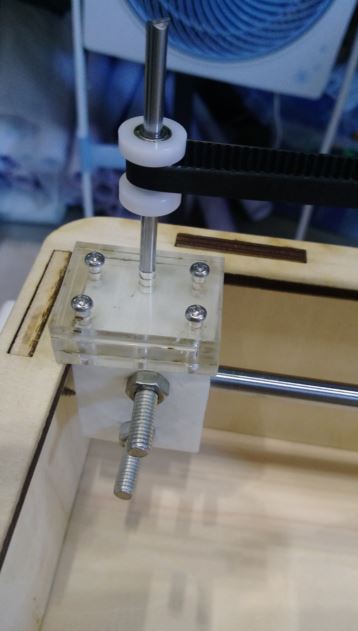
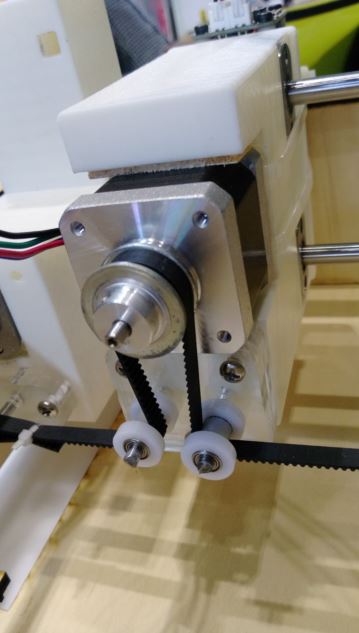
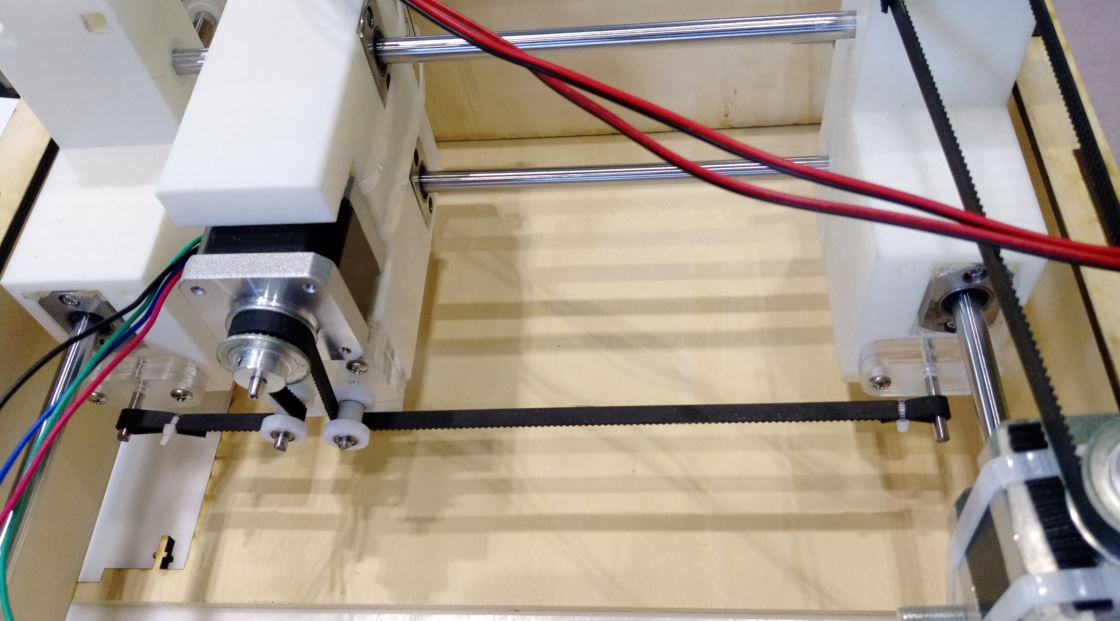
figure 5: Final solution of connecting the drive.
The vedio of testing connection of the drive is showed as follow:
After completing assembly laser engraver, it is time to first engrave something. The input nc formate graphic was produced from Inkscape. But the result of first testing graphic was not good, it seemed like the circuit connection of y-axis motor connect wrong side. So we tried to change the connection of y-axis motor and it worked well.
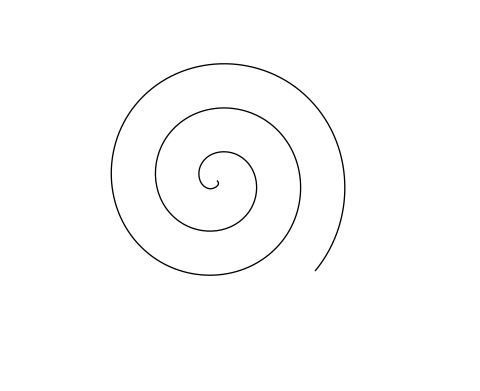
figure 6: First testing graphic.
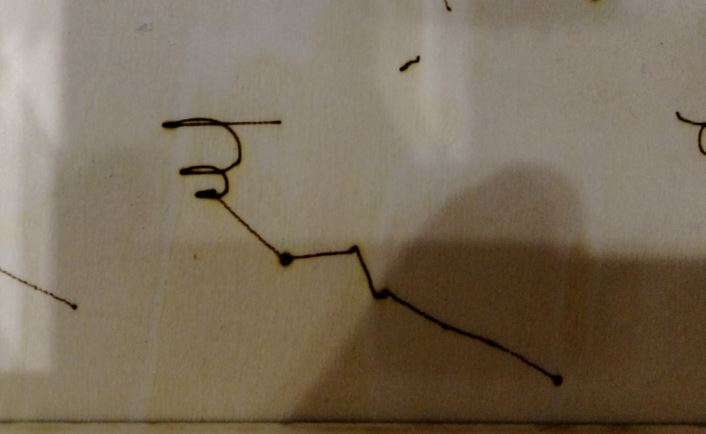
figure 7: The result of laser engraving the first testing graphic.
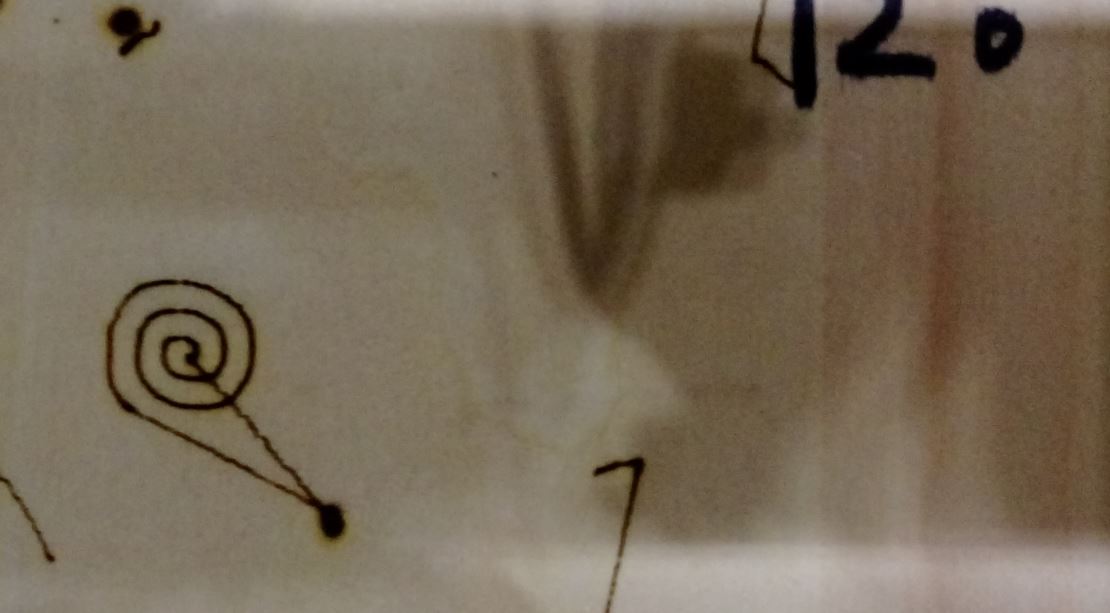
figure 8: Corrected test result.
Then we tested and found the working area was 80x150 mm. After correcting all the problems, the final engraving result looked good.
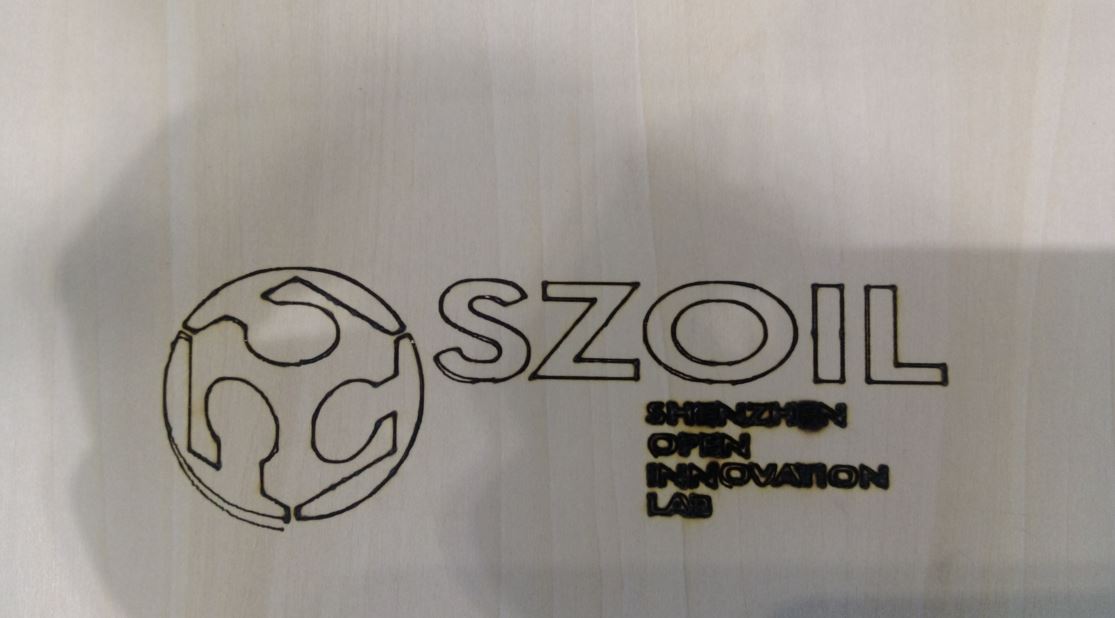
figure 9: After correcting the problems, the result looked good.
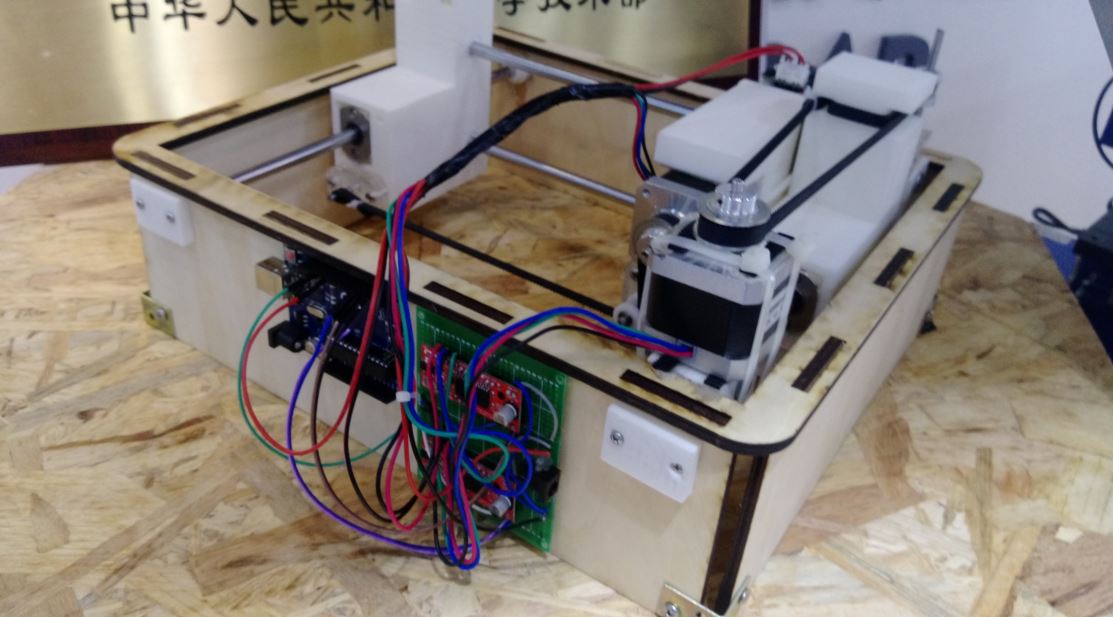
figure 10: Our laser engraving machine.
●Source file.
Arduino c codes: Useing two buttons to move steper motor forward and reverse.