week8 : Embedded Programming
The assignment of this week :
1.Read a microcontroller data sheet.
2.Program my board to do something, with as many different programming languages and programming environments as possible.
●Identify relevant information in a microcontroller data sheet.
Although this microcontroller ATTINY44A was be used in week4(Electronics Production) and week6(Electronics Design), I still do not know what the relevant information it is. So it is importmant to read the data sheet of it before programming it.
From the data sheet, ATTINY44A is a 8-bit AVR microcontroller with 4K bytes In-System Programmable Flash. The attributes of ATTINY44A describes as follows:
● 256 Bytes of In-System Programmable EEPROM
● 12 general purpose I/O lines
● an 8-bit Timer/Counter with two PWM channels
● a 16-bit
timer/counter with two PWM channels
● Voltage - Supply : 1.8 V ~ 5.5 V
● Oscillator Type : Internal(128 kHz & 8 MHz) and External (20 MHz)
The pin Configurations as follows:
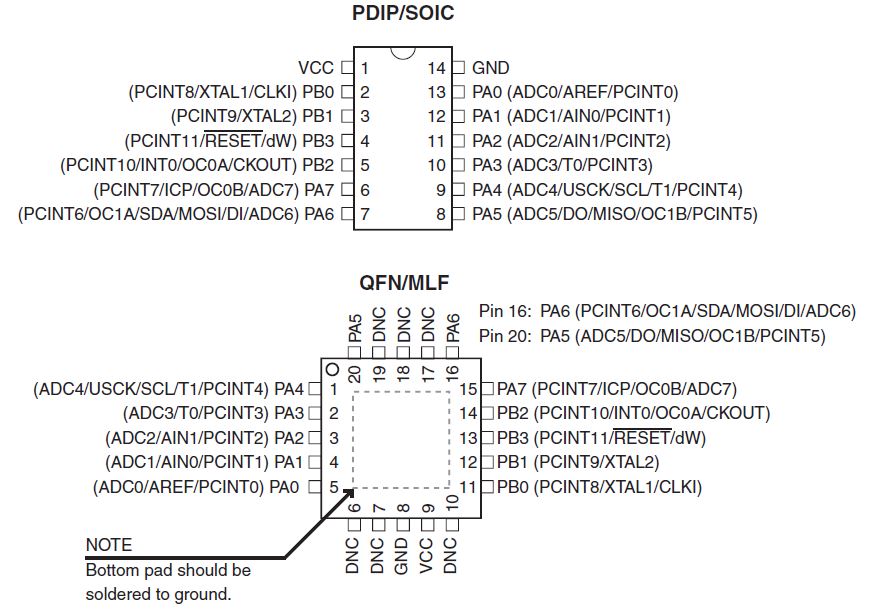
figure 1 : ATTINY44A pin Configurations.
●Program my board to do something.
This week I use arduino UNO as the ISP and arduino Integrated Development Environment (IDE) to program my board. First I followed the instruction from arduino tutorial to set the arduino UNO as the arduinoISP. Second I followed another tutorial "Programming an ATtiny w/ Arduino 1.6 (or 1.0)" in High-Low Tech to program ATTINY44A. The connection between arduino UNO and my board as follows:
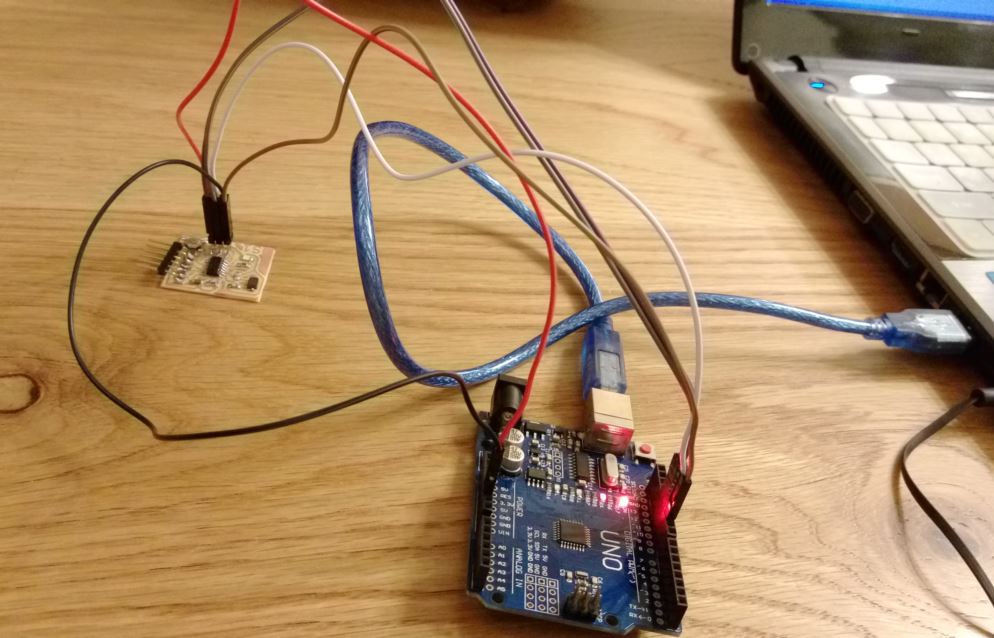
figure 2 : Connection between arduino UNO and my board.
● ATTINY44 SCK Pin to Arduino Pin 13
● ATTINY44 MISO Pin to Arduino Pin 12
● ATTINY44 MOSI Pin to Arduino Pin 11
● ATTINY44 Reset Pin to Arduino Pin 10
As I setuped the proper parameters on arduino IDE Tools option such as "Board", "Processor", "Clock", "Port", and "Programmer" as follows, then pressed the button "Burn bootloader" to burn a bootloader onto my board.
● Board > ATtiny24/44/84
● Processor > ATtiny44
● Clock > External 20 MHz
● Programmer > Arduino as ISP
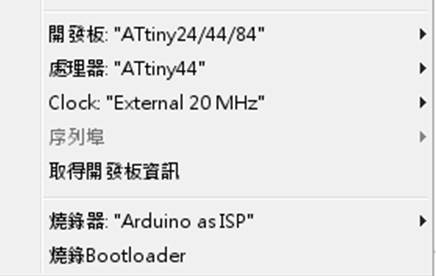
figure 3 : Setup the proper parameters on arduino IDE Tools option.
After pressing the "Burn bootloader" button, it showed that it would take a few minutes to finish the the process.
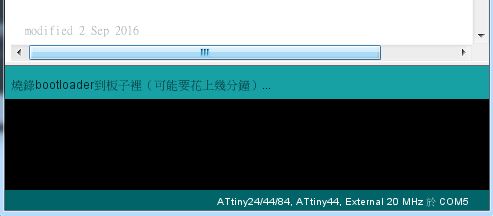
figure 4 : Burn bootloader.
But I am not so luckly, the message box shows an error occured during burning bootloader process.
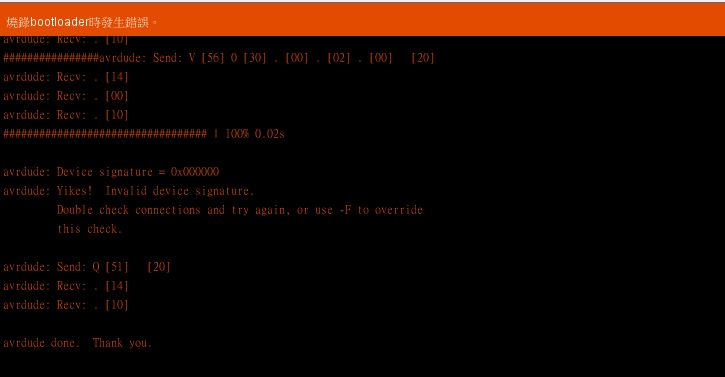
figure 5 : Error occured during burning bootloader process.
According to the error message "Yikes! Invalid device signature. Double check connections and try again, or use -F to override this check.", I searched the solution from Arduino Forum website. I realized there might be the oscillator problem. So I changed the oscillator form external 20 MHz to internal 8 MHz (Tools > Clock) and burned bootloader again. It works. Then I checked the oscillator connection on my bord and found that there was a pin did not connect well with wire. I resoldering the pin and tried to burn bootloader with external 20 MHz oscillator again and it passed.
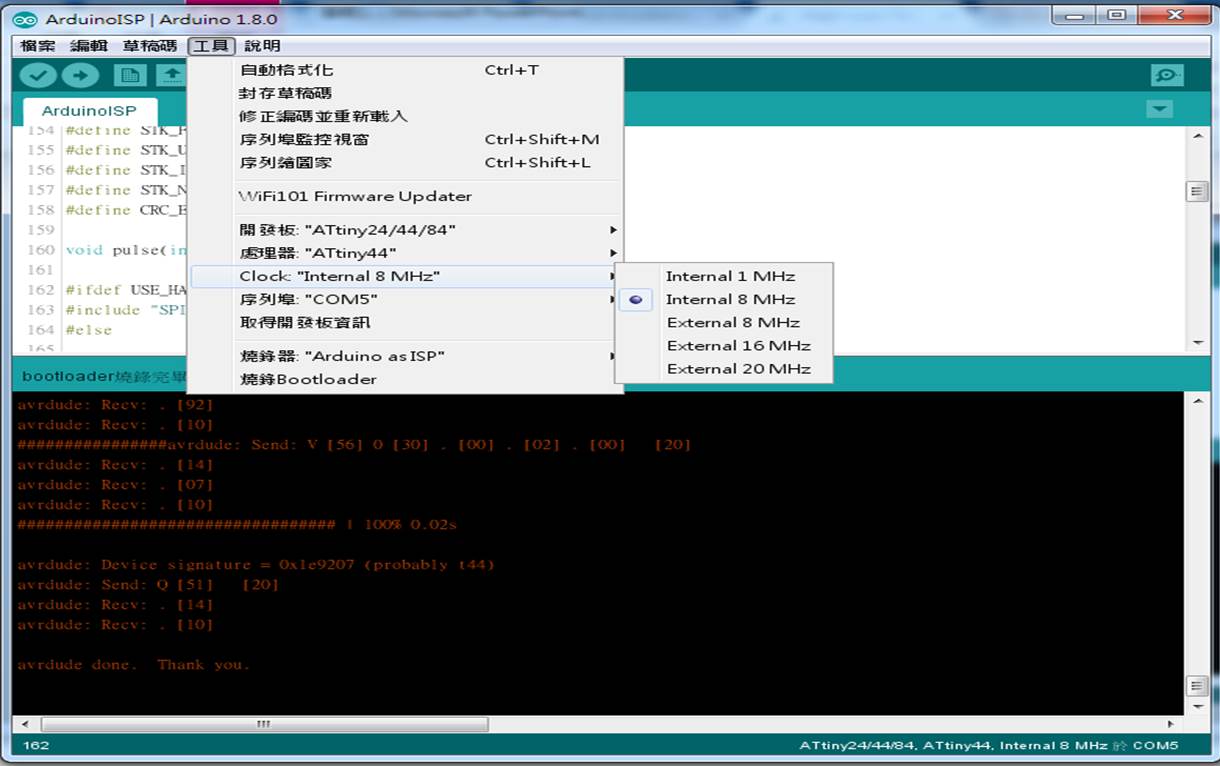
figure 6 : Burn bootloader with internal 8 MHz oscillator and pass.
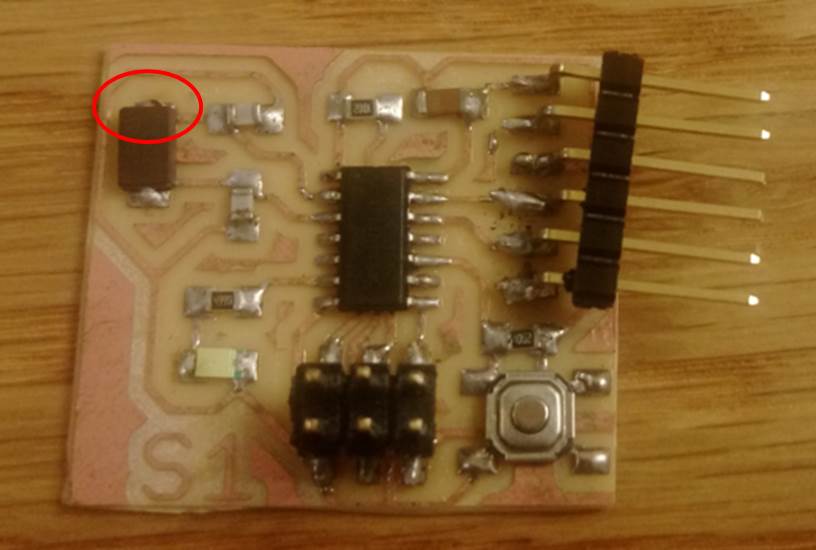
figure 7 : Oscillator pin did not connect well with wire.
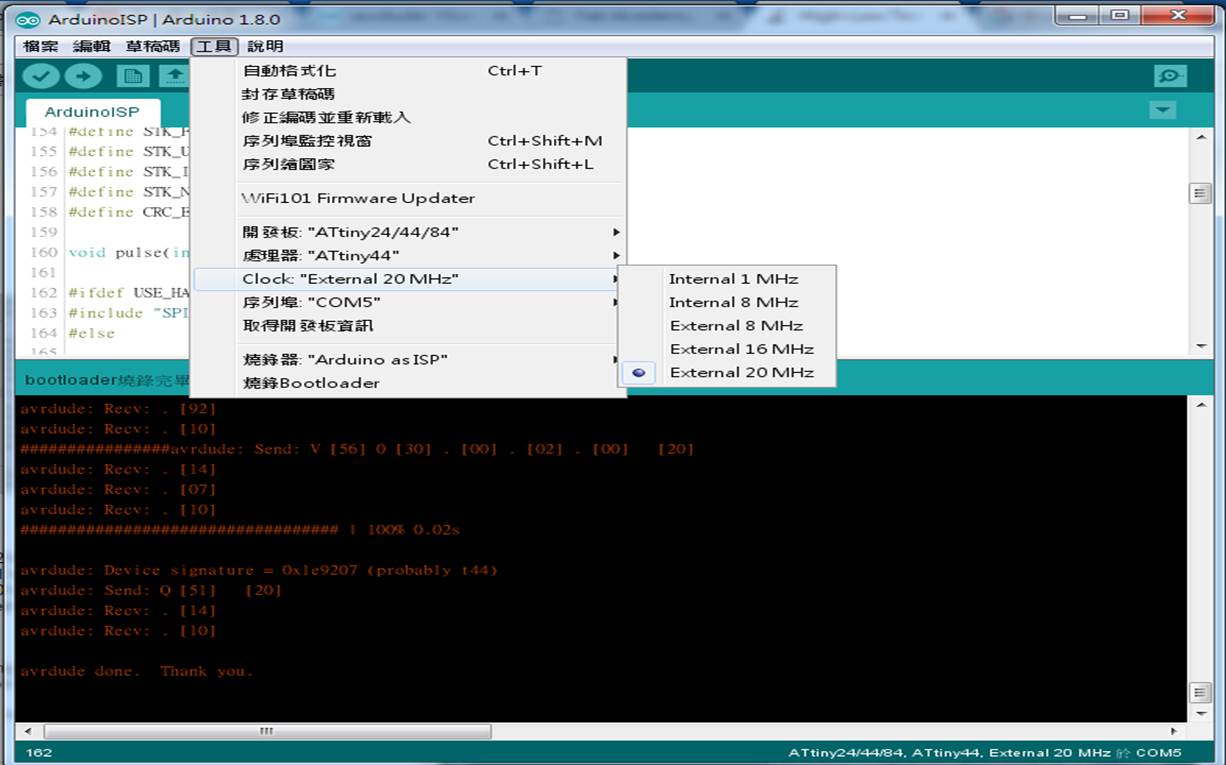
figure 8 : Burn bootloader with external 20 MHz oscillator and pass.
After burning the bootloader, It is time to programm my board to do something. I had an button and a led on my board. So what I want to do is when I pushed the button, the led would flashed three times. The code shows as follow :
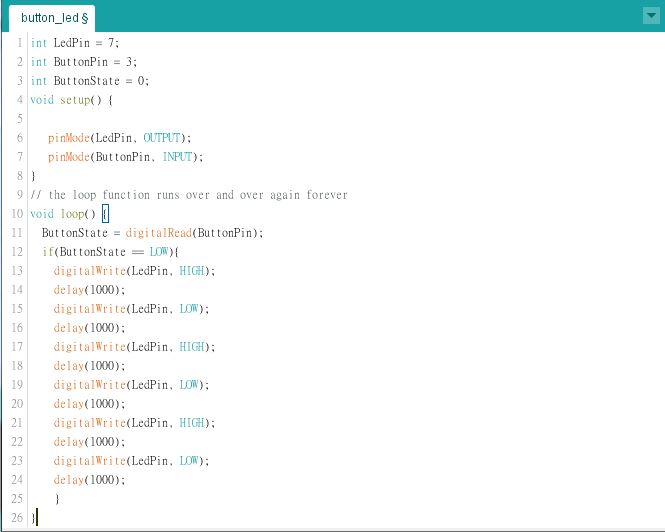
figure 9 : The C code I programed.
I also tried Atmel Studio to do the same work. I used AVRISP mkII as the ISP and the external power support to my board was connected from an arduino leonardo board. It was also worked.
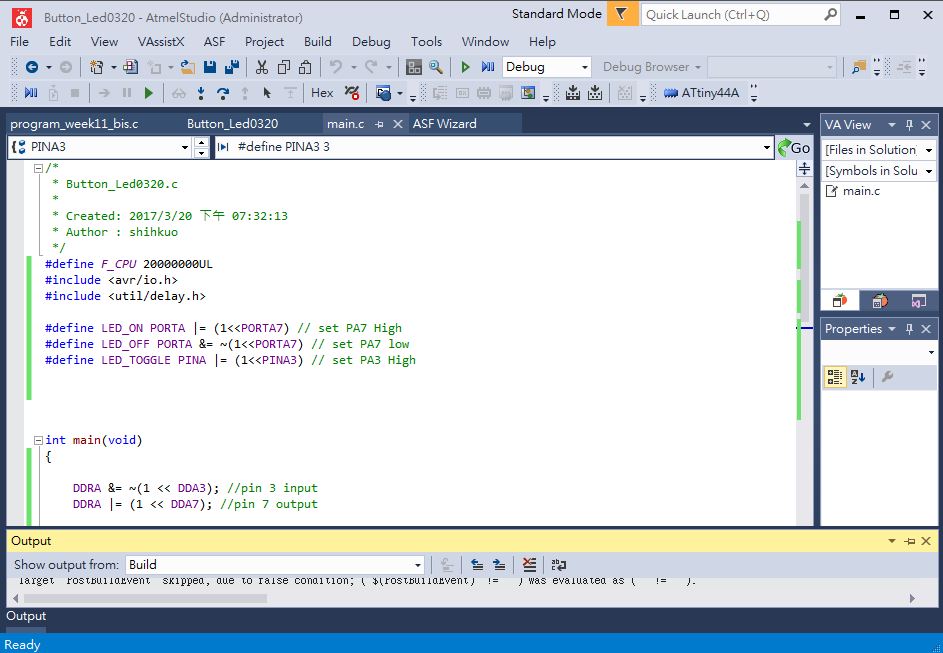
figure 10 : Atmel Studio programming enveriment.
●Source file.
1.ATTINY44 data sheet.
2.Code for arduino.
2.Code for Atmel Studio.