Week5 : 3D Scanning and Printing
This week has three assignments:
1.Test the design rules for our printer.
2.Design and 3D print an object (small, few cm) that could not be made subtractively.
3.3D scan an object (and optionally print it).
● Test the design rules for our printer
The 3D printer I used is MakerBot Replicator Mini, and this printer was used for the first time. I used the default setting to print the test object which was downloaded from http://www.thingiverse.com/thing:704409. After finishing the first print, it had a problem of stringing or oozing. According to past experience, it might be the setting problem about extruder temperature, Z-axis travel speed, fan speed, retraction distance and retraction speed. So I draw two cones as test object for adjusting the setting parameter. After a series of tests, I found a set of setting for better quality of printting. The set of setting was below:
Extruder temperature : 185 degrees Celsius
Z-axis travel speed : 30 mm/s
Fan speed : 70% max power
Retraction distance : 4.5 mm
Retraction speed : 35 mm/s
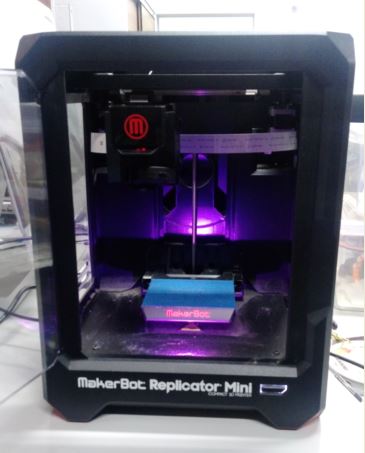
figure 1 : Makerbot Replicator Mini and the test object.
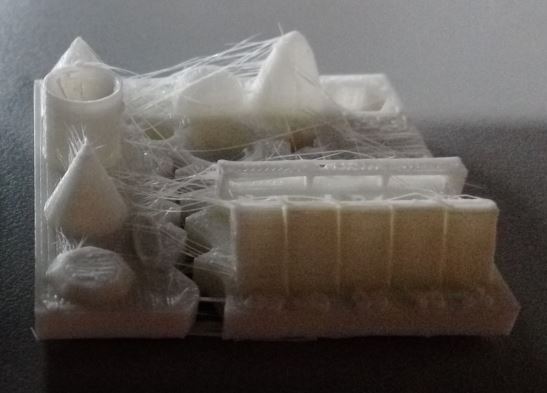
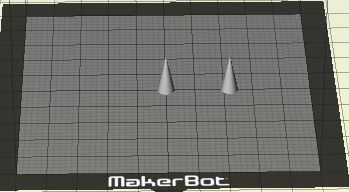
figure 2 : First print and Testing cones.
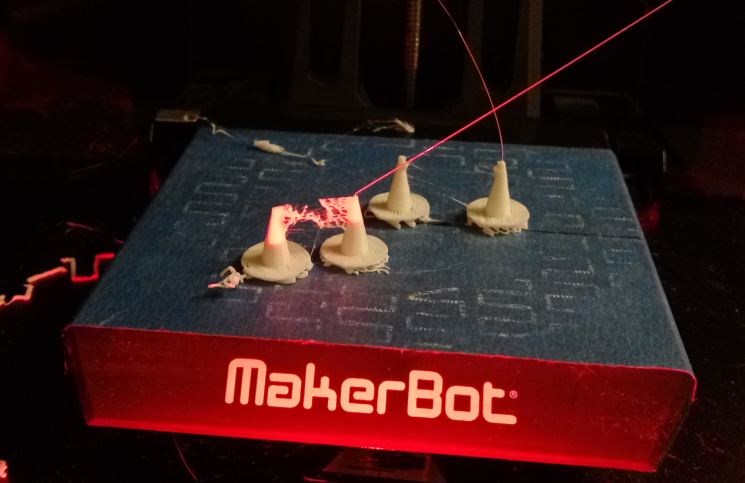
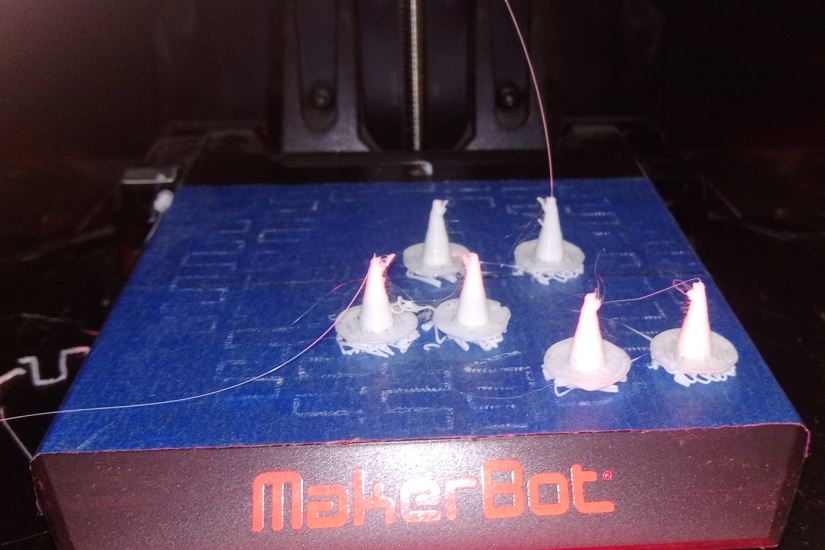
figure 3 : Compareing three printtings with different setting.
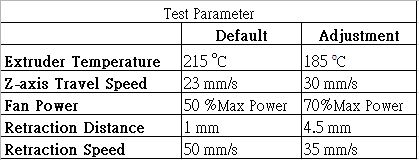
figure 4 : The sheet of adjusting setting.
After adjusting the printting parameters, it was time to test the limit of this printer. I focused on testing the printting speed. This printer had advance setting of printting speed. The printting speed could be divided into Bridges, First layer, First layer raft, etc. So I designed three tests, which the all speeds of setting were default, decreasing 50% and increasing 50% of default setting. The layer height setted to 0.1 mm. The results of the these three test prints. I observed the printed object with increasing 50% default speeds setting had better quality than others.

figure 5 : The sheet of three defferent speed settings.
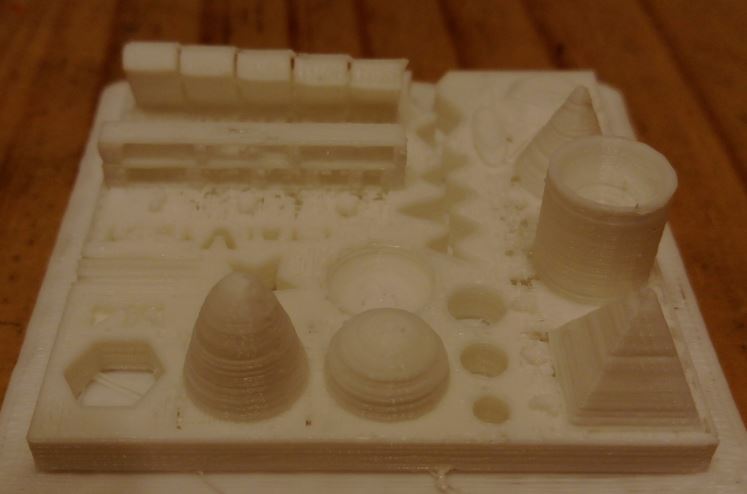
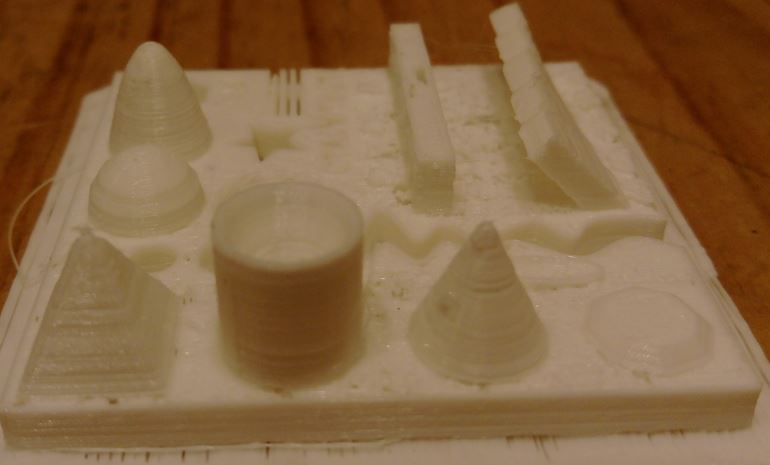
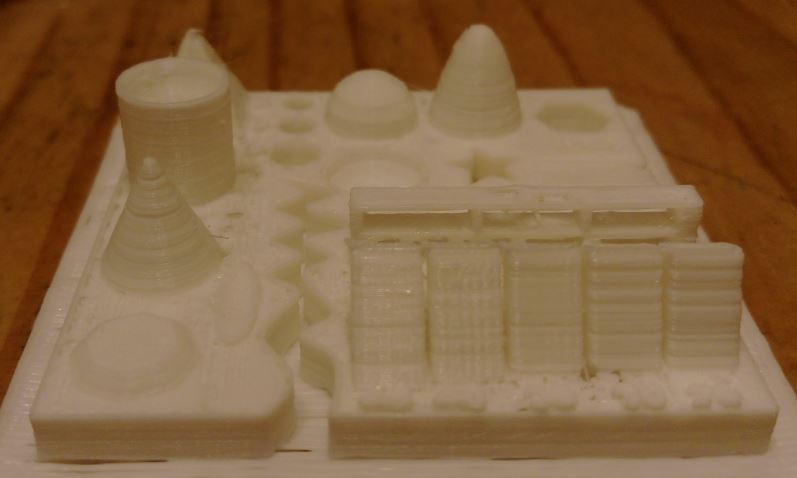
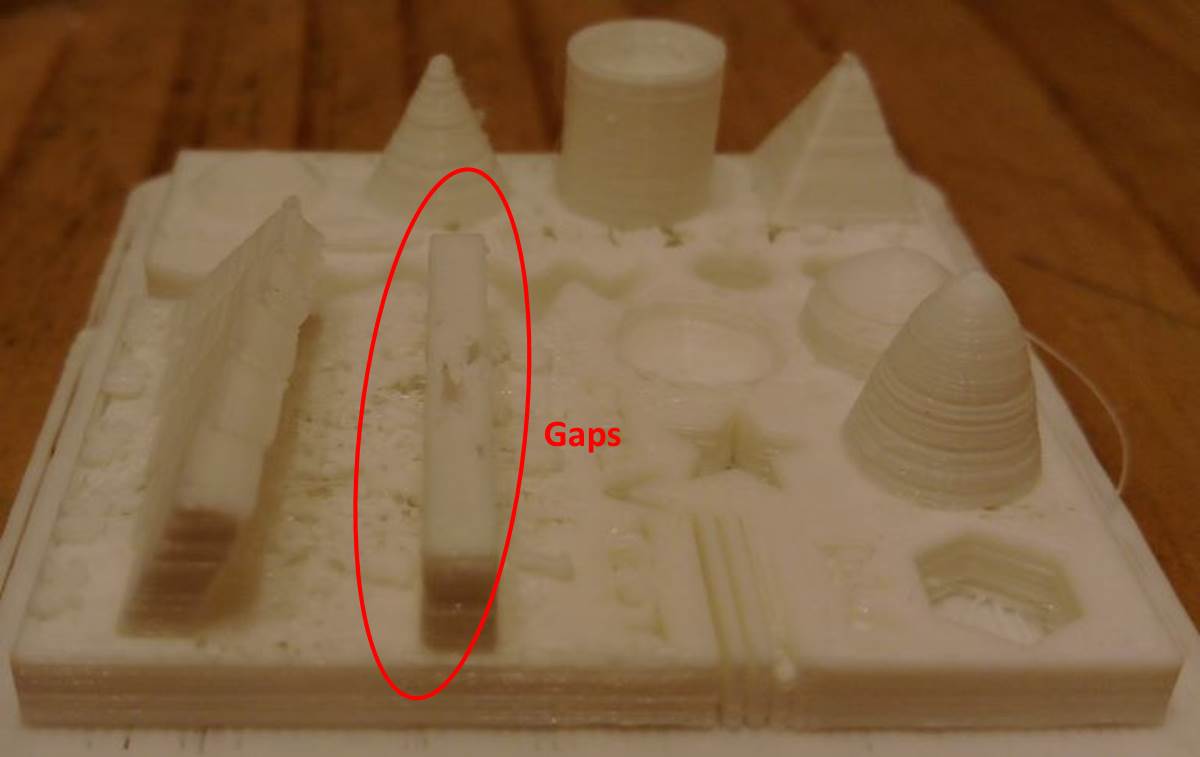
figure 6 : The printting result with default speed setting. It looked had some gaps.
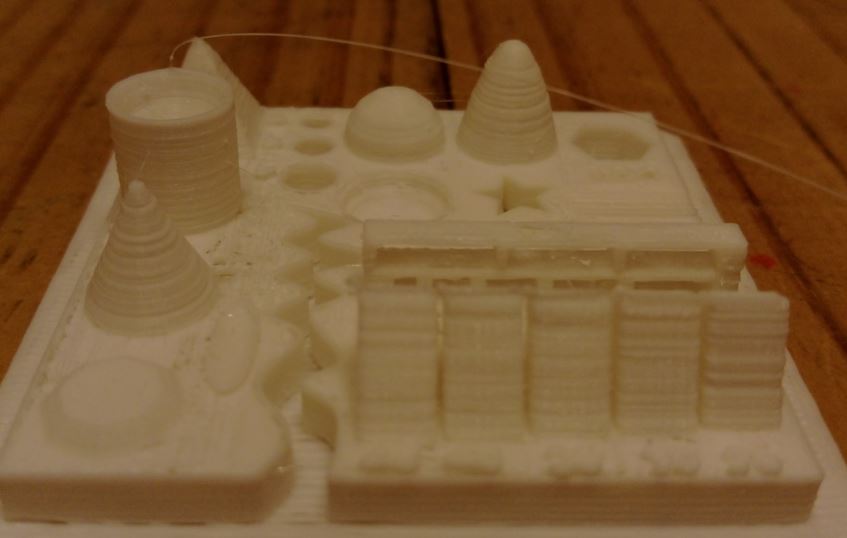
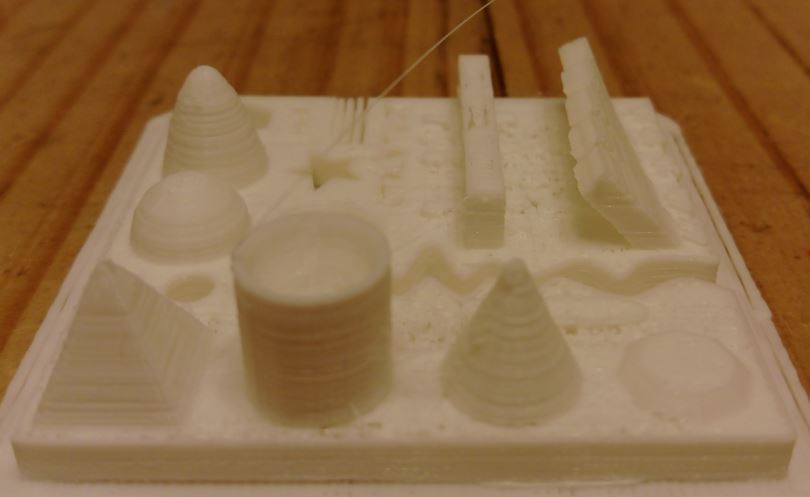
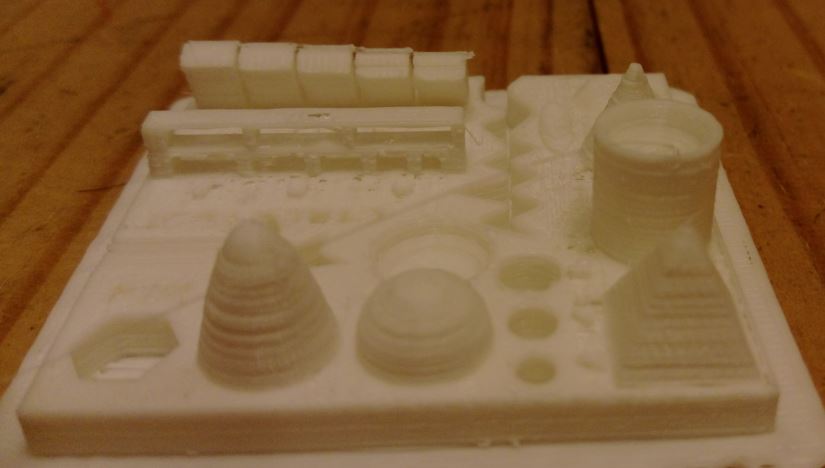

figure 7 : The printting result with decreasing 50% default speed setting. It looked had some gaps and stringing or oozing.
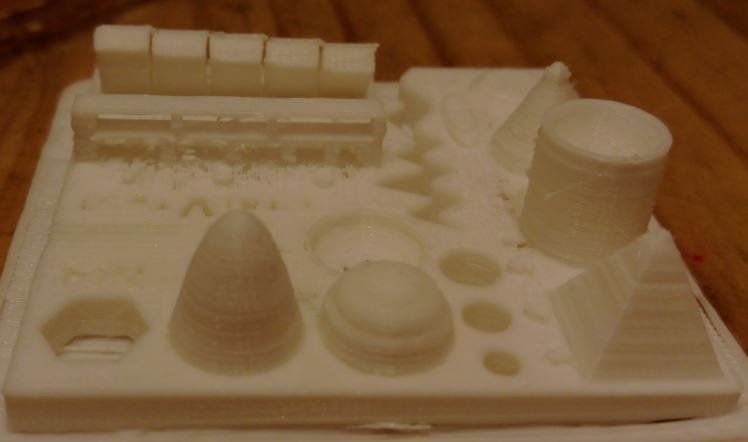
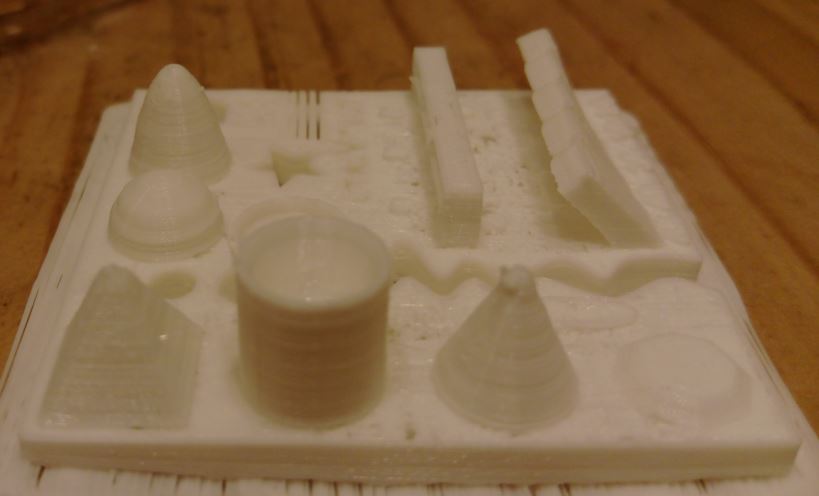
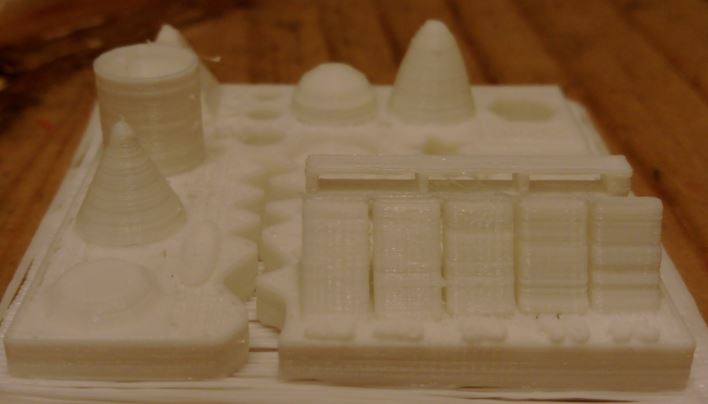
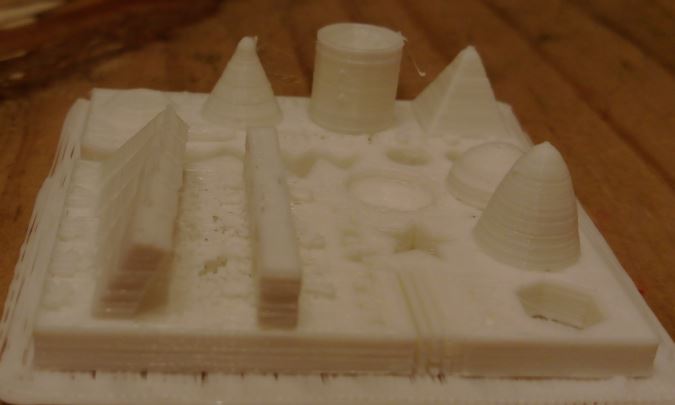
figure 8 : The printting result with increasing 50% default speed setting. It looked better than others.
● Design and 3D print an object (small, few cm) that could not be made subtractively.
I used Rhino to design a positive cube with a ball in it. Arrording to the limit test above, I used the better parameters setting to print my object. I still printed the object with original default setting for comparing. The result showed that the object with fixed parameters had better quality than using default parameters.
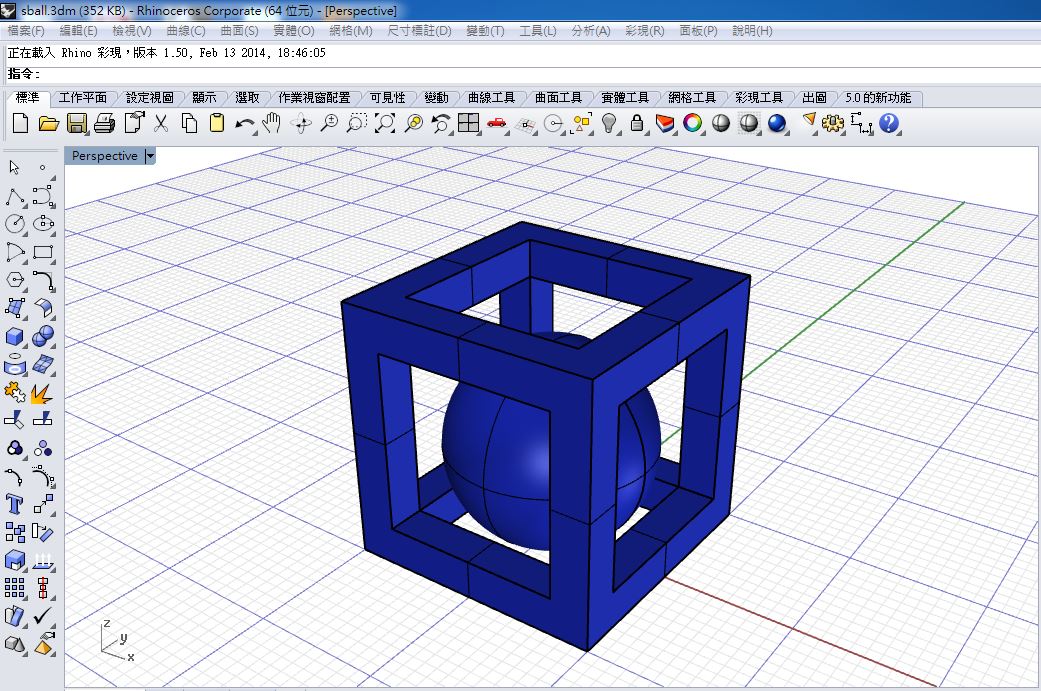
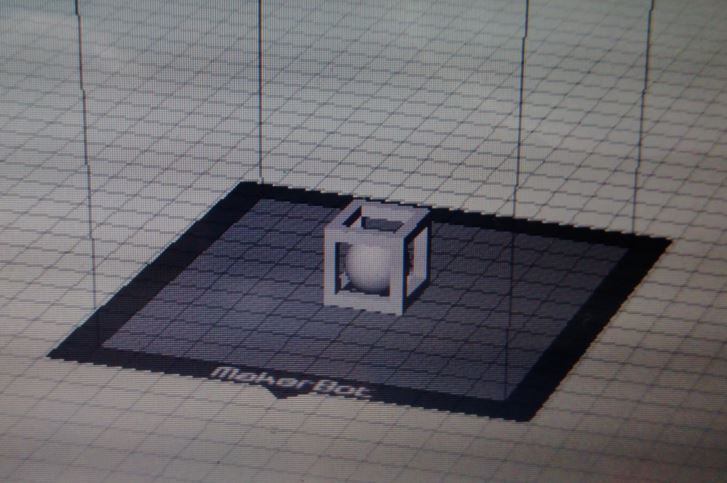
figure 9 : Using Rhino to design a positive cube with a ball in it.
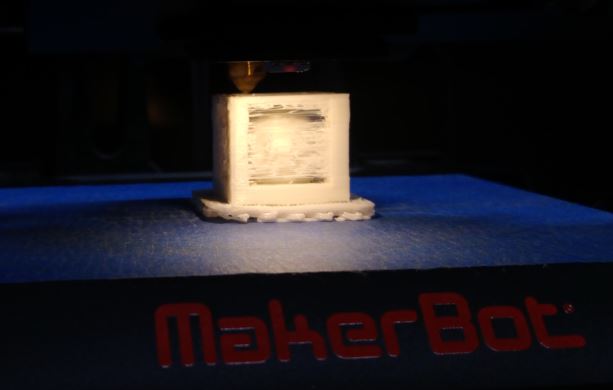
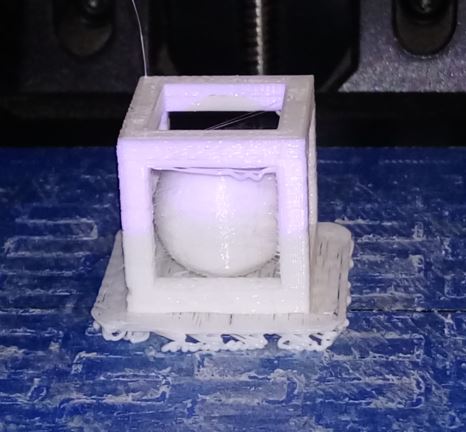
figure 10 : Left picture shows the result of printting with default setting, and right picture shows printting with fixed setting.
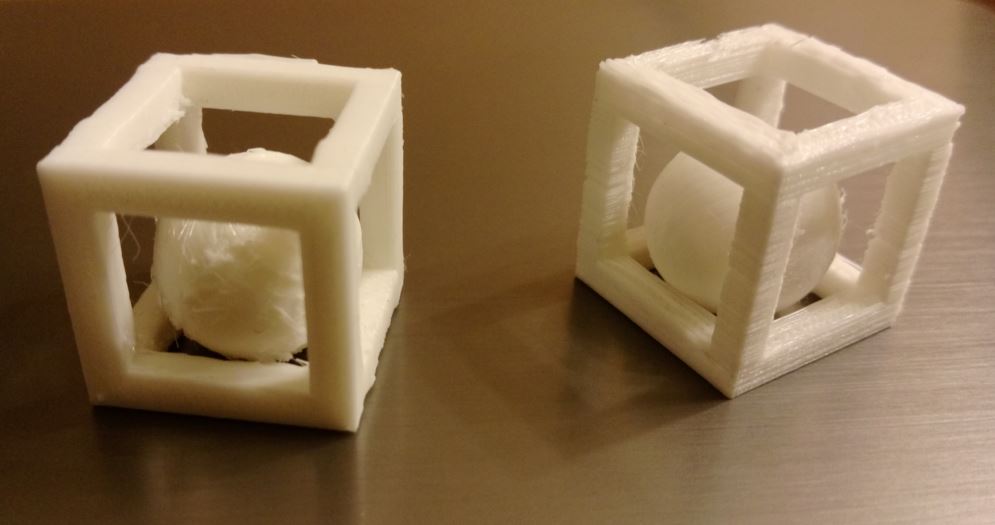
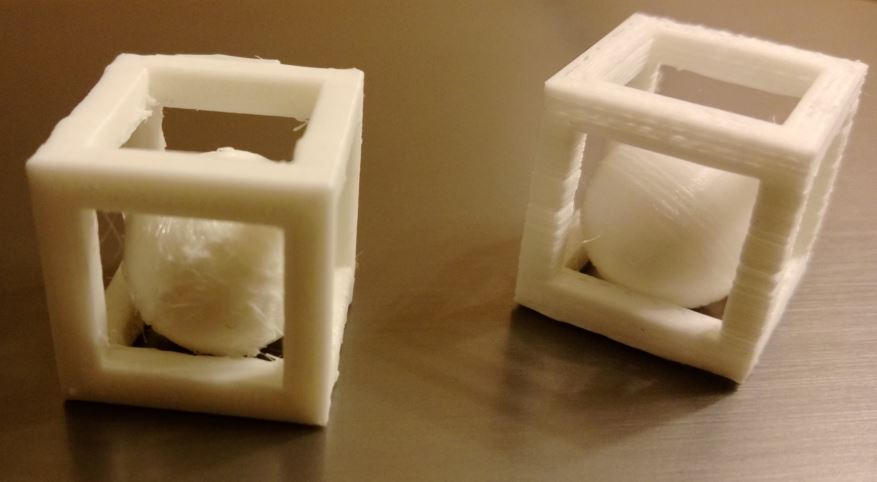
figure 11 : Left picture shows the result of printting with default setting, and right picture shows printting with fixed setting.
● 3D scan an object (and optionally print it).
I tried two types of 3D scanner, one was Sense, and the other was MakerBot Digitizer. Sense was a handheld scanner, I tried to scanner an little object which size was 11x4x6 cm. The scanning result was not good, and I failed many times because of the changging in focal length. So I cahnged to scan a bigger object, an toy bear head. I obtained the good scaned result just only one time. Then I used MakerBot Digitizer, an desktop scanner. It only could scan the small objects, so I choose an little toy sheep to scan. It needed to run the calibration process during the first used. Then I just only had to put the sheep on the center of the flat, the flat automatic turned 360 degrees to finish scanning. I could put the sheep with different angle and ran the process again to obtain the better resolution.
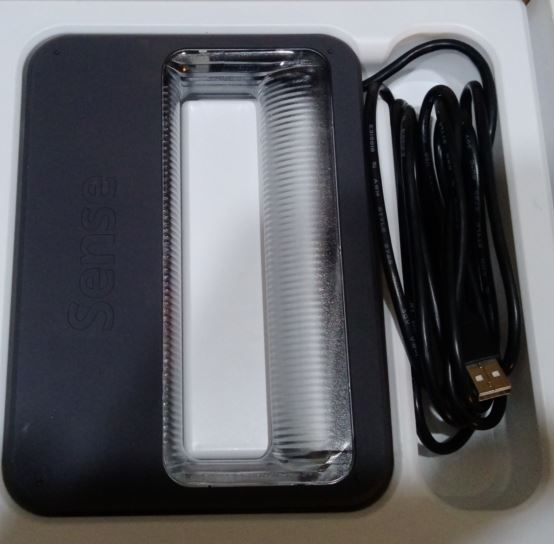
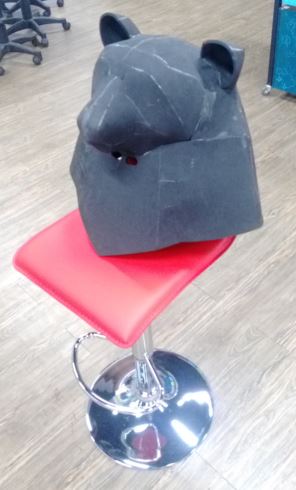
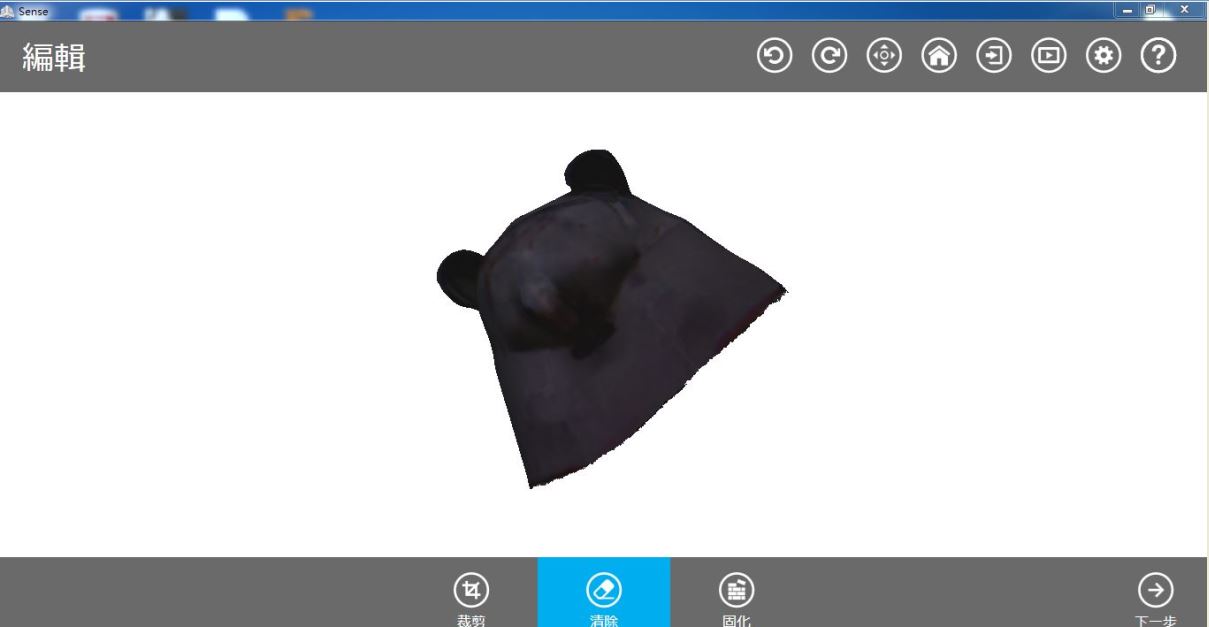
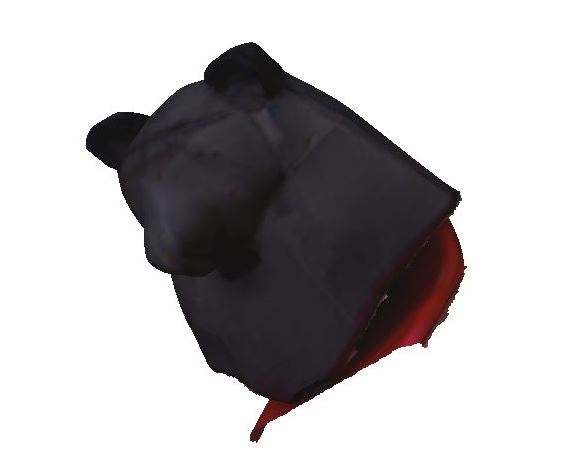
figure 12 : Sense and sacnned an object.
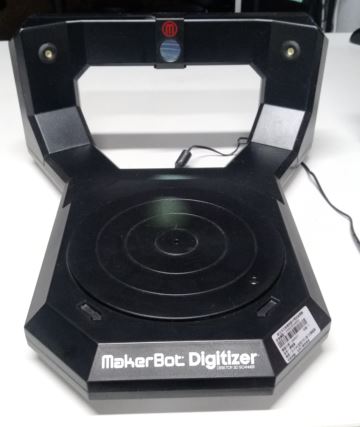
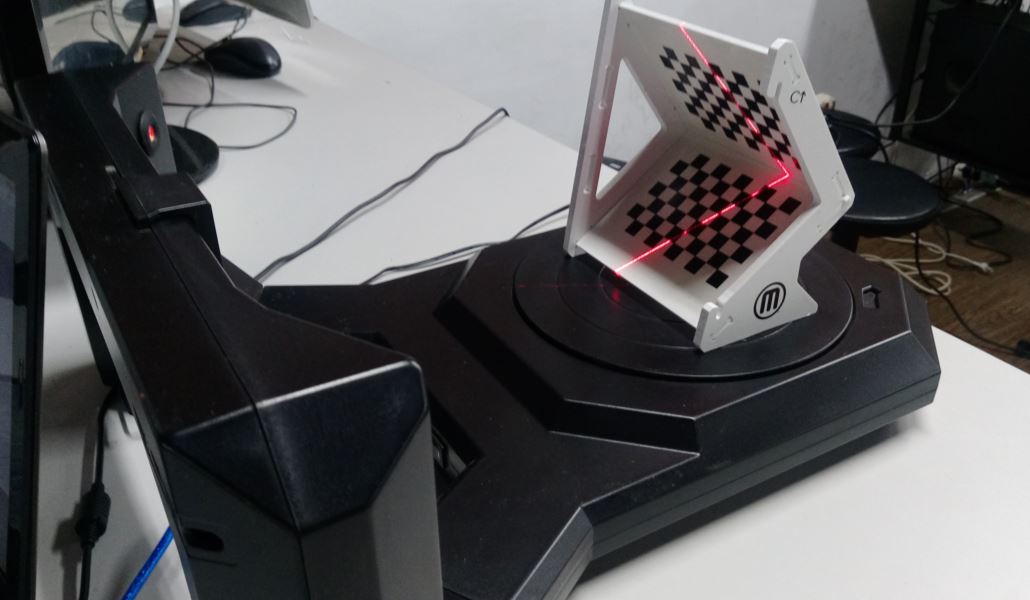
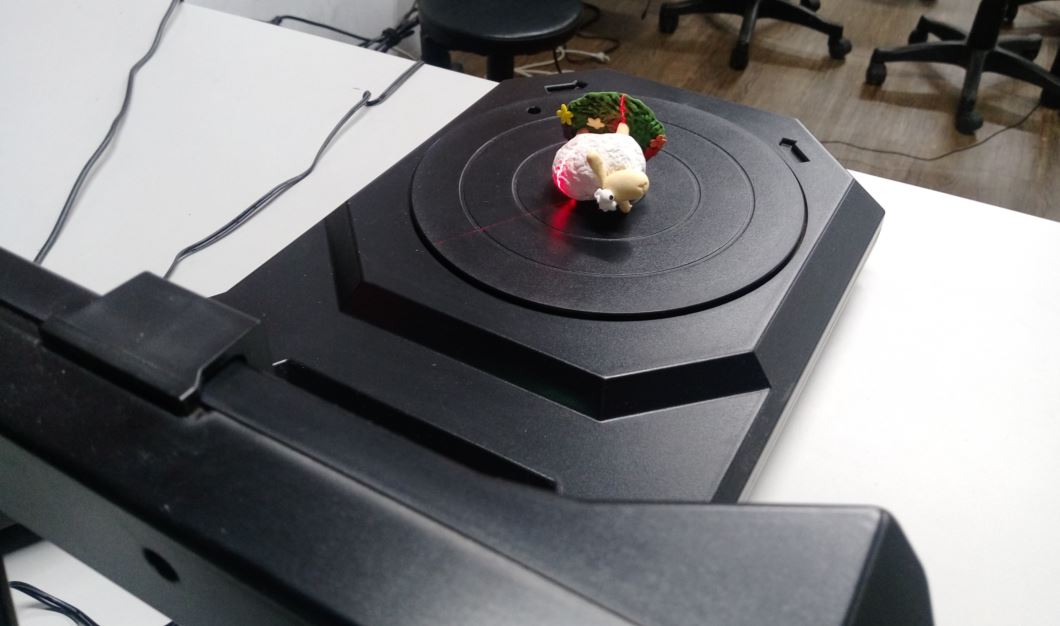
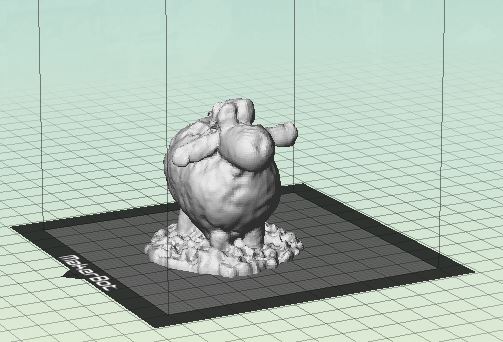
figure 13 : MakerBot Digitizer and sacnned an object.
● Source file
1.STL file of test object from "Thingiverse"
2.STL file of test object I designed with Rhino.
3.3D object I design with Rhino.
4.STL file of 3D object I design with Rhino.
5.STL file of scanning a toy sheep.