Week2 : Computer-Aided Design
This week's assignment is to model a possible final project with 2D and 3D mobeling softwares, and post it on my class page.
My final project is to design a wearable device which can detect the specific object and play the relative music or vedio on the screen. So I design the detecting box with 2D and 3D mobeling softwares. About 2D mobeling softwares, I choose CorelDraw and Inkscape to draw the cap of the box, and I choose 123D and Rhino(3D mobeling softwares) to model my detecting box and a racing car respectively. Finally, I try to model a tower with parametric setting by Rhino and Grasshopper.
2D Design
1.Inkscape
The surface of the detecting box has a circular hole for the placement of LEDs, a total of six, Each LED separated by 360/6 = 60 degrees. So I drawed a circle with 60mm diameter, then I supposed to draw 6 holes average around the center of the circle. these holes were planed to put leds in it.
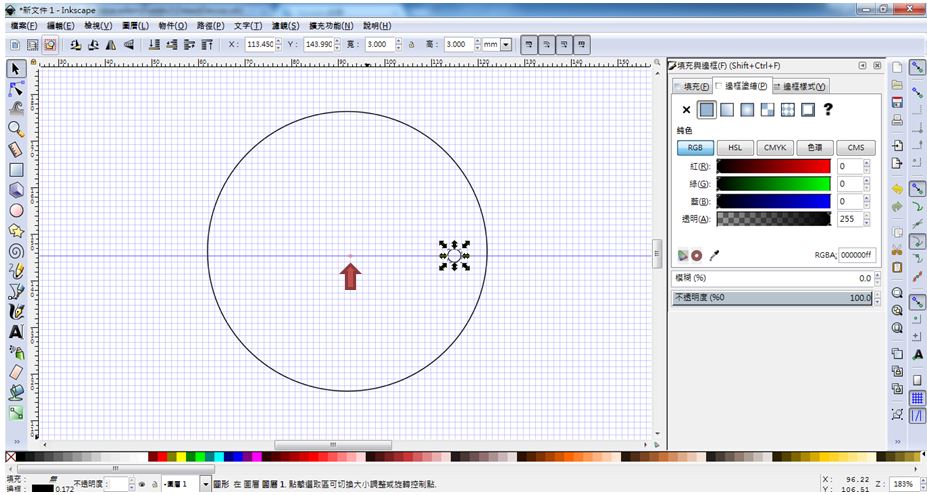
figure 1: Drawing a circle with 60mm diameter, then drawed a hole horizontally appropriate distance from the center.
I copied the hole and used the function "Rotate" (Morph -> Rotate) to change the Rotating degree to 60, then pressed the "Rotate" button. So I get 6 holes average around the center of the circle.
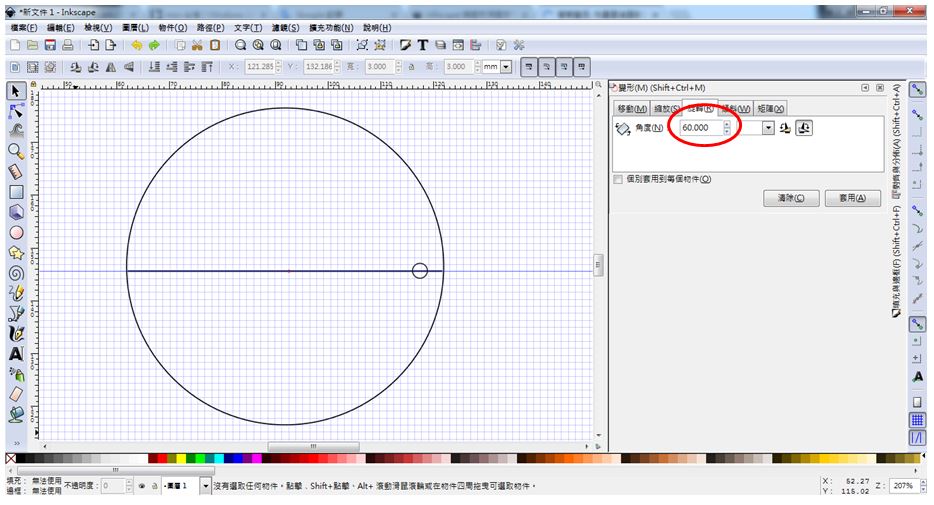
figure 2: Using the function "Rotate" (Morph -> Rotate) to change the Rotating degree to 60.
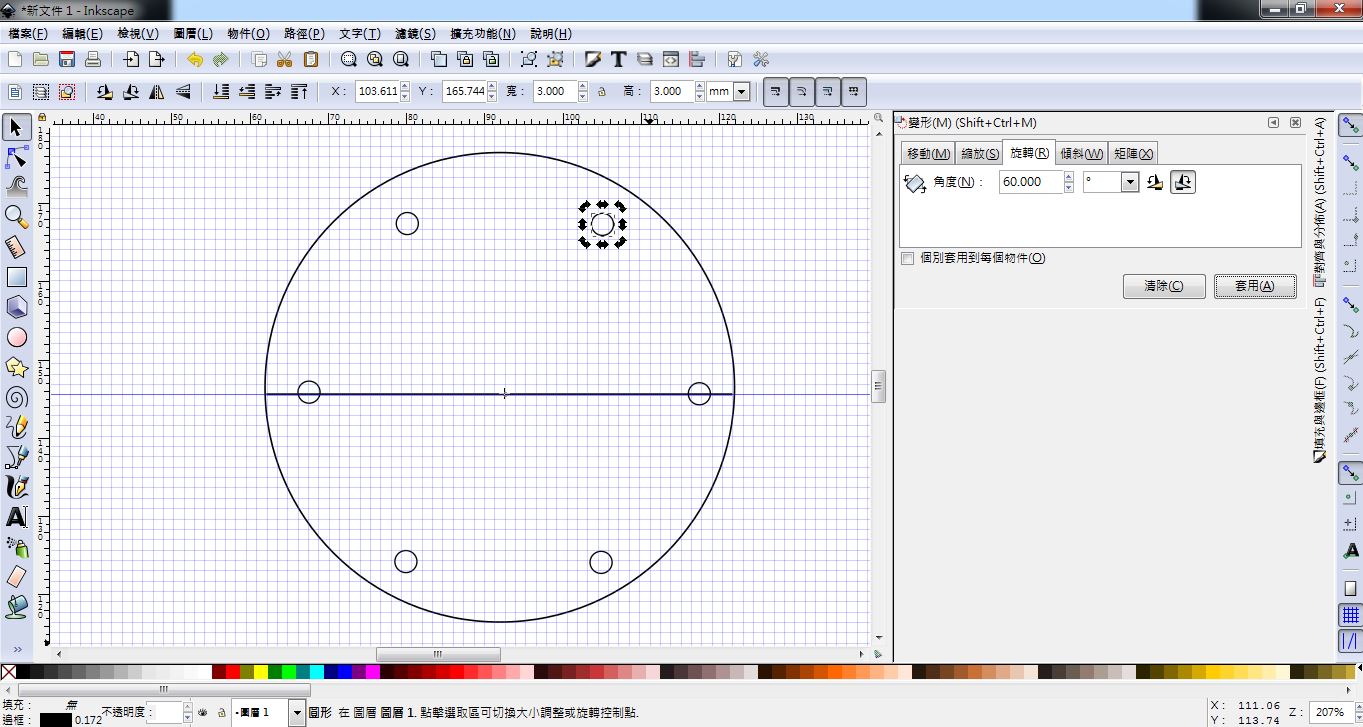
figure 3: Drawing 6 holes average around the center of the circle.
2.CorelDraw
I am familiar with DorelDraw, and it is easily to rotate the holes with any degree. Just type the degree I want into the "Rrotate" textbox on the function row. then I can draw 6 holes average around the center of the circle.
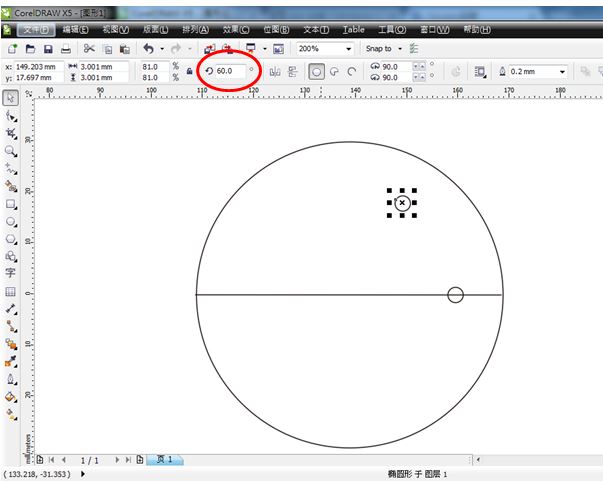
figure 4: Typing the degree 60 into the "Rrotate " textbox on the function row.

figure 5: Drawing 6 holes average around the center of the circle.
Finally, I output the drawing to SVG file type for the following 3D modeling.
3D Design
1.123D
Autodesk 123D Design is a free and easy to use 3D modeling software. I try to model the detecting box with following steps.
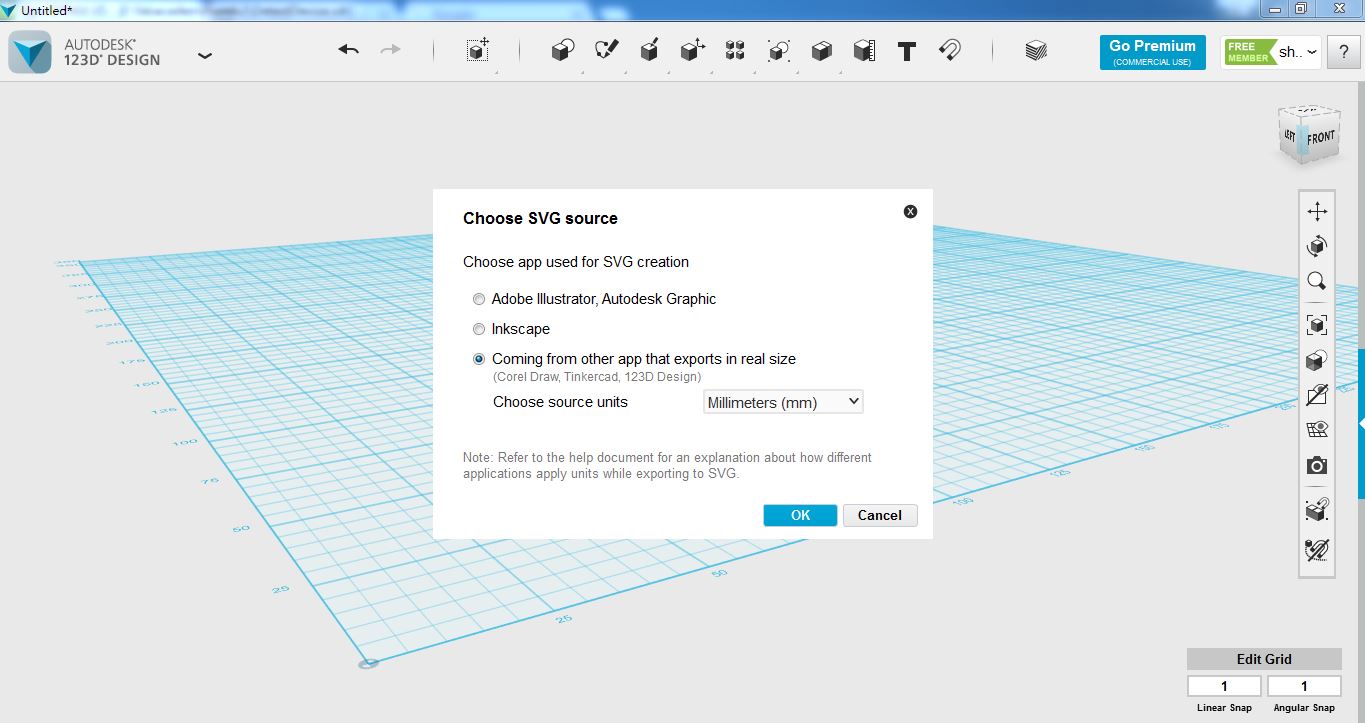
figure 6: Input the SVG file type of the box surface which I drawed with CorelDraw before.
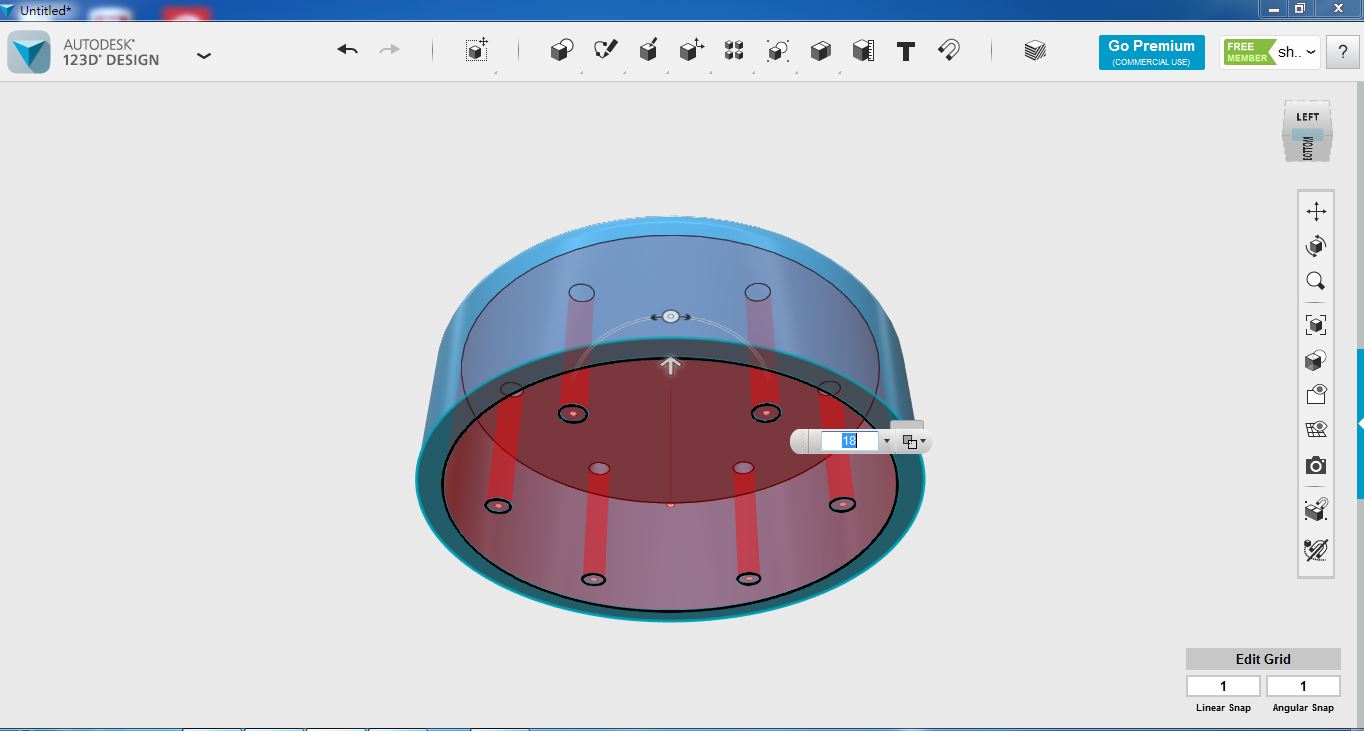
figure 7: "Extrude" the inner wall of the box.
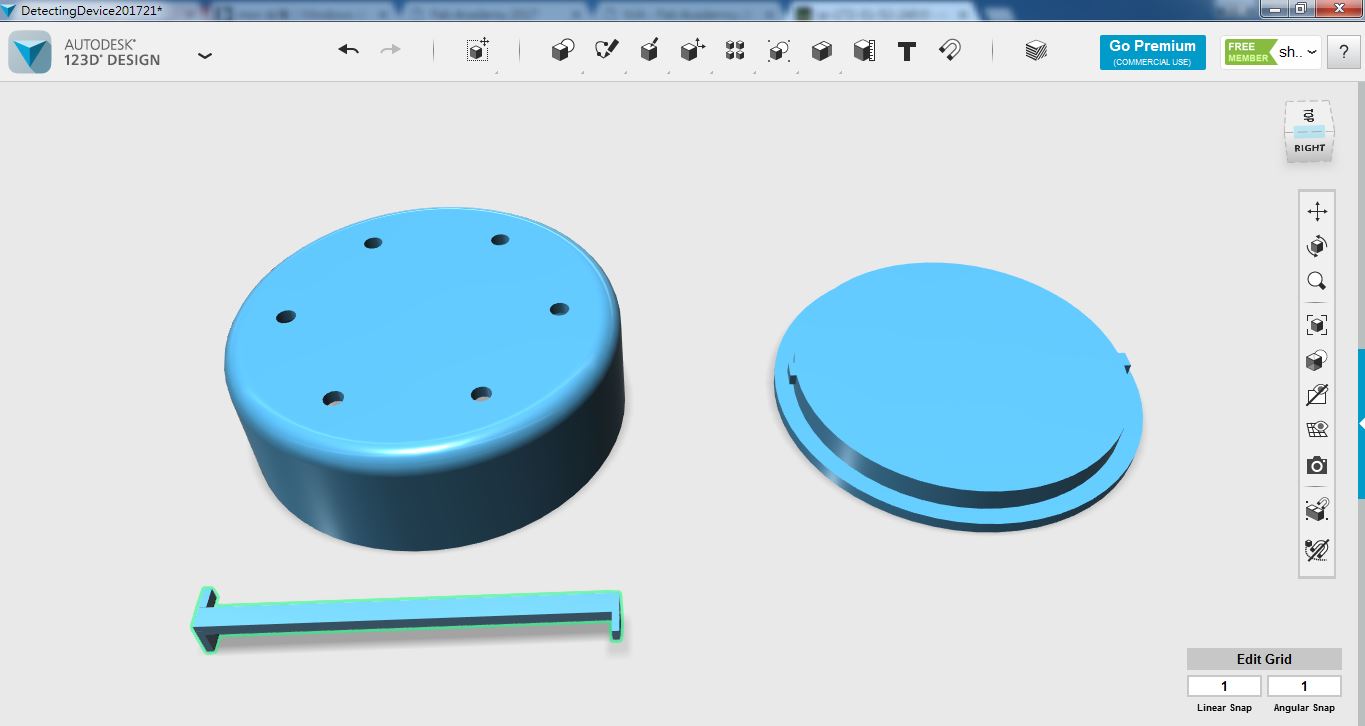
figure 8: Building the base part of the box.
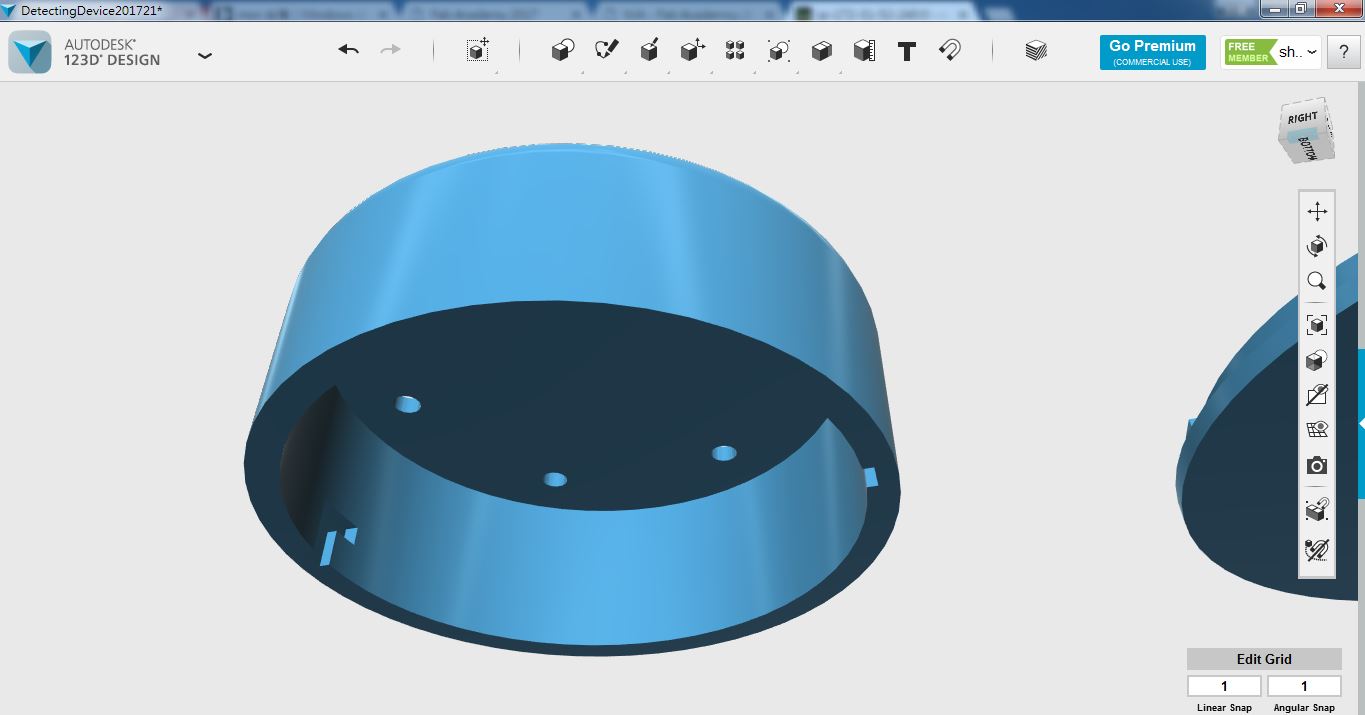
figure 9: Building the insert part between shell and base part of box.
So I finished the first version of the detecting box with 123D Design.
2. Rhino
Rhino is a very powerful and useful 3D modeling software, but it is not free. So it provides 30 days trial version to use it. This is my first time to build 3D object with Rhino. So I decided to try a few more features to build an object. This time, I choose to build a raceing car.
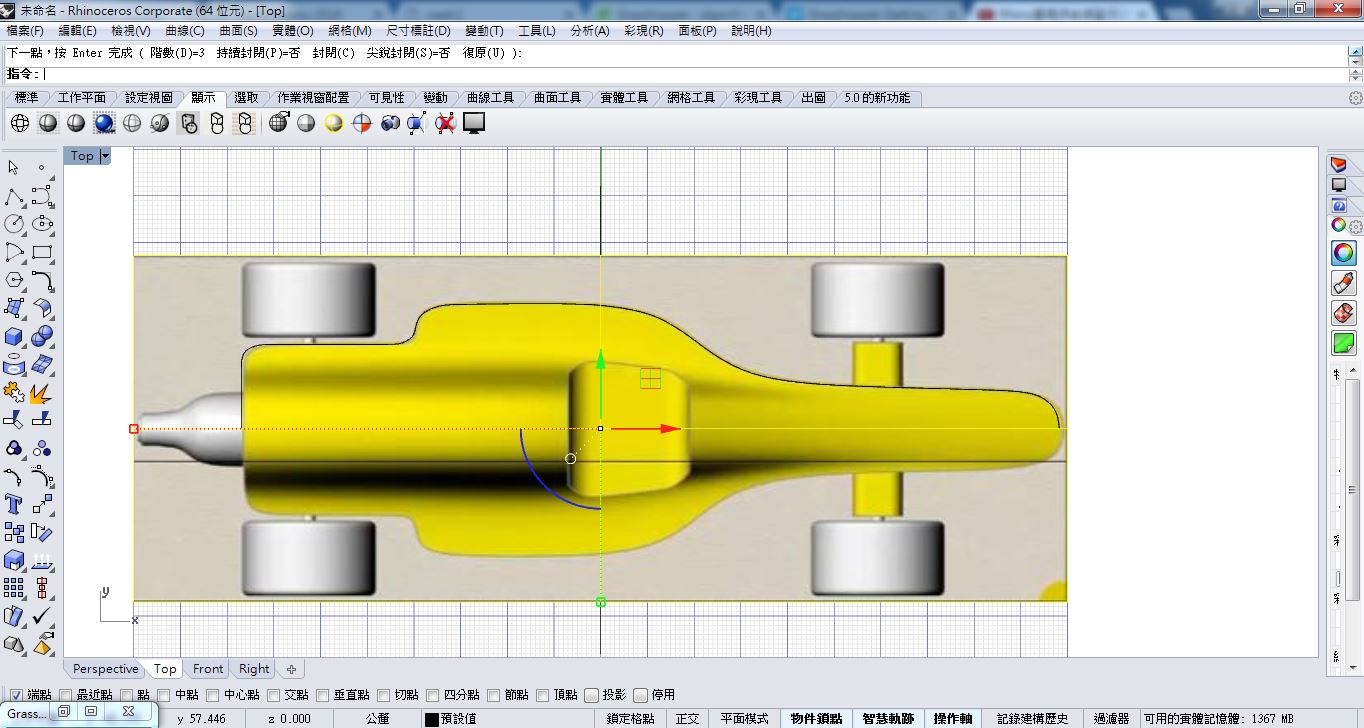
figure 10: Inputting a picture of raceing-car as the reference to draw the sketch.
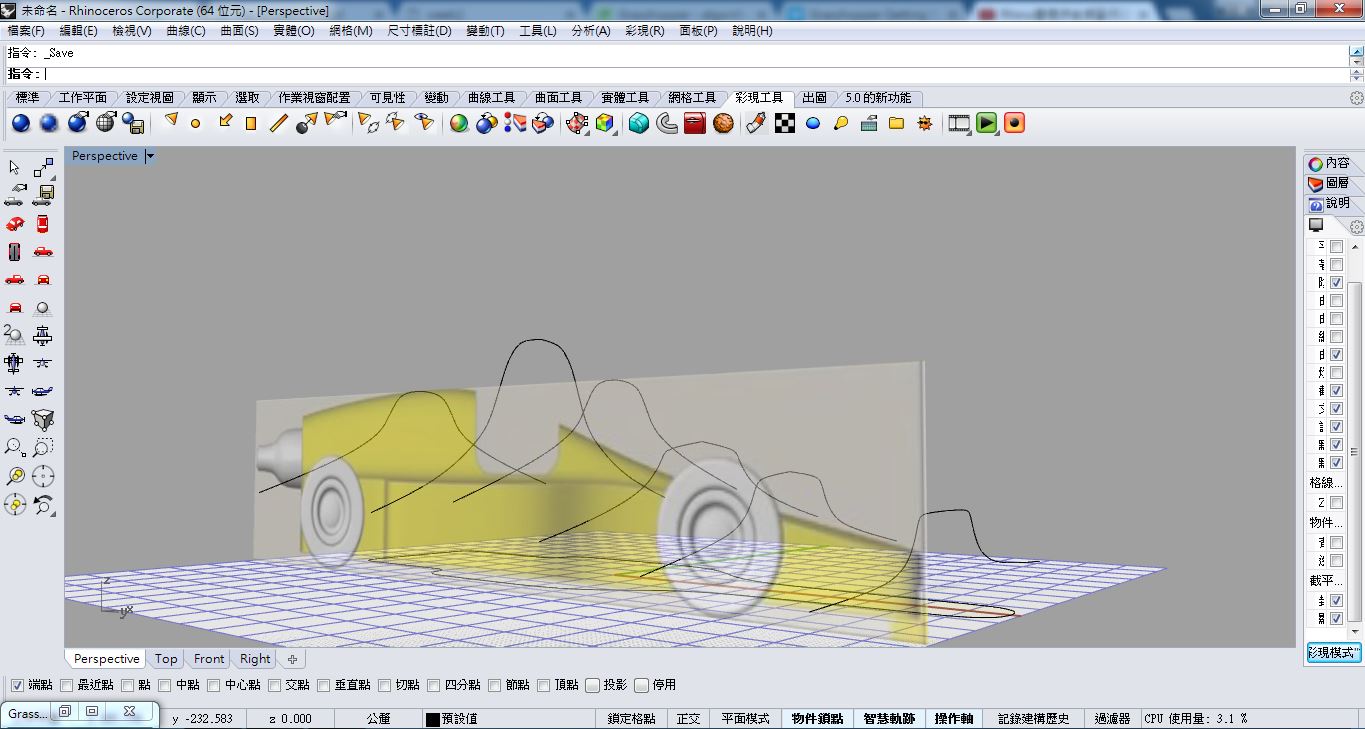
figure 11: Sketching 6 curves as the reference curves to build the following surface.
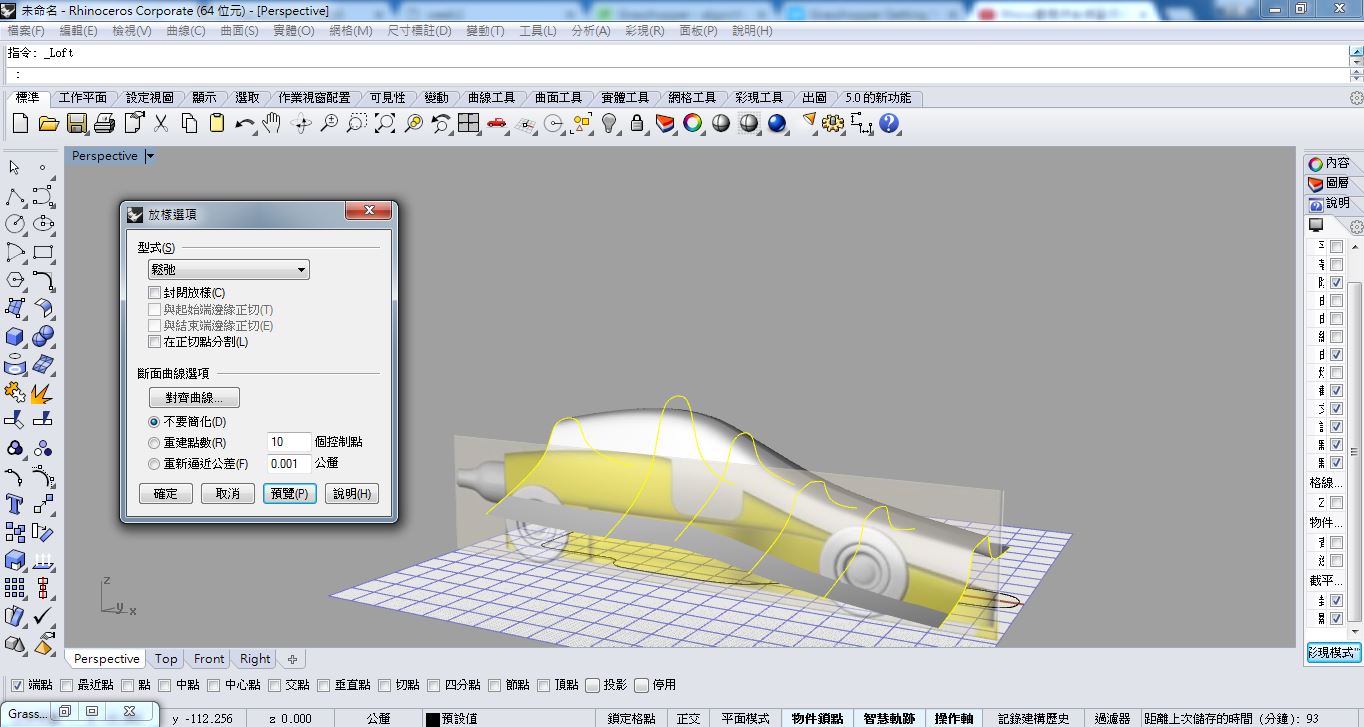
figure 12: Building the surface by using the "Loft" feature.
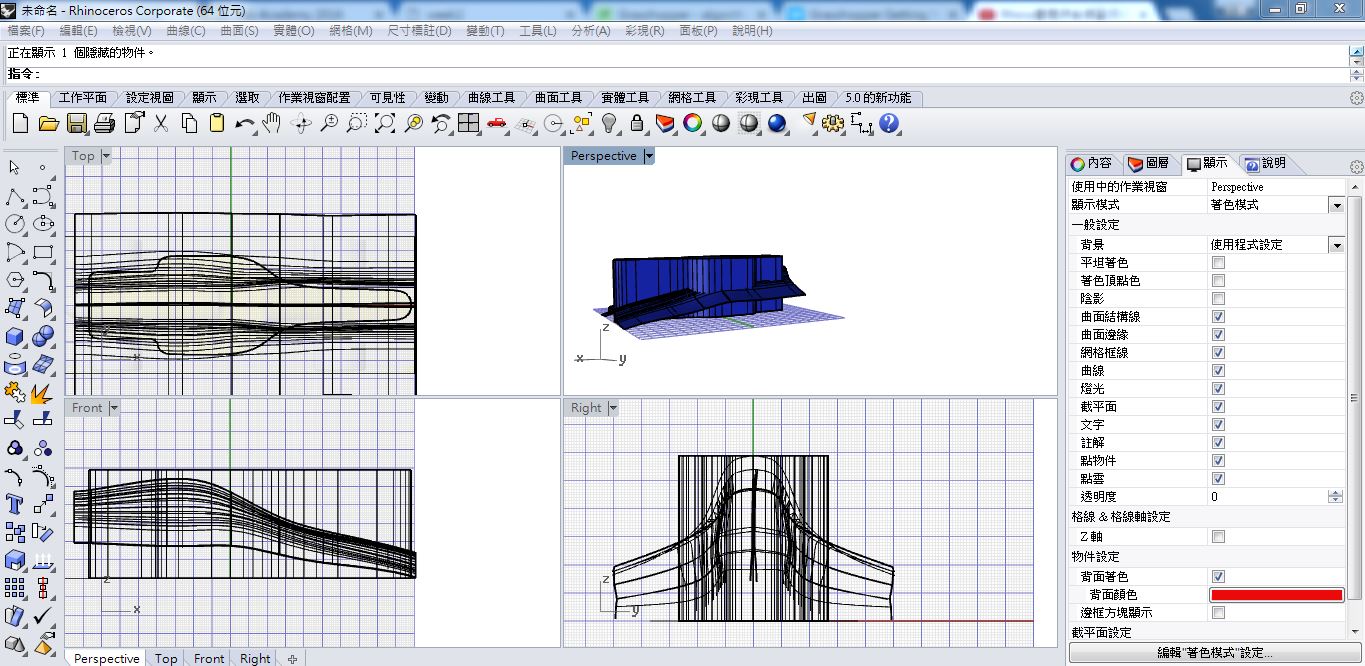
figure 13: Extruding the body of the car.
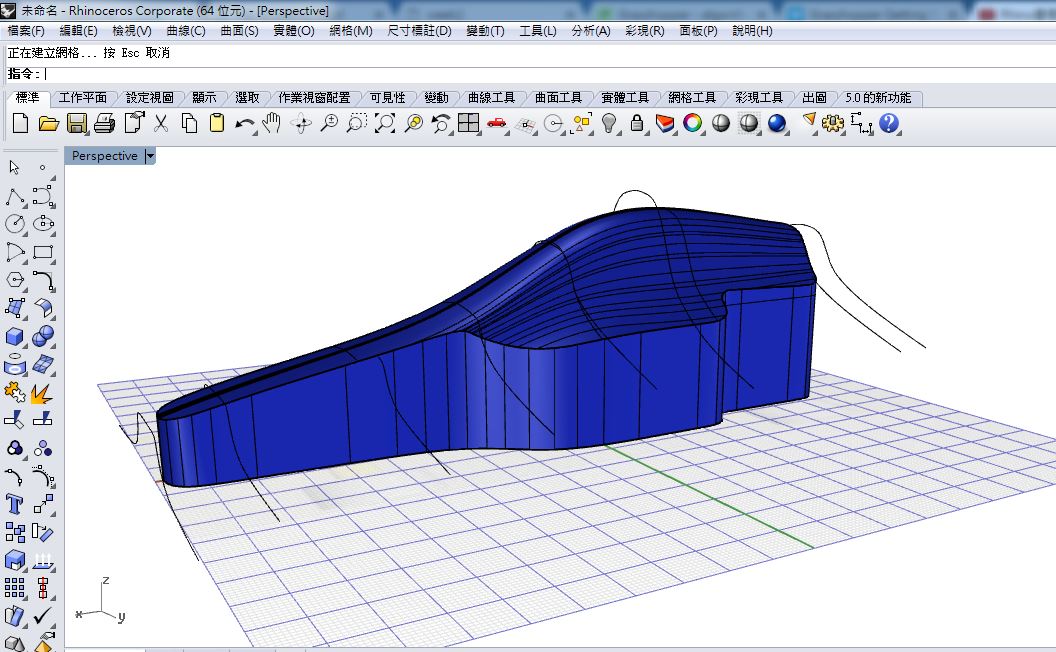
figure 14: Using the "Trim" feature to finish the body of the car.
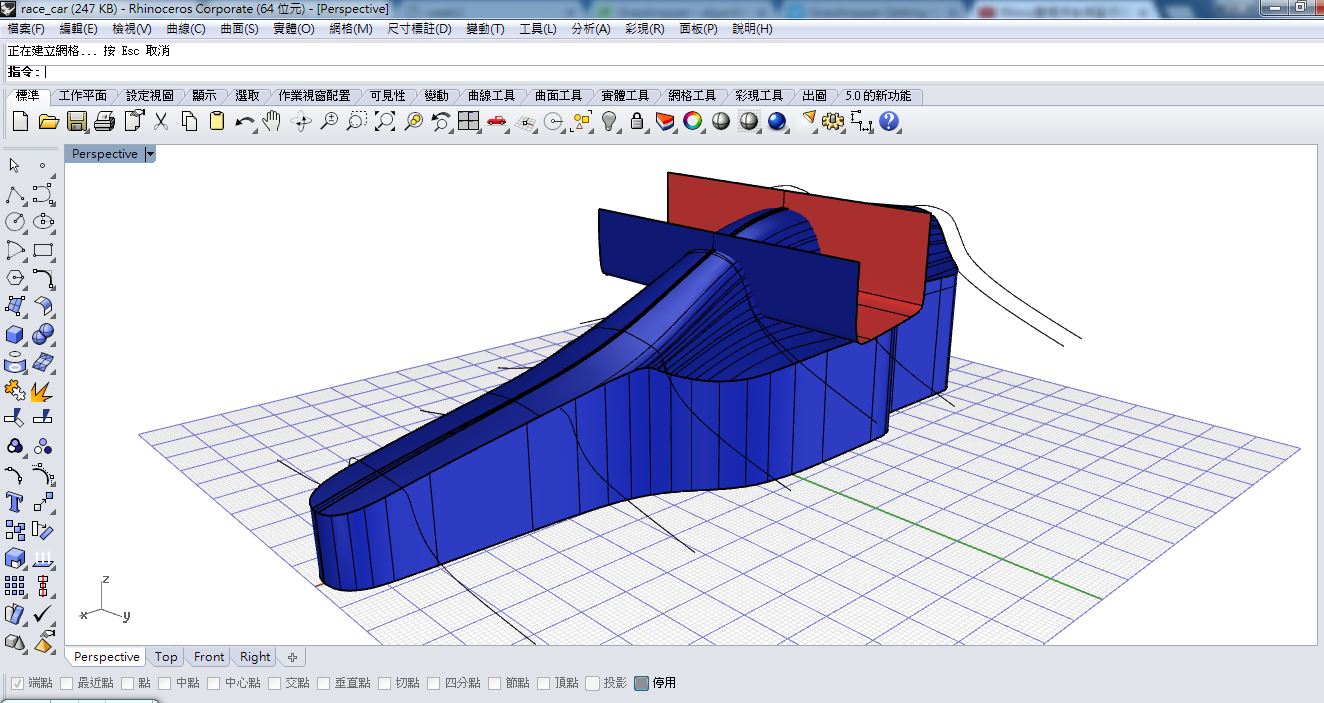
figure 15: Using the "Trim" feature again to build the cockpit.
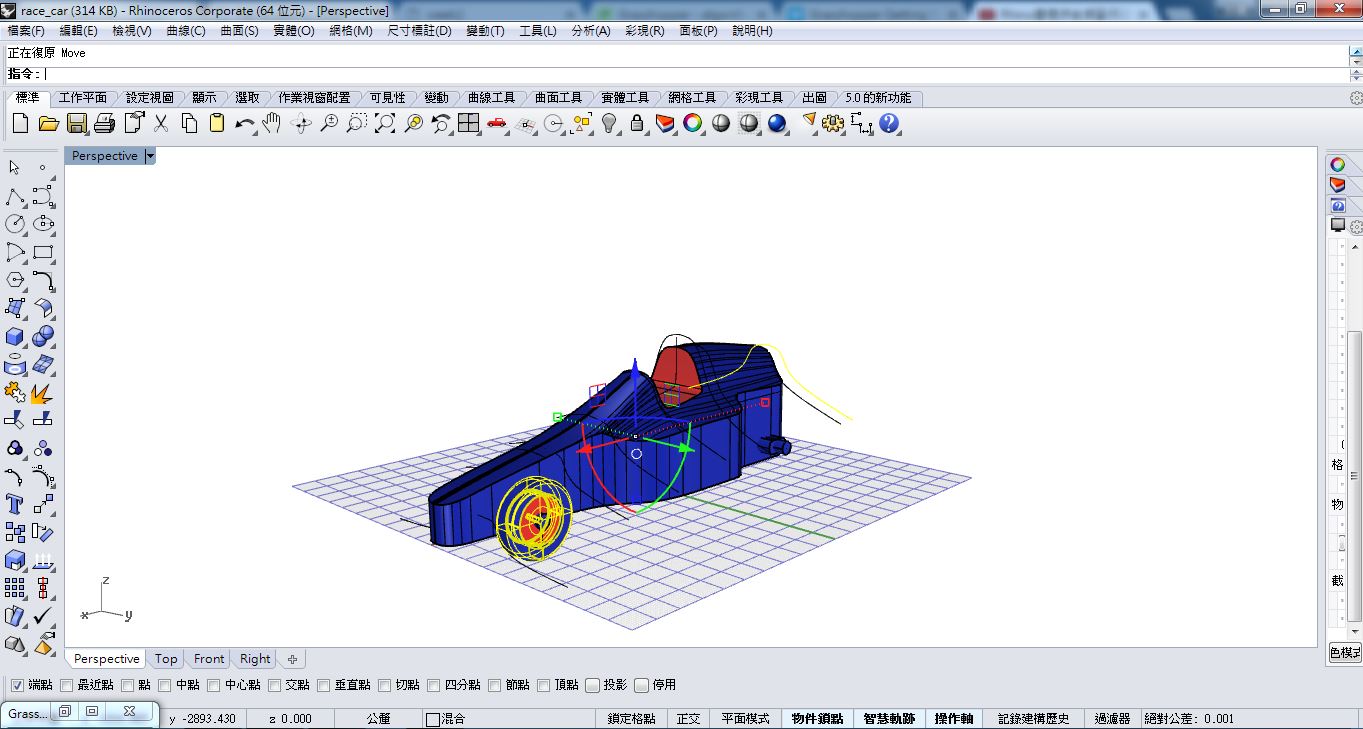
figure 16: Building the wheel with the "Revolve" feature.
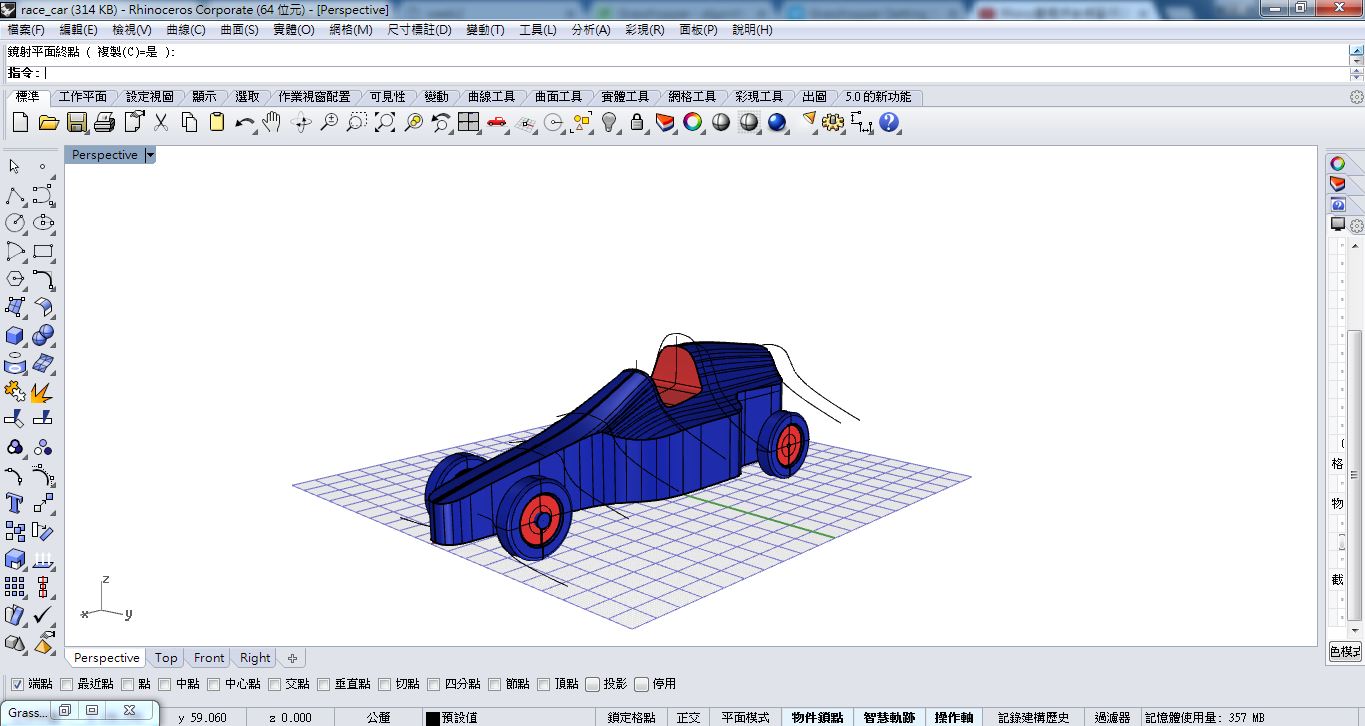
figure 17: Building four wheels with the "Mirror" feature.
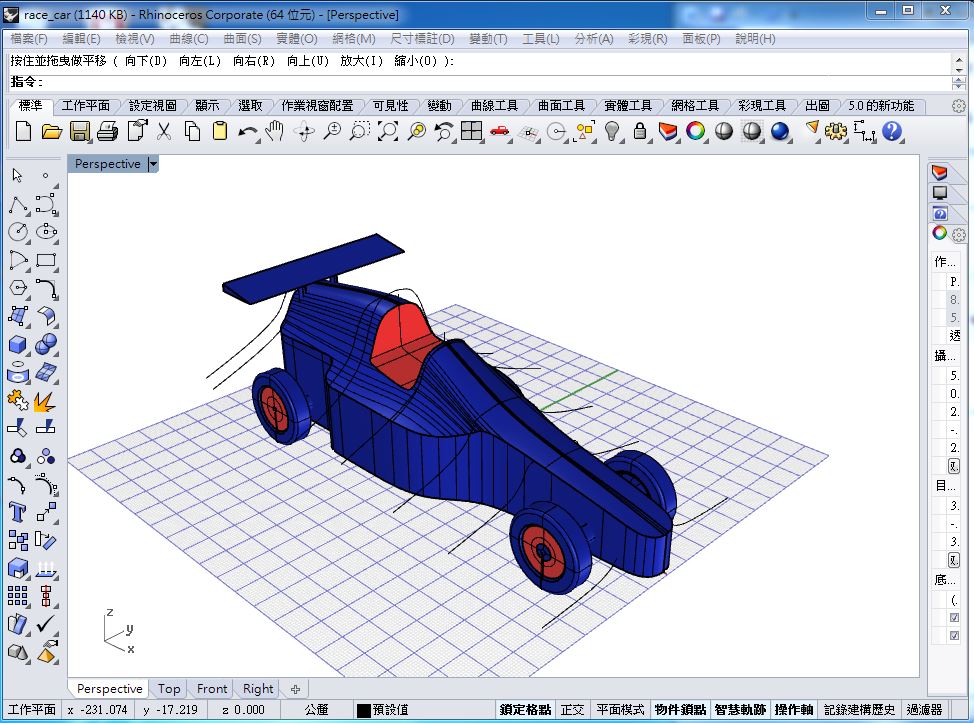
figure 18: Building the tail.
So I finished the racing car with Rhino. It is more complicated to build a object, but it is actually a useful tool while build a accurate object.
3. Parametric Design
I did not have any experience of using parametric design to build an object before. Following the recommend of my instructor, I try to do parametric design for using Rhino with Grasshopper. I just typed "grasshopper" on the command line on Rhino, the Grasshopper would execute and show up. I try to build a tower which has three plane to construct it.
I can change some parametrics such as plane's height, number of edges of polygon, rotating degree of each plane, etc. to obtain many different shapes of tower.
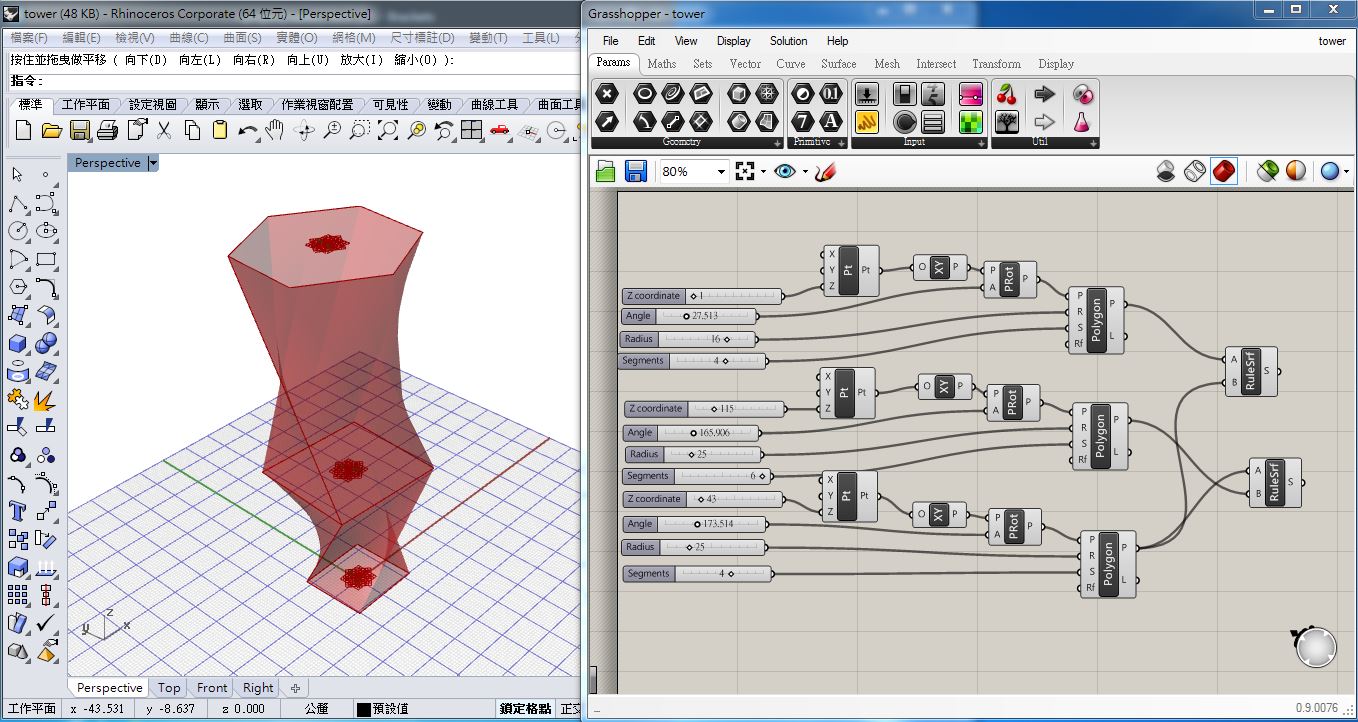
figure 19: The origional shape.
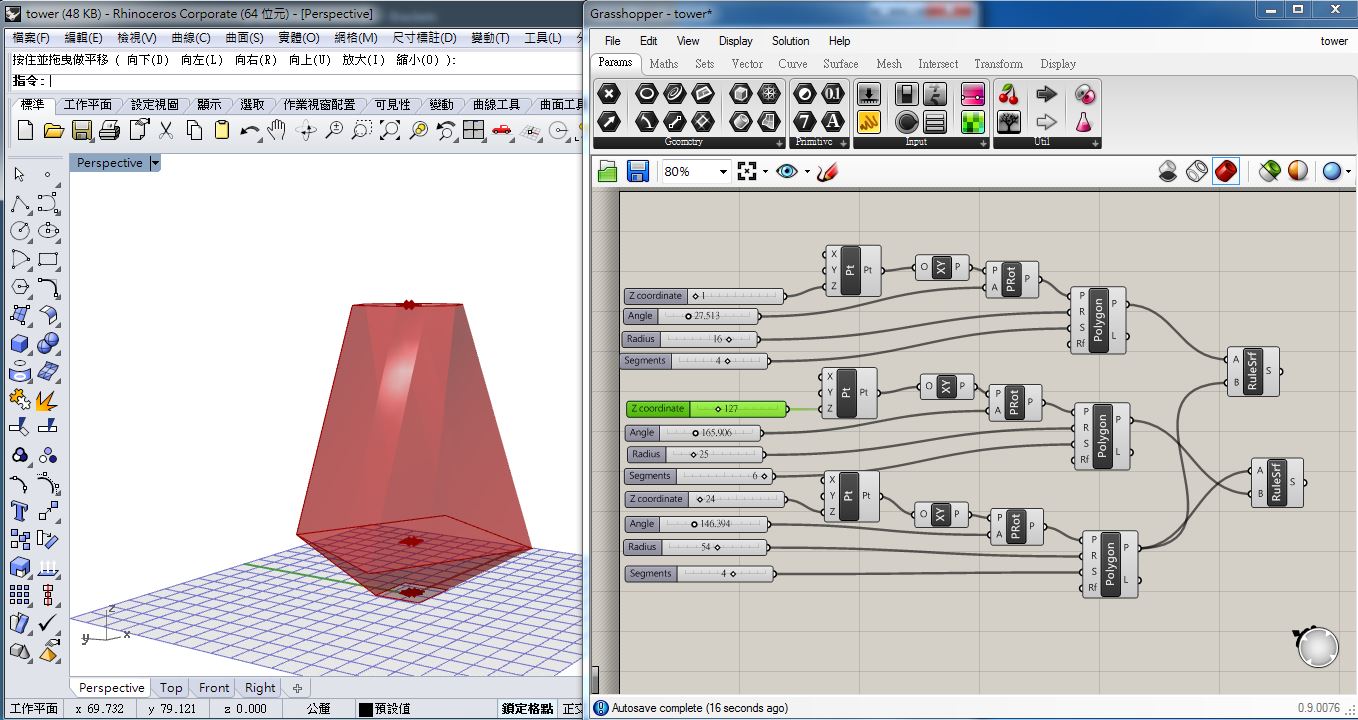
figure 20: The shape of changing the "Z-coordinate" and "Radius" parametrics.
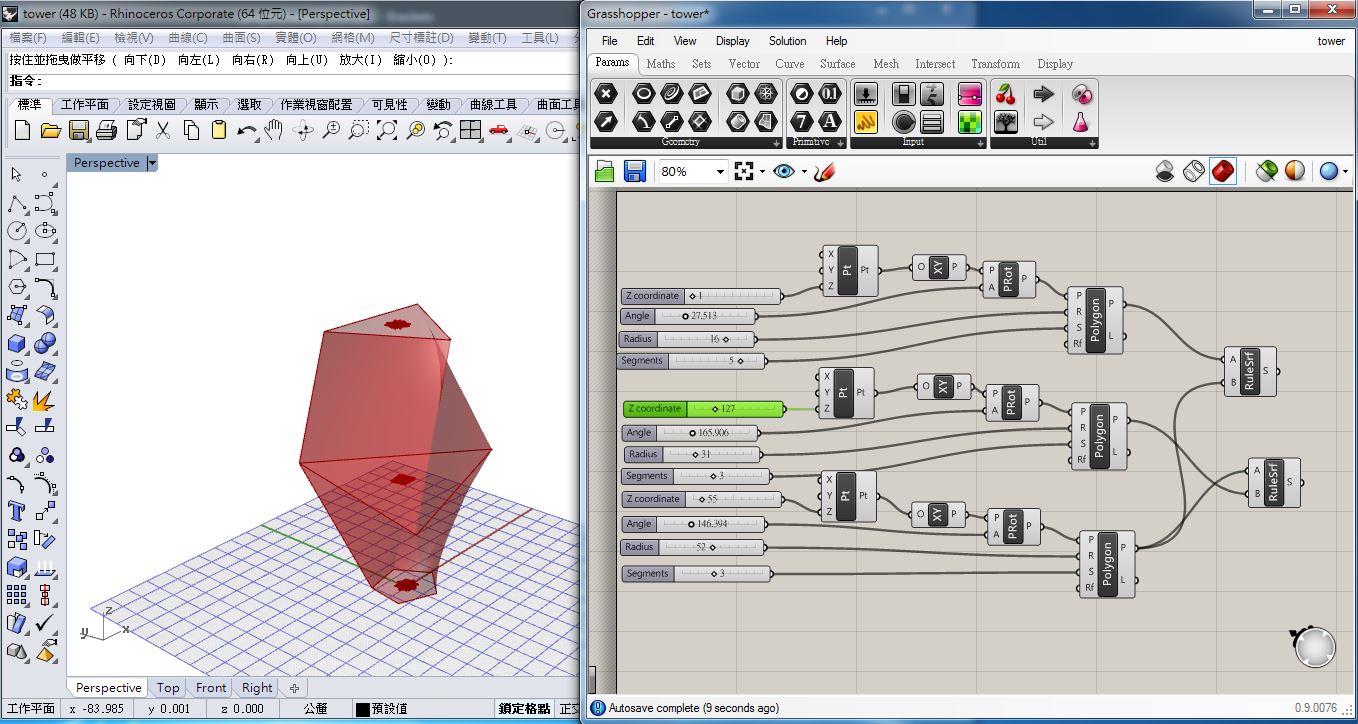
figure 21: The shape of changing the "Segment" parametrics.
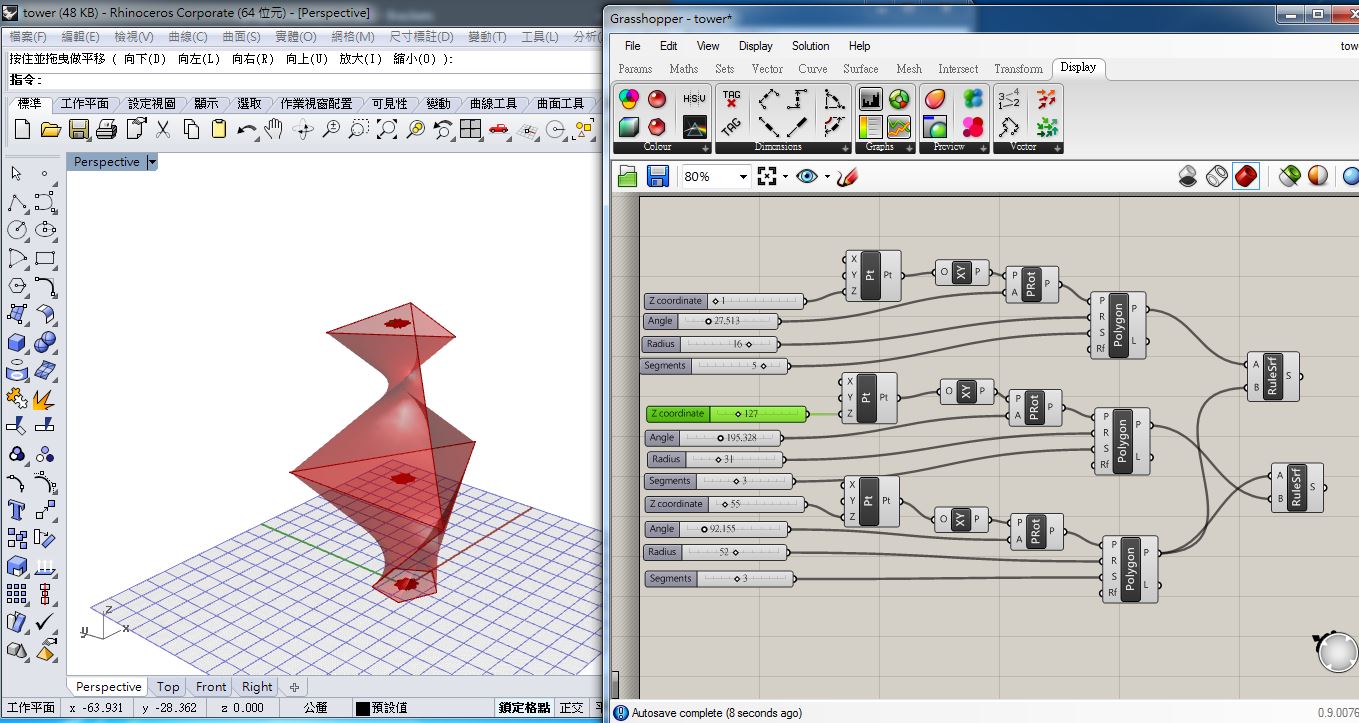
figure 22: The shape of changing the "Angle" parametrics.
It is useful for modeling object by using parametric design. I can obtain defferent shape of objects by changing some parametrics without rebuilding the object.
Source file
1.Surface of detecting box with Inkscape.
2.Surface of detecting box with CorelDraw.
3.Output SVG type of surface of detecting box with CorelDraw.
4.Detecting box with 123D.
5.Output STL type of detecting box with 123D.
6.Racing car with Rhino.
7.Output STL type of racing car with Rhino.
8.1 Tower for using Rhino with Grasshopper(Rhino) .
8.2 Tower for using Rhino with Grasshopper (Grasshopper).