Week12 : Molding and Casting
The assignment of this week :
Design a 3D mold, machine it, and cast parts from it.
Although molding and casting are unfamiliar to me, I still feel interested in it. The workflew is as follow:
1.Design a 3D mold with 3D modeling software.
2.Milling the positive mold with CNC machine.
3.Casting the negative mold with the positive one.
4.Casting the final object with the negative mold.
●Design a 3D mold
The first step is to design a 3D mold. I use Rhino to build a 3D object as mold. My final project is about environmental protection issues of Orchid Island, so I need to build some bojects. A environmental group sets up a new tourist attraction called "Kaisboan", and this place is actually where they are dumping rubbish. So I try to design a brand to represent this place.
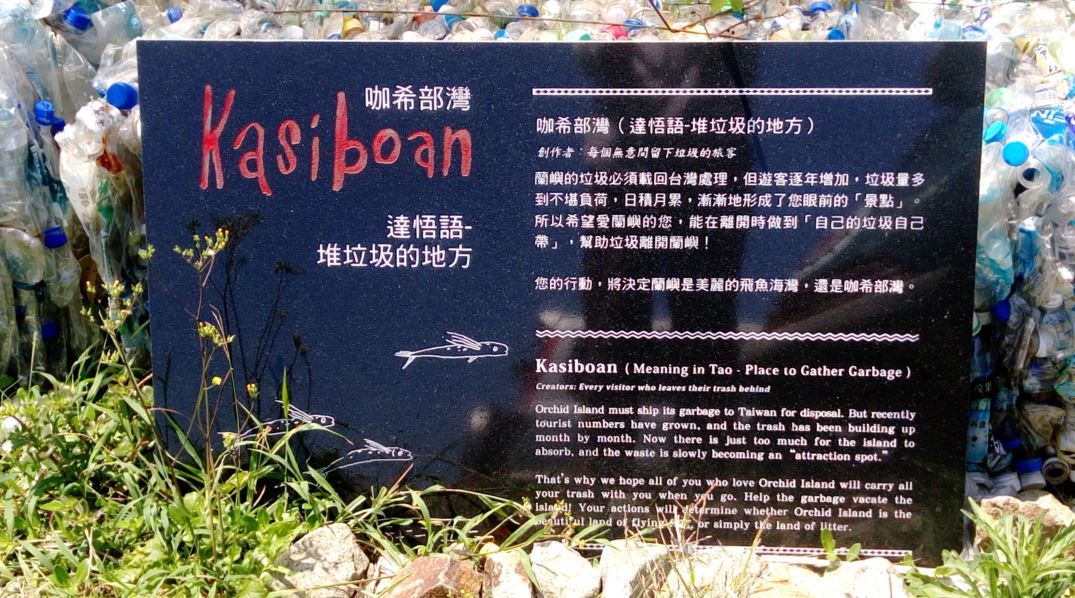
figure 1 : Landmarks of Kasiboan.
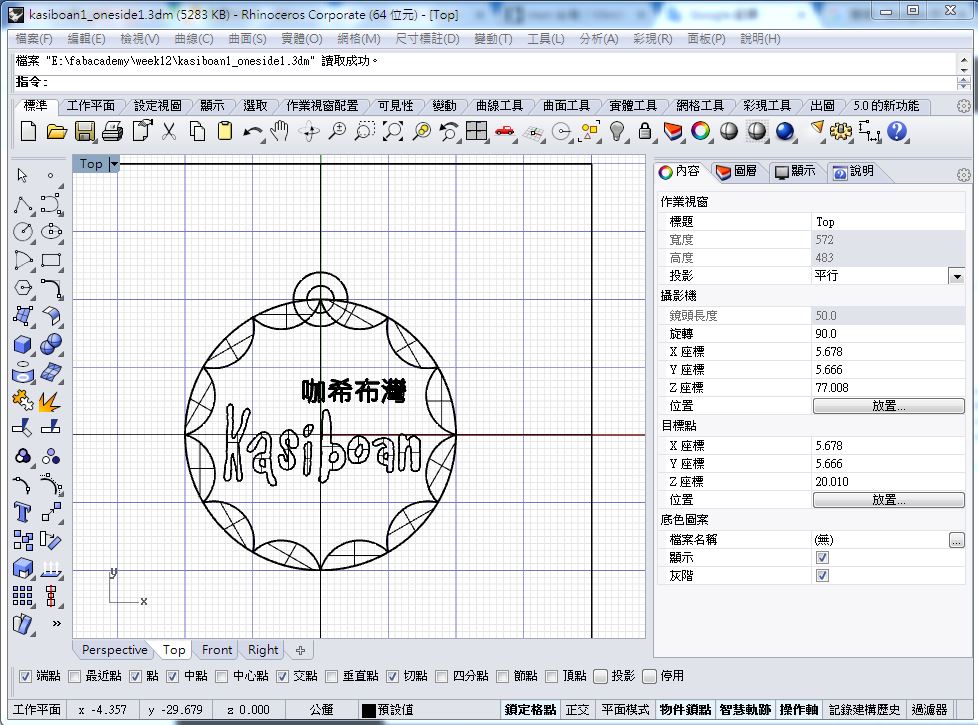
figure 2 : 3D design for Kasiboan with Rhino.
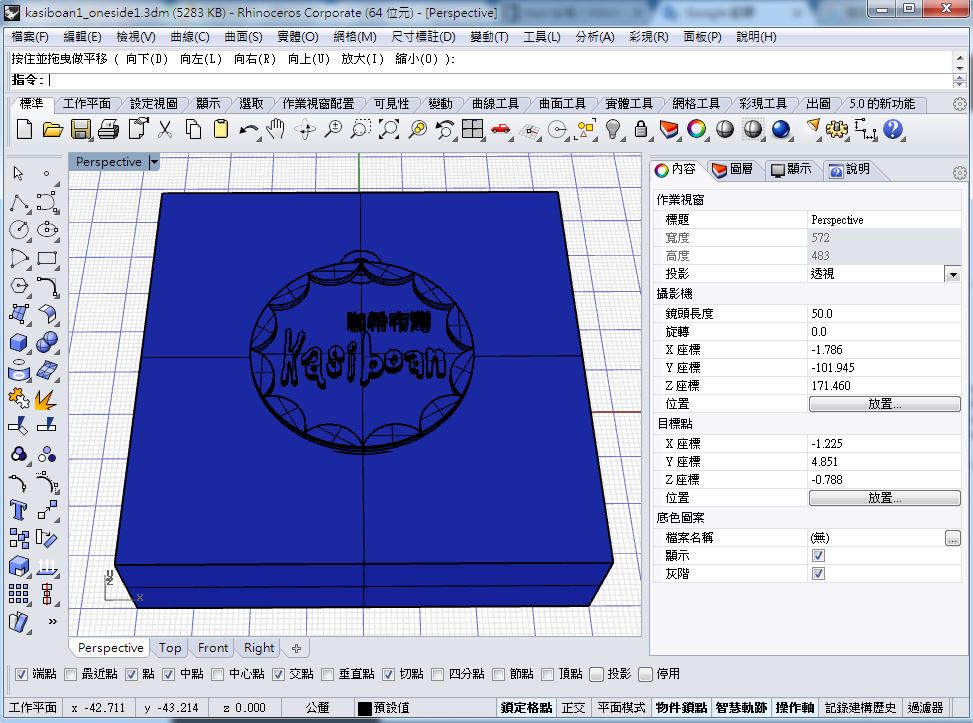
figure 3 : 3D design for Kasiboan with Rhino.
●Milling the positive mold
After completing the 3D object, it is time to make it real. The CNC machine I used is Modela MDX-540, and the material I used to mill is molded wax. But the first thing I need to do before milling is make the bottom become flat. I locked a piece of acrylic on the base, and sticked the mold wax on it to avoid being sold out when milling.
The parameters setting of CNC are as follow :
tooling:
● 3mm square bit
● center-cutting
● down cut
● 1mm ball end
speeds and feeds
● feed speed: 1800 mm/min
● Spindle: 12000 RPM
● cut distance: 0.3 mm
● distance between each cut: 0.3 mm
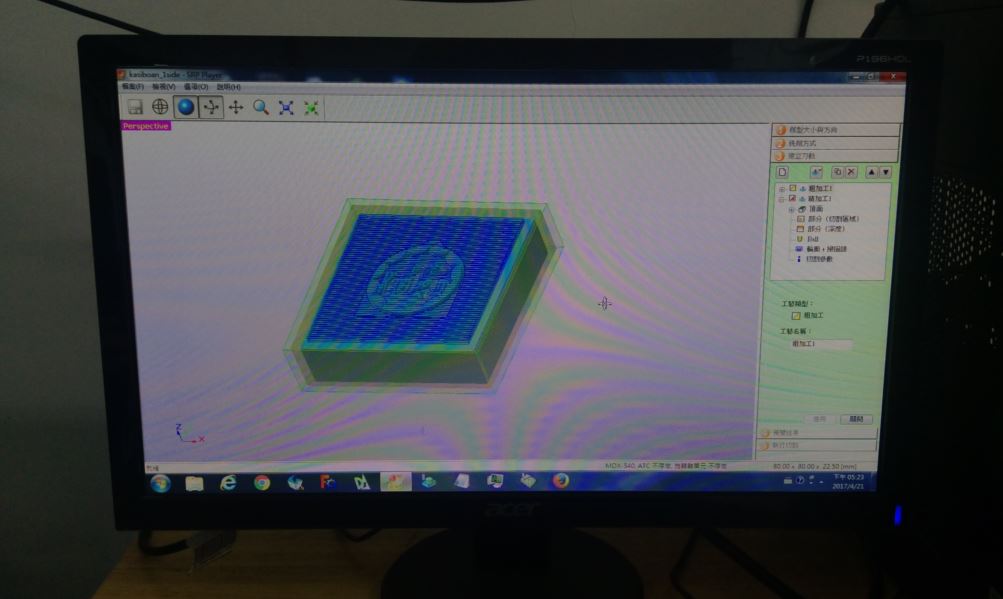
figure 4 : Import stl format file to the SRP Player to calculate the milling routes.
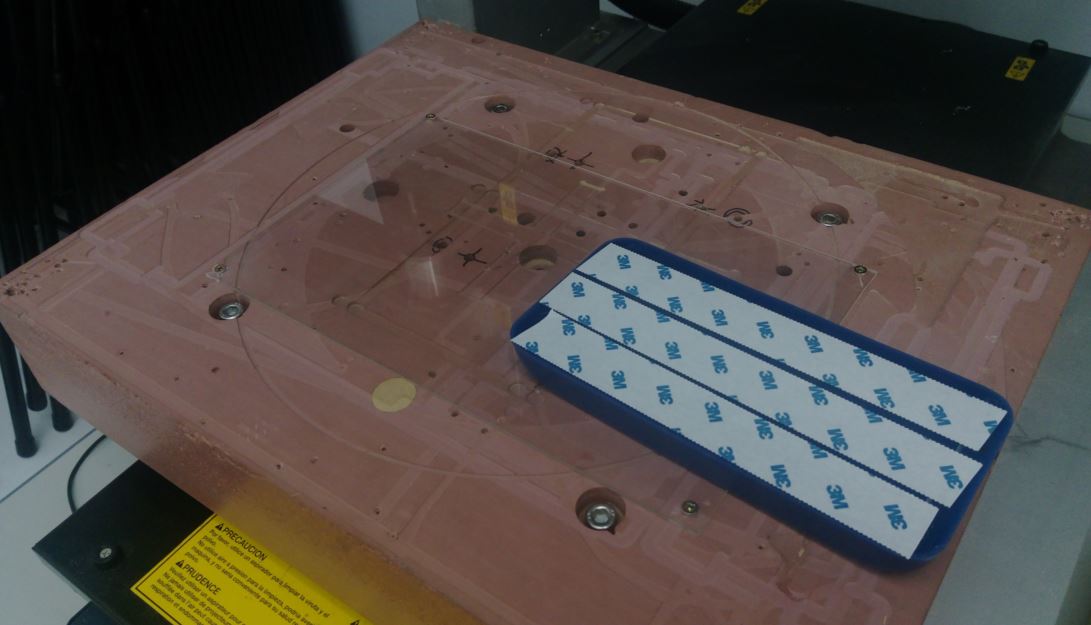
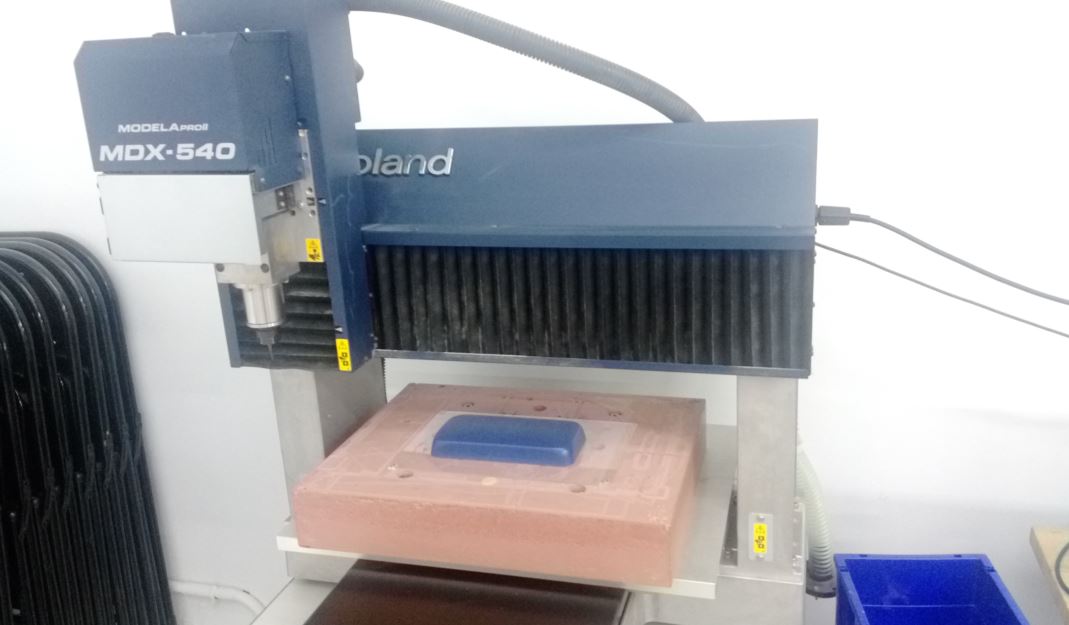
figure 5 : Placed the molded wax on the bottom falt of the machine.
After almost four hours milling, I got my fisrt positive mold which was made with wax. Then I cut it into 6x6 mm square with table saw machine. But there was some corners are not milled completely. So I have to manually fix it with a knife.
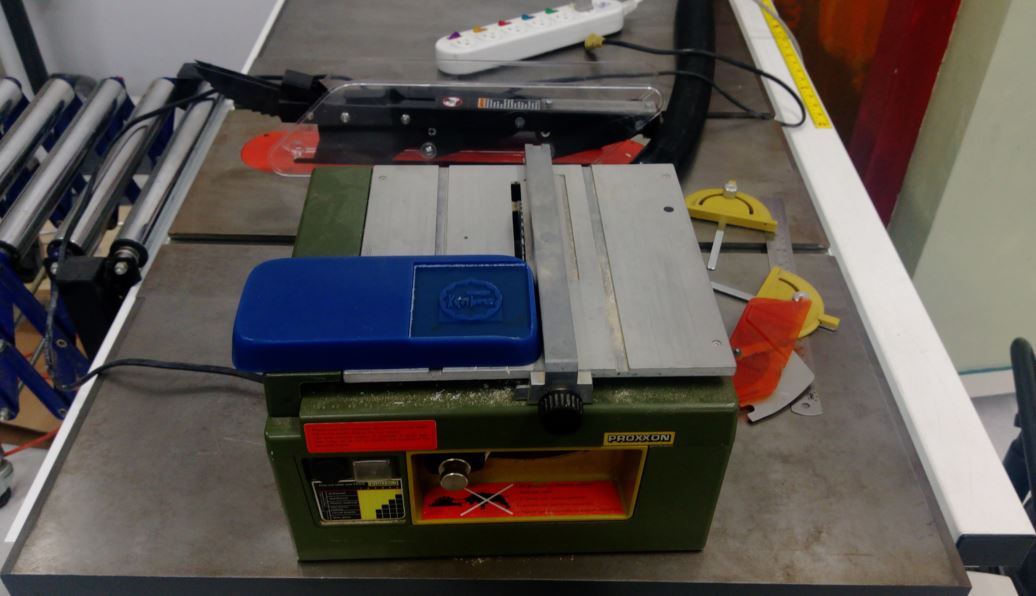
figure 6 : Using table saw machine to cut the mold into 6x6 mm square.
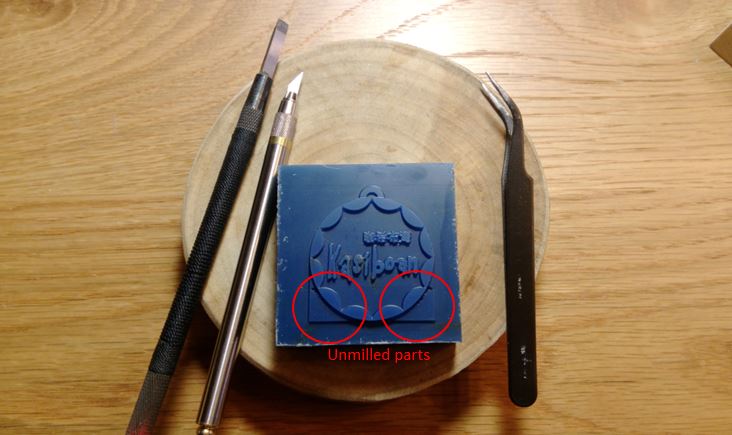
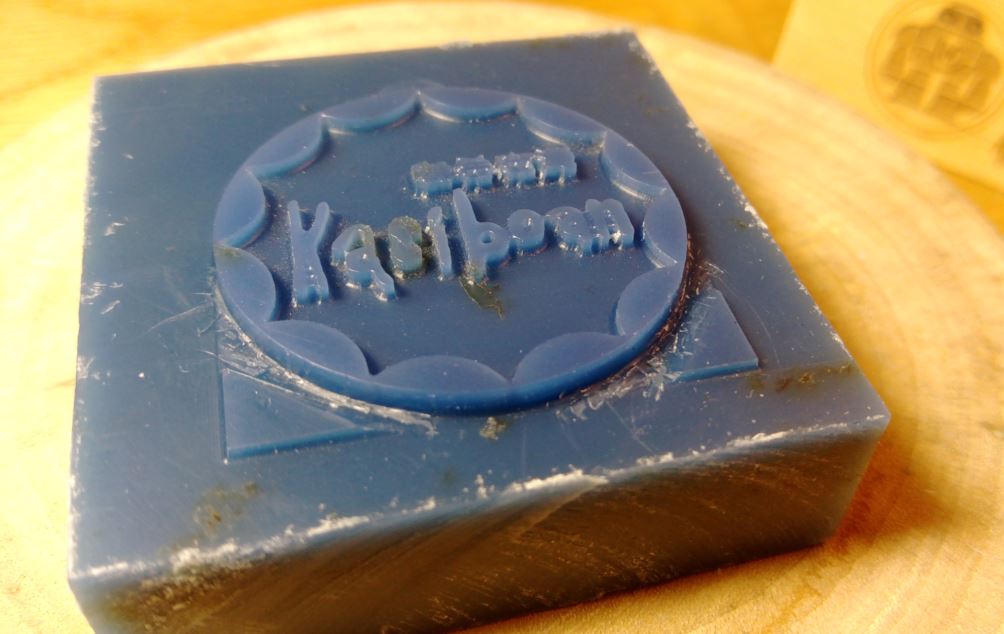
figure 7 : Manually fix the parts not milled completely with knifes.
●Casting the negative mold
I first make a box with laser cutter machine and put the positive mold wax into it. The material I use to make the negative mold is oomoo 30. There are two cans of it. I have to mix the same amount of A and B oomoo in 1:1 proportion. Then filled the box with mixed oomoo. It is difficult for me to prevent air into the oomoo. So it looks like has some bubbles in it.
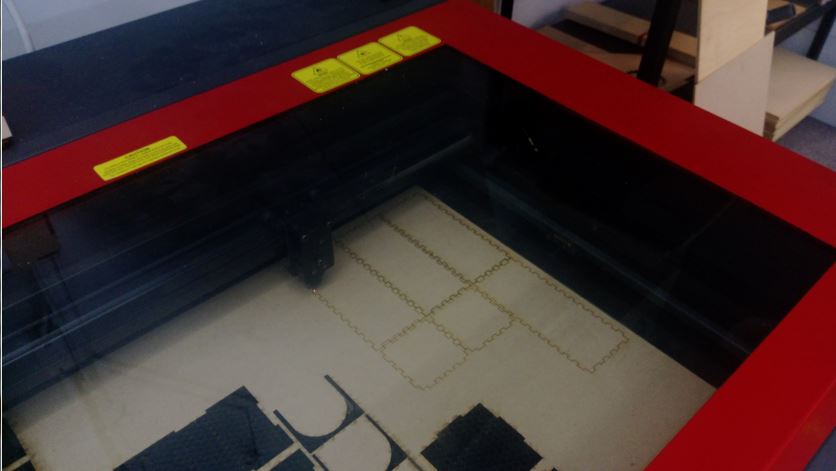
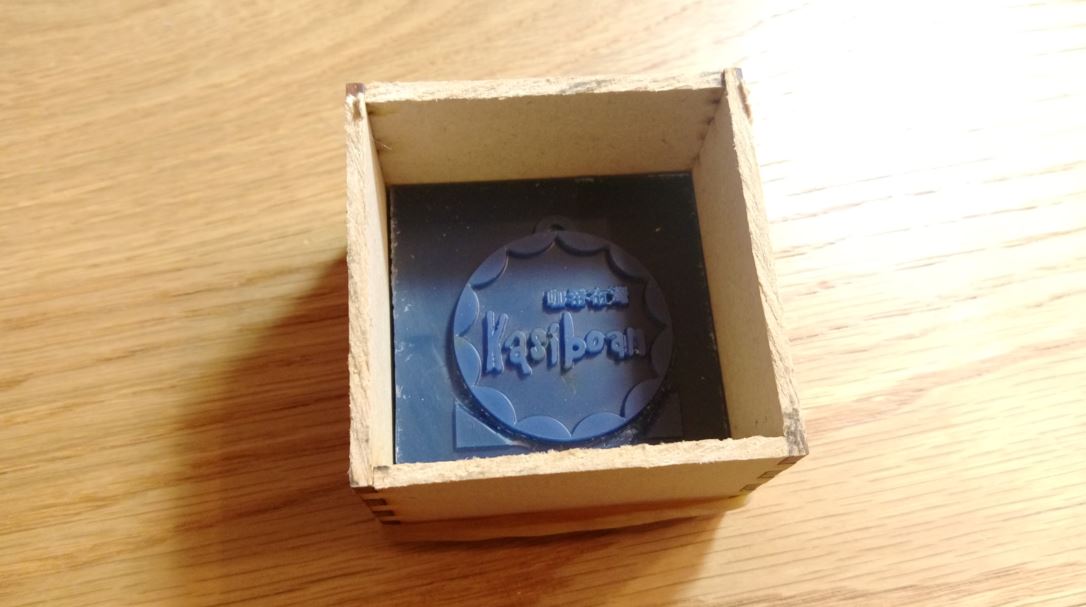
figure 8 : Make a box via laser cutter machine.

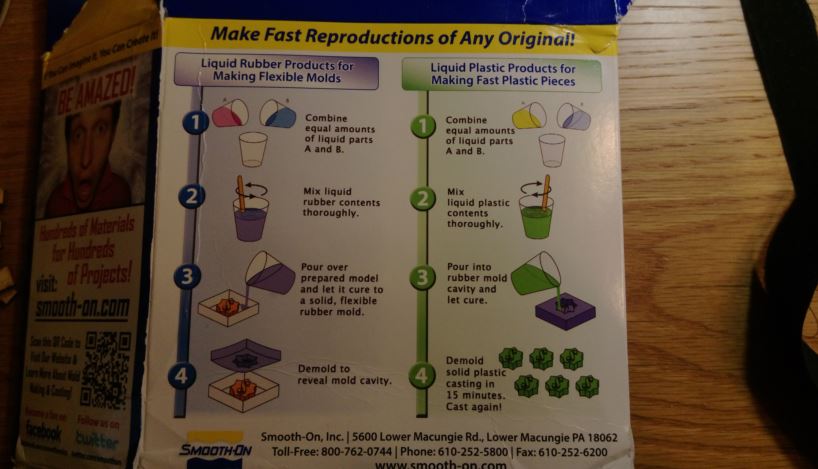
figure 9 : oomoo 30.

figure 10 : It looks like has some bubbles in it.
The vedio of making negative mold is as follow:
After waiting for a few hours, I got my first negative mold and it looks good.
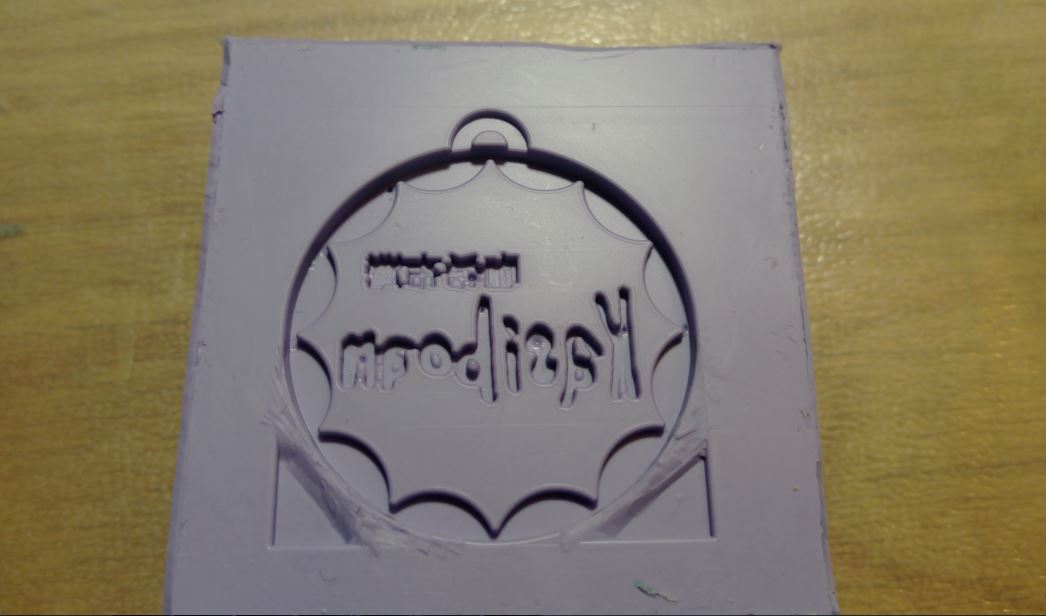
figure 11 : It looks like has some bubbles in it.
●Casting objects with the negative mold
After finishing the negative mold, I use it to cast objects. The first material I want to try is chocolate. So I bought a cheap chocolatefrom 7-11 and melted it. Then filled the melted chocolate into the negative mold. After few hours waiting, the result of chocolate object was not good. It breaked lots of debris. I think the chocolate I used is not pure, so hard enough.
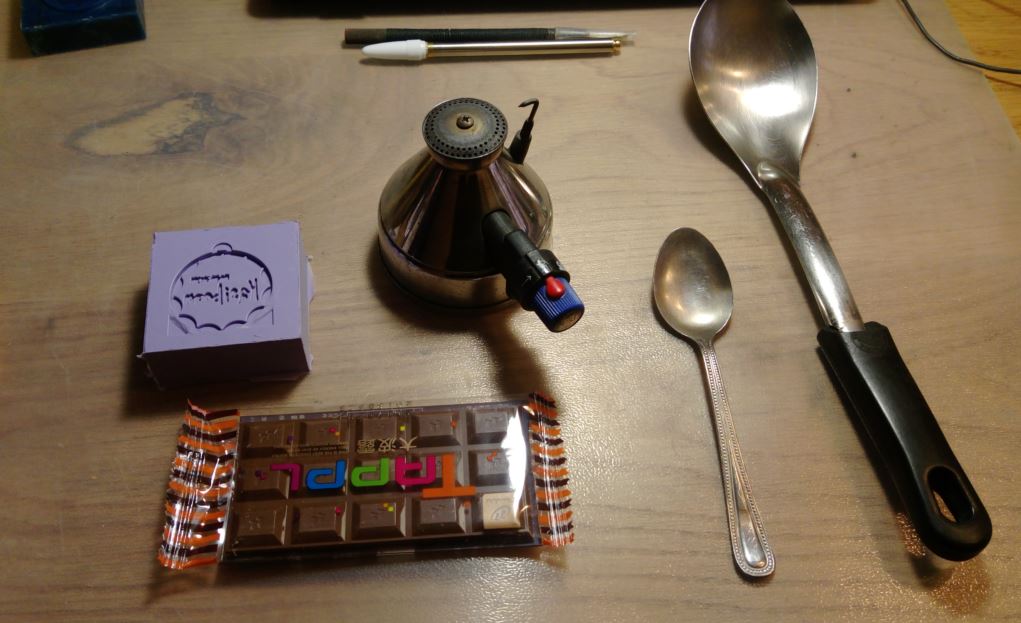
figure 12 : The first material for casting is chocolate.
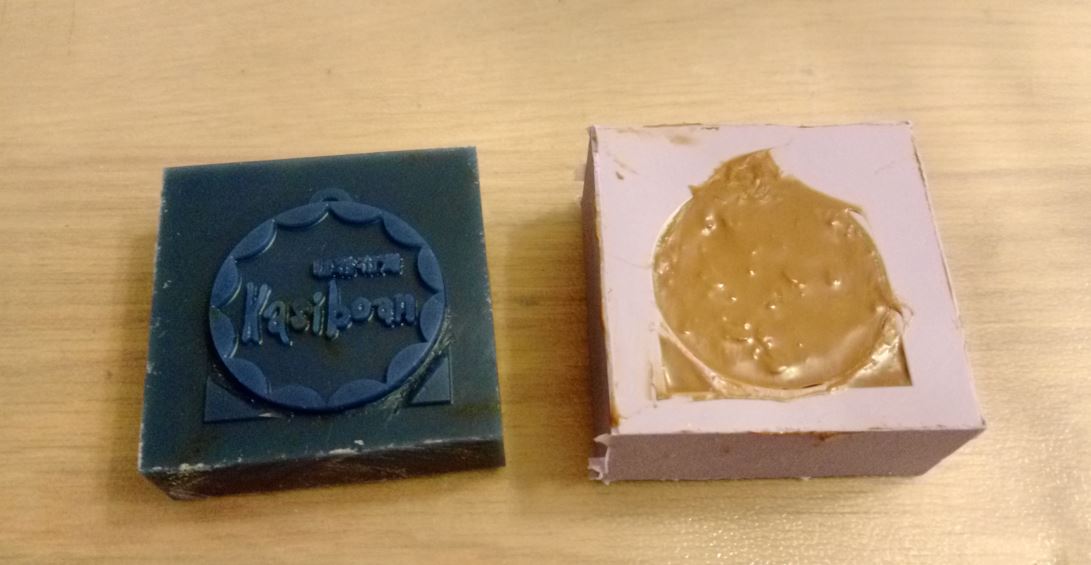
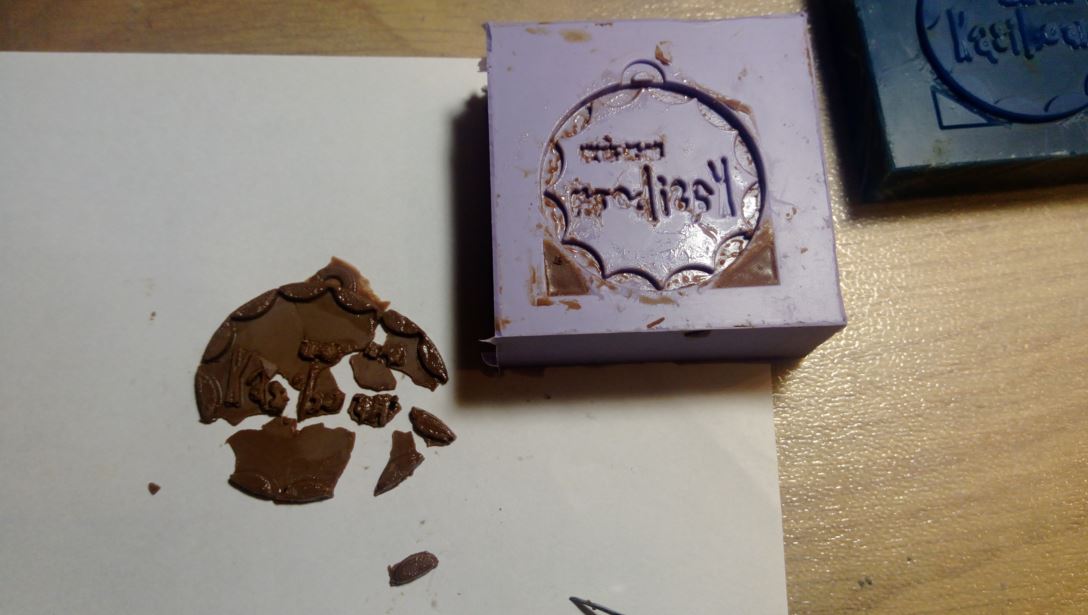
figure 13 : The result of chocolate object was not good.
I decided to try the second material, epoxy resin. It also has two cans, epoxy resin and hardener. The proportion of epoxy resin and hardener is 3:1. It needs to be waited for 6 hours and the result of casting object looks good.

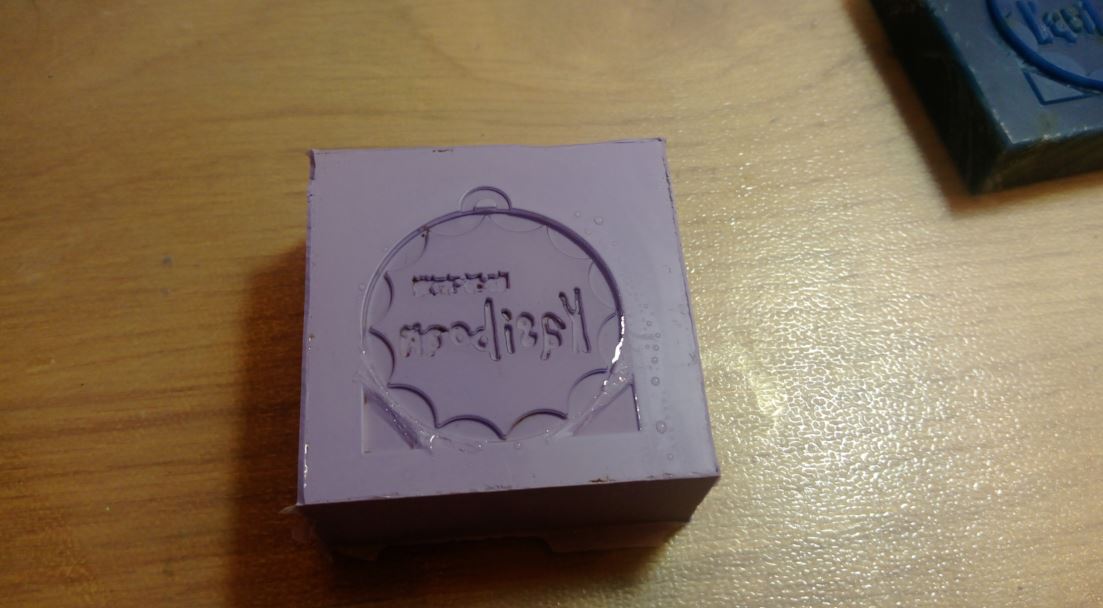
figure 14 : The second material for casting is epoxy resin.
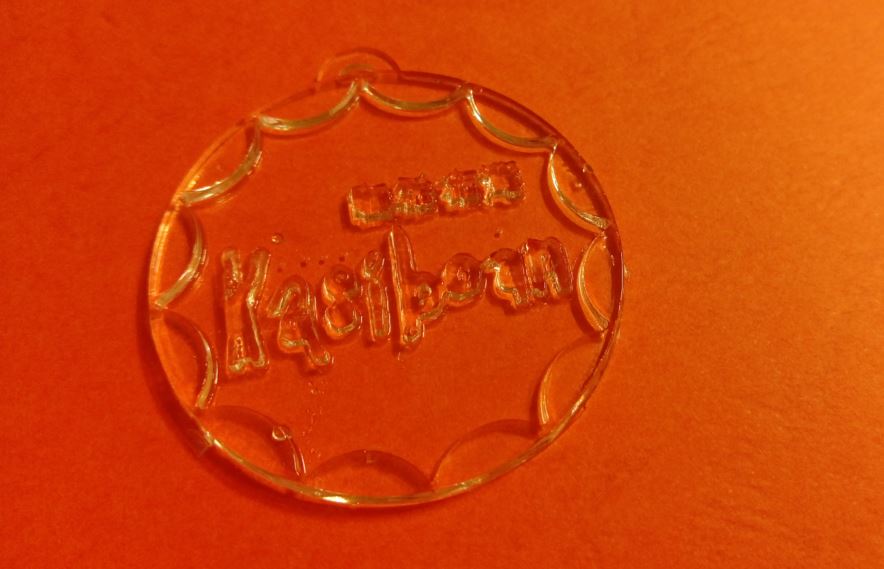
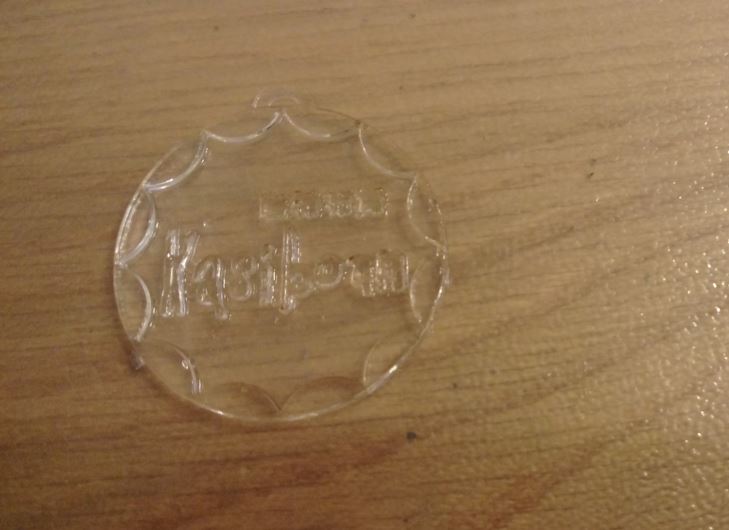
figure 15 : The result of epoxy resin object looks good.
The vedio of casting with epoxy resin is as follow:
The third material I would to try is resin fortified tile gripper. It needs to mix with water while using and the proportion of tile gripper and water is 500:160 gram.
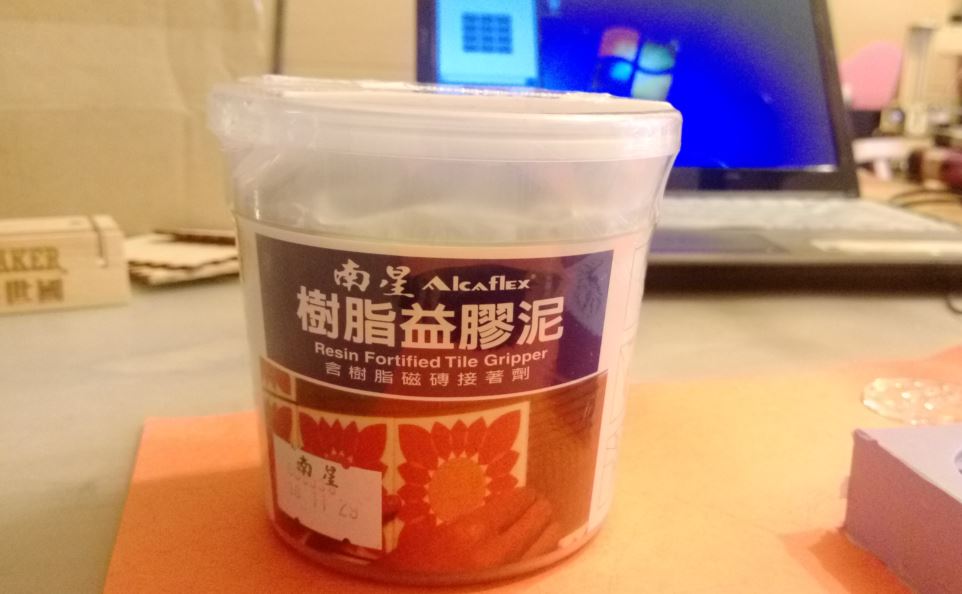
figure 16 : Resin fortified tile gripper.
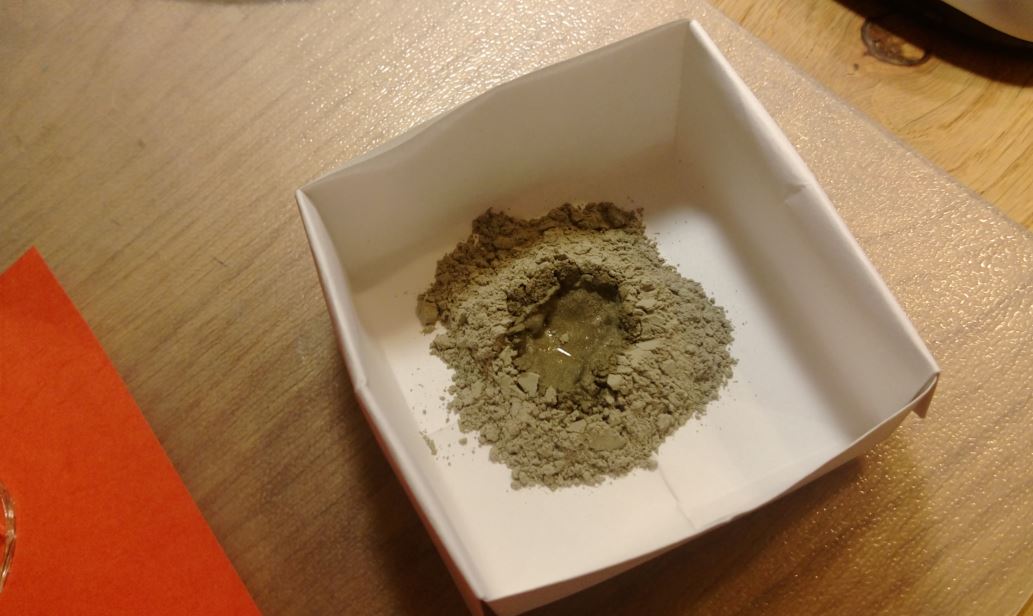
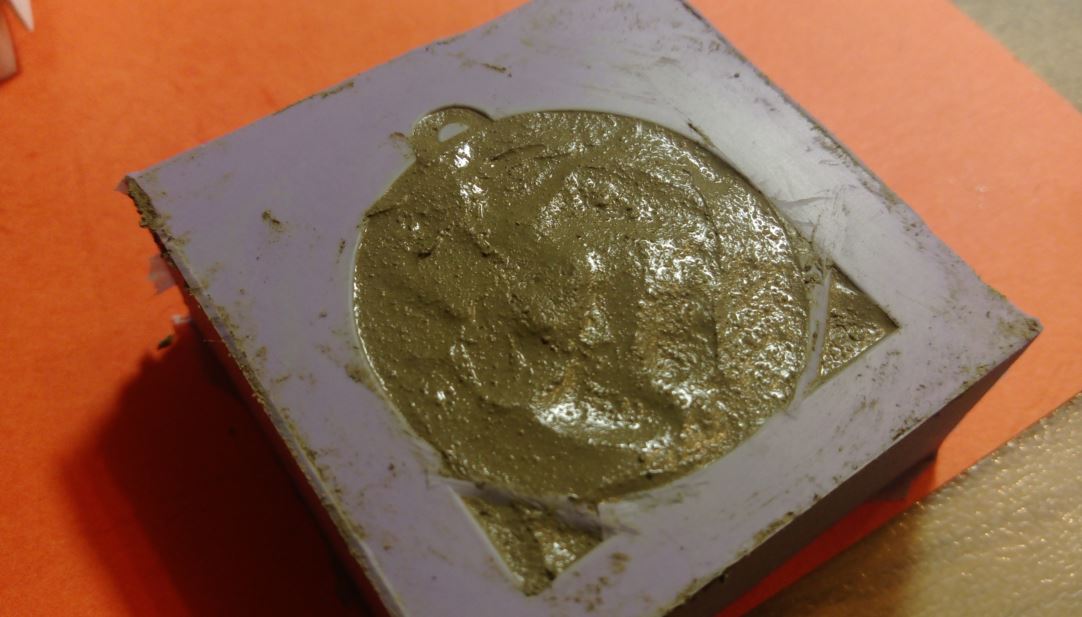
figure 17 : The proportion of tile gripper and water is 500:160 gram.
But the result was not good, it broke. So I add some another resin on it and try again, the result looks better.
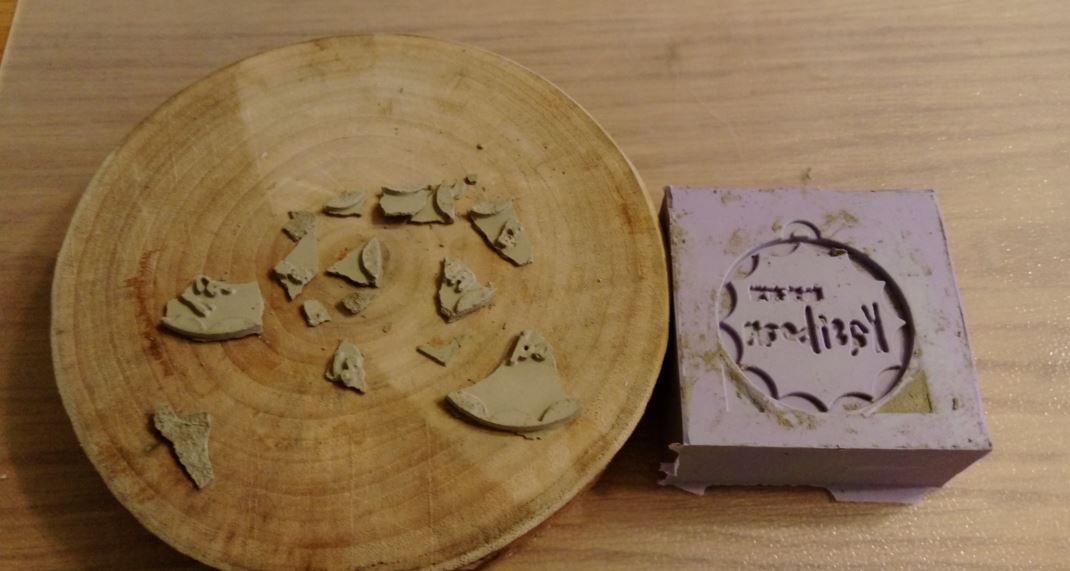
figure 18 : The result object failed.
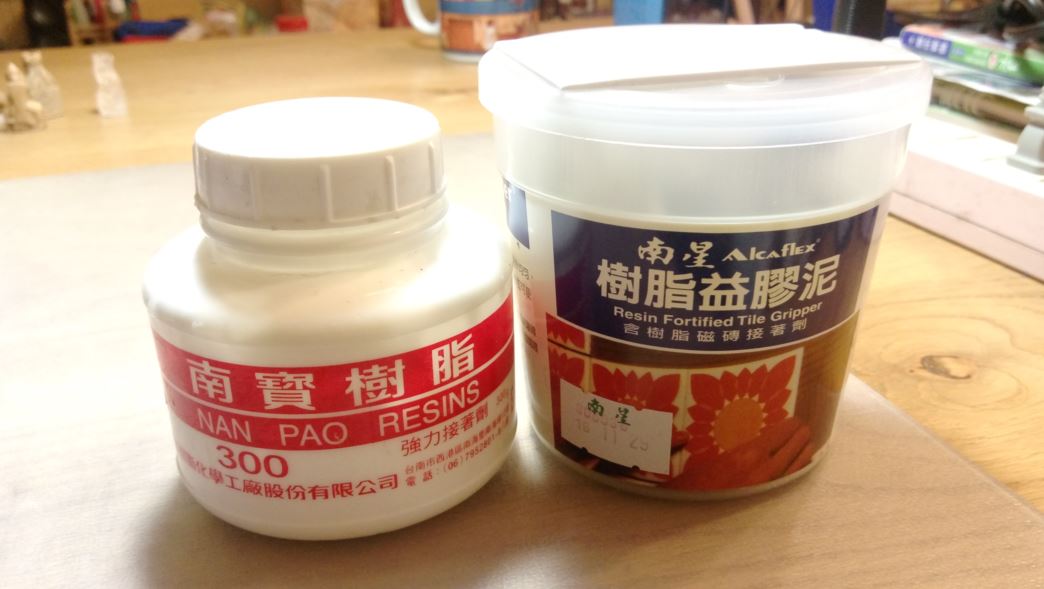
figure 19 : Add some another resin and try again.
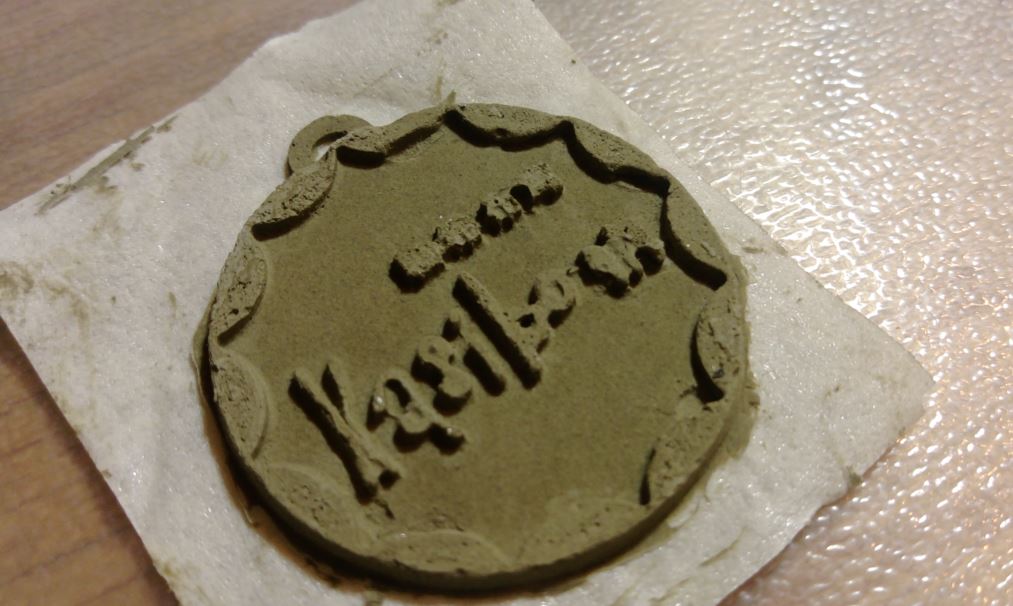
figure 20 : Second trial looks good.