
back to main page
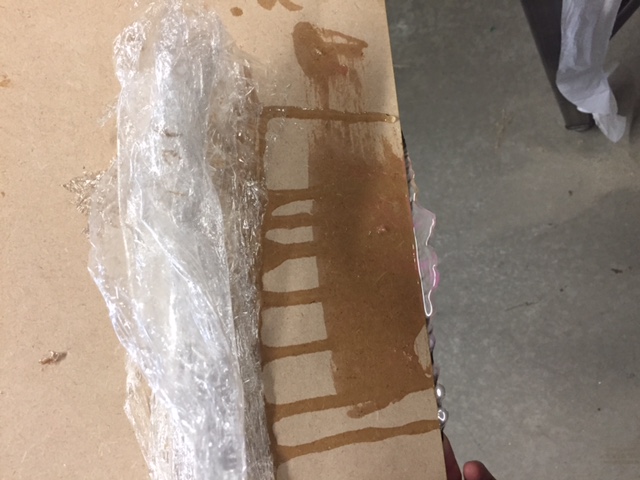
To start and test the materials I made a small flat sample using the SUPER SAP bio-resin we have in the lab. Proportions of Epoxy to Hardner 2:1.

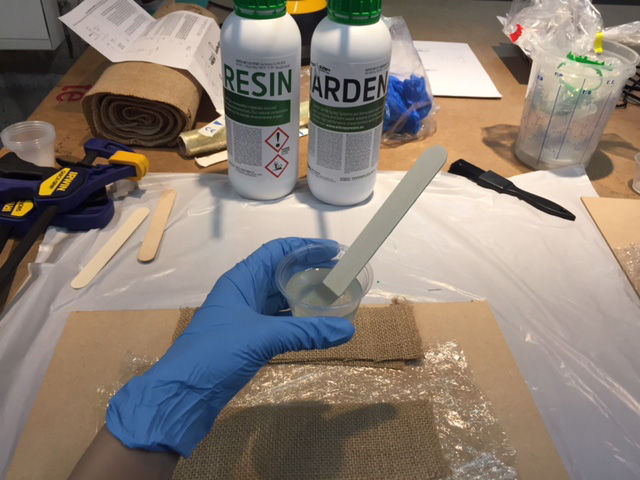
I started by laying few layers of kitchen film to prevent it from sticking to the mould. Before mixing the resin I also prepared the top part of the mould also with the kitchen foil layer.
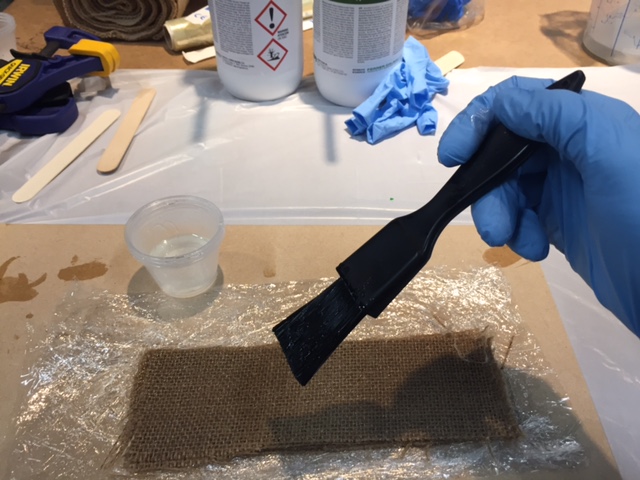
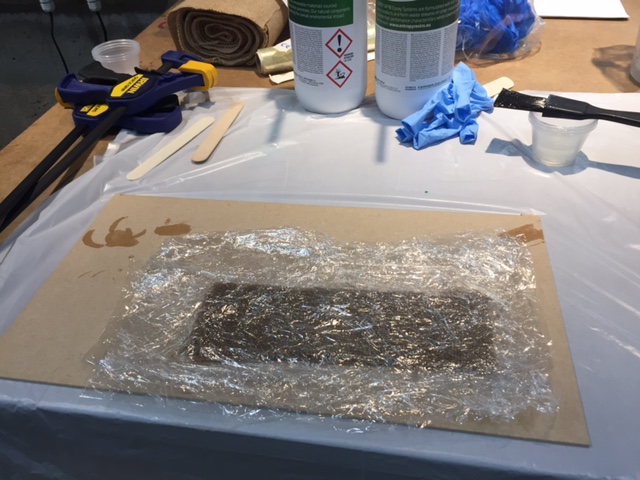
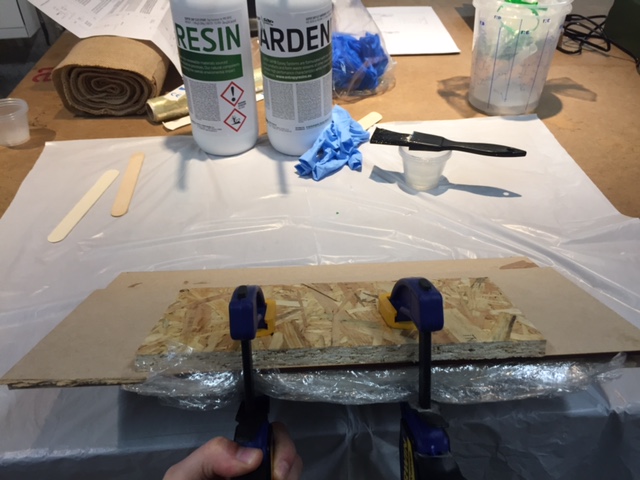
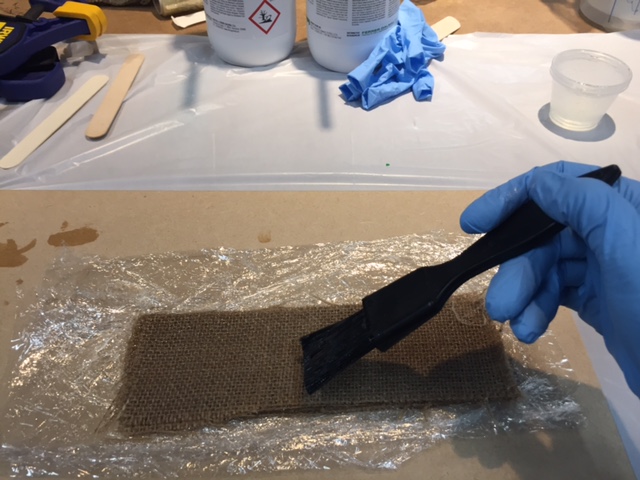
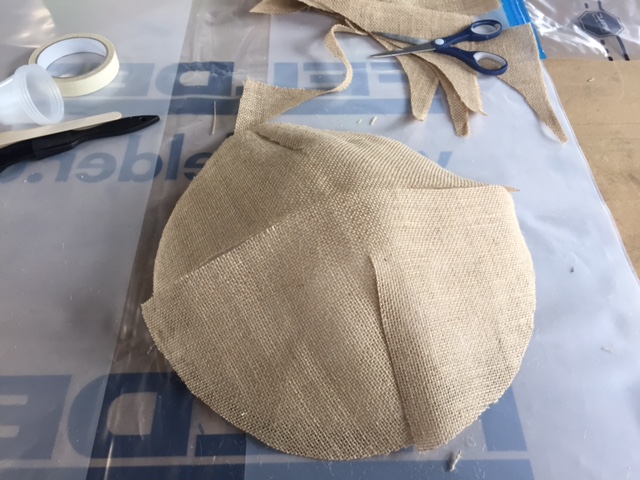
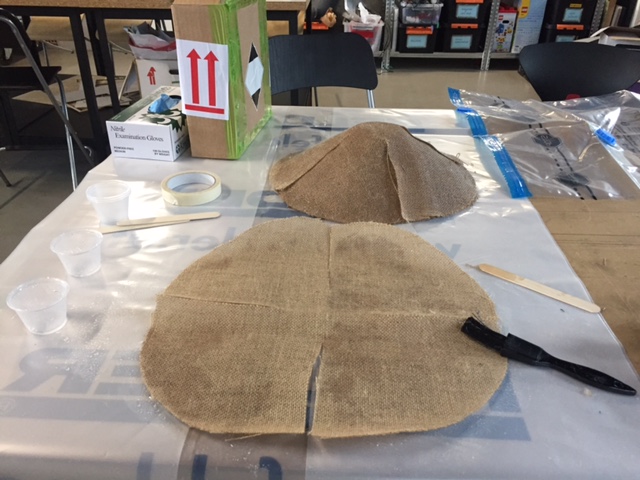
I cut 5 layers of fabric and painted each one with the resin until fully soaked. Than put the kitchen foil layer on the top and the other side of the moulding sheet.
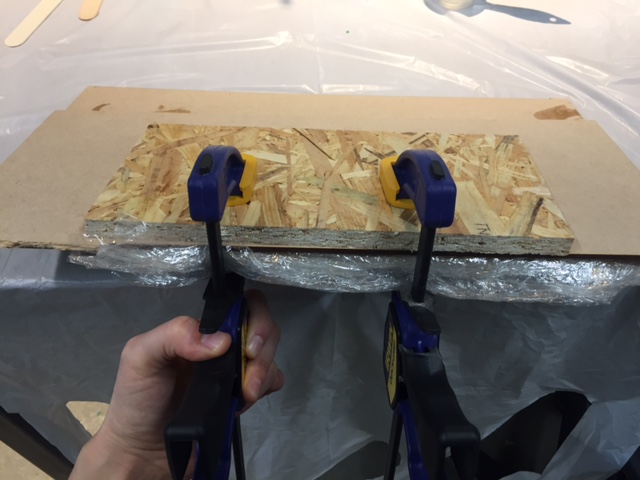
I used clamps to squeeze the mould together and left it over night to set.
I did a test with the pigments to colour the resin:
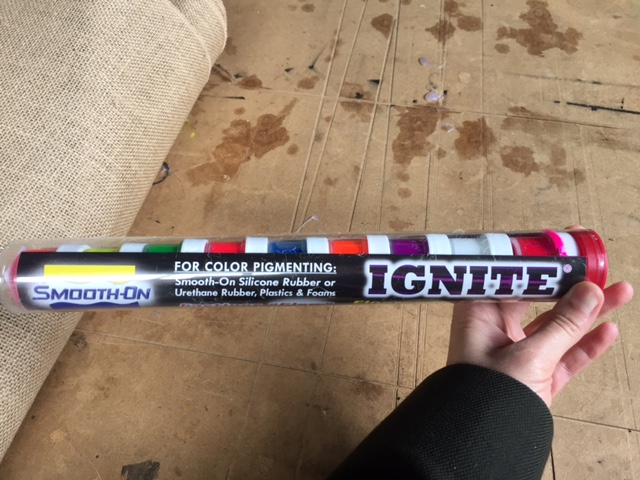

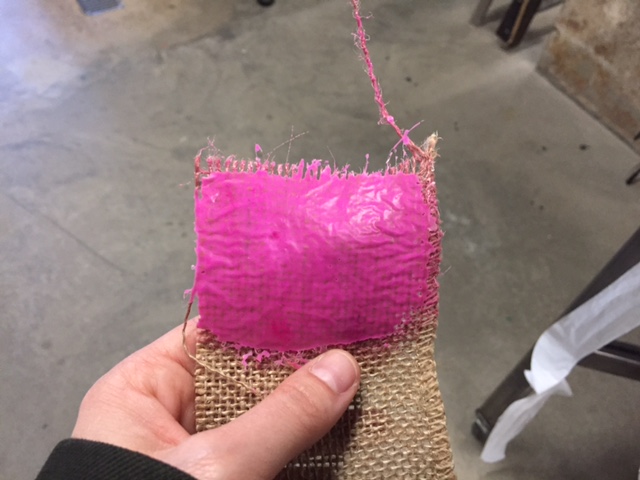
I wanted to try if the pigments work with the resin if I ever wanted to make a colourful composite later on. It seemed to work well.
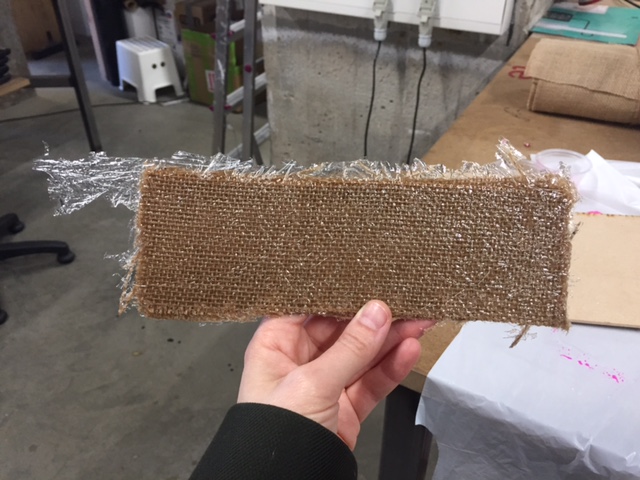
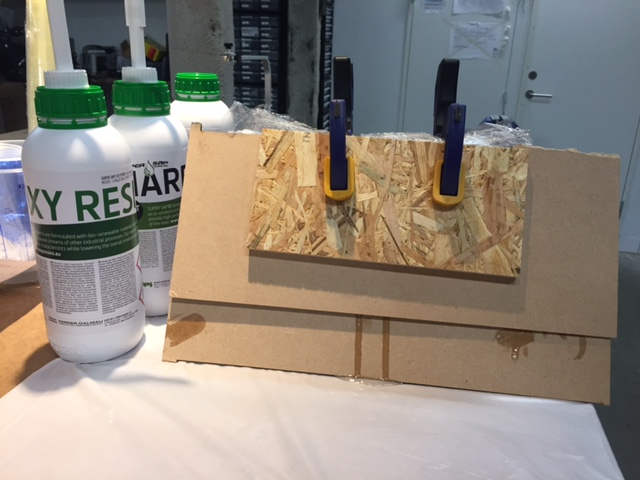
After taking it out of the mould it looksed like this. There was a drip of exess material and the edges were a bit rough.

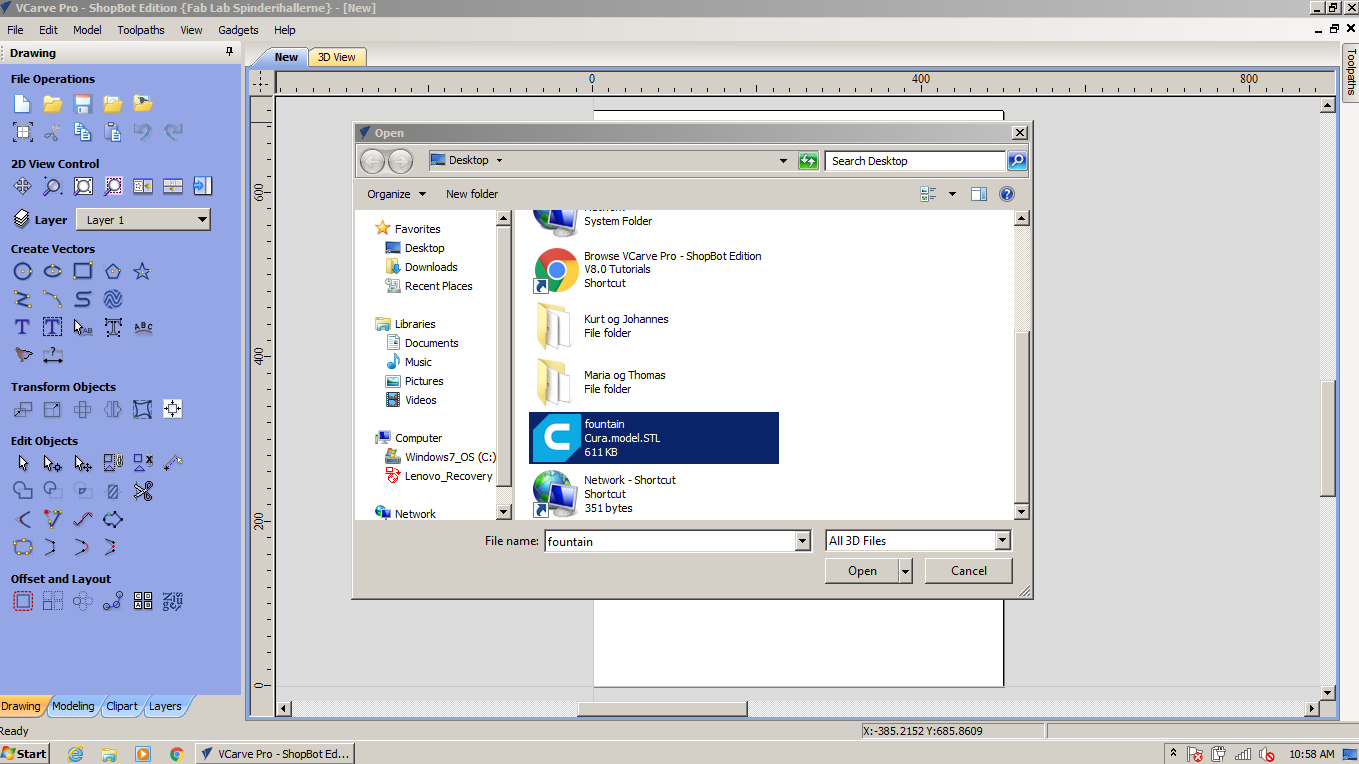
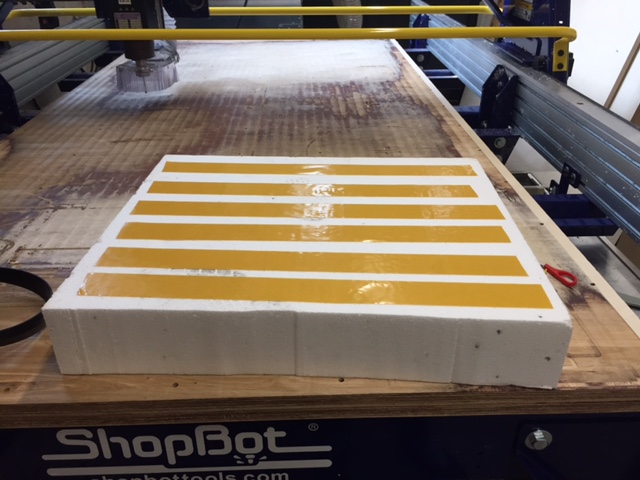
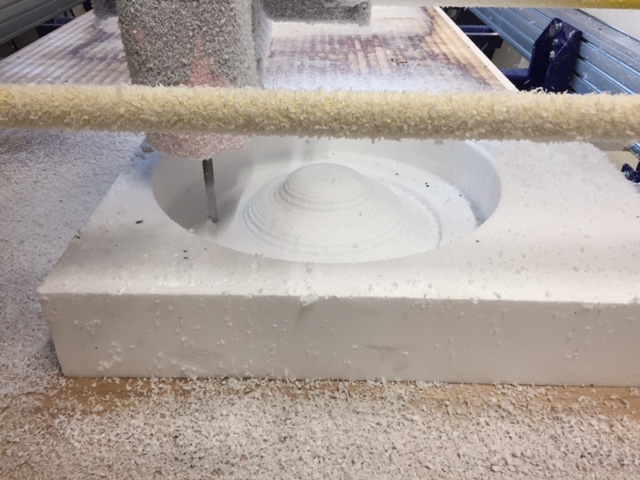
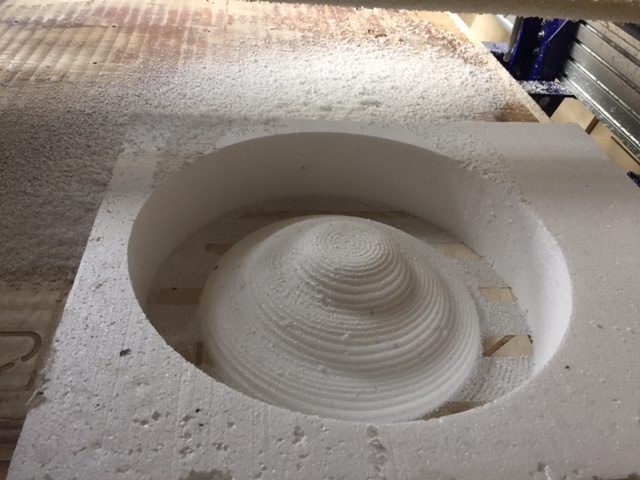
I used Fusion 360 to design a simple lampshade to make my first ever composite shell.
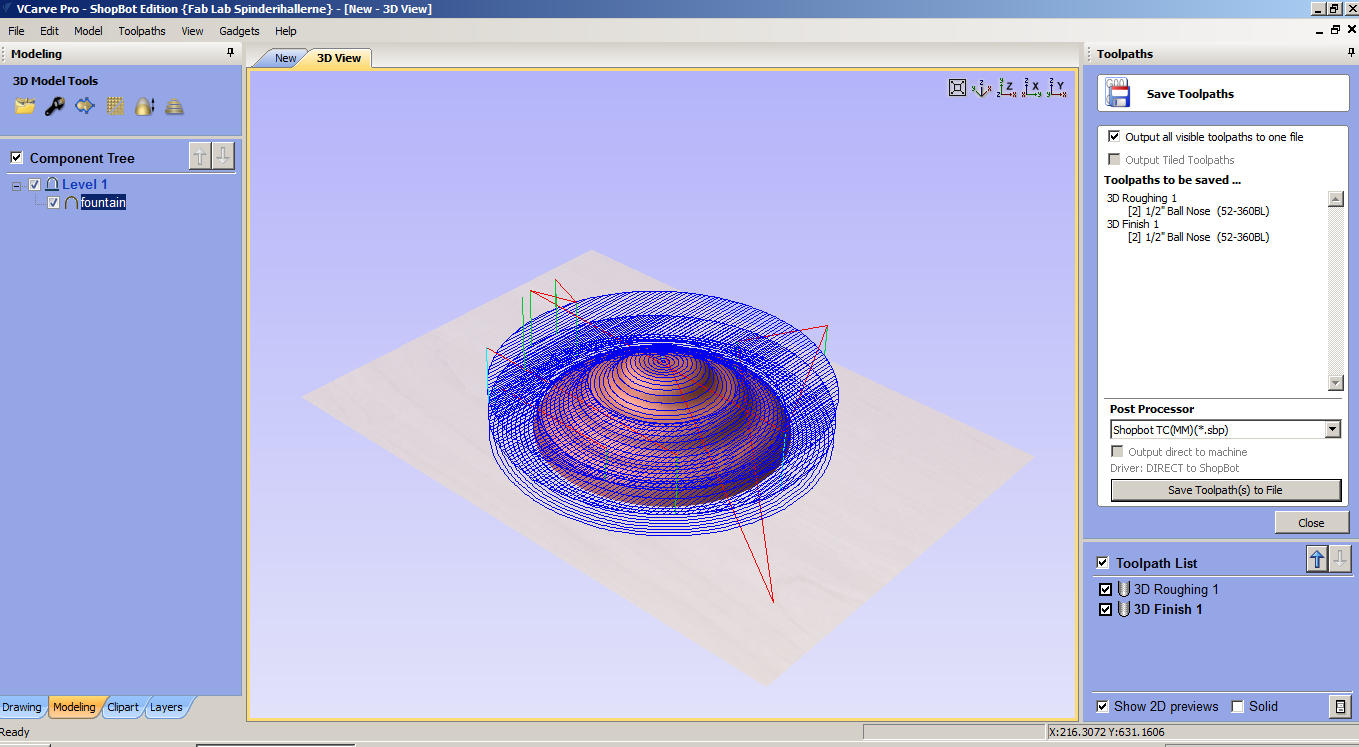
For preparing to mill I used VCARV. Open new file, get all the material settings out of the way. Go to File/Import/Import Component/3D model


To make a 3D shape I used exactly the same steps as on the test sample, exept that at the end I put it in a vacuum bag.


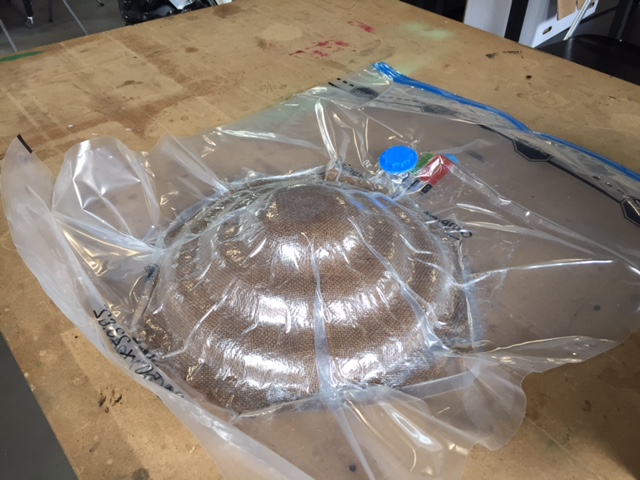
I used vacuum bag to press the fabric layers to the mould.

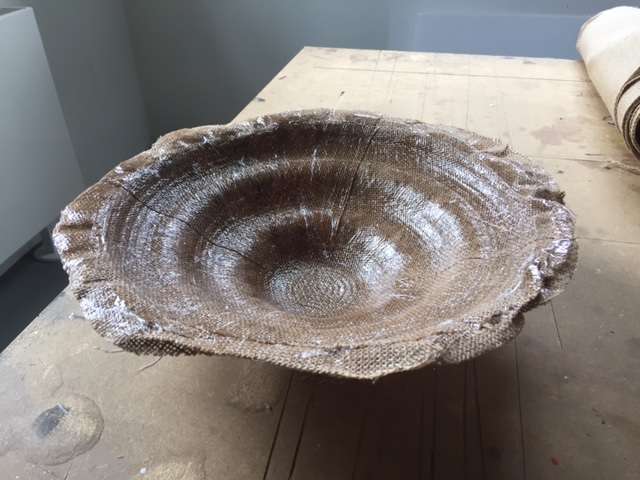

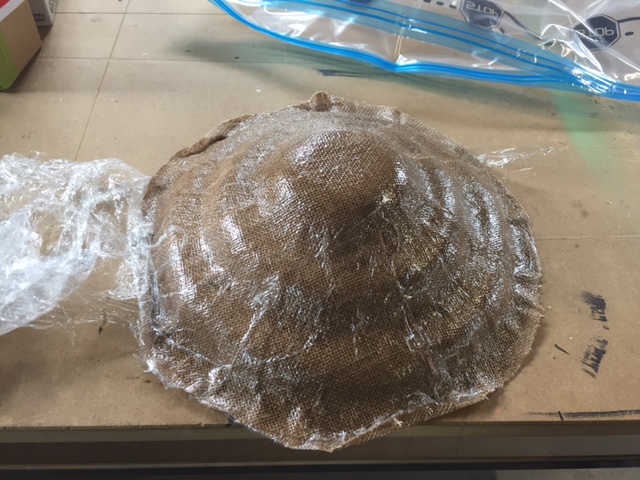
The finnished piece was only made from 3 layers but I decided it was enough for a lampshade. It was nice and the light was able to go through it. The sound when knocking is legit. Now I have to drill a hole in the top and install a light fitting.


It was a great experience to make this light and strong structure. The biggest learning from this week is to:
- remember to prepare all the equipment before starting to mix the resin
- protect everything arround you, your clothes and have milion spare gloves