Molding and casting
Assignment
Design a 3D mold, machine it, and cast parts from it
Design a 3D mold, machine it, and cast parts from it
For this week assignment, I will first design a sample pattern using Solidworks CAD tool. I will then machine it out as a rigid possitive mold on a 3 axis CNC milling machine.
After that, the rigid mold will be used to cast a silicon negative mold. Finally the silicon mold will be used to cast the final products, the parts.
After that, the rigid mold will be used to cast a silicon negative mold. Finally the silicon mold will be used to cast the final products, the parts.
Design
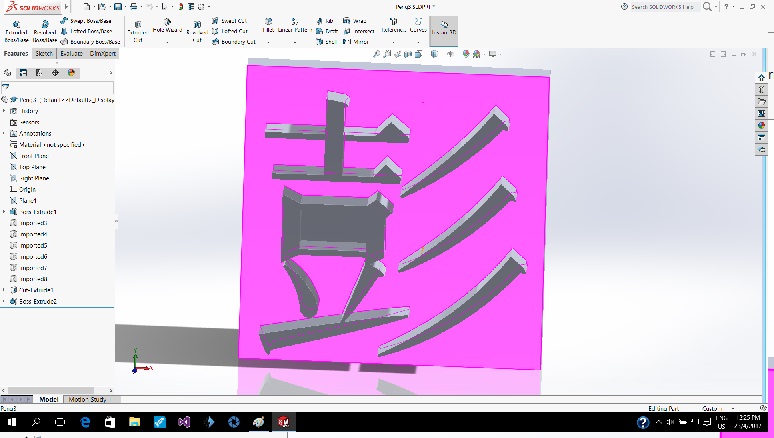
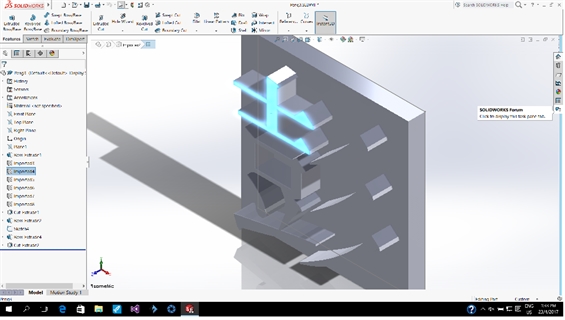
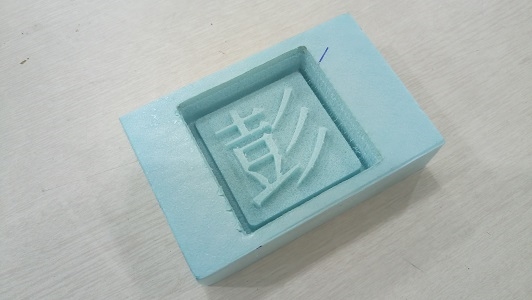
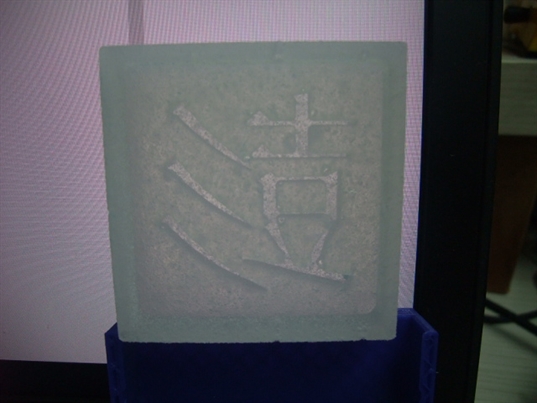
My design is a Chinese character which is my family name. The character is embossed on a rectangular slab. The original design is W200mm x H200mm, but for molding it is scaled down to W50mm x H50MM.
Machining
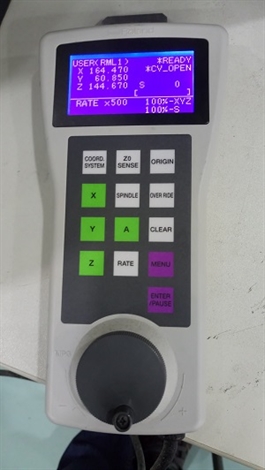
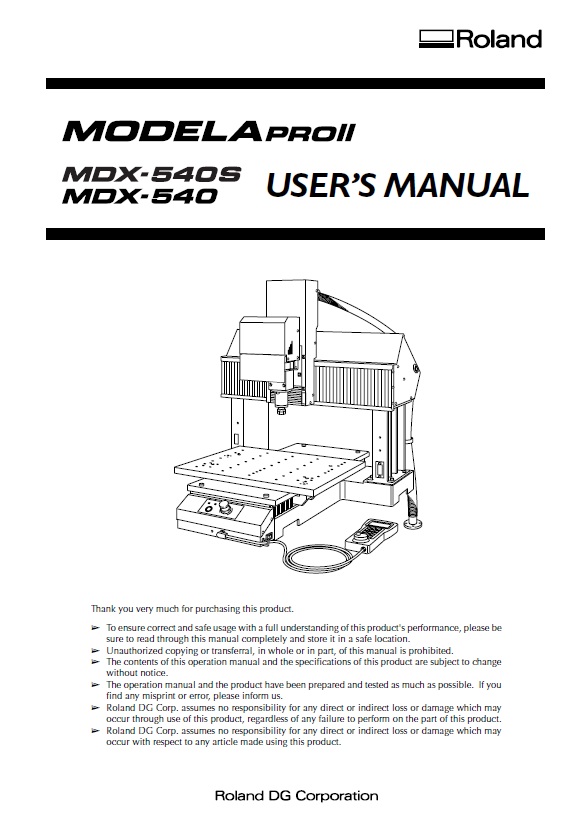
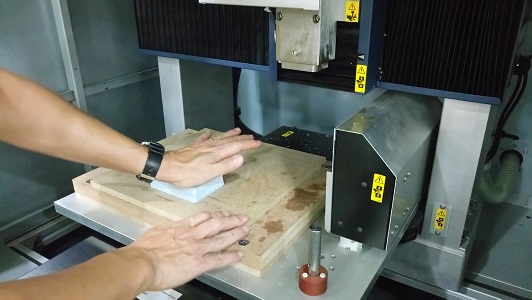
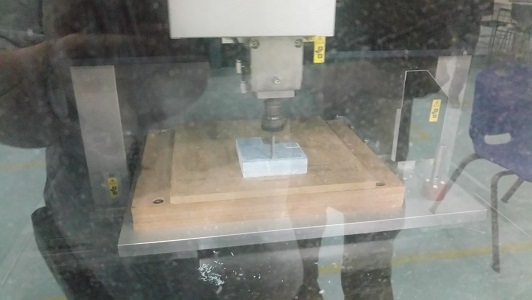
I am using a Roland Modela Pro MDX 540. A very cool 3 axis milling machine with close loop servo drive. it also comes with a 4 slot automatic tool changer. it accepts STL file as input.
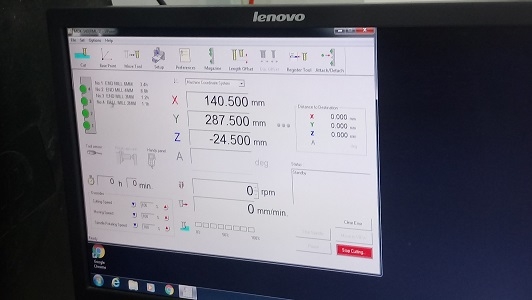
The machine can be controlled using the pandent or the PC connected to it.
The machine user manual can be downloaded from the link:
http://140.116.31.240/MDX-540_USE_EN_R5.pdf
Material
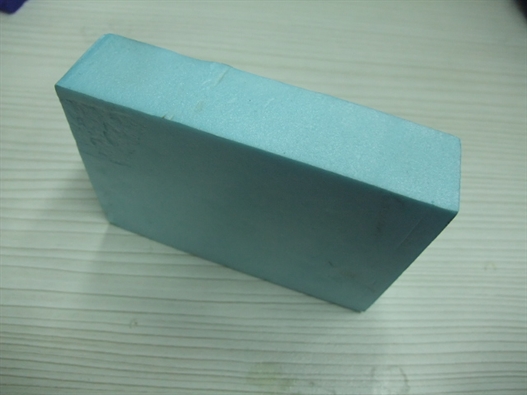
The material I am using for machined mold is a extruded blue polystyrene high density foam (Also known as Depron). very soft and extremely easy to machine. Hence the feed rate can be very fast.
The foam is attached to the machine platform using double adhesive tape. Ensure that the foam is securely fixed onto the wooden underlay.
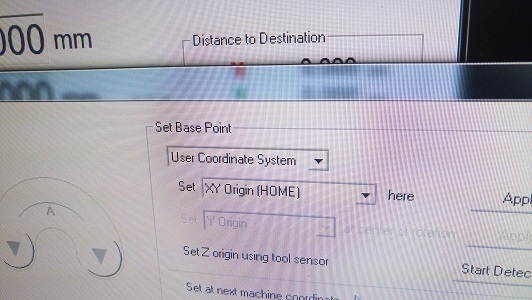
Next go to the PC and calibrate go to the machine software to calibrate the tools height and workpiece position as indicated in the user manual.
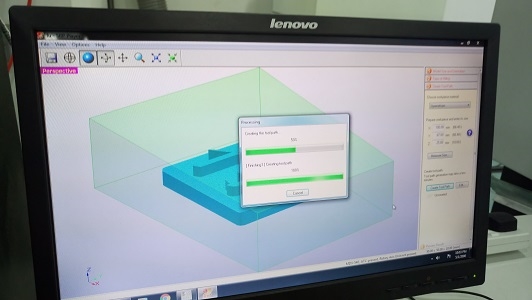
After that, open the tool path generator software and configure the following:
-Size of work piece
-Position of output product within the work piece
-Tools to be used for rough and finish cut.
-Configure the surfacing process.
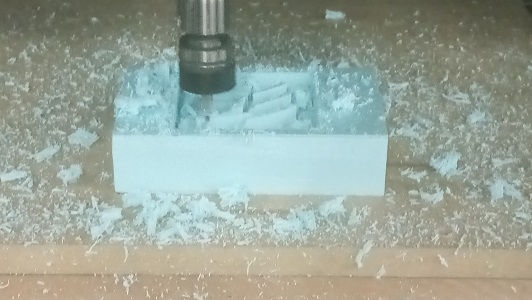
Then press start button and machine go to work. The entire machining process is automated, no need to change tools manually:)
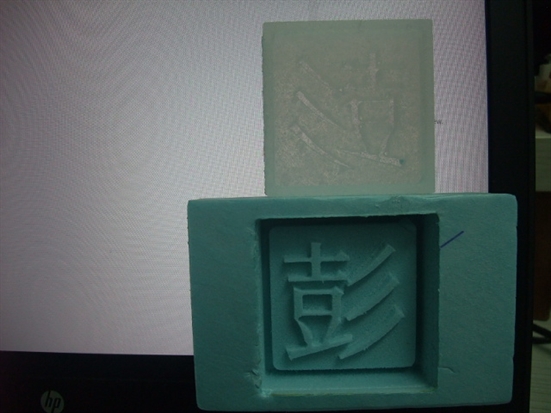
Here is the possitive rigid mold
Molding of Silicon mold
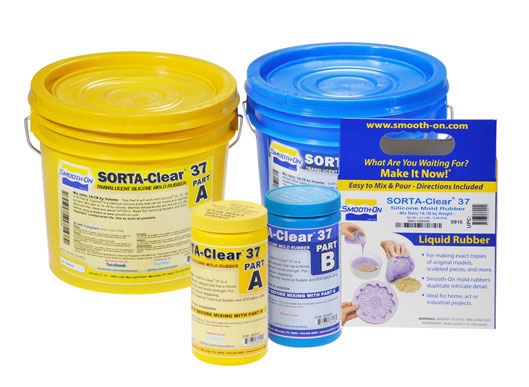
The ingredient for the silicon mold is a two part food safe silicon based molding compound SORTA-Clear 37. It comes in 2 containers, the yellow one is the silicon compound and the blue one is the setting agent.
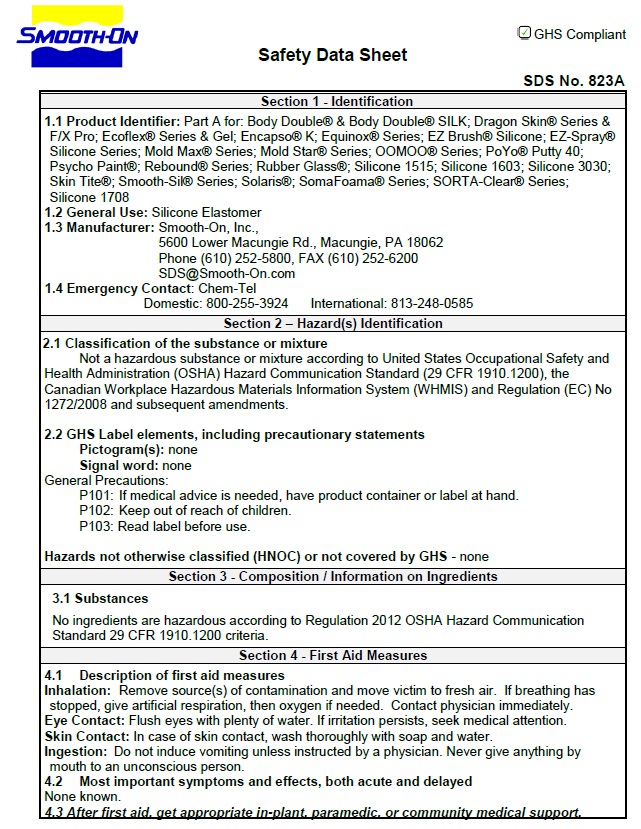
The safety instruction can be found at this link:
https://www.smooth-on.com/msds/files/BD_DS_Eco_Equ_EZB_EZS_Psy_MS_OOMOO_Reb_ST_SS_Soma_Sol_Sorta.pdf
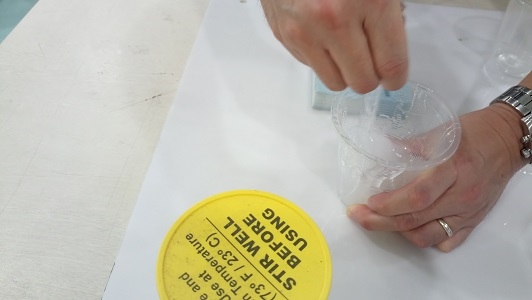
The mixing ratio according to the instruction manua is 1 part of silicon compound to 1 part of setting agent. The mixture needs to be stirred well before using. A acrylic stick is use for the stirring in a shearing manner.
The mixuture is then poured into the rigid mold.
Ensure that the mixture goes into every corners of the mold and there are enough mixture to cover the pattern.
Some slight tapping of the mold on the table is good to drive bubbles out of the mixture. It takes 4 hours to set according to the instruction but I left the silicon mixture overnight before removing from the mold.
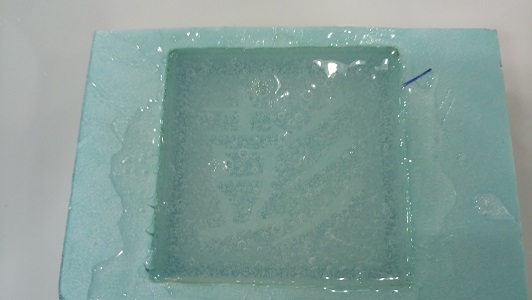
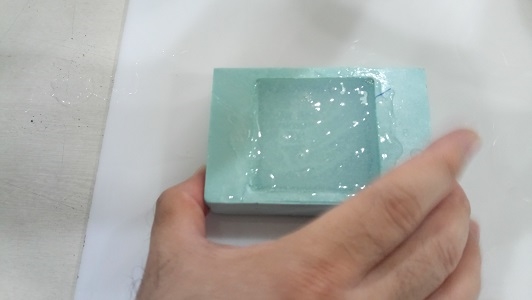
And here is the silicon mold removed.
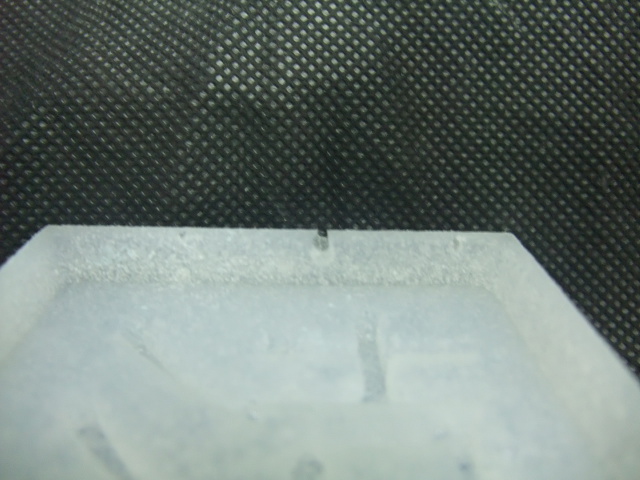
Despite careful stirring during of the compounds, there were still some bubbles formed and voids are visible as shown along the edge.
I melted some white chocolate and poured it into the silicon mold. when it is cooled to room temperature, I placed it in a refrigirator overnight to harden the chocolate.
And here is the final product. Chocolate with my family name on it :)


Reflection
It take some times to gain experience on how to handle the silicon compound to prevent bubble in the mixture. As advised by our instructor Mr Steven Chew, I should stir the compound slowly to allow air to escape or use a vacuum bottle to suck the bubbles out before pouring it into the mold.
It take some times to gain experience on how to handle the silicon compound to prevent bubble in the mixture. As advised by our instructor Mr Steven Chew, I should stir the compound slowly to allow air to escape or use a vacuum bottle to suck the bubbles out before pouring it into the mold.