WEEK12-MOLDING AND CASTING
Casting is an old technology, it was used in 1700 BC in China. This week I designed a Captain Amercia's shield. Four steps were need.
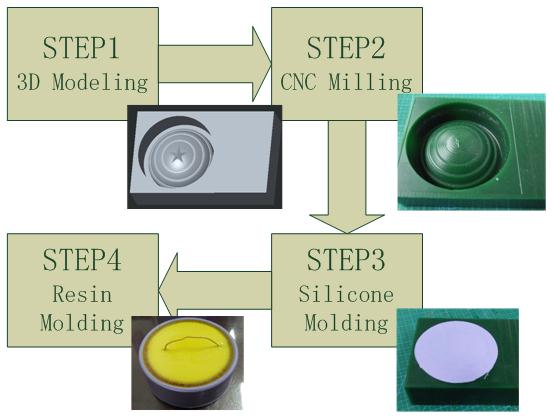
Part 1 3D Model Design
- The model be milled can be design in one part, and also can desig by two parts then merge them. It was show clearly in the picture. The final shield model and the wax, then put the shied in the wax.
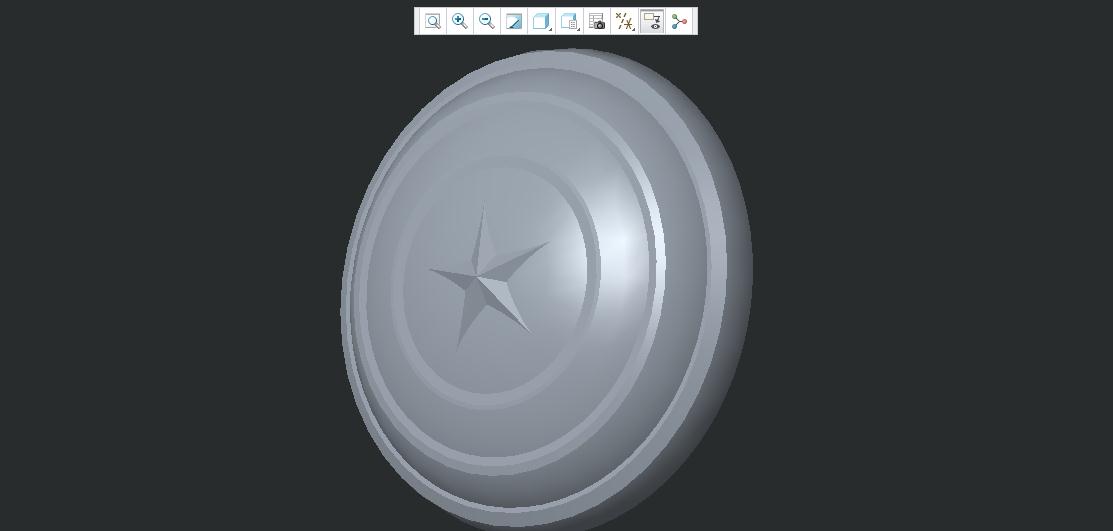
- 1. Design the shield.
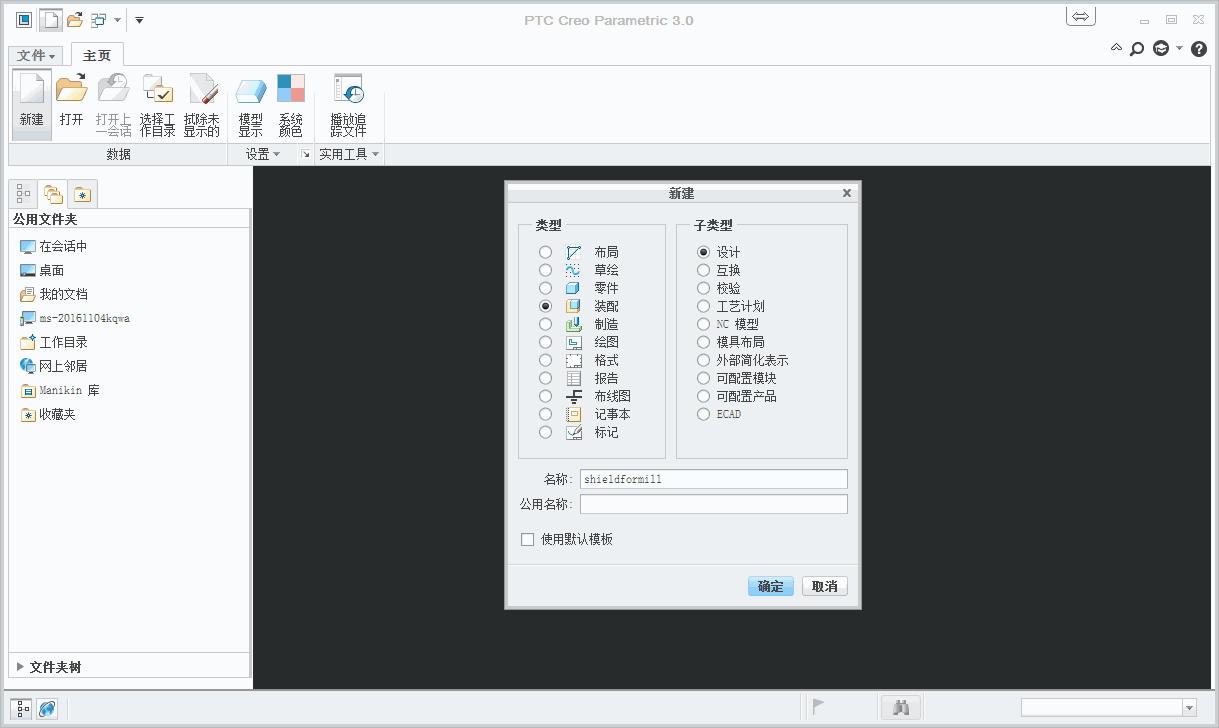
- Open 3D model software Creo and design the shield.


- After chamfer the final shield was degined.
 Shield Download
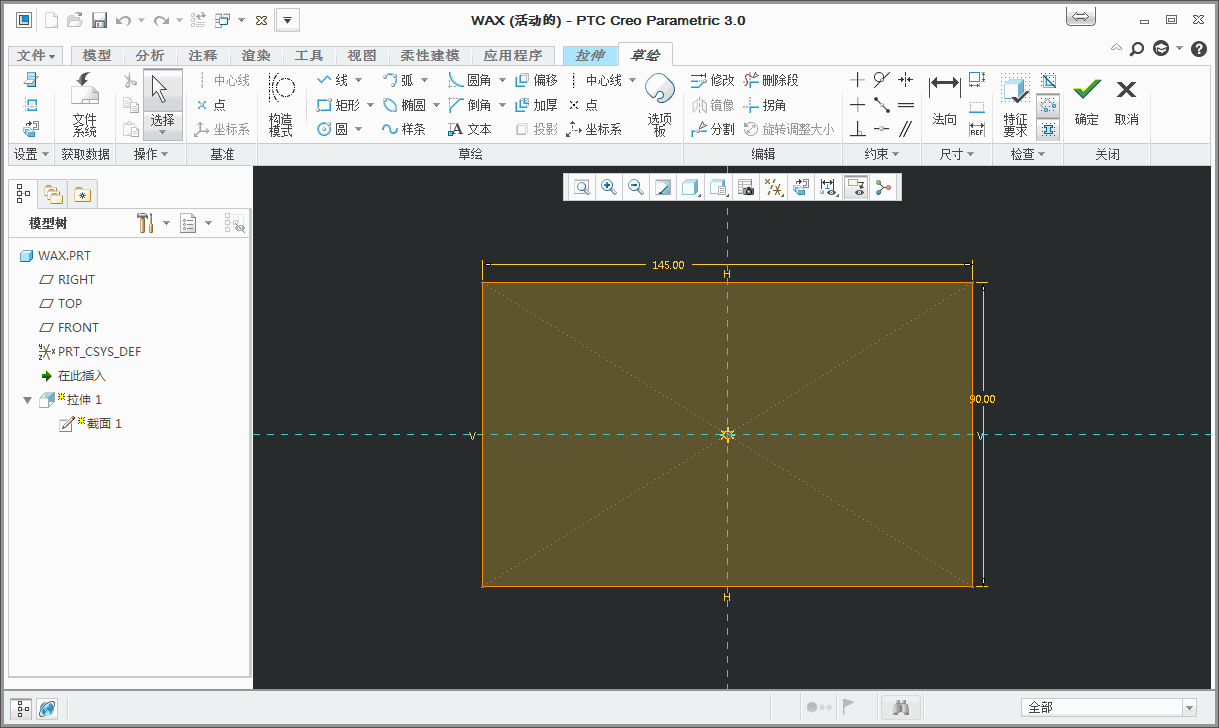
- 2. Design the wax.
- The wax size is 145*90*34, the biggest diameter of cylinder can be set as 80mm. Because 5mm distance from the edge must be leave.
 Wax Download
- 3. Combine them, and export stl
- New a asm file, import wax.prt and fix it, then import shield.ort and assmeble them. Combine them.
- Save the file as stl, it will be used in CNC mill software.
Part 2 CNC Mill
- 1. Open Modela Player4 import the stl and set the parameters for mill, a rough and finish milling are needed.

- 2. Preview the cutting and estimate the cutting time.
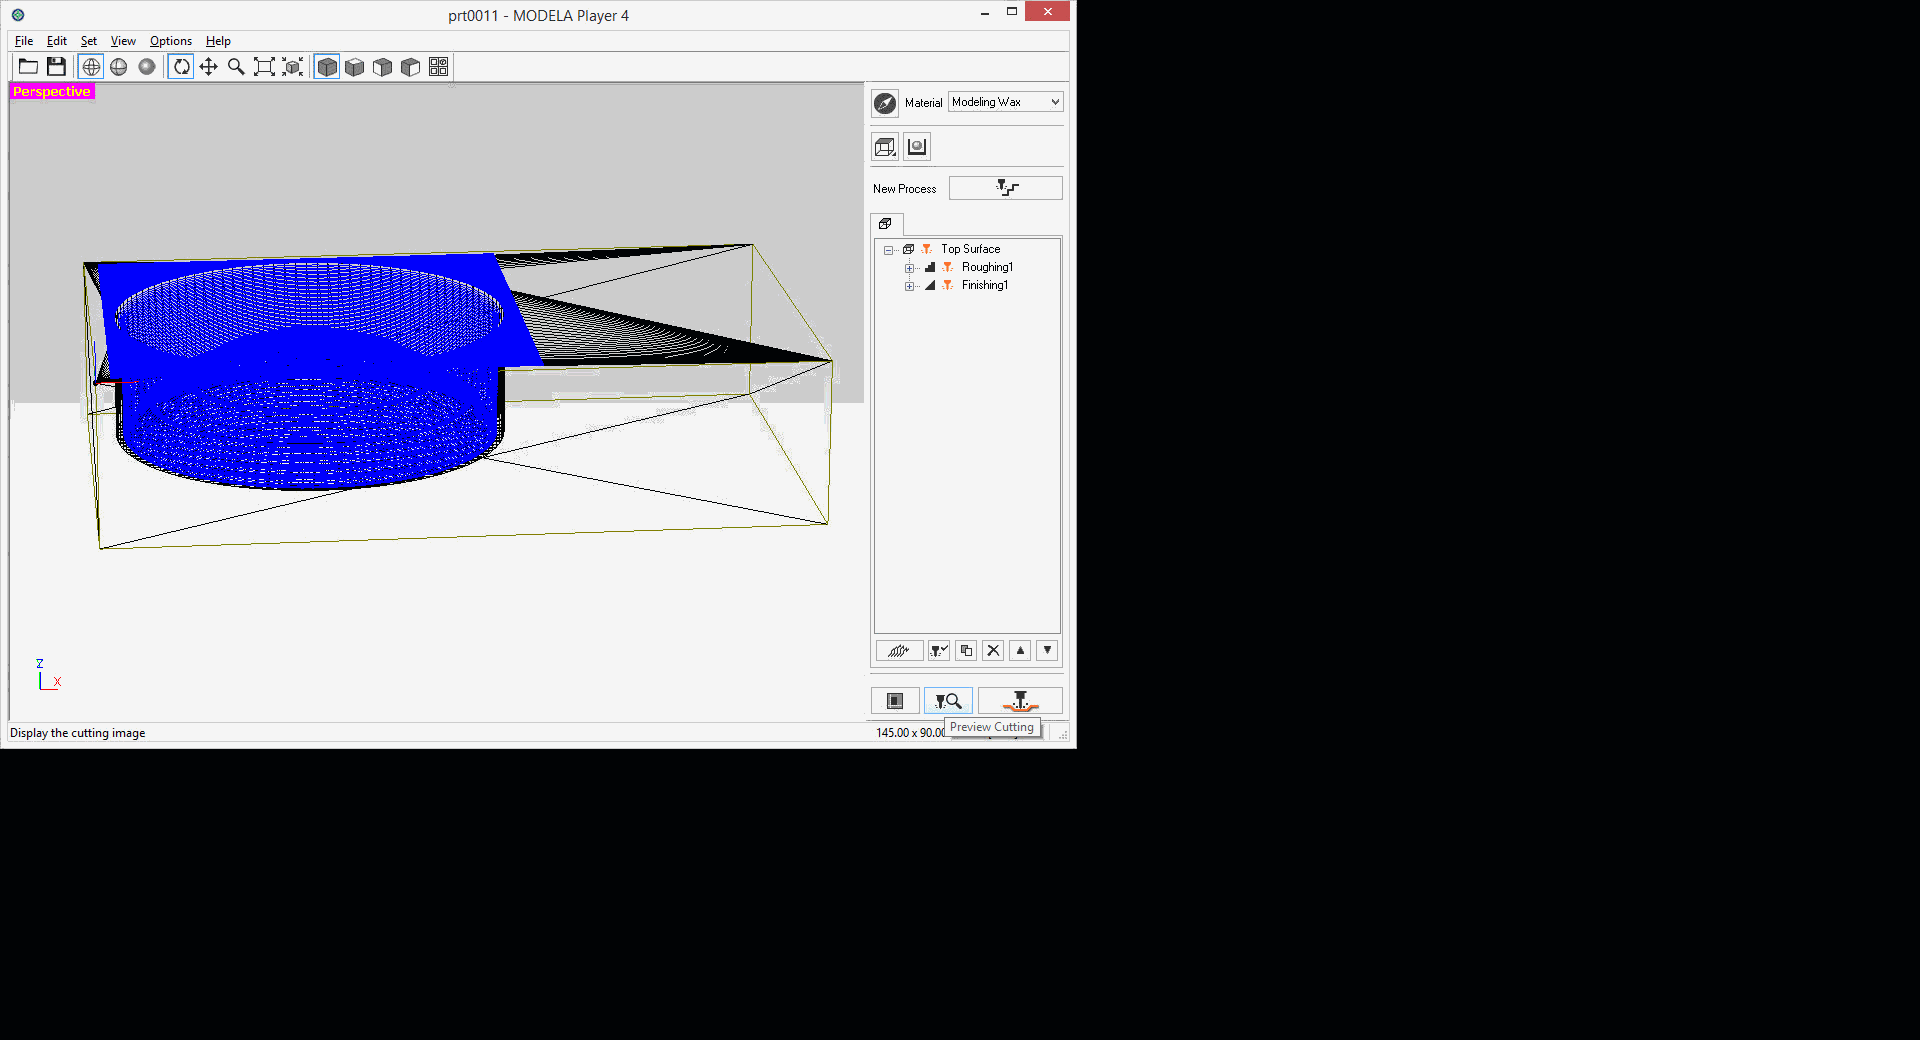
- 3. Generate the code and send to Roland MDX40.

- 4. After rough milling, a mill need change.
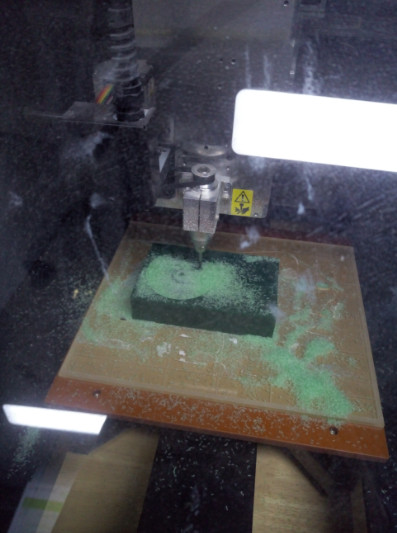
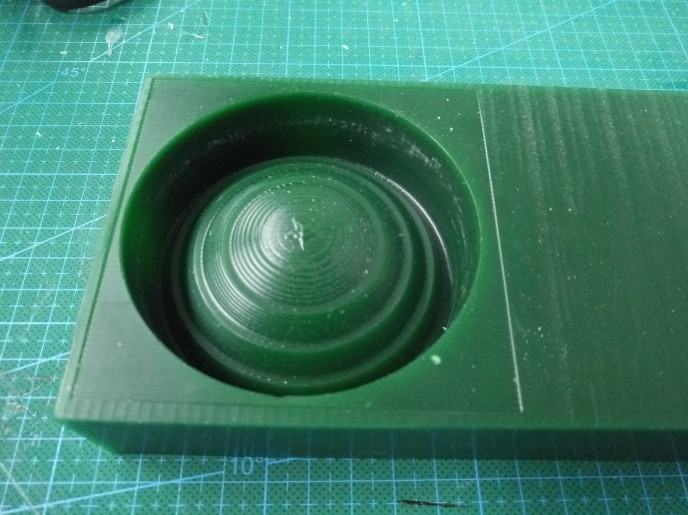
- 5. Almost 3 hours the model was milled.
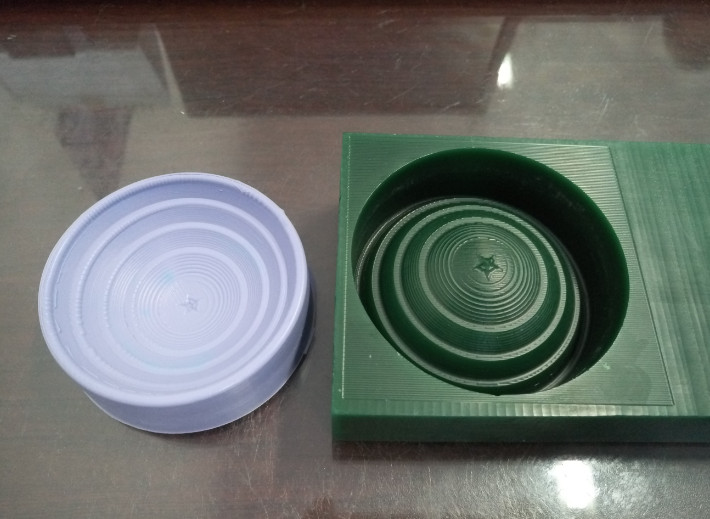
Part 3 Silicon Molding
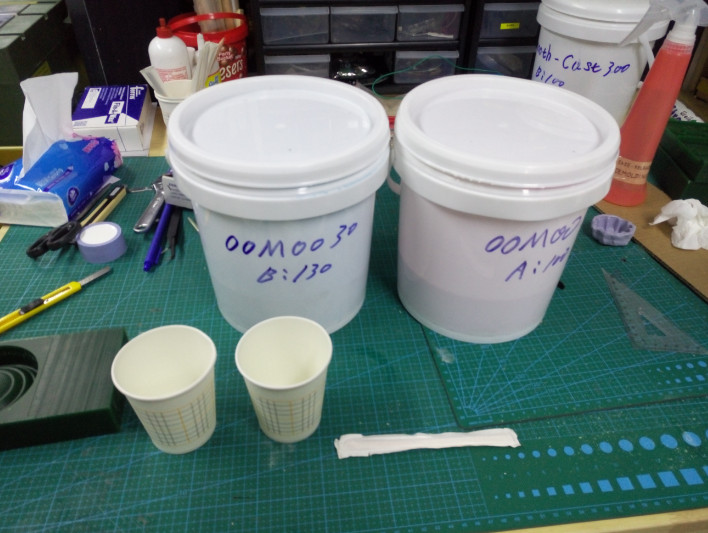
- 1. Oomoo used for molding. Two parts of them the ratio is 1.3, 65g and 50g is suitable for this model.
- 2. Stir it and pour in the mold.
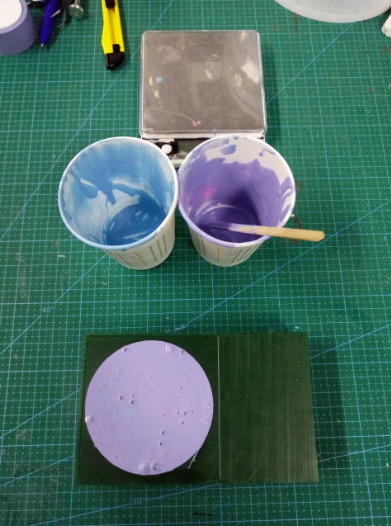
- 3.Vibrate it, the bubble can go out.
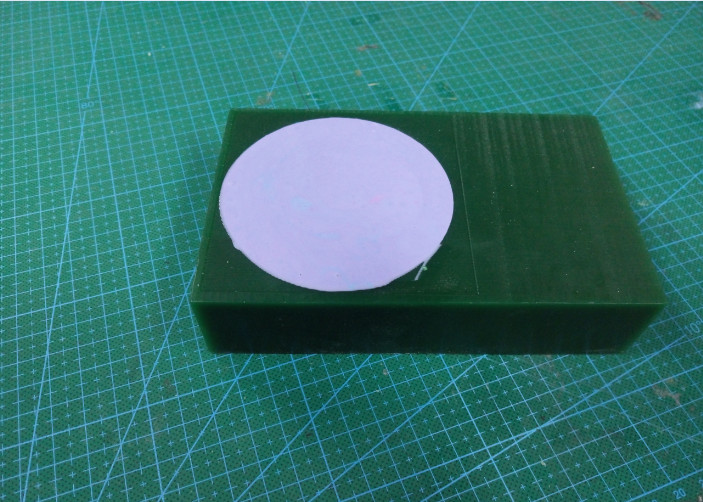
- 4.Waiting at least 2 hours, the rubber will solidifate.
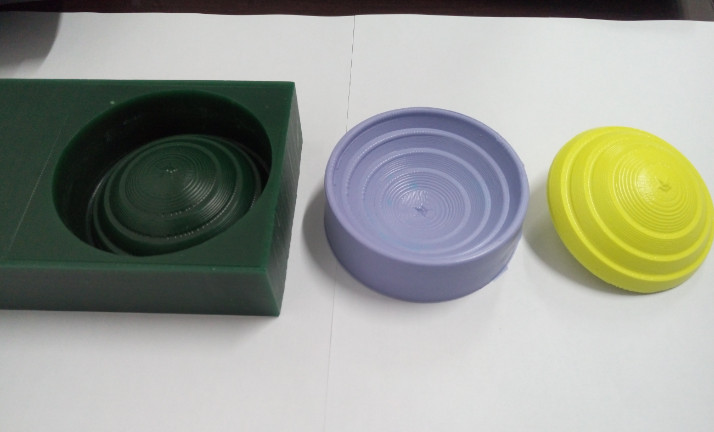
Part 4 Resin Molding
- 1. Mix the resin, the smooth contains two parts the ratio is 1.
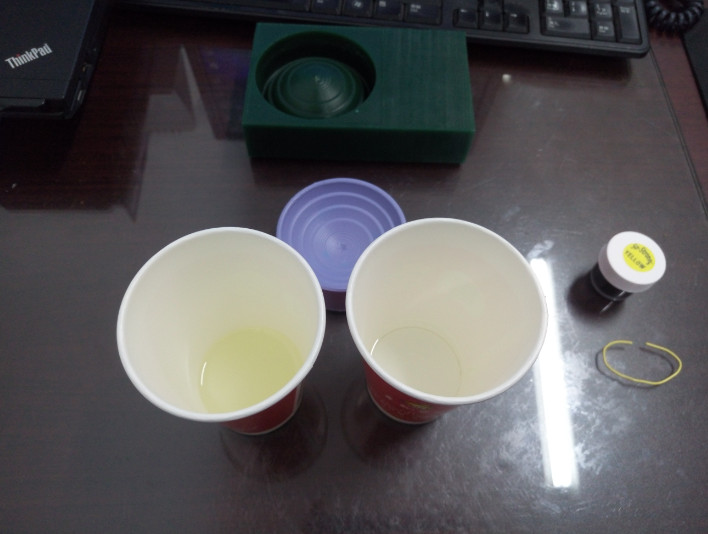
- 2. Add yellow pigment, and stir them.
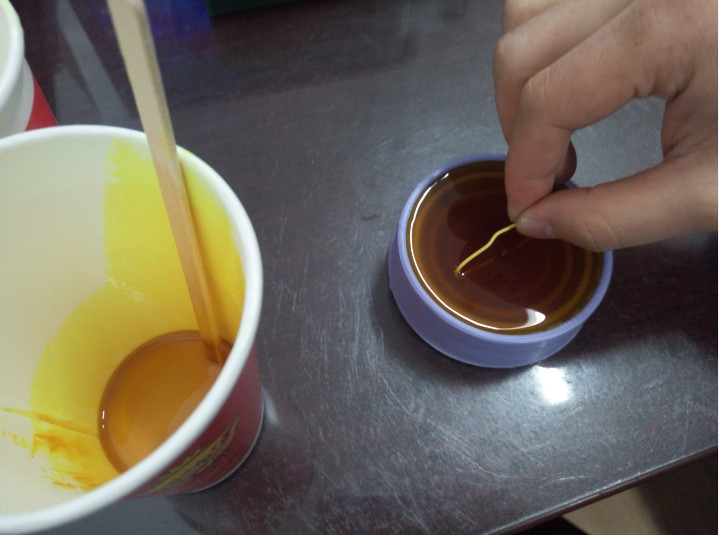
- 3. Pour them into the rubber mold. And I put a clip in the resin as the handle of shield.
- 4. The final shield.