Computer-Controlled Machining
Design
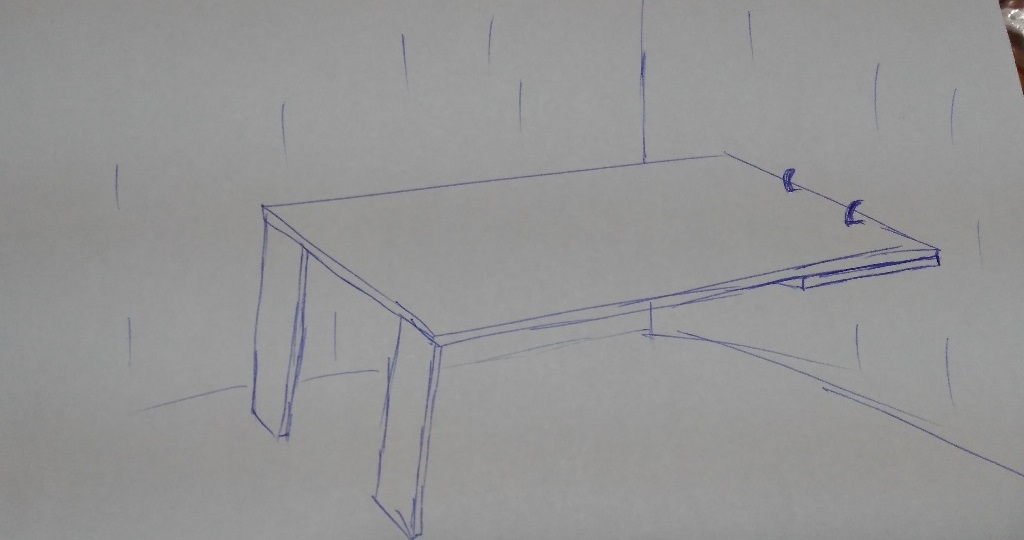
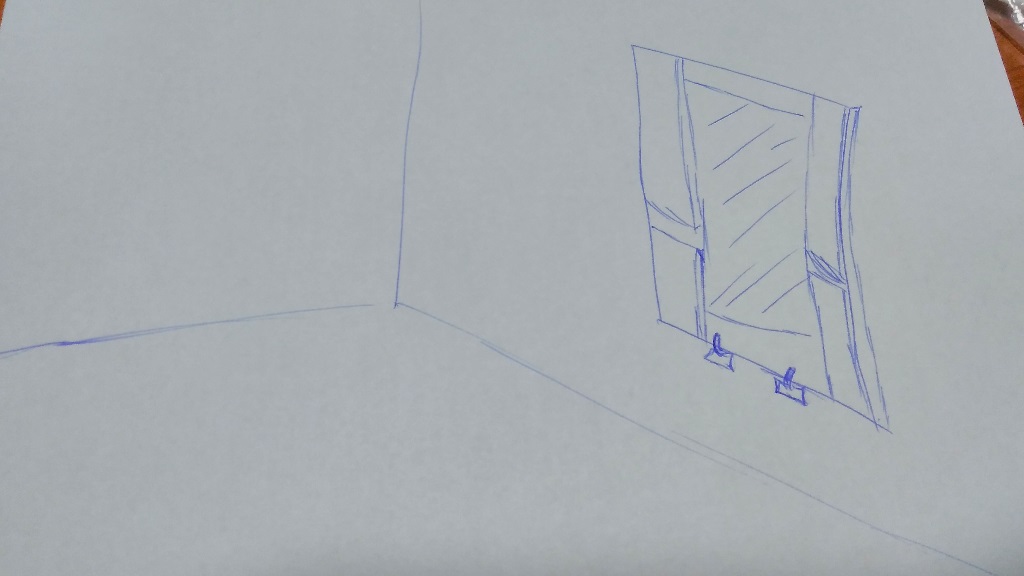
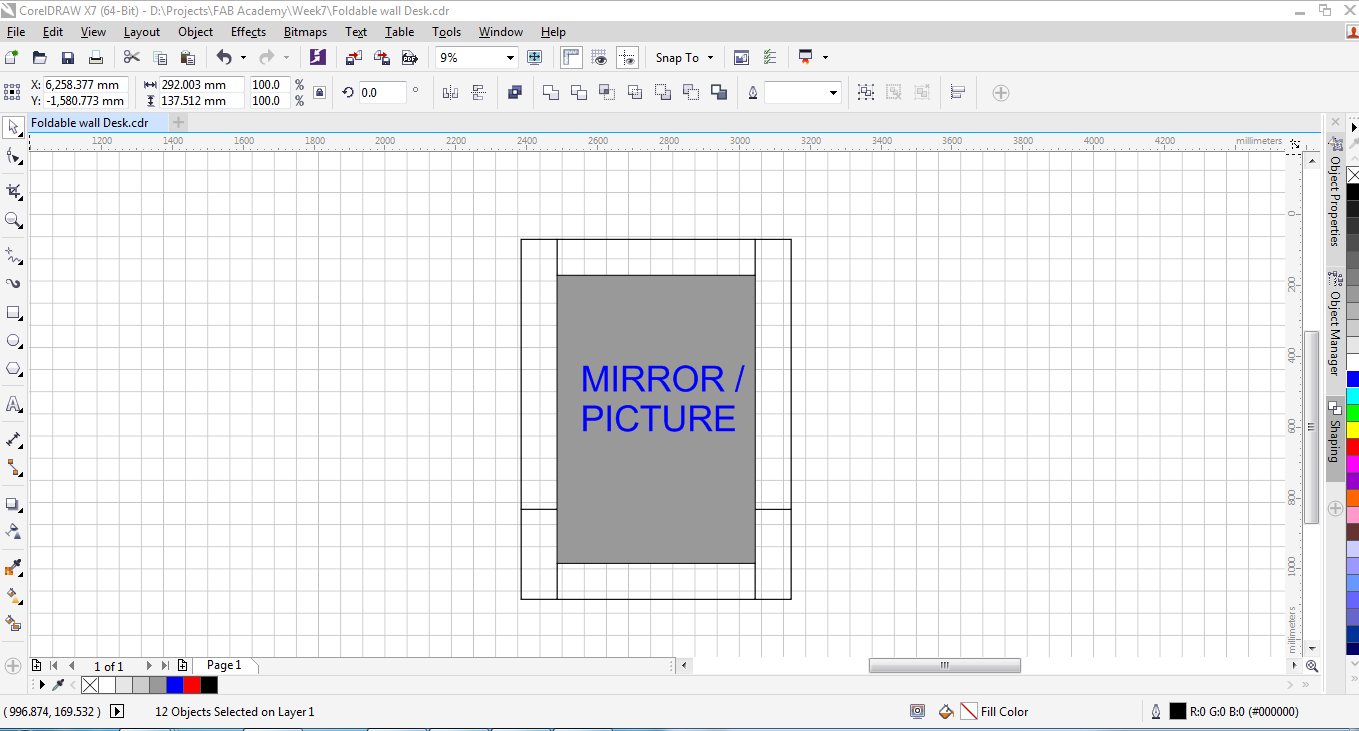
This week's assignment was to 'make something big'. For that I worked on a foldable room study desk that can be folded and hanged on the wall when not in use and ufolded when needed. Hangng it on the wall would creat space around the room, while at the same time serve as a house decor. This is because one side of it would have a mirror or an image to decorate the room.
I first did a concept sketch of the desk oon a paper efore designing it on software
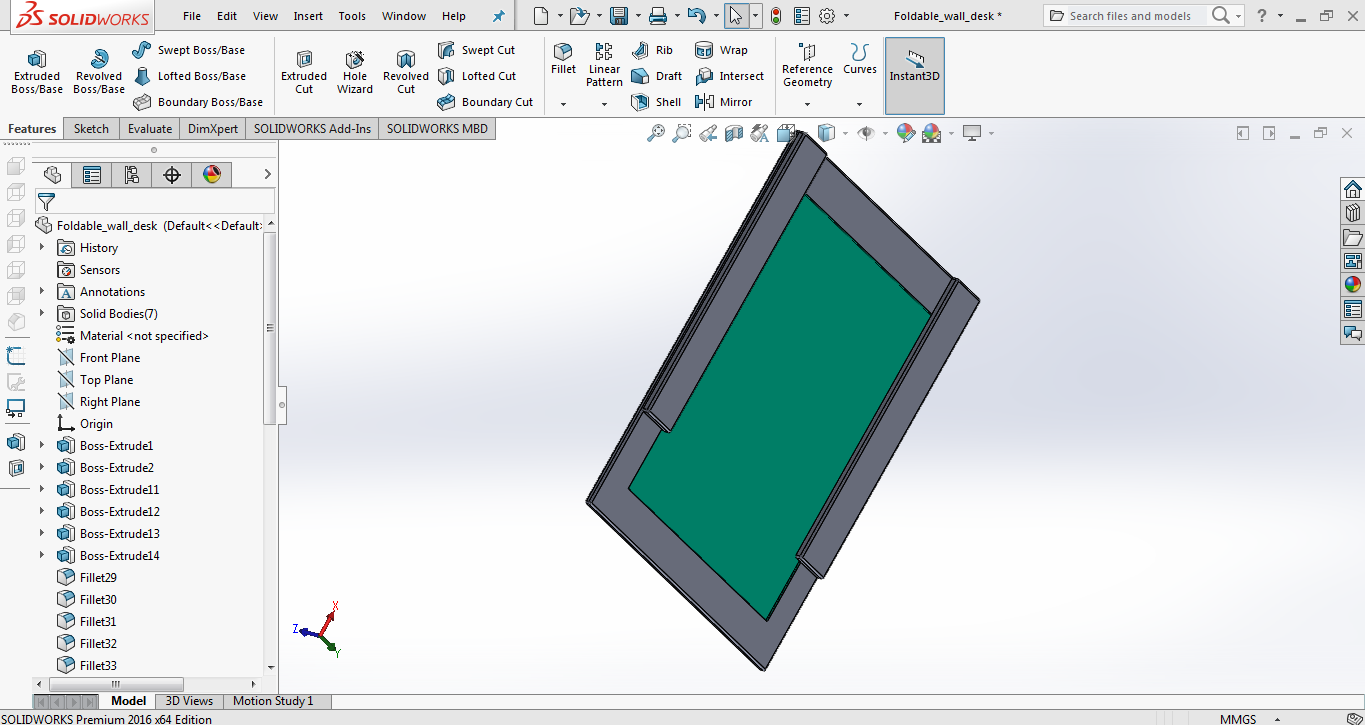
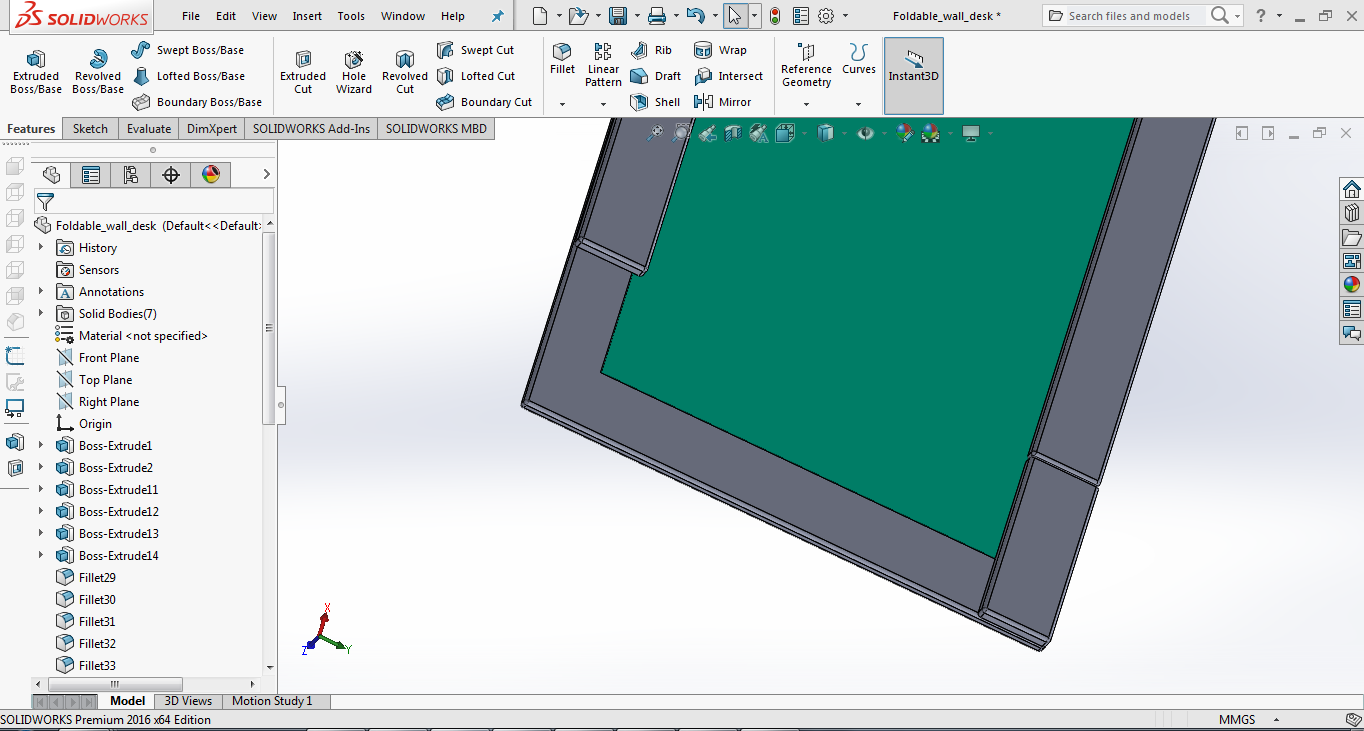
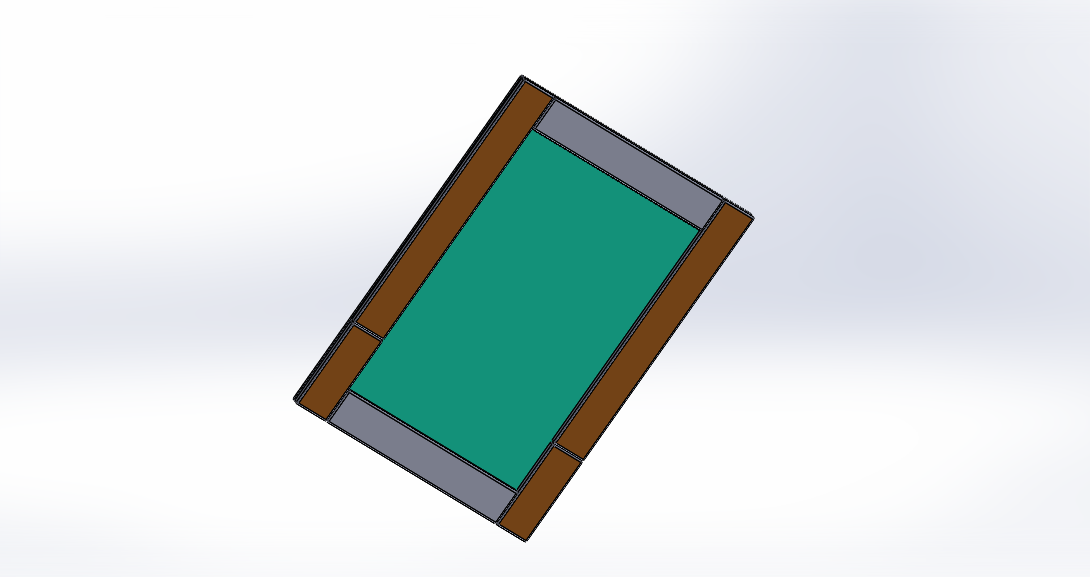
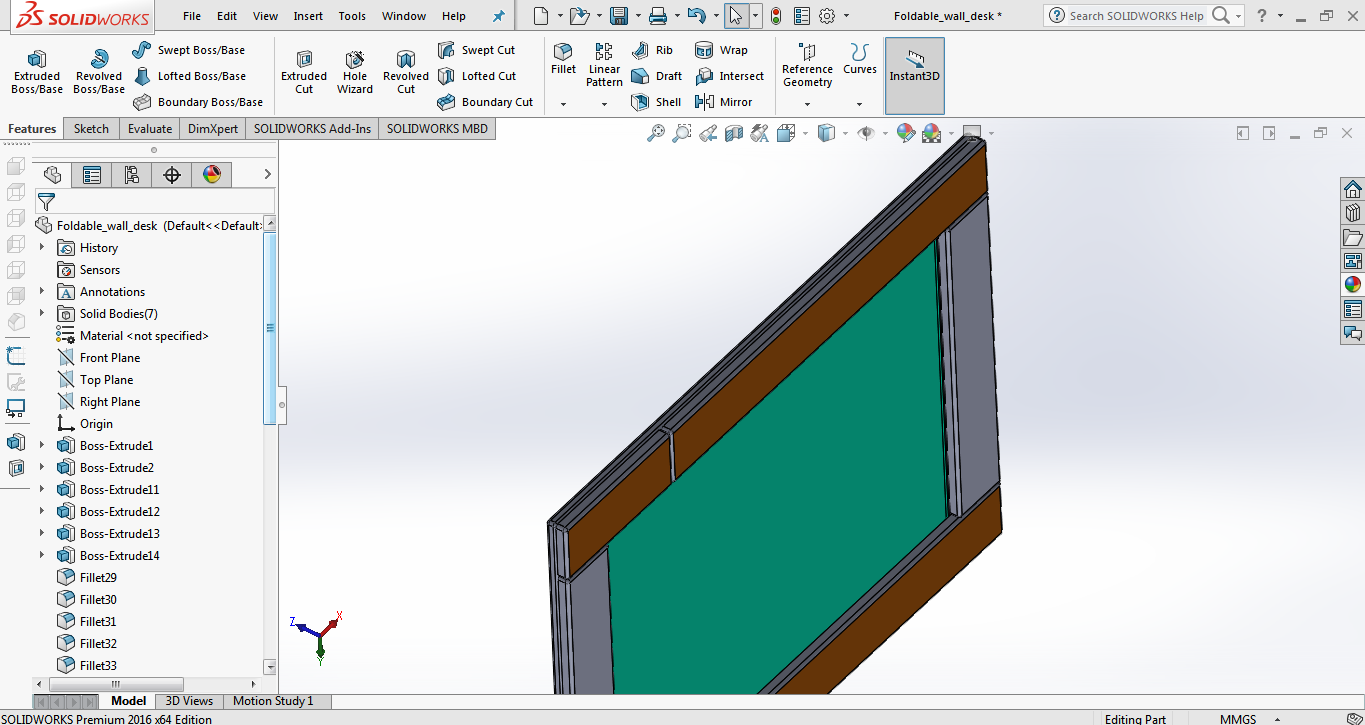
Then I set out to do a 3D design on Solidworks for a better visualisation of the concept.
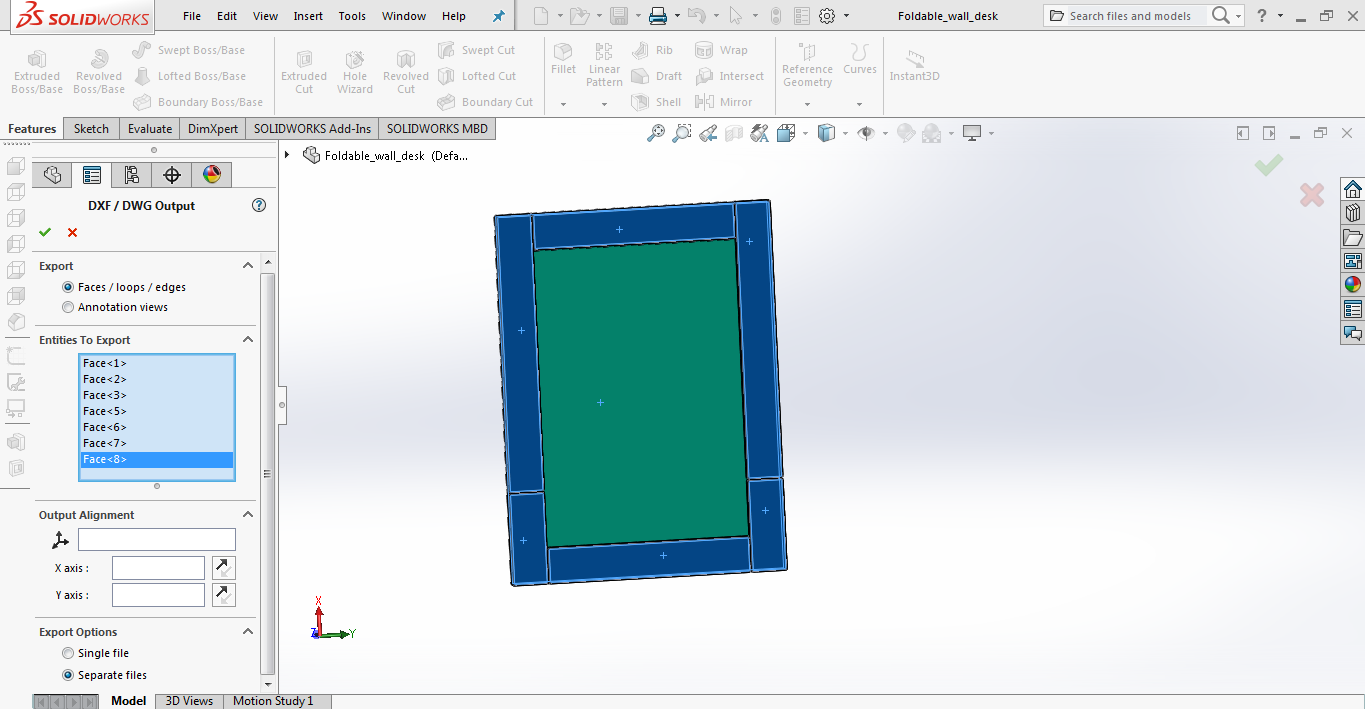
After I was pleased with the 3D design, I transfered it to corel draw for 2D files that I can use for fabrication. This is called Exporting. On solid works, the process involves:
SAVE AS --> SAVE AS TYPE (Dxf) --> SAVE
At this point a property manager will show on the left side of your solidworks window and you get options to choose;
EXPORT (faces/loops/edges)
ENTITIES TO EXPORT (Click on the faces that you want to export)
EXPORT OPTIONS (I chose separate files in order to have all the pieces independent of each other)
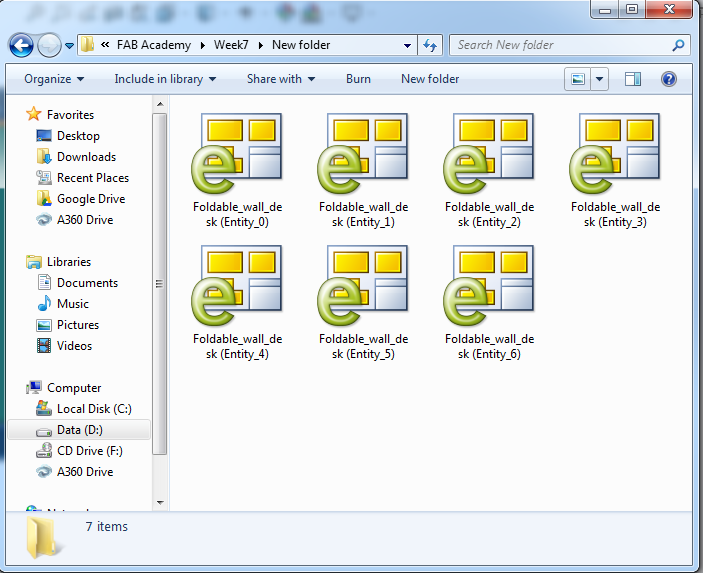
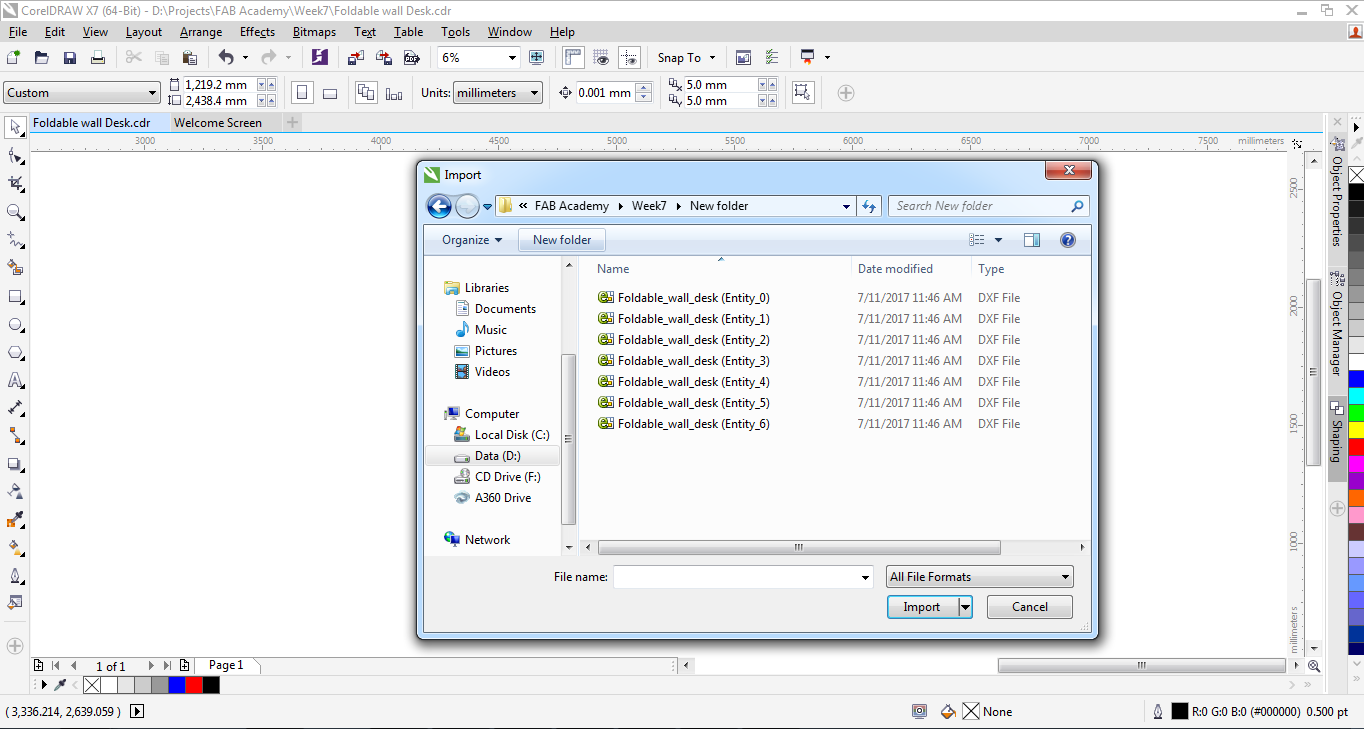
Eventually, you will end up with files like these on your specified folder
In order to get it into Corel Draw, I had to import the dxf files to corel draw. This is the procedure;
FILE --> IMPORT -->(choose file location).
Alternatively, you can drag and drop the file to Corel Draw.
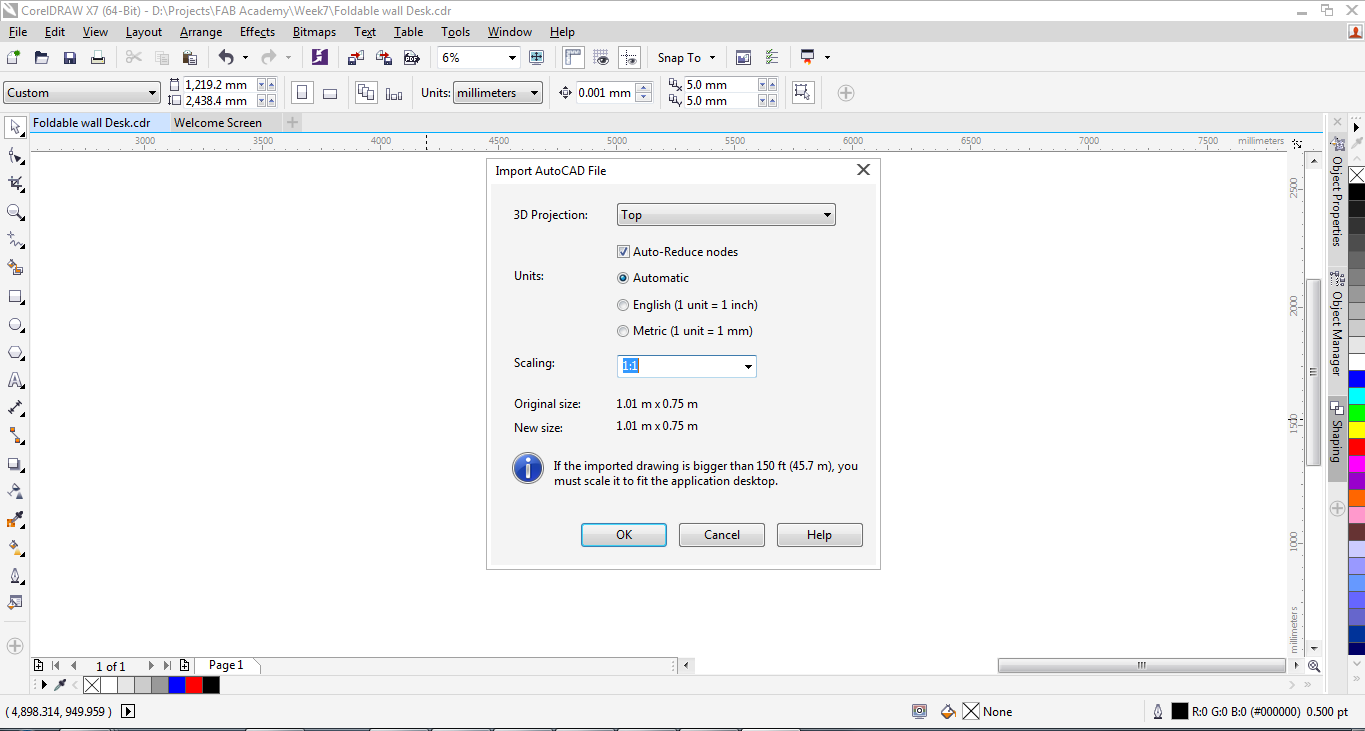
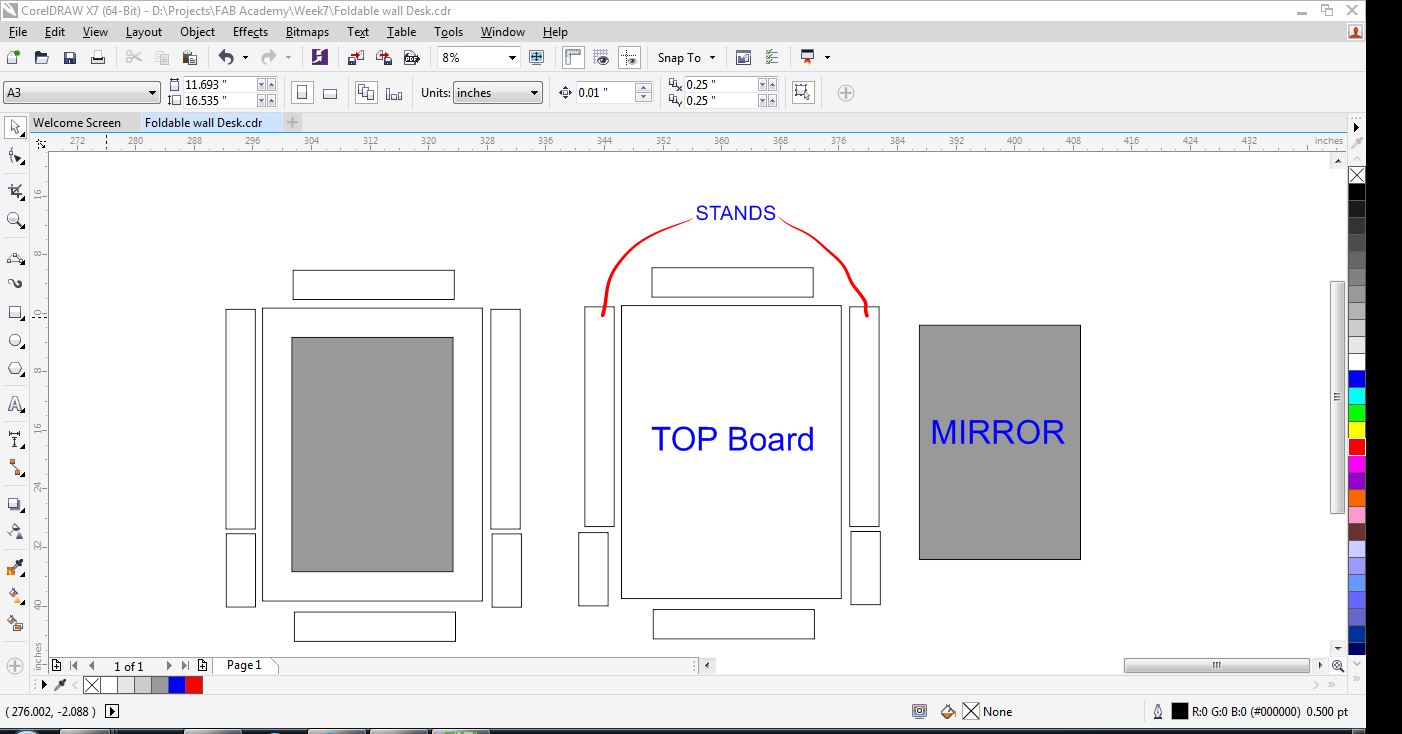
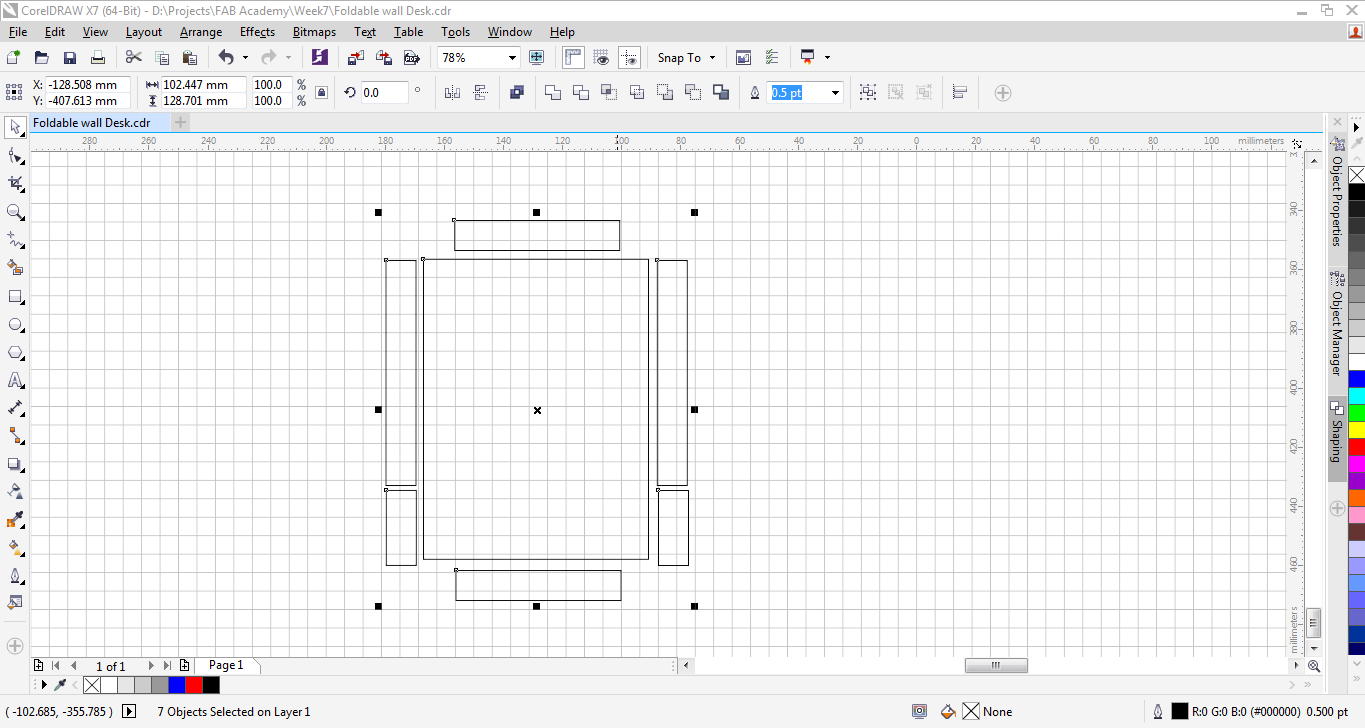
After choosing the scale I got all the files on corel draw and started arranging them in preparation for laser cutting.
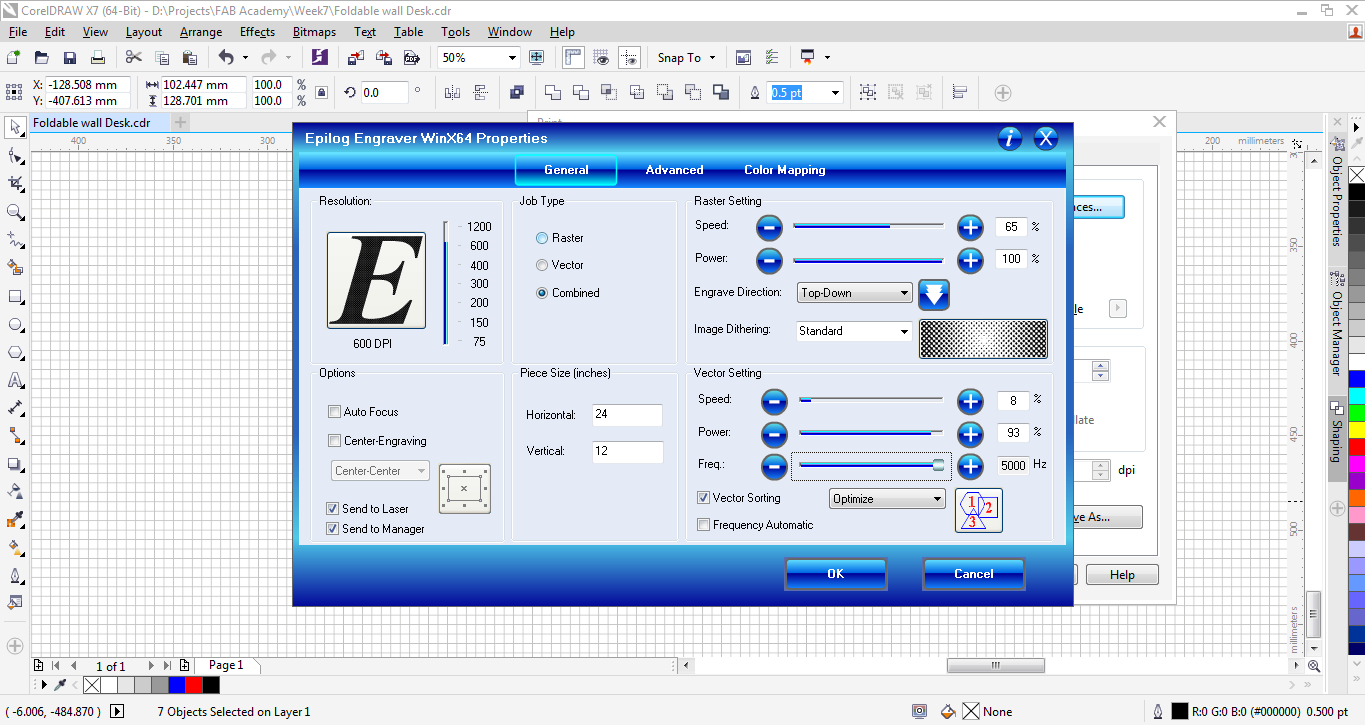
Laser Cutting
I used the laser cutter to create a minature version of the table and to be sure that my design was well done.
So I scaled down my corel draw desing by 90% to a smaller size that could be cut fast but at the same time prove the integrity of the design.

Machining
It was time to make my design a reality. I chose to work with MDF material than plywood because plywood is quit hollow inside and therefore may not form a stronger furniture equipment compared to plywood
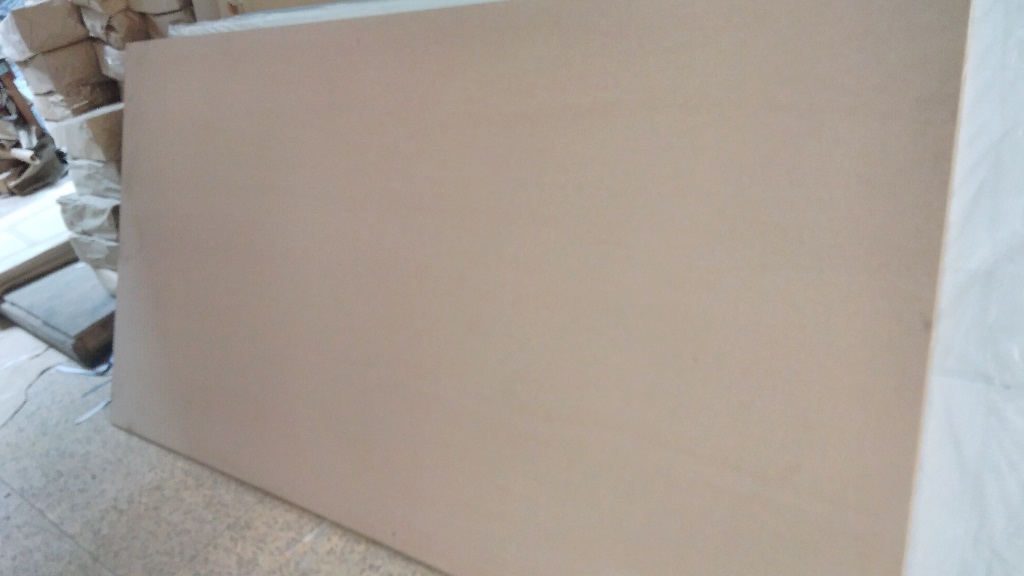

So I set the machine ready for work. I first placed a sacrificial material on the machine,s bed. This is a sheet of material placed on the machine to prevent the milling bits from milling through the metalic structure which may cause them to break.
Then I placed a fresh 8ft by 4ft material on the machine's bed and made sure that the orientation is well balanced. I then nailed the board on the sacrificial to ensure that it does not move at all during the cutting process.
I needed to use a bigger size of milling bit in order to make the cutting process take less time. So I loosened the collet quite a bit and I was able to remove the 1/8" milling bit initially mounted and I replaced it with an 1/4" bit
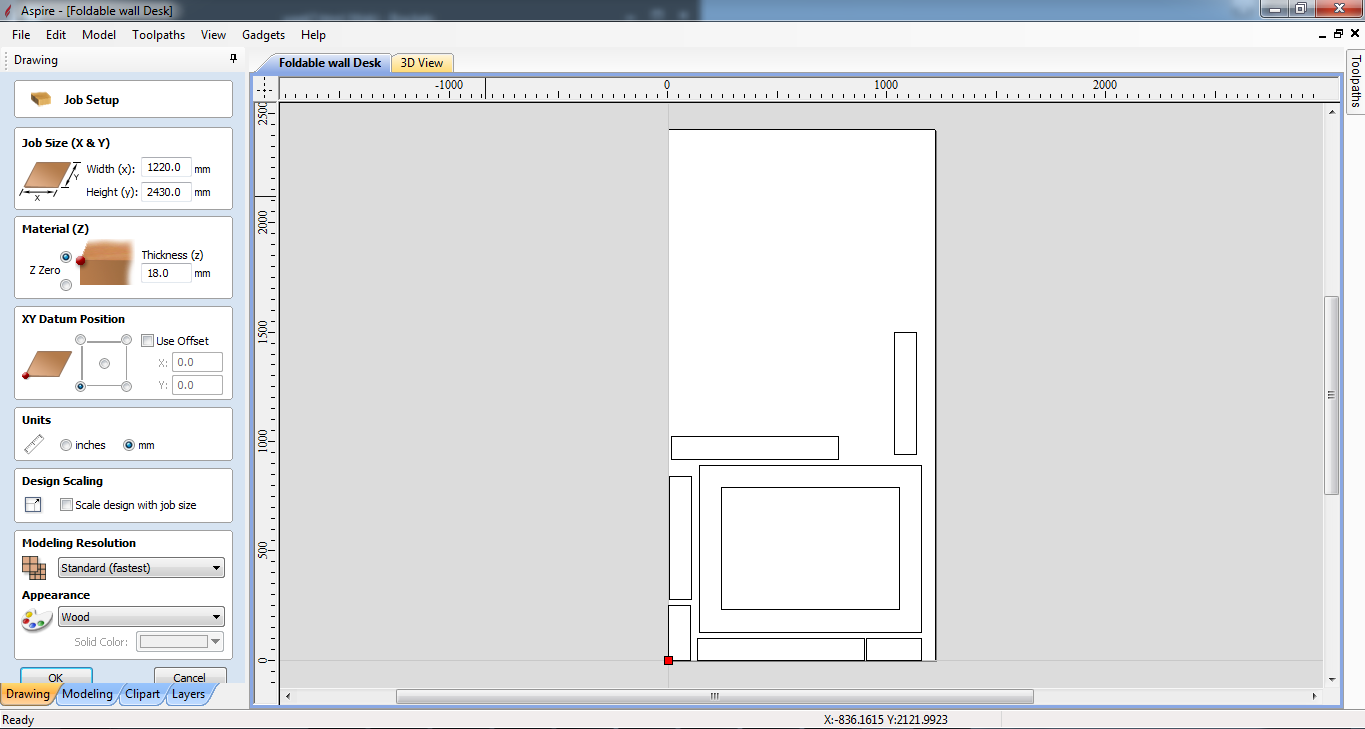
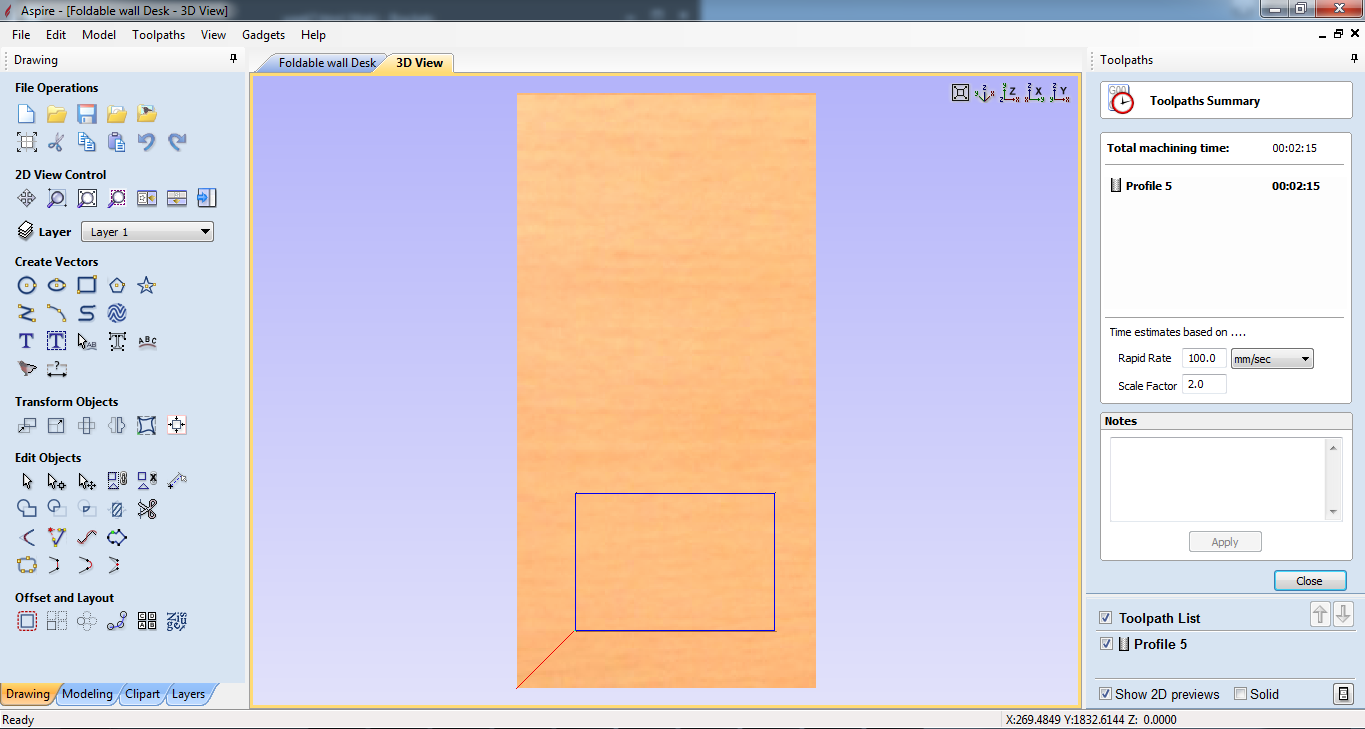
I simulated and calculated my toolpaths using Aspire.I did this by first exporting my design from corel draw in pdf format and importing it to Aspire. I specied te machine ize and material thickness
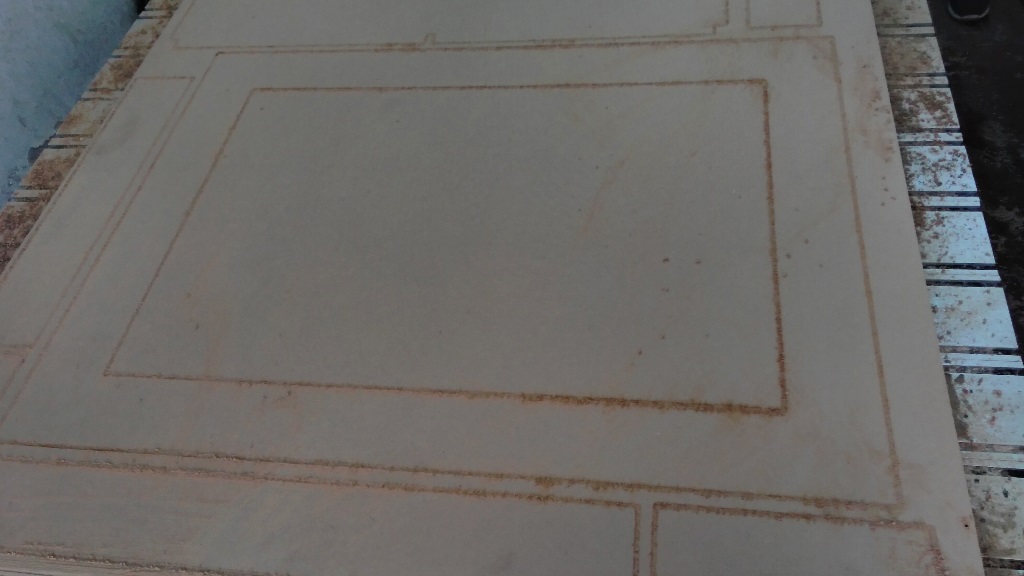
I then selected the middle part that I wanted engraved to a 6mm depth. I specified a 1 pass to save on time for thart part.
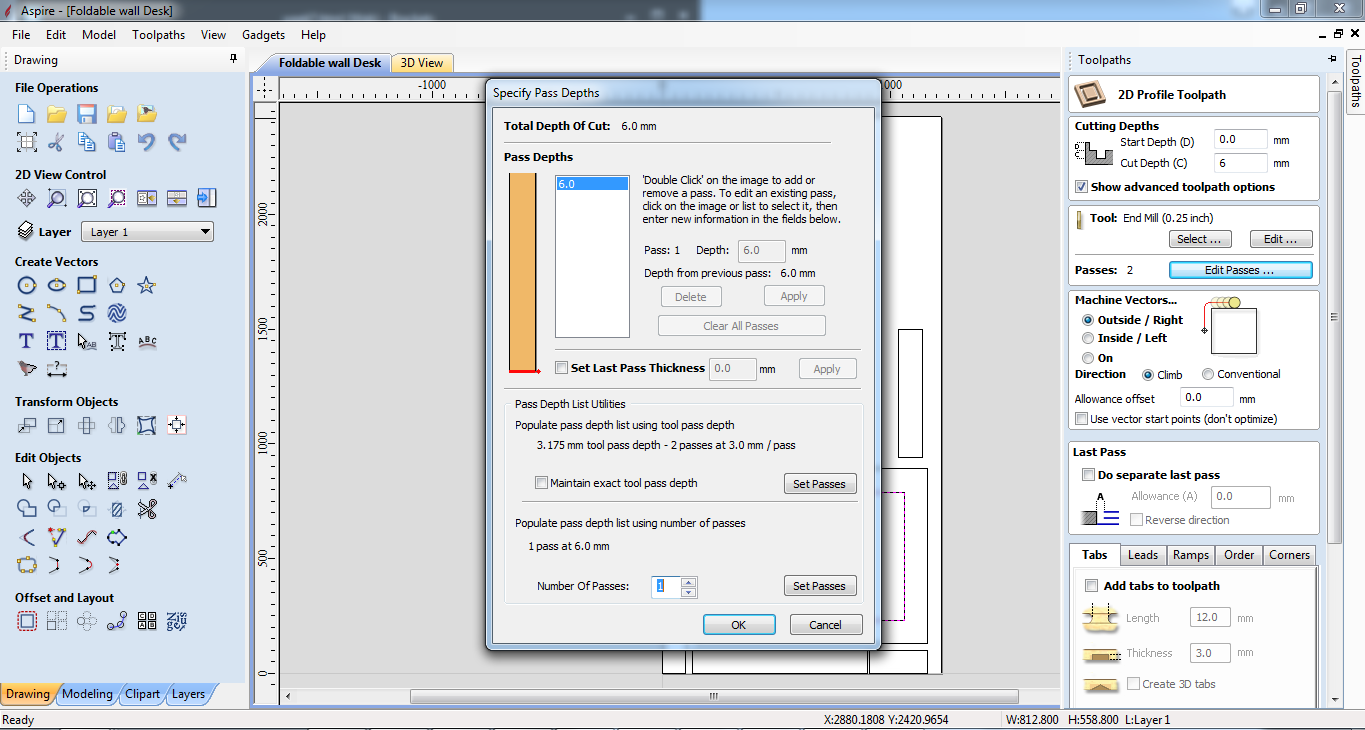
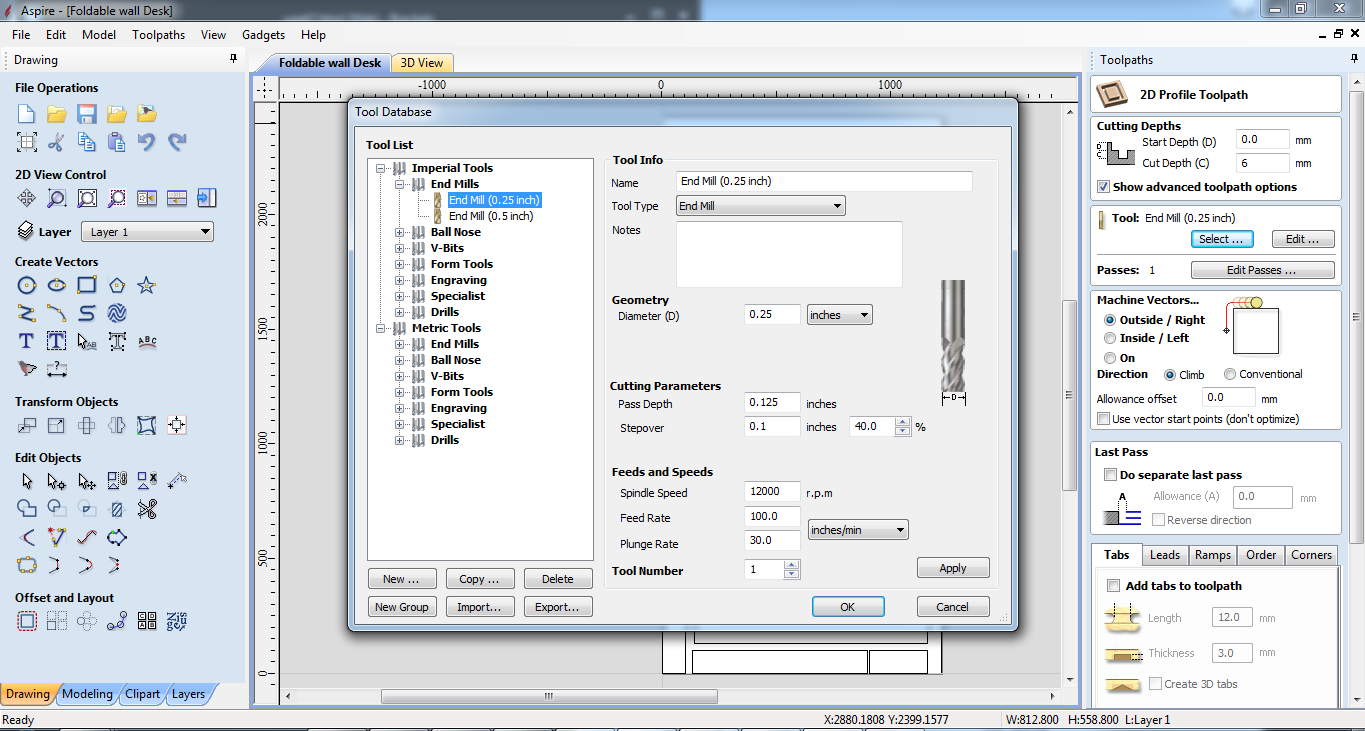
I aso specified the size of milling bit I was going to use, 0.25"
I calculated the path and that part was going to be cut in 2 minutes.
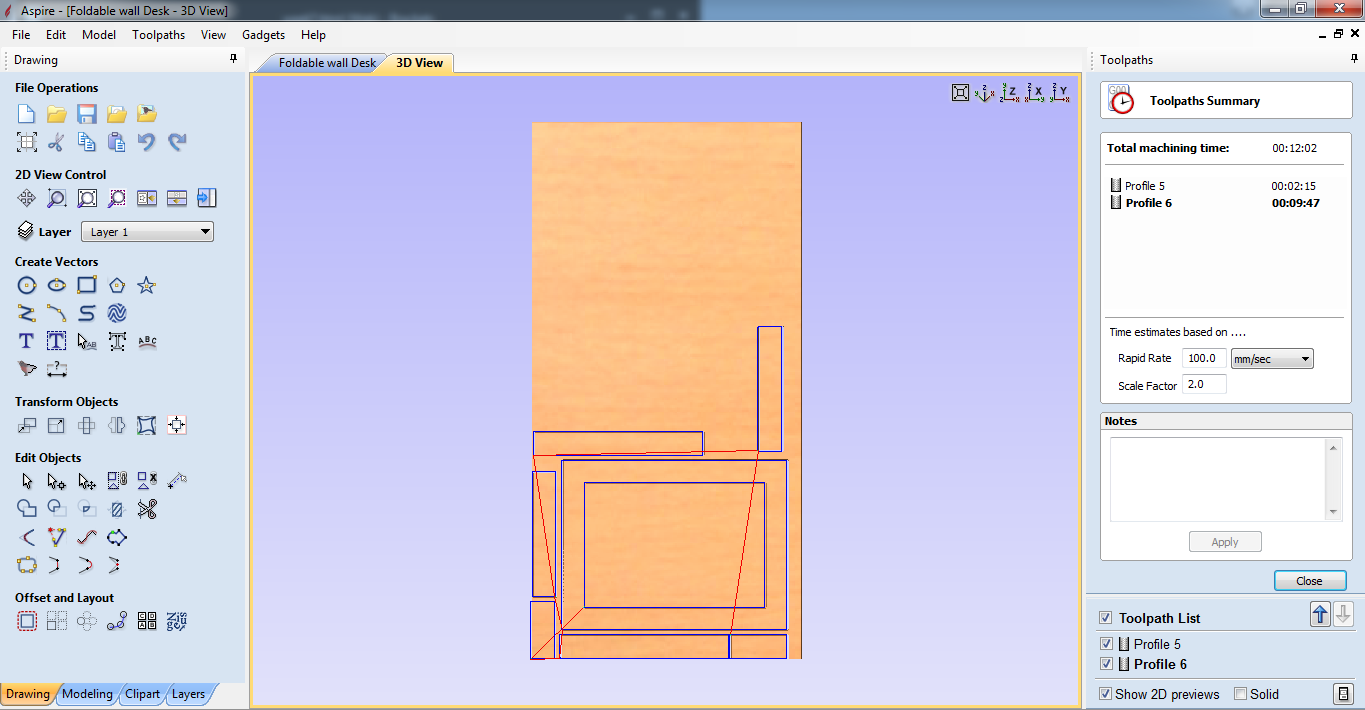
After this part, I selected the rest of the pieces and specified one pass only for cutting through them. I calculated this profile and it would take 9 minutes only.In total I cut my pieces in 12minutes.

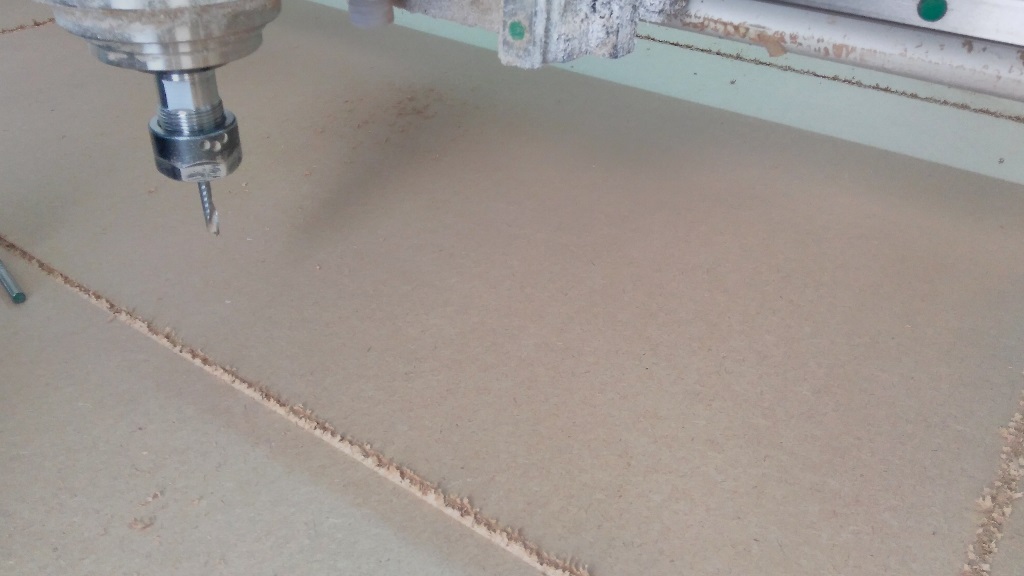
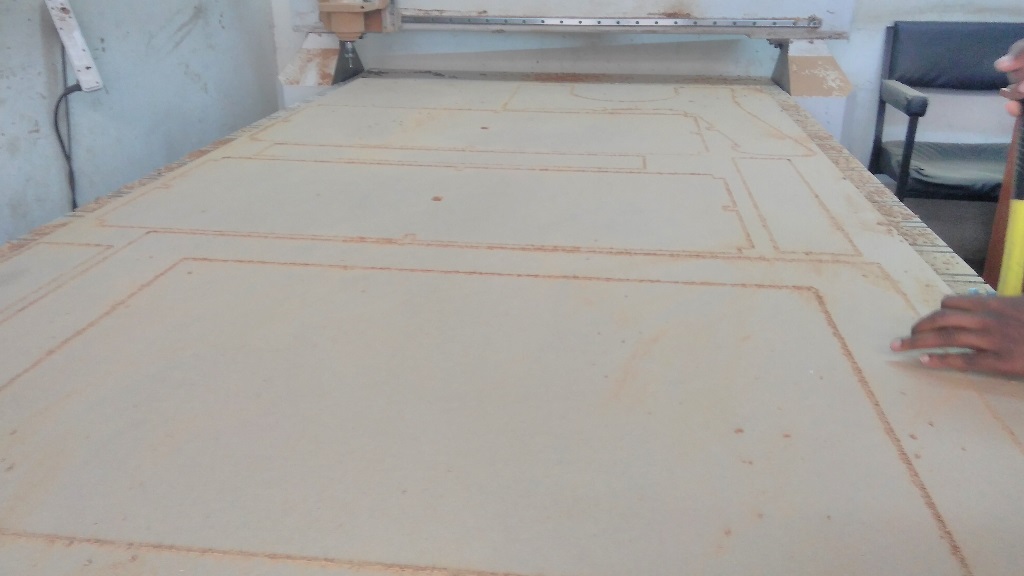
I then sent the design to the machine and got the parts cut out
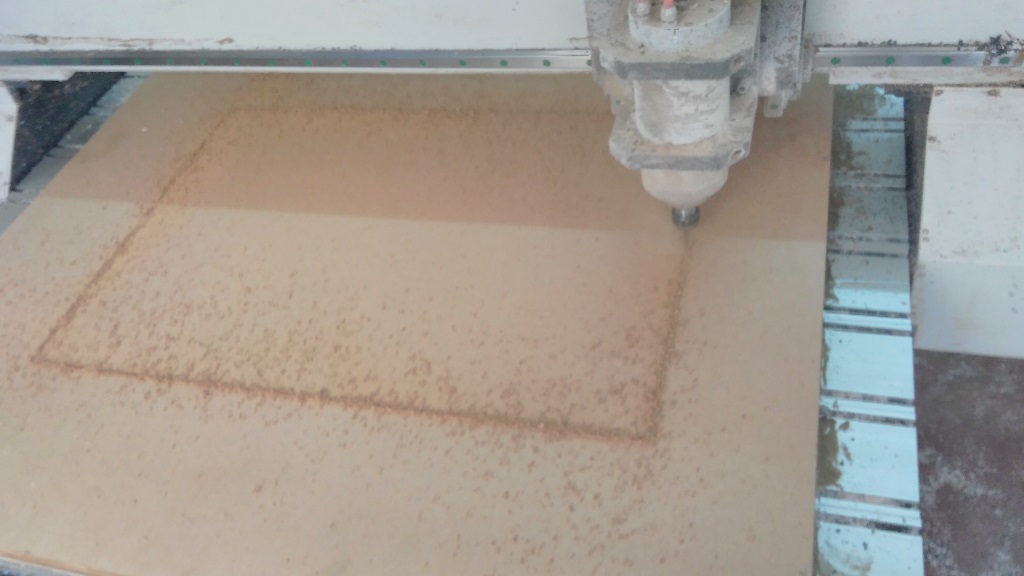
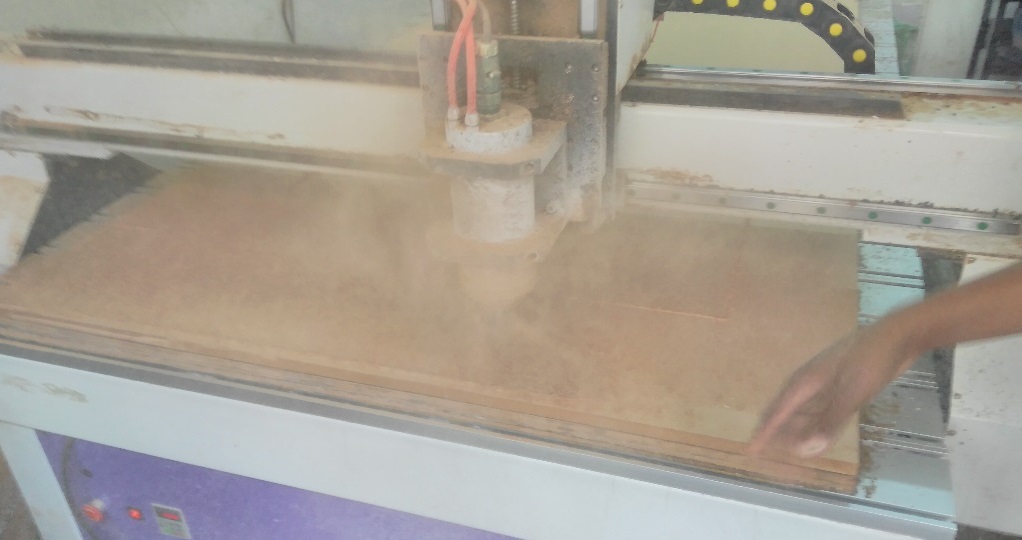
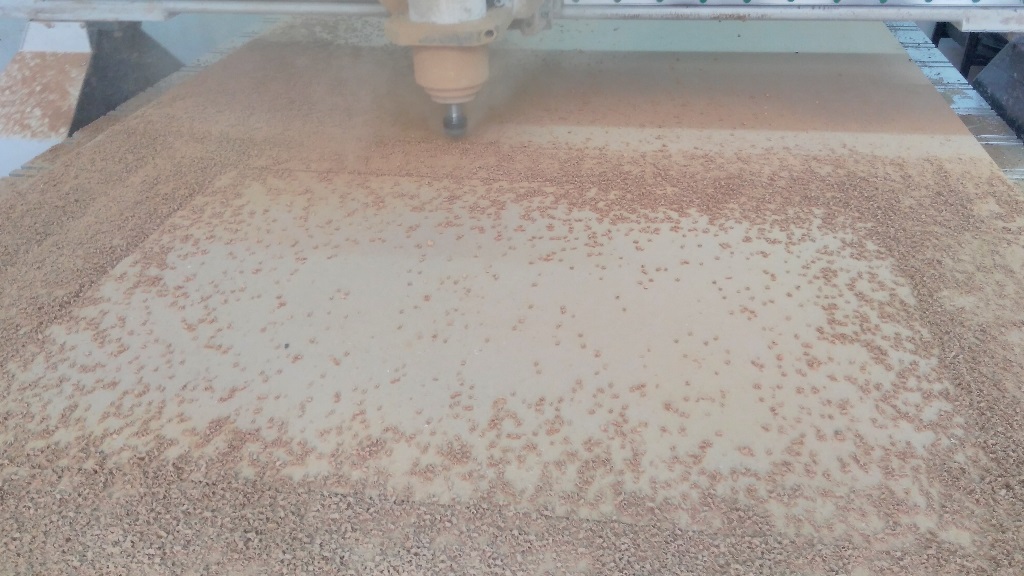
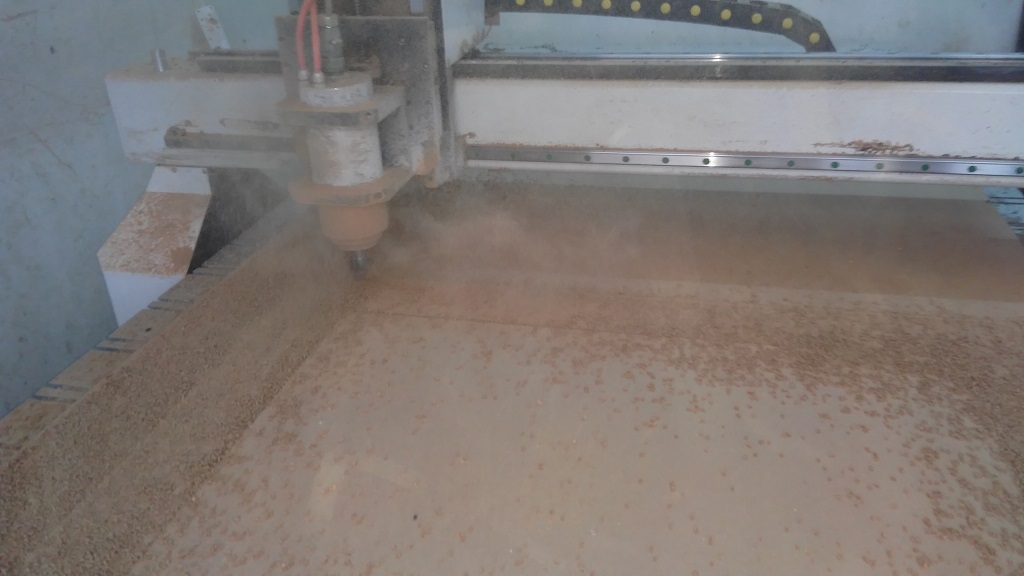
MDF generates alot of dust when milling. It is important to have your dust coat on while working with mdf material.
Within afew minutes the parts were done and It was time for assembly.
Assembly
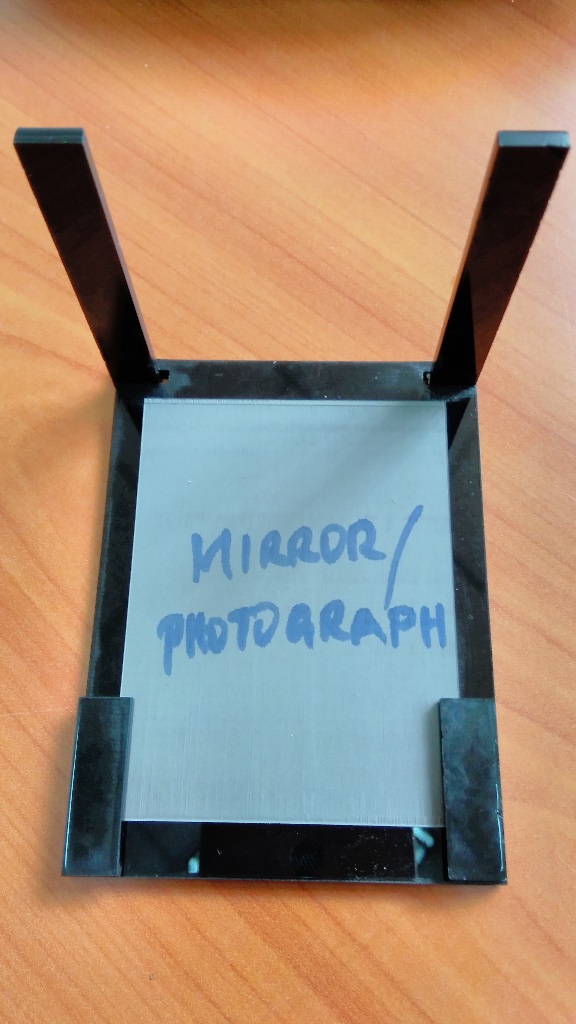
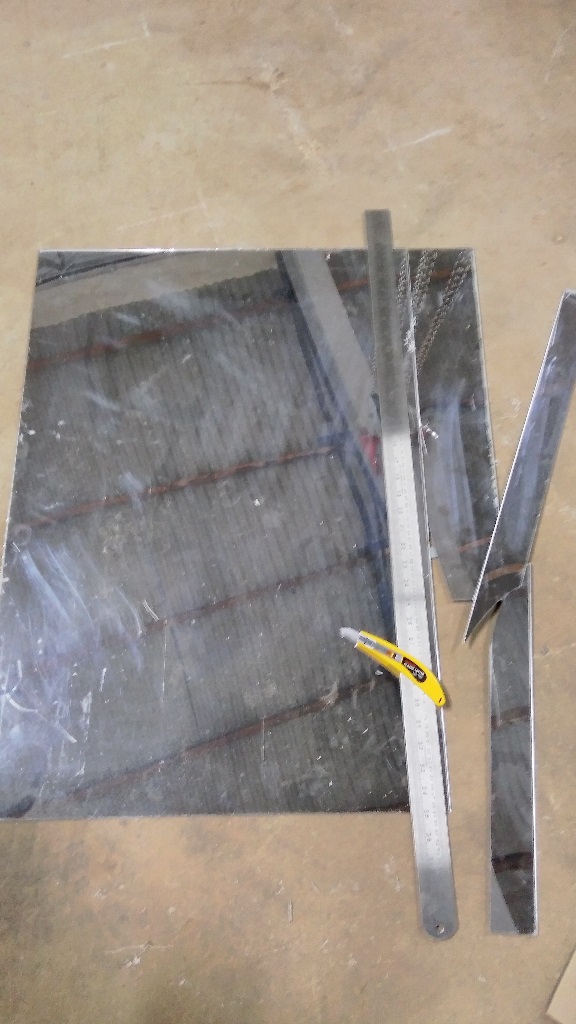
I started working on this part by preparing the mirror that has to be mounted at the center of the desk. I used an acrylic mirror, so it was quite easy to trim it to size using a cutter and a metalic ruler.After that I mounted it on the top board.

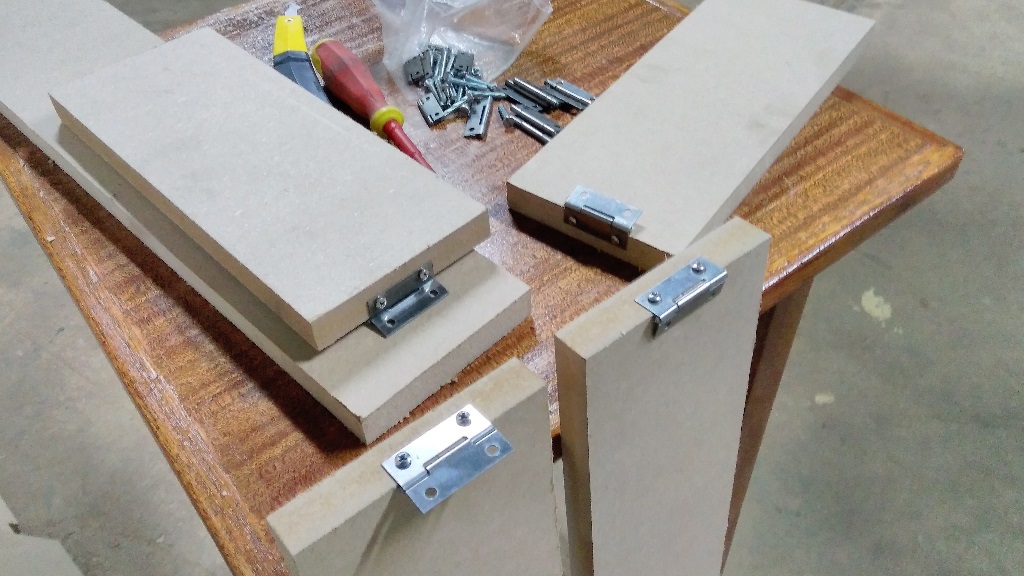
I then used some hinges to stick the stands to the top piece. and eventually put all the pieces together, both the movable parts and the parmanently locked ones.
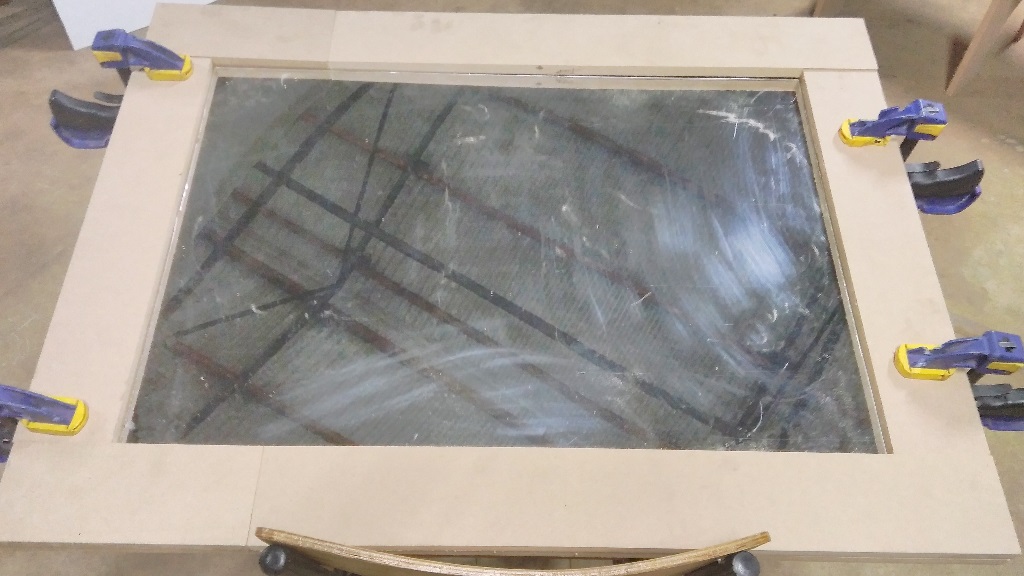
The top and bottom frames are parmanent to firmly hold the mirror in place. I therefore stuck them up with wood glue and gave them a moment to stick. I used machining clamps to apply some pressure
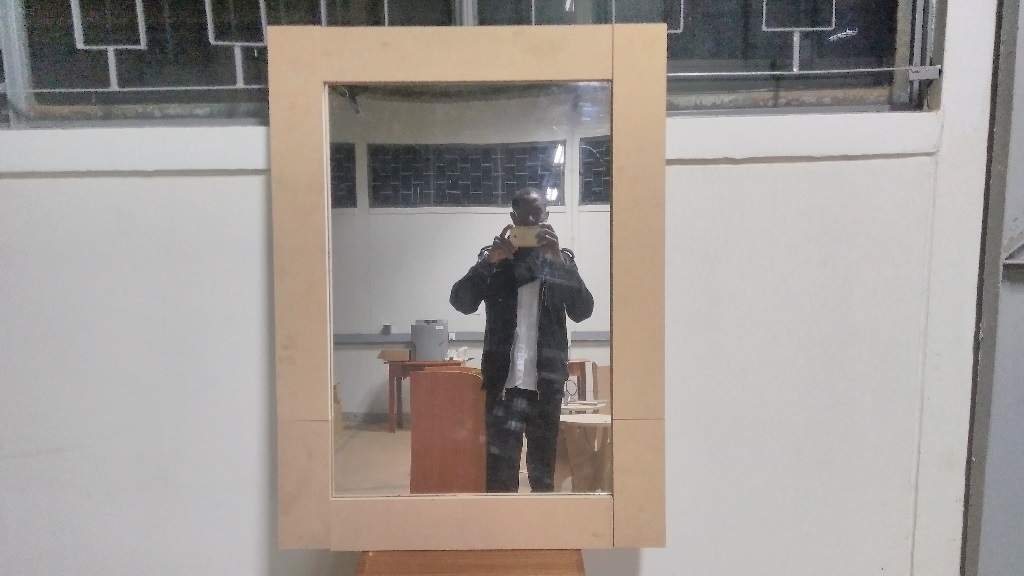
Eventually I had a study desk that could be hanged on the wall with hooks and a beautiful mirror on it.
Download files:
Foldable_wall_desk.SLDPRT
Foldable_wall_desk.cdr