3D Scanning and Printing
3D Printing is an additive manufacturing process that creates a physical 3 dimentional object from a digital design by adding material layer by layer.
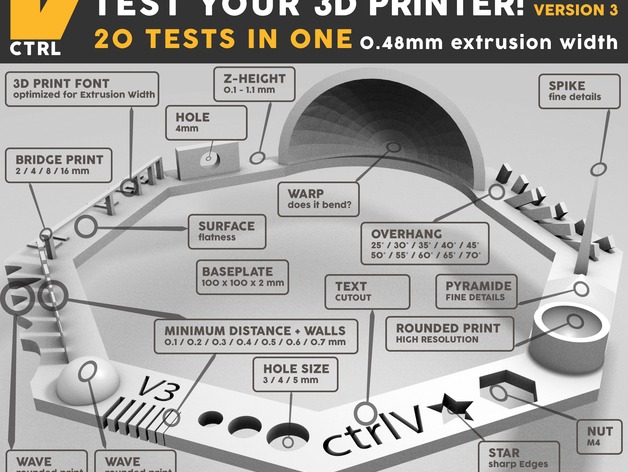
3D Printer Test
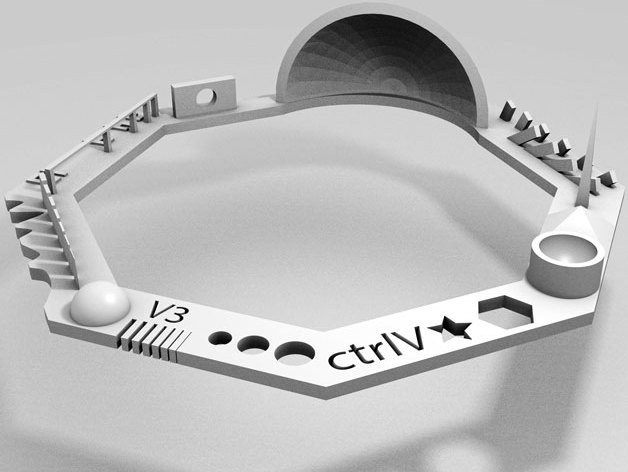
To conduct tests on the design rules of our printer I downloaded this detailed file on Thingyverse Test your 3D printer! v3
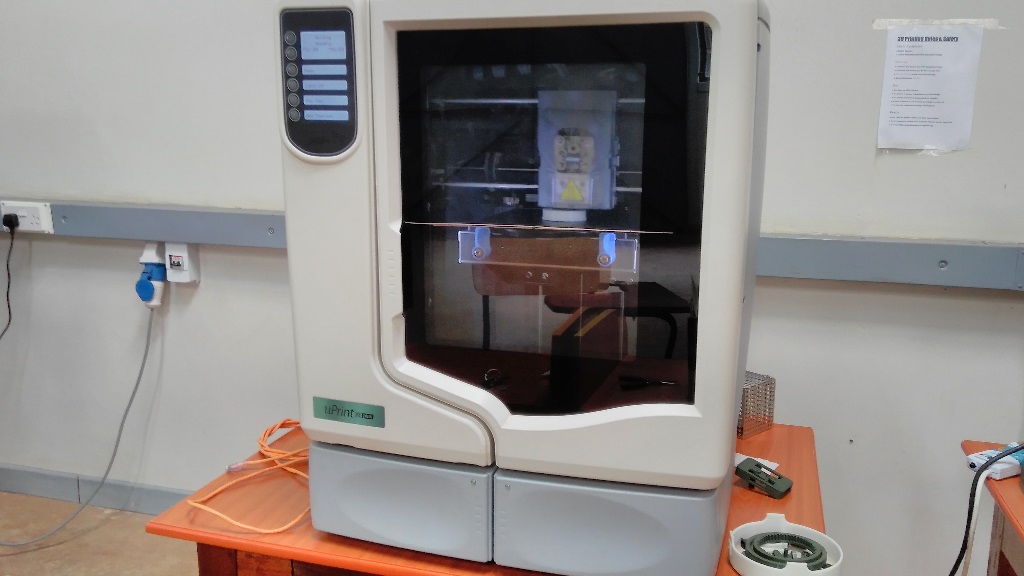
I powered the uPrint SE plus and on my computer I ran CatalystEX to send the file to the printer. I needed to ensure that I use no support material on this test. Turns out that on this machine you do not have an option to print without the support material as the software generates that on its own. the only thing you can do is specify how much support can be used i.e. BASIC, SMART or SURROUND. It also automatically generates Raft for every print that has to be done
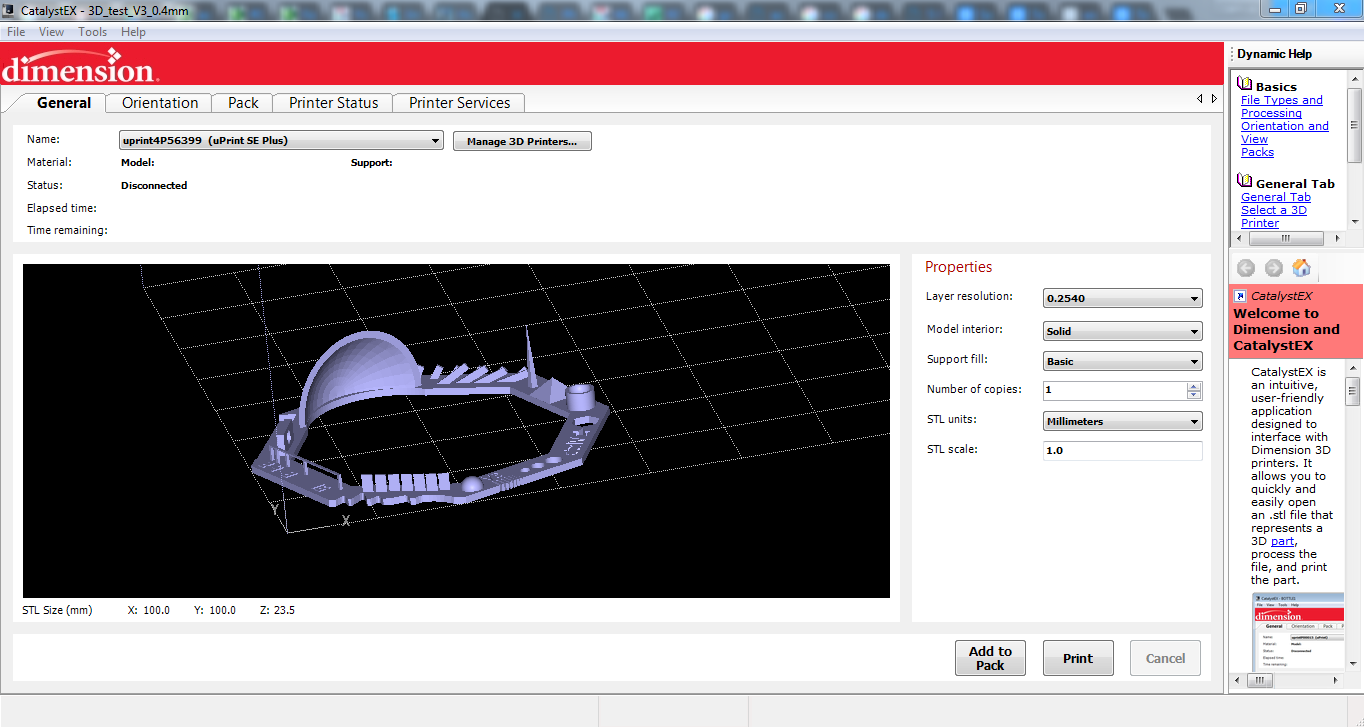
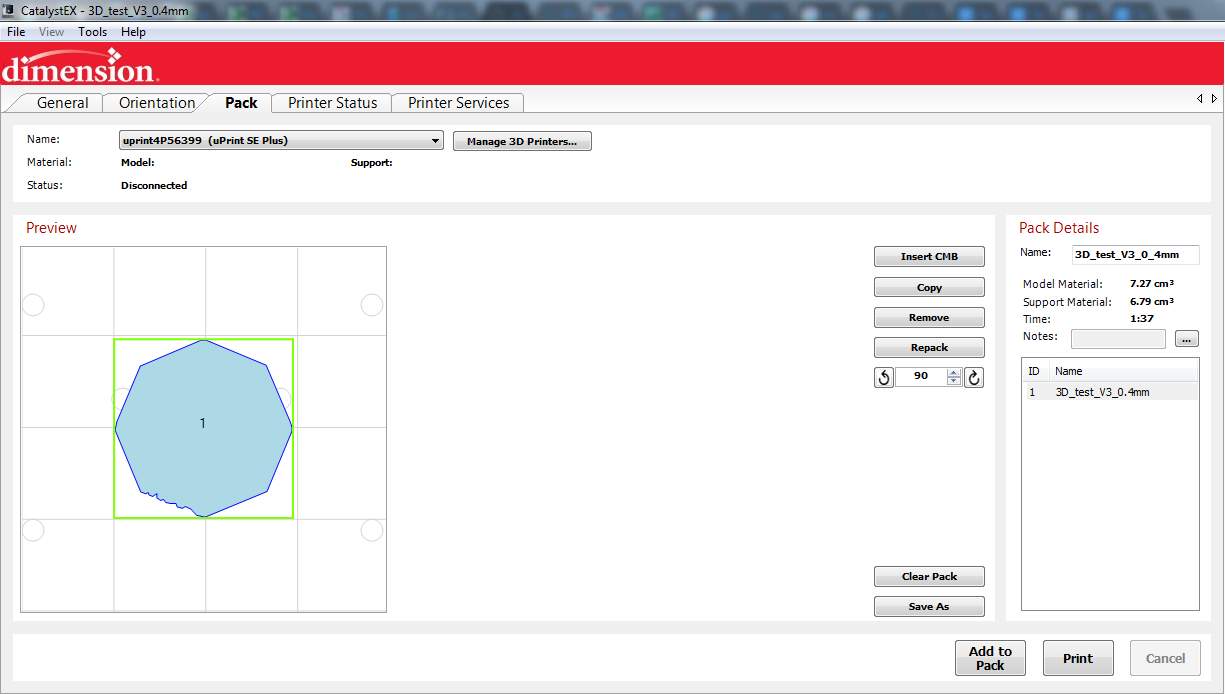
So I chose basic support which is the least amount and set it up for printing. The model took 1 hour 37minutes to print.
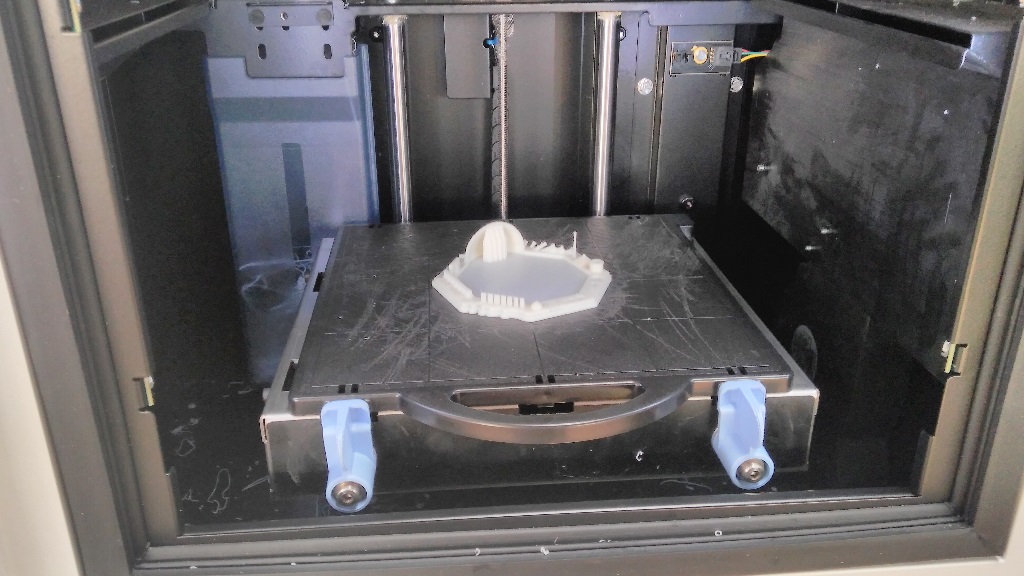
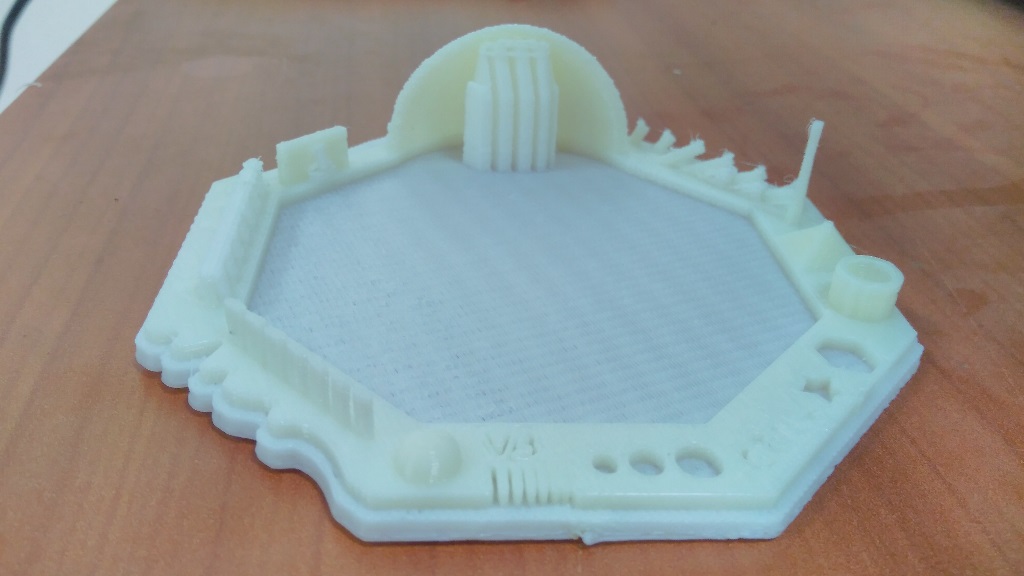

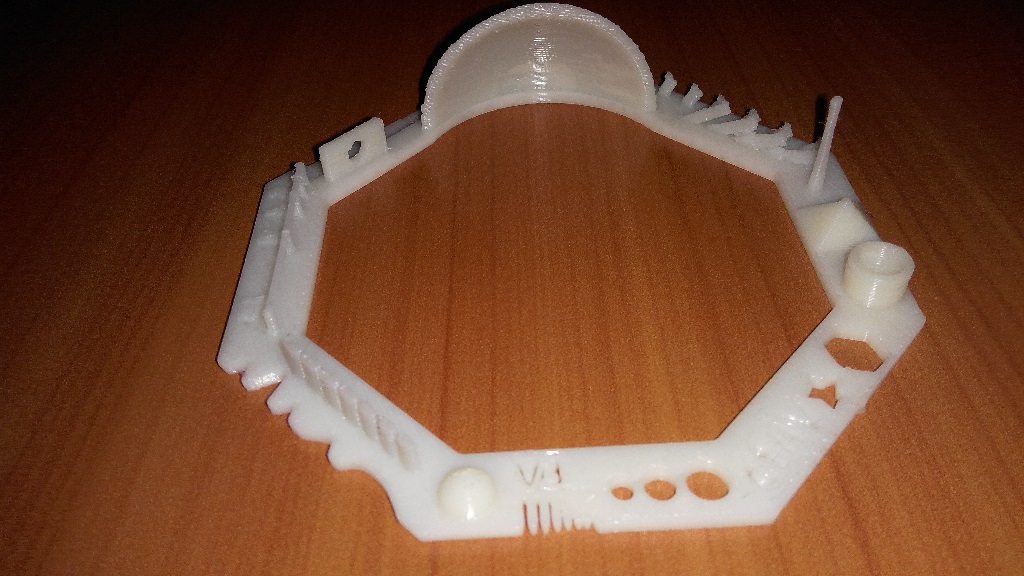
Due to the challenges encountered while running this test on the uPrint SE plus, I decided to try the same test on another simpler printer.
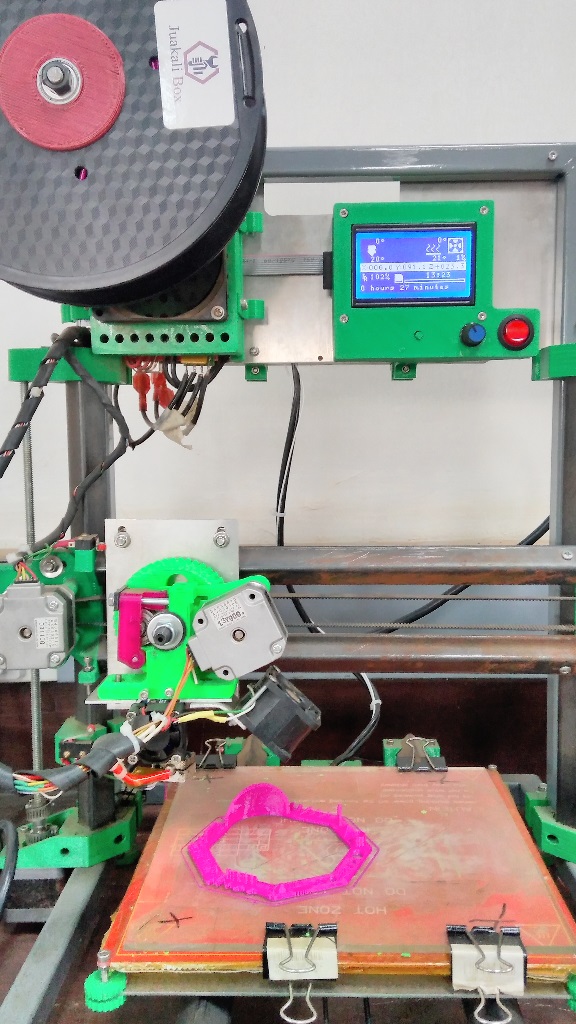
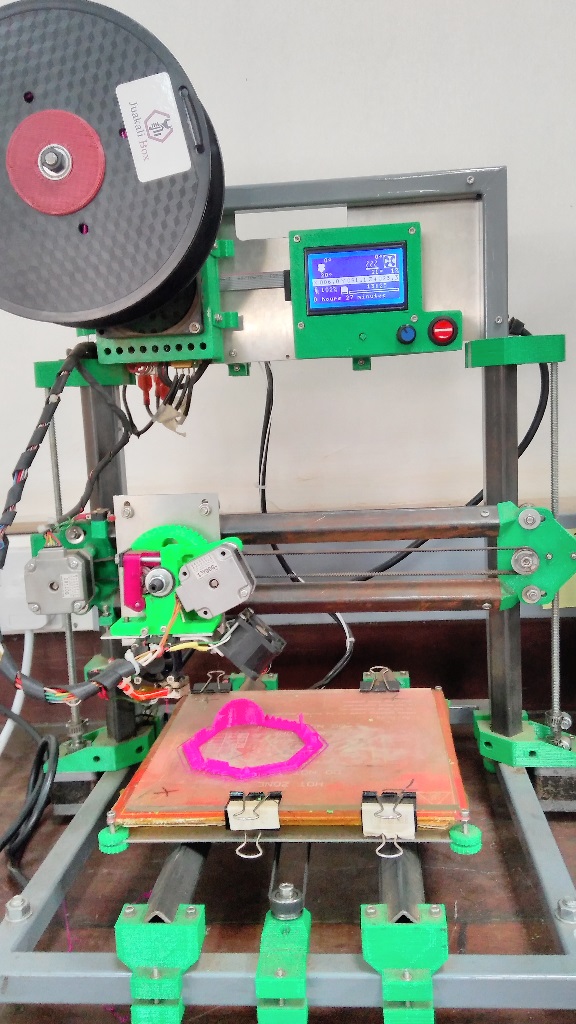
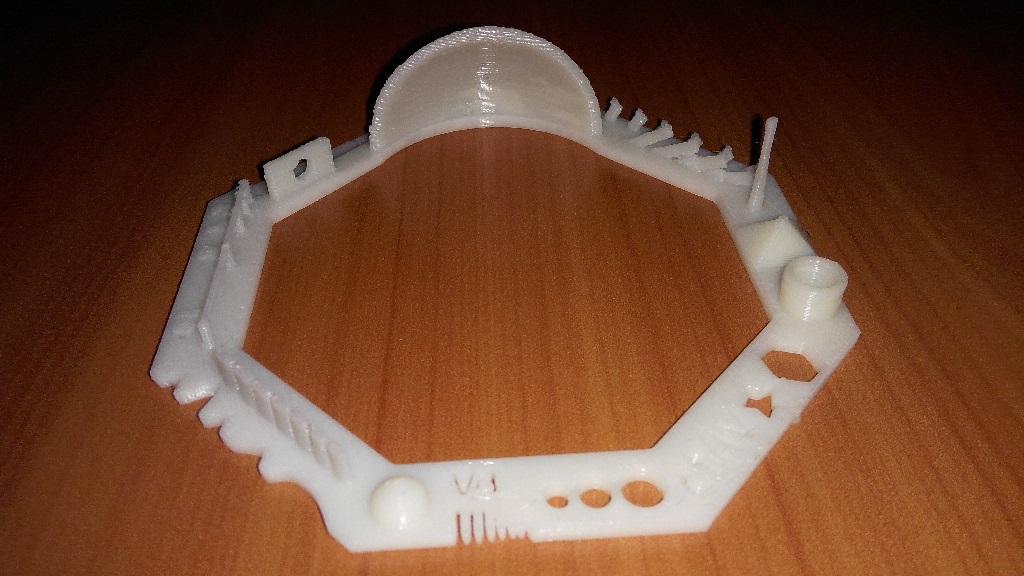
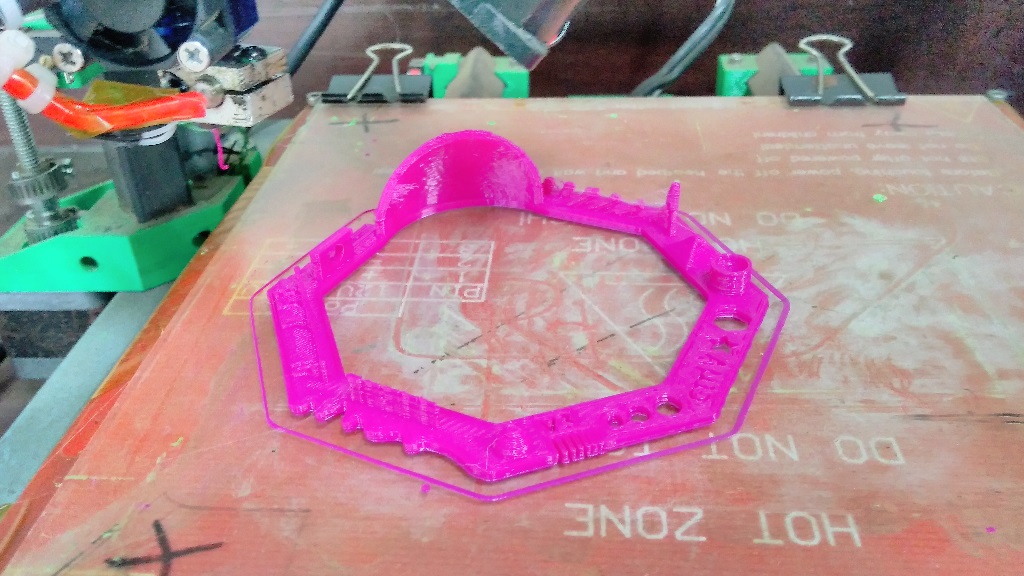
This particular one allowed me to print without use of support material. It also prints without the raft. the print came out really well.
3D Model
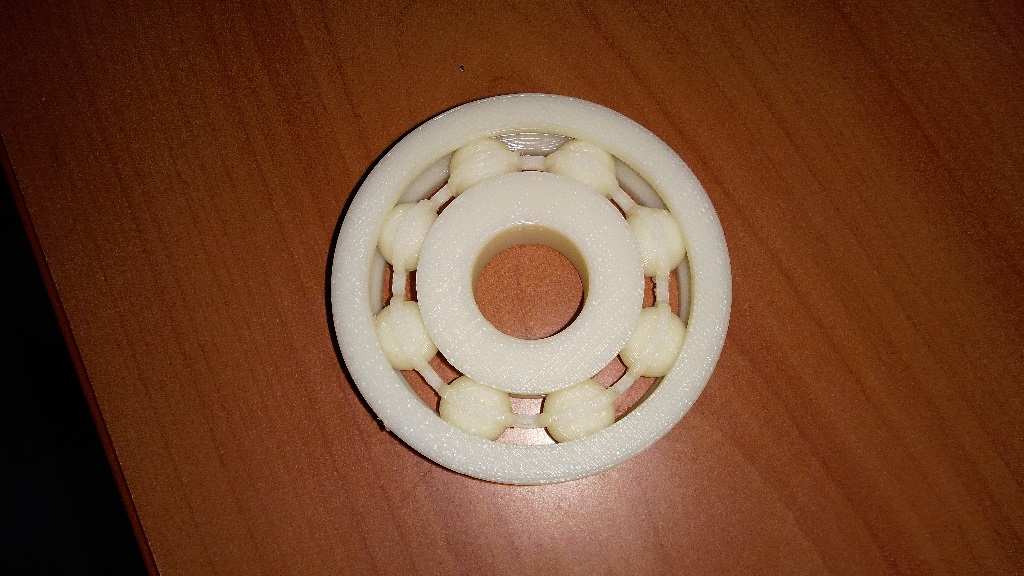
For this assignment I thought of a design that cannot be machined but only 3D printed. then I found this tutorial on youtube that explained how to design a ball bearing on solidworks. So I got down to work and designed this.
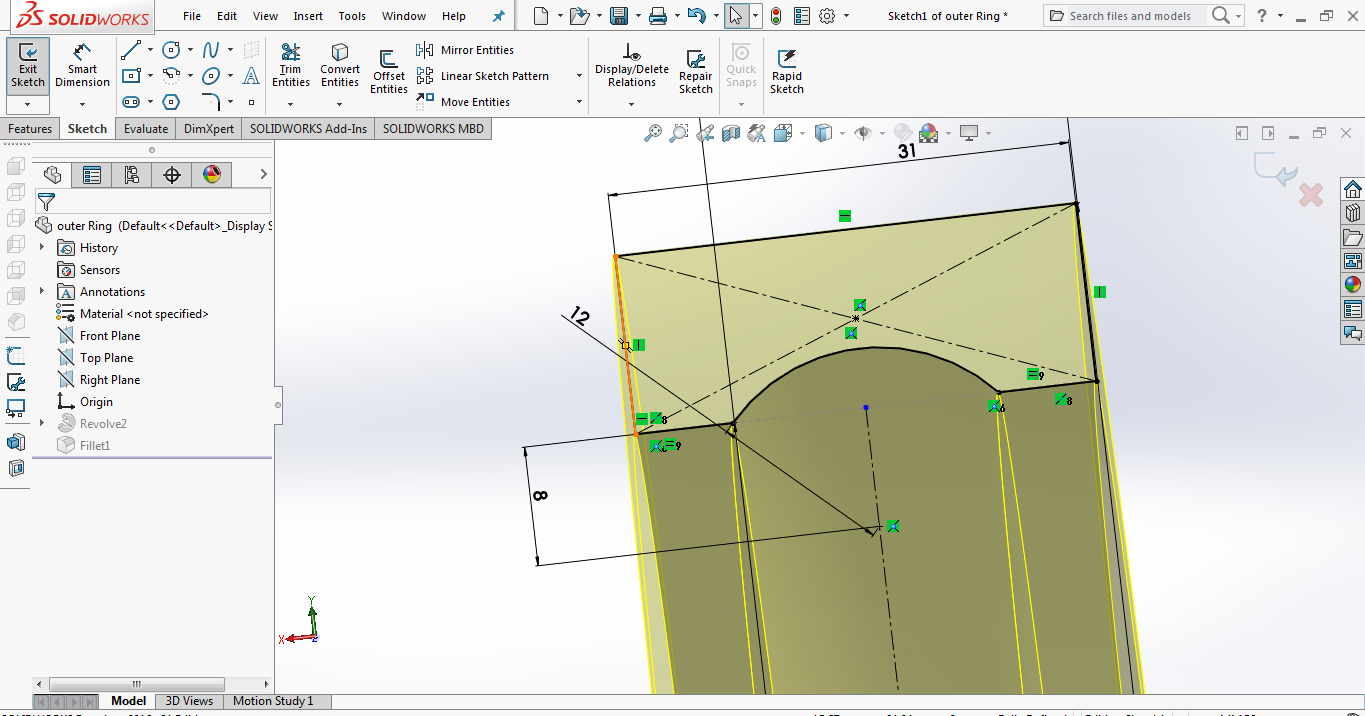
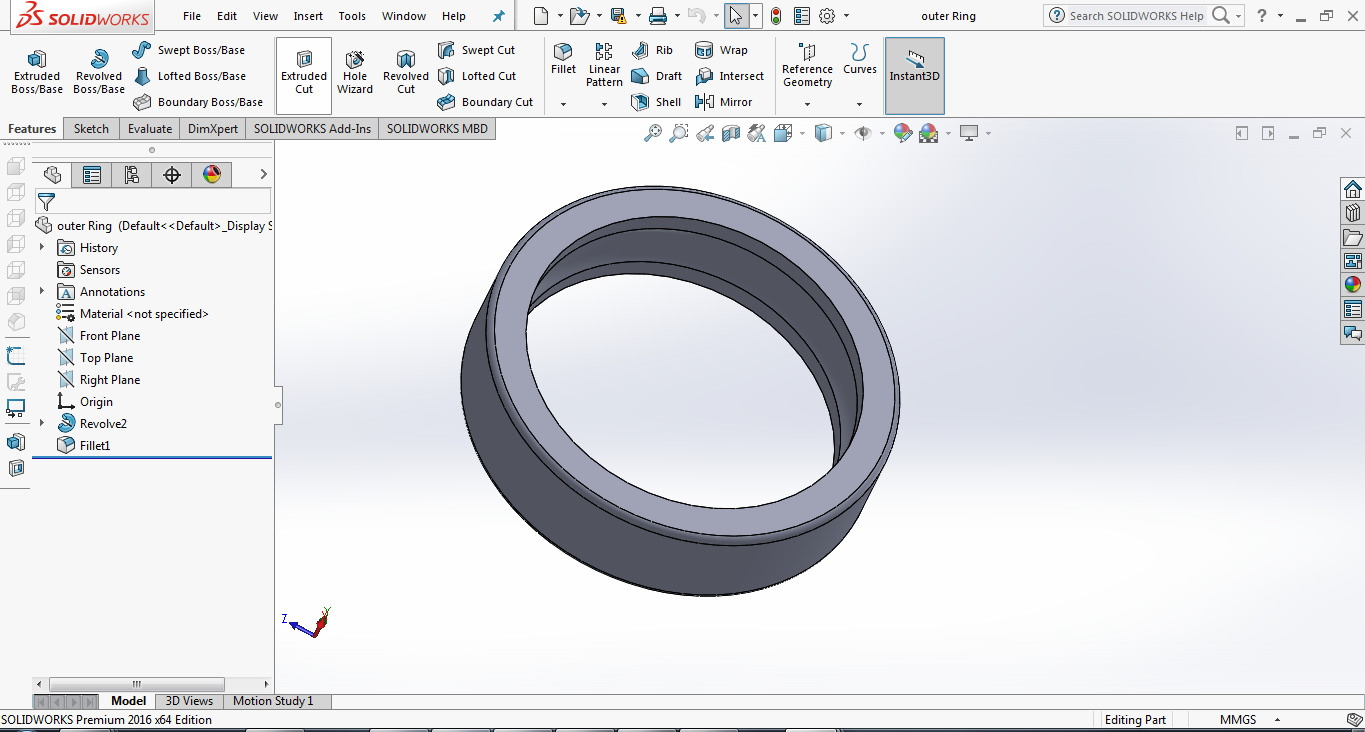
First I designed the outer ring and inner ring between which the balls were going to rotate.
For the outer ring, I drew a cross-sectional thickness of 31mm and because I wanted it to have a groove inside, I included a curve of 12mm radius. Once the cross-section frame was done I conducted an extrusion by revolving it to 360°
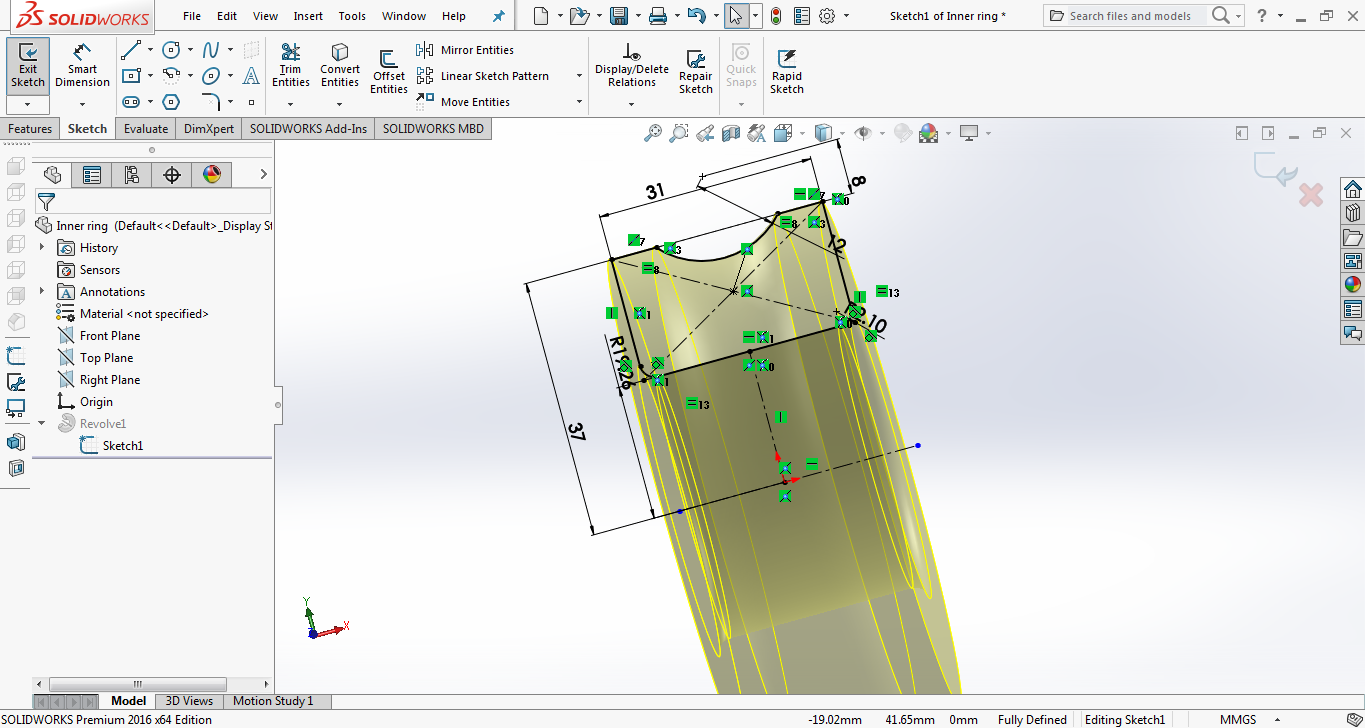
The inner ring was going to be smaller, but I used the same concept except this time I inverted the cross-section design.

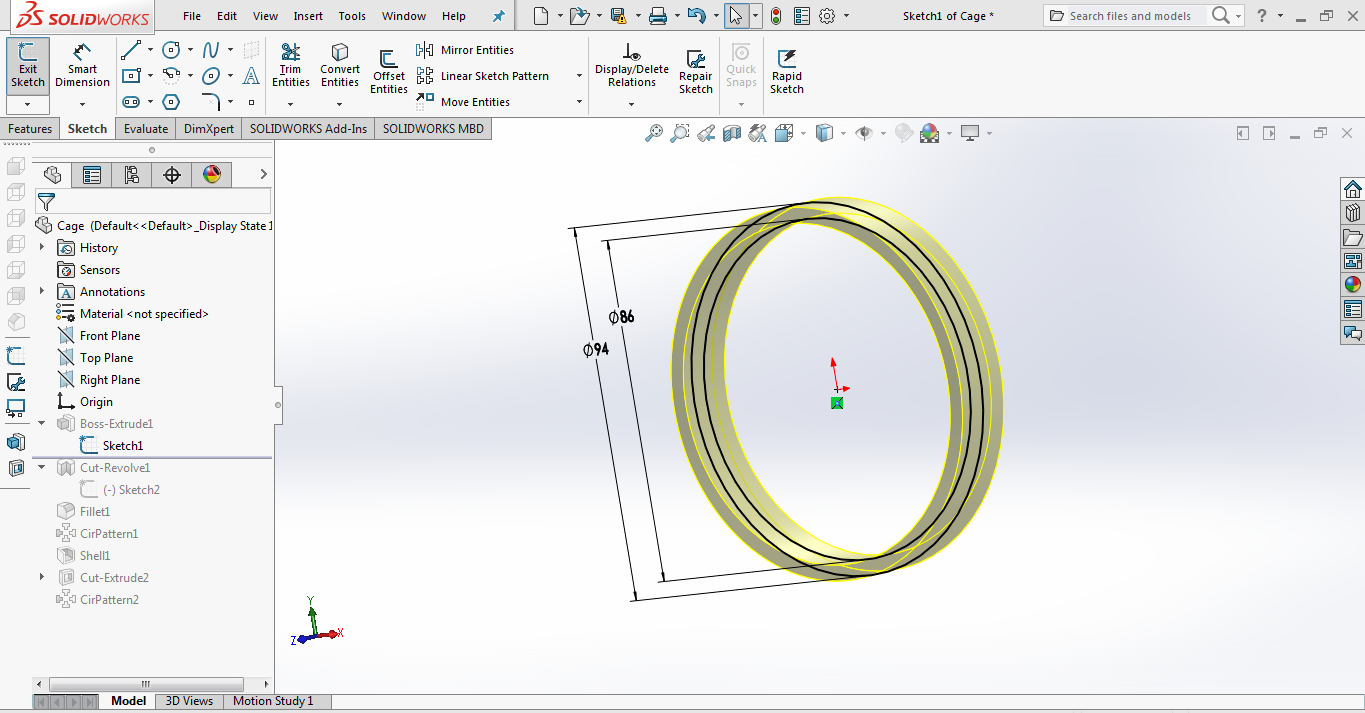
The next items to be designed was the cage. This would hold the balls inside and restricting them from falling.
I started off by creating a ring, from which I would remove some material and end up with the needed thickness.
So I drew two circles which I extruded to get an 8mm thich ring.

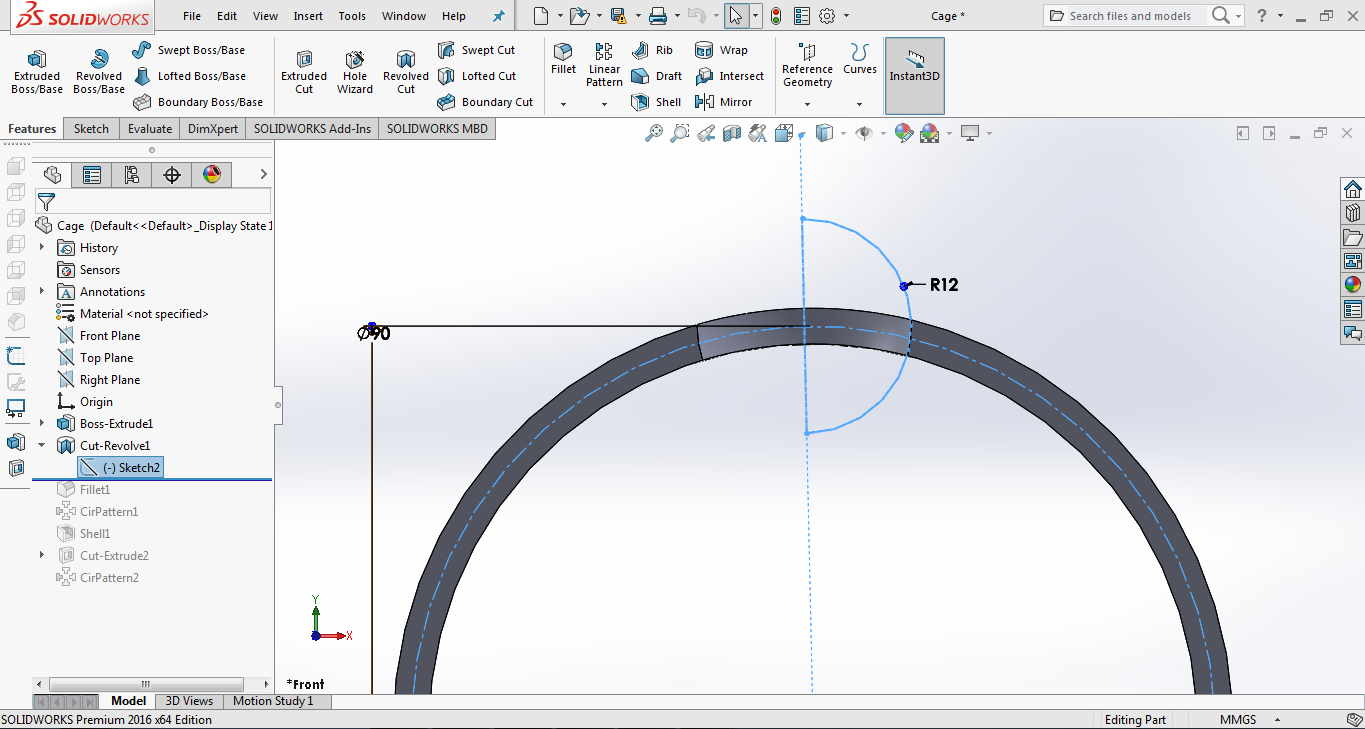
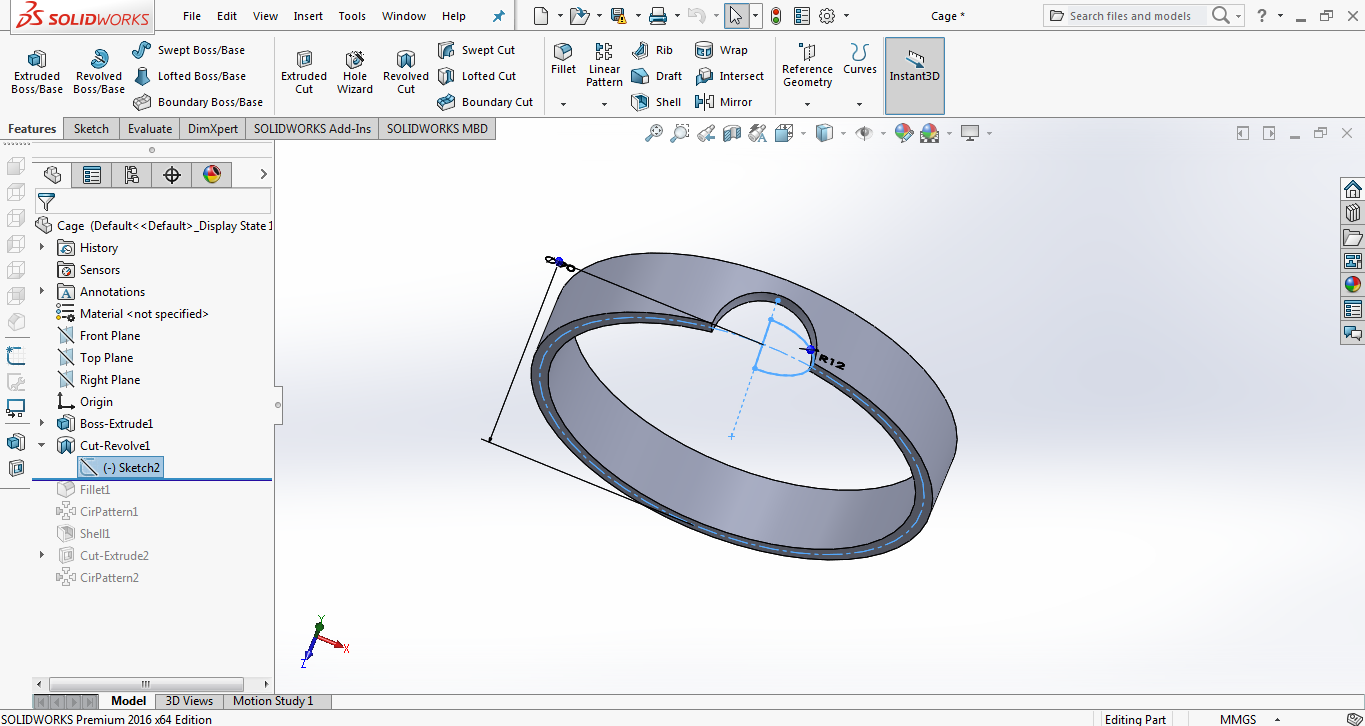
I then dre a cross-sectional semi-circle on the ring and performed an etrude-cut to remove some semi-circular material from the ring
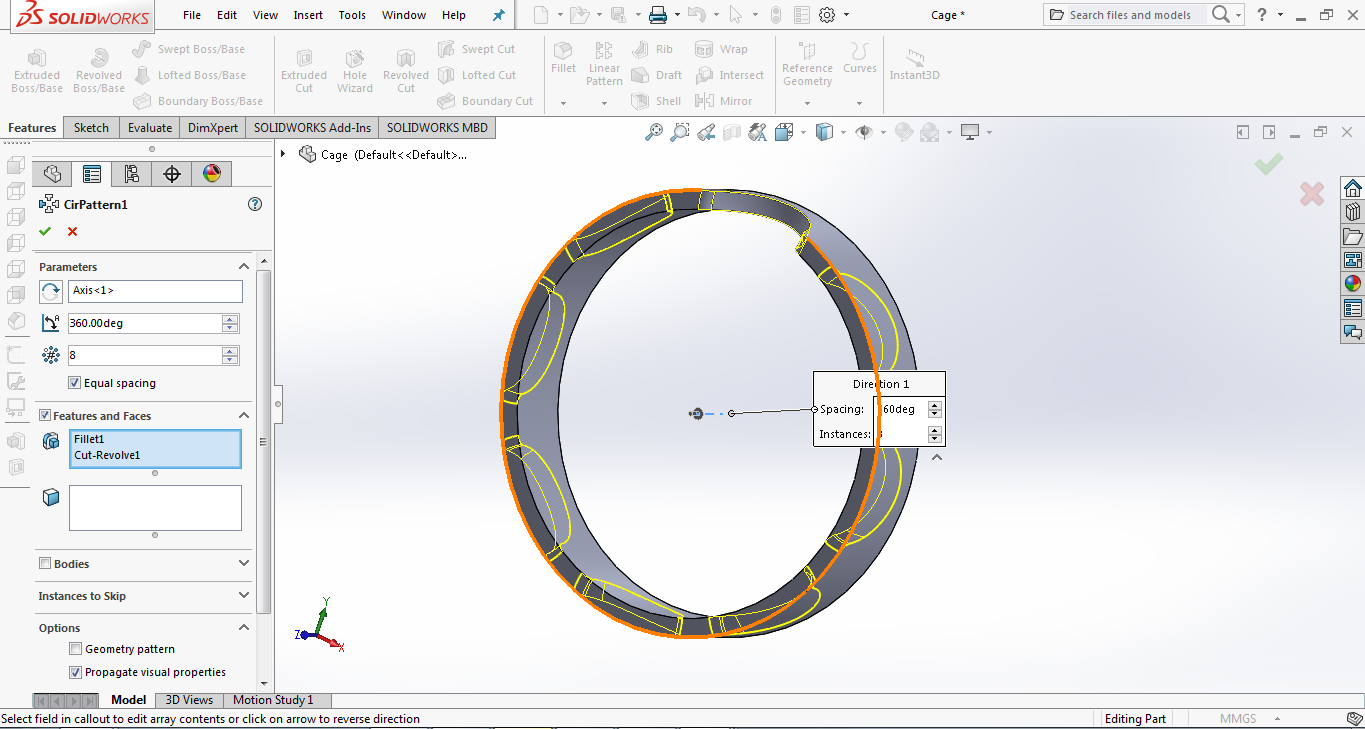
I then did an 8-part circular pattern cut revolve at 360° to get more cuts around the ring.
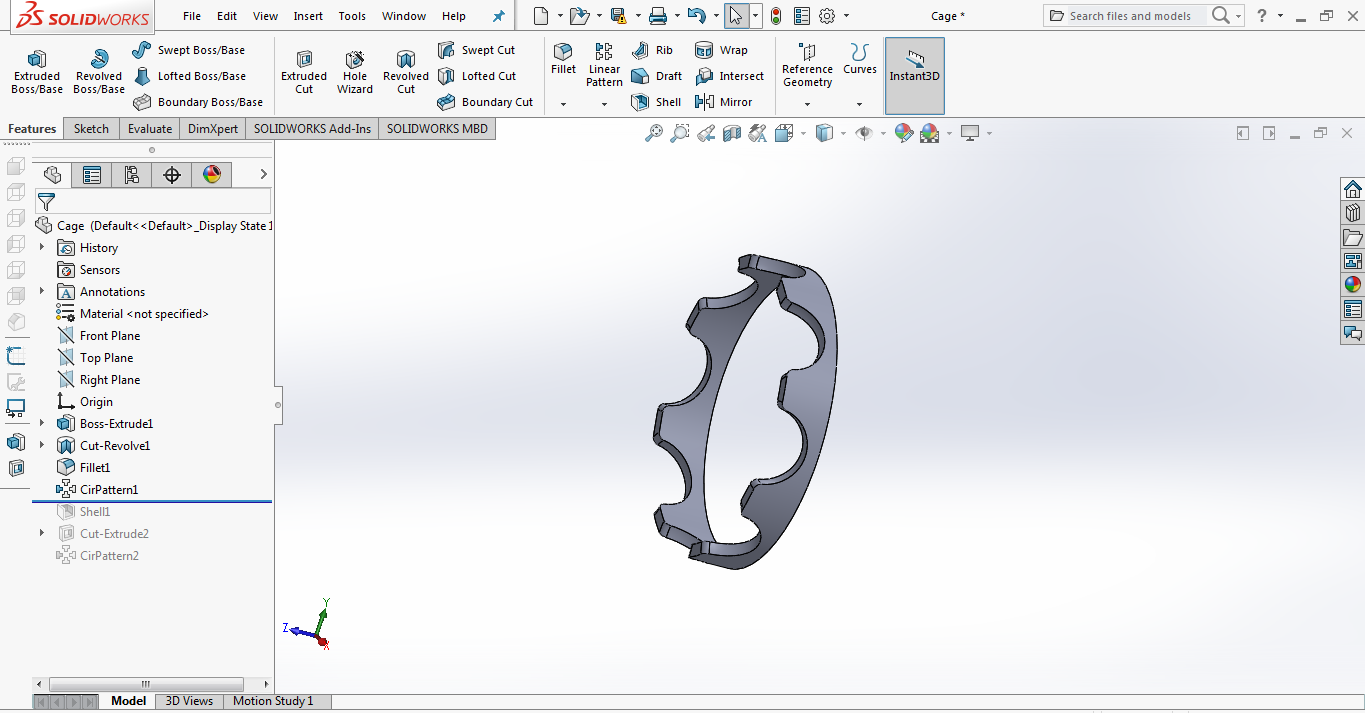
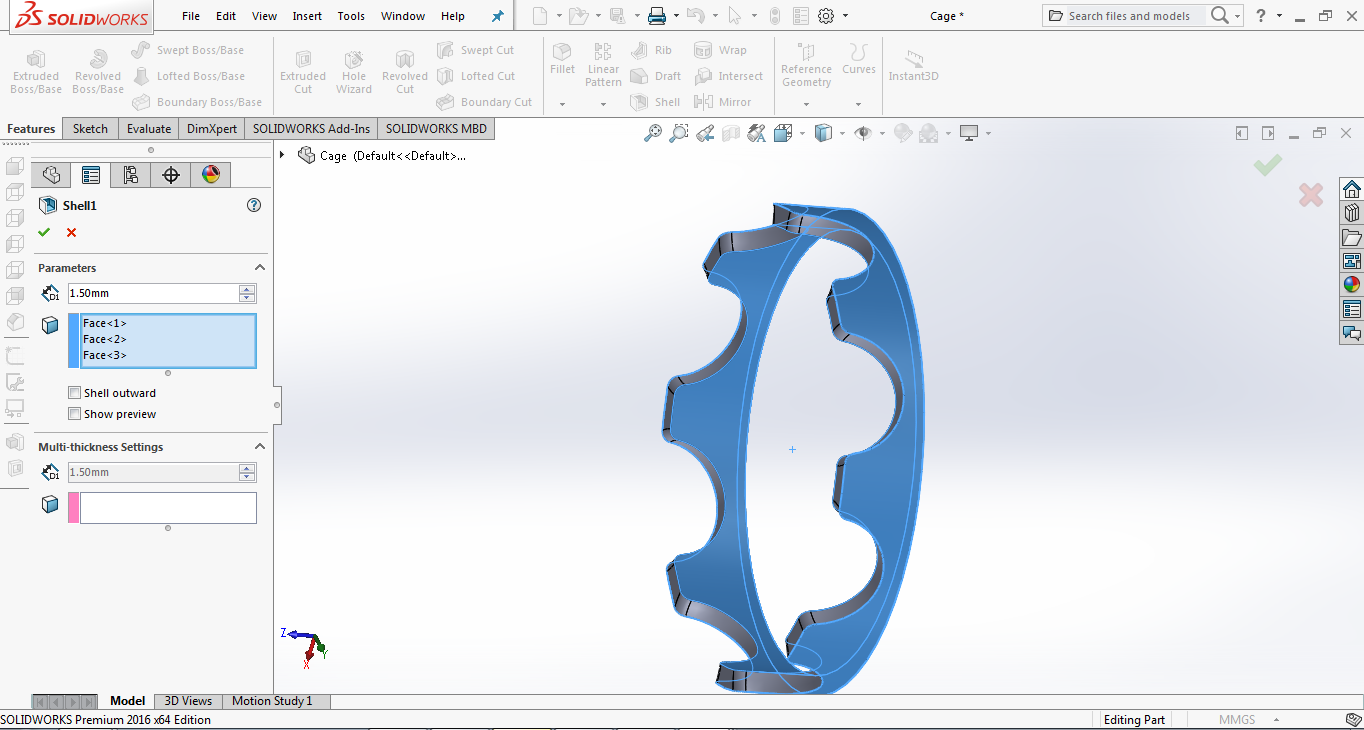
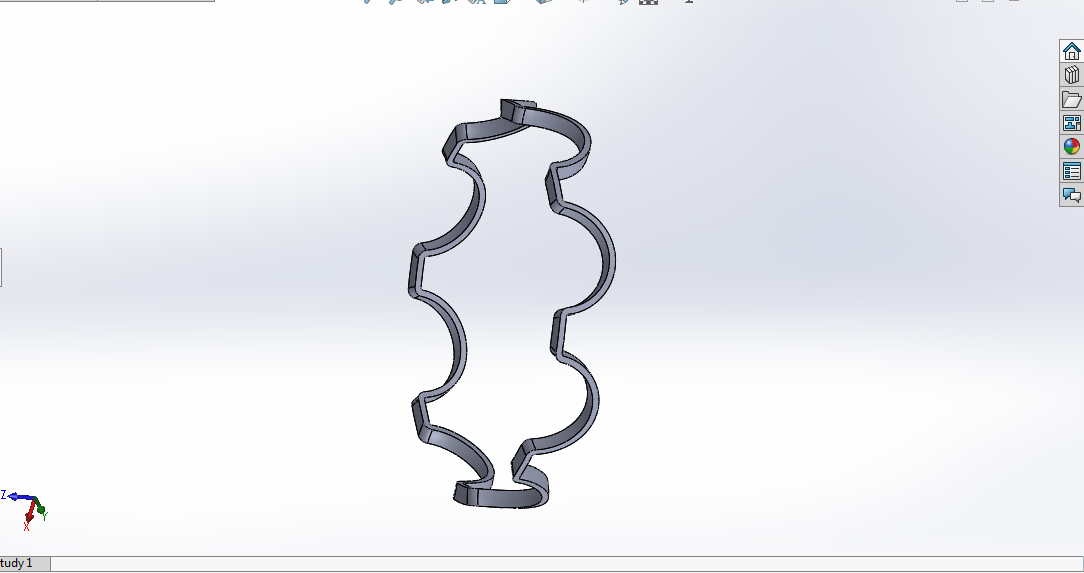
After that I did a shell of the part to reduce it to size. I selected al the faces that I needed shelled off and voila!....I had the cage I needed :)
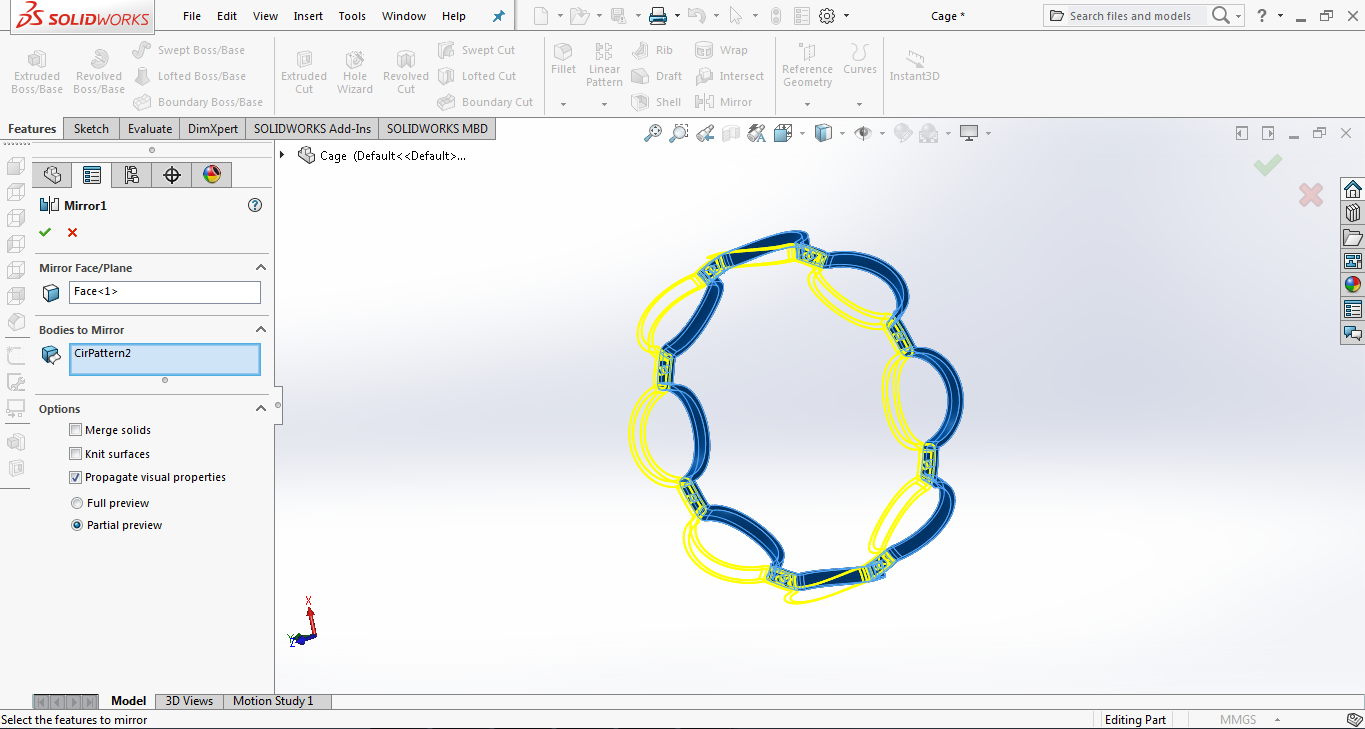
I was goonna need two cages in order to hold the balls in place from both side. So Instead of starting again from scratch, i used a simple fiture here....,MIRROR. That way i ended up with two cages.
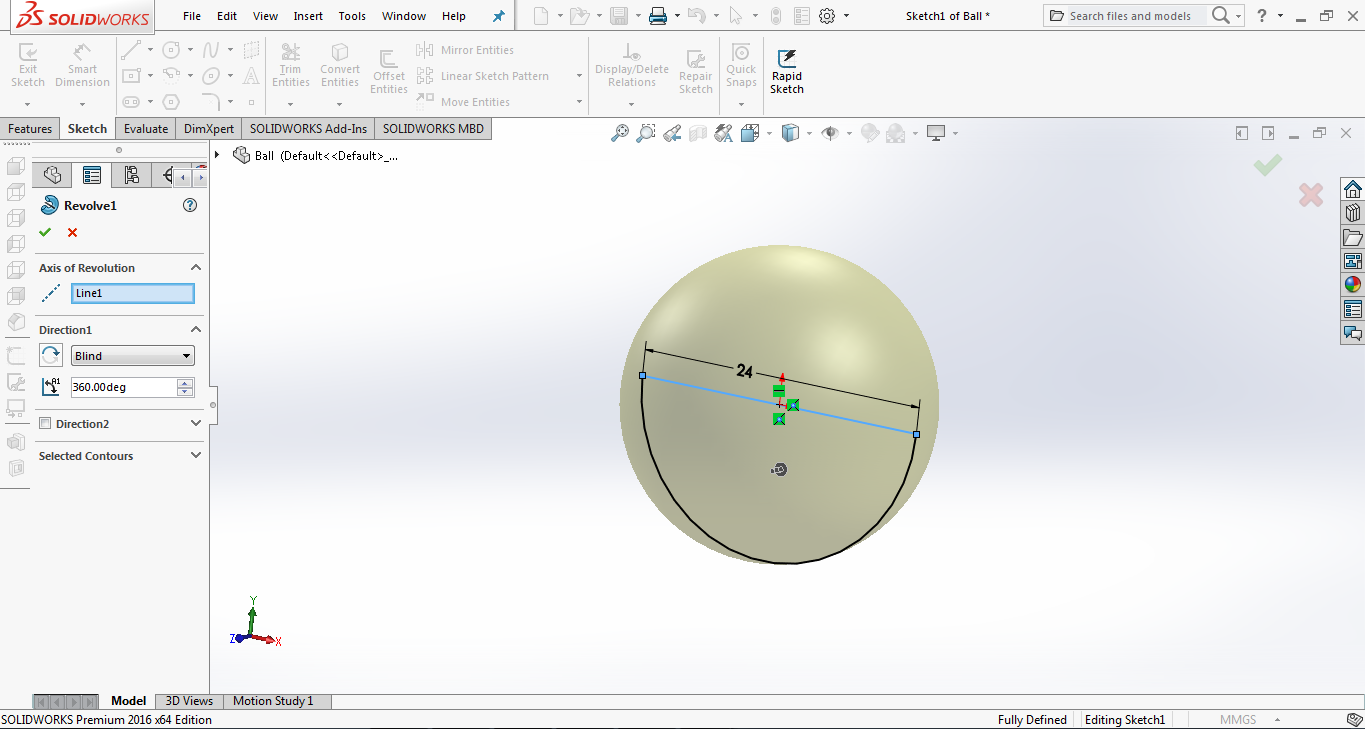
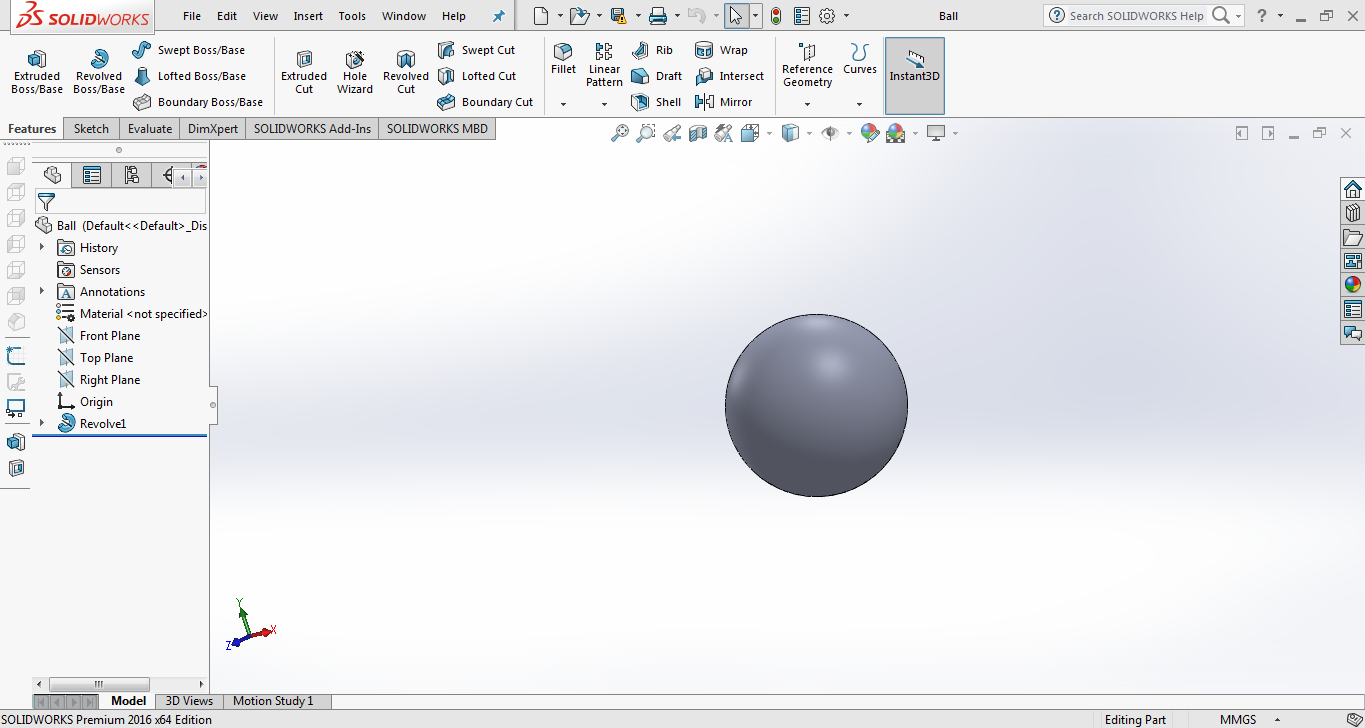
The last item was the ball.
For this one, I simply sketched a semi-circle and performed a 360° revolve on it.
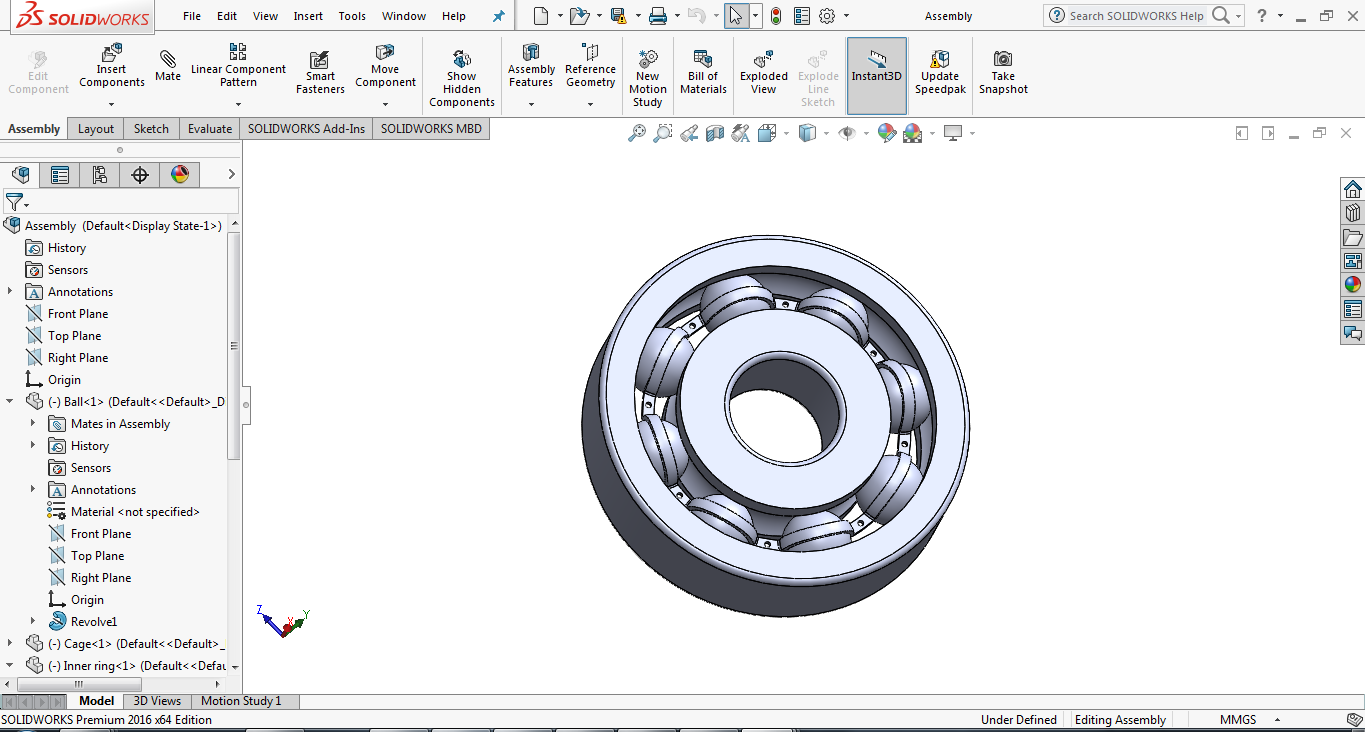
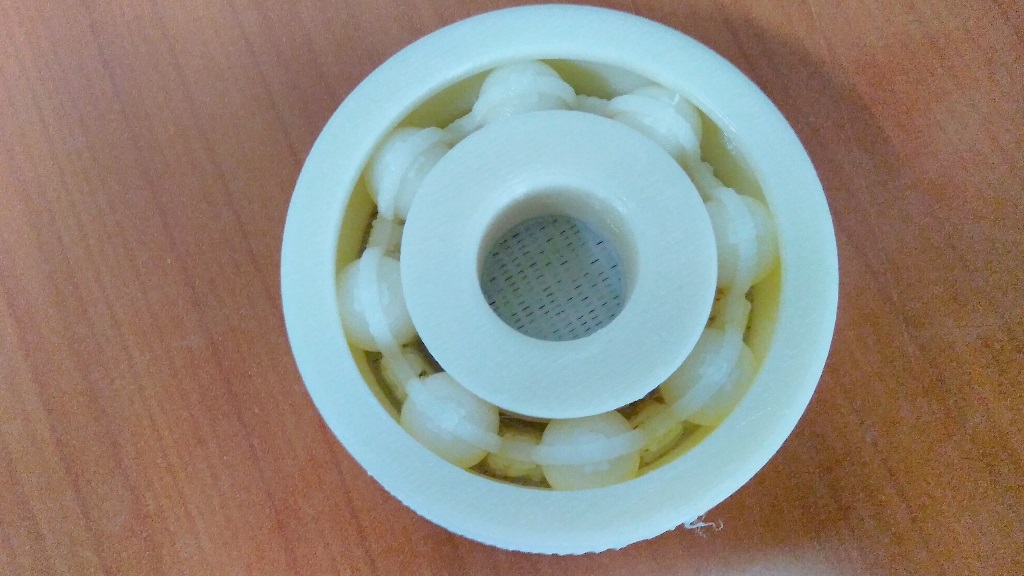
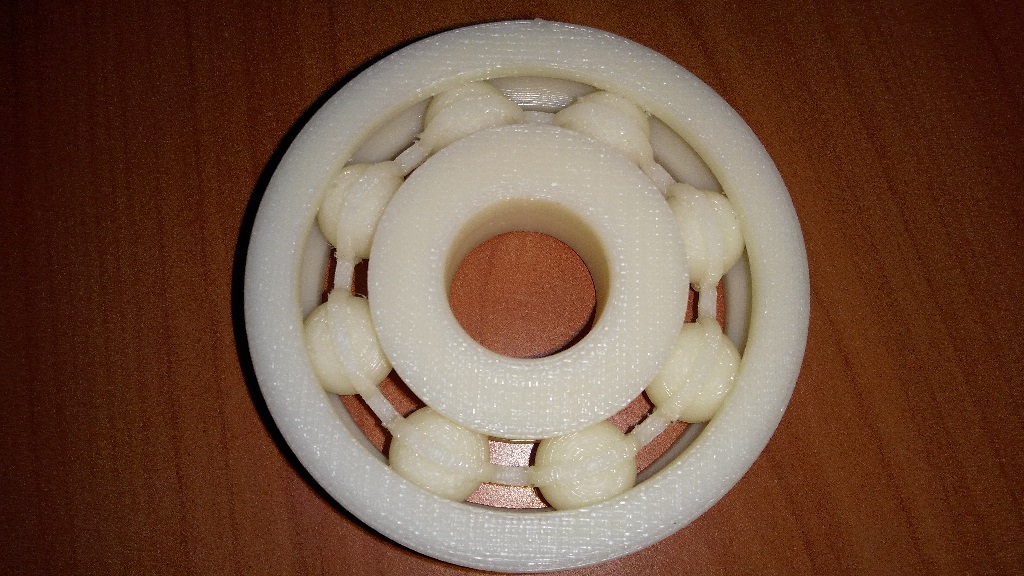
After working on all the parts with the right dimension, I assembled them together. I duplicated the balls into 8 pieces and used the cage to hold the balls in place from both sides

3D Printing
This piece can not be machined because it has 11 different independent parts put together to form one complete piece.
So I went on toset it up for 3D printing as that would build the whole design as one.
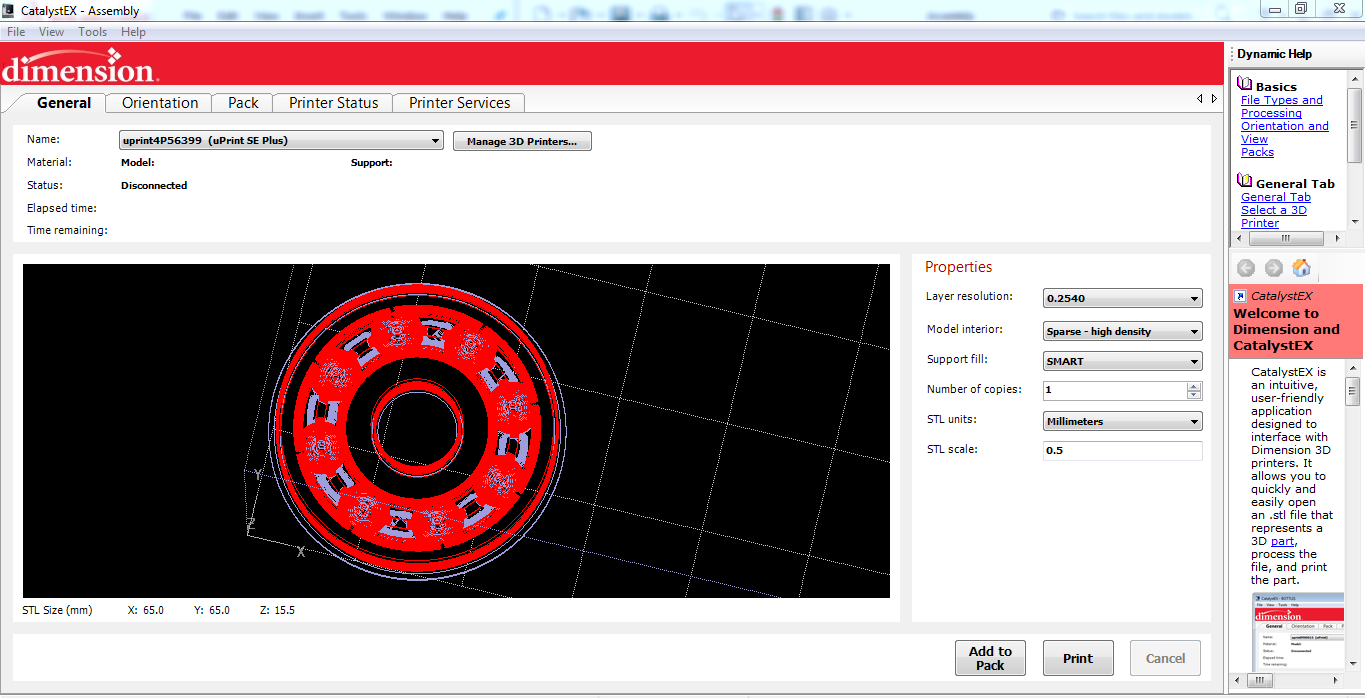
I saved the assemby as an STL file and on the 3D printer's CatalystEX software, I imported the file under FILE>OPEN STL..
The designed file was quite big and that would have taken alot of time to print. So i scaled it down to 0.5.
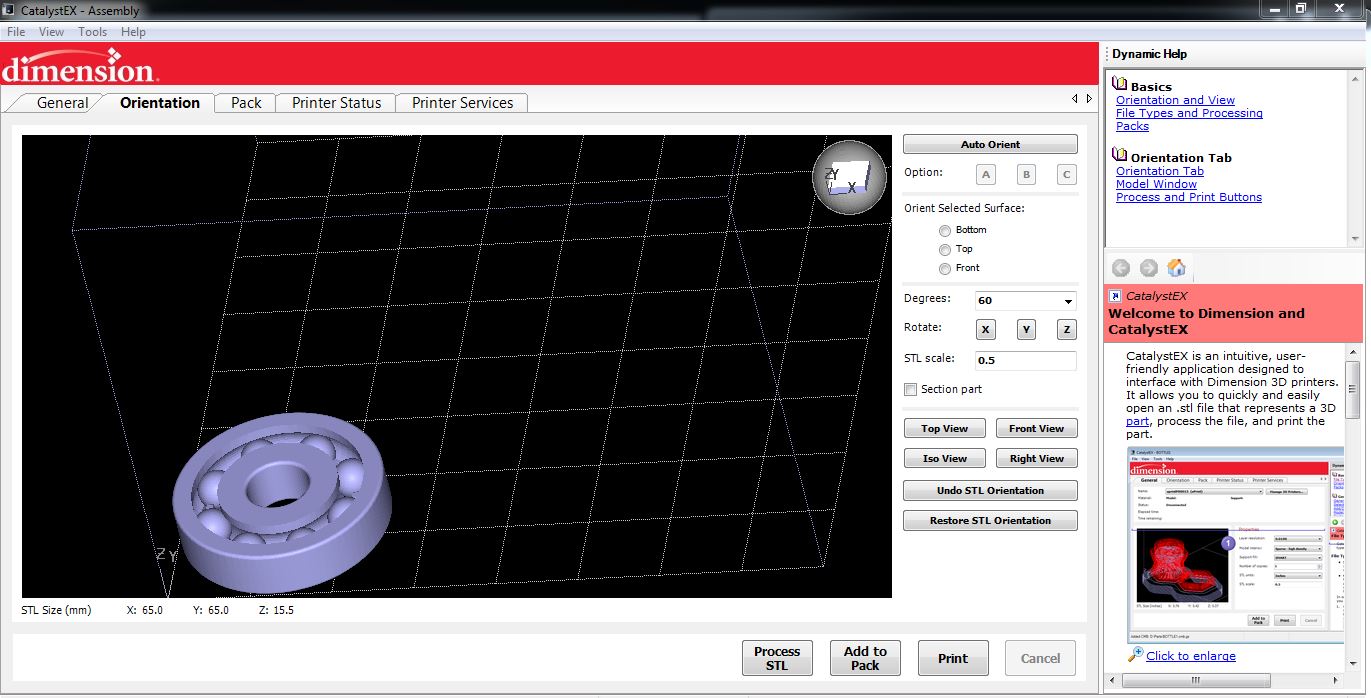
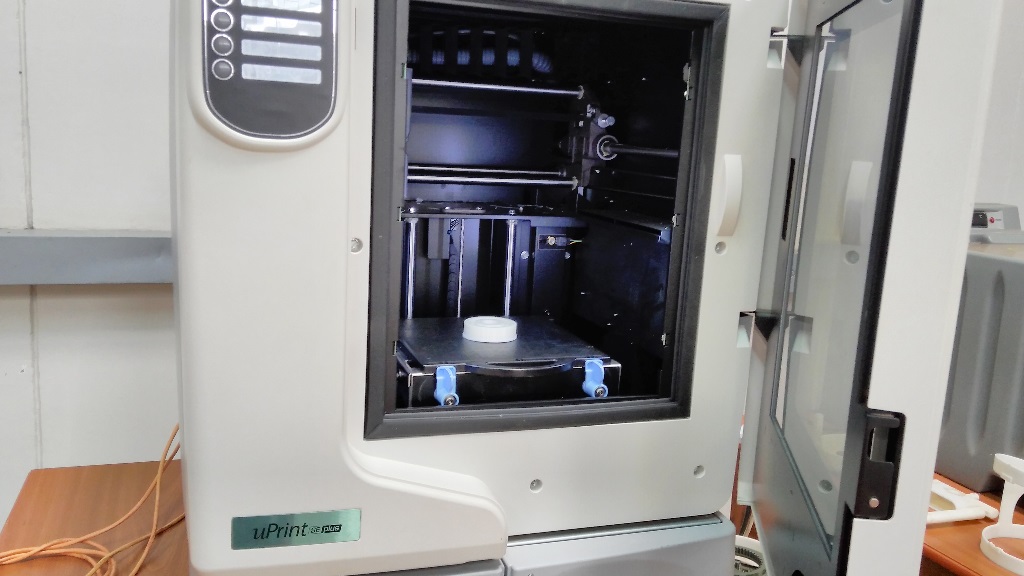
I was using the uPrint SE plus 3D printer to print the model. I placed it at a horizontal orientation to ensure that it uses less support material in holding the suspended parts.
After setting it up, it took 3hrs 12min to finish printing.
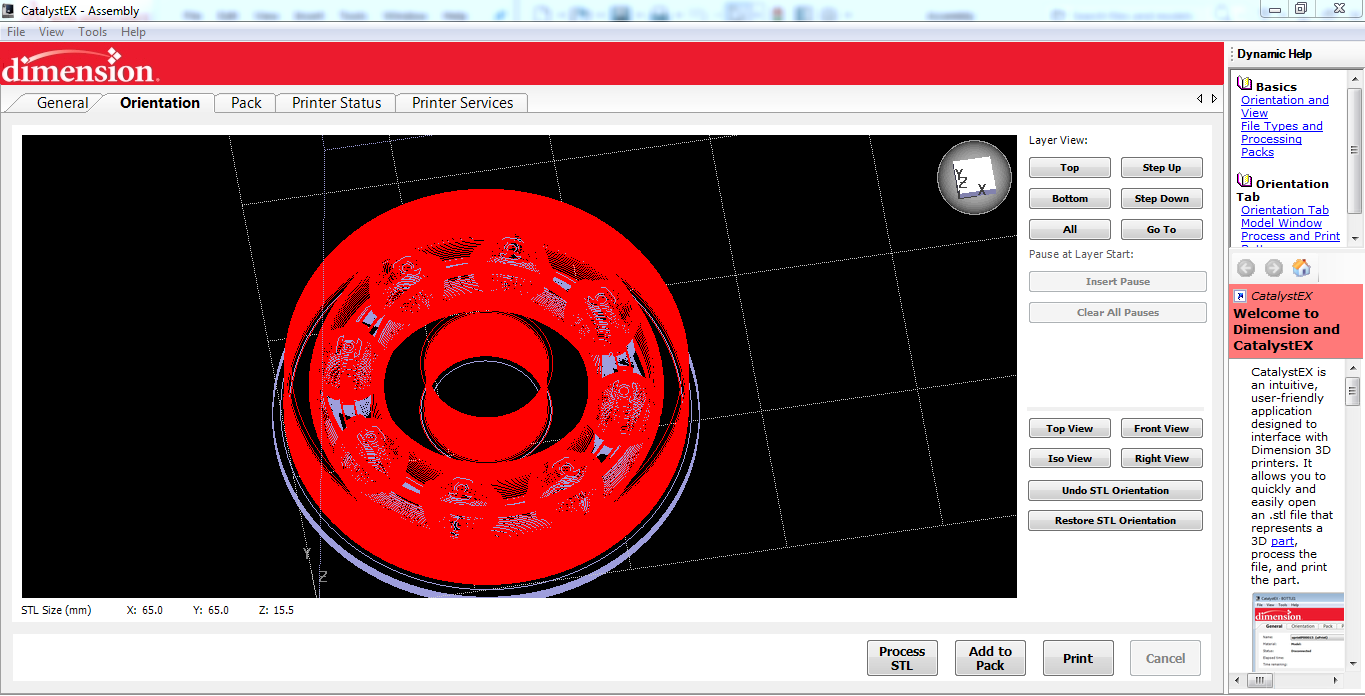
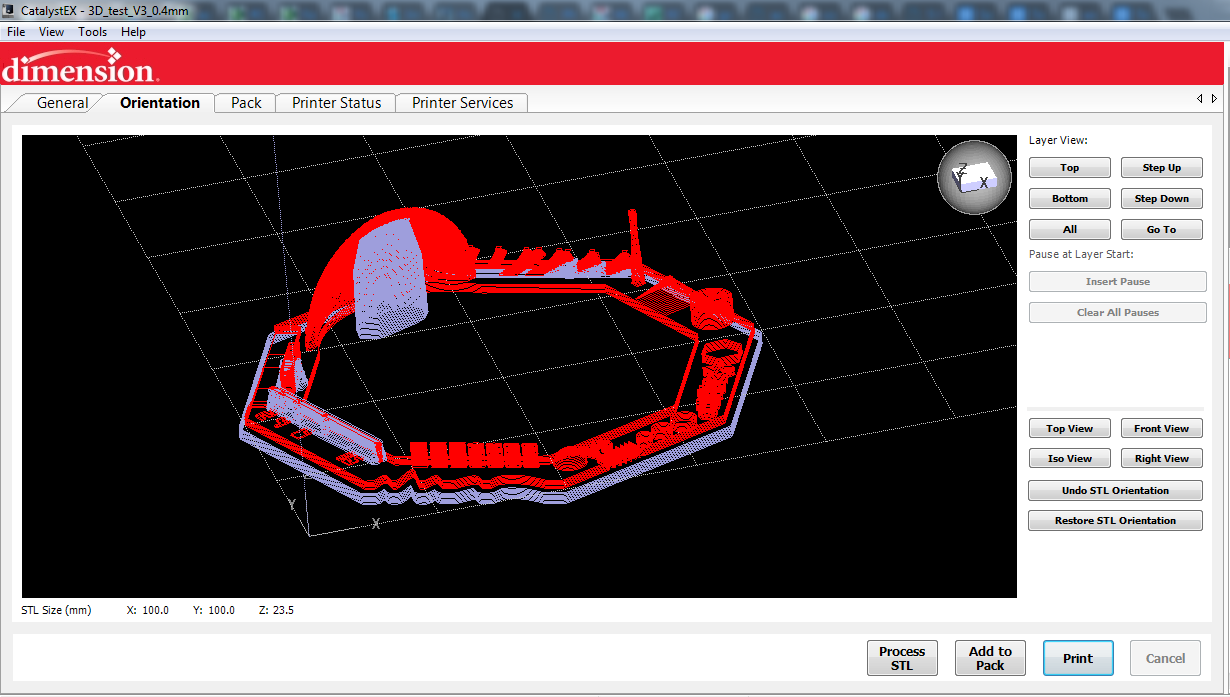
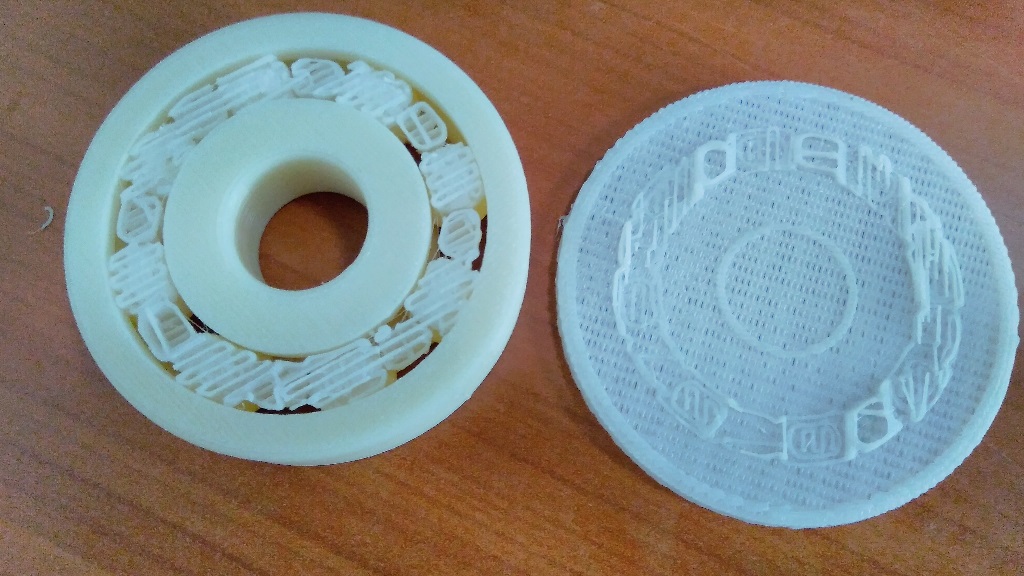
The visible white toolpaths are the places where support material would be required


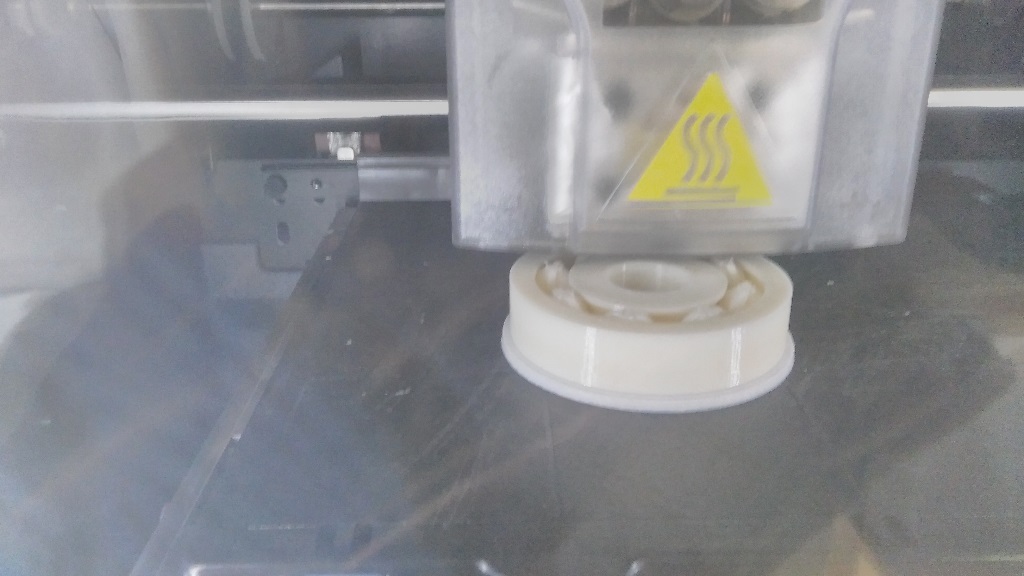
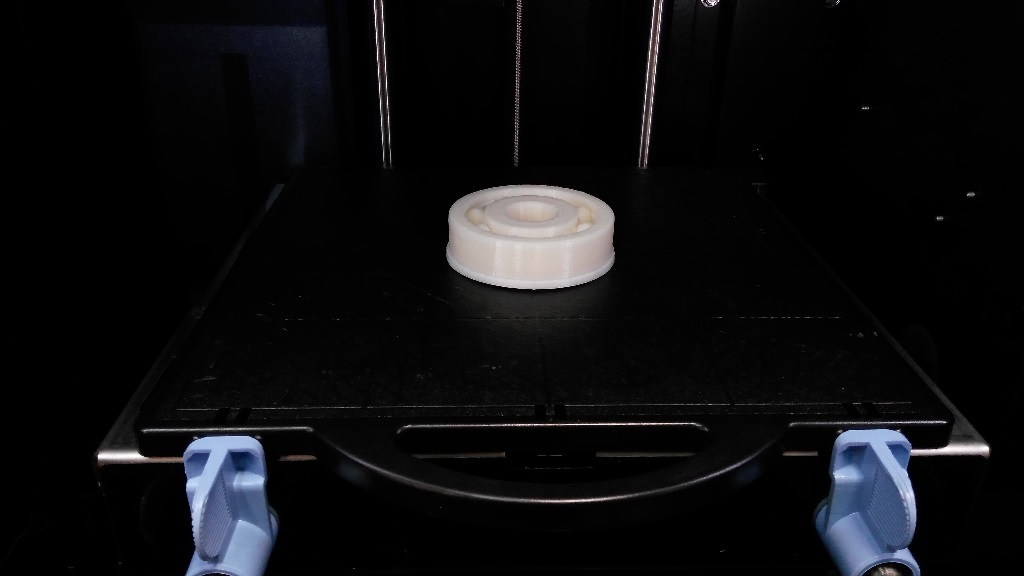
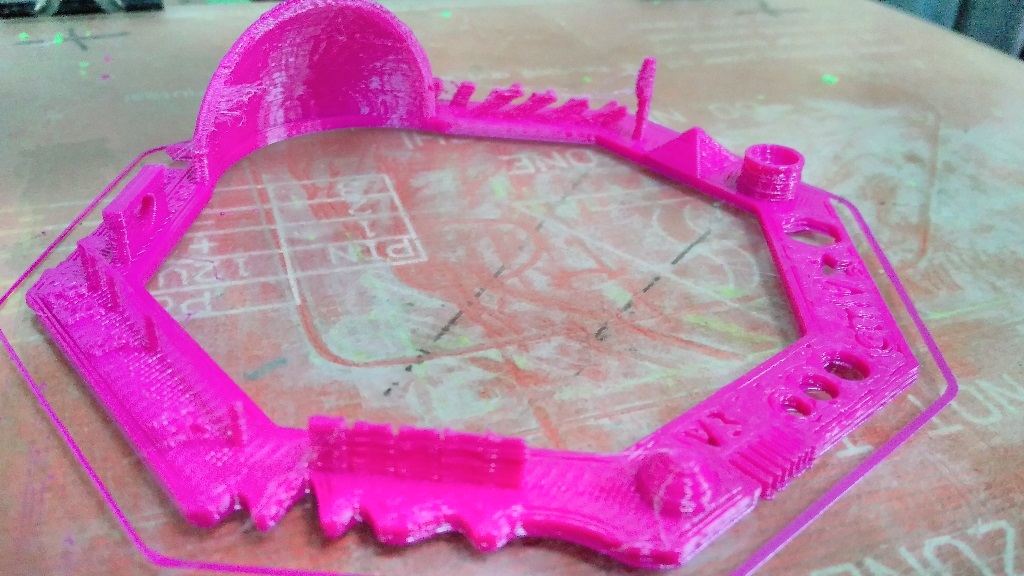
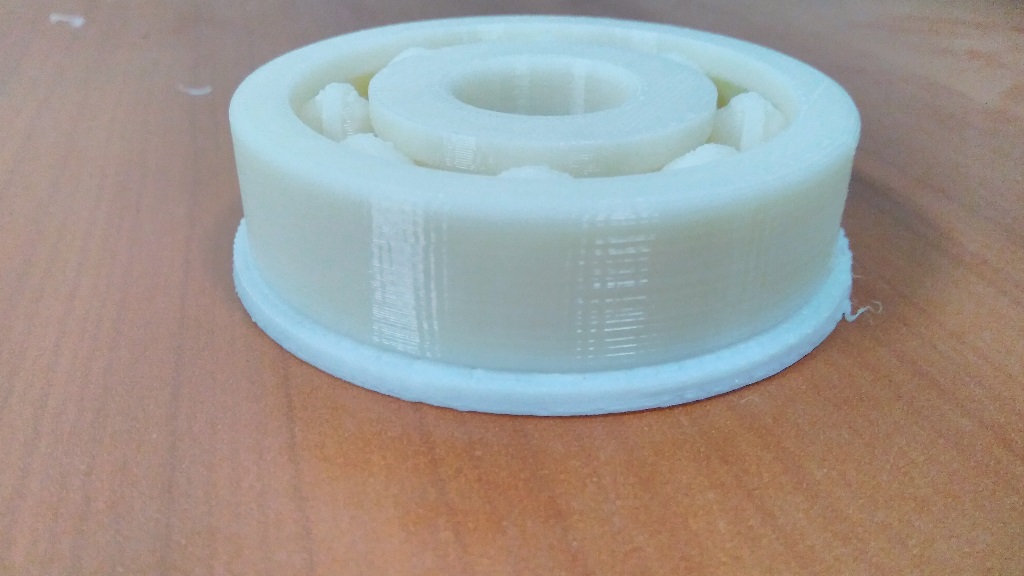
After a successful printing, I manually removed the support material at the bottom side of the part but there were some more support material left inside between the balls in the bearing.
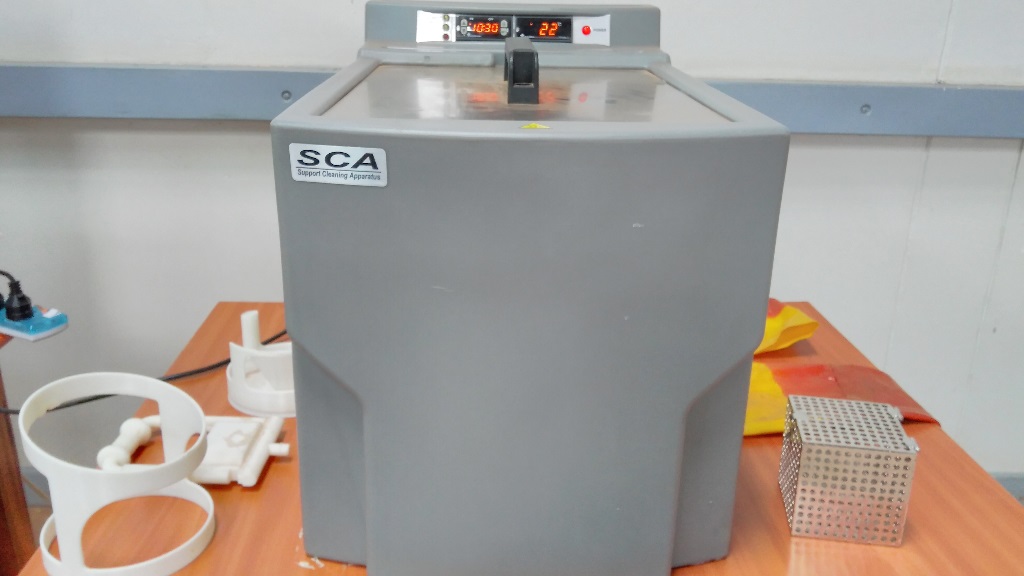
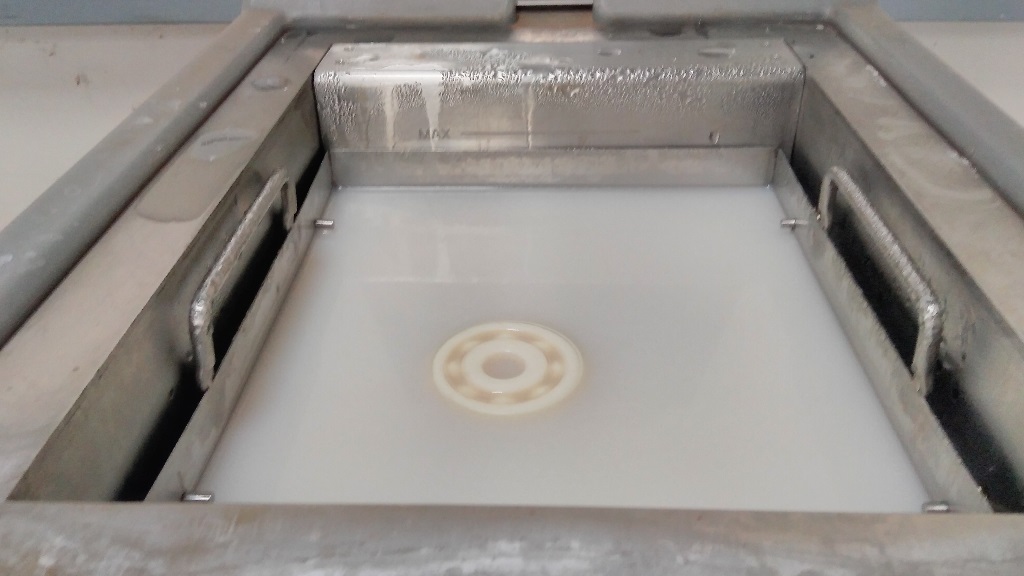
I then dropped it inside the soluble concentrate in the WaveWash in order to get rid of the support material.
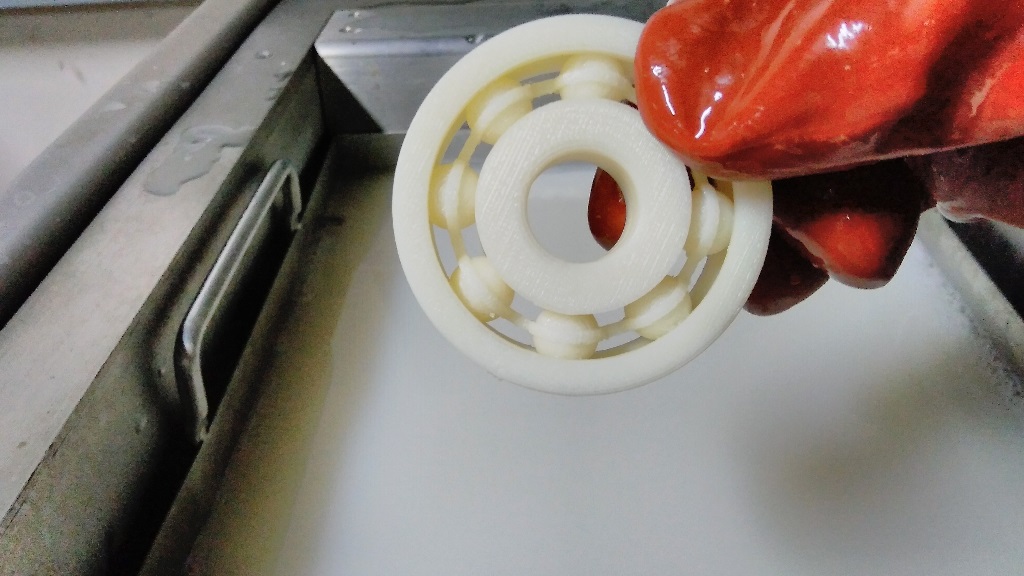
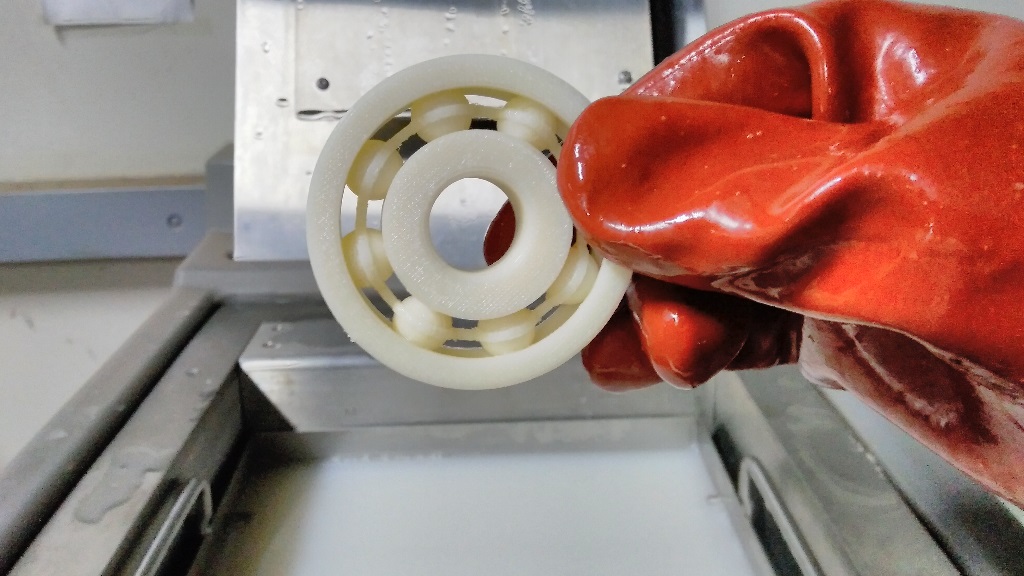
I rinsed it in clean water, and I had with me a 3D printed bearing
3D Scanning
3D Scanning is a non-contact, non-destructive technology that digitally captures the shape of physical objects using light. 3D scanners create “point clouds” of data from the surface of an object. It is a way to capturing a physical object’s exact size and shape into the computer as a digital 3-dimensional representation.
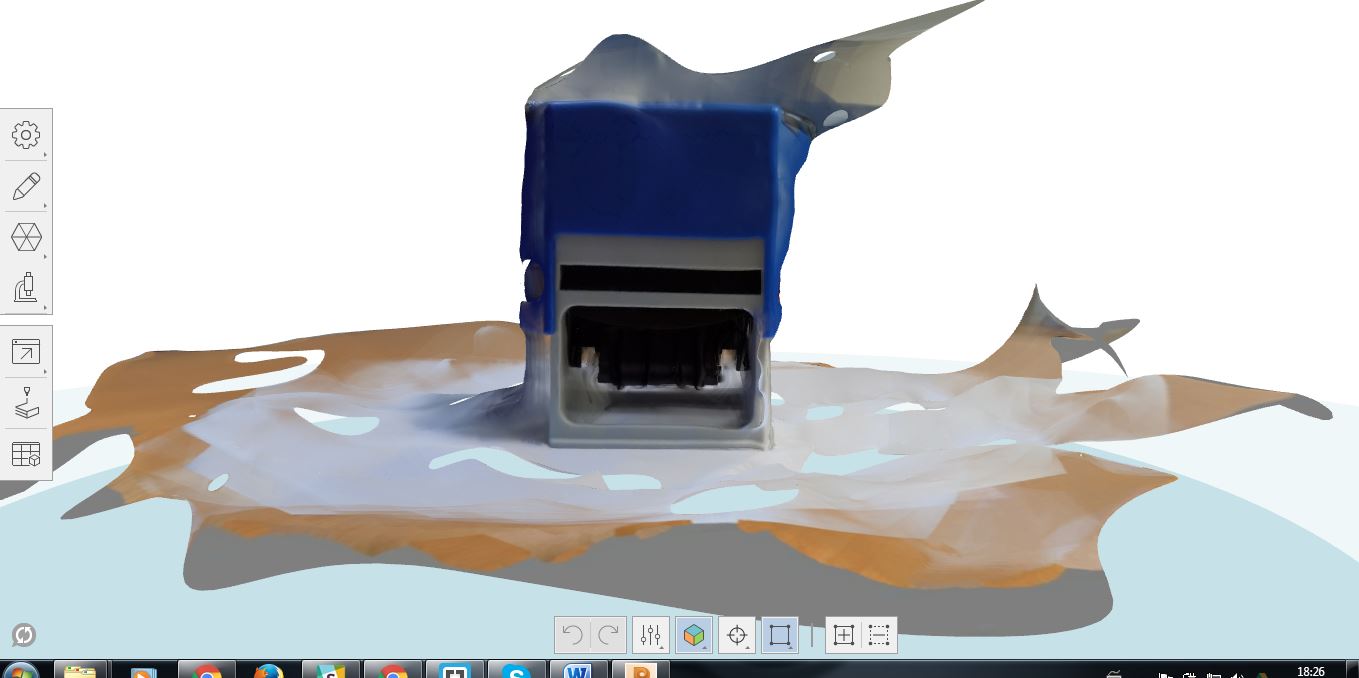
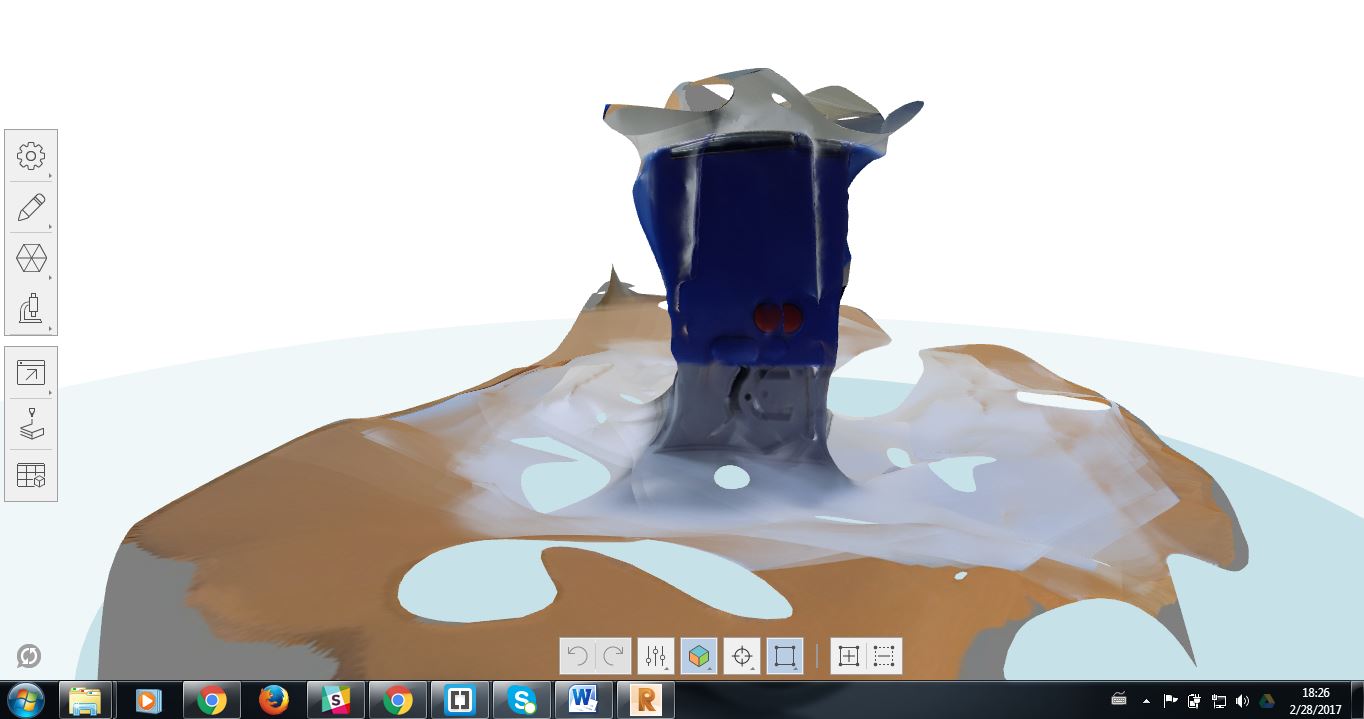
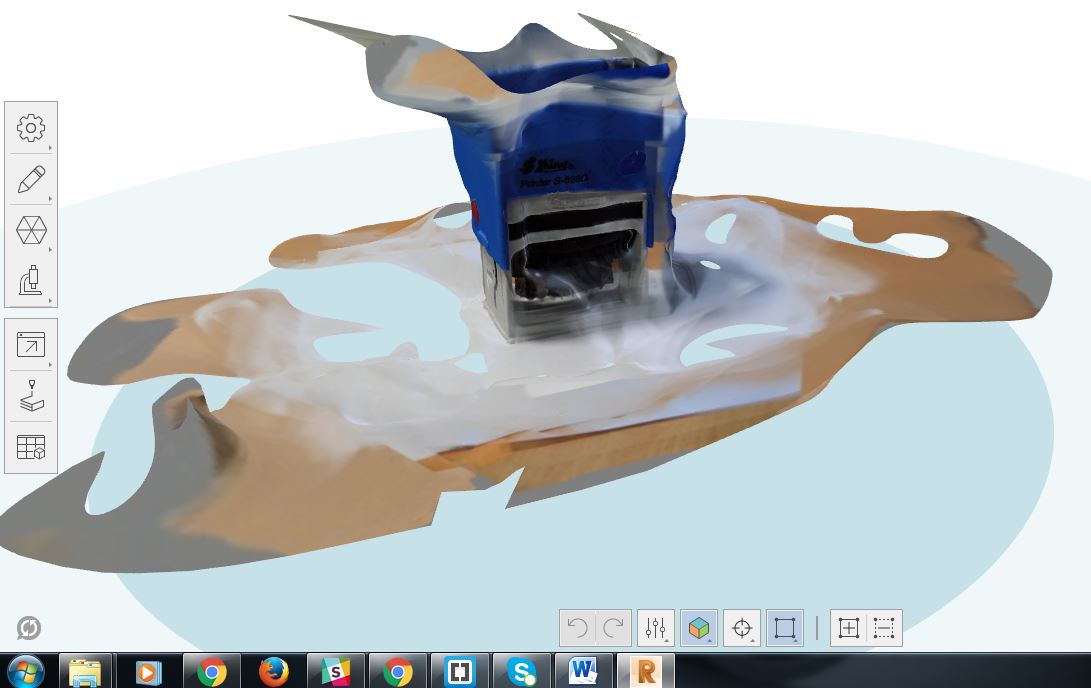
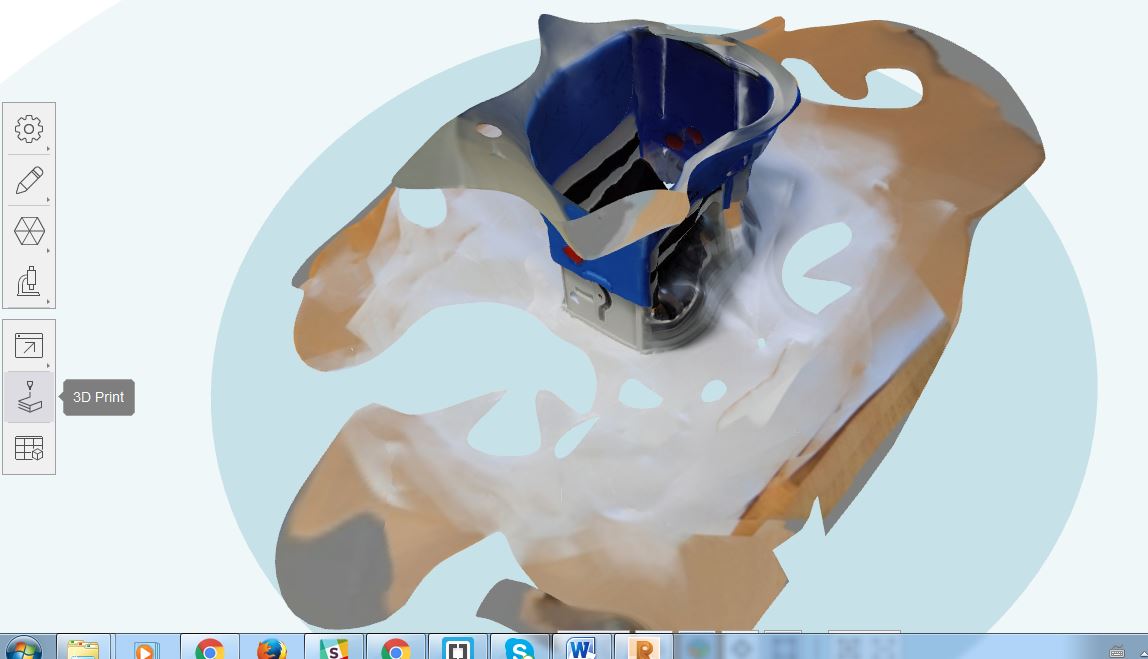
I worked with the Remake software for my 3D scan. I took 53 images of an office stamp and uploaded them. The outcome was not perfect but im currently working on different technics to ensure that i get the best 3D mesh from photographs.
However, the output was not very pleasing. I realised that most reflective and transparent/colorless parts were not processed very well.
So I resorted to trying a different software and a different model with more dull colors. I downloaded Autodesk Recap and used it to process the images. I also stopped using my mobile phone camera (which I initially thought was pretty good by the way:) ...) and employed the work of a NIKON D3200 camera. It had a better lens that could focus well on a specific object as it captures the images. My model was a nice wooden box cut on the laser cutter. I took it outside the lab for suffient lighting and placed a newspaper under it then quickly got to work.

Then I captured as many pictures as i could and uploaded them on Recap. Turns out they were only 111 shots :) The results were as beautiful as I expected
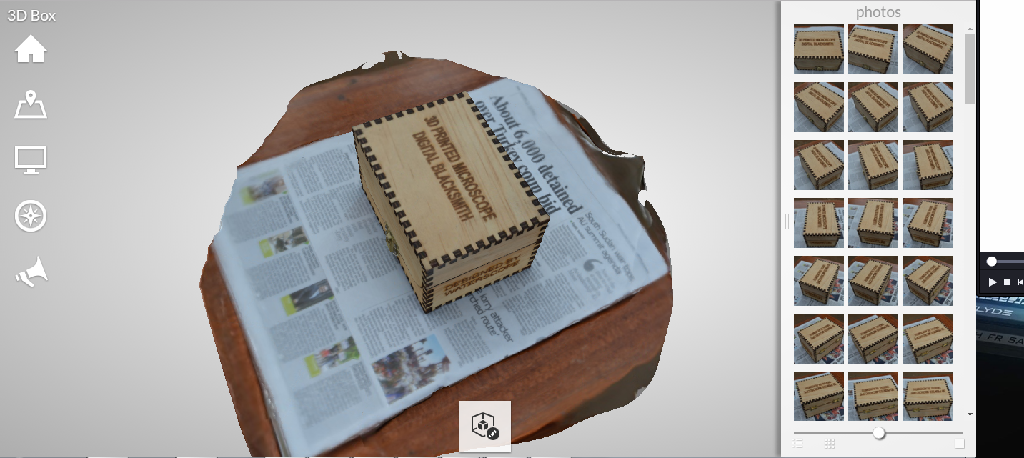
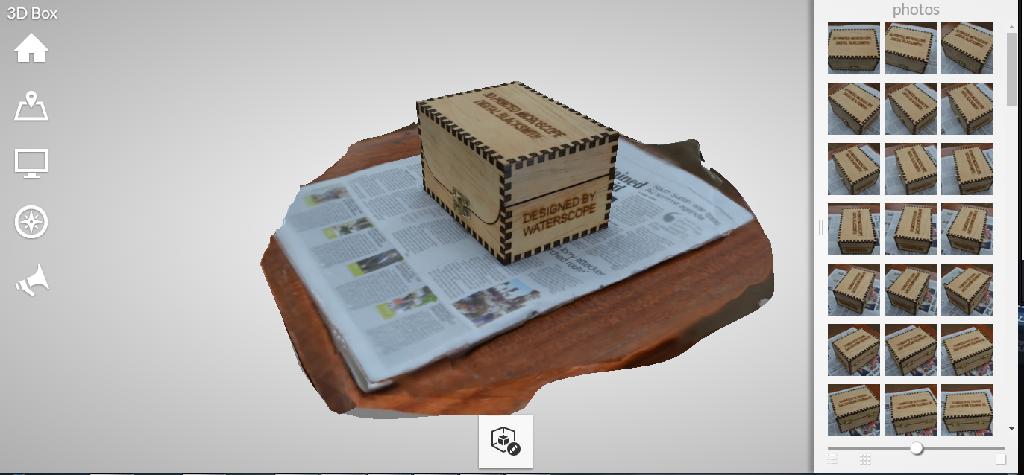

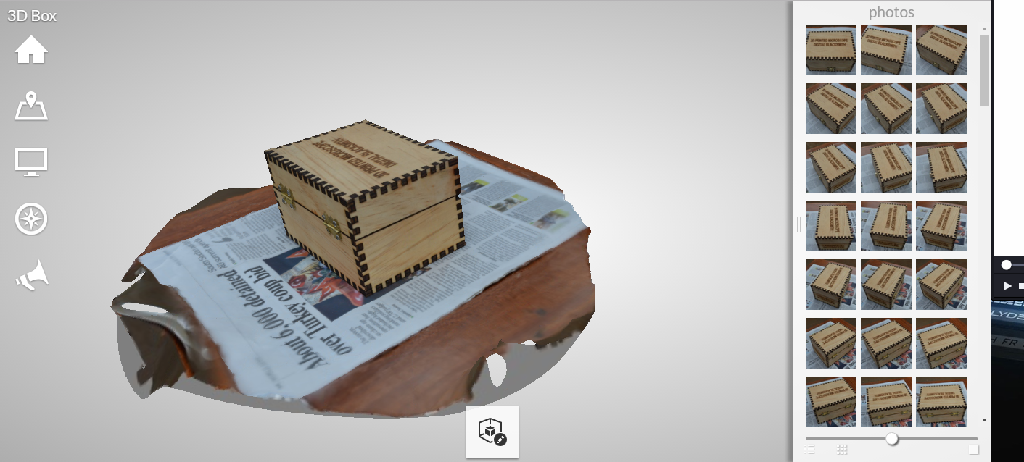
Finally some success!!!
As my experiments may have shown, 3D printing is a powerful technology but it may also have its limitations.
3D scanning is not so perfect either. As my first attempt proved, scanning may not be very successful especially on transparent or reflective objects.
Scannig also reads information on the surface of the object only and not interior details
Download files:
Bearing_Assembly.SLDASM
Bearing_Assembly.STL
Ball_bearing_SLDASM_files.rar