Electronics Production
AVR ISP Programmer Circuit Milling
For this assignment I worked with Brian's design.
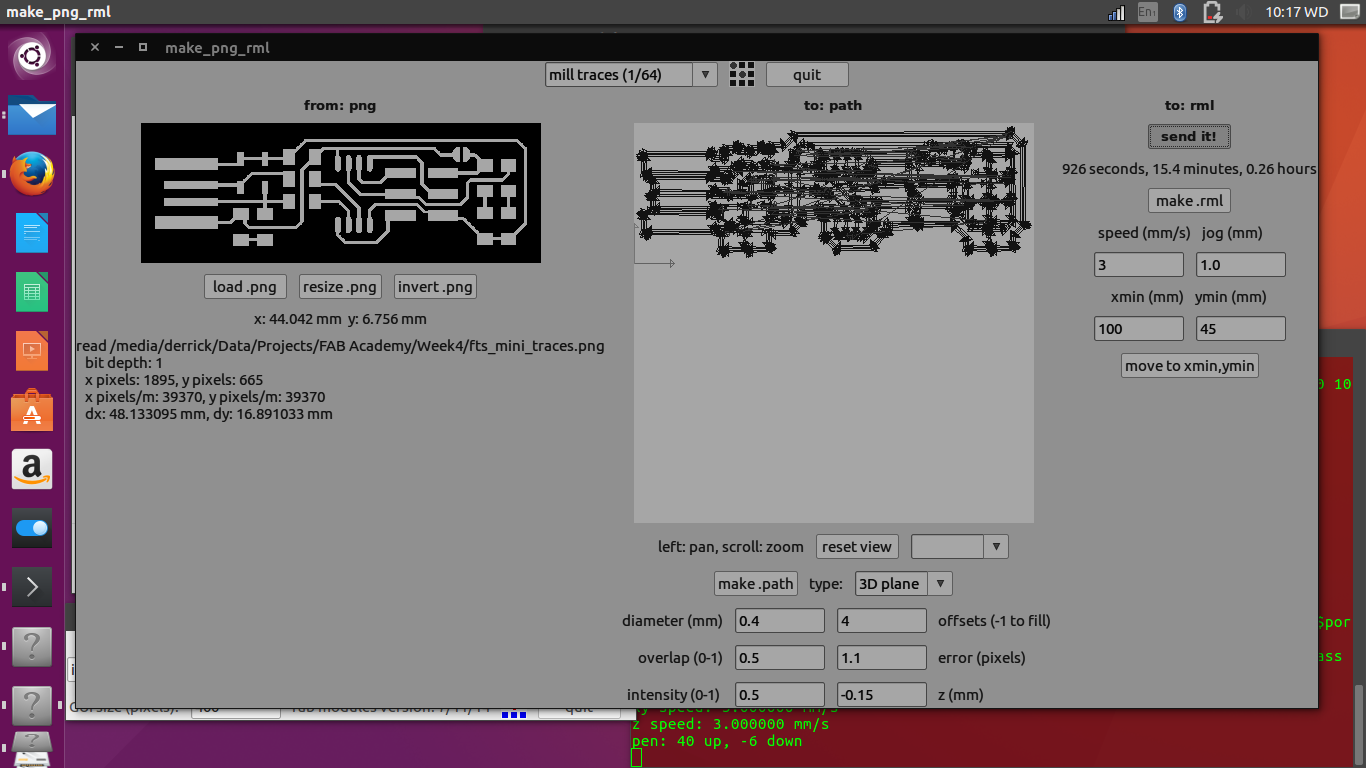
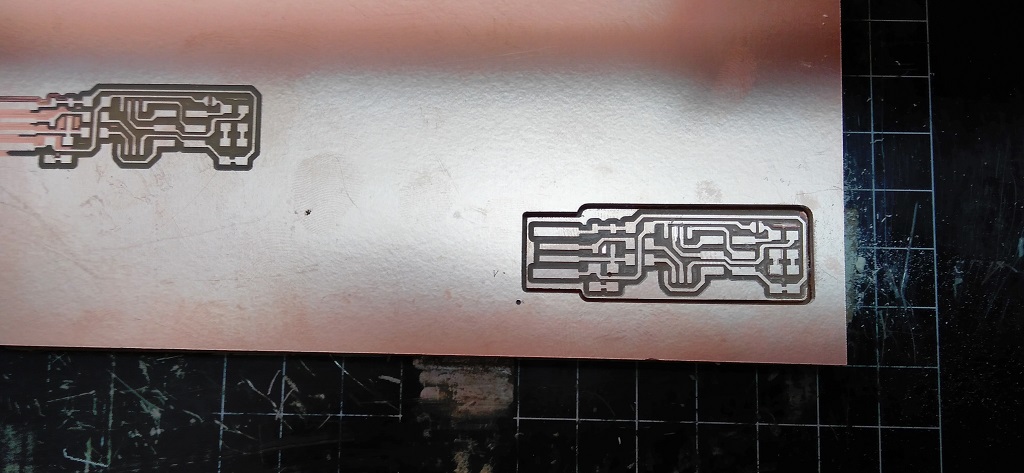
I downloaded files from the page got set for milling. I
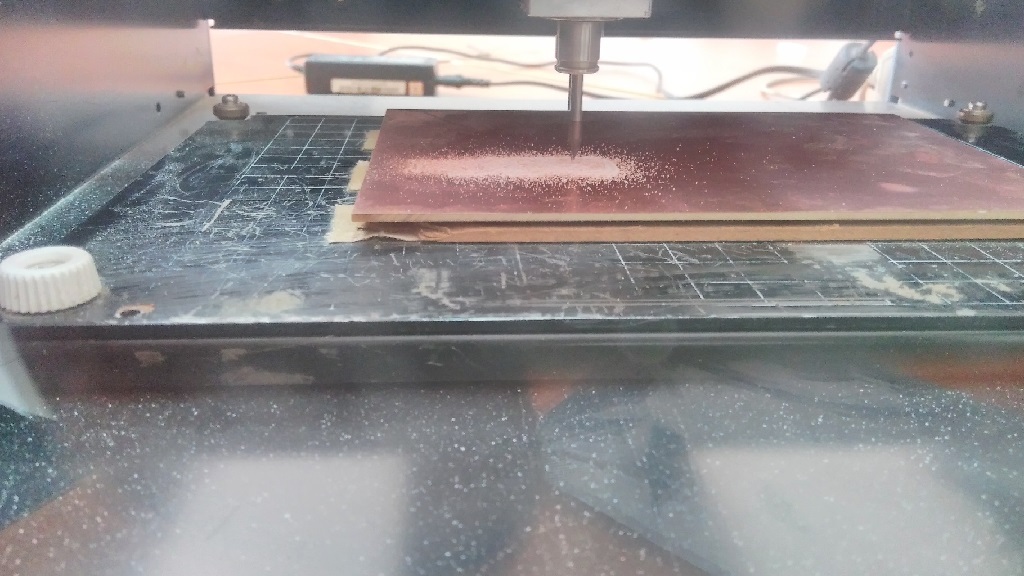
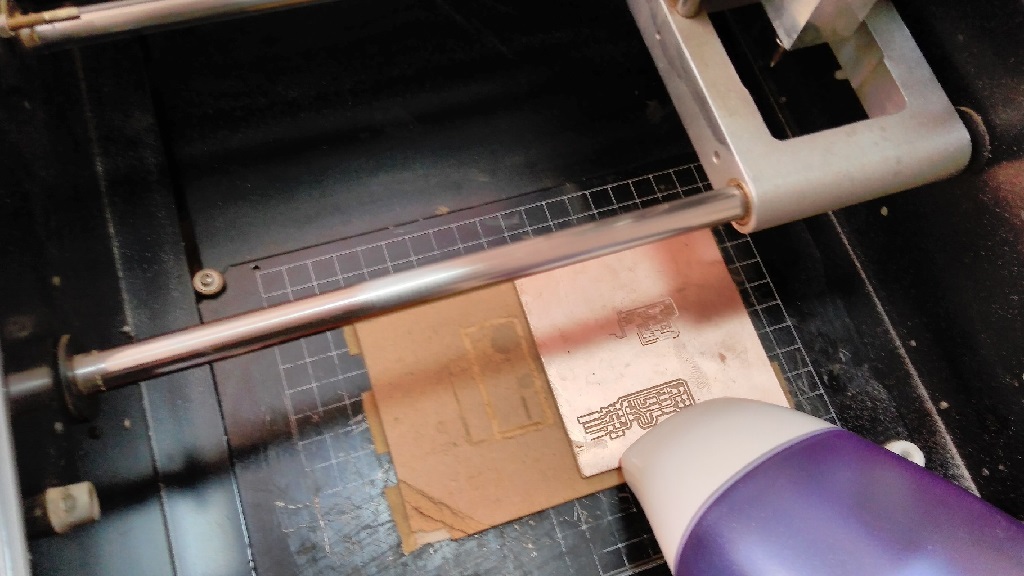
used a 1/64" milling bit and had my first setting at a speed of 3mm/s and positions 100mm and 45mm for the Xmin and Ymin respectively. I adjusted the Z axis to allow a depth of -0.15mm. This however did not completely mill out the circuit as one side of the sacrificial material on the modela was quite elevated than the other rendering the copper board unevenly levelled for a uniform mill

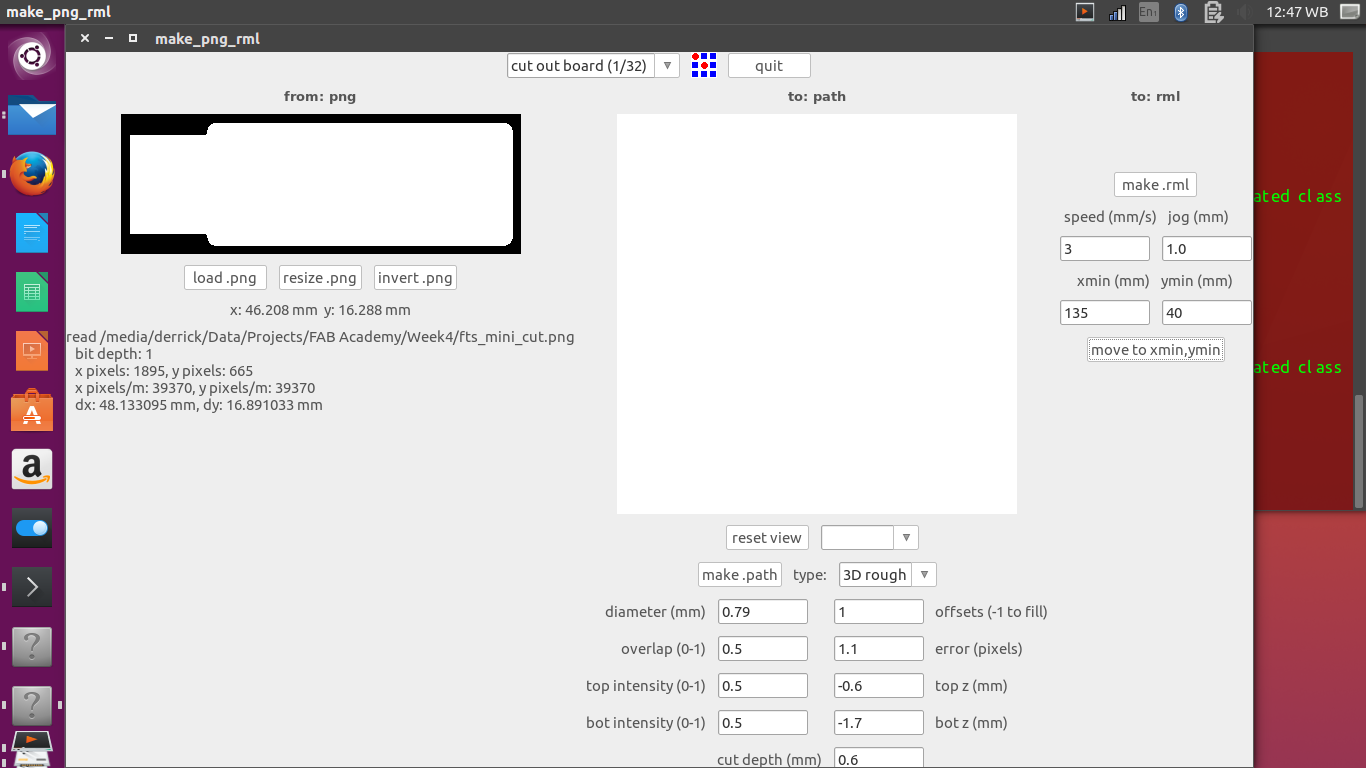
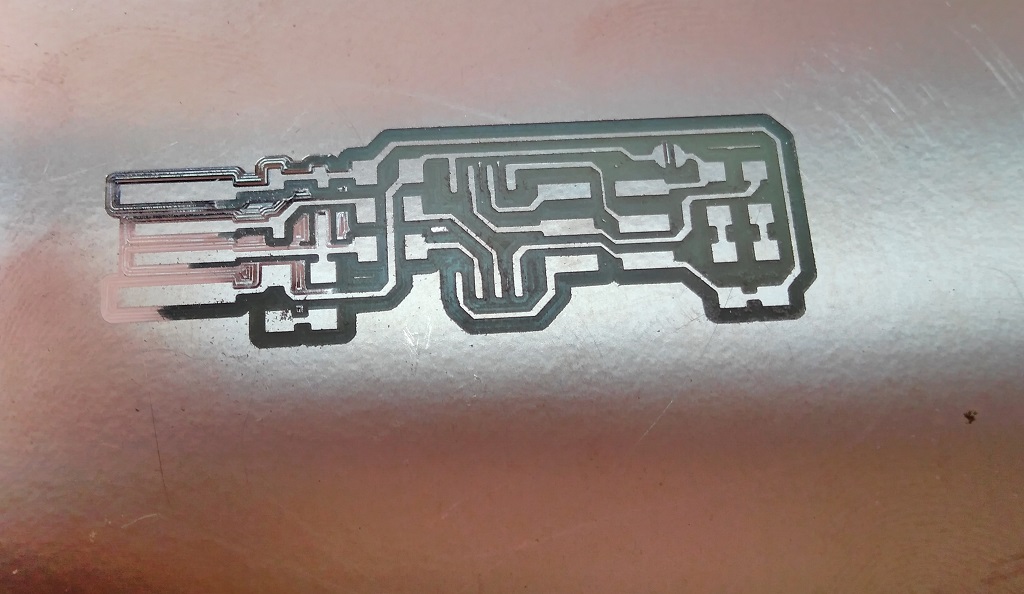
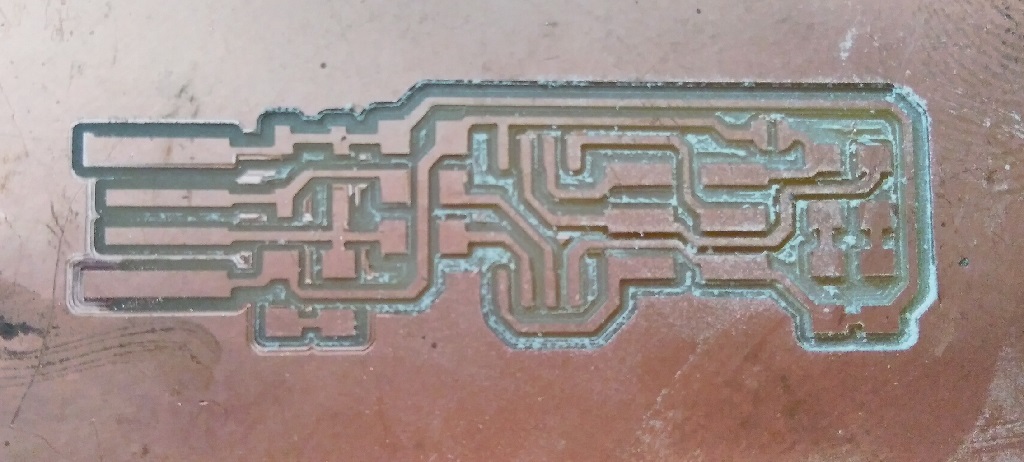
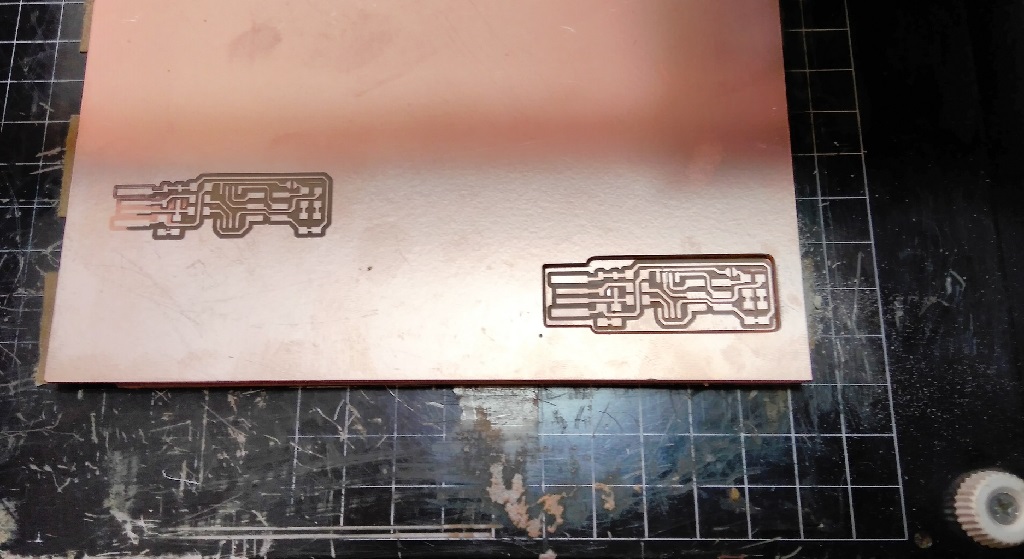
Eventually I moved the machine to Xmin, Ymin 135mm and 40mm respectively and the board was evenly milled out. I then uploaded the cut-out design and set the depth at 0.6mm. Using a 1/32" bit the design was well cut.
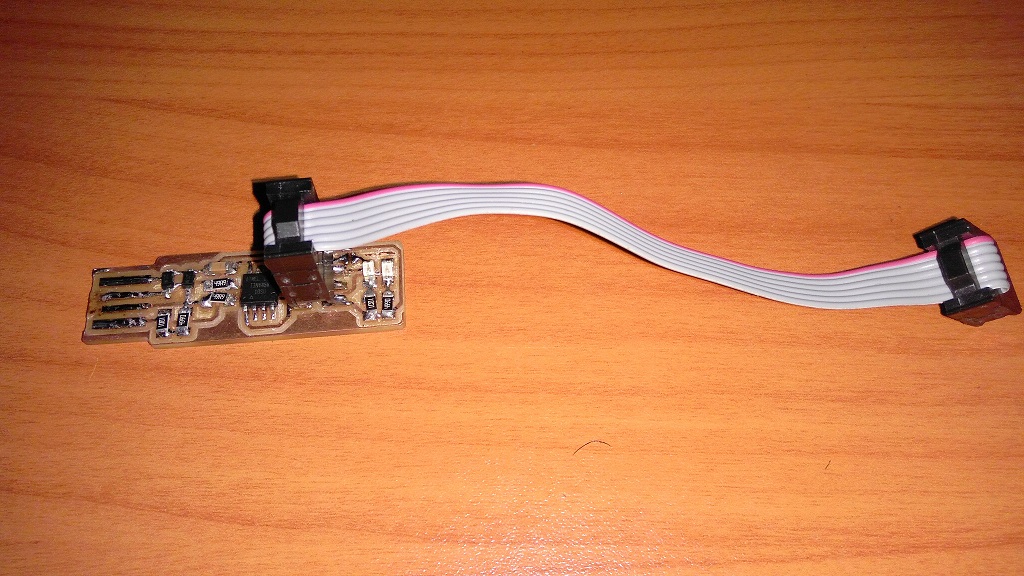
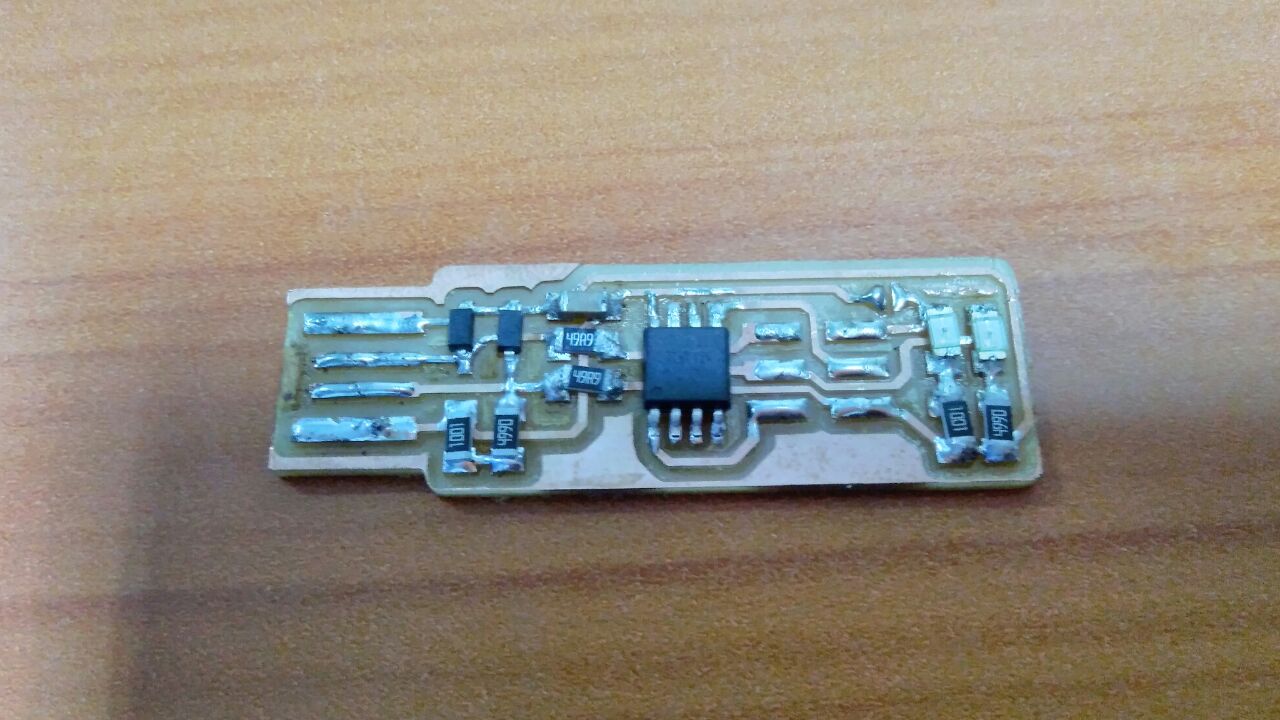
Considering that all the components were surface mounts, I took time to be sure that each component had been placed at the right position and in the right orientation. I started with the microcontroller chip. I applied a little solder on the pads and used hot air to solder it in place. The remaining components followed after that.
Programming the Chip
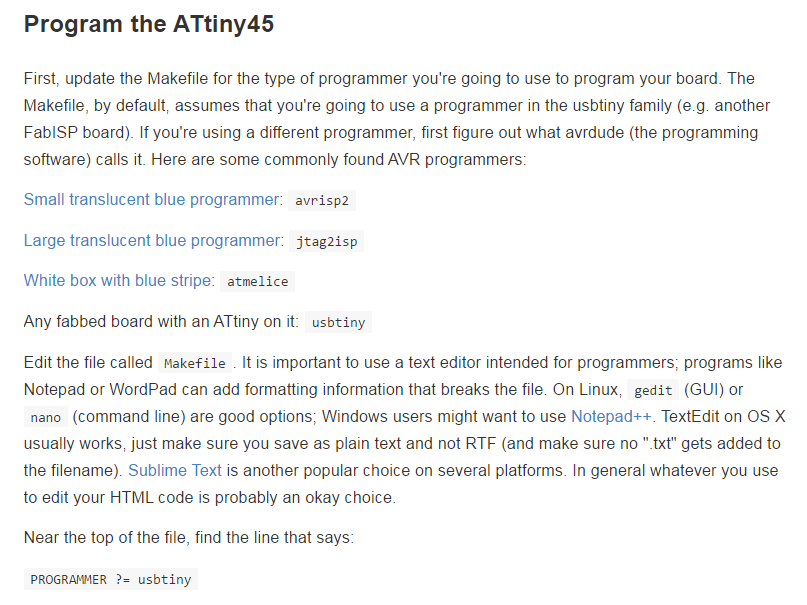
This front was not going to be complicated....I thought. I went ahead to install Atmel Studio 6 since I was loged into windows and pulled the mkII next to me in preparation. I went to this site for a guide through programming the FabISP. I downloaded the firmware.and extracted the zip file. I was using the mkii programmer, so i edited the Make file to recorgnise my programmer. Under PROGRAMMER ?= i changed it from usbtiny to avrisp2

I then connected the fabisp on a usb hub. Then I ran 'make flash'. This erased the target chip, and programed its flash memory with the contents of the .hex file previously built. I ran into some errors though. Turned out that there was a dry joint on pin 2 of the attiny45.
However, the board stil could program onother board. So I checked agaiin, turned out I had also soldered the zenar diodes in reverse. So I desoldered and fixed the issues.
I wanted to try AVR DUDE on linux to loard the program. It WORKED!!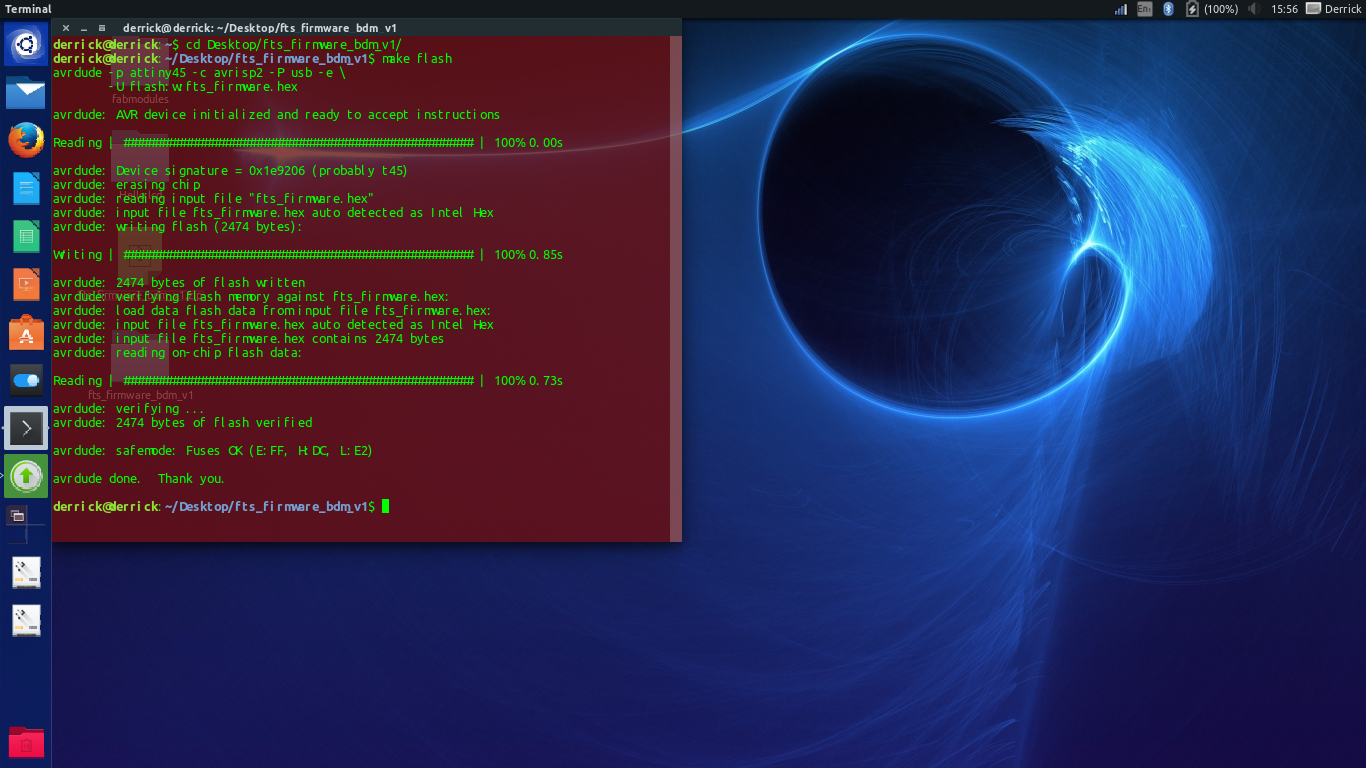
After a successful programming I moved on to to setting the configuration fuses. I did this following the below instructions.
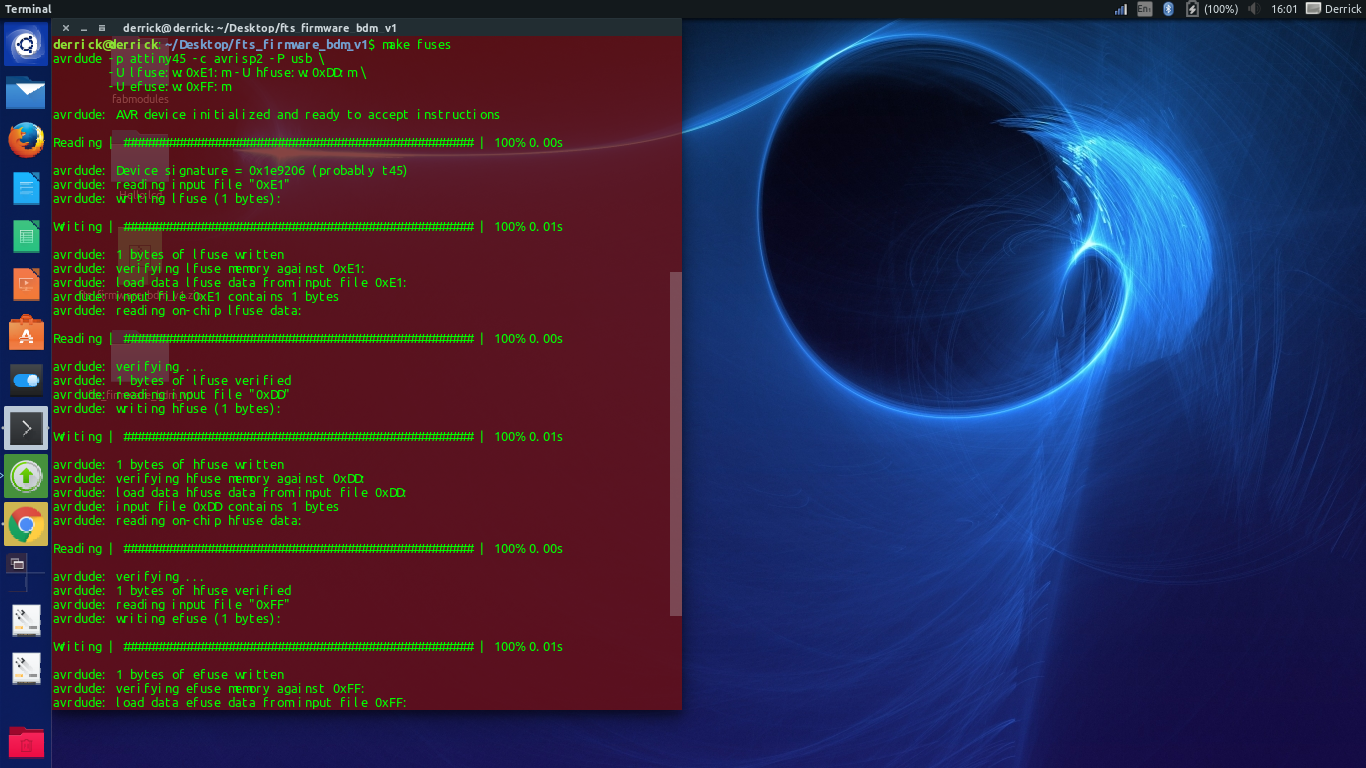
I then tested to check whether my USB was functioning well. I disconnected the MKII programmer and plugged the USB back into the USB hub. Then I typed lsusb on terminal and the device was listed as "Multiple Vendors USBtiny". A smile was just inevitable at this point.
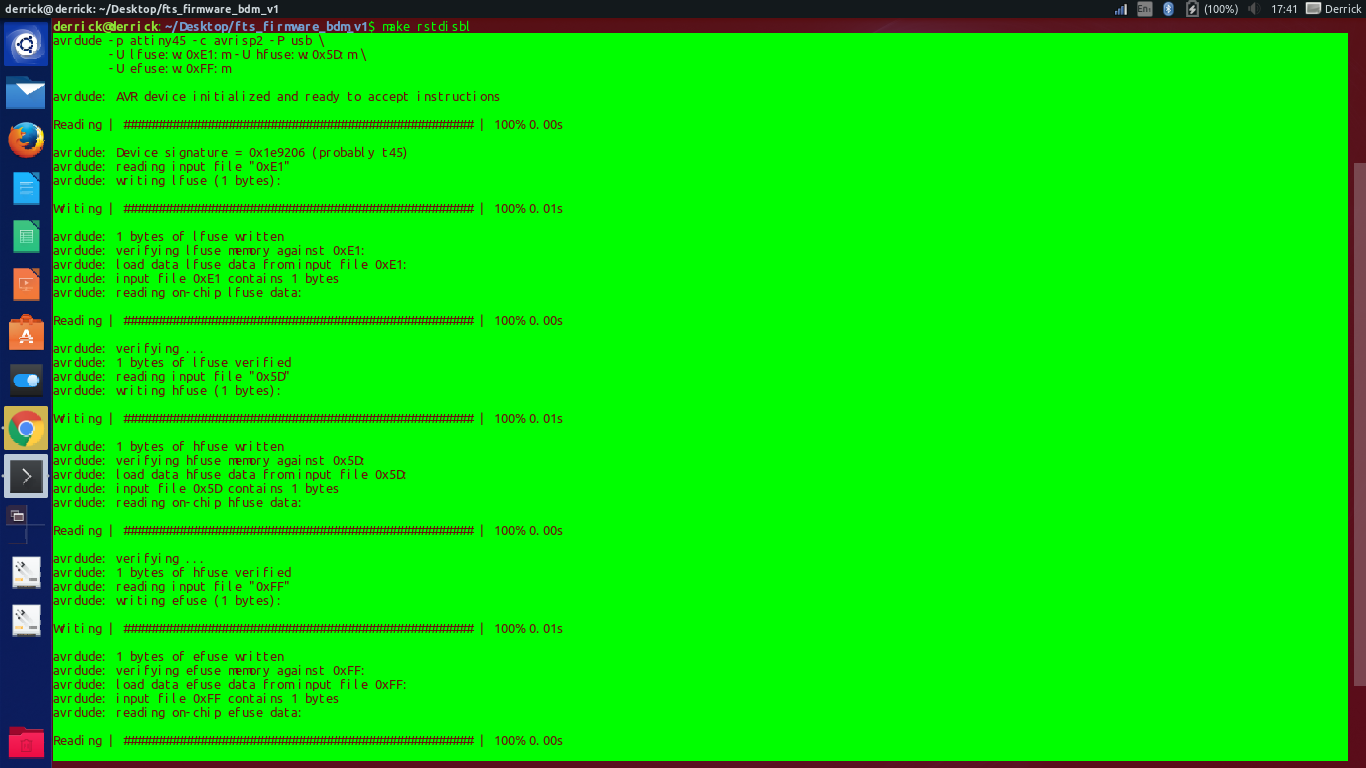
I was ready to blow the reset fuse now. So I gladly typed on terminal 'make rstdisbl'
Download files:
Traces (1000 dpi)
Outline Cutout (1000 dpi)
firmware source code