Computer-controlled Cutting
Press-Fit Kit
This week's assignment was to design and fabricate a press-fit construction kit.
I thought of designing a kit made of small pieces of acrylic that can be put together and fit firmly into each other kinda to form an item.....kinda like the lego pieces :)
My intention was to use a 6mm thick acrylic material. But the plan was to make a parametric design of the pieces cut. In order to do that, it was necessary to find out the kerf margin. Kerf is basically the portion of material that laser burns away when it cuts through a material.
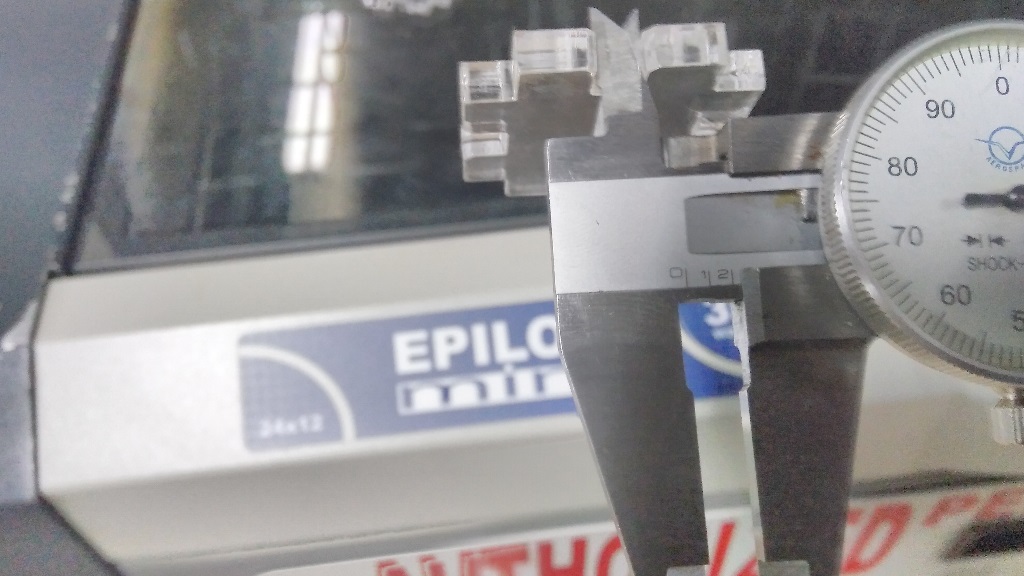
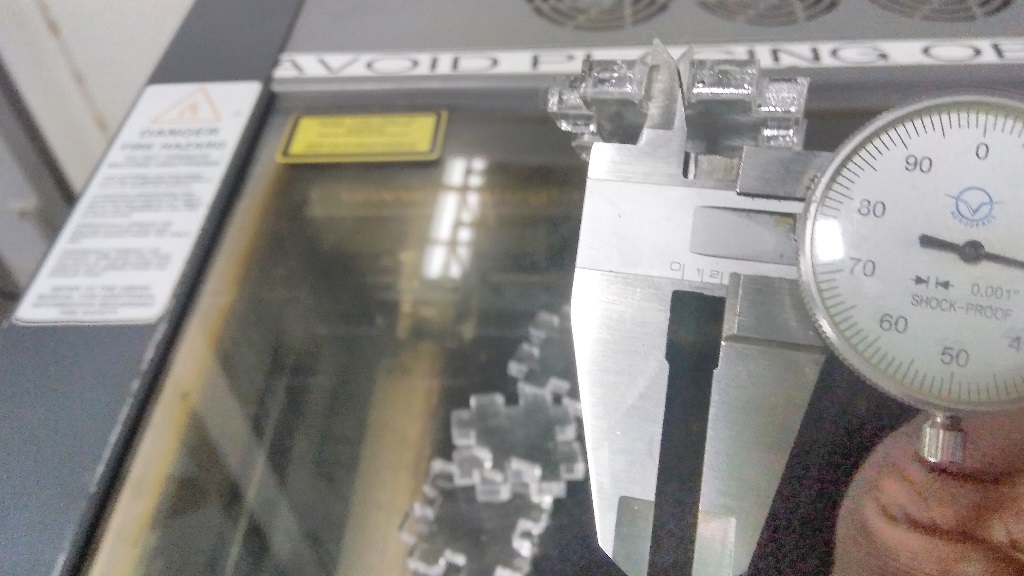
So, I first ran a test to check for the kirf on our laser cutter. I used the inner jaws of a vernier caliper and found a difference of 0.5mm on a 6mm (converted from inches) acrylic material.
Designing
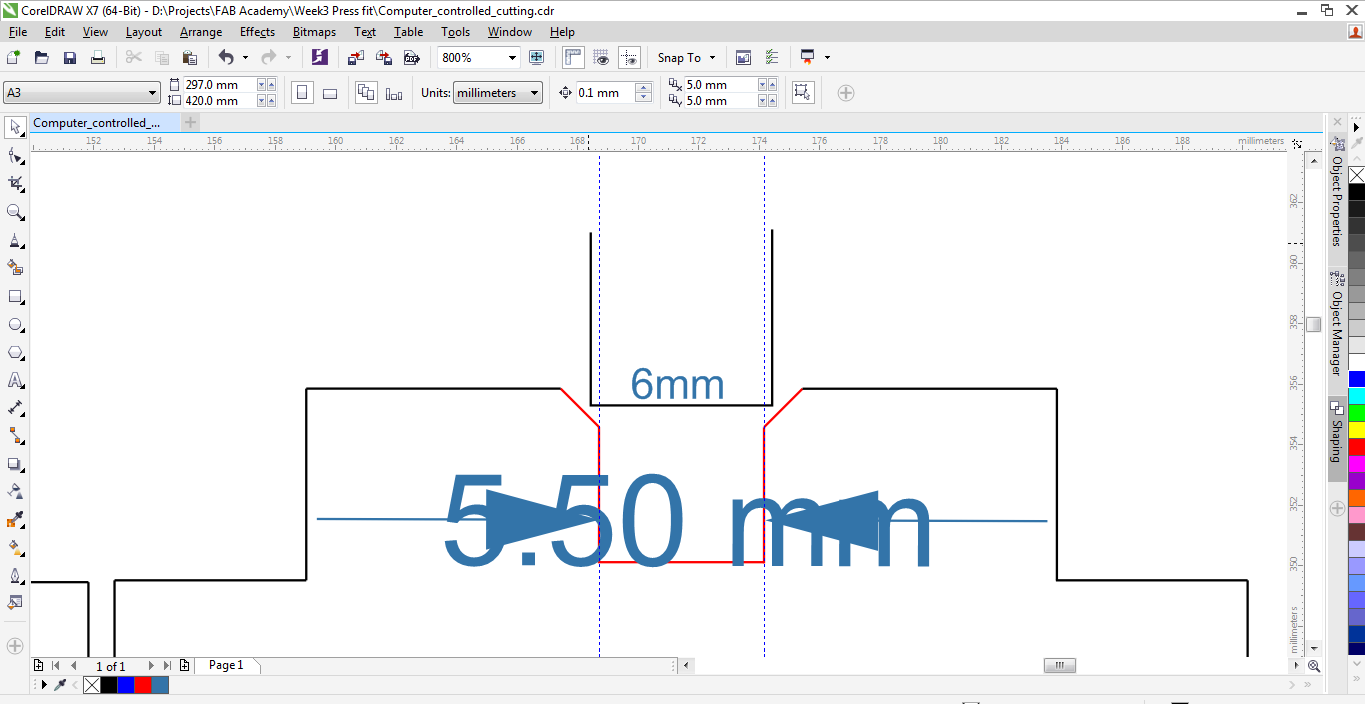
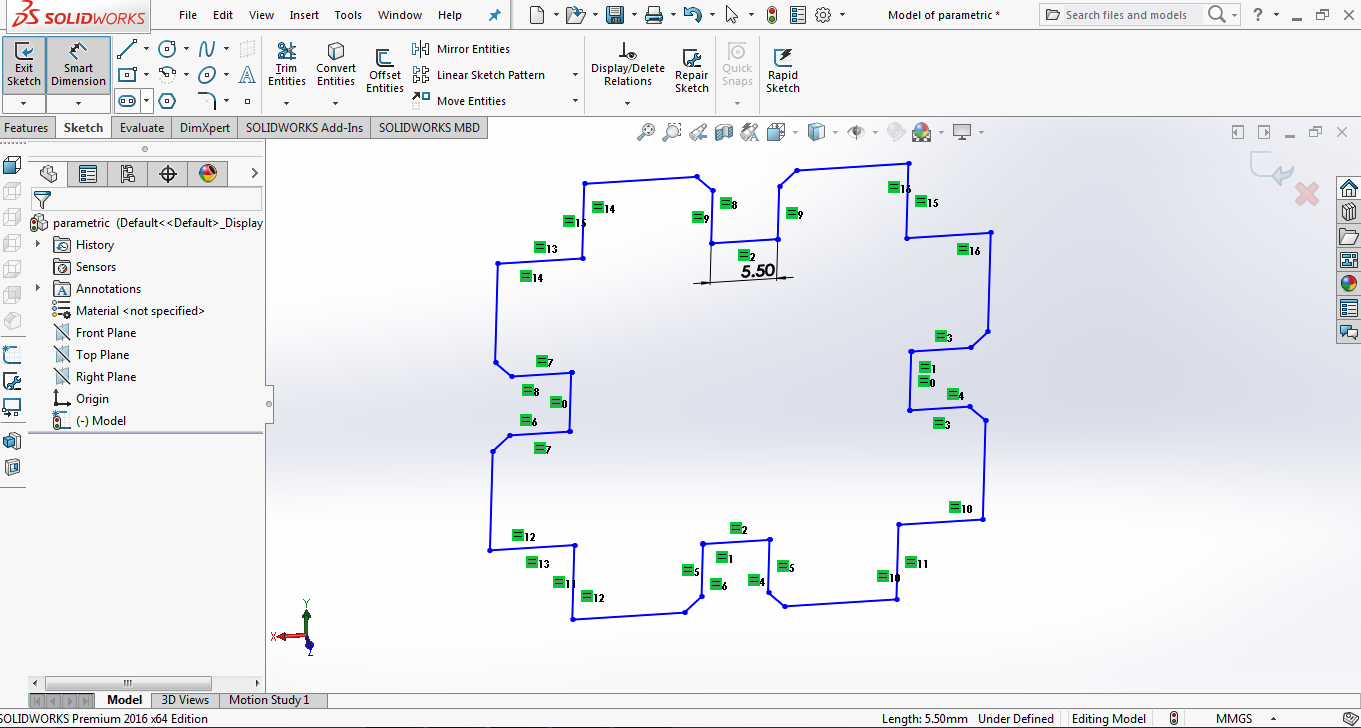
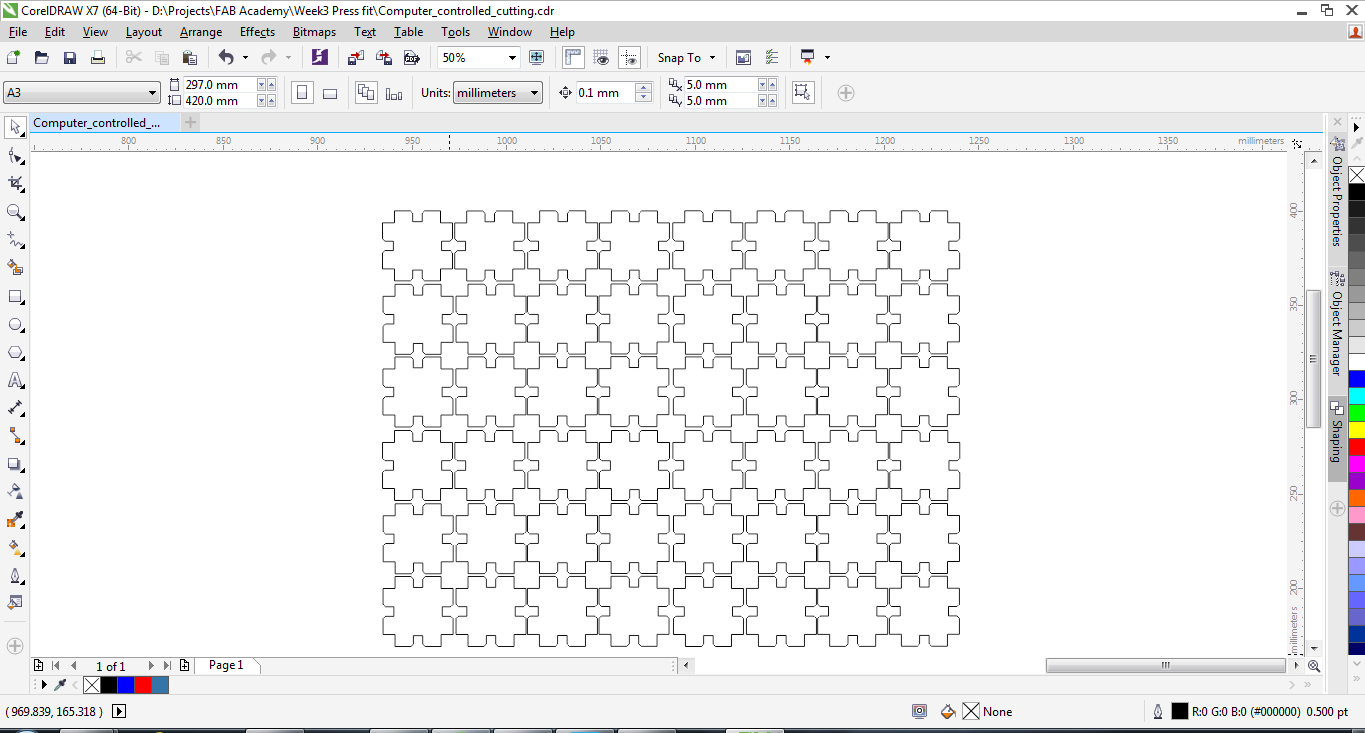
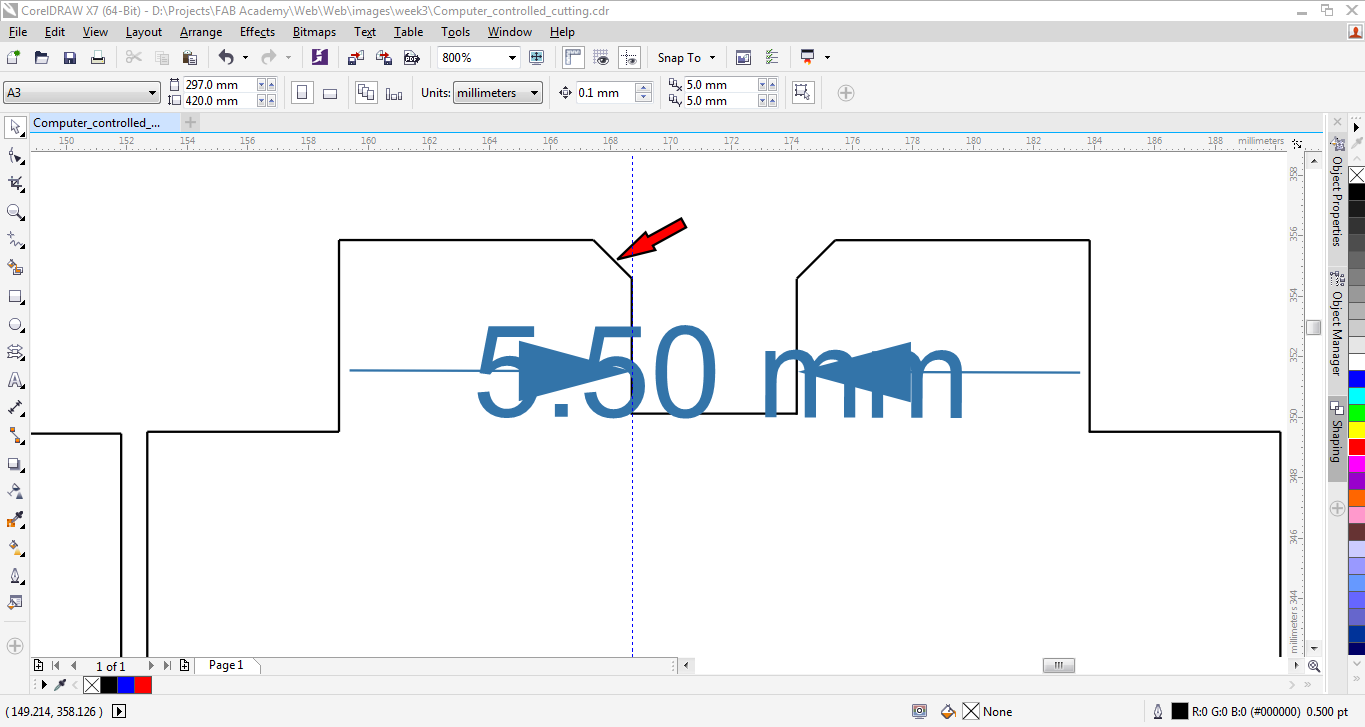
I used Corel Draw to design this kit and also sending the files to the laser cutter. In order to develop a parametric kit, the pieces have to be designed with specific uniform measurements that to all of them. an if one parameter has to be changed, all the pther parameters equal to that one will also change. The kirf was a very important aspect to keep in mind during the desgn process. Having tested a kirf of 0.5mm, I made a design of 5.5mm thickness so that once cut and the laser burns 0.5mm, I will be left with a 6mm gap that ensure a nice grip of the pieces at the end.
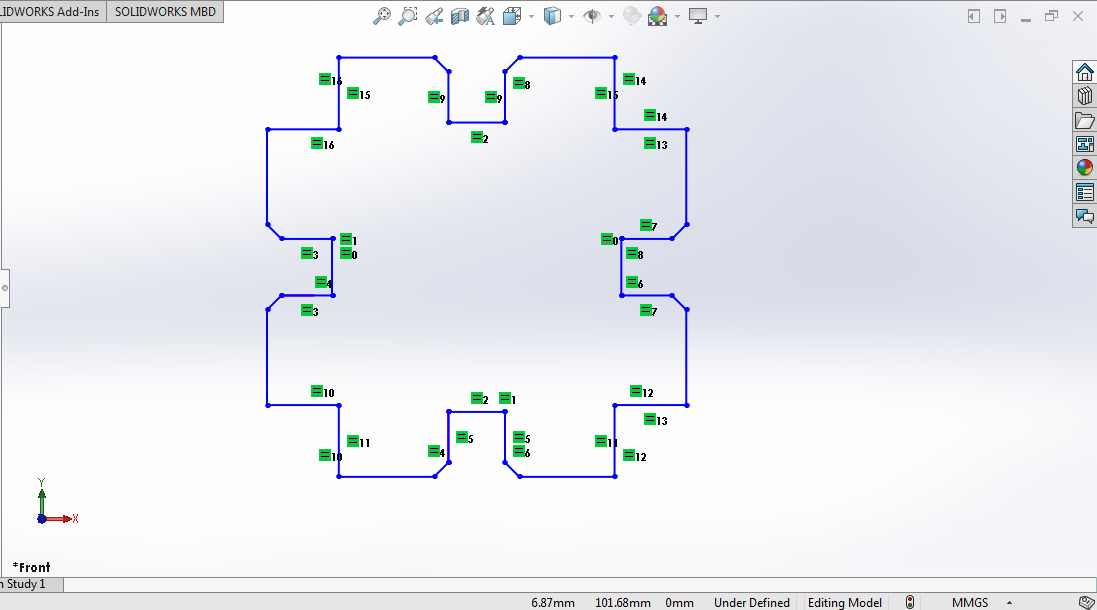
To test the parametric aspect of my design, I imported the part to solidworks.
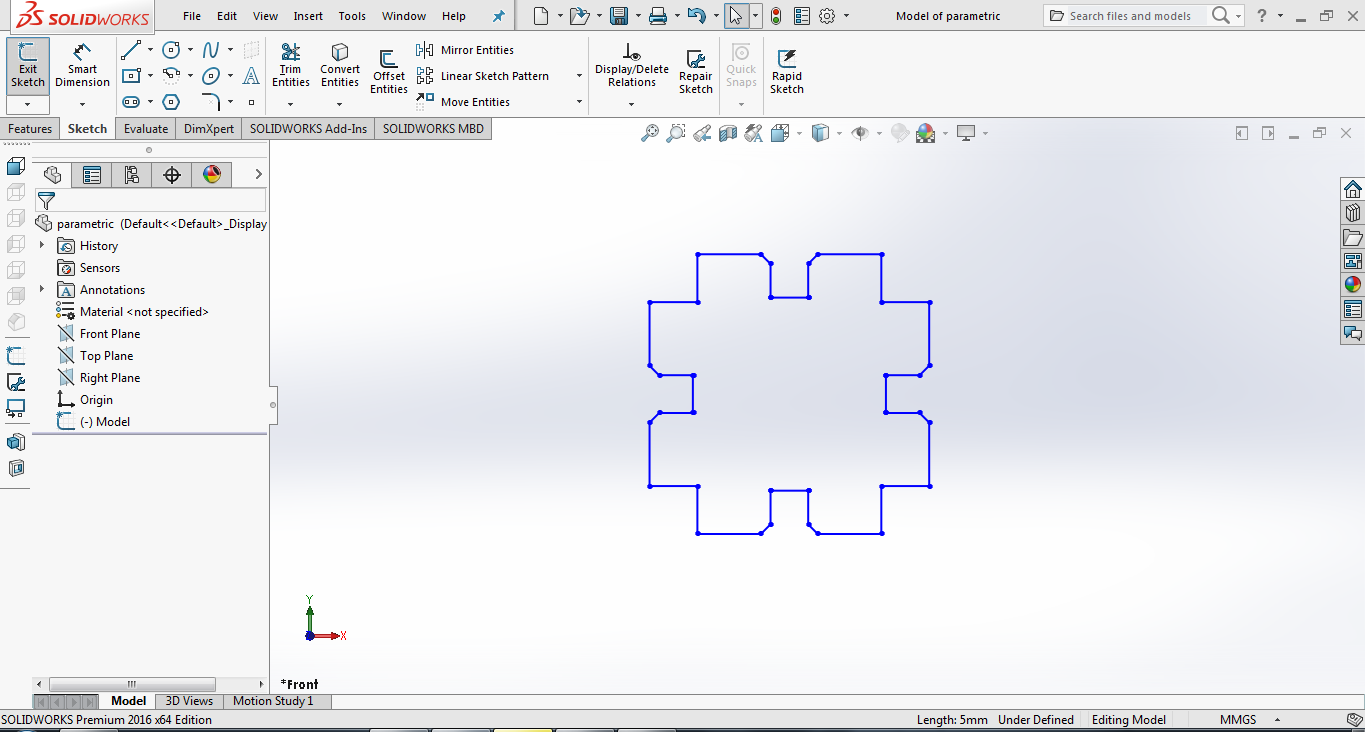
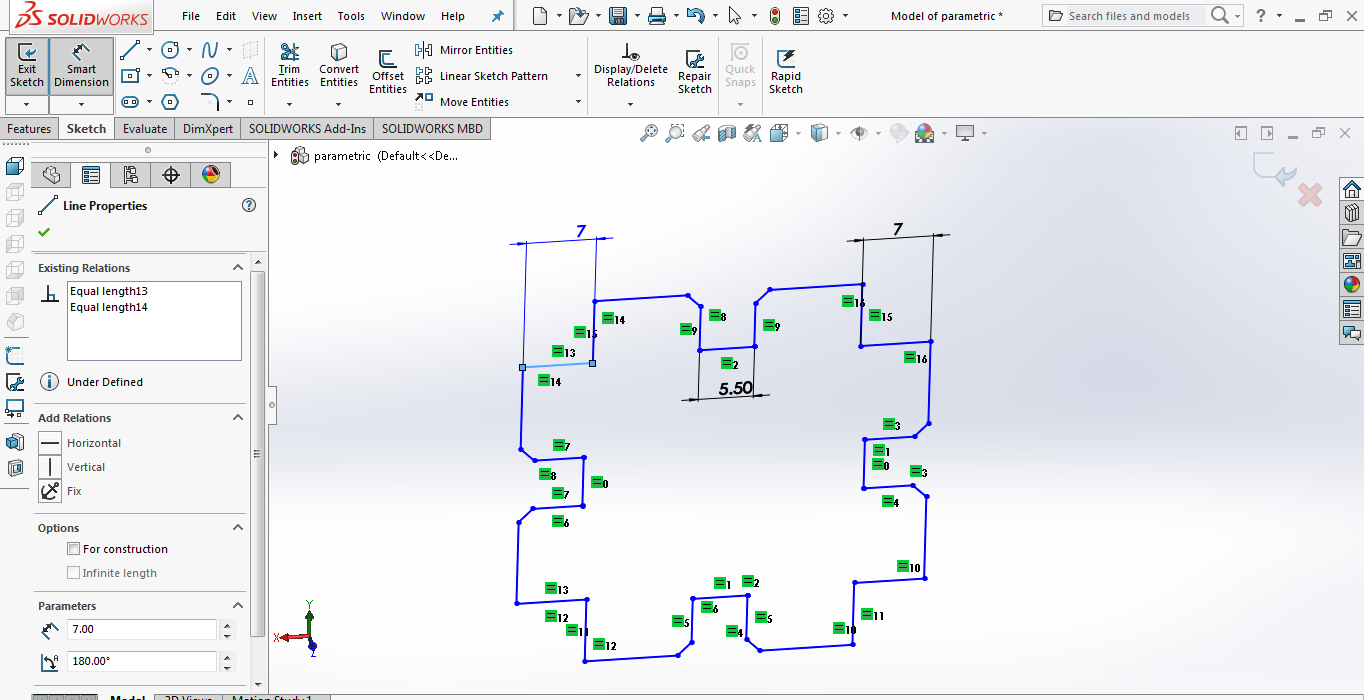
Here, you can equate all the lines or shapes that you want to relate and as soon as yoi change one, all the others related to it will also be changed to the same values.
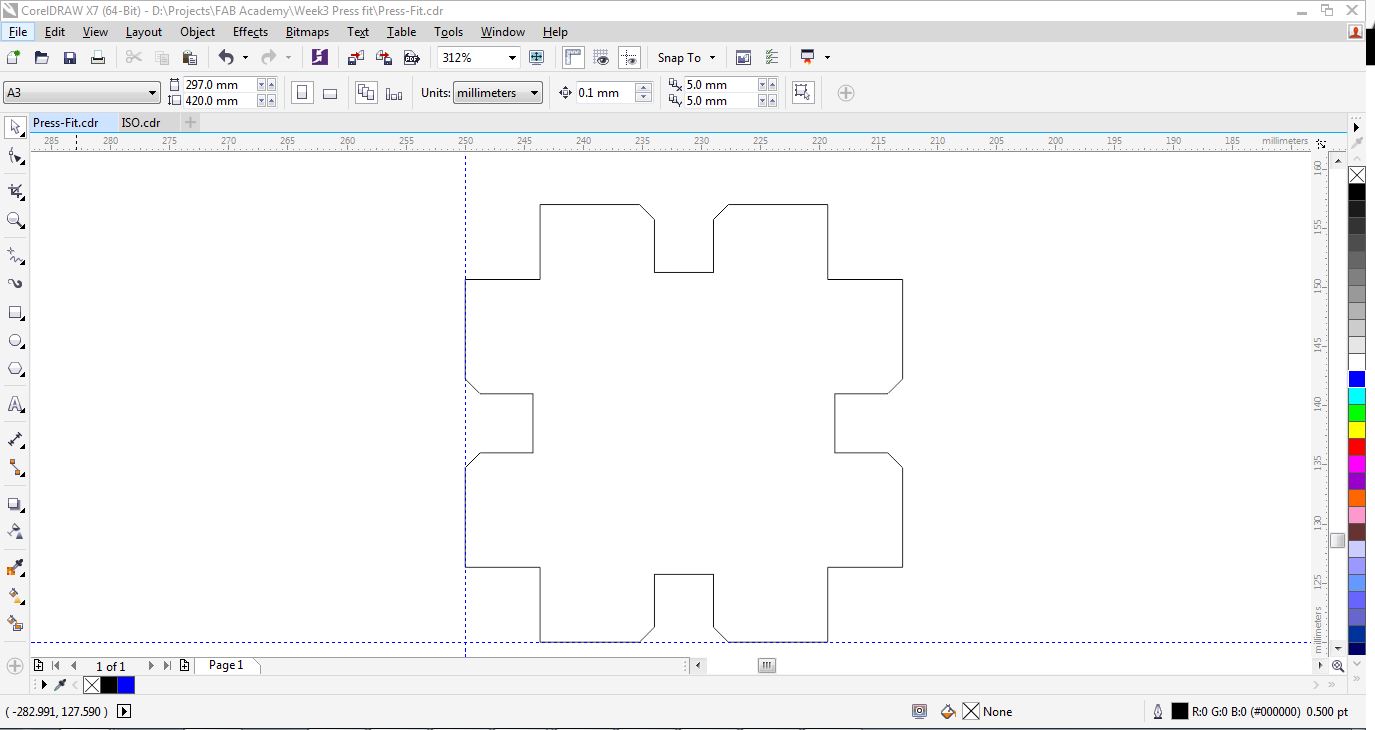
Since the whole set of pieces were going to be identical, I duplicated the pieces to the numbers that are necessary and arranged them for cutting
I also noted that sometimes it can be difficult to push the pieces together due to the sharp edges.So I did a 1mm chamfer at the edges to allow a smooth slide while the pieces connect.
Laser Cutting
I used the 35Watts Epilog Mini.
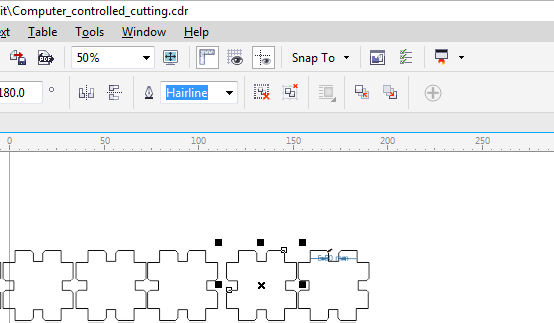
First I converted my design file to hairline for the parts that needed to be cut all the way through
I then powered the machine ON and connected its usb cable to my laptop. I powered the fumes extrator and the compressor.
I specified the machine size, vectoring and rastering parameters after which I sent the design to the machine.
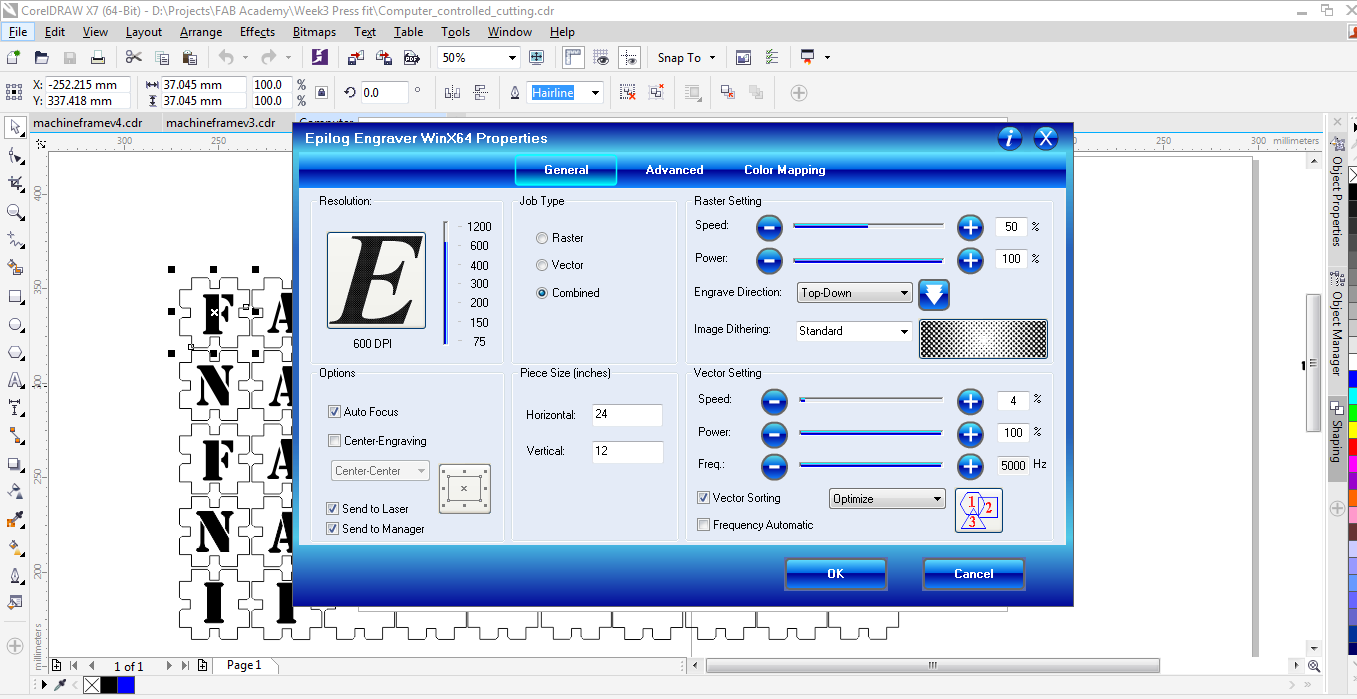
On the machine, I set the pointer ON and the red dot was visible then I manualy moved the head to the top left corner to set it as my point of origin.
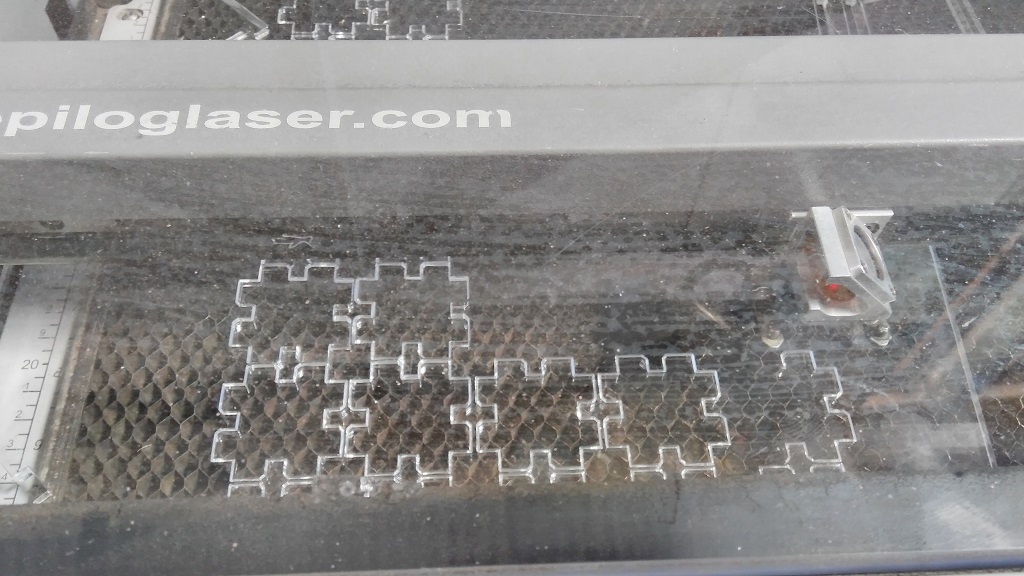
At first I started by using 4% Speed, 100% Power and 5000% frequency to cut through the material.However, some of the pieces could not detach completely from the larger acrylic sheet.I then adjusted the speed to 3% which worked well.
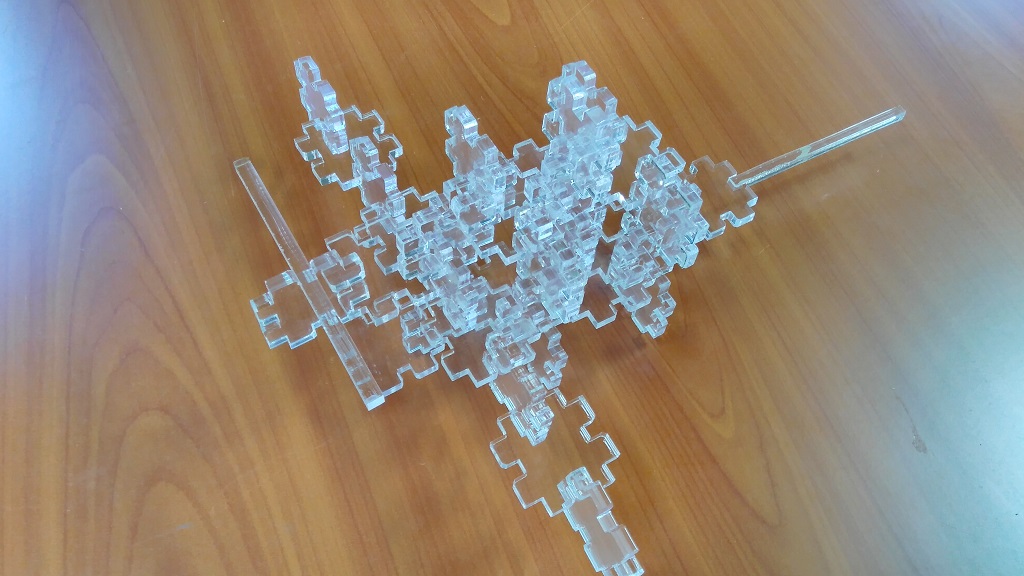
Final Prototype of the Kit
Once al the pieces had been cut out, I powered the laser cutter down, followed by the fumes extractoe and lastly the compressor.
I started putting the pieces together.
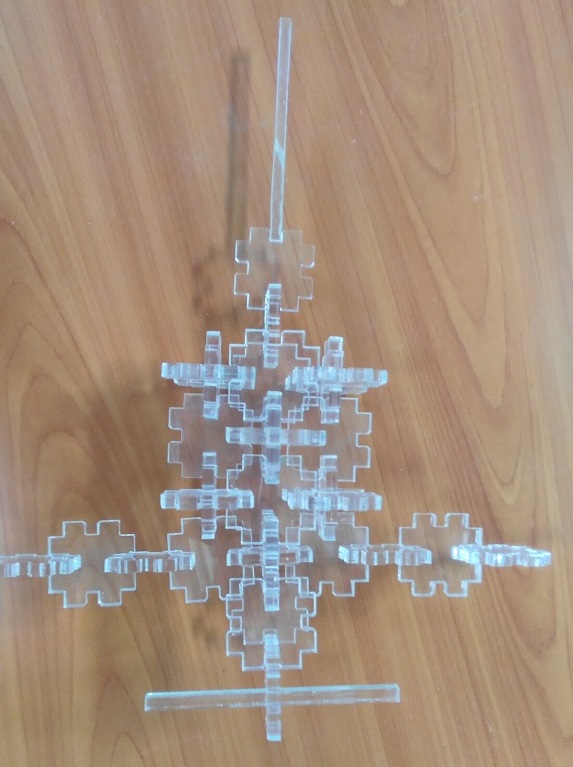
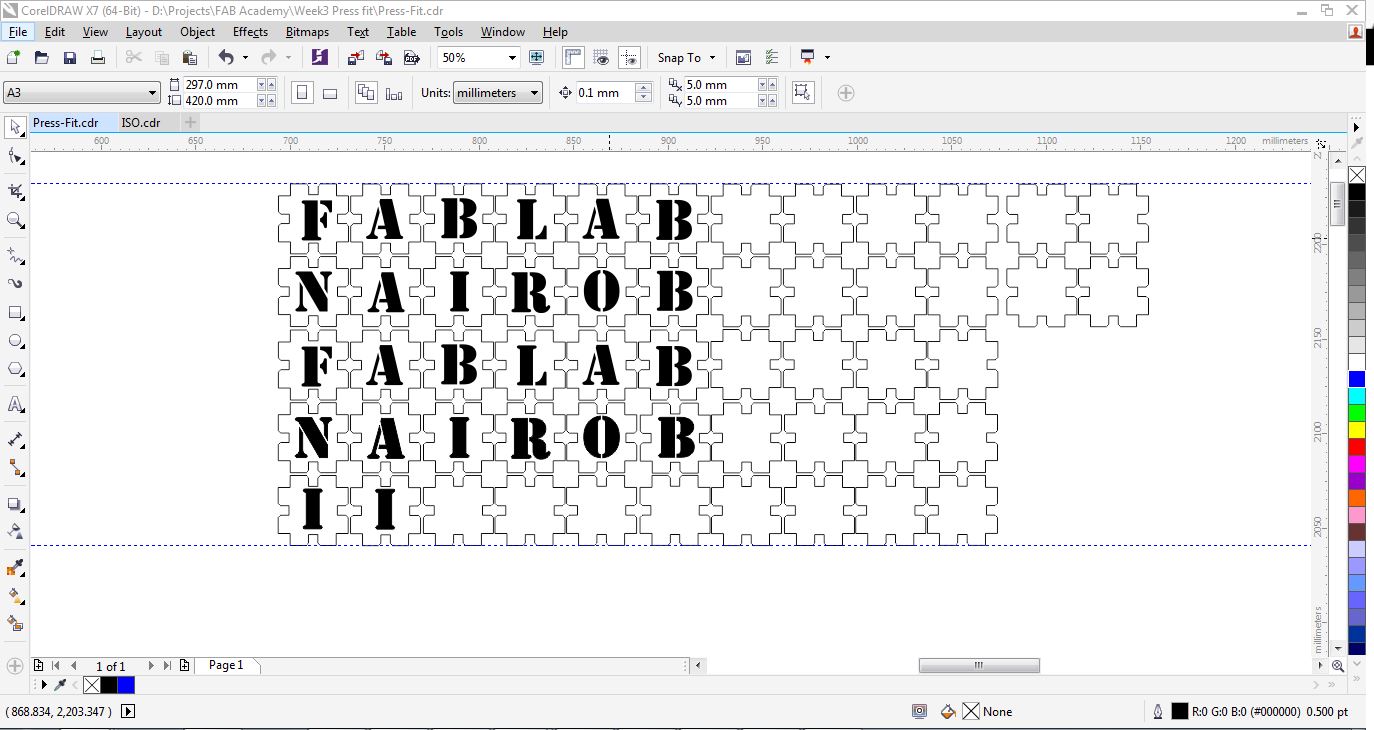
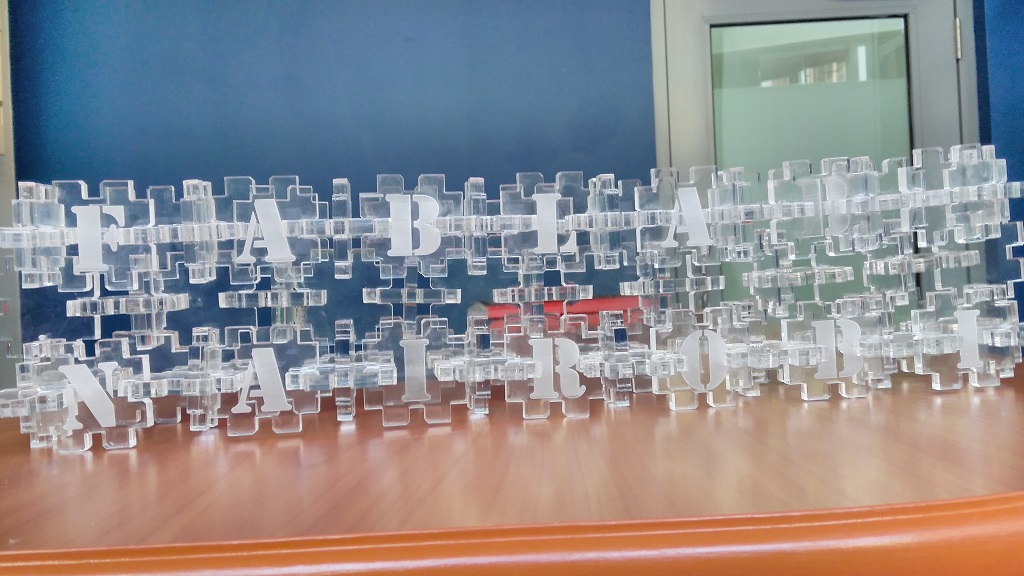
The kit includes rastered pieces that can be arranged to form different structures and words as well.
Vinyl Cutting
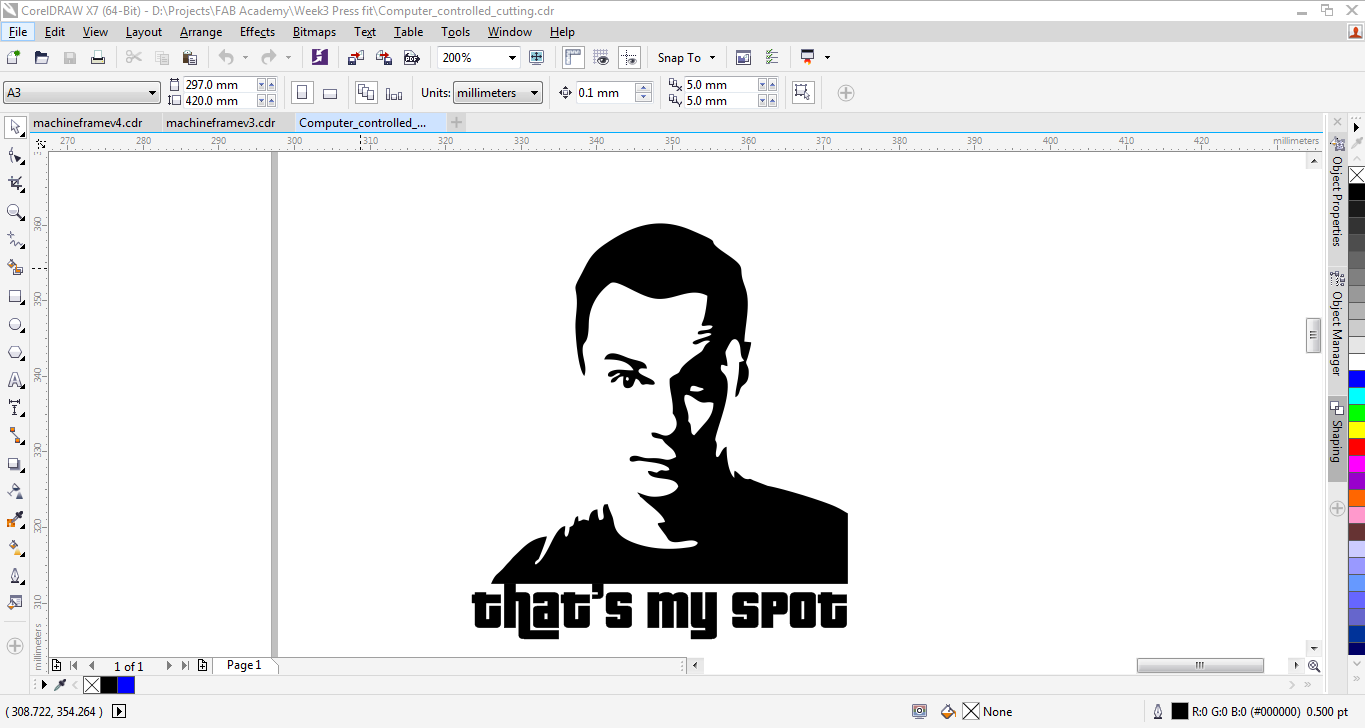
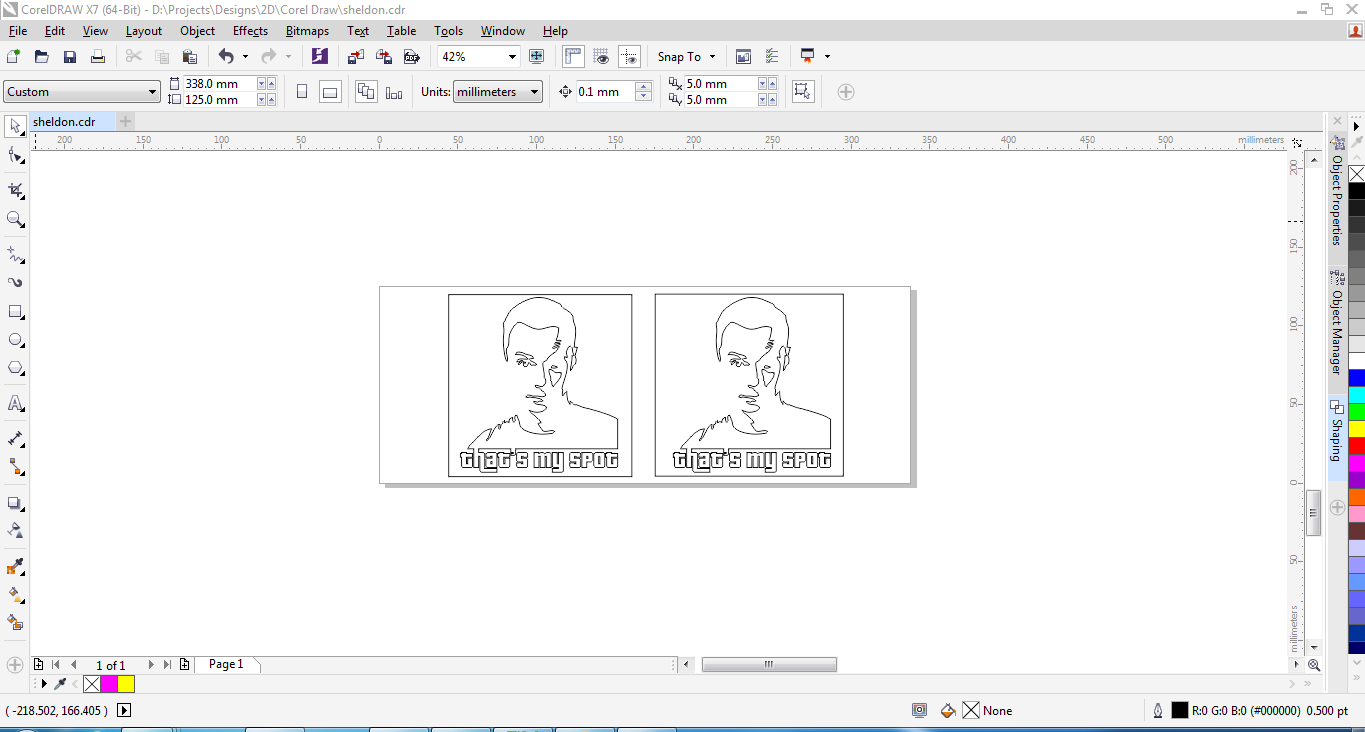
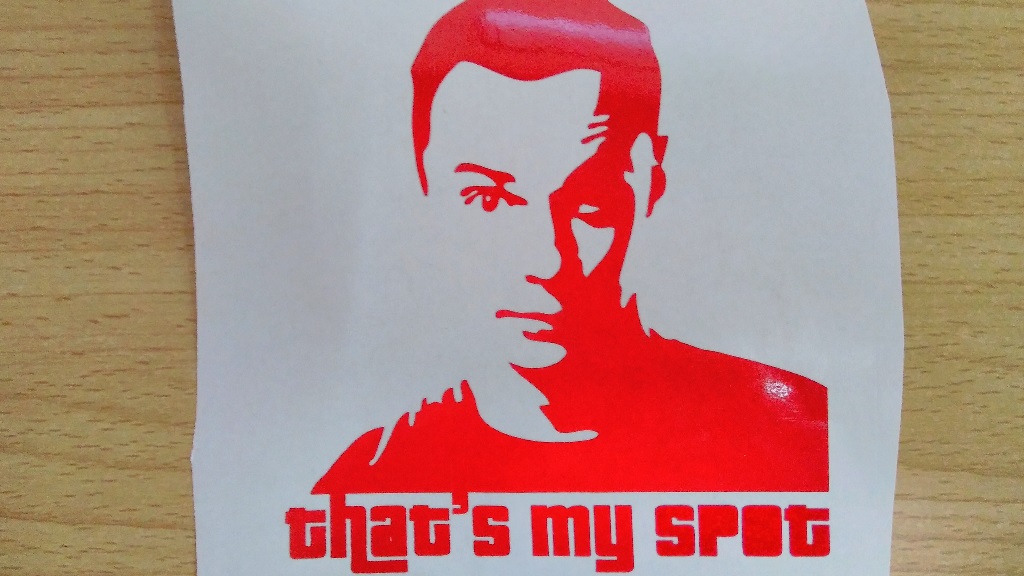
I thought of cutting a sticker that I could stick on my laptop lid. So I prepared a vector on Corel Draw. I am a fun of the comedy TV series "The Big Bang Theory". So I got this image of the character Sheldon and converted it to vector for the vinyl cutter.
But first, I needed to know how to operate the machine. So I turned to youtube and I found this very profound video tutorial. It guided me through every step of the machine operation. During the set up however, I ran into an error "BAD POSITION"
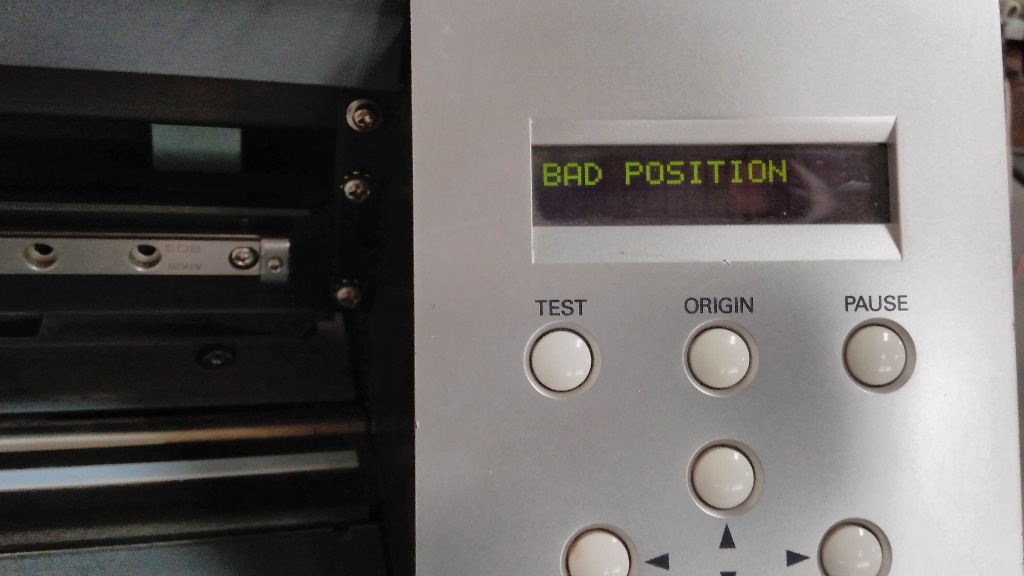
I sort of thought It could have been a button I keyed in by mistake withought knowledge of its function.
So I looked this up online and found quick a solution here Turns out that I just needed to position the rollers at the points with a white tape. Easy!!
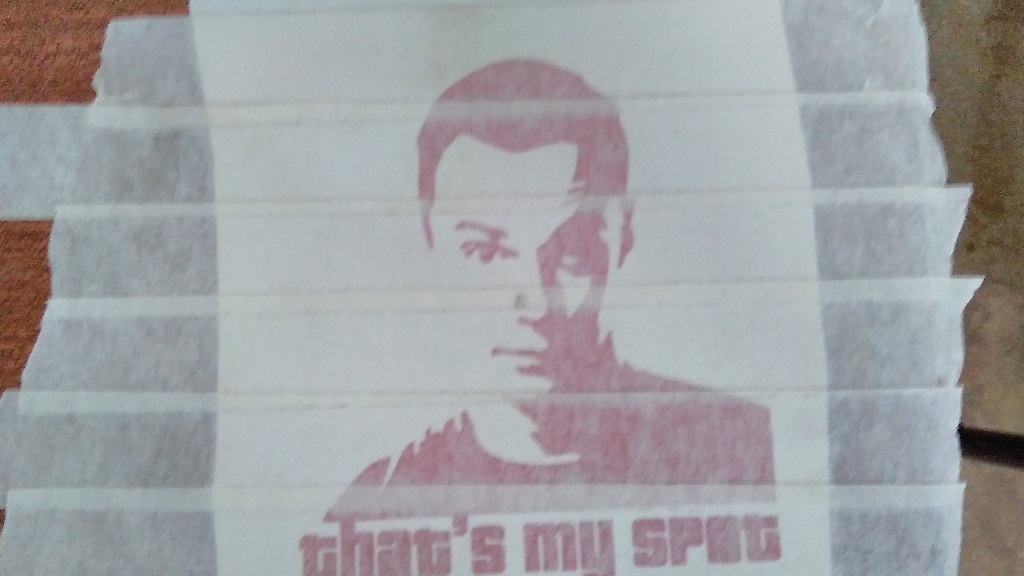
So I set my paper up on the machine and began the process.This was the outcome.
I dint have the required transfer paper, so I had to improvise. I used a white masking tape as my transfer tape....I wish it could have been wider that I was but all the same it worked pretty well
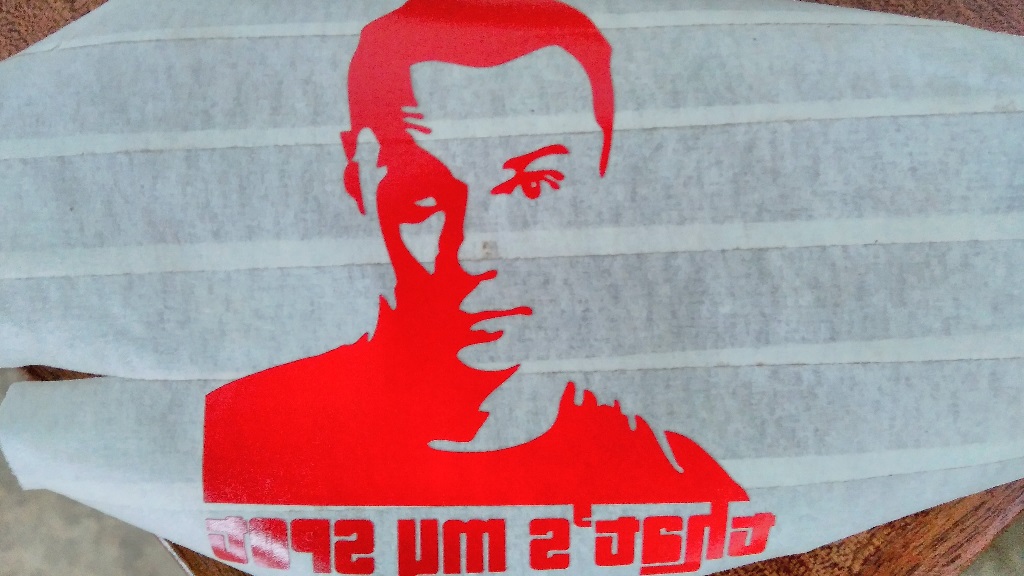
I finally transfered it to the laptop lid

Download files
Computer_controlled_cutting.cdr