MOLDING AND CASTING
2D Model
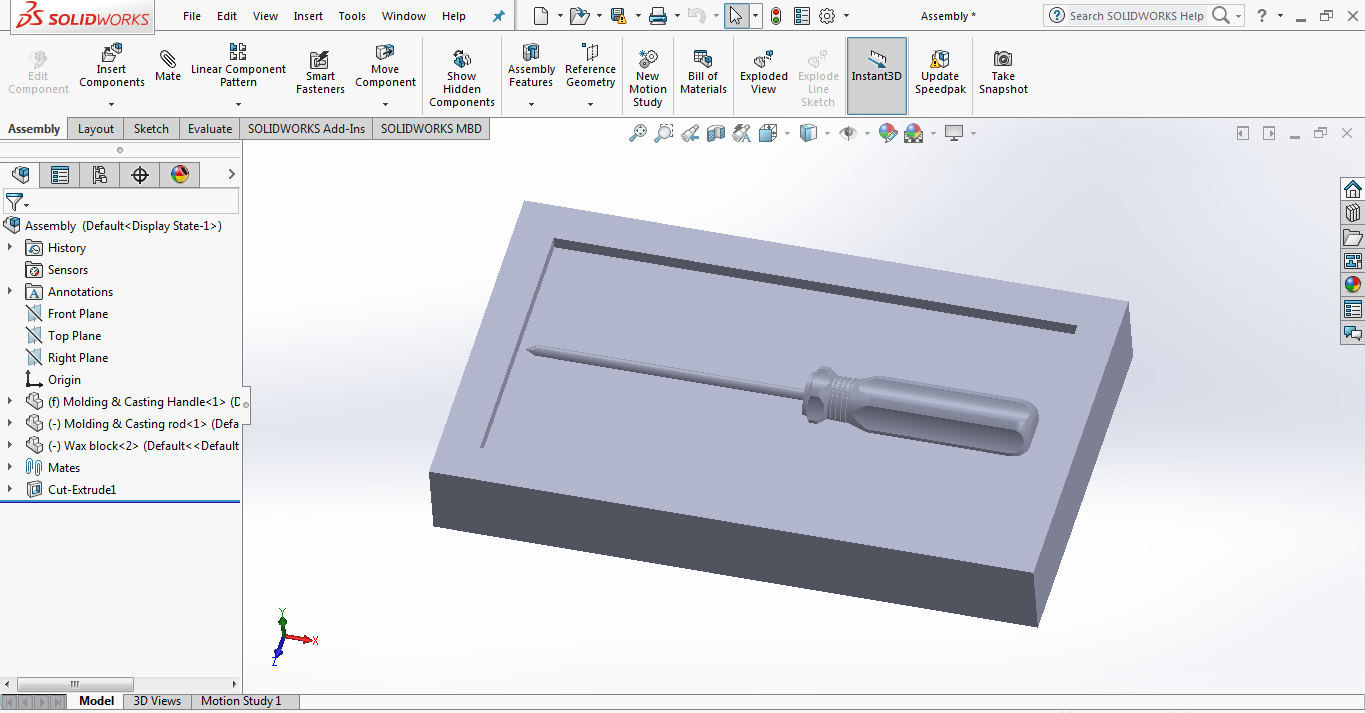
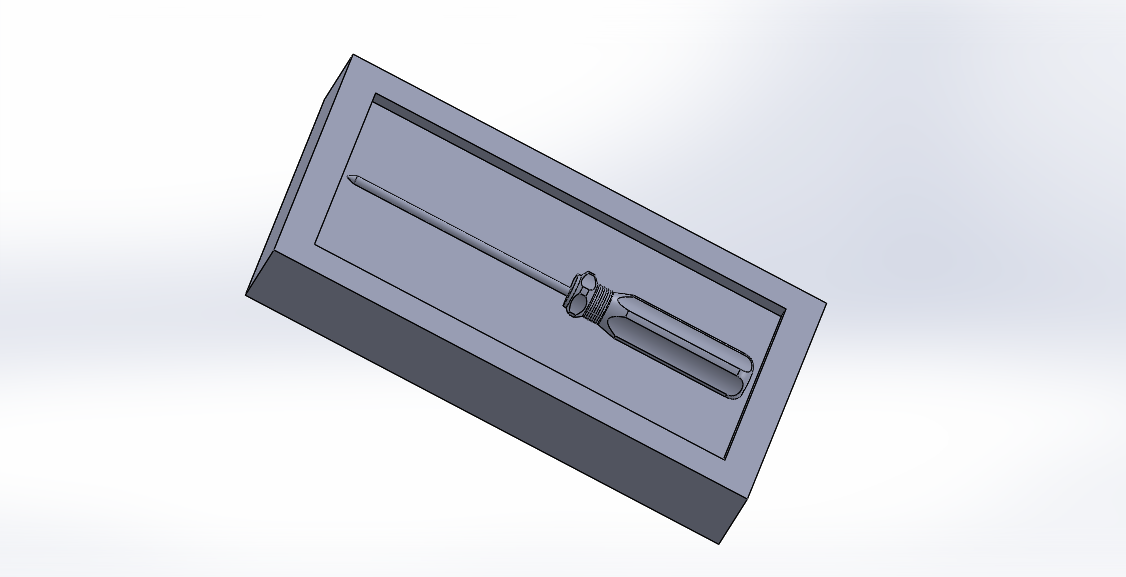
This assignment started off with a challenge. I had planned to mill a mold of a srew driver for this assignment. So I started off very excited and designed the 3D mold on solidworks.
Once my stl file was ready for milling, I switched to linux and ran the fabmodules. Unfortunately, each time I loaded the stl to the fabmodules, it could hang until the computer reboots on its own. I tried reinstalling the modules but my computer had broken packages that could take me a while to sort out.
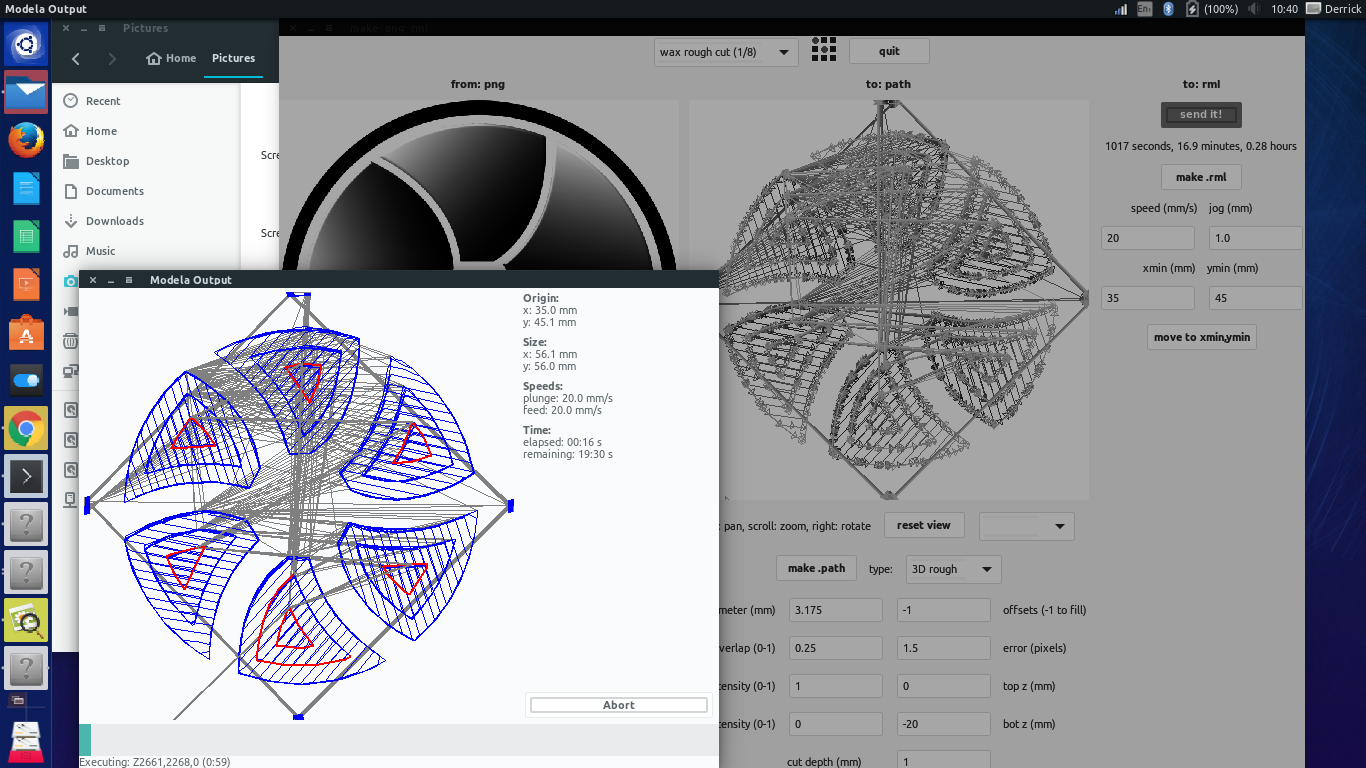
So I resorted to work with a 2D png image with a gradual variation of the gray scale to create a gradual depth on the mold. This was after going through this tutorial on using 2D images to create molds.


I prepared it on corel draw to fit the size 54mm x 54mm.
Wax Milling
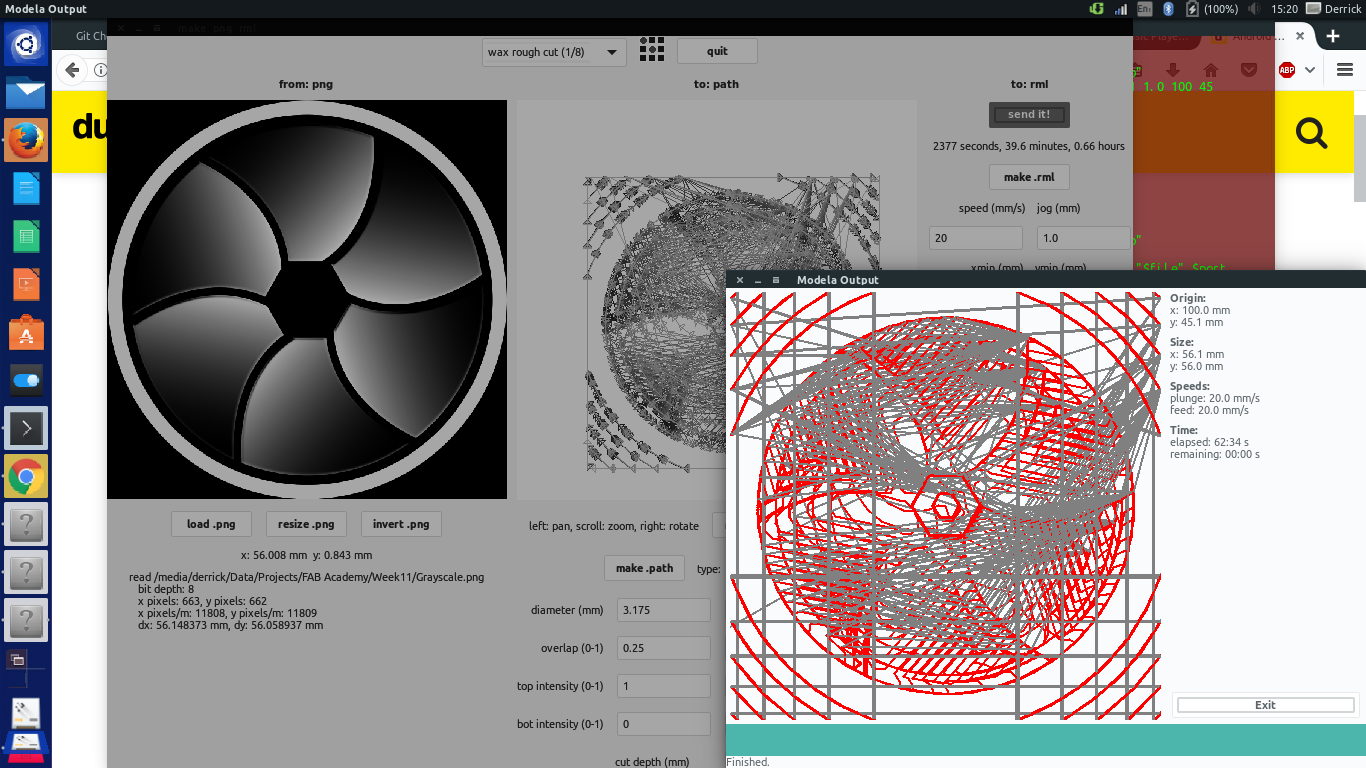
I set up my wax bar on the modela keeping it firmly in place using a double-sided tape. I then mounted a 1/8" milling bit to the machine I uploaded the png to fab module and set a milling depth of -20mm
I hit a little challenge here.
There was no space left at the top that will keep enough material to hold the detailed material together. So I
neede to create some depth at the top of the milled part to allow some room for more material during the casting process. Therefore instead of redesigning the entire image, i drew a circle on corel draw and lightly colored it gray. This would make the machine mill just alittle bit of the top wax on the design.I set this up on fab module at the exact home cordinate that I had earlier used
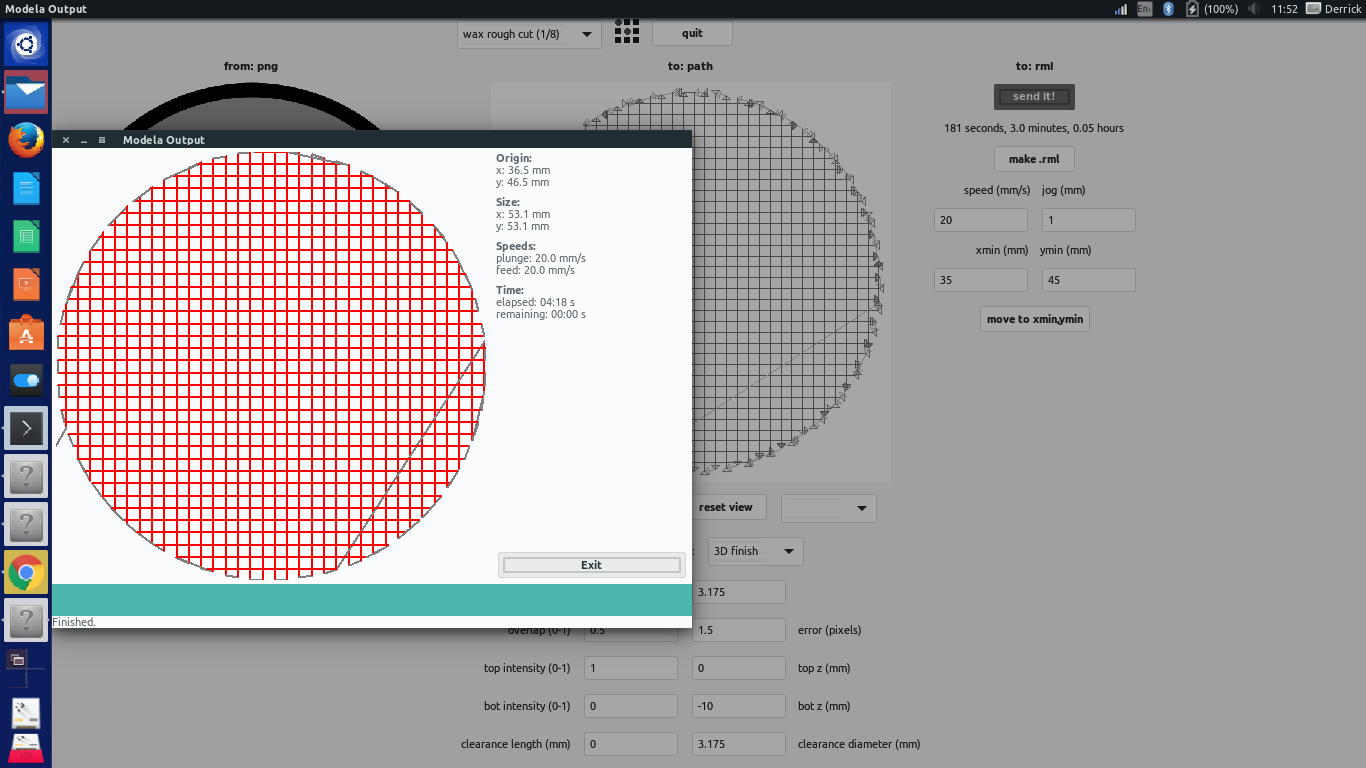
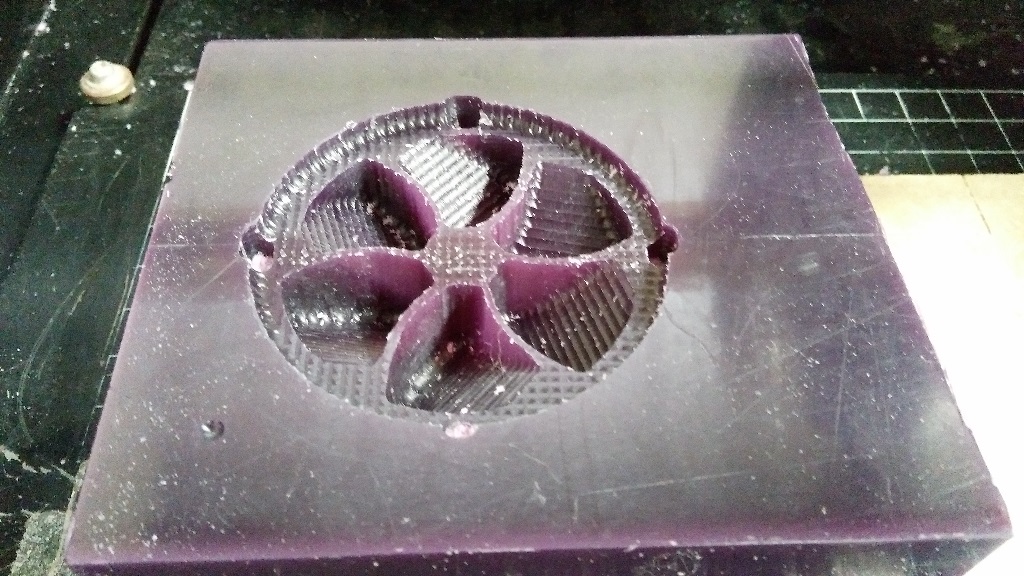
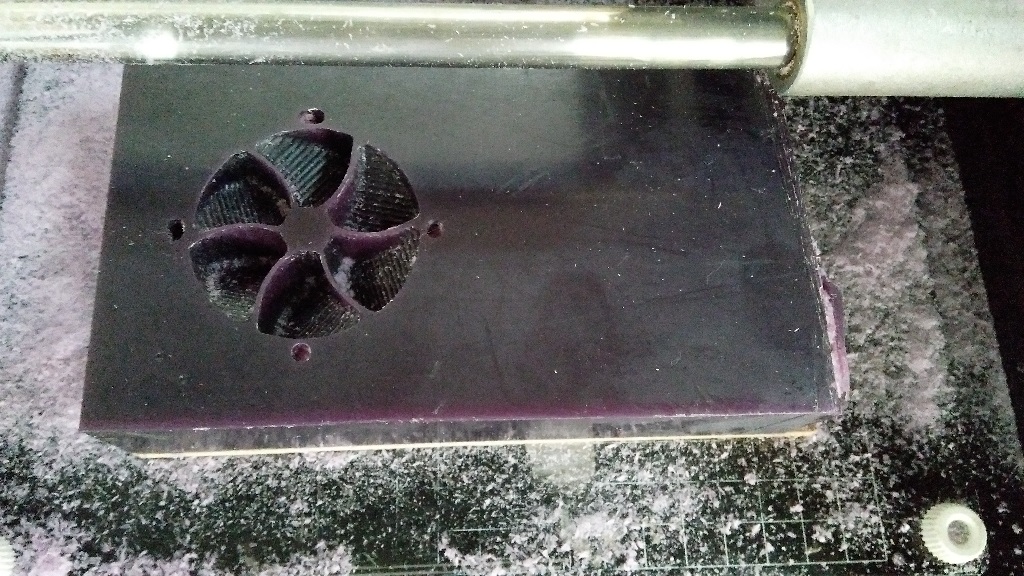
I ran a finish cut and set the piece ready for casting.
Casting
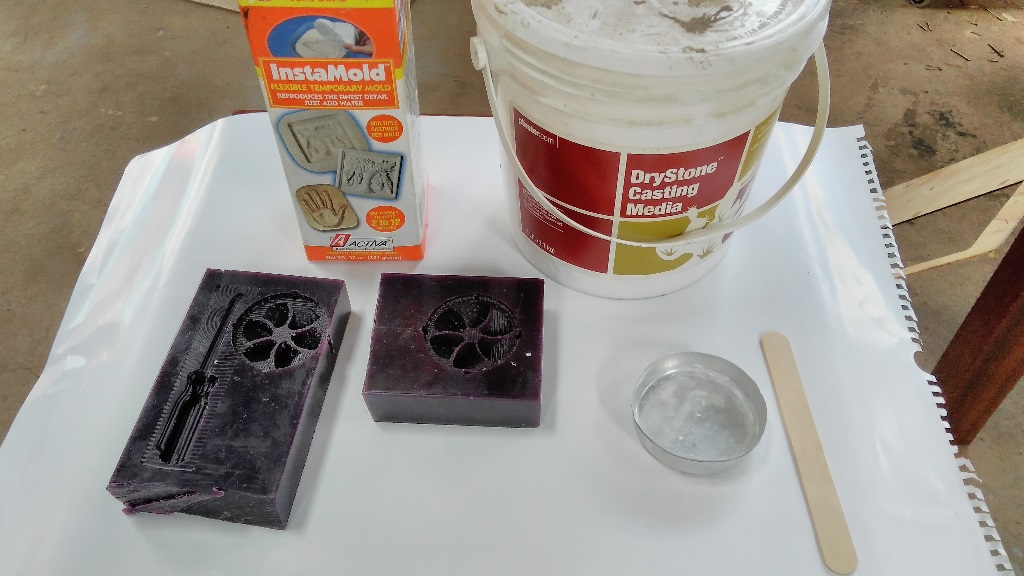
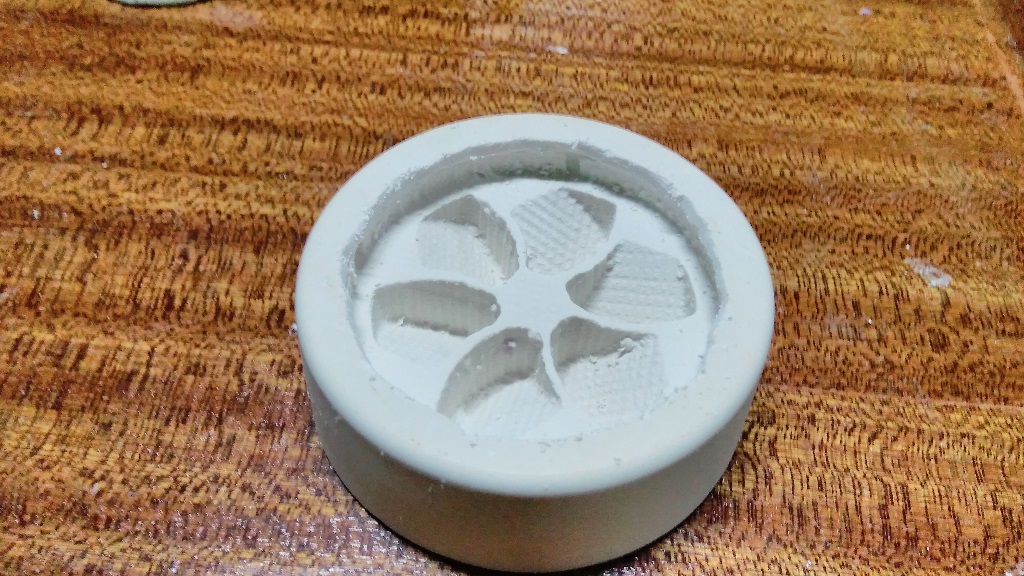
I used InstaMold for this process. Following the instructions on its container, I mixed the material with water and poured it into the milled wax.
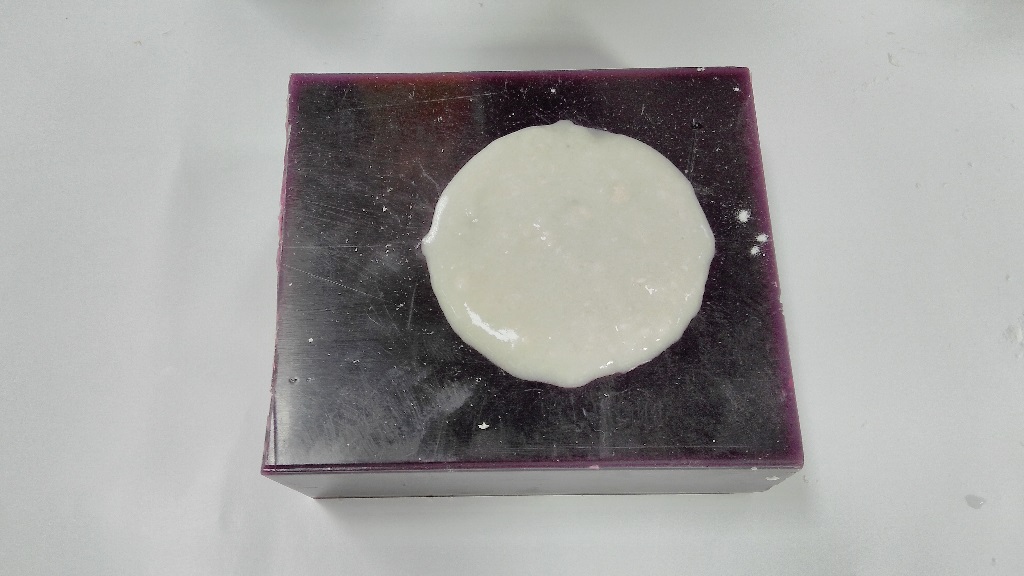
After solidifying, i removed it easily as it doesnt stick on to the wax. I then mixed Drystone with water and casted it inside a plastic container with the InstaMold piece inside. After solidifying, the outcome was a very hard mold
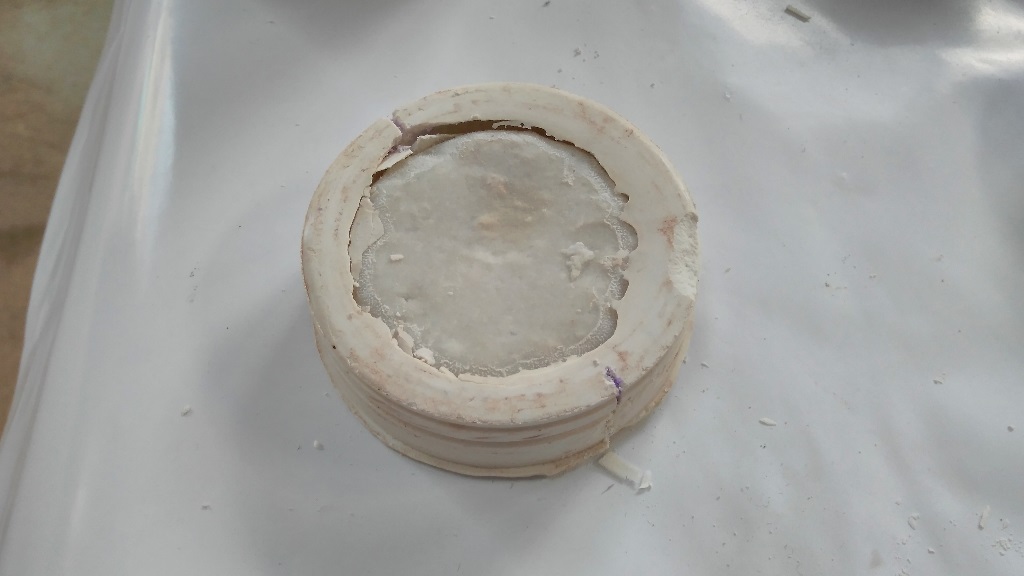
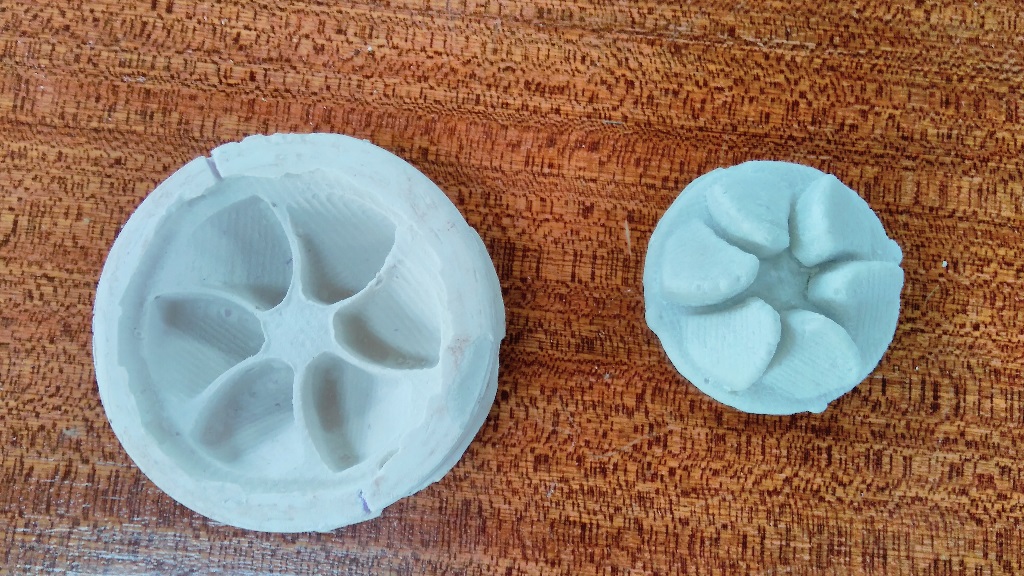
The container I had used here was not the best as it was made of strong plastic and it also had threads inside. This made it had to remove the mold inside. After some effort I had to cut it into halves. I made another mold using a better die and this one came out perfectly
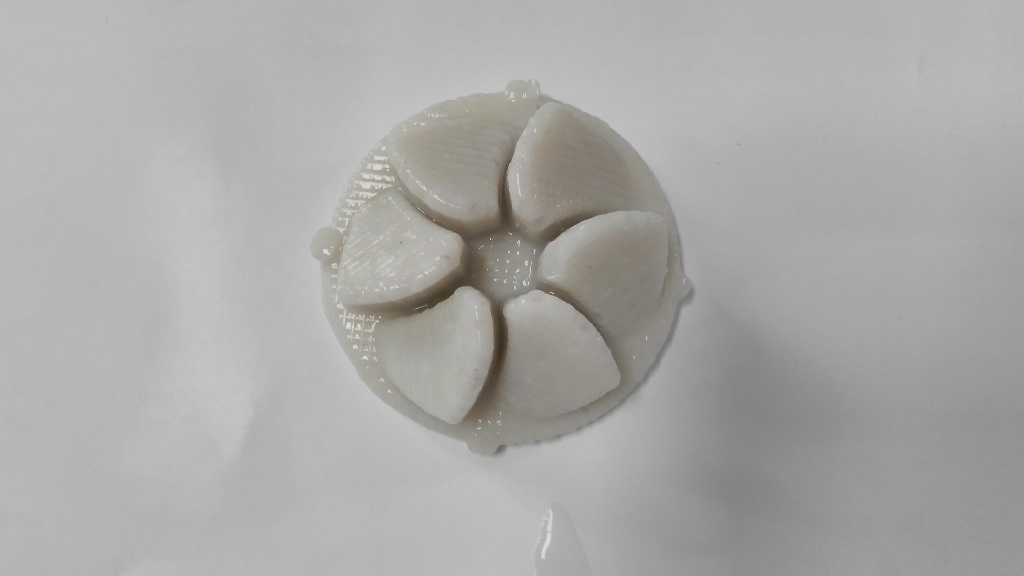
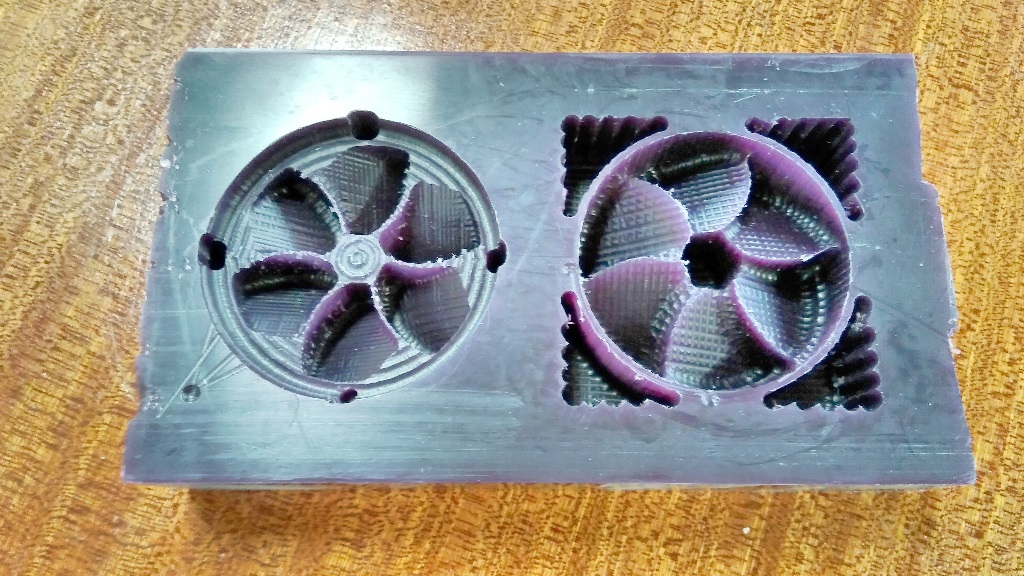
I still wanted to experiment, so I went back to the Milling machine and milled both the initial png design and also an inverted image of the same png file.
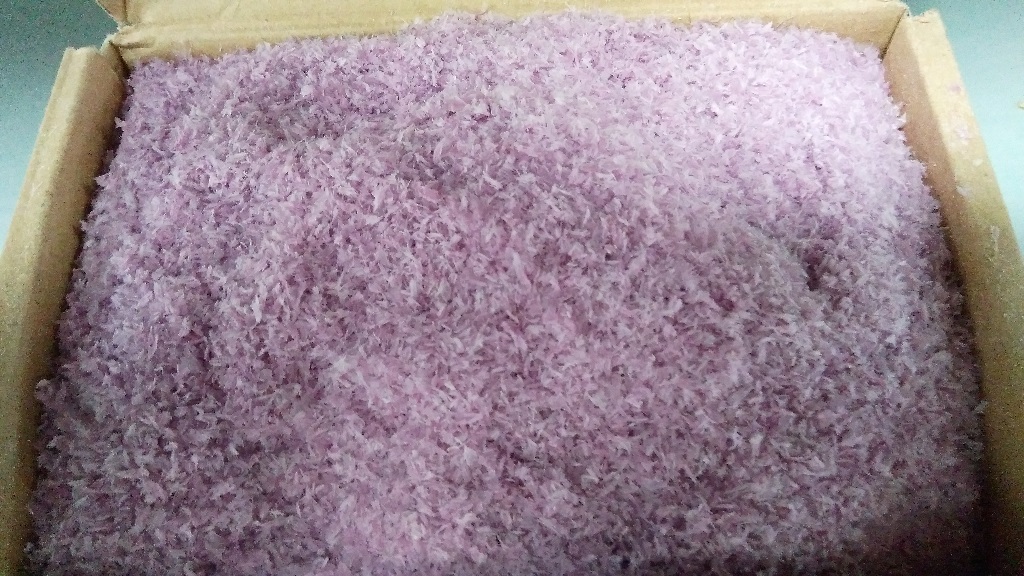
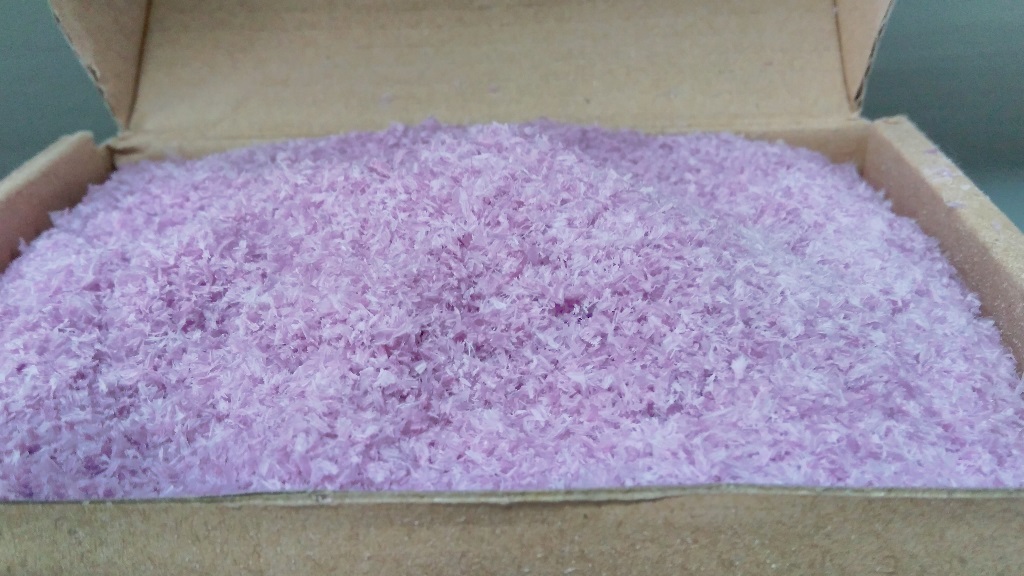
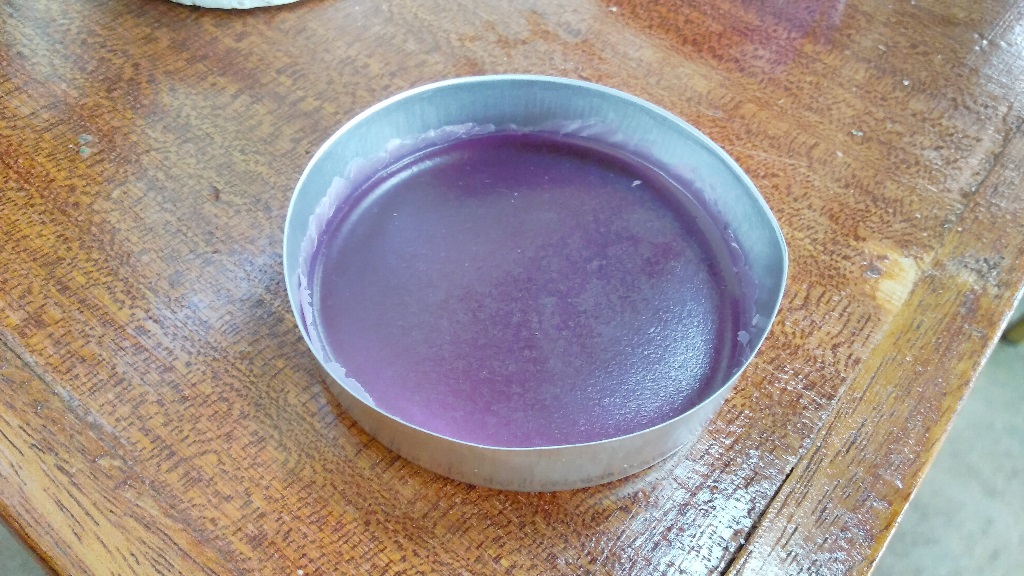
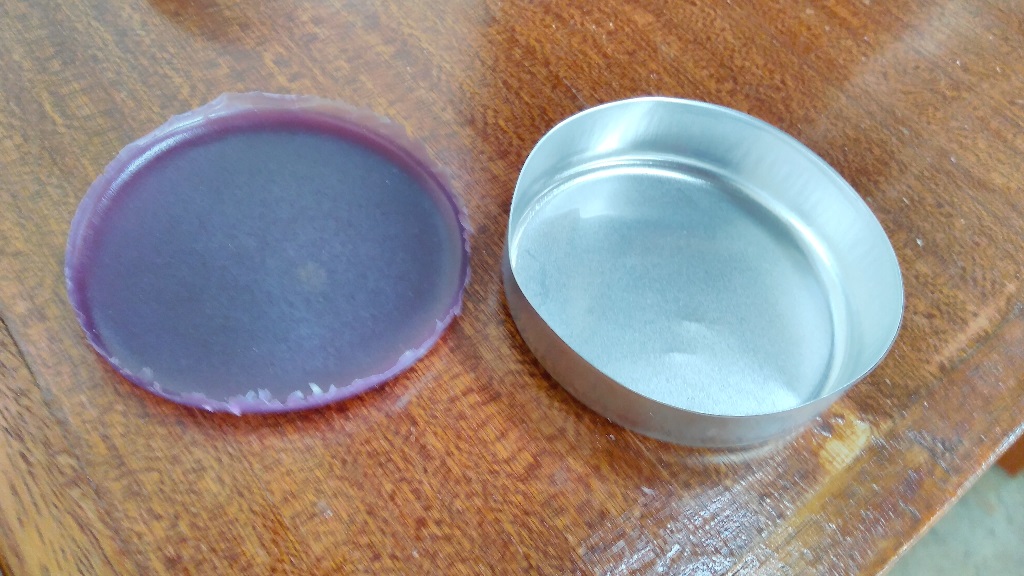
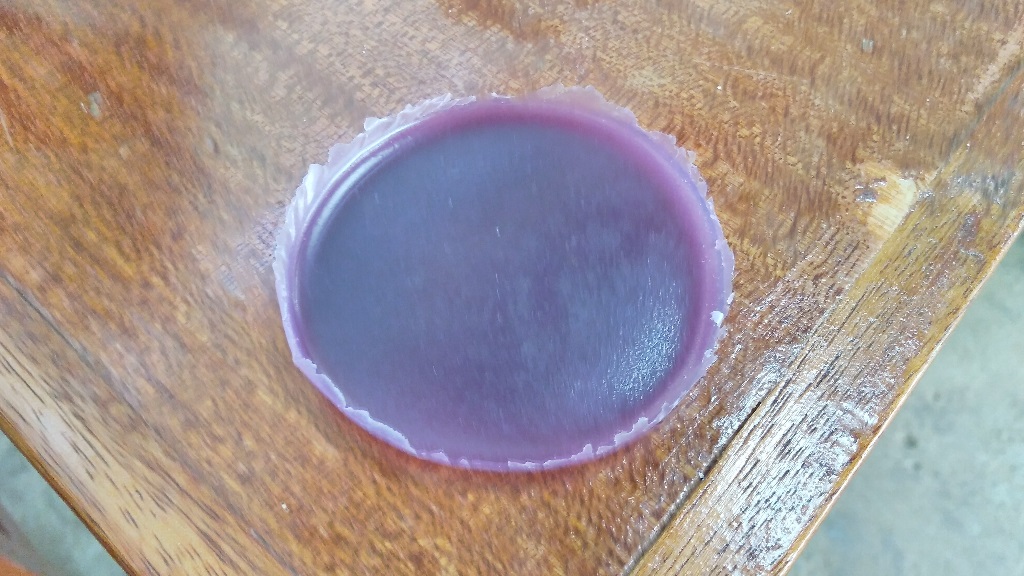
I also tried out recycing some wax collected after milling. collected the waste wax and melted it in a metalic container.
Download files:
Shutter.png
trace.png
screw_driver.STL