Week 13: Apr 19: molding and casting
My final project includes packaging my device into a cover which can be adapted to an ordinary junction box. I thought it might be helpful to start 3-D modeling my package and design a quick-prototype utilizing closed cell foam, machine it on a cnc router, and cast the model using Smooth-on Vytaflex-20 urethane epoxy. I use Smooth-on often to make "skins" or stamps for decorative concrete work. It is an impressive material.
I plan on milling the mold using acetal at a later date and perhaps use a more complicated, multi-piece mold which will be easier to make, and also easier to release the part
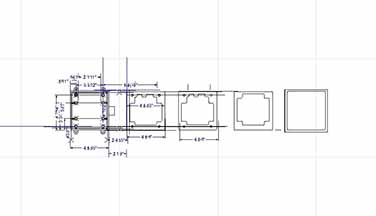
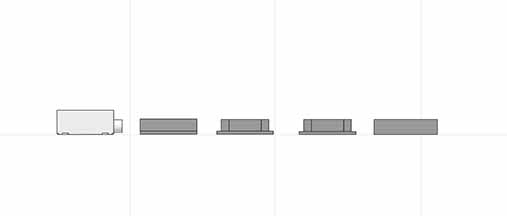
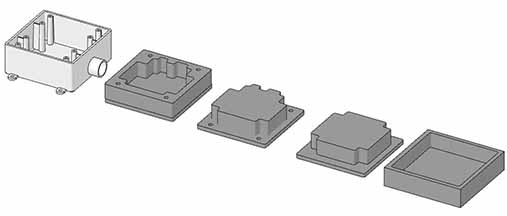
First I started by measuring a typical 4" junction box, drawing out the box, and then designing my part as well as it's mirror image mate.
PLAN VIEW
ELEVATION VIEW
ORTHO VIEW
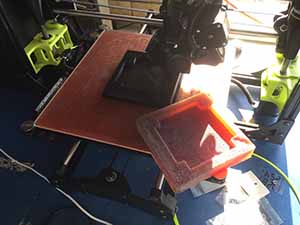
I next made arrangements with my generous classmate, Corey Rice, to use his ShopBot.
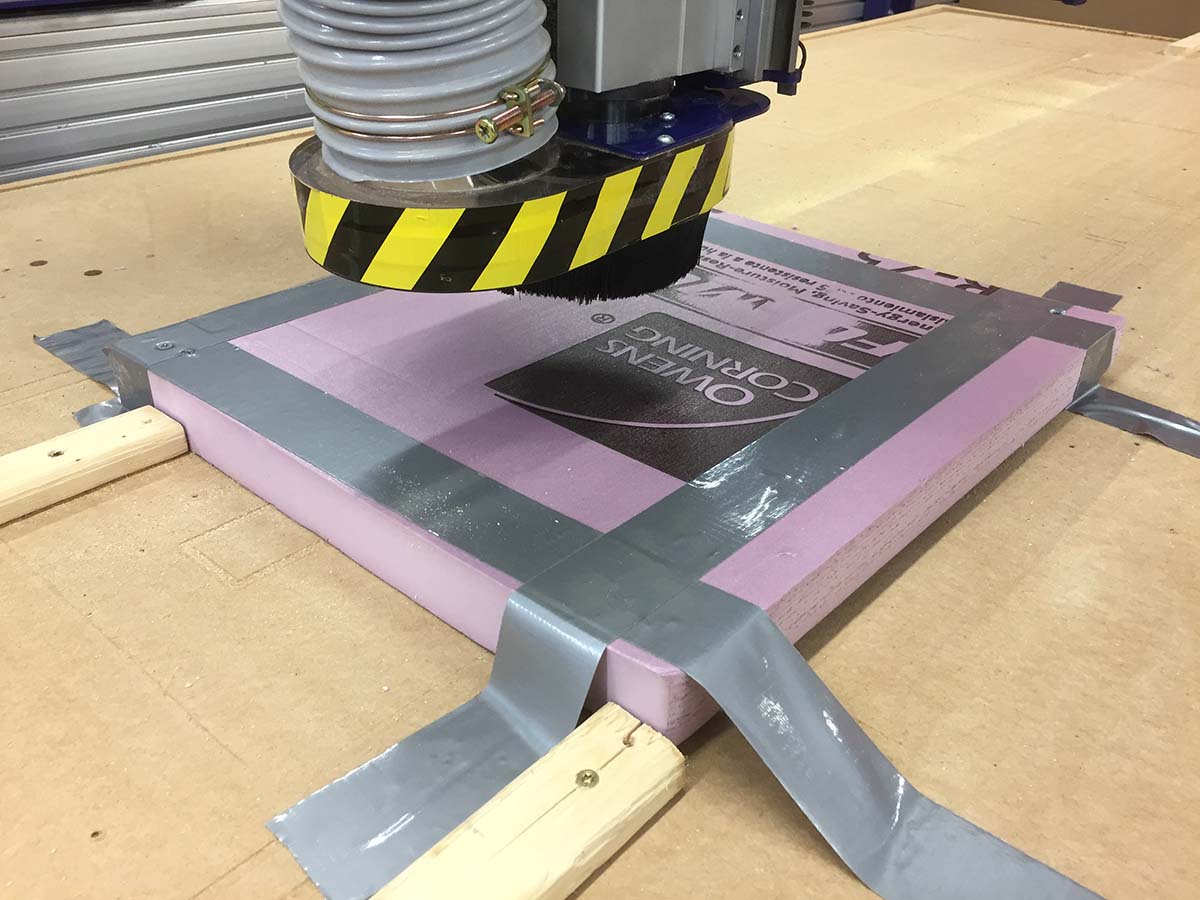
The tape wasn't enough to hold the part. Added two wood screws to fix the foam.
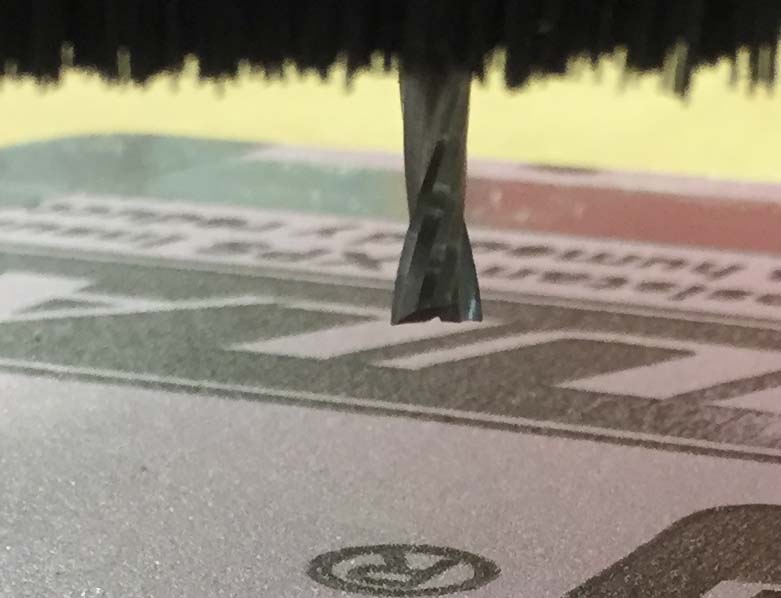
Utilized a 1/2" center cut end mill in a TG collet. Next, we mill out the die.
 /
/
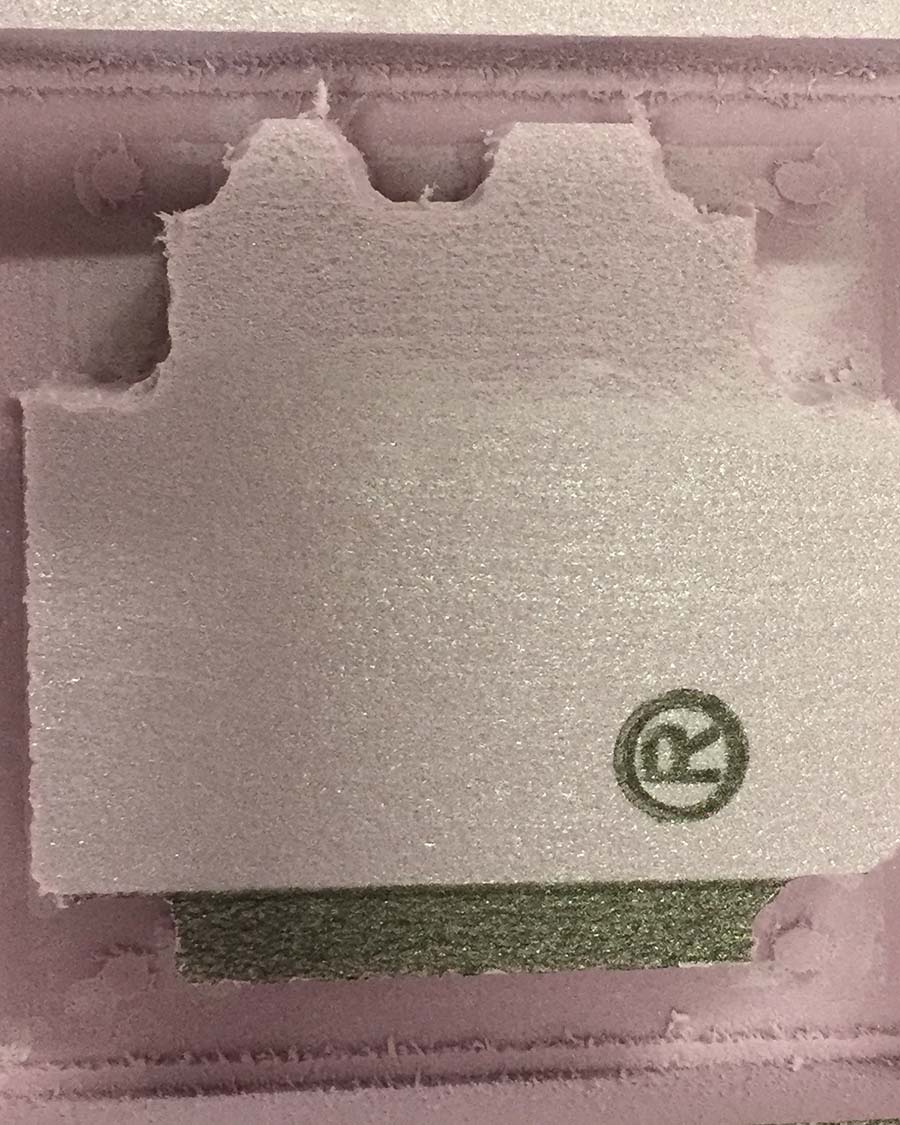
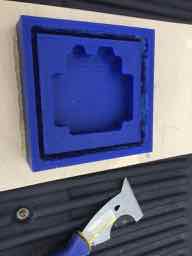
The small circular details were miscut by the Shopbot. Countours were miscut as well during the finish pass. During the rough pass, the contours seemed fine. The finish pass ruined the piece. It overcut the contour when it tried to mill the 1/2" diameter islands, and it left a channel in the floor of the mold.
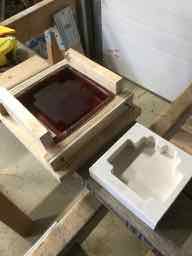
I revised the design and eliminated the 1/2" diameter islands and cut just the rough pass. The mold came out fine. Next, pour the Smooth-on and let it cure for 24 hous.
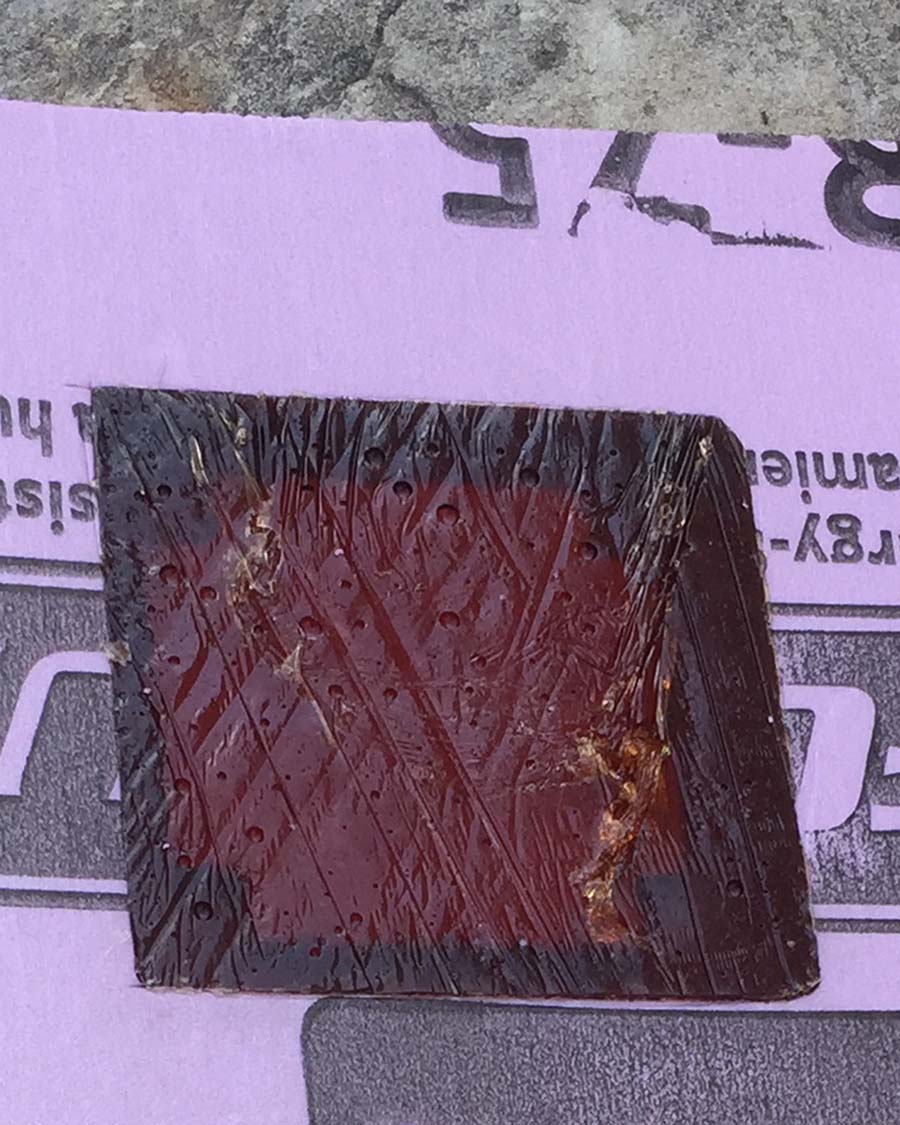
After curing for 24 hours at 70 degrees F, apply 100 degree F heat for 16 hours to allow the polymer to vulcanize, or cure well.
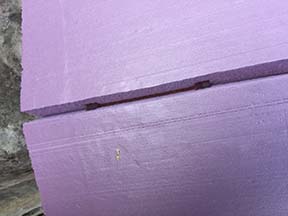
After curing, I crack the foam in half to release the part.
Make sure part is not still gooey!
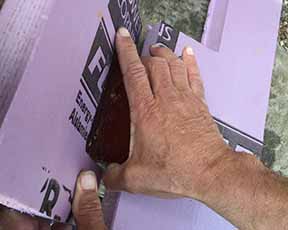
Remove the part from the foam.

Net, I 3D print the part with all the details so I can study my next mold.
Next, I made a mold in machinable wax and cast in Hydrostone.
This part was machined on the Forest Scientific Router. Took about 3 hours of runtime. The milling cutter was recutting swarf on the perimiter of the mold and made a sticky mess. I had to use a scraper to clean out this deep groove.
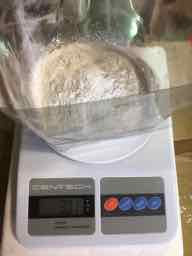
Directions call for mixing water to material by weight. Put material on scale and figure correct amount of water.
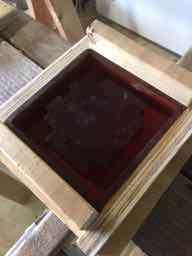
Shore up flimsy walls of mold with wood. The "rubber" urethane has very litle firmness.
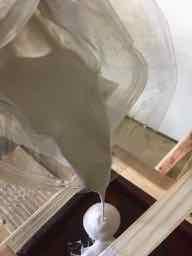
Pour in the hydrostone material.

Let the hydrostone seek level. Te pour surface does not need to be extremely flat ion this application.

After material hardens (overnight), release the wood supports.
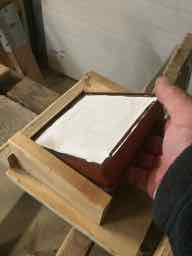
Remove the mold from the wood base.
Release mold and inspect resulting part.
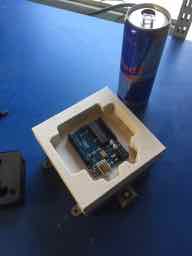
Commercial Arduino board fits in case.
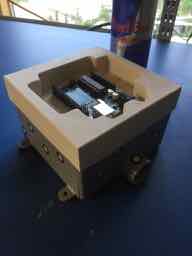
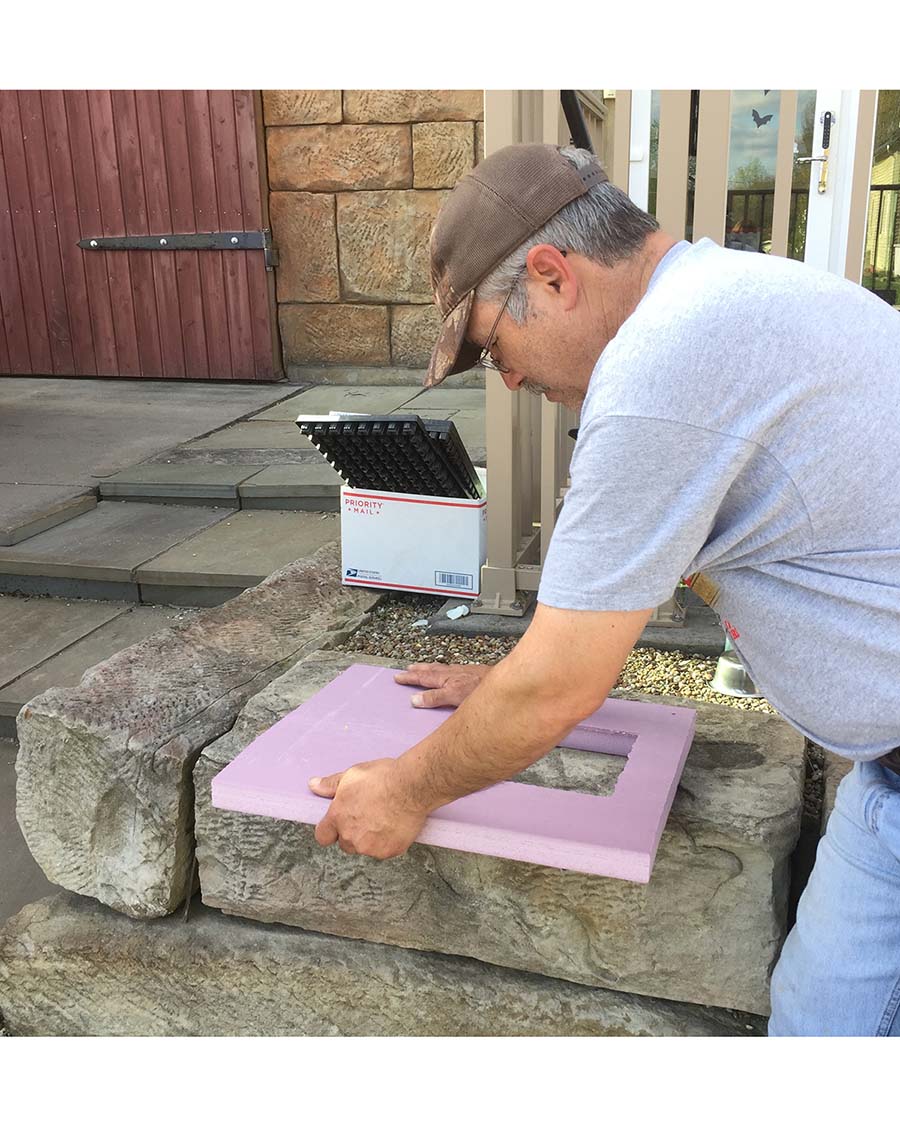
Case fits on top of standard PVC junction box.